

DIY Sew-In Labels
When I first started my business five years ago, I will admit that I didn't have all my ducks in a row. Sure I had a logo and business cards, but I didn't have proper labels to attach to all my items. About a year into doing craft shows and markets I decided I needed to focus a bit on branding and the first thing I wanted to tackle were some sew-in labels.
I first searched to see how much it would be to have some made, but it turned out to be way too expensive for my budget. I found a lot of tutorials for DIY labels, but none seemed to be what I was looking for. Finally I decided to just try something myself and see if it would work. I've been making these sew in labels for the past four years and I absolutely love them! They are totally customizable and inexpensive. Here is what you will need if you want to make your own:
Materials:
white jersey material or plain white t-shirt
Heat Bond (if using plain printable fabric)
computer & printer
clear ruler, rotary cutter & cutting mat
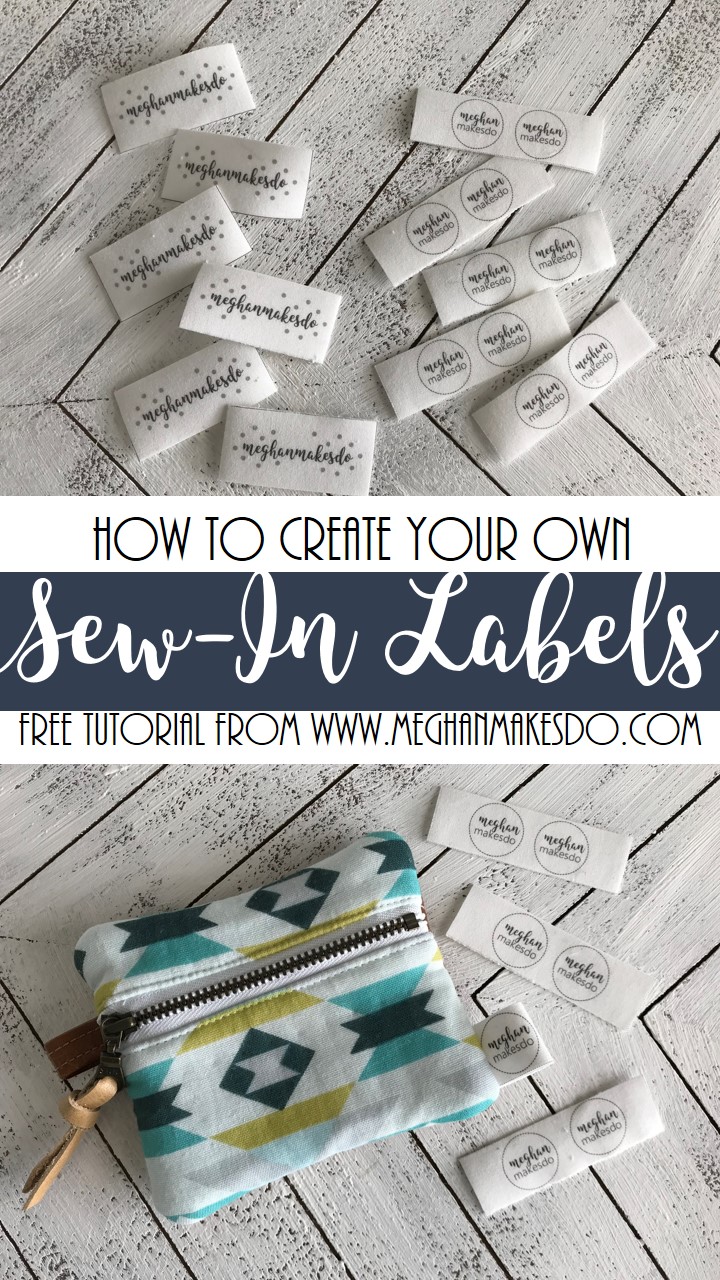
The first thing you will need to do is design your label. I created mine in Microsoft Word using a simple table. I created two different kinds, one that is a single flat label that I sew into my bag linings and the second is a fold-able label that I fold in half and sew into the sides of my bags.
Here are examples of my two labels.

If you already have a logo you can easily copy and paste it into your label template. I always try to fit as many as possible on a page. I also try to make sure that my logo is centered in each rectangle.
For the fold over labels you need to make sure that when you fold it in half your logo fits and you still have room to sew it in. I suggest printing a few on regular paper to test out your design before using your printable fabric paper.
![IMG_4311[1].JPG](https://images.squarespace-cdn.com/content/v1/5522f983e4b0b2e878096910/1527871881499-V9DMZUBPEMI978YCXQI8/IMG_4311%5B1%5D.JPG)
Once you are happy with your logo and have tested it, print them out on the printable fabric making sure to follow the instructions on the package.

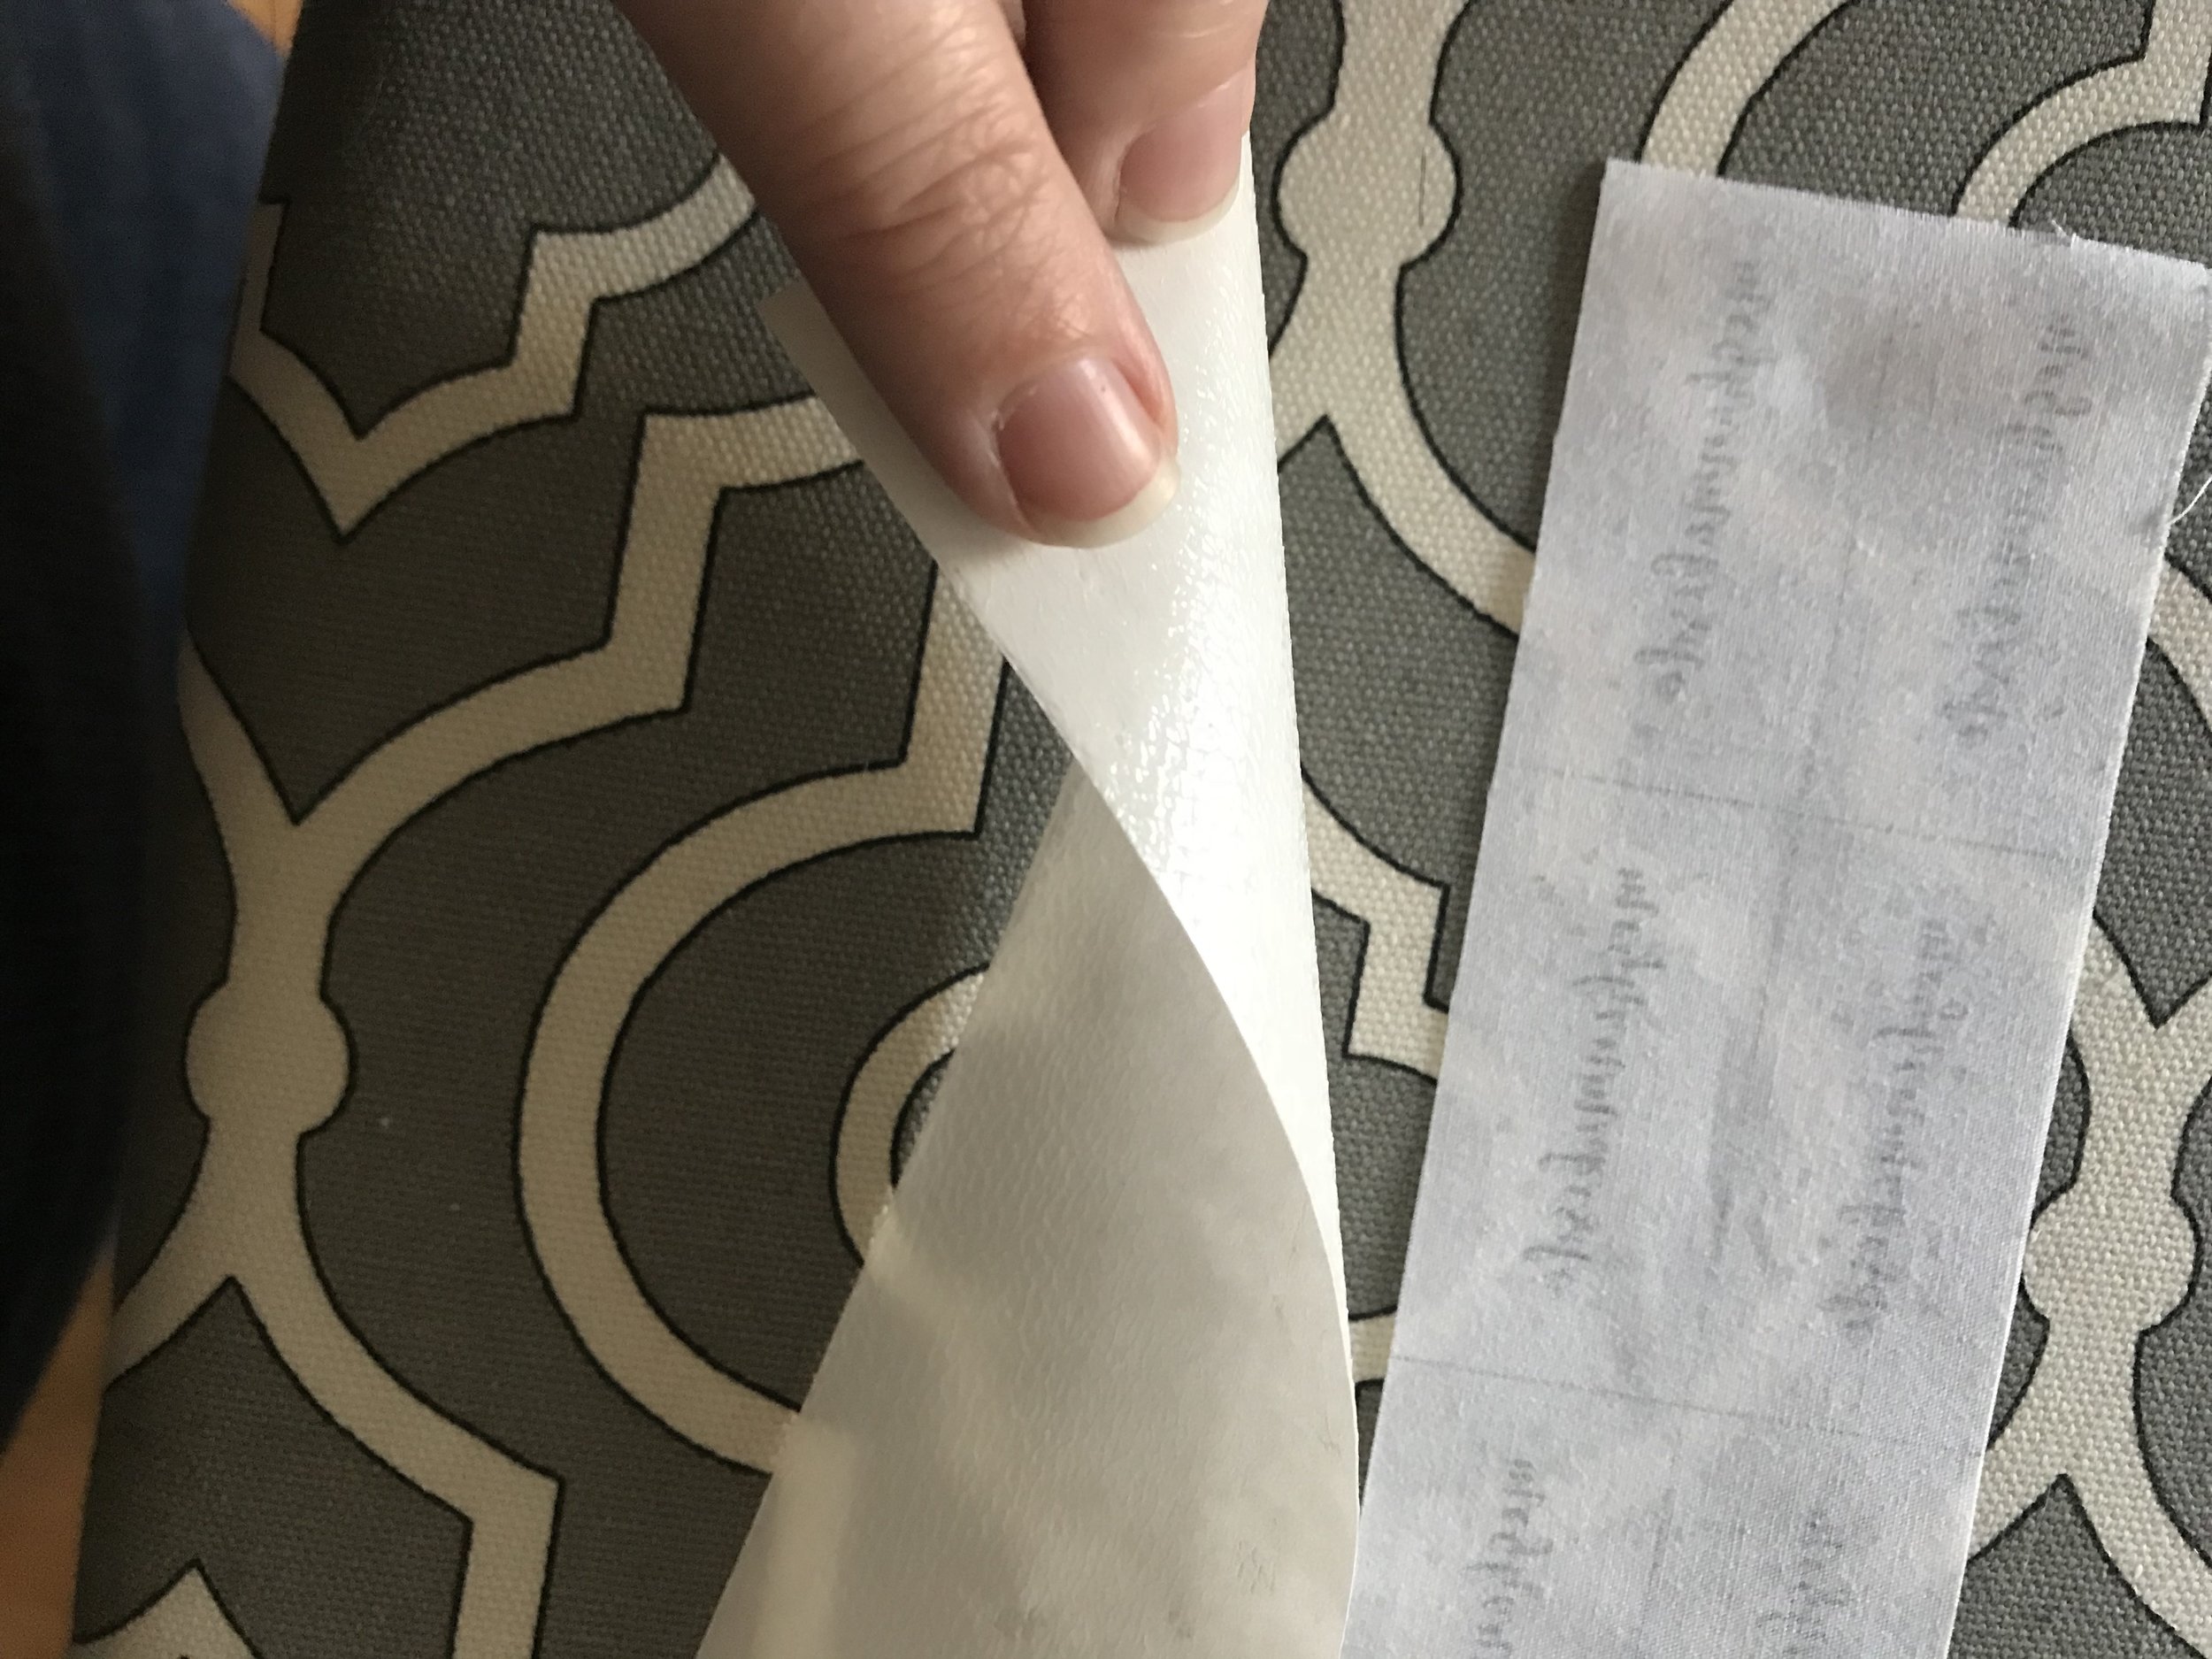
Let the labels sit for a bit so the ink can fully dry. Then carefully cut around the table of labels with scissors or your ruler and rotary cutter. Then remove the paper backing from your labels. Be care with this part because the fabric can sometimes stick which will cause a bit of fraying. Usually it's just a tiny bit and if this happens, don't worry, it will all get worked out once you fuse it to the t-shirt fabric.


If using the fusible printer fabric you can just simply peel off the back and fuse directly to the t-shirt fabric. If using plain printer fabric cut out a piece of Heat Bond the same size as your labels. Following the Heat Bond instructions, fuse it to the back of your labels. (I cut my labels into smaller sections to use up some scrap heat bond.)


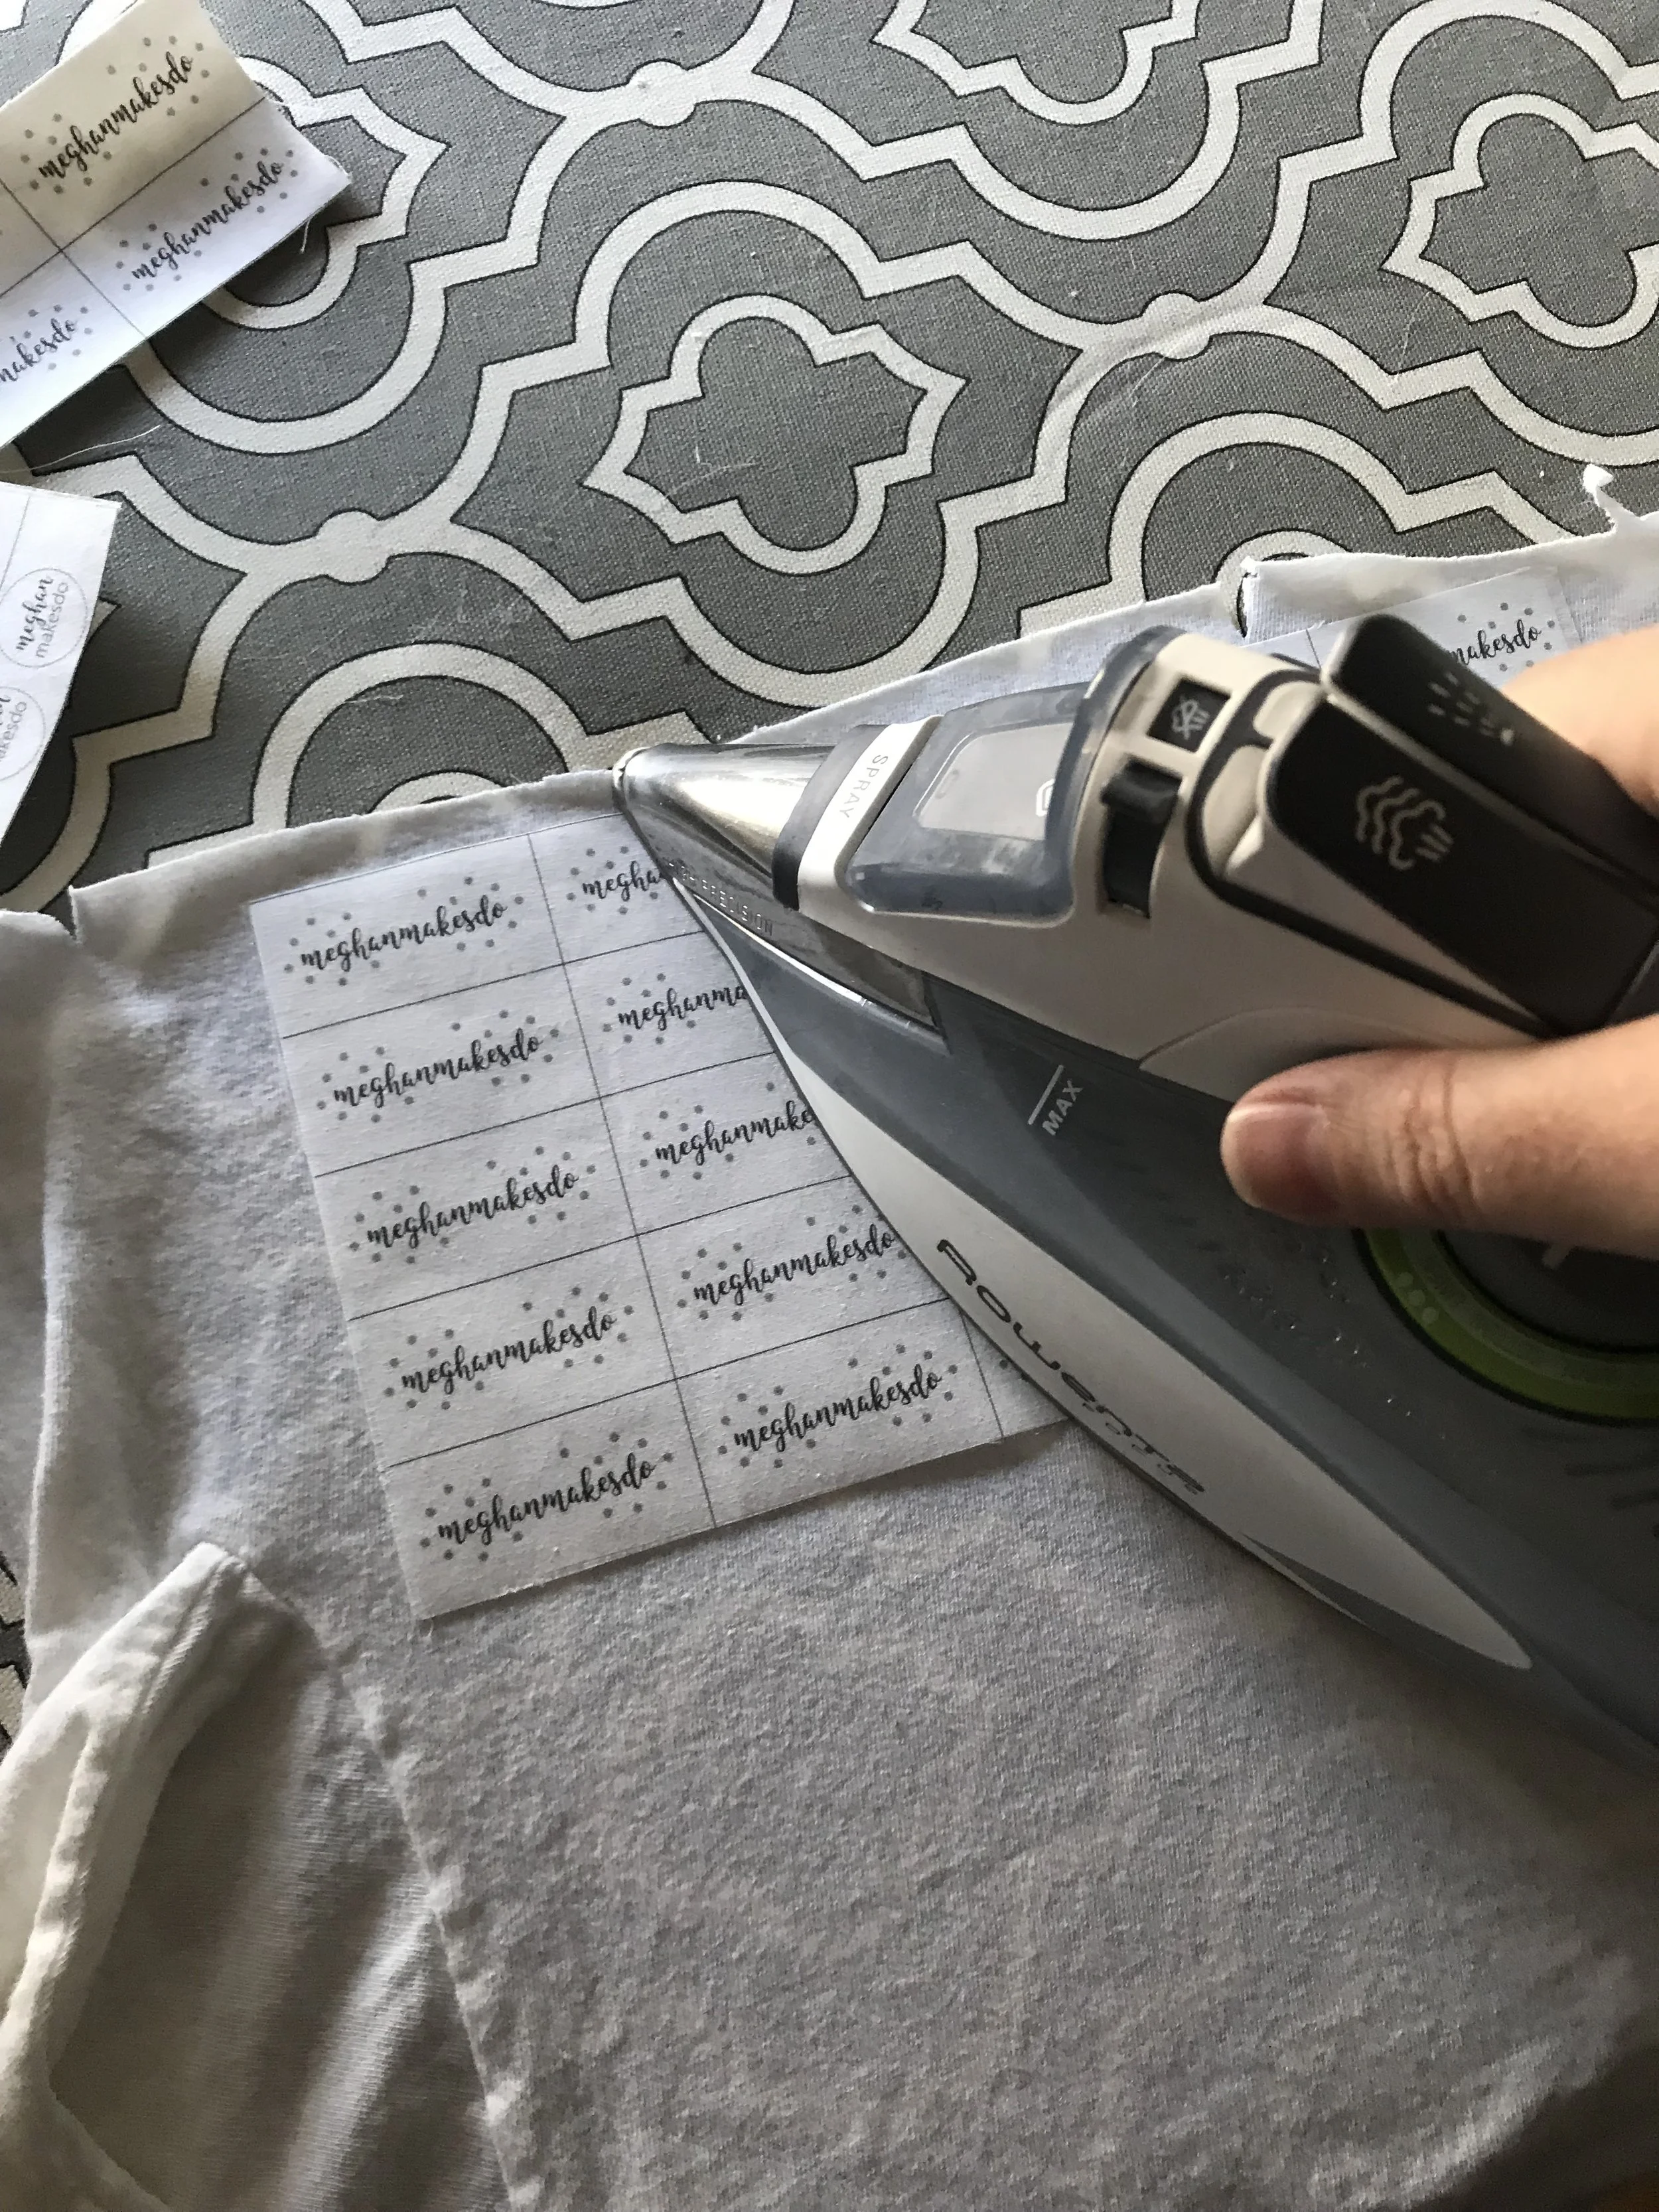
Carefully peel off the paper backing and fuse the labels to the t-shirt fabric.


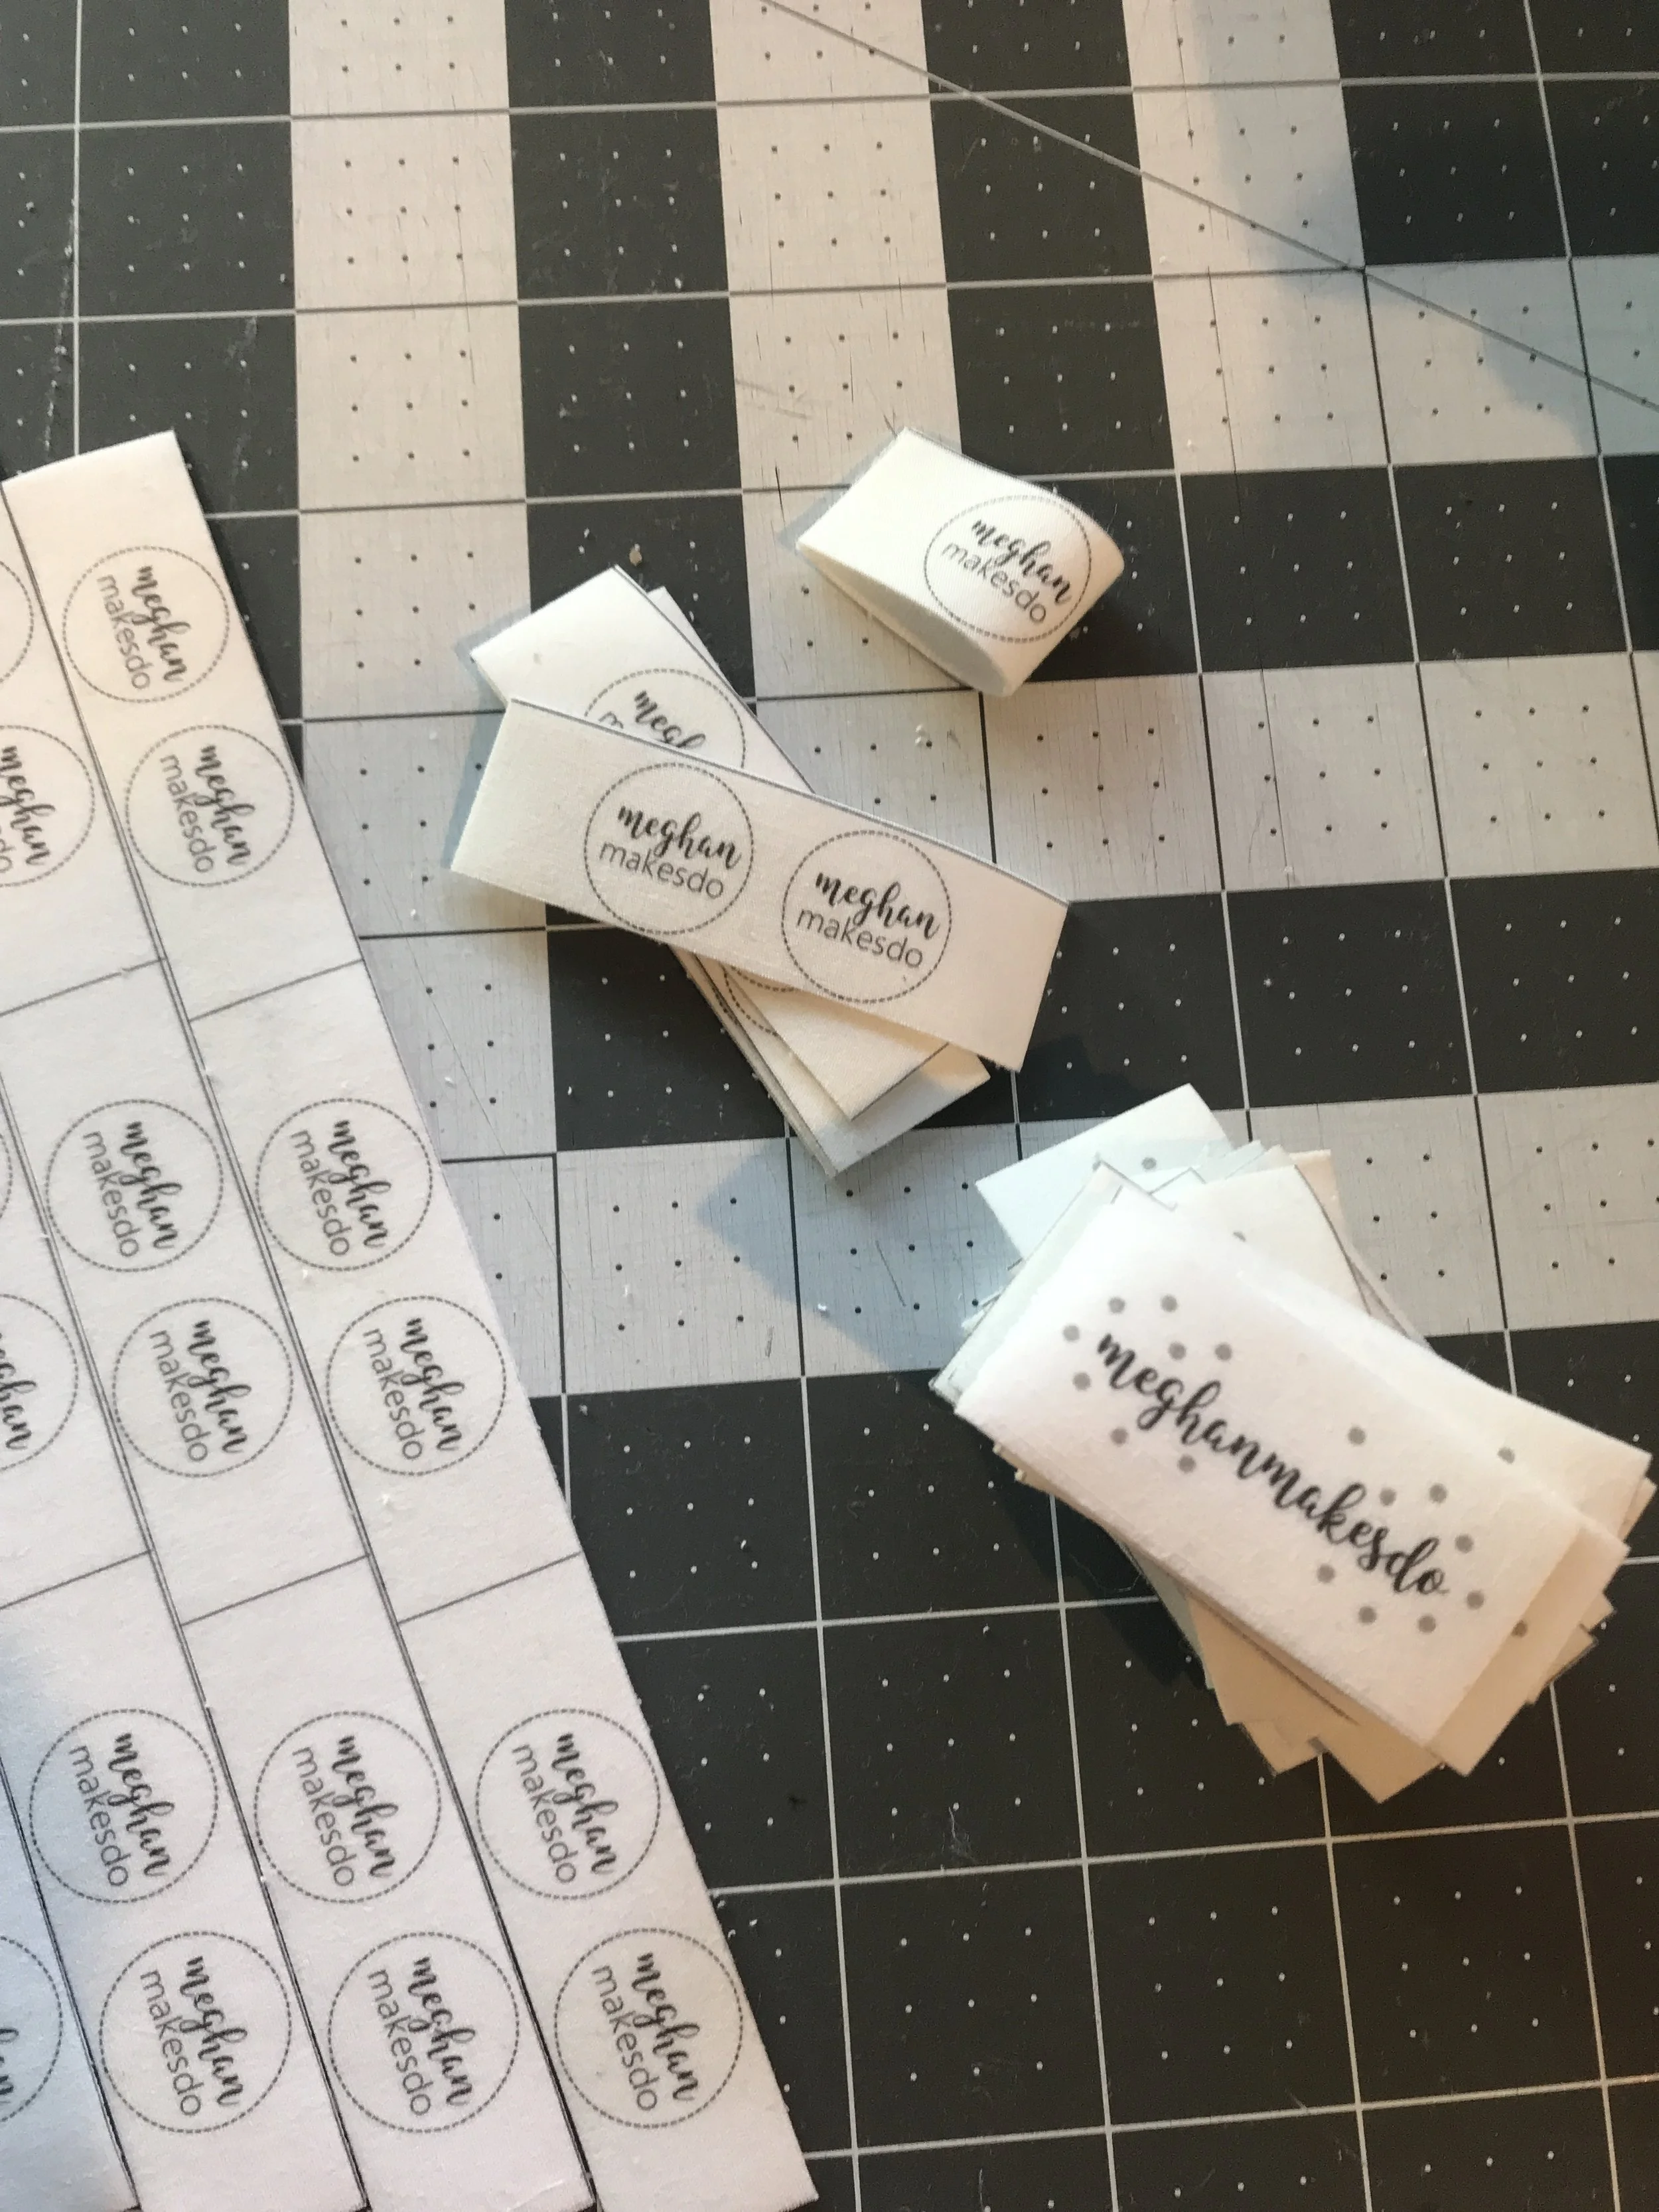
Cut around the labels to remove them from the t-shirt or fabric. Then using a clear ruler, rotary cutter and cutting mat, cut each individual label to size. I left the table lines on mine on accident so I tried to cut just inside each line. You can leave the lines on or create dashed lines or no lines depending on your preference.
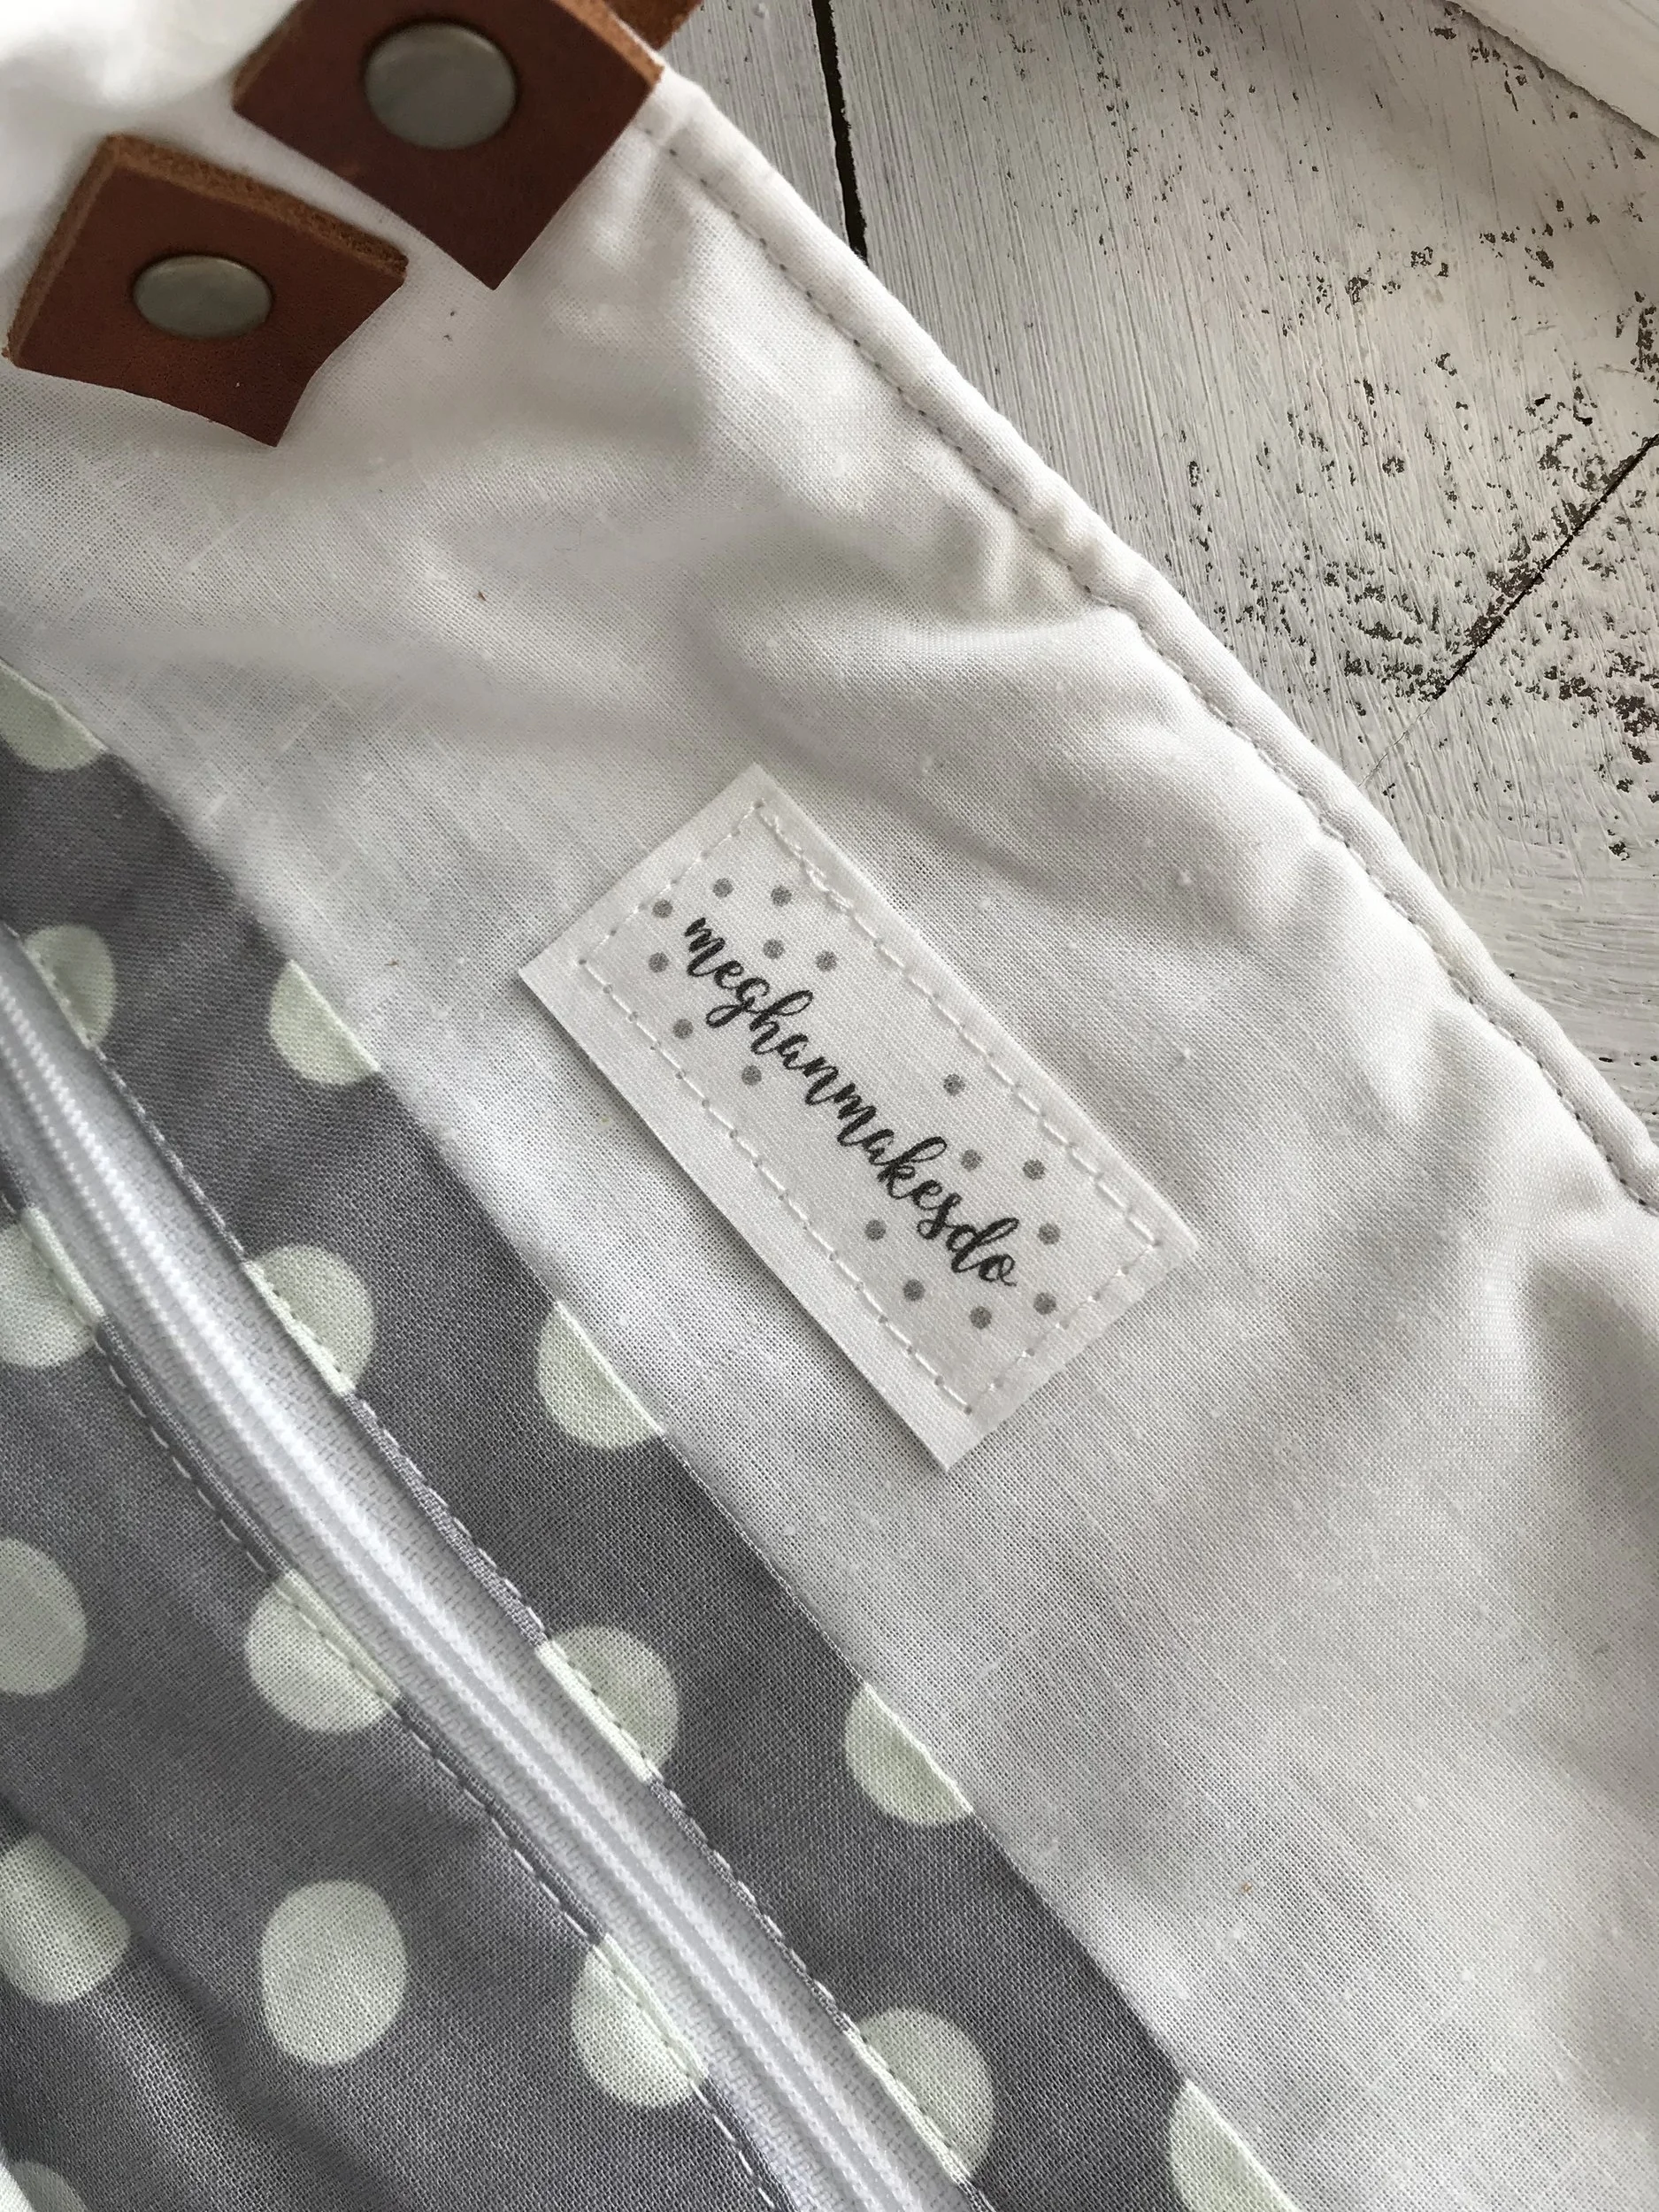
Now you have your very own sew-in labels! Here is how they look once sewn in place.

I love these labels so much and I hope you do too! If you decide to make some yourself I'd love to see them! Use #meghanmakesdo on social media or tag me @meghanmakesdo so I can admire your work.
Happy Making, Meghan.

