
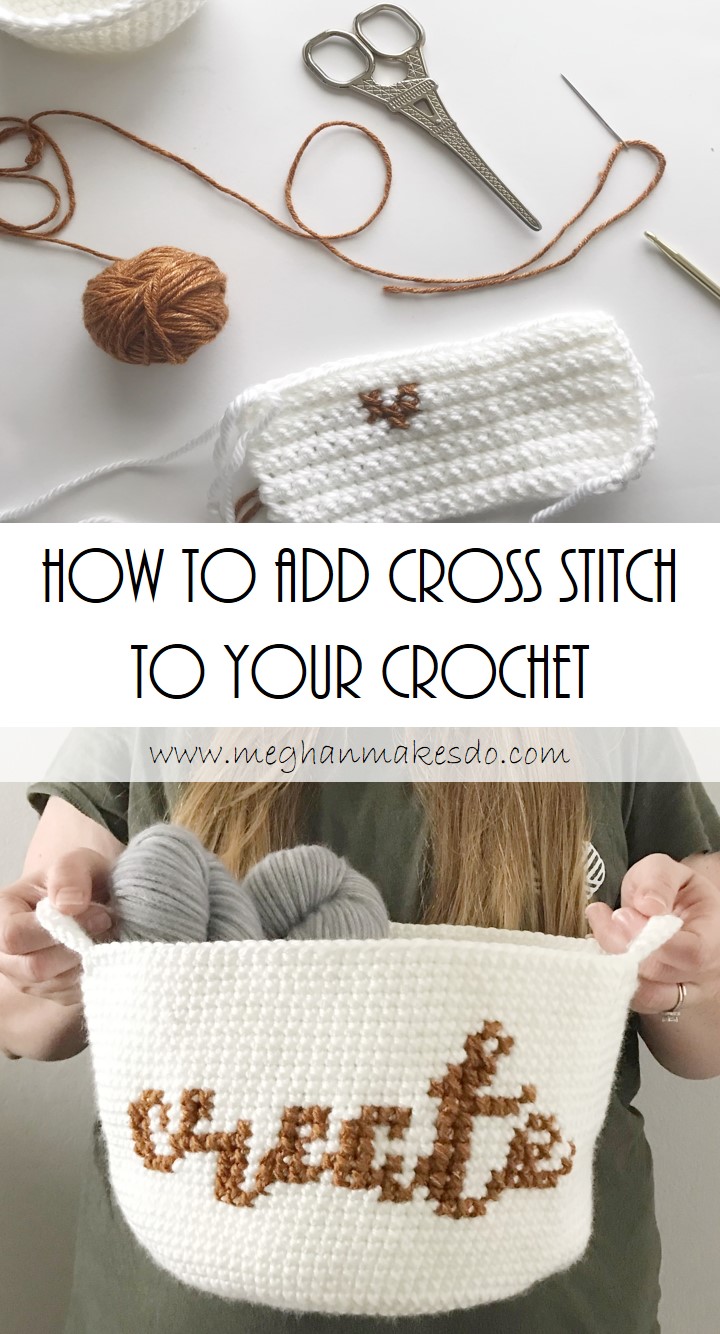
How To Add Cross Stitch To A Crochet Project
This post may contain affiliate links. If you make a purchase through one of those links I may receive a small commission.
Last week I had the privilege of taking over the Craft Yarn Council’s Instagram page for WING IT! I had to spontaneously come up with a project that could be completed in a day and share my progress along the way. I decided it would be so much more fun to have everyone help me create this item so we did a “choose your own adventure” where I asked everyone to pick between two things as I went.
I knew I wanted to try to combine two crafts, crochet and cross stitch, but wasn’t sure what item should be made. I put up polls throughout the day so everyone could help make the decisions. Here were the polls and the results:
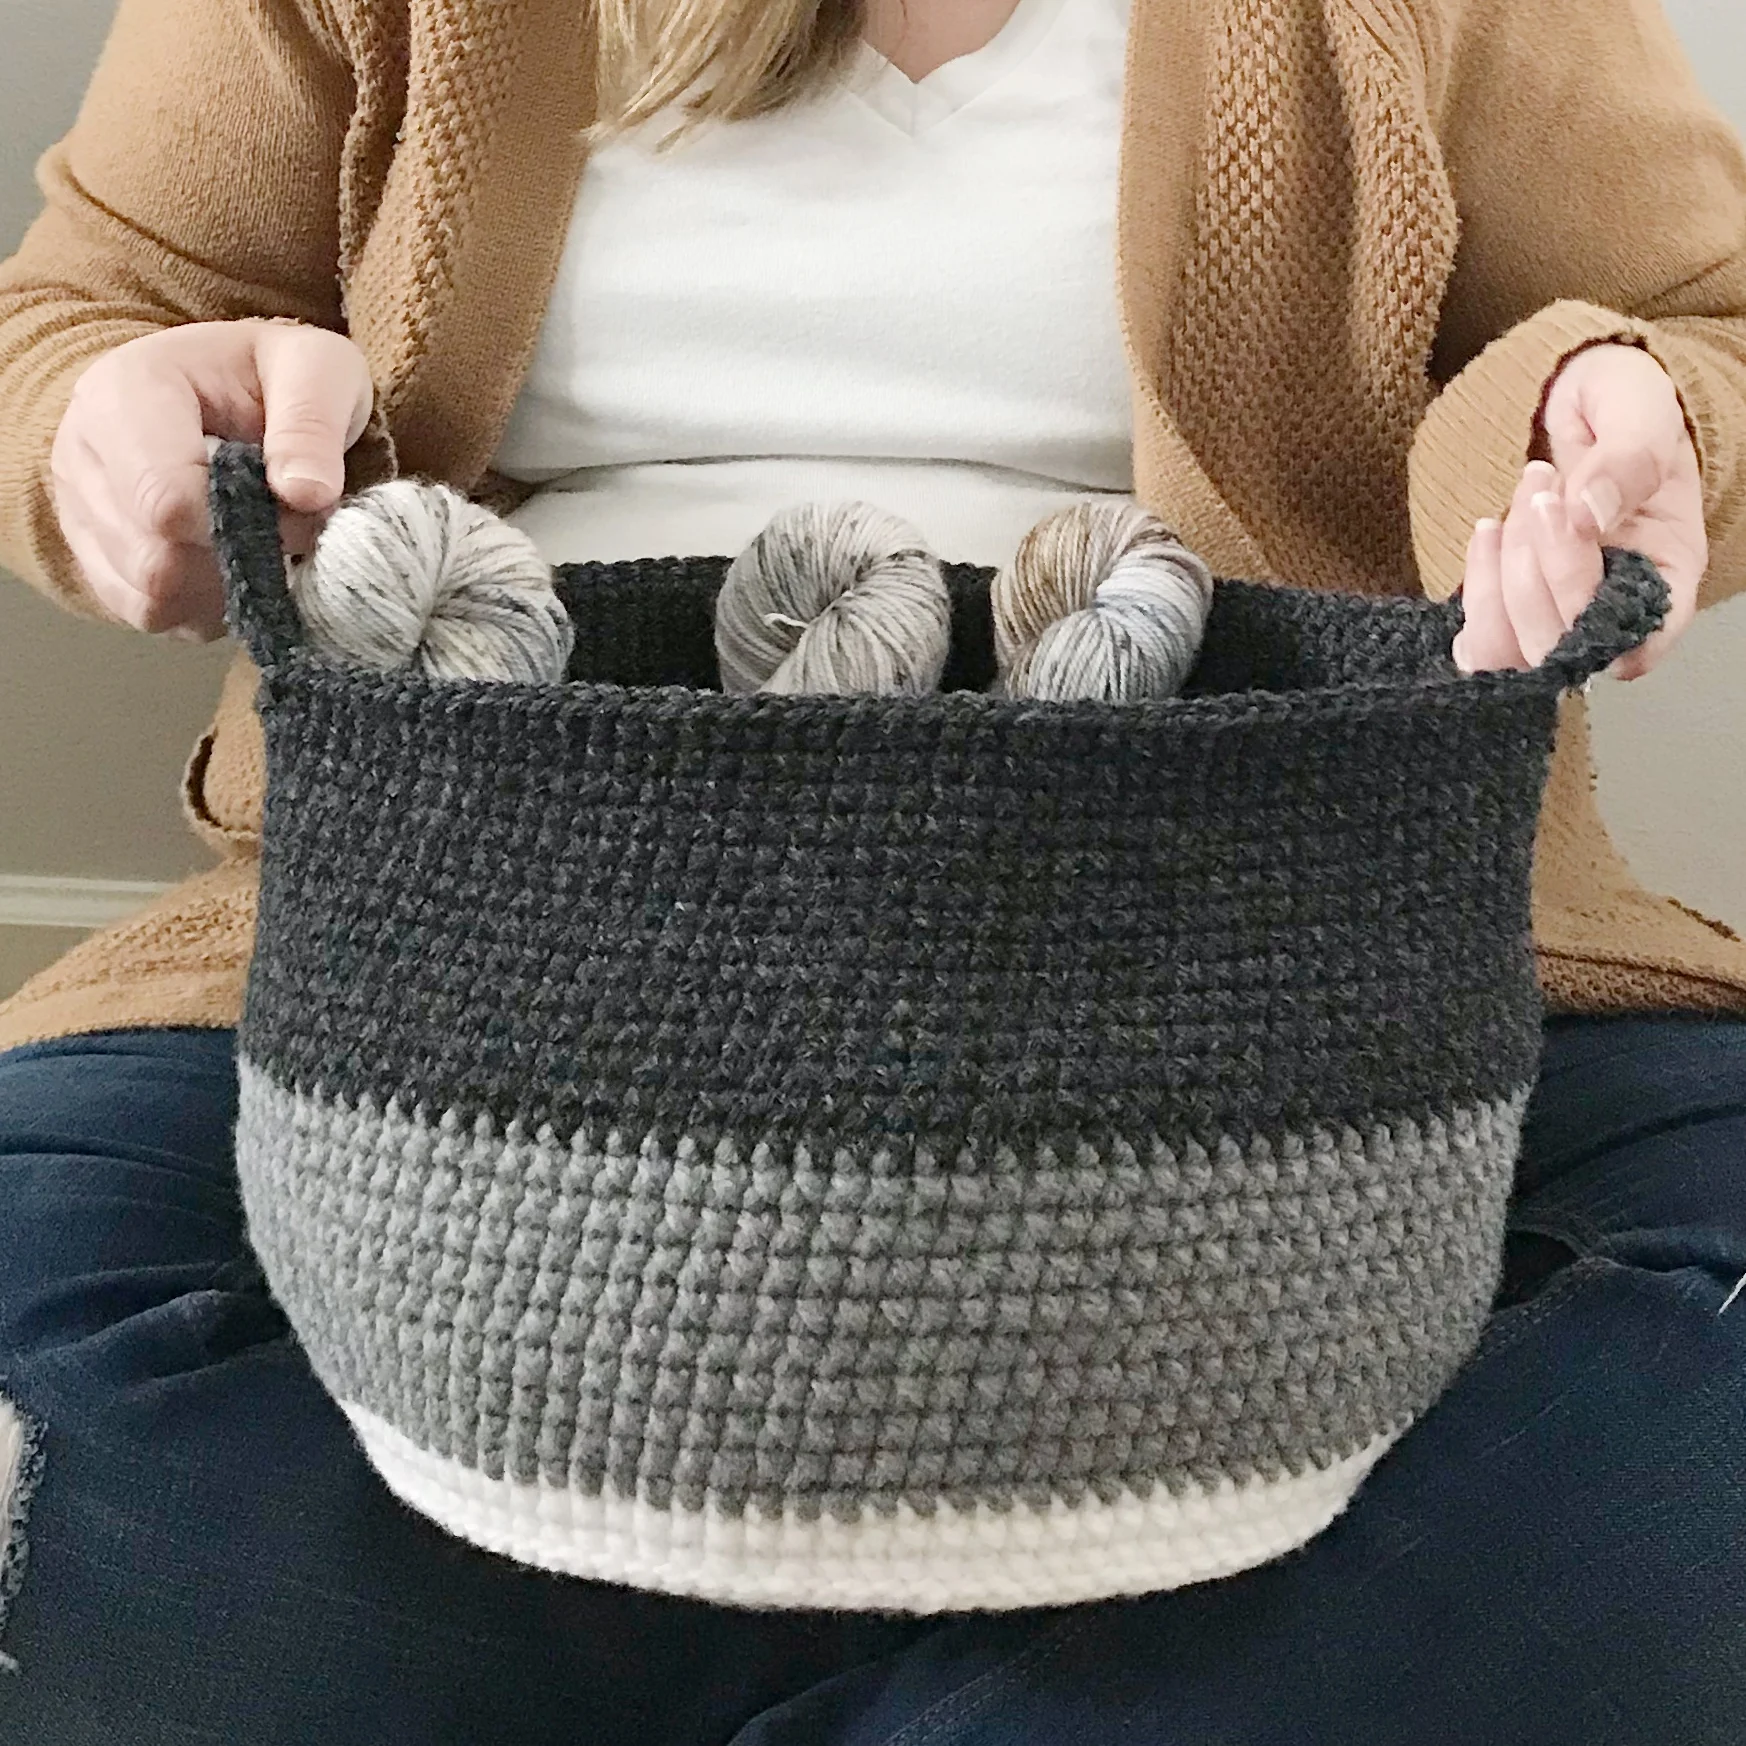
Basket or Coffee Cozy = Basket!
one large basket or three mini baskets? = one large basket!
What should be put on the basket? Word(s) or picture? = Word(s)!
handles or no handles? = Handles!
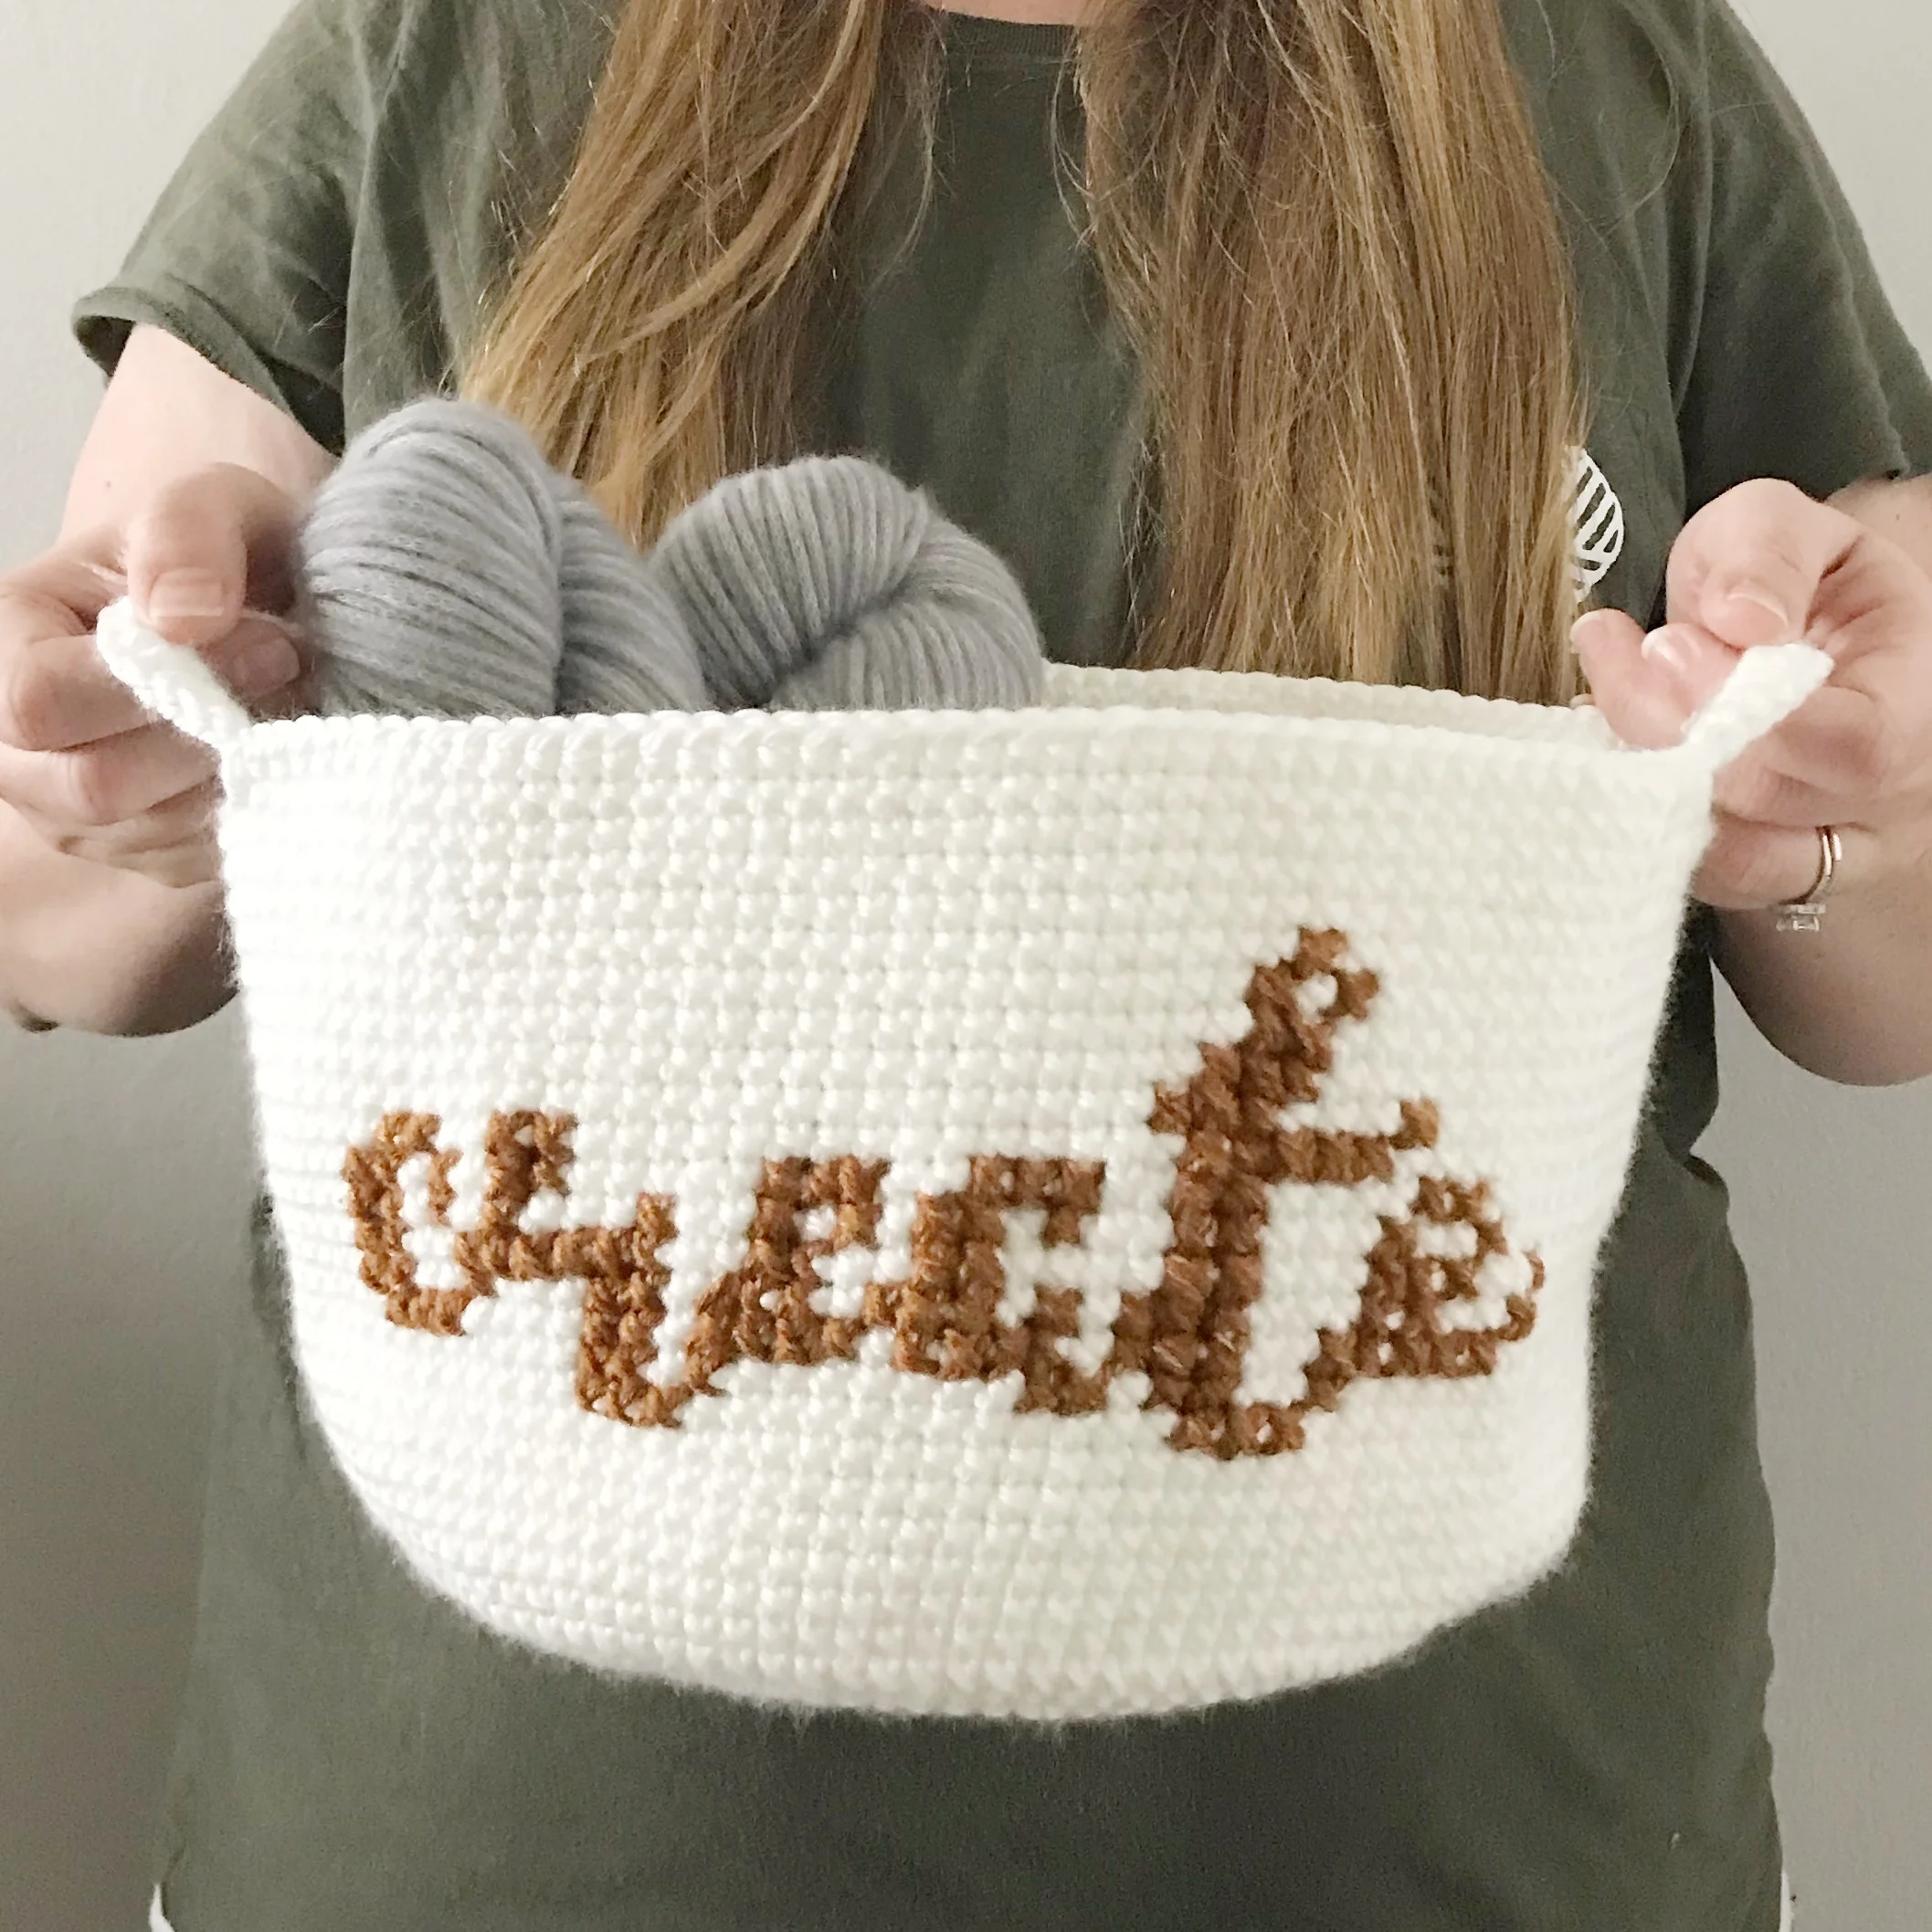
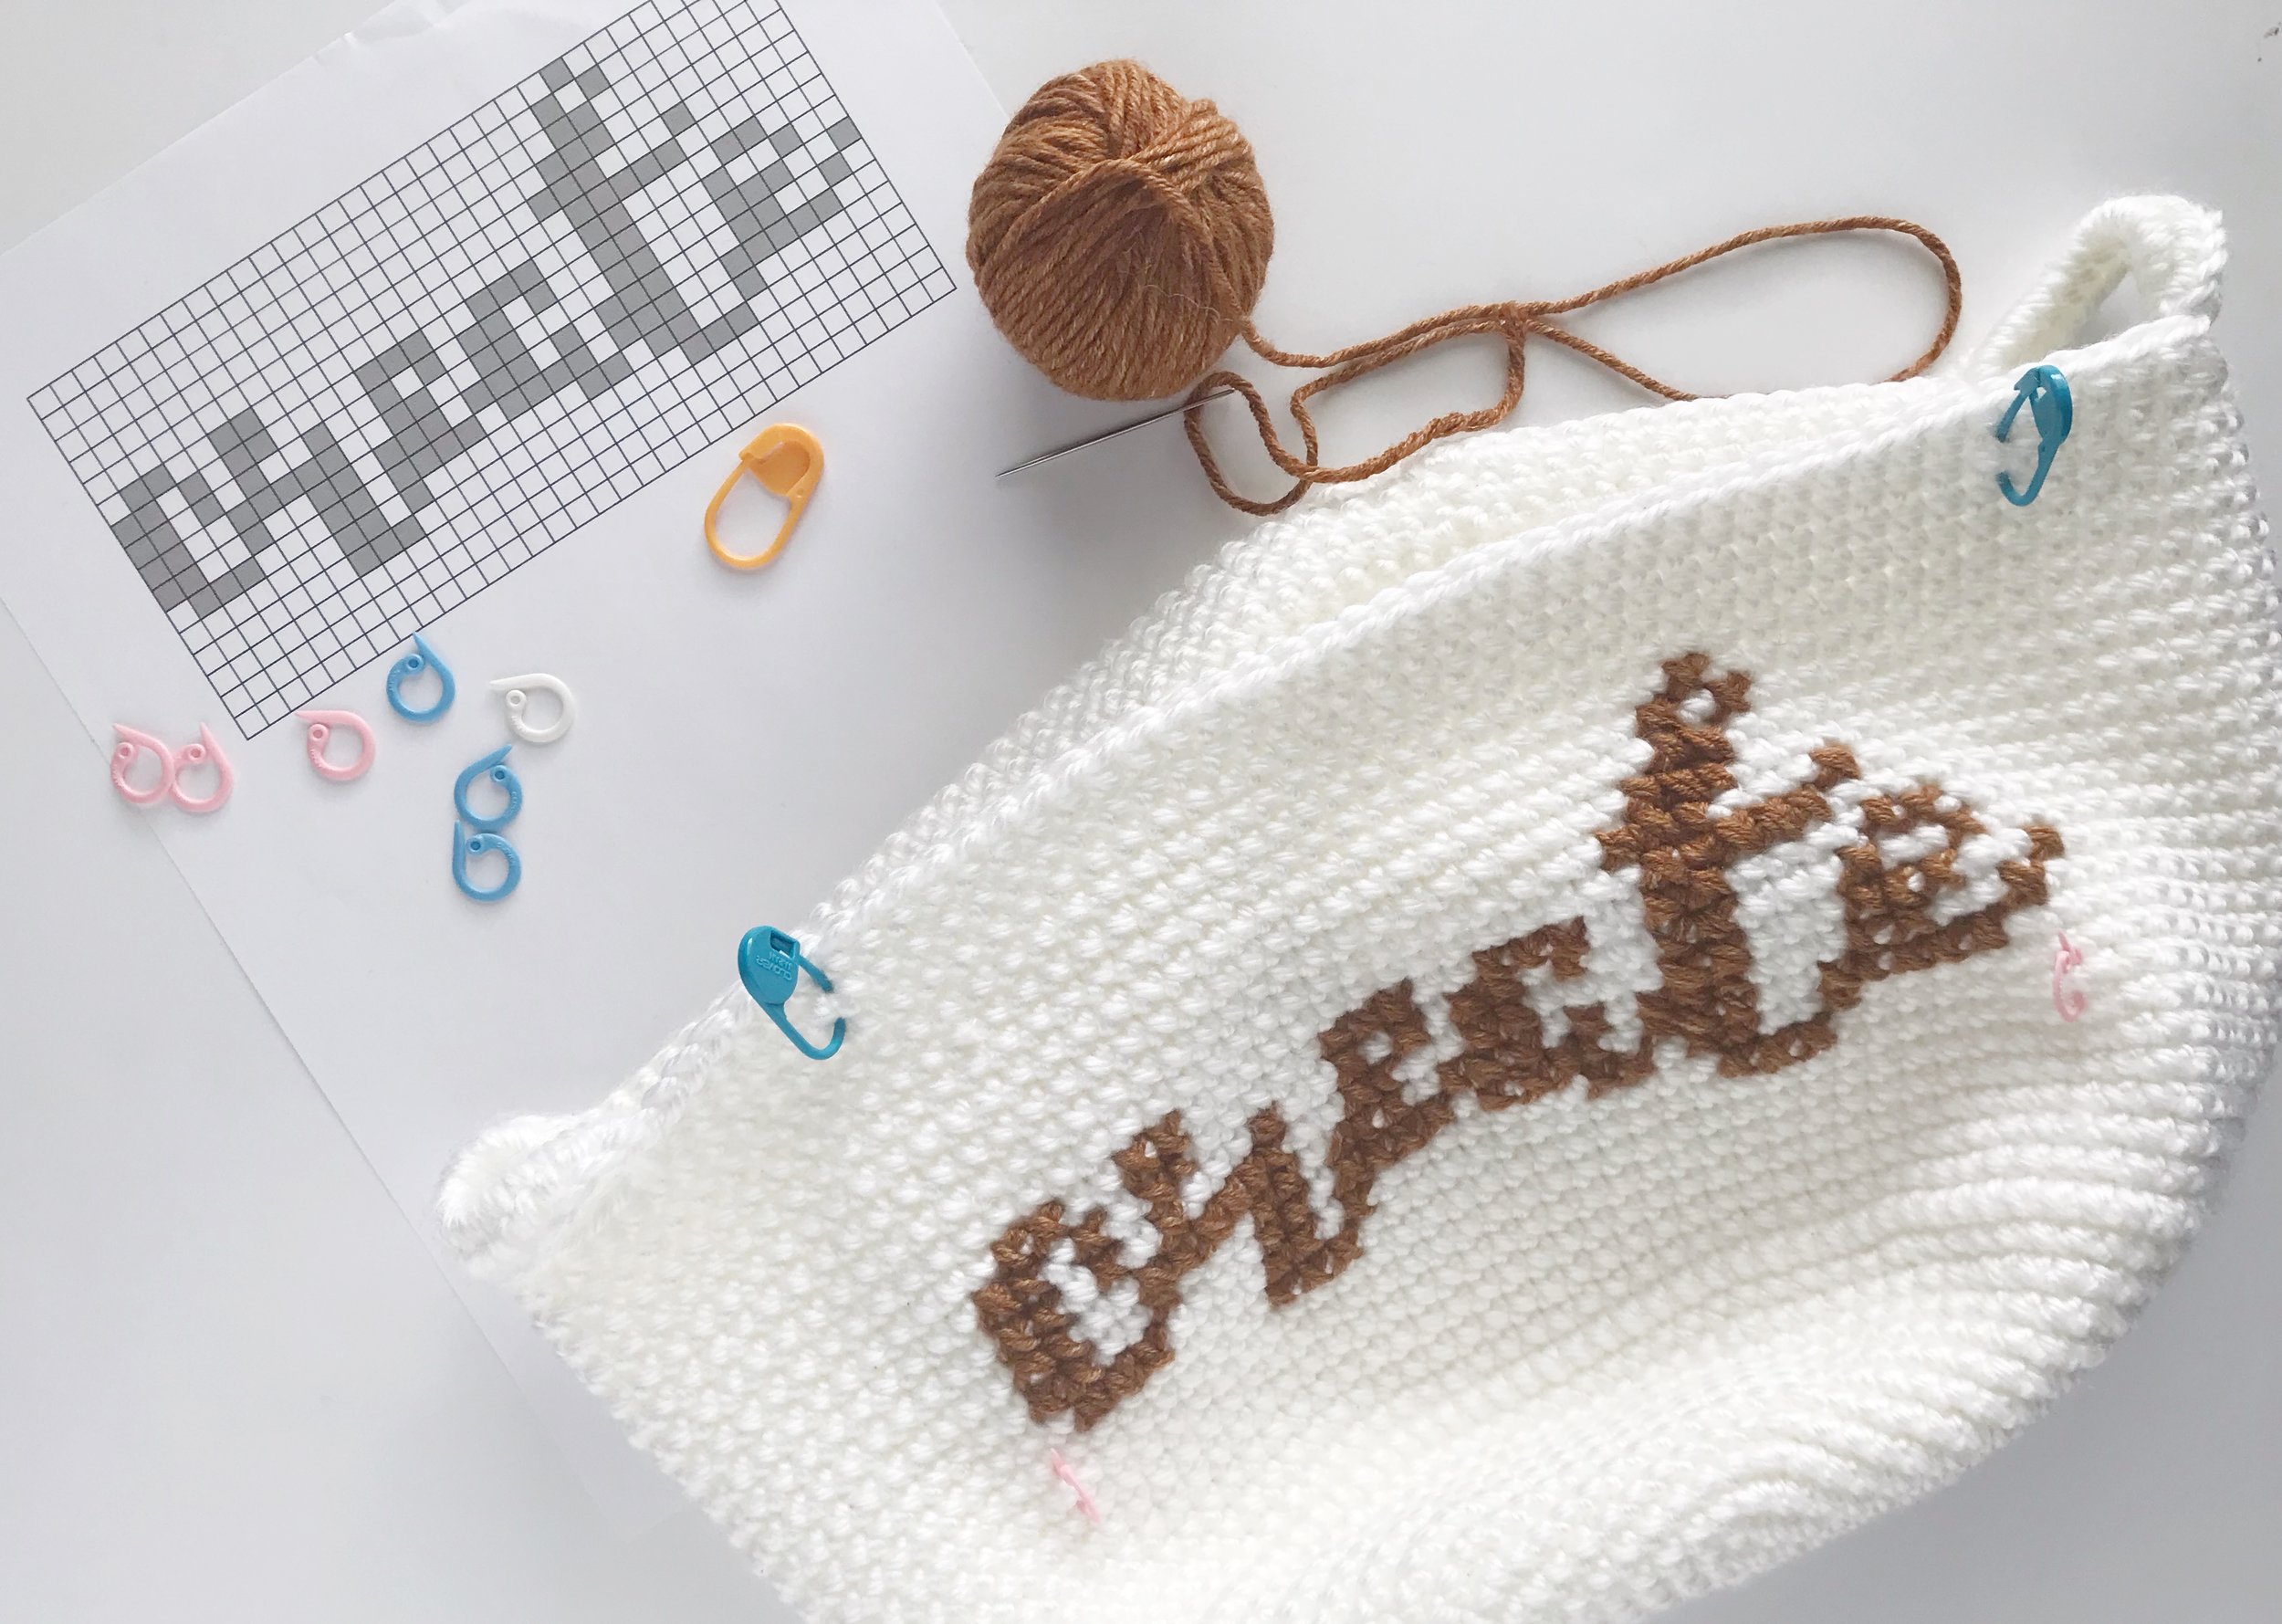
I got to work right away making one large basket and it took me almost all day to finish it, but the result was amazing! I asked everyone to give me some suggested words or phrases to put on the basket and finally settled on the word ‘create.’ I created a simple graph and the cross stitching was actually super easy to do on the basket since I just used single crochet.
You can find the free crochet basket pattern here. Or you can add cross stitch to any single crochet project, using the techniques I’ll share below. The basket was made in the round, but I’ll share instructions for a project worked in rows as well.
Here’s what you’ll need:
MATERIALS
Scrap yarn in the color of your choice. I used Lion Brand Jeans Yarn in Topstitch
Large tapestry needle
scissors
A cross stitch pattern or graph paper to make your own.
stitch markers or pins
For my basket I created my own graph on Microsoft Excel. You can find detailed instructions on how to create a graph on Excel in my blog post about how to design tapestry crochet.
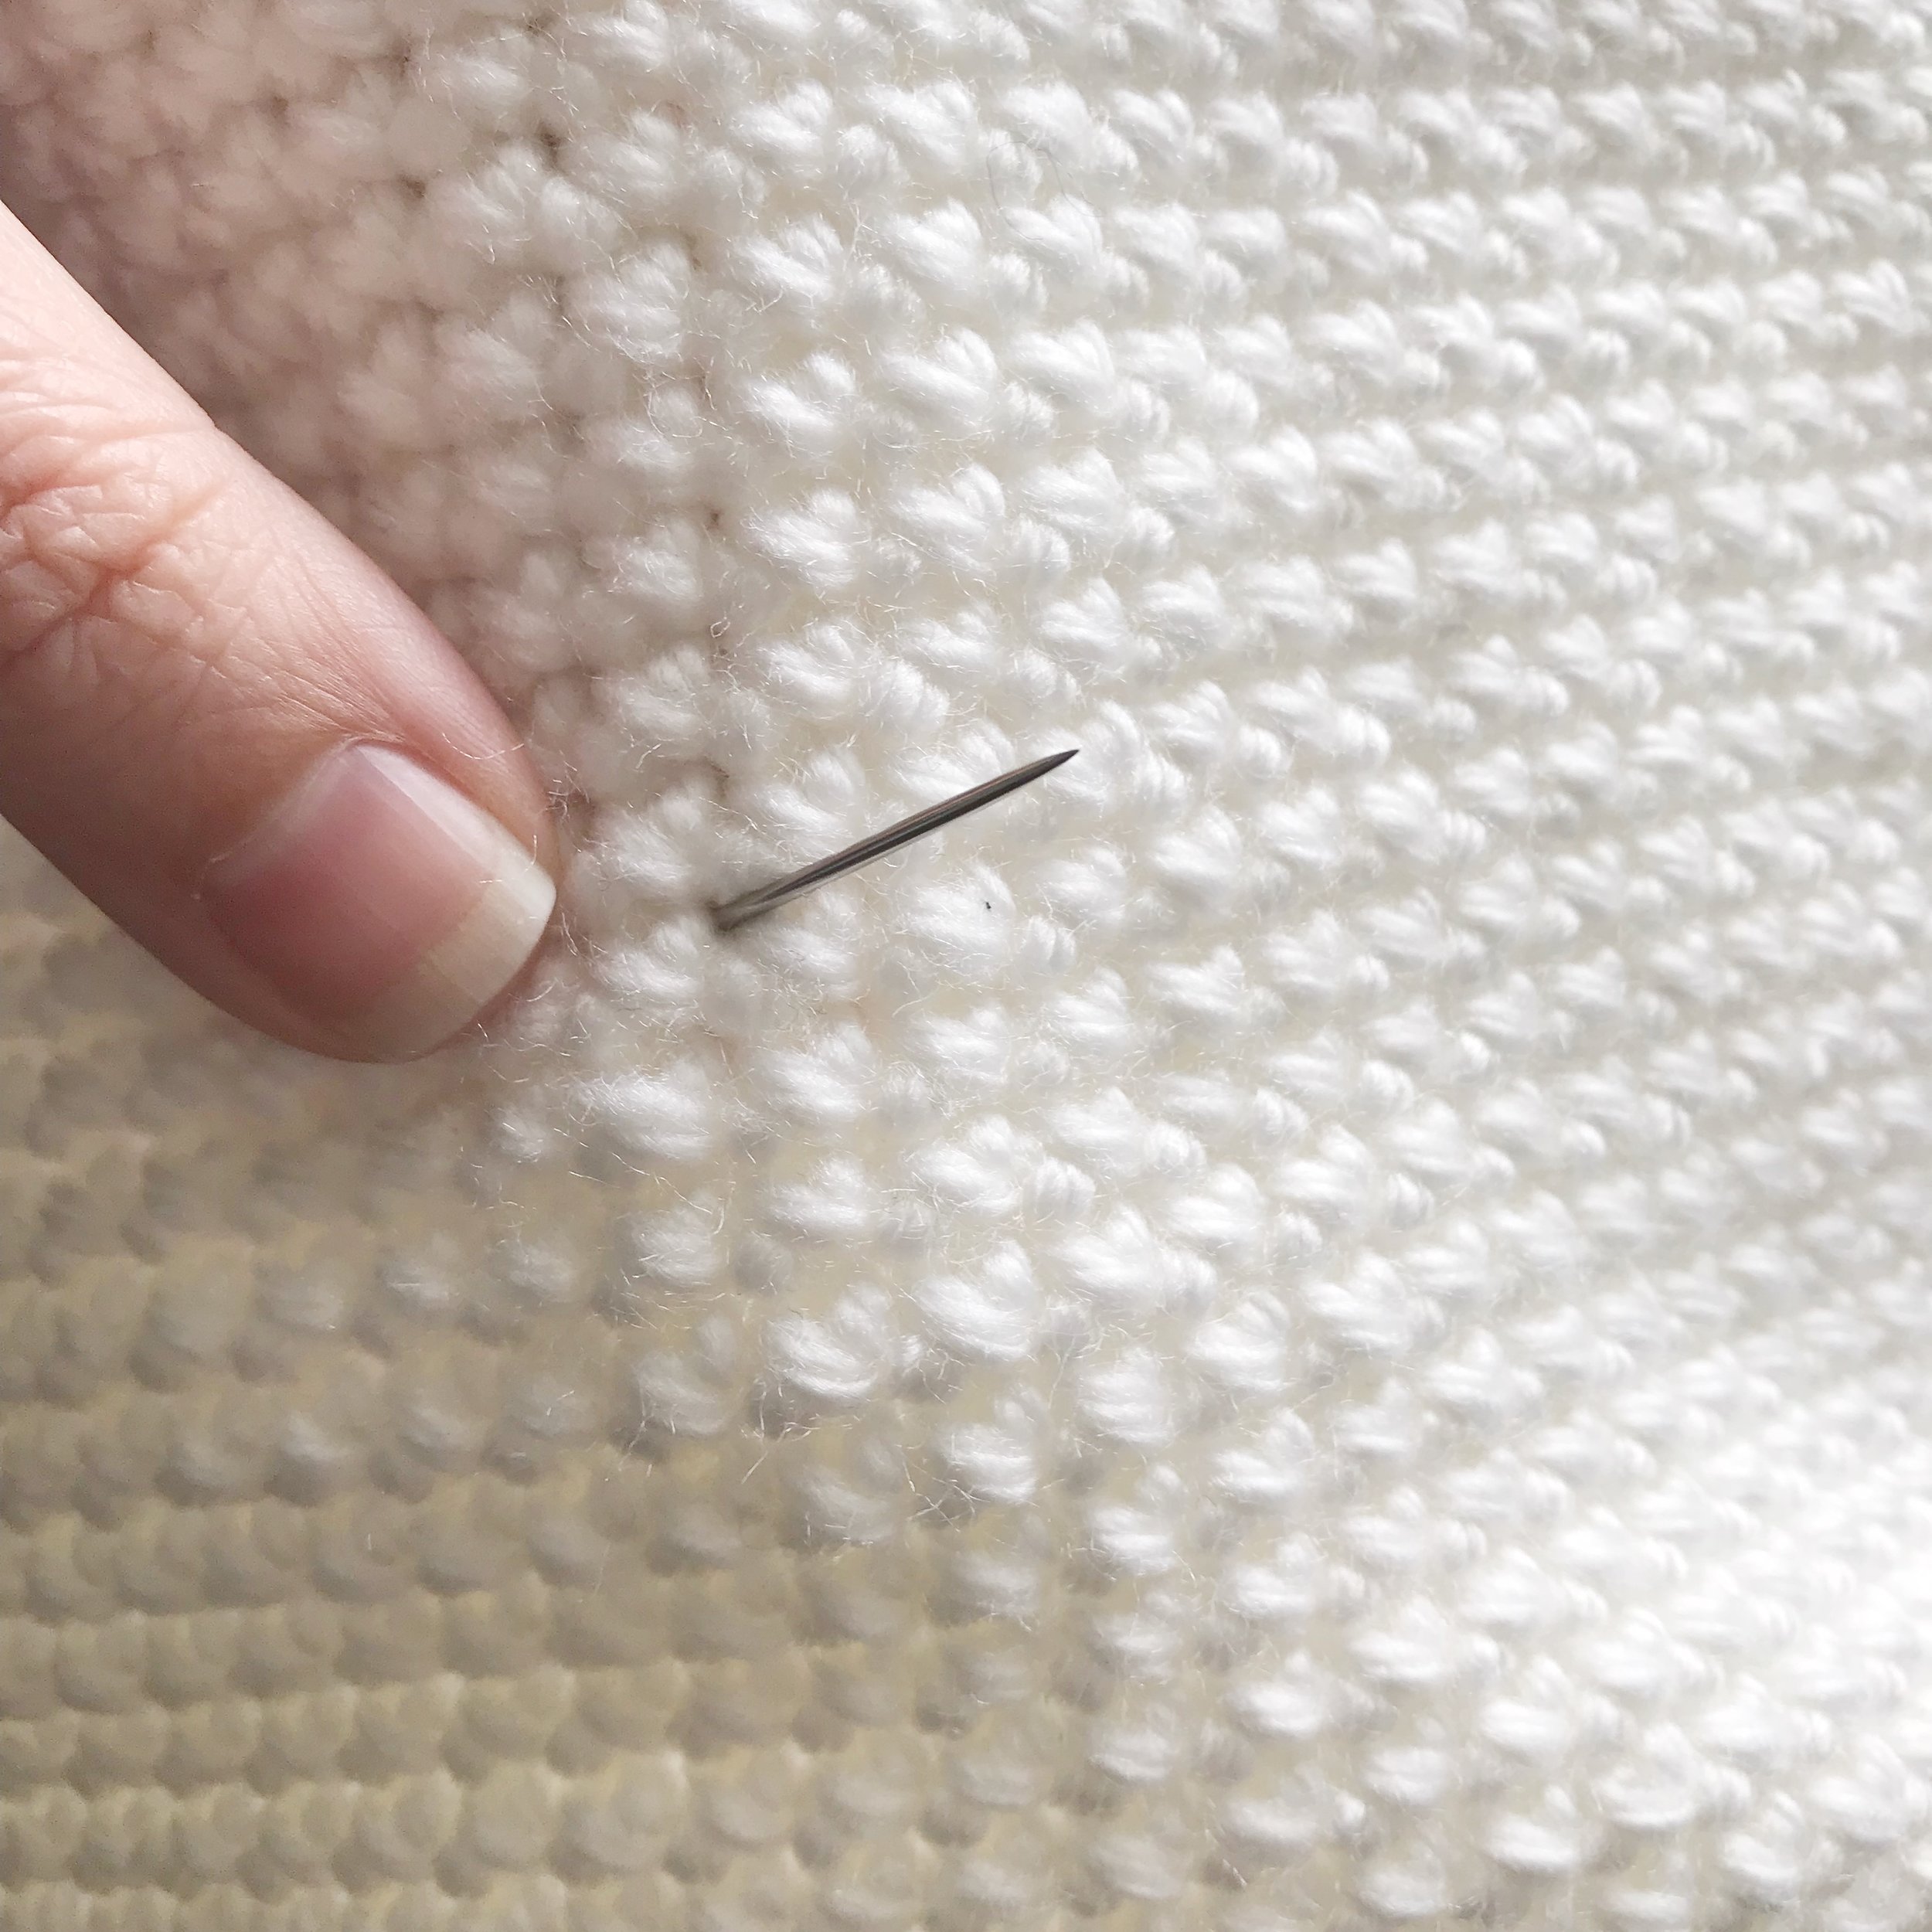
Once you have a graph of what you want to put on your project you will need to map out where it will go. Take a look at your crochet project and familiarize yourself with where the stitches will go.

Here you will see single crochet in the round. I’ve added blue dots to show where the holes are that will make your “fabric” for cross stitching. Single crochet creates little squares or boxes that can easily be cross stitched on top of.

Here you can see single crochet in rows and where the holes will be for cross stitching.
Each single crochet stitch counts as a little square which will match up with the graph you use. Now you will need to map out your graph onto your project so you can get it centered where you want on the basket or what ever project you are working on.
I knew I wanted the word to be centered in between the handles so I counted out the number or squares in between both handles (46) and from the top of the basket to the bottom (25). Then I found the center of my basket and the center of my graph.

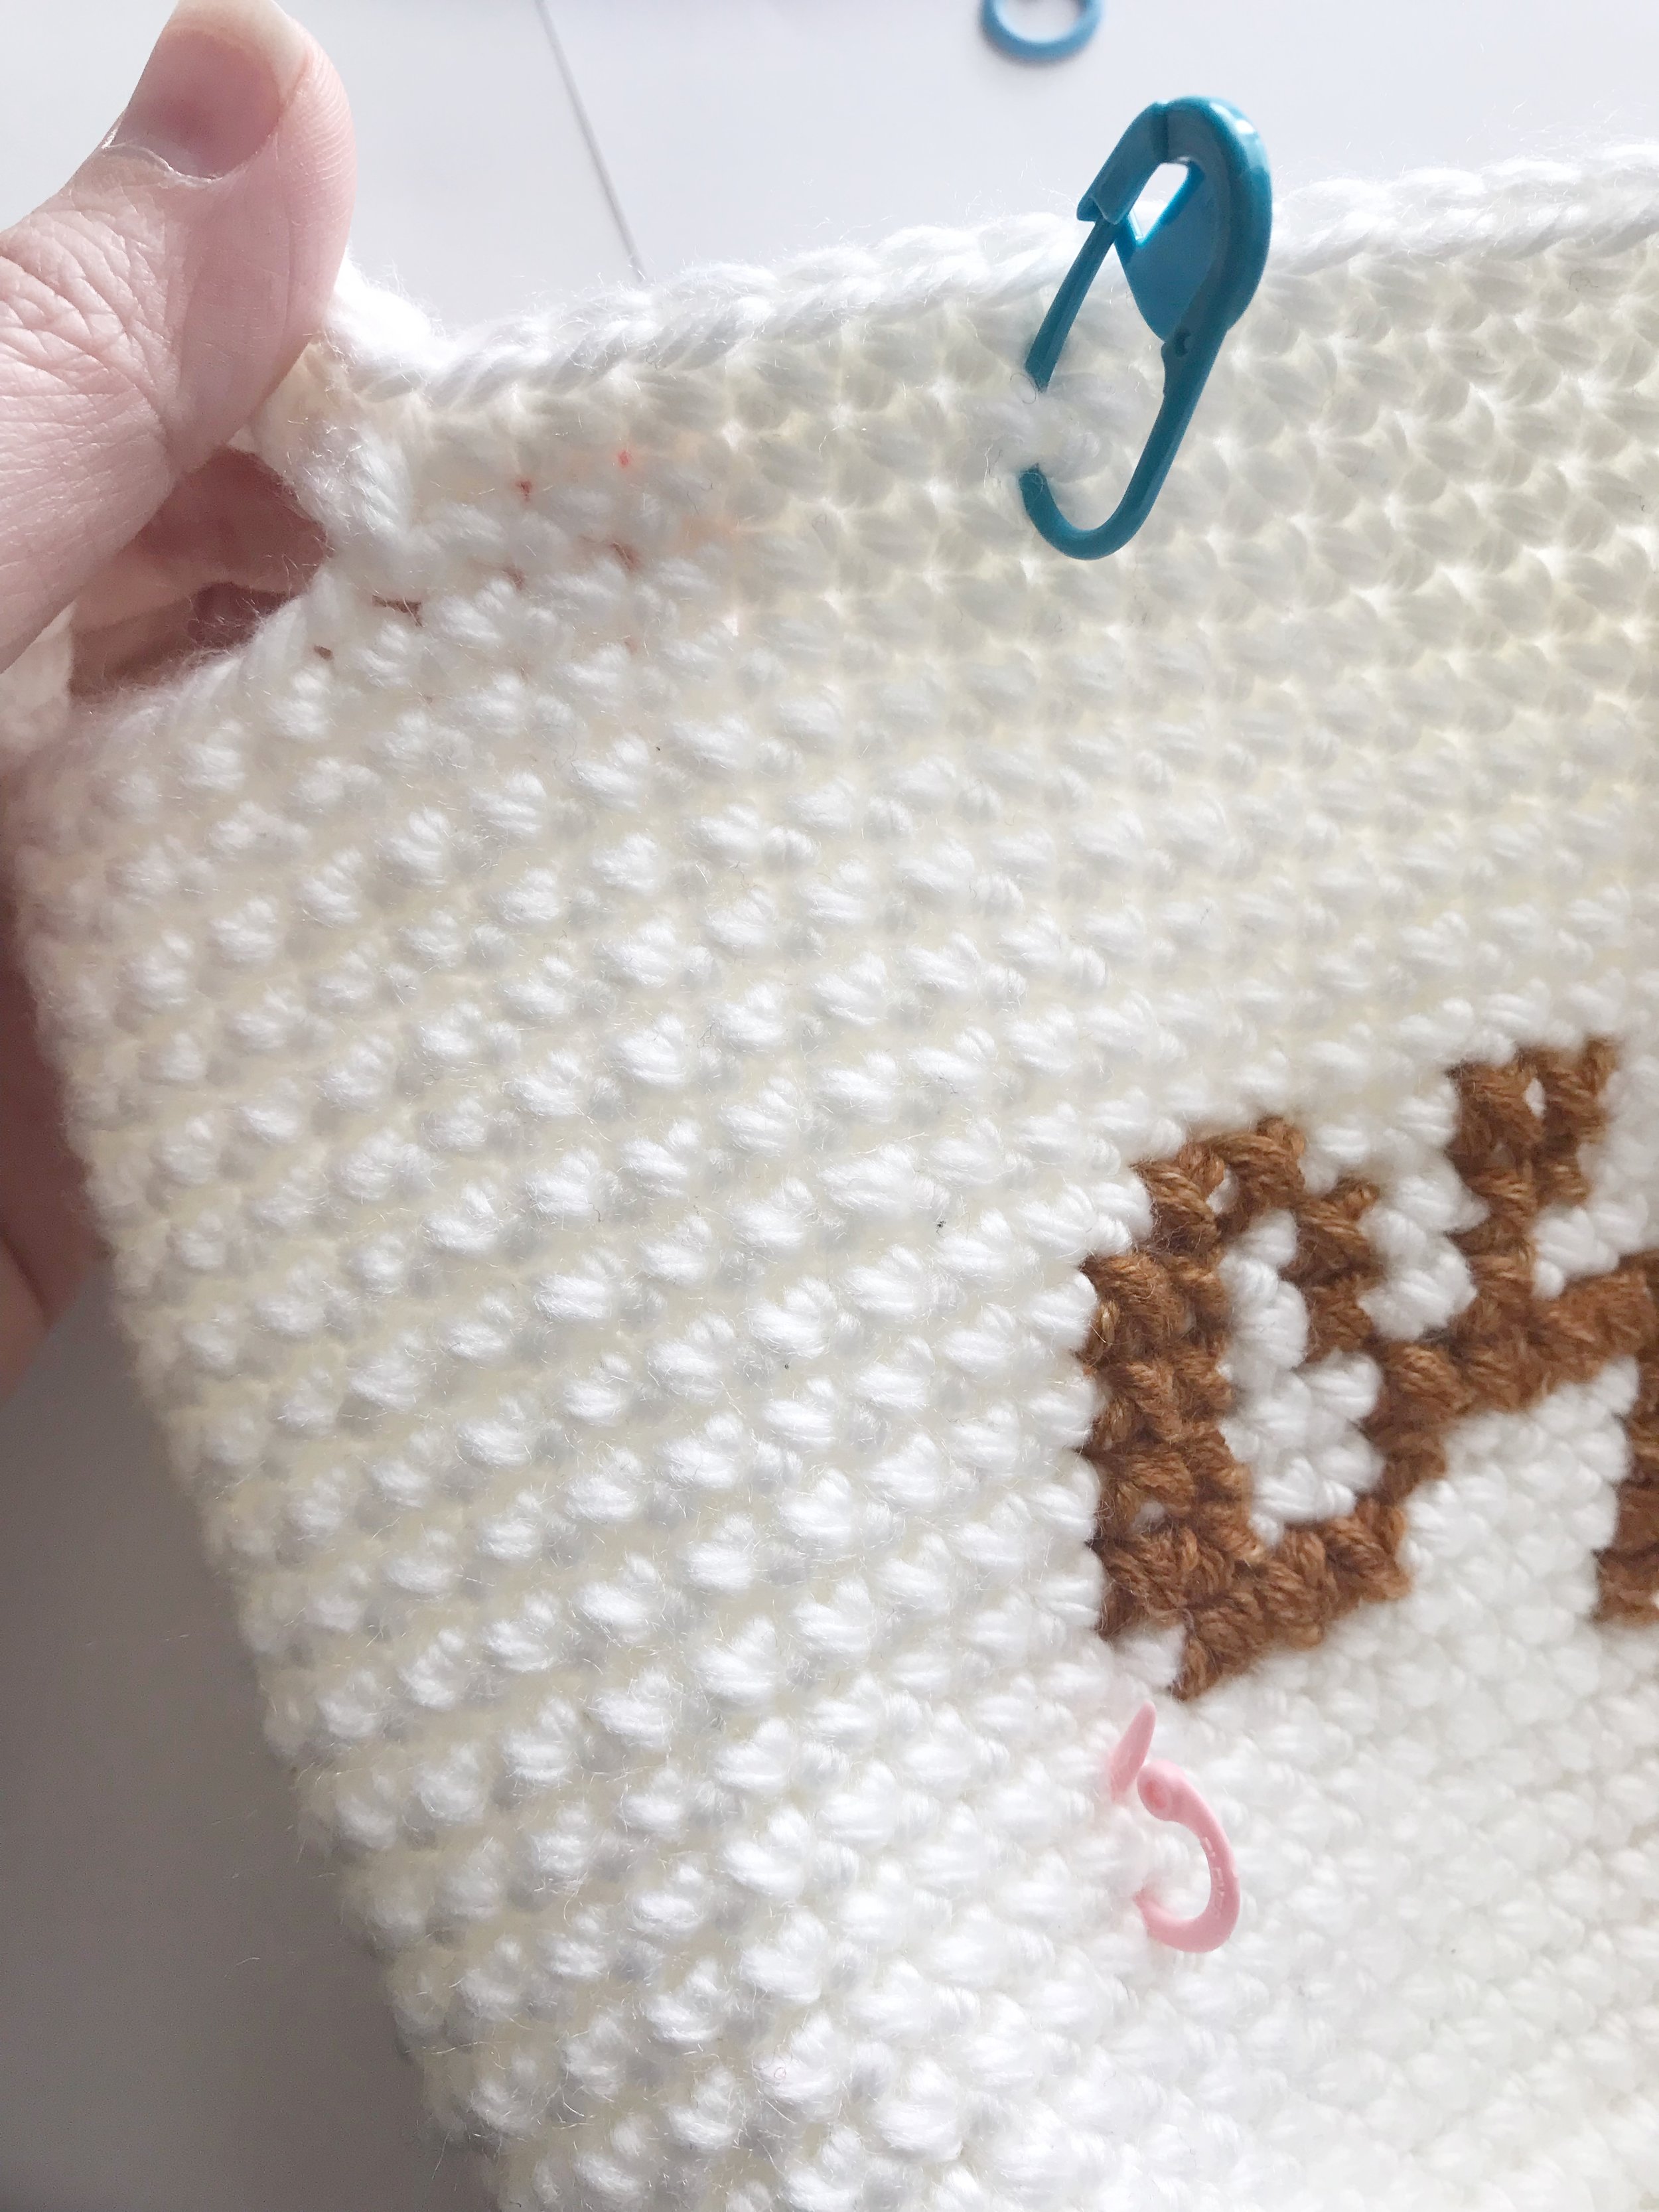
I used stitch markers to mark out where the graph would be. If you want to add the same graph to your basket you will need to mark 6 stitches in from each handle. Your lettering will start 7 rows up from the bottom and the top of the ‘t’ will be 5 rows down from the top.

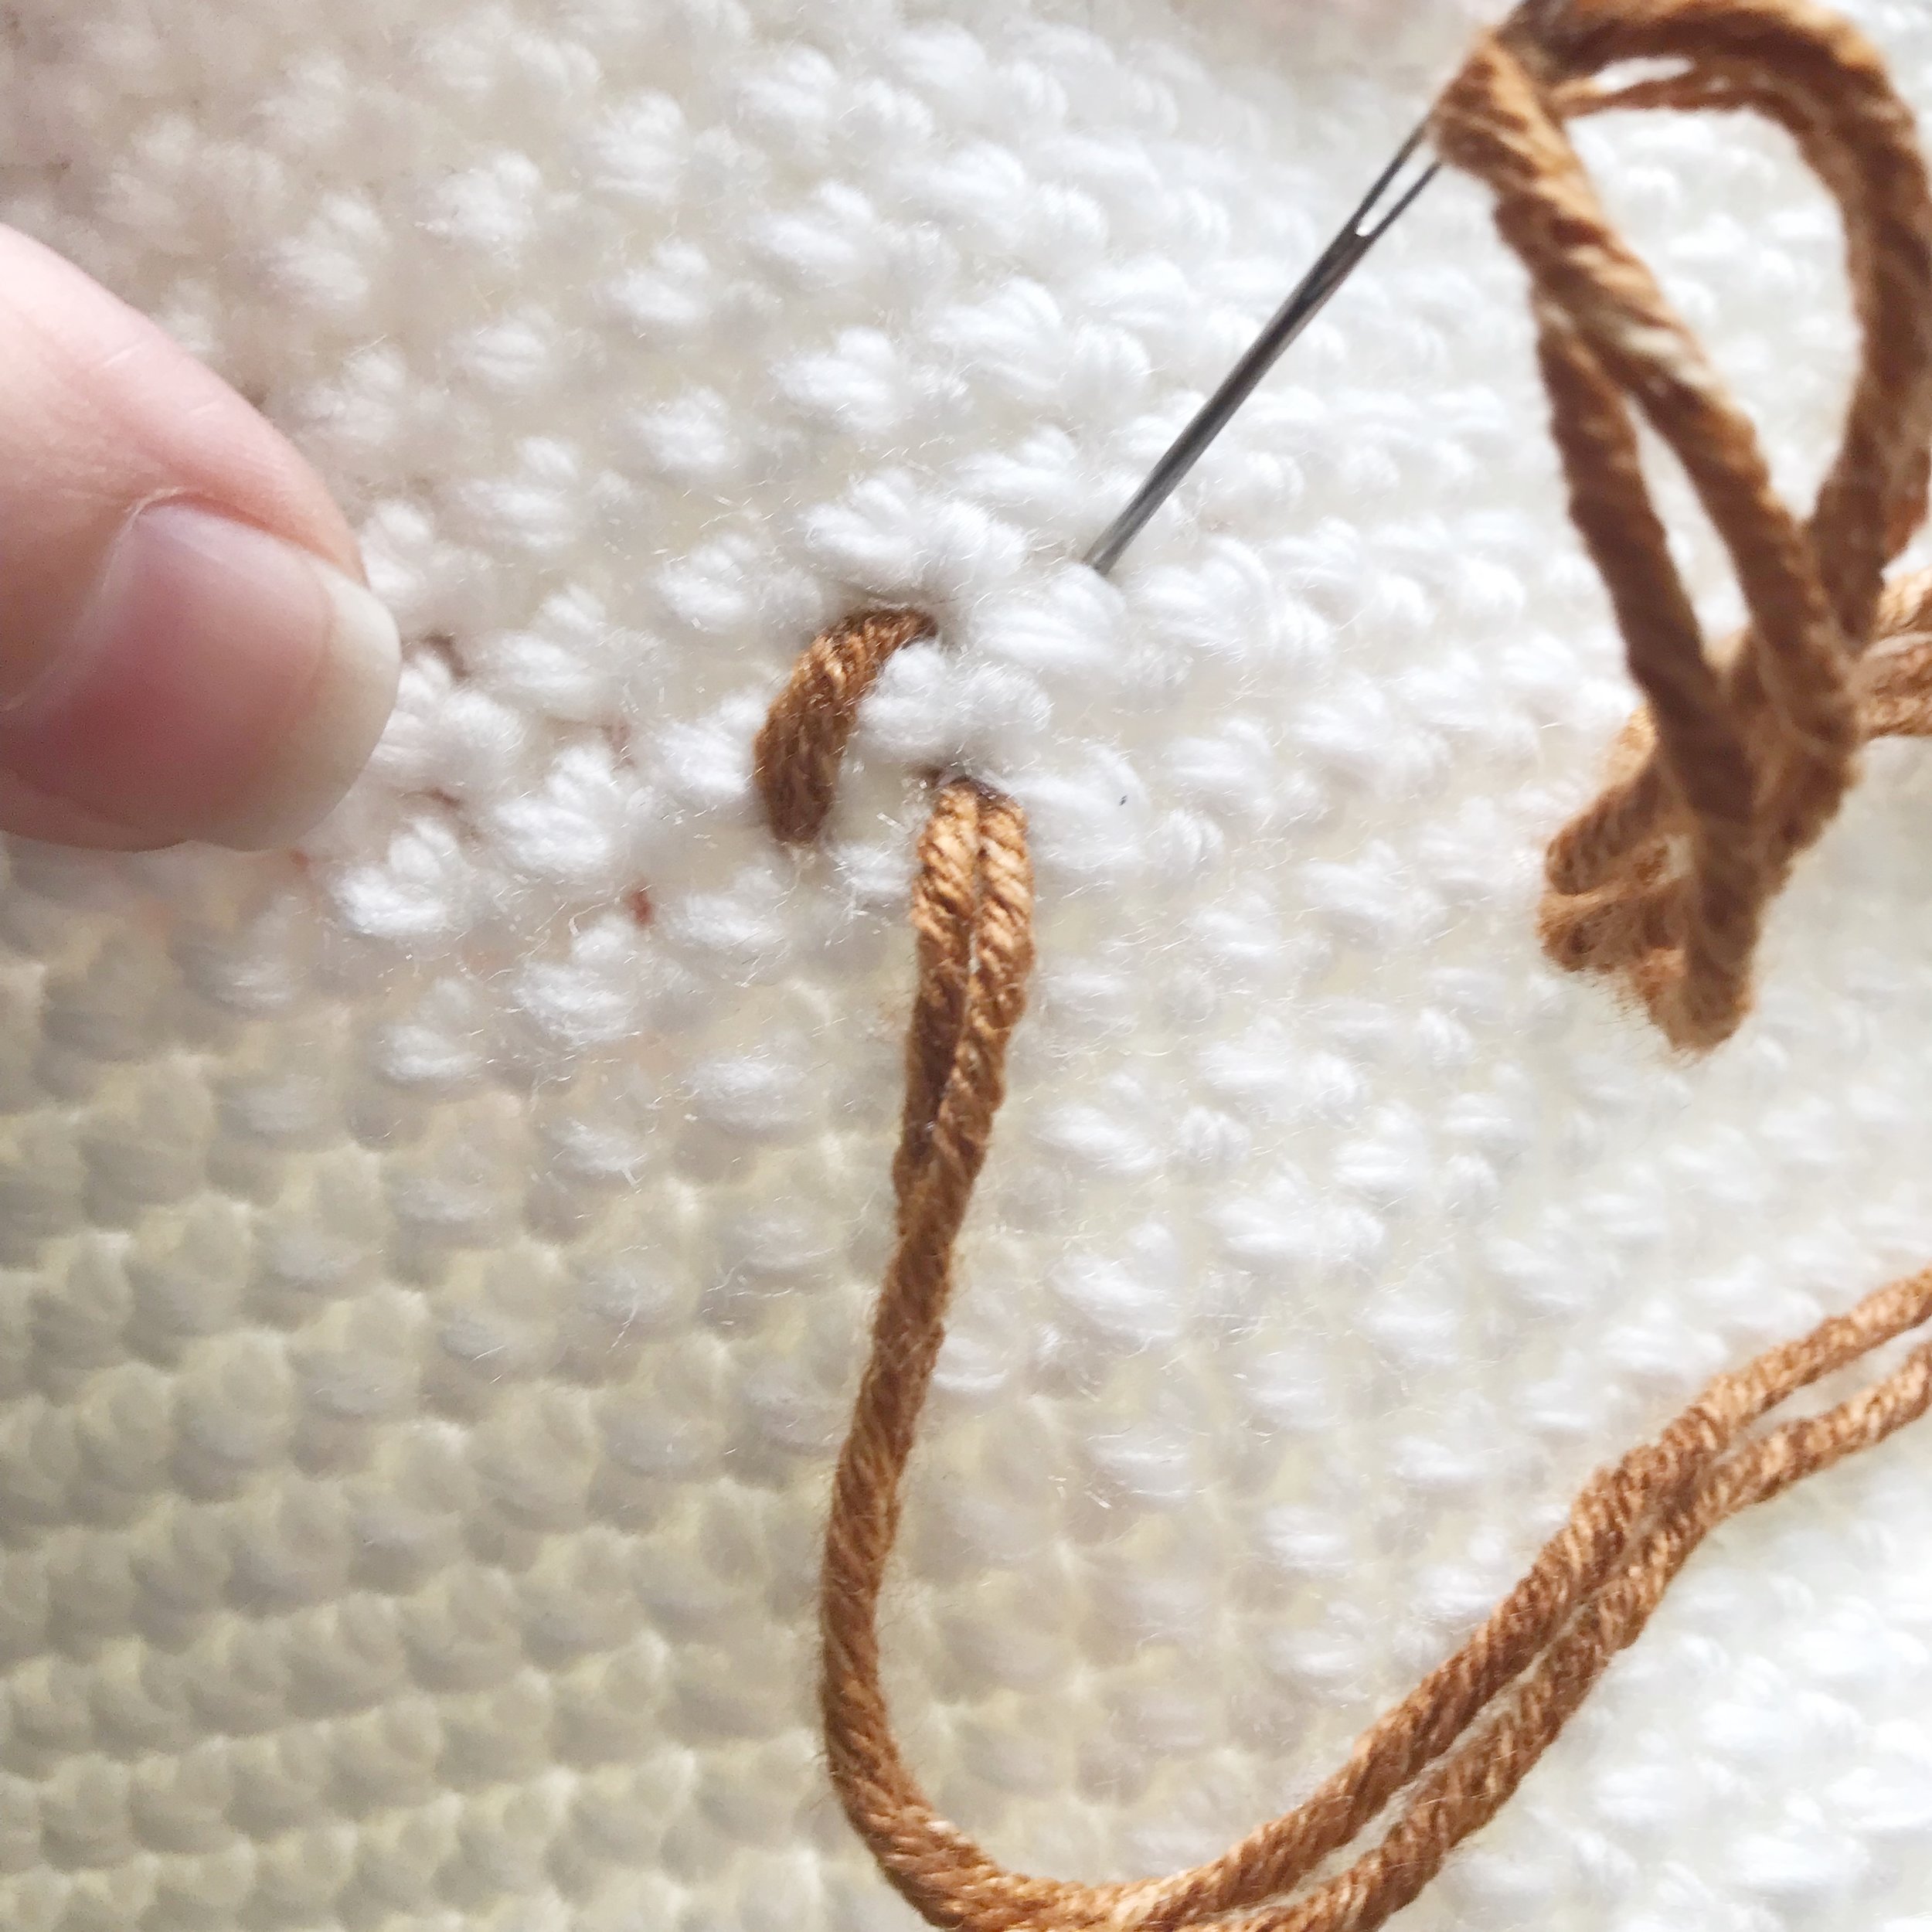
To add the graph to your basket using the cross stitch technique you will need to cut a long length of yarn and fold it in half. Thread the two ends through a large tapestry needle so you have a loop at the other end.

Figure out where you want to start your cross stitch pattern. I started with the letter c and worked my way across as I went.


To make your first stitch, bring your needle in through the back in the bottom left corner of your first ‘square.’ Then cross over to the top right corner and bring your needle back through to the back. Don’t pull your yarn all the way through, instead pull it so there is a small loop on the back. Then insert your needle through the loop and pull tight. This will secure your stitching yarn without leaving an ugly knot.
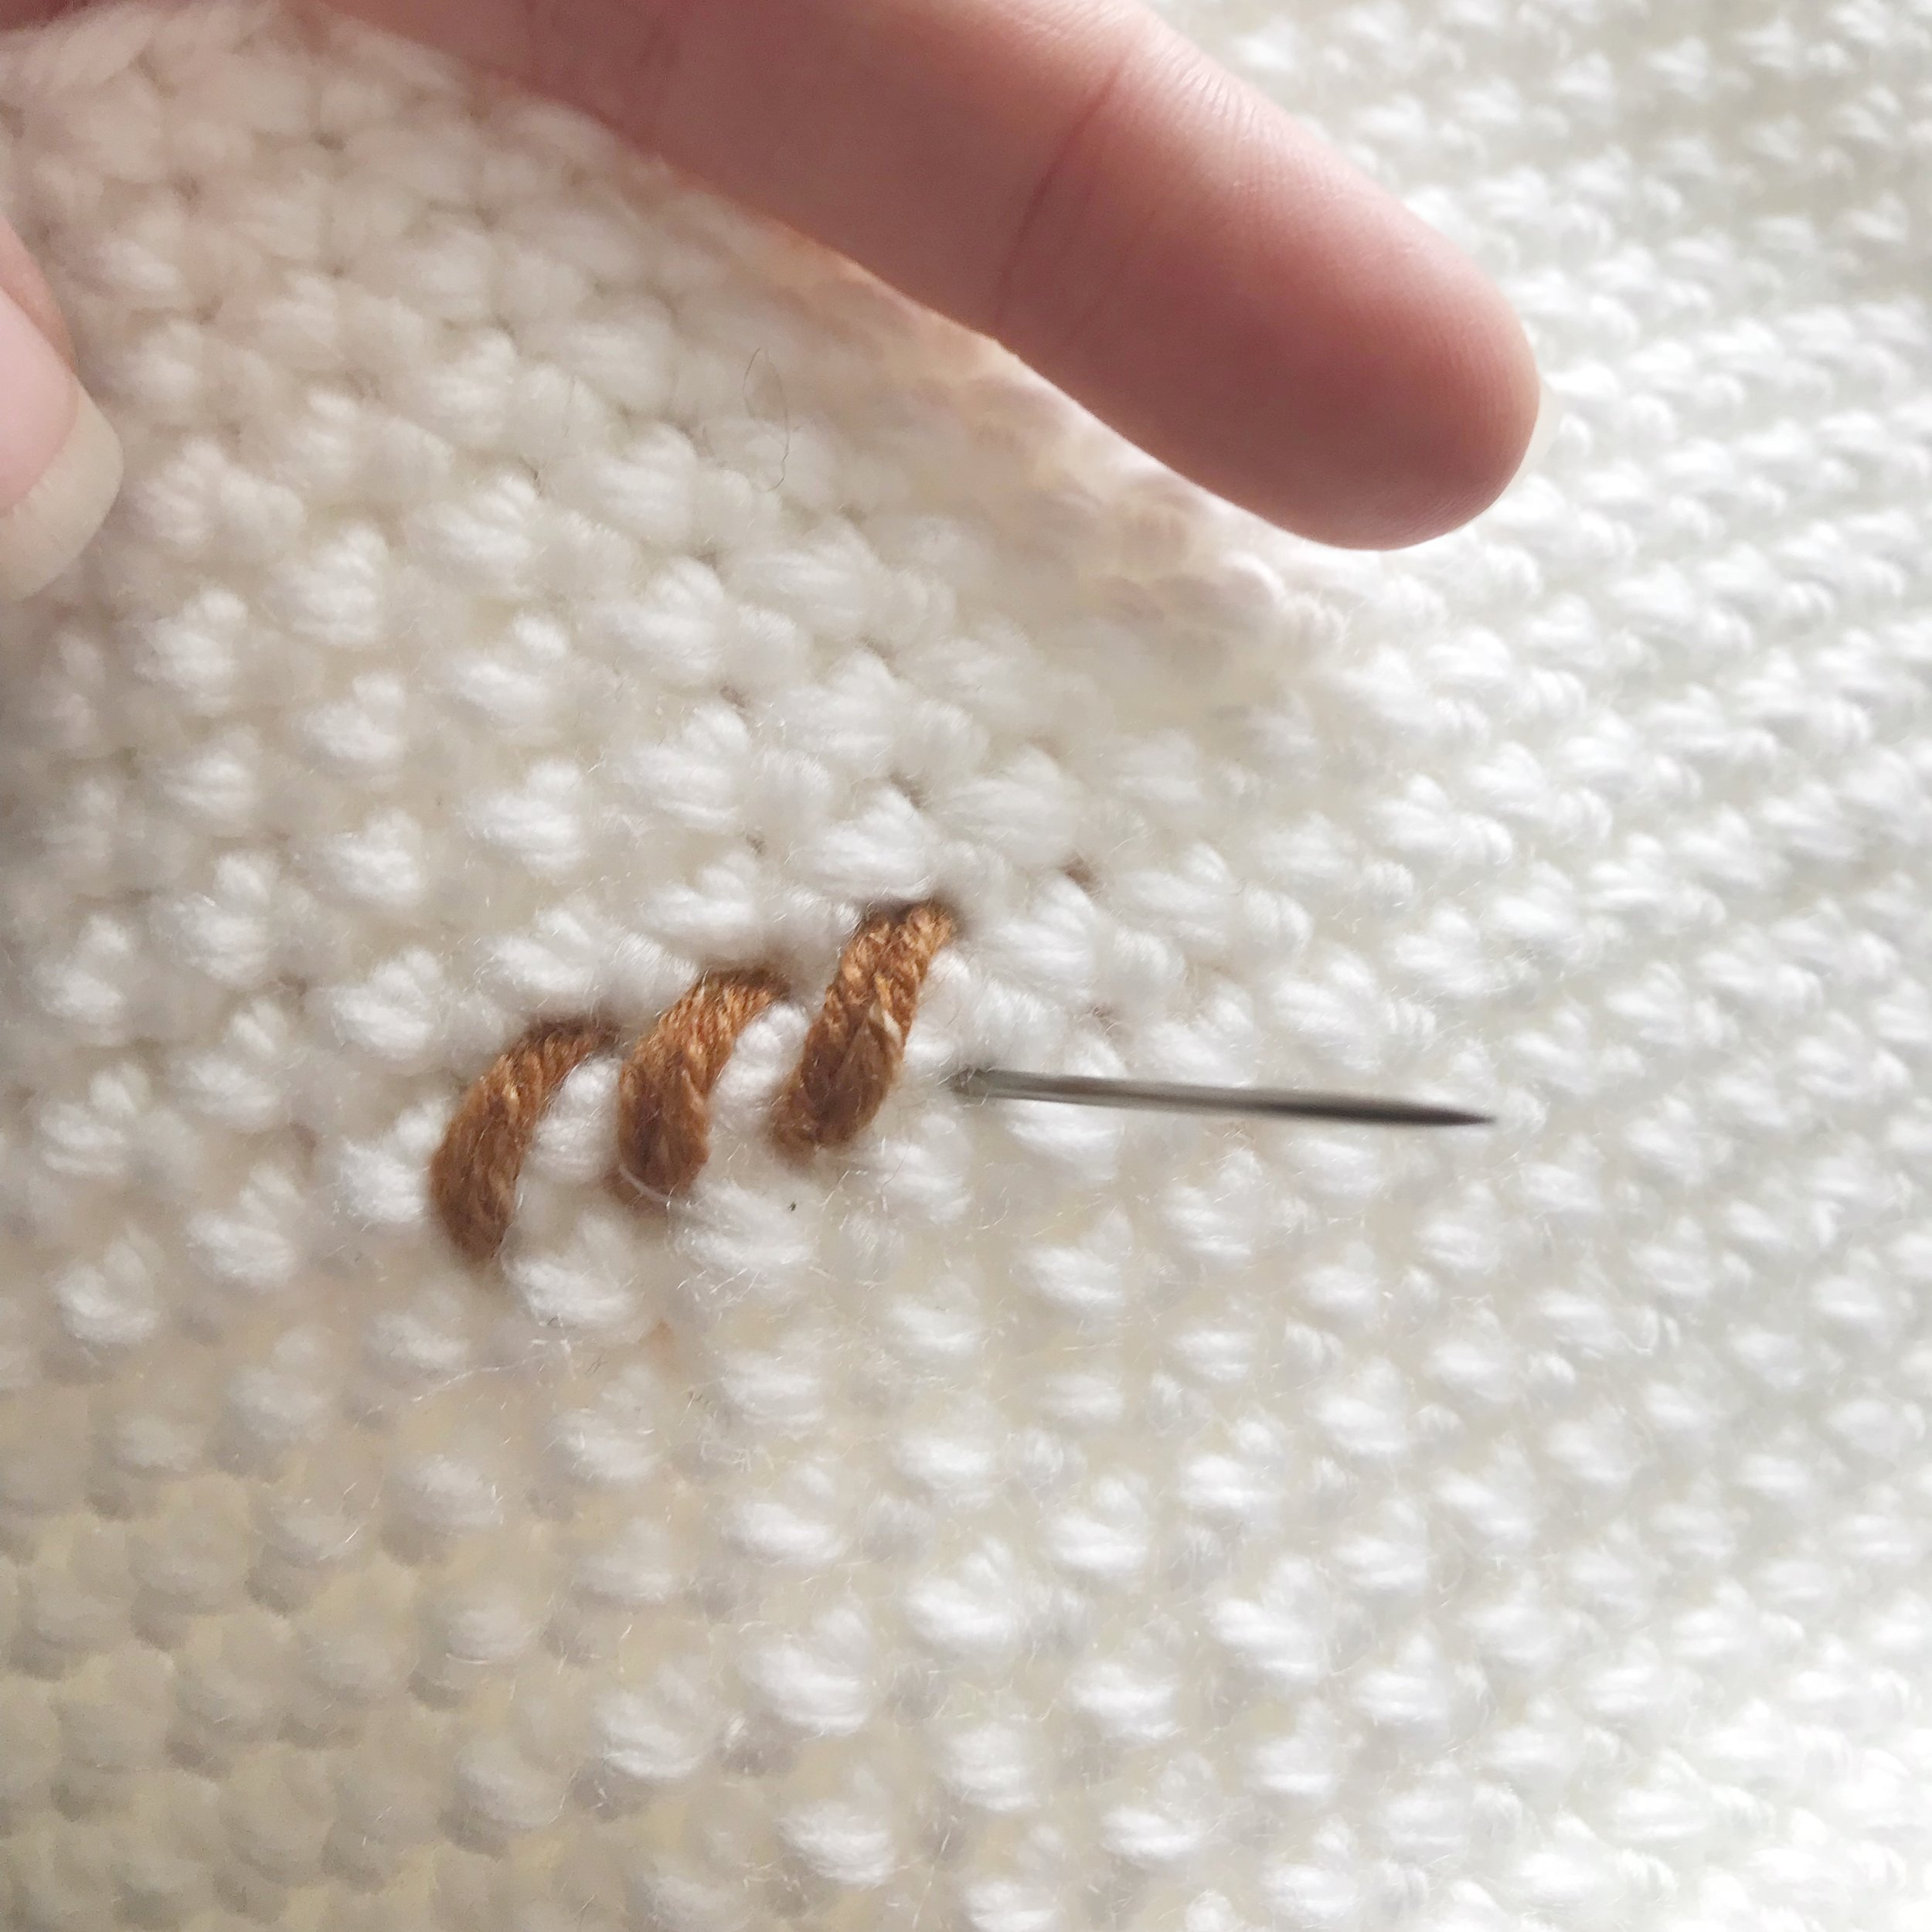
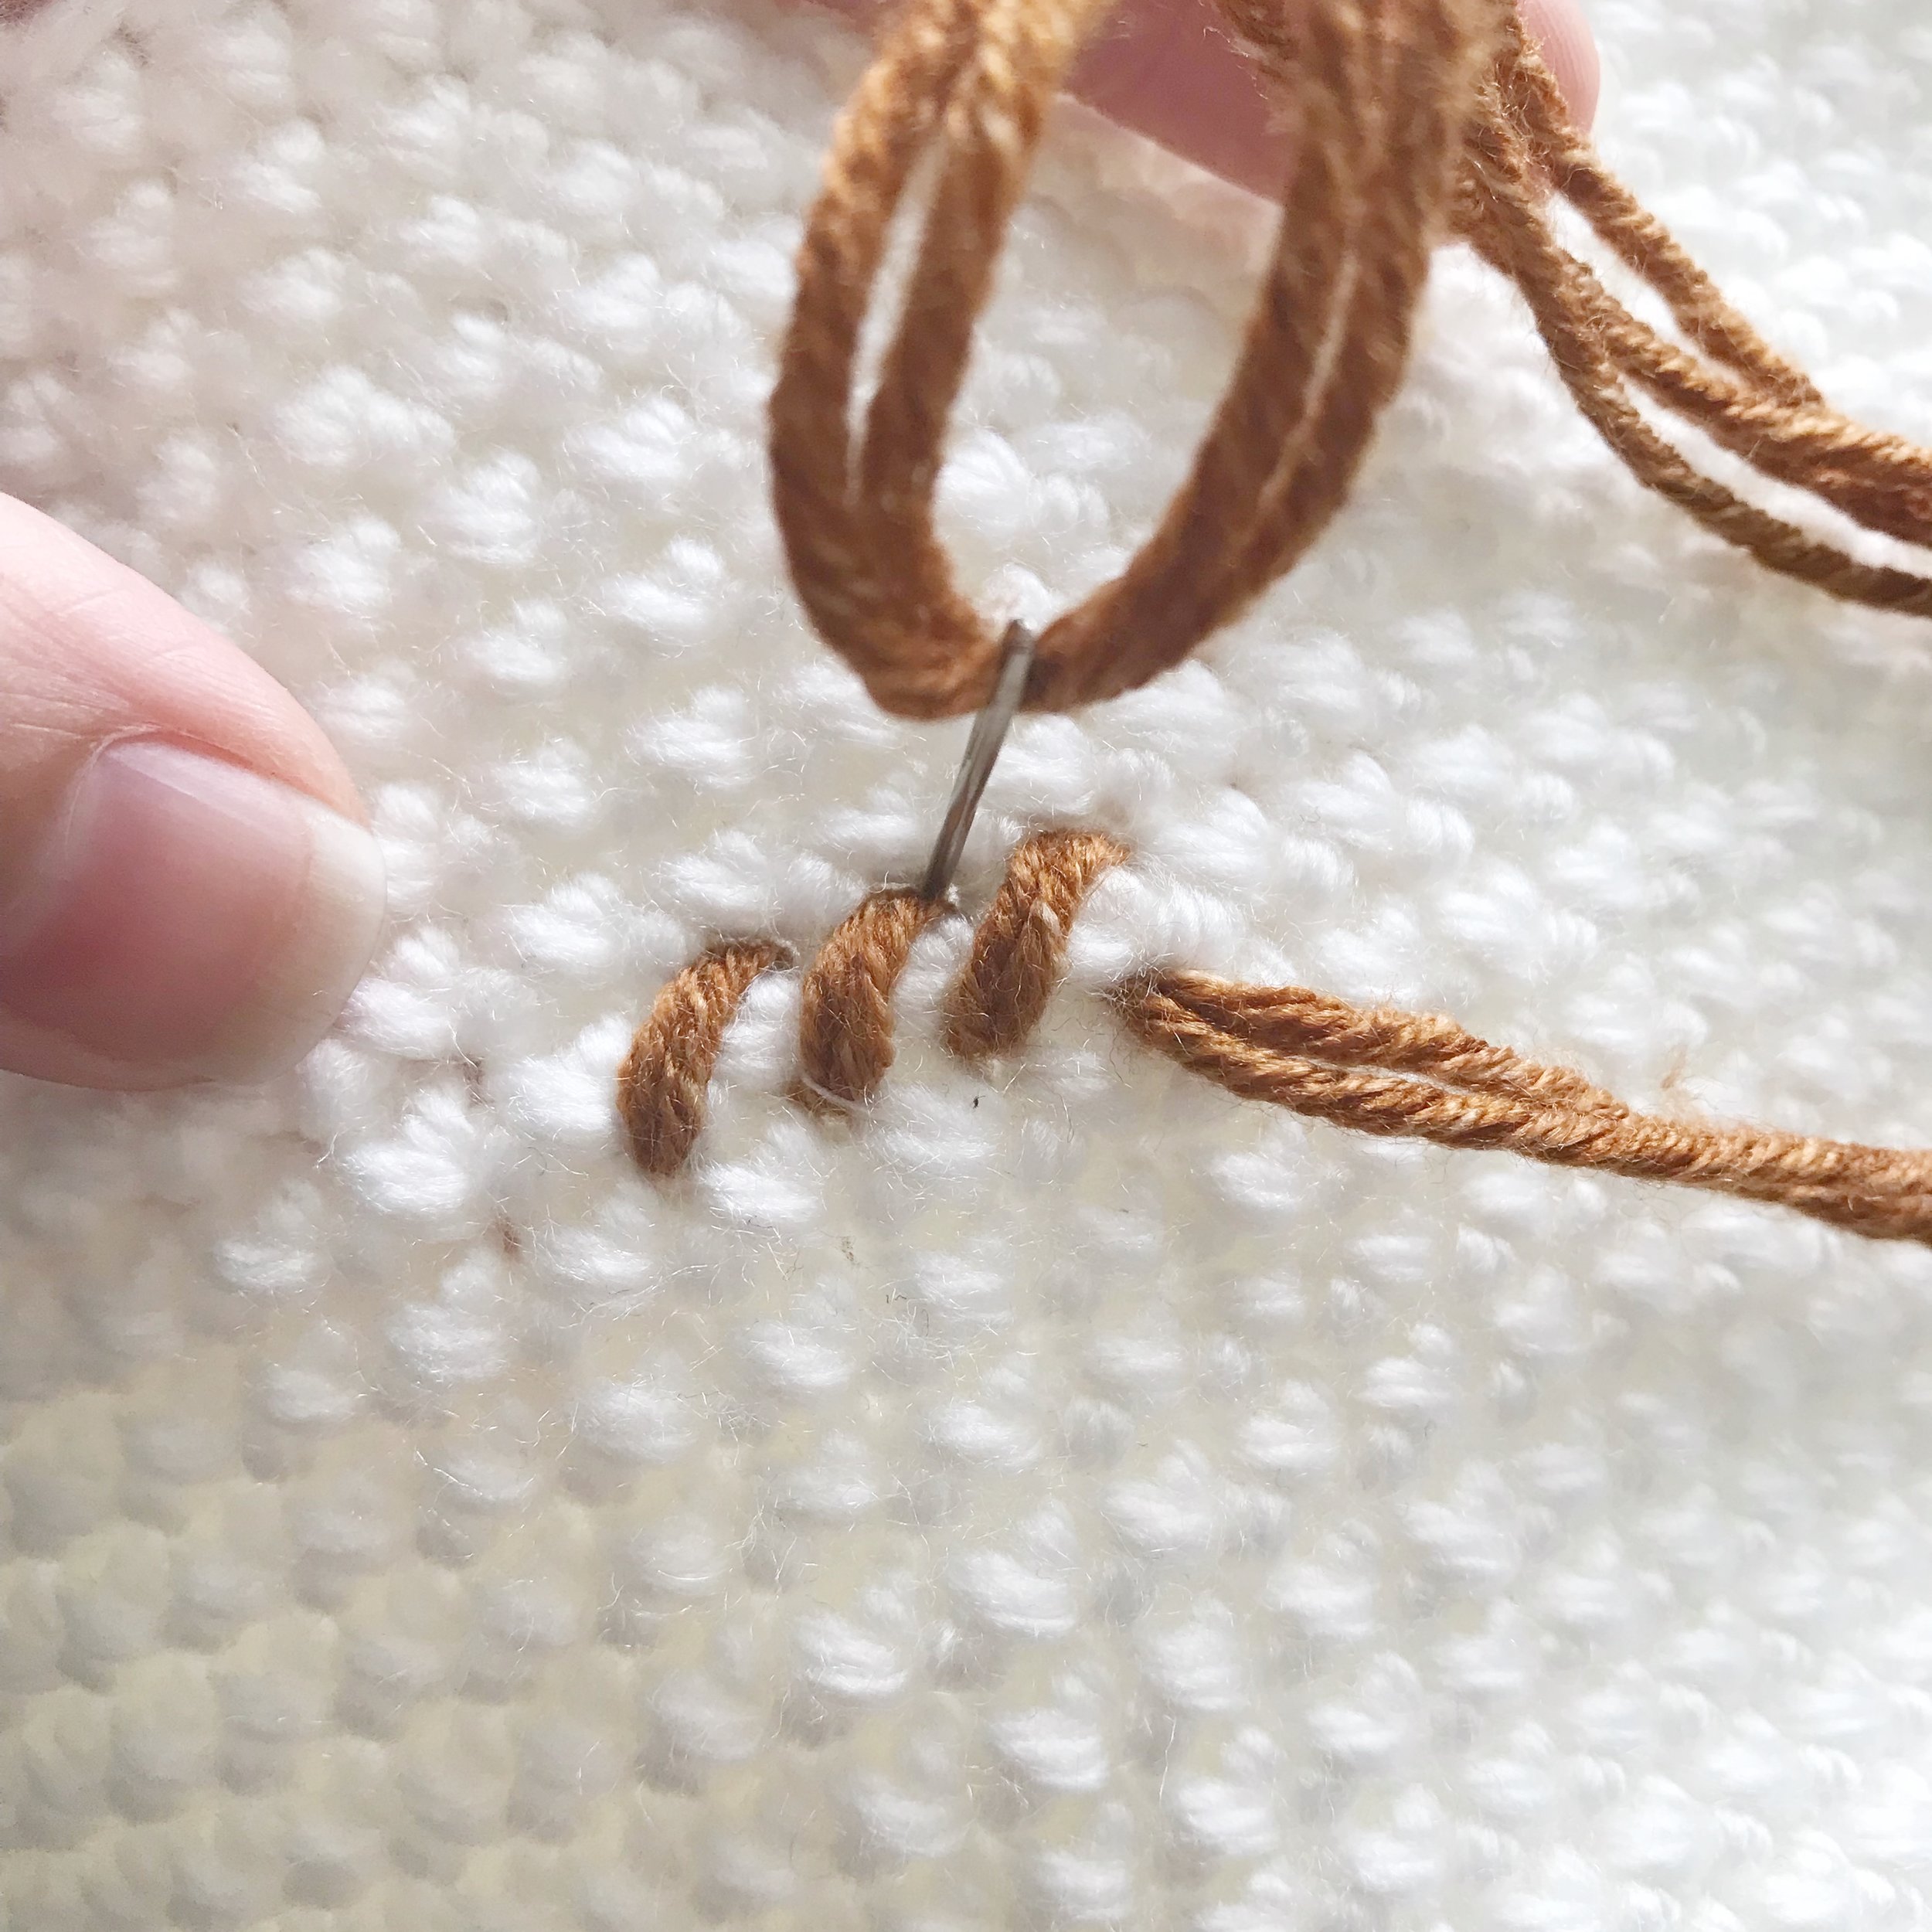

Traditionally cross stitch is done in rows. You will create one half of the ‘x’ across a row and then finish the other side of the ‘x’ going back the other way. Do whatever feels best for you. Remember to always work your stitches from the bottom left to the top right and then the bottom right to the top left. Continue working until you have added every square on the graph. Then bring your stitching yarn to the back and weave in the ends to secure.

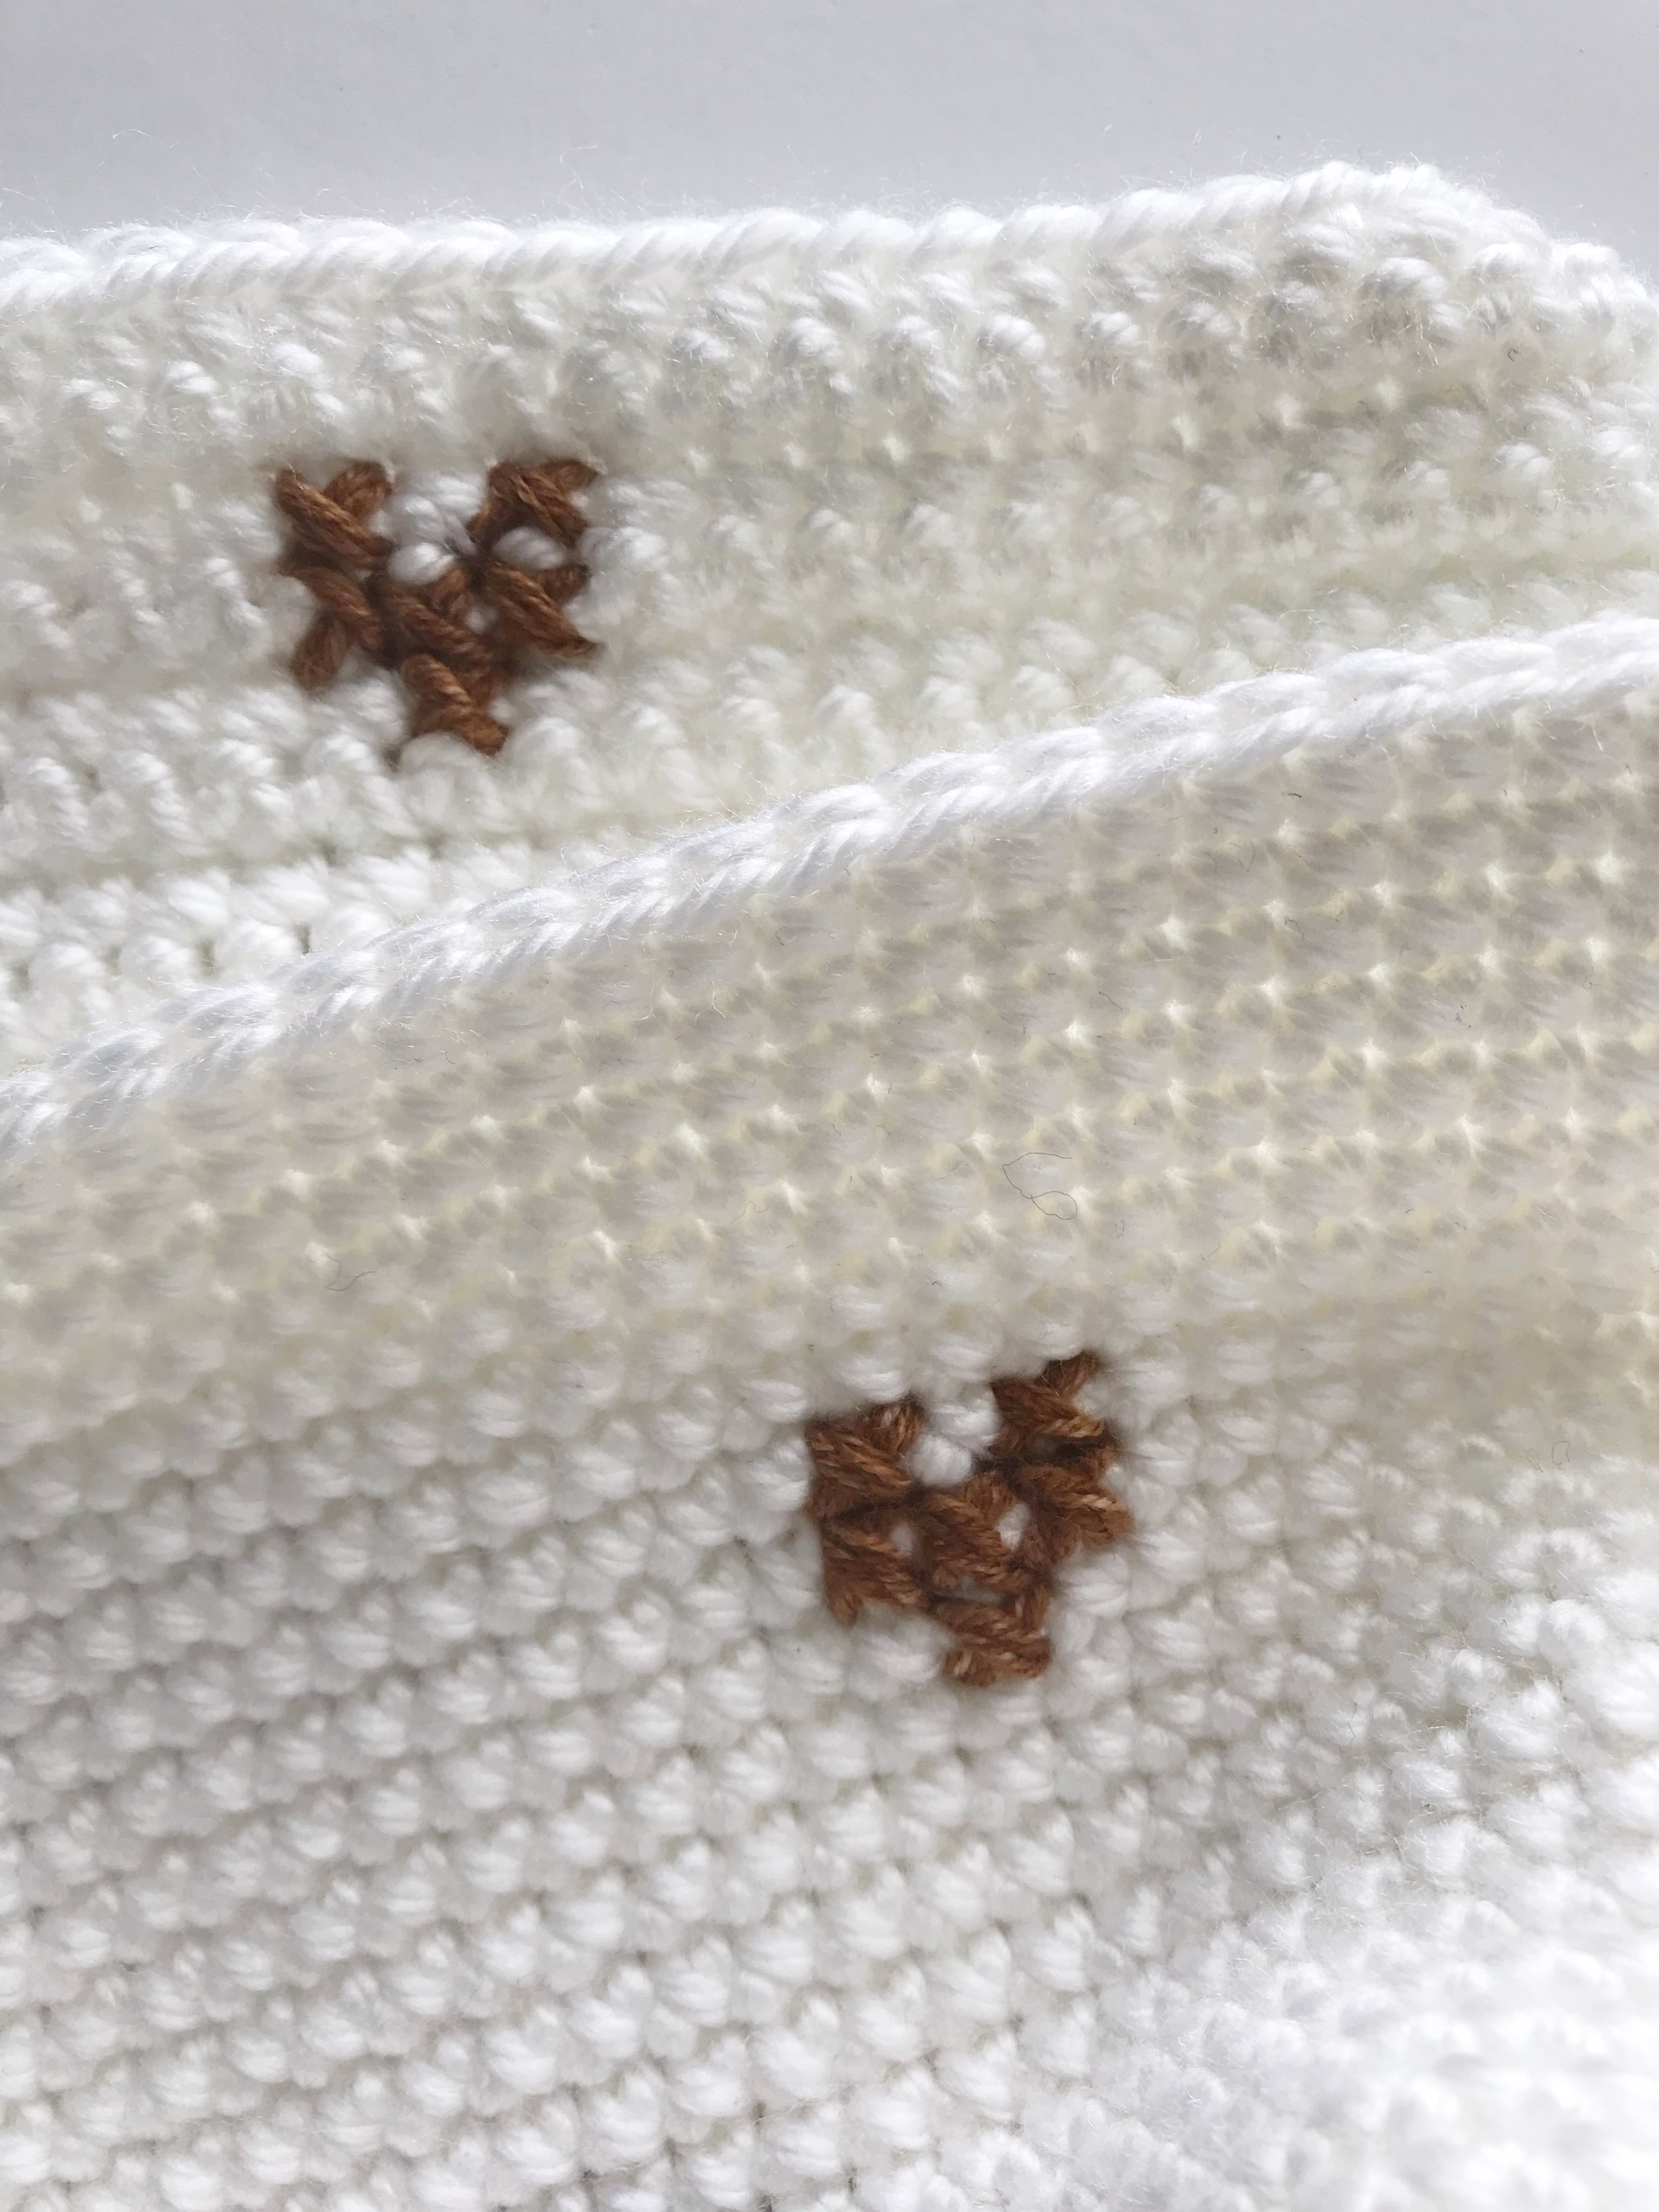
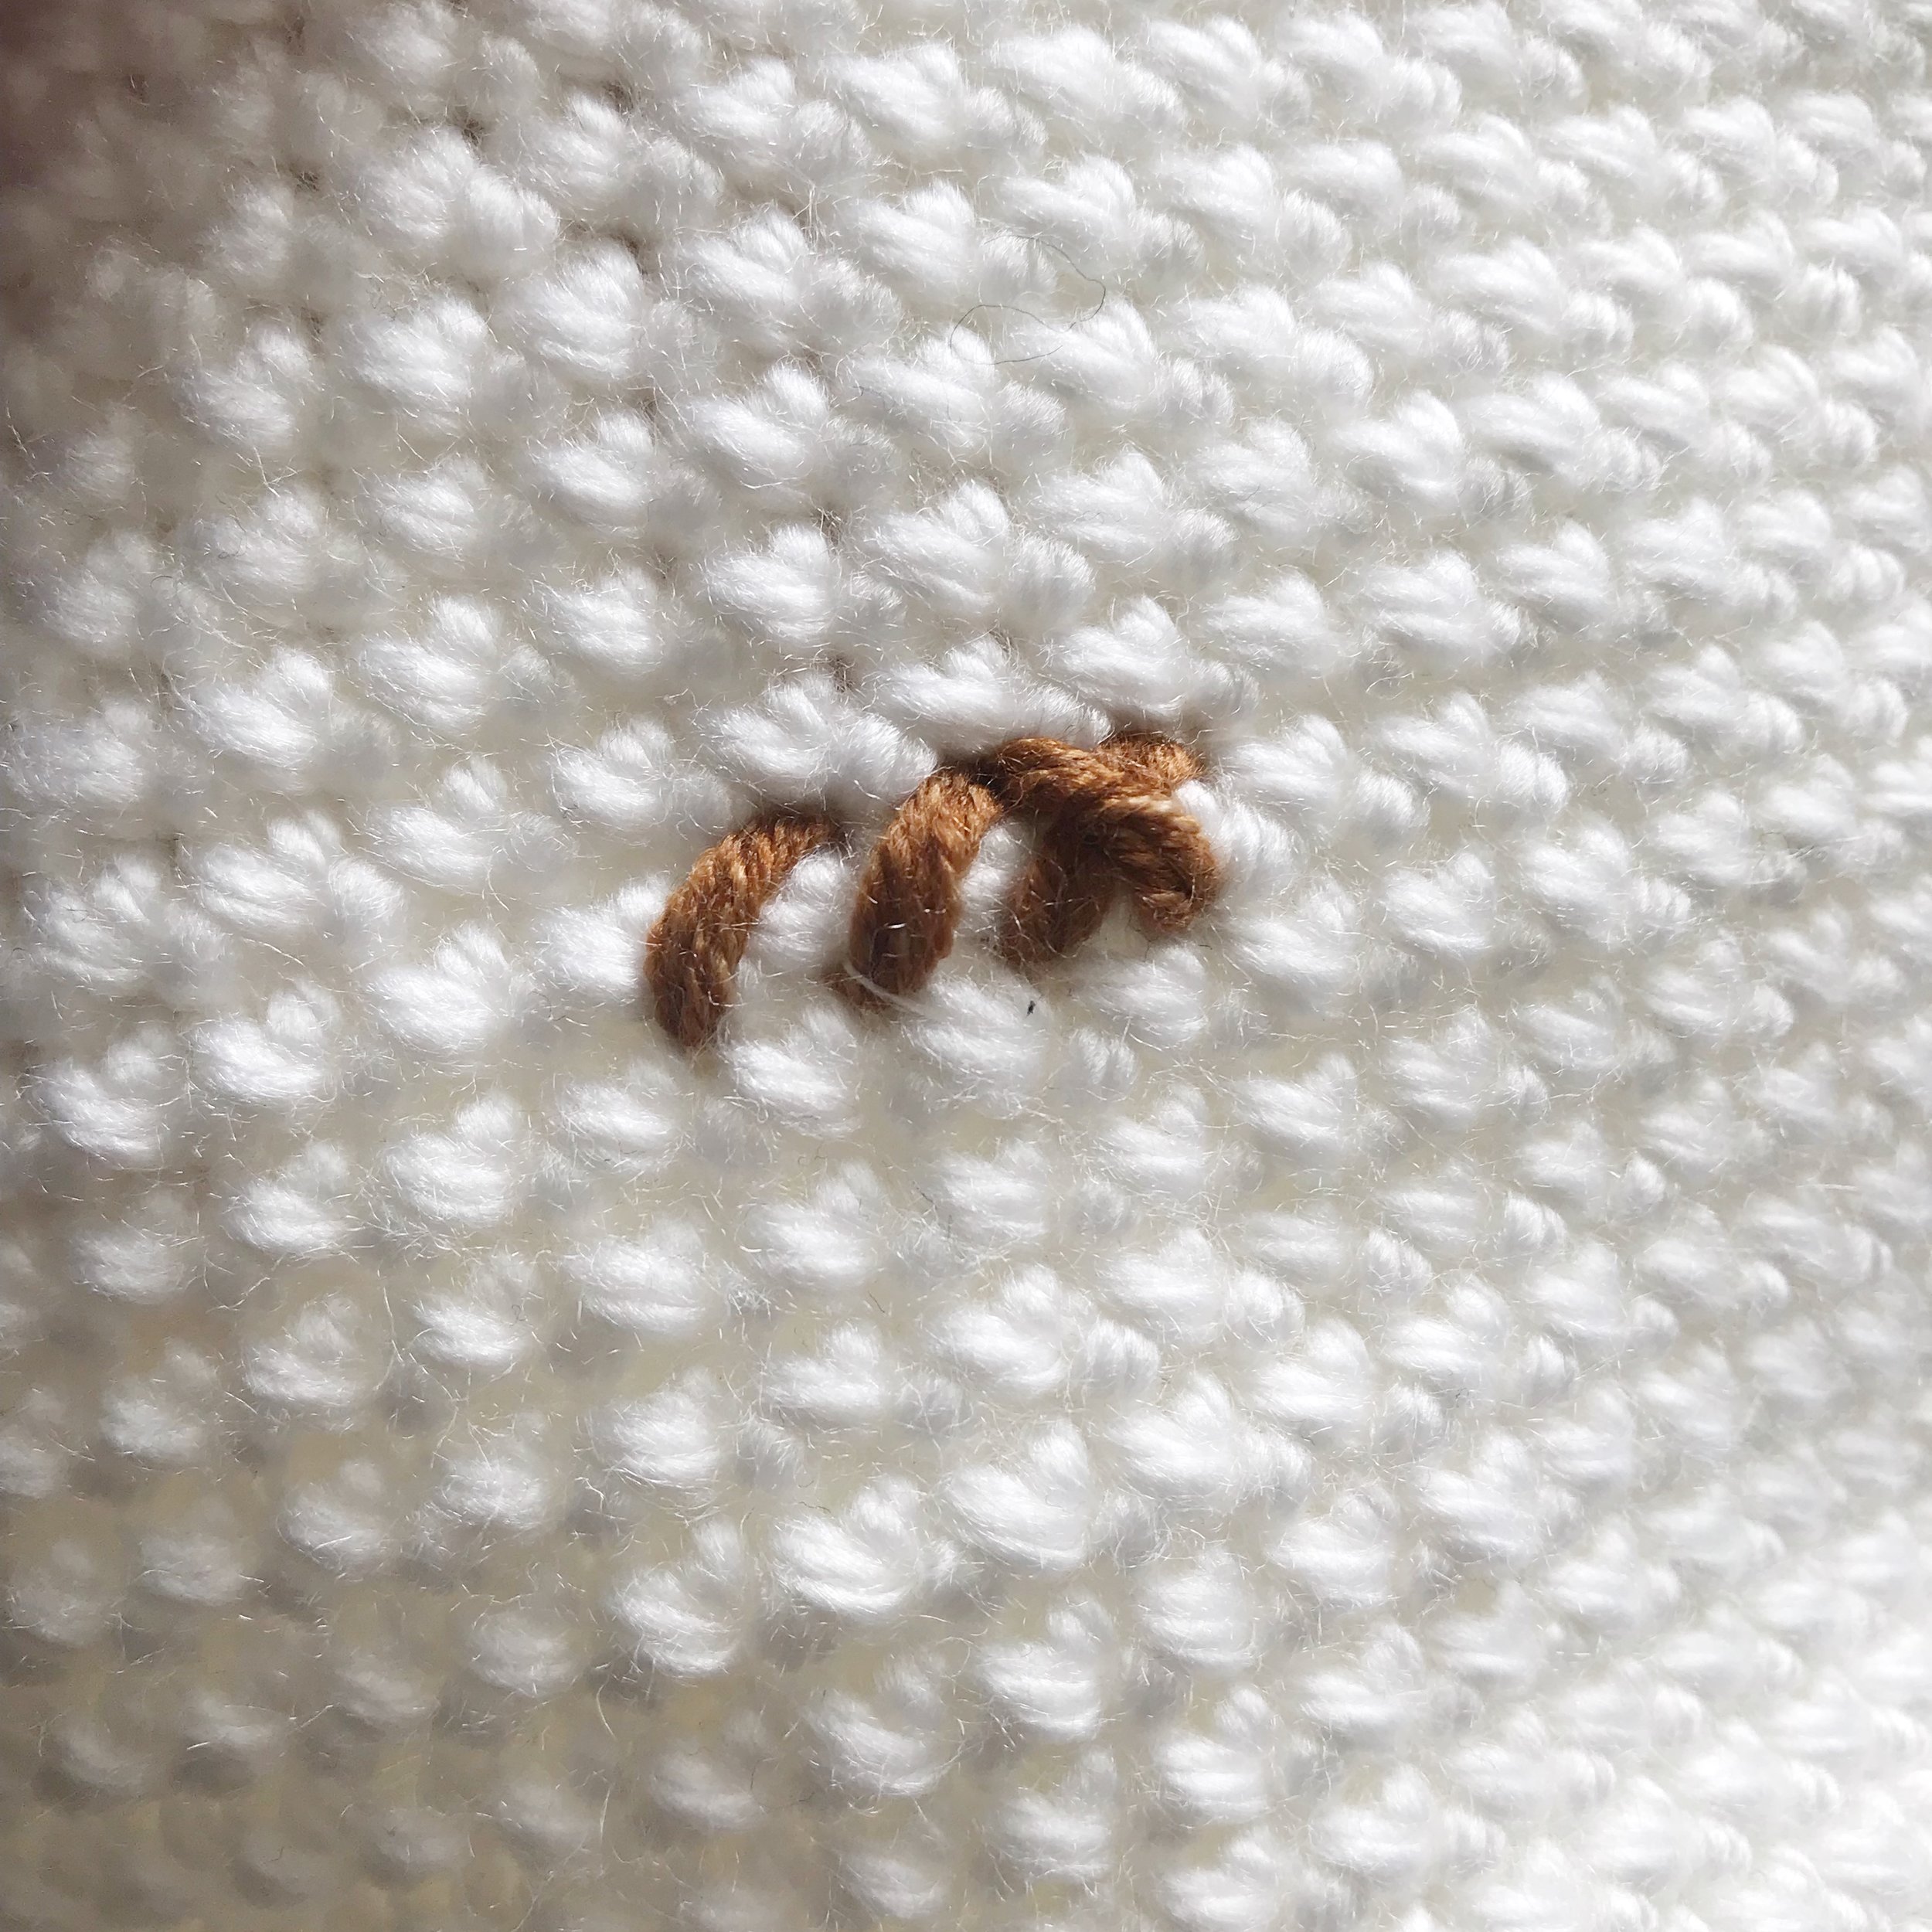
I added my graph to a basket that was worked in the round, but here’s a look at what your stitches will look like when adding cross stitch to a project worked in rows.
Now that you know how to add cross stitch to your crochet projects the possibilities are endless! Add words, pictures or logos to your projects to give them that extra special touch.
If you try this technique I would love to see it! Make sure to tag me @meghanmakesdo or use #meghanmakesdo so I can see it!
Happy Stitching!
Meghan
***You can find an ad-free downloadable PDF version of the simple basket pattern in my shop, Etsy or Ravelry. The pattern includes written instructions for the simple basket, photo tutorials, the “create” graph and instructions for adding cross stitch to your project.***