1-hr DIY Ironing Board Cover
Today I went to get my ironing board out and realized it's looking a little shabby. I've had this ironing board for four years. The padding is wearing thin and it is stained with fusible fleece stickiness. Seriously it's bad!

The hideous ironing board cover...don't judge me!
I have an extra wide ironing board so it's not always easy to find a cover in stores and the ones online aren't cute and are a bit pricey. Luckily I had everything I needed on hand so it worked up quick. If you want to cover your own here is what you will need:
1.5-2 yards of durable fabric (make sure it is long enough to cover your board plus 8")
Quilt batting (I used two layers of thick batting and two layers of 100% cotton batting)
3 yards of 1/4" elastic
safety pins
sewing machine & thread
scissors
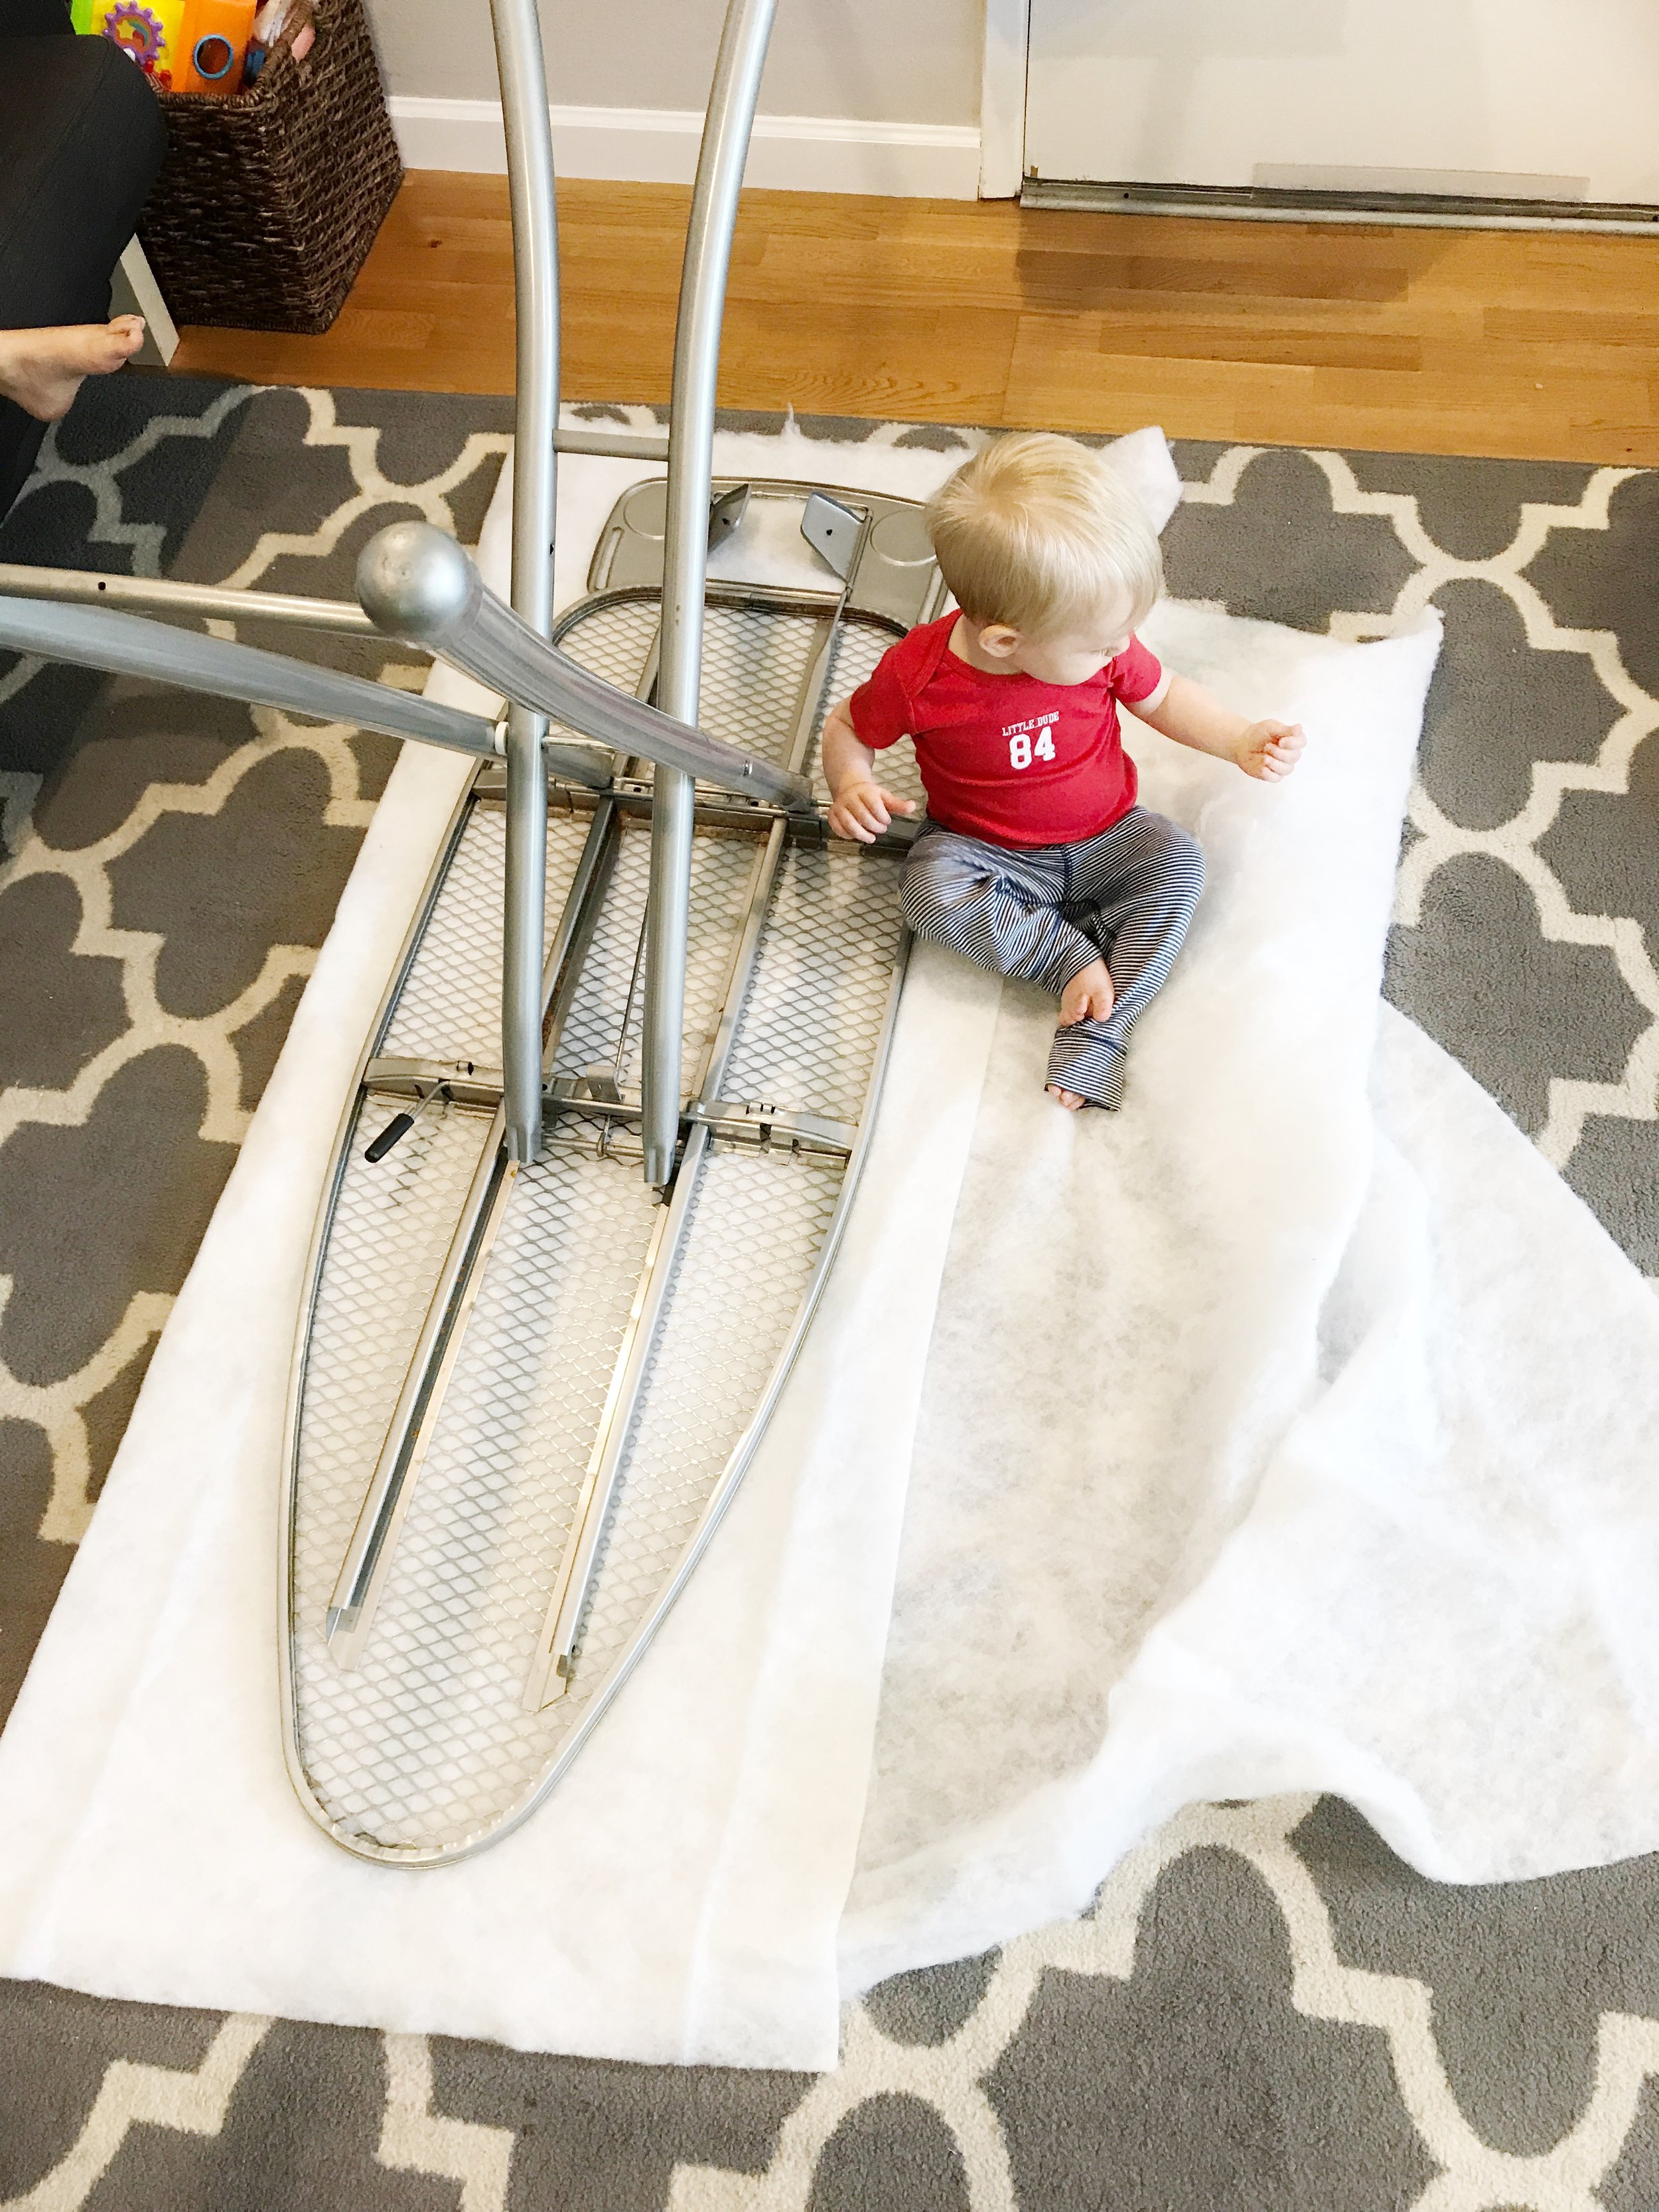
I had an old curtain panel that I wasn't planning on using in our new place and it was the perfect size to cover my ironing board. To start I removed the old ugly ironing board cover and spread the first layer of batting (the thick one) on the floor. Toddler is optional.
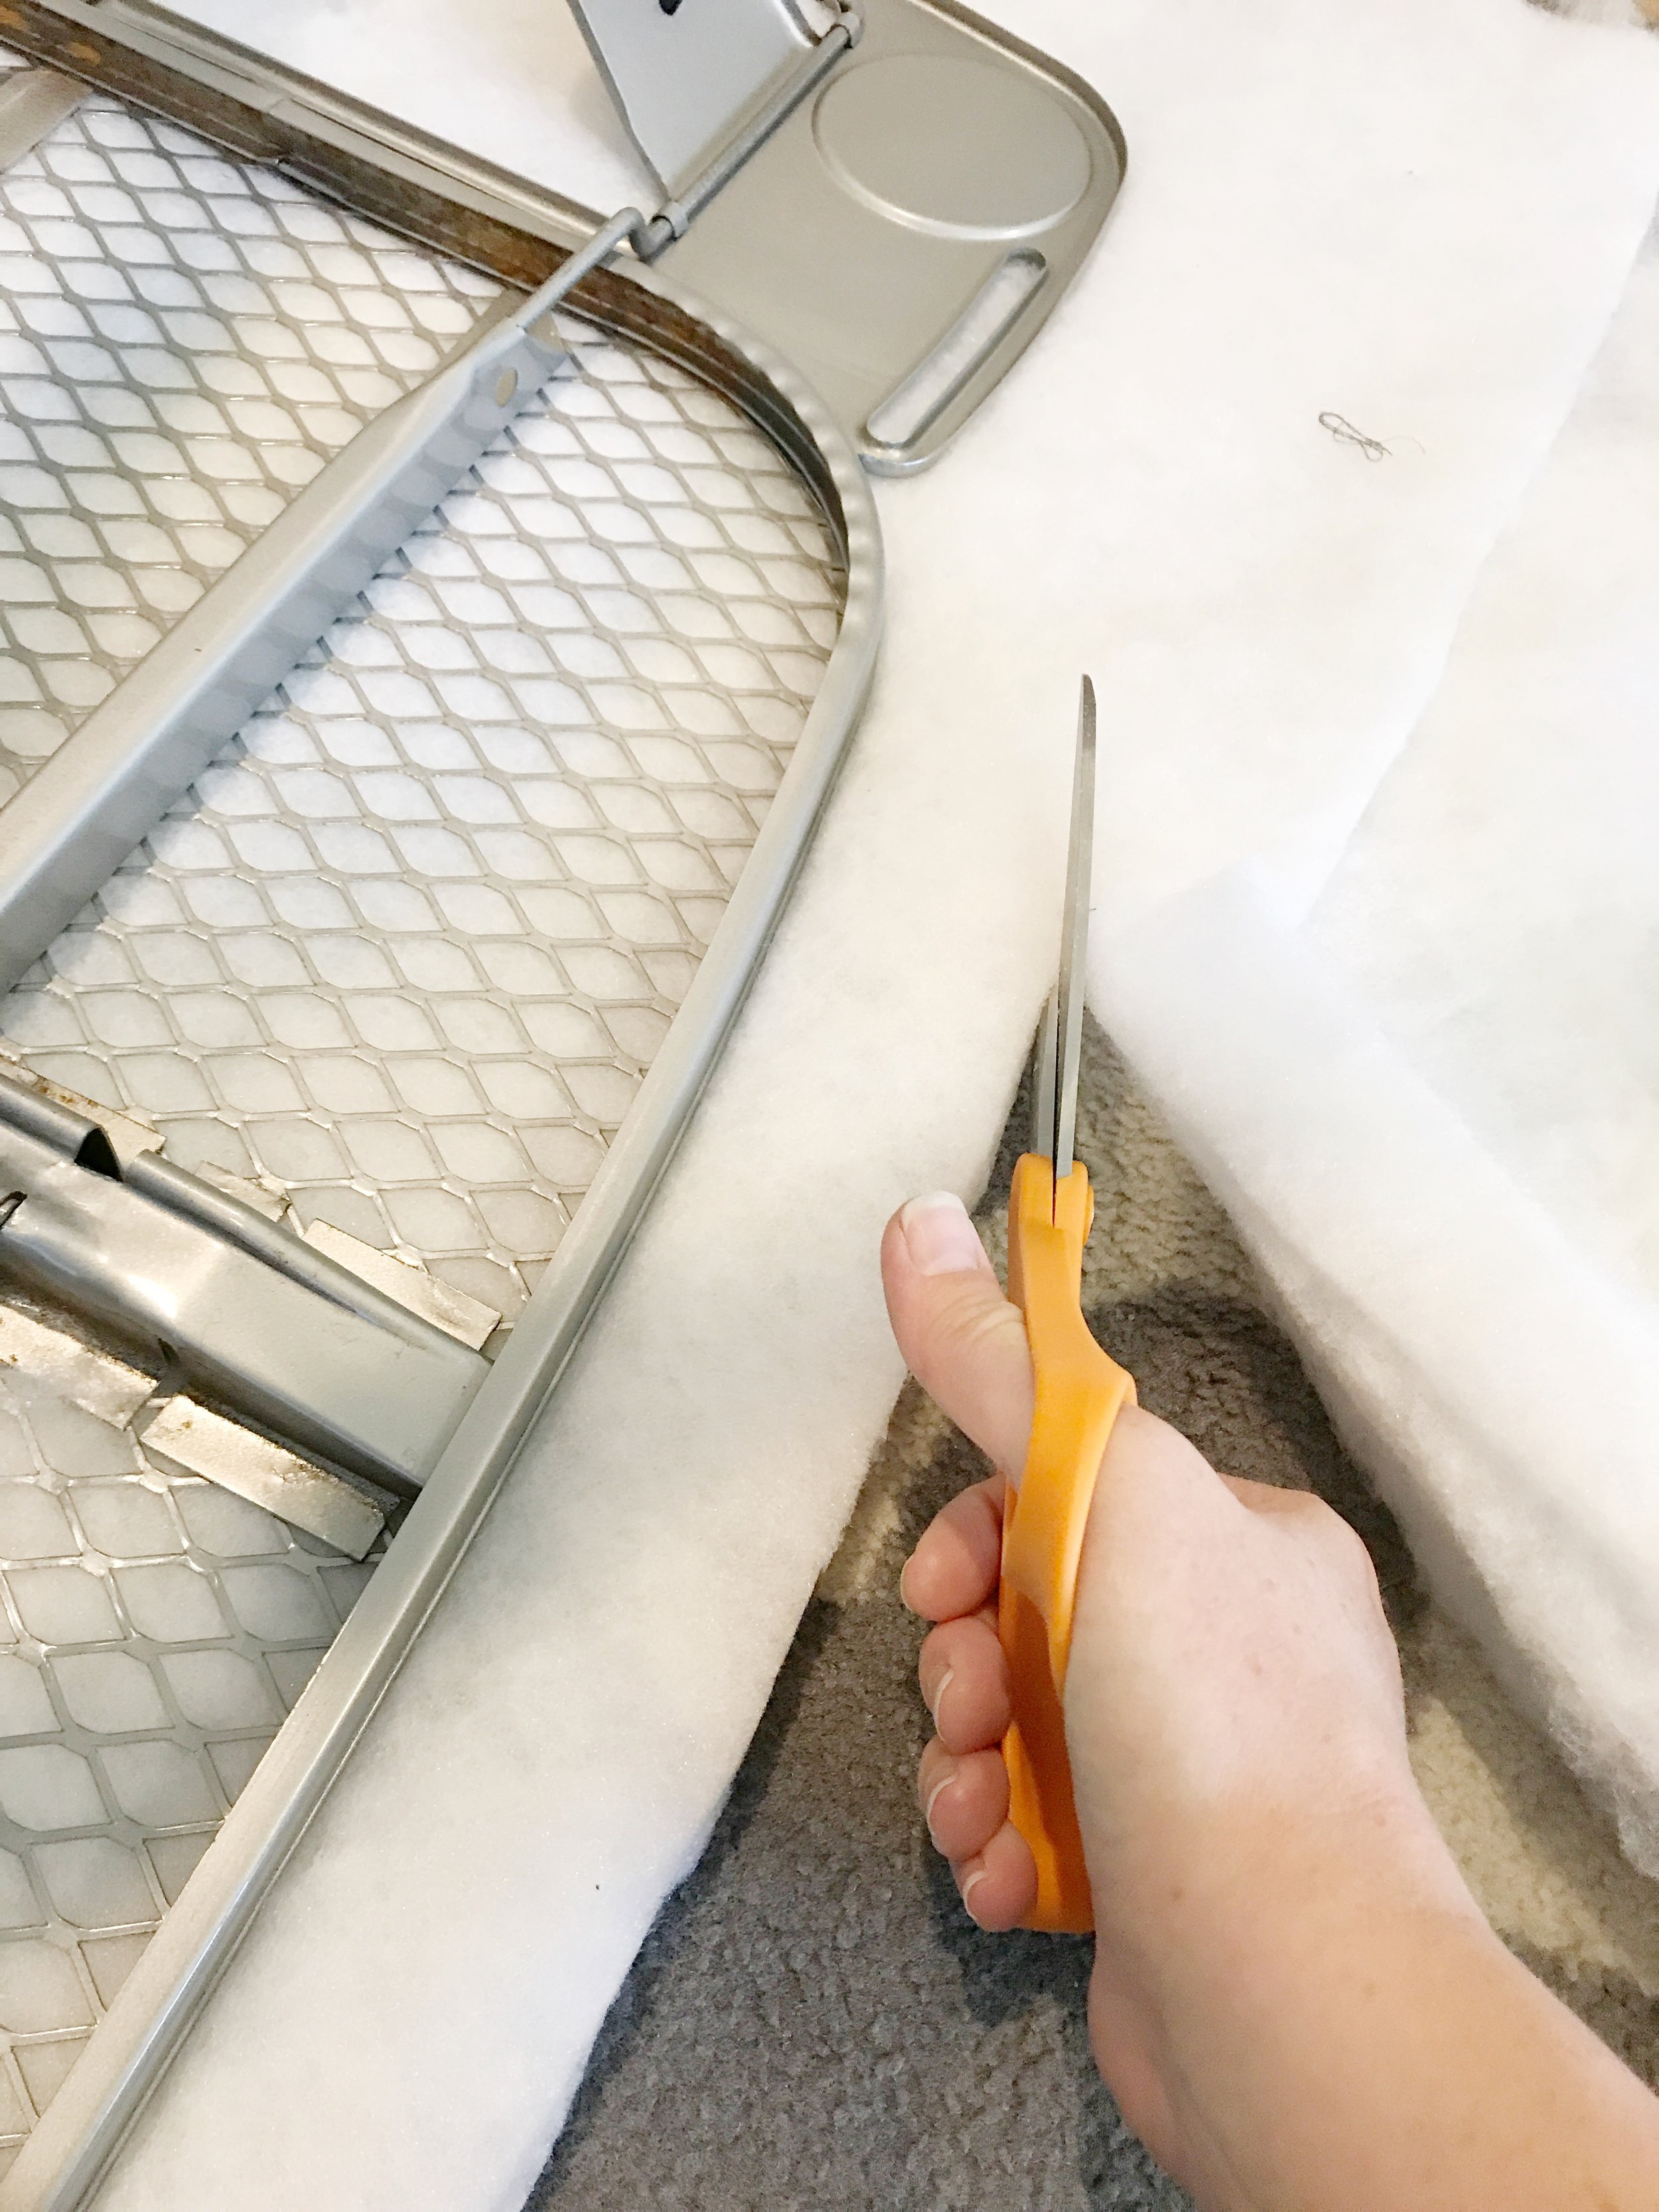
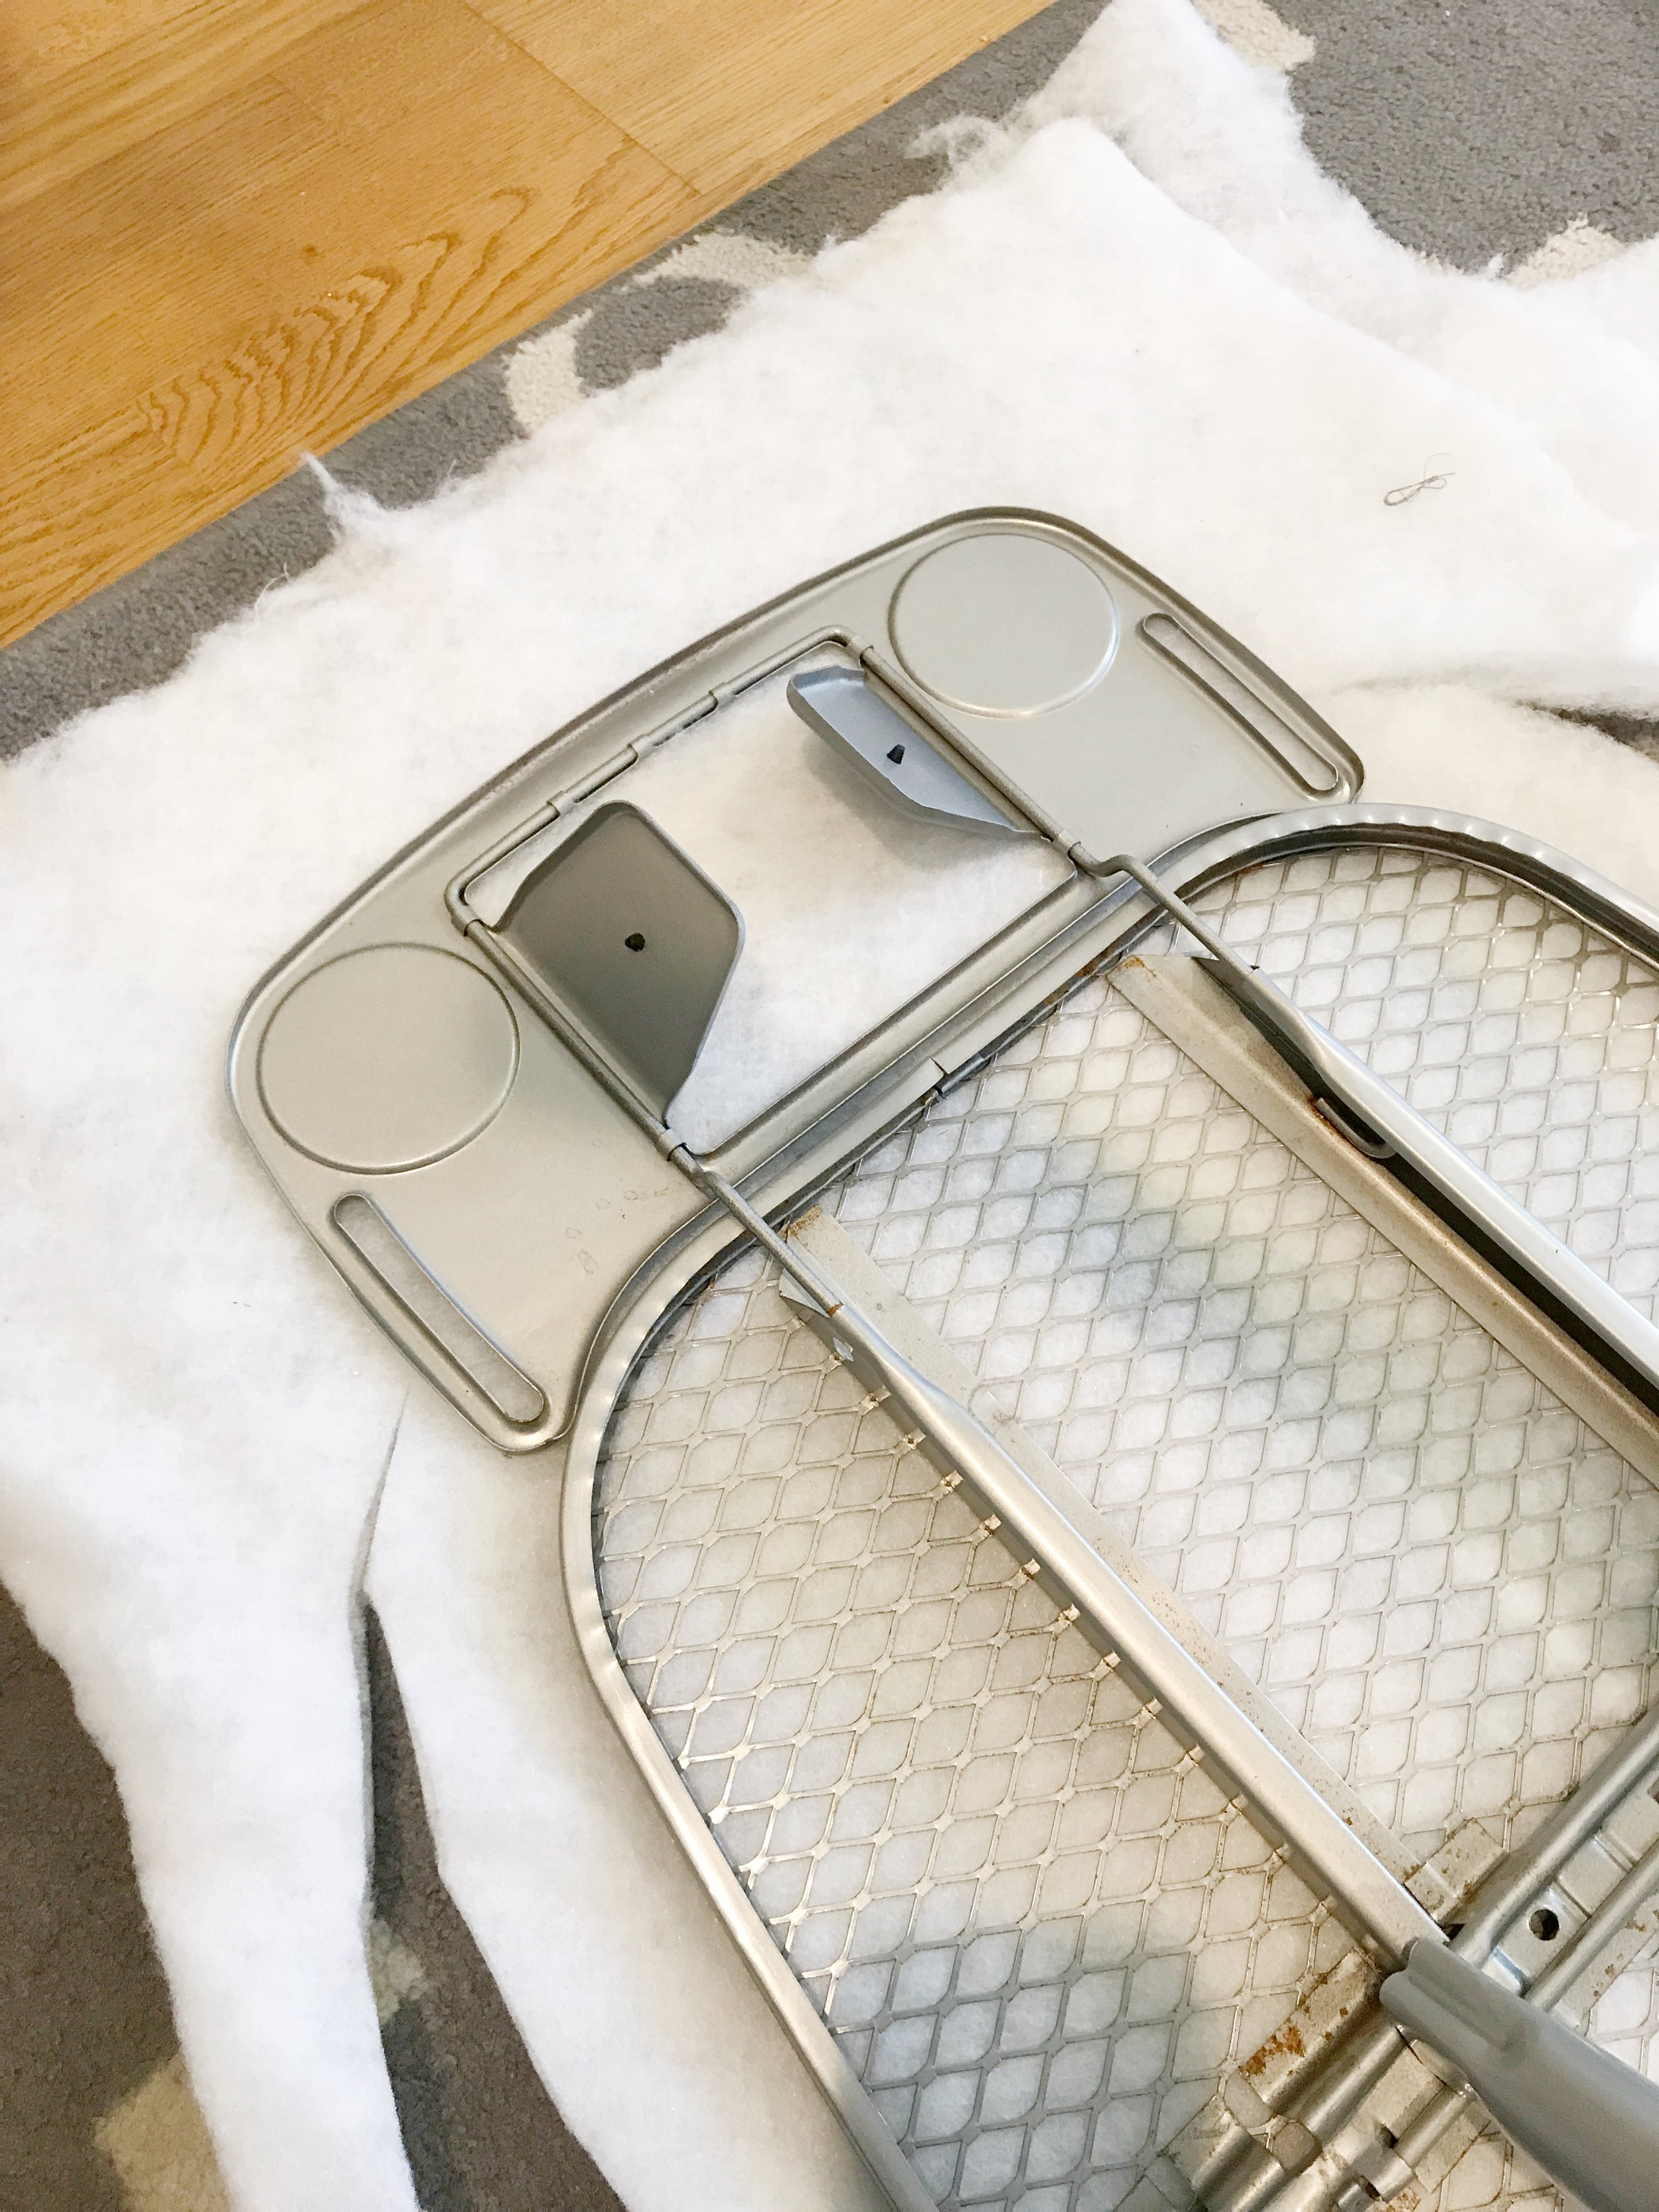
Then I cut the batting around the ironing board leaving about 3 inches all the way around. I just eye balled it, but if you prefer you can measure it out and mark it will pins or a pen. I have an extra piece on my ironing board for the iron to sit so when I got to that part I stopped, moved the board out of the way and cut straight across, still leaving about 3 inches on the end.
Next, I spread the cotton batting on the floor and placed the piece of thick batting I just cut on top as a stencil. The extra batting is totally optional. I knew I wanted to have a lot of padding under my cover because I use my ironing board a lot and the cotton batting was what I already had on hand.
Finally, I spread the fabric out on the floor (wrong side up) and placed the batting layers on top as a guide. Again I eye balled it and cut around the batting leaving about 4-5" all the way around.


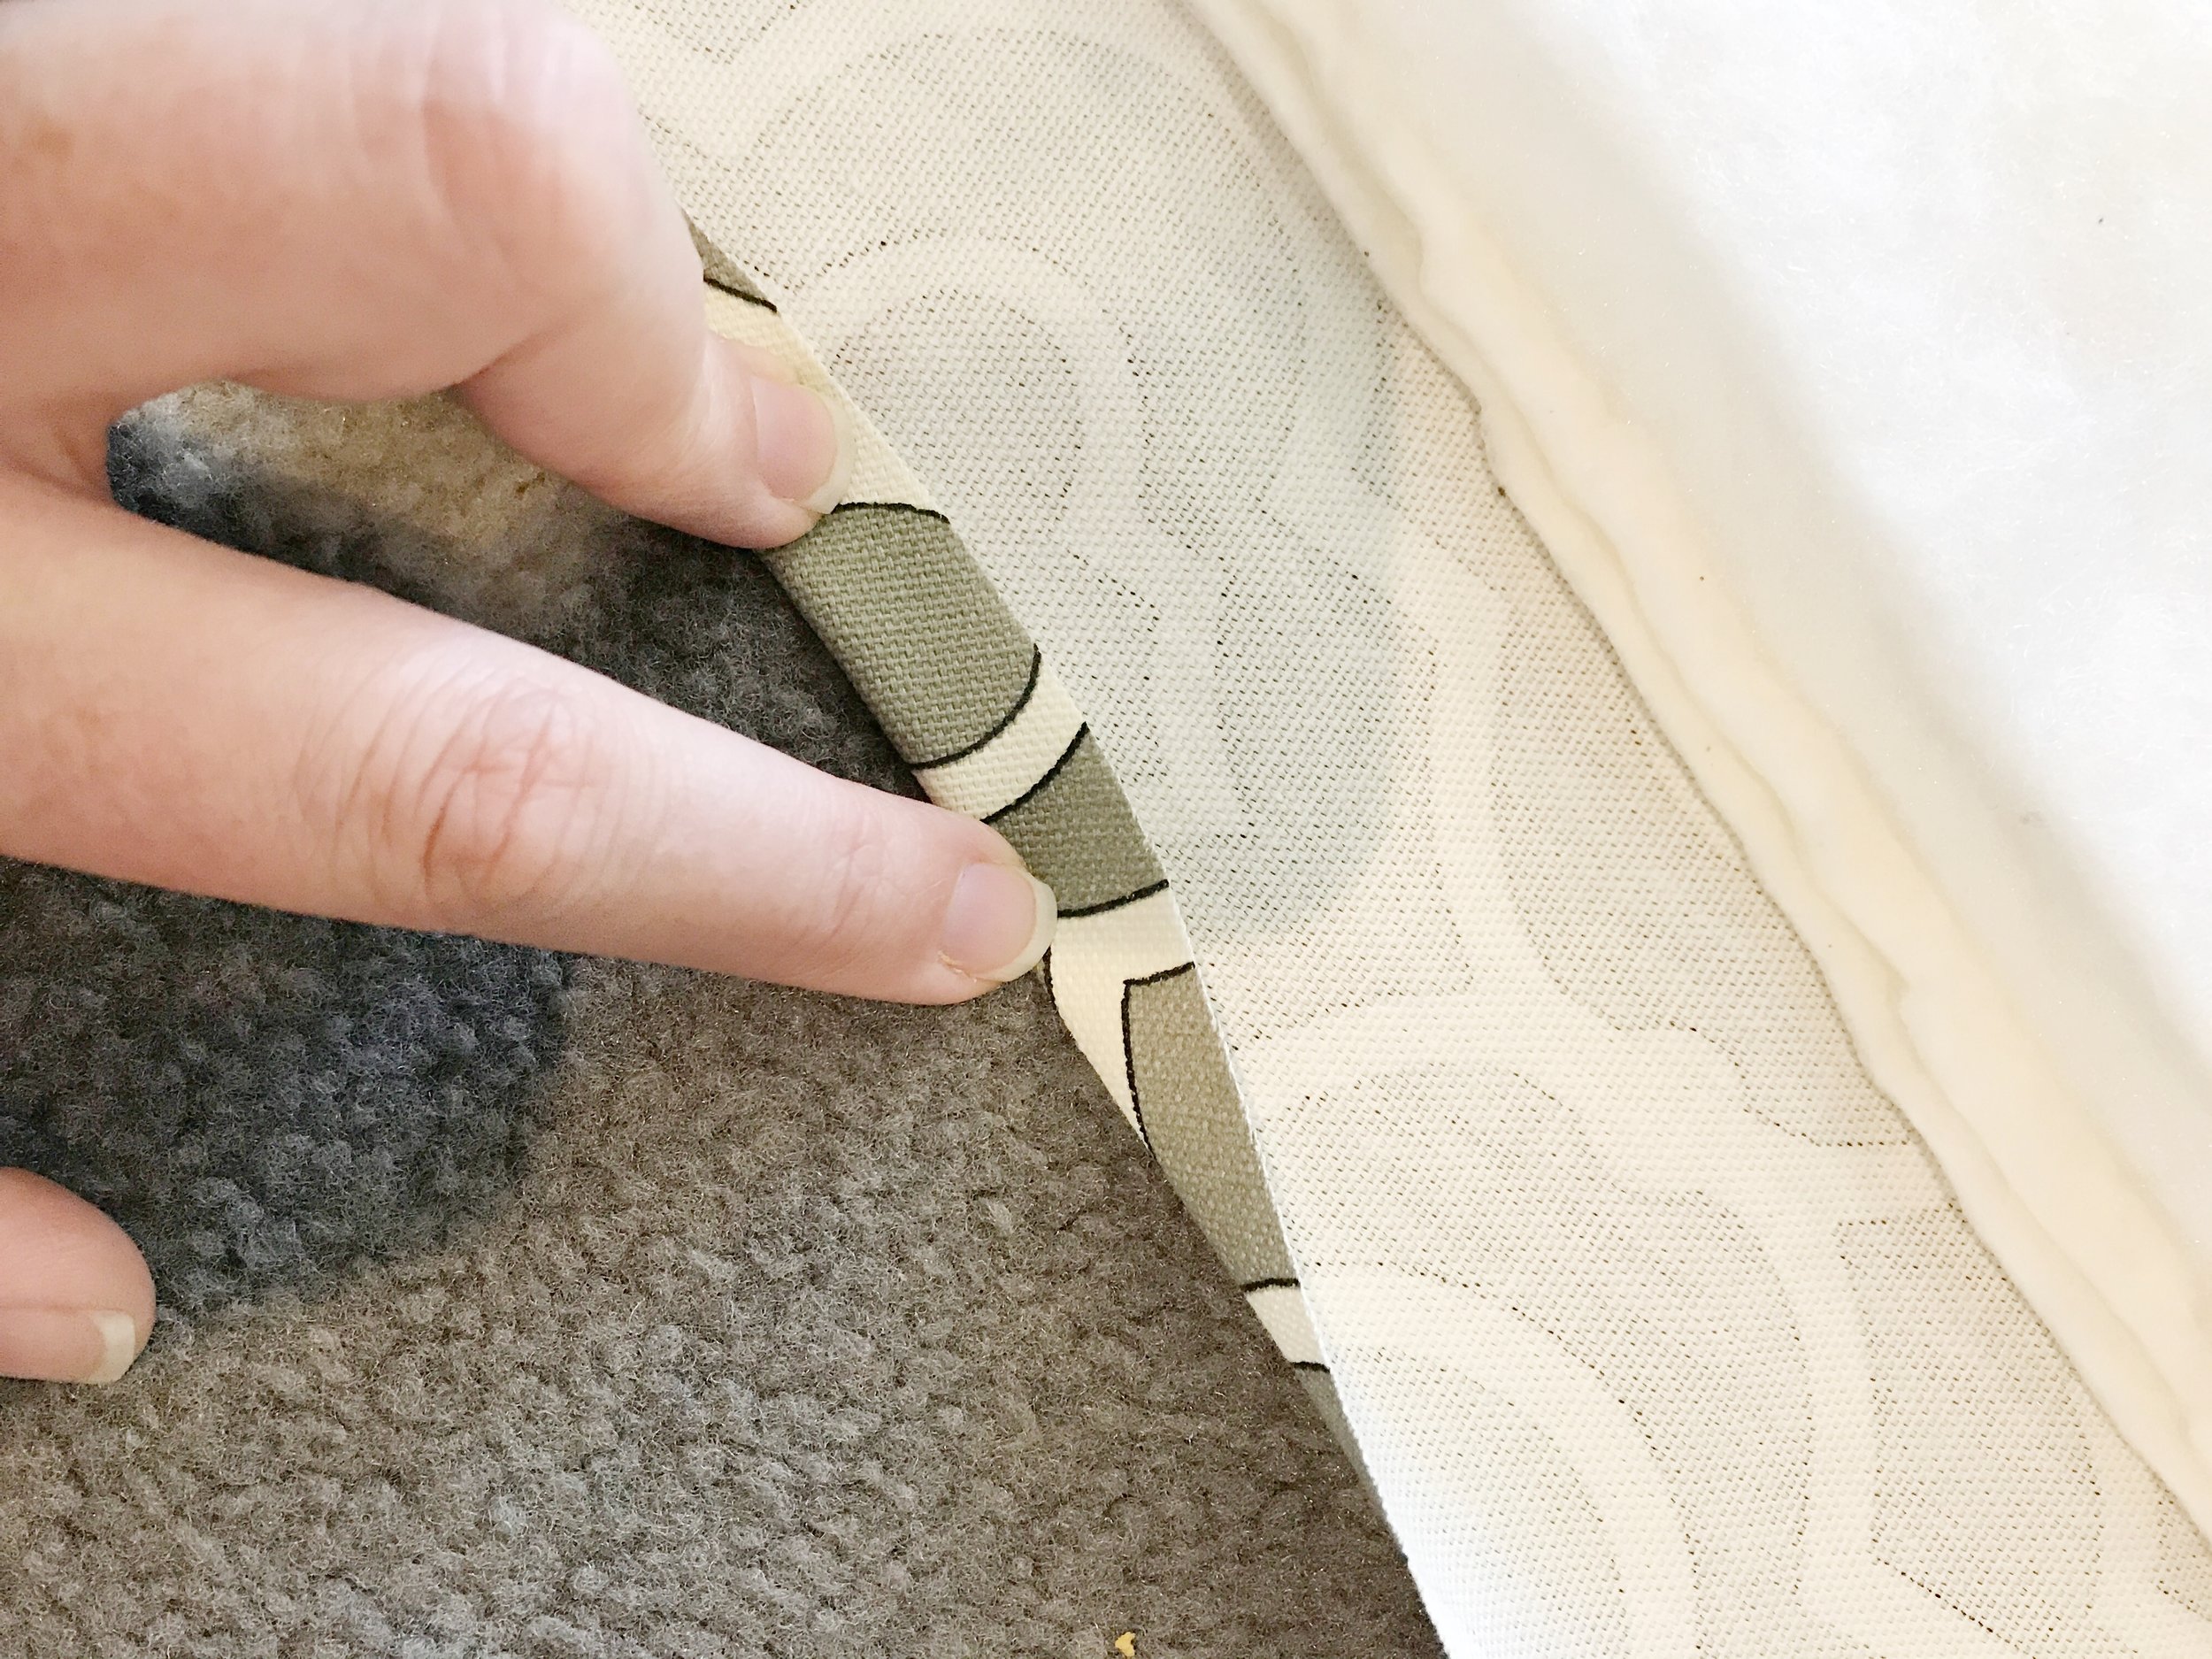
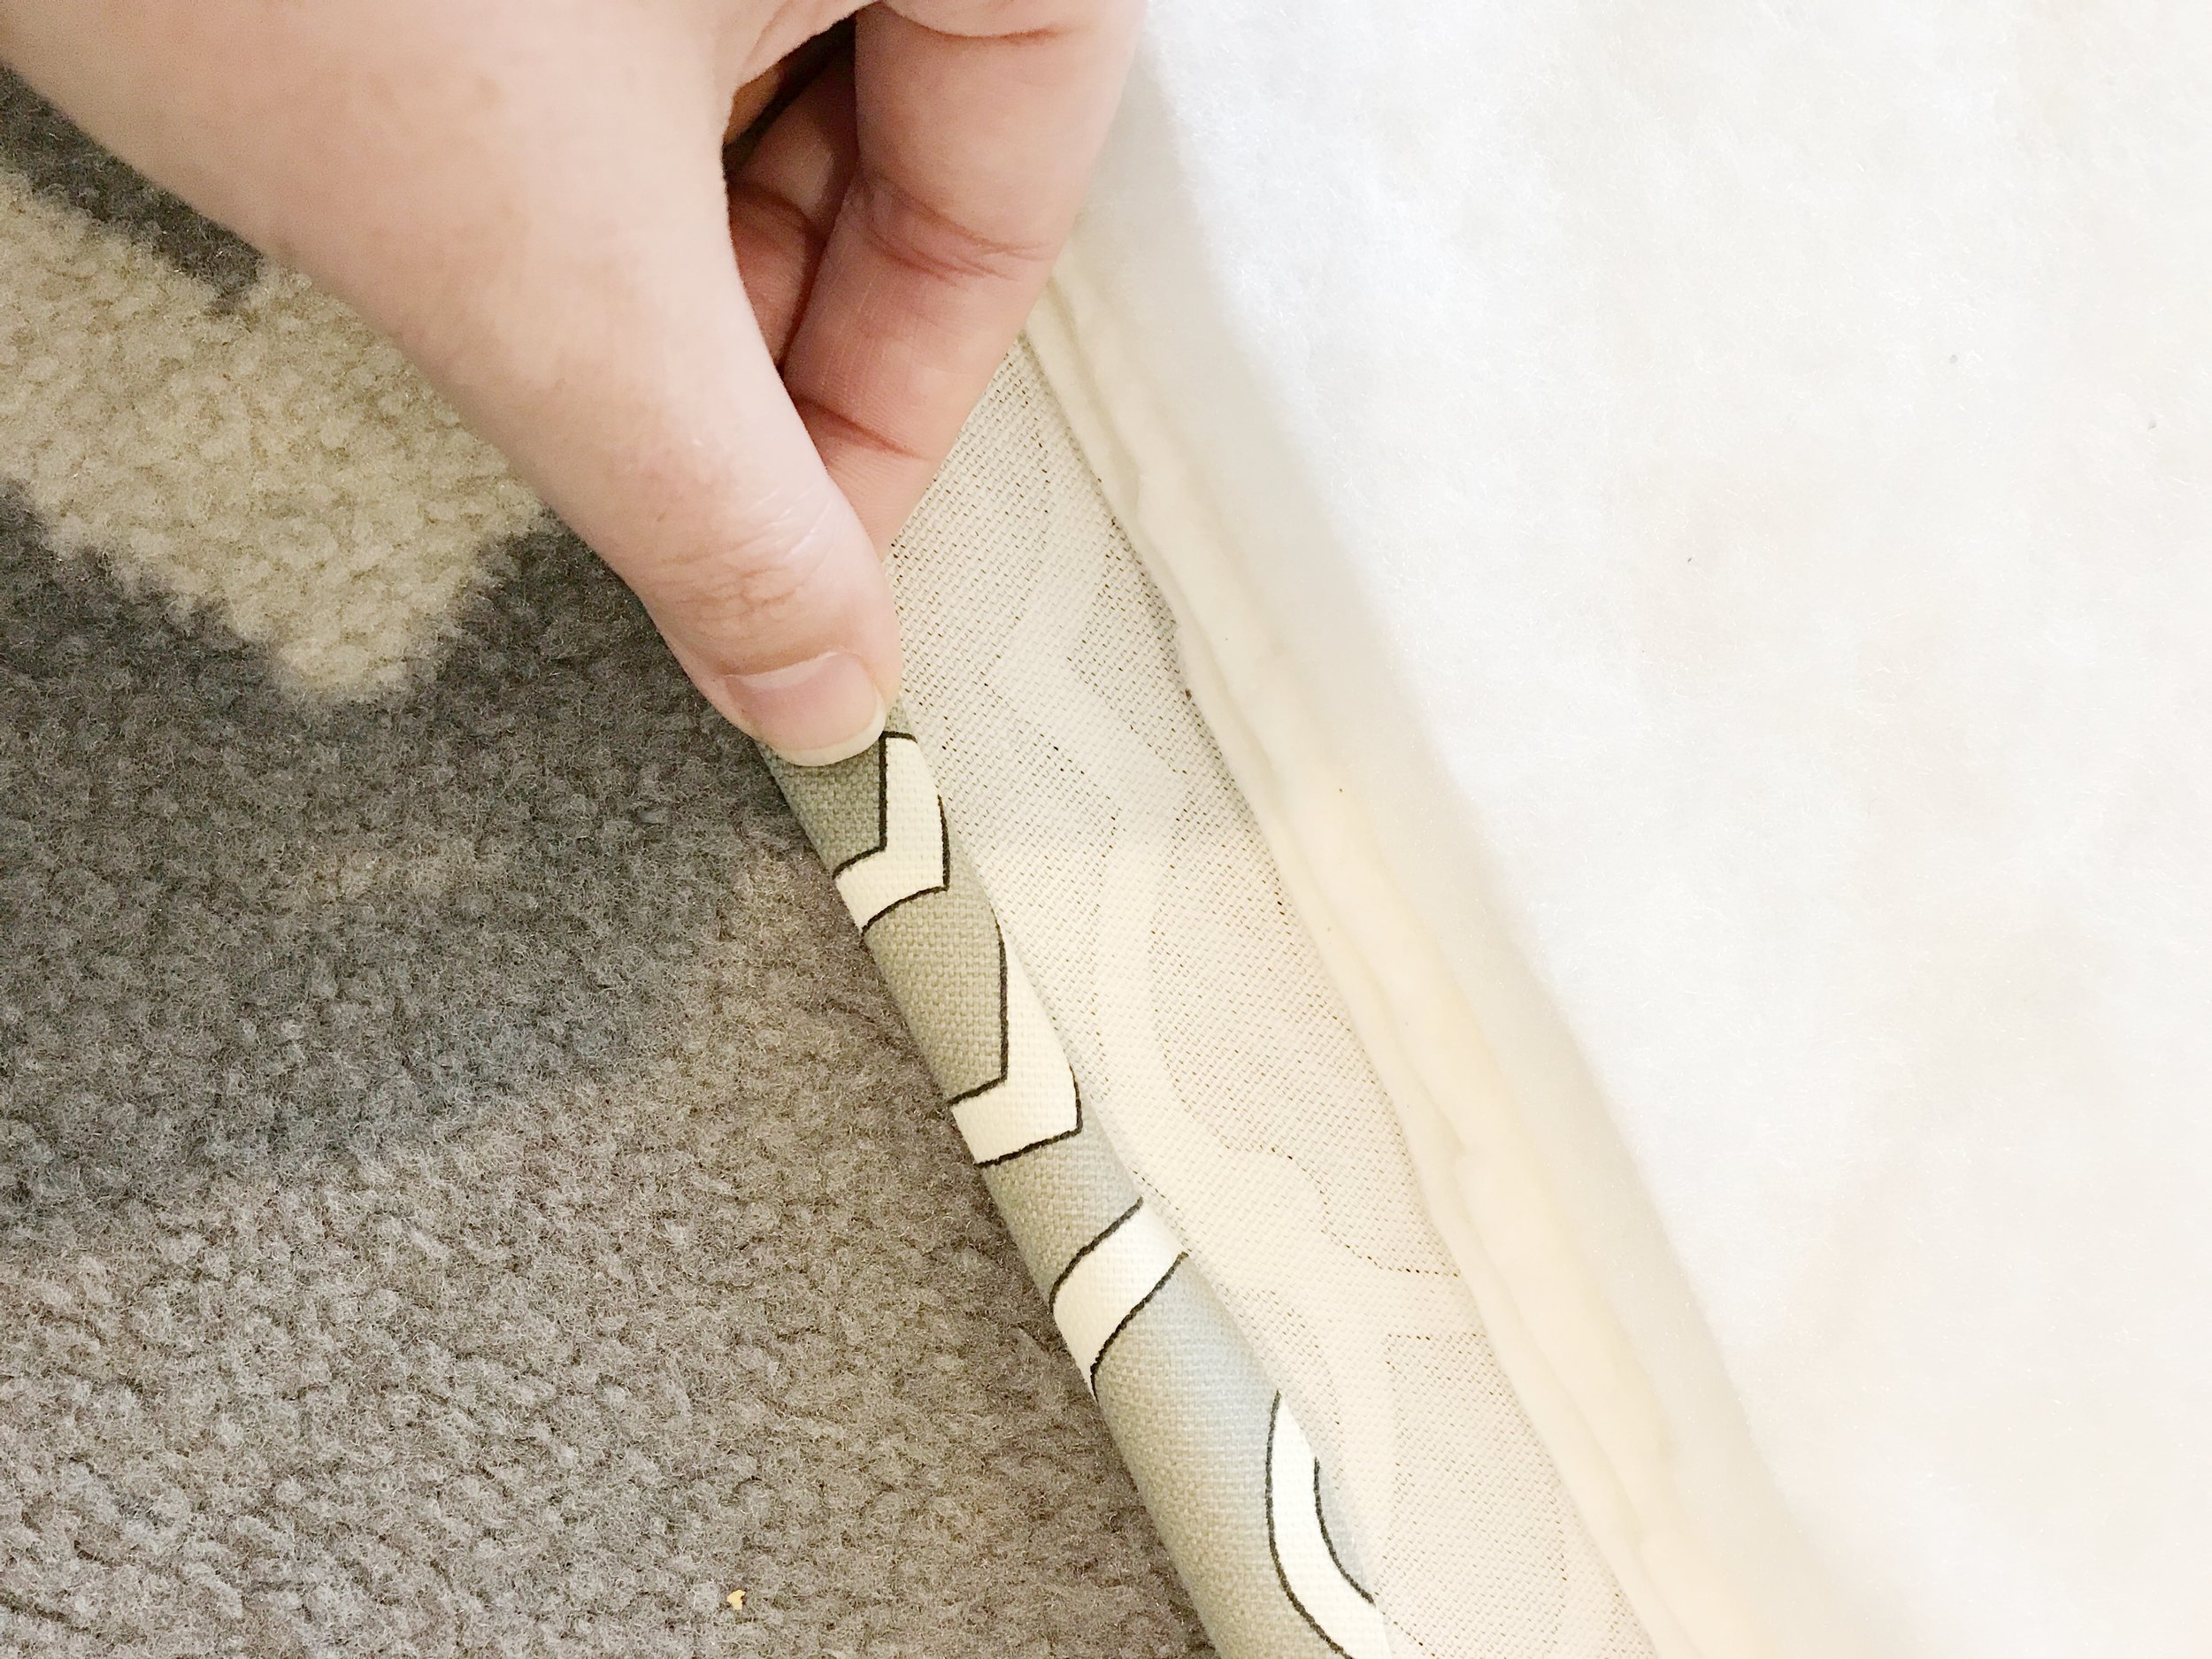
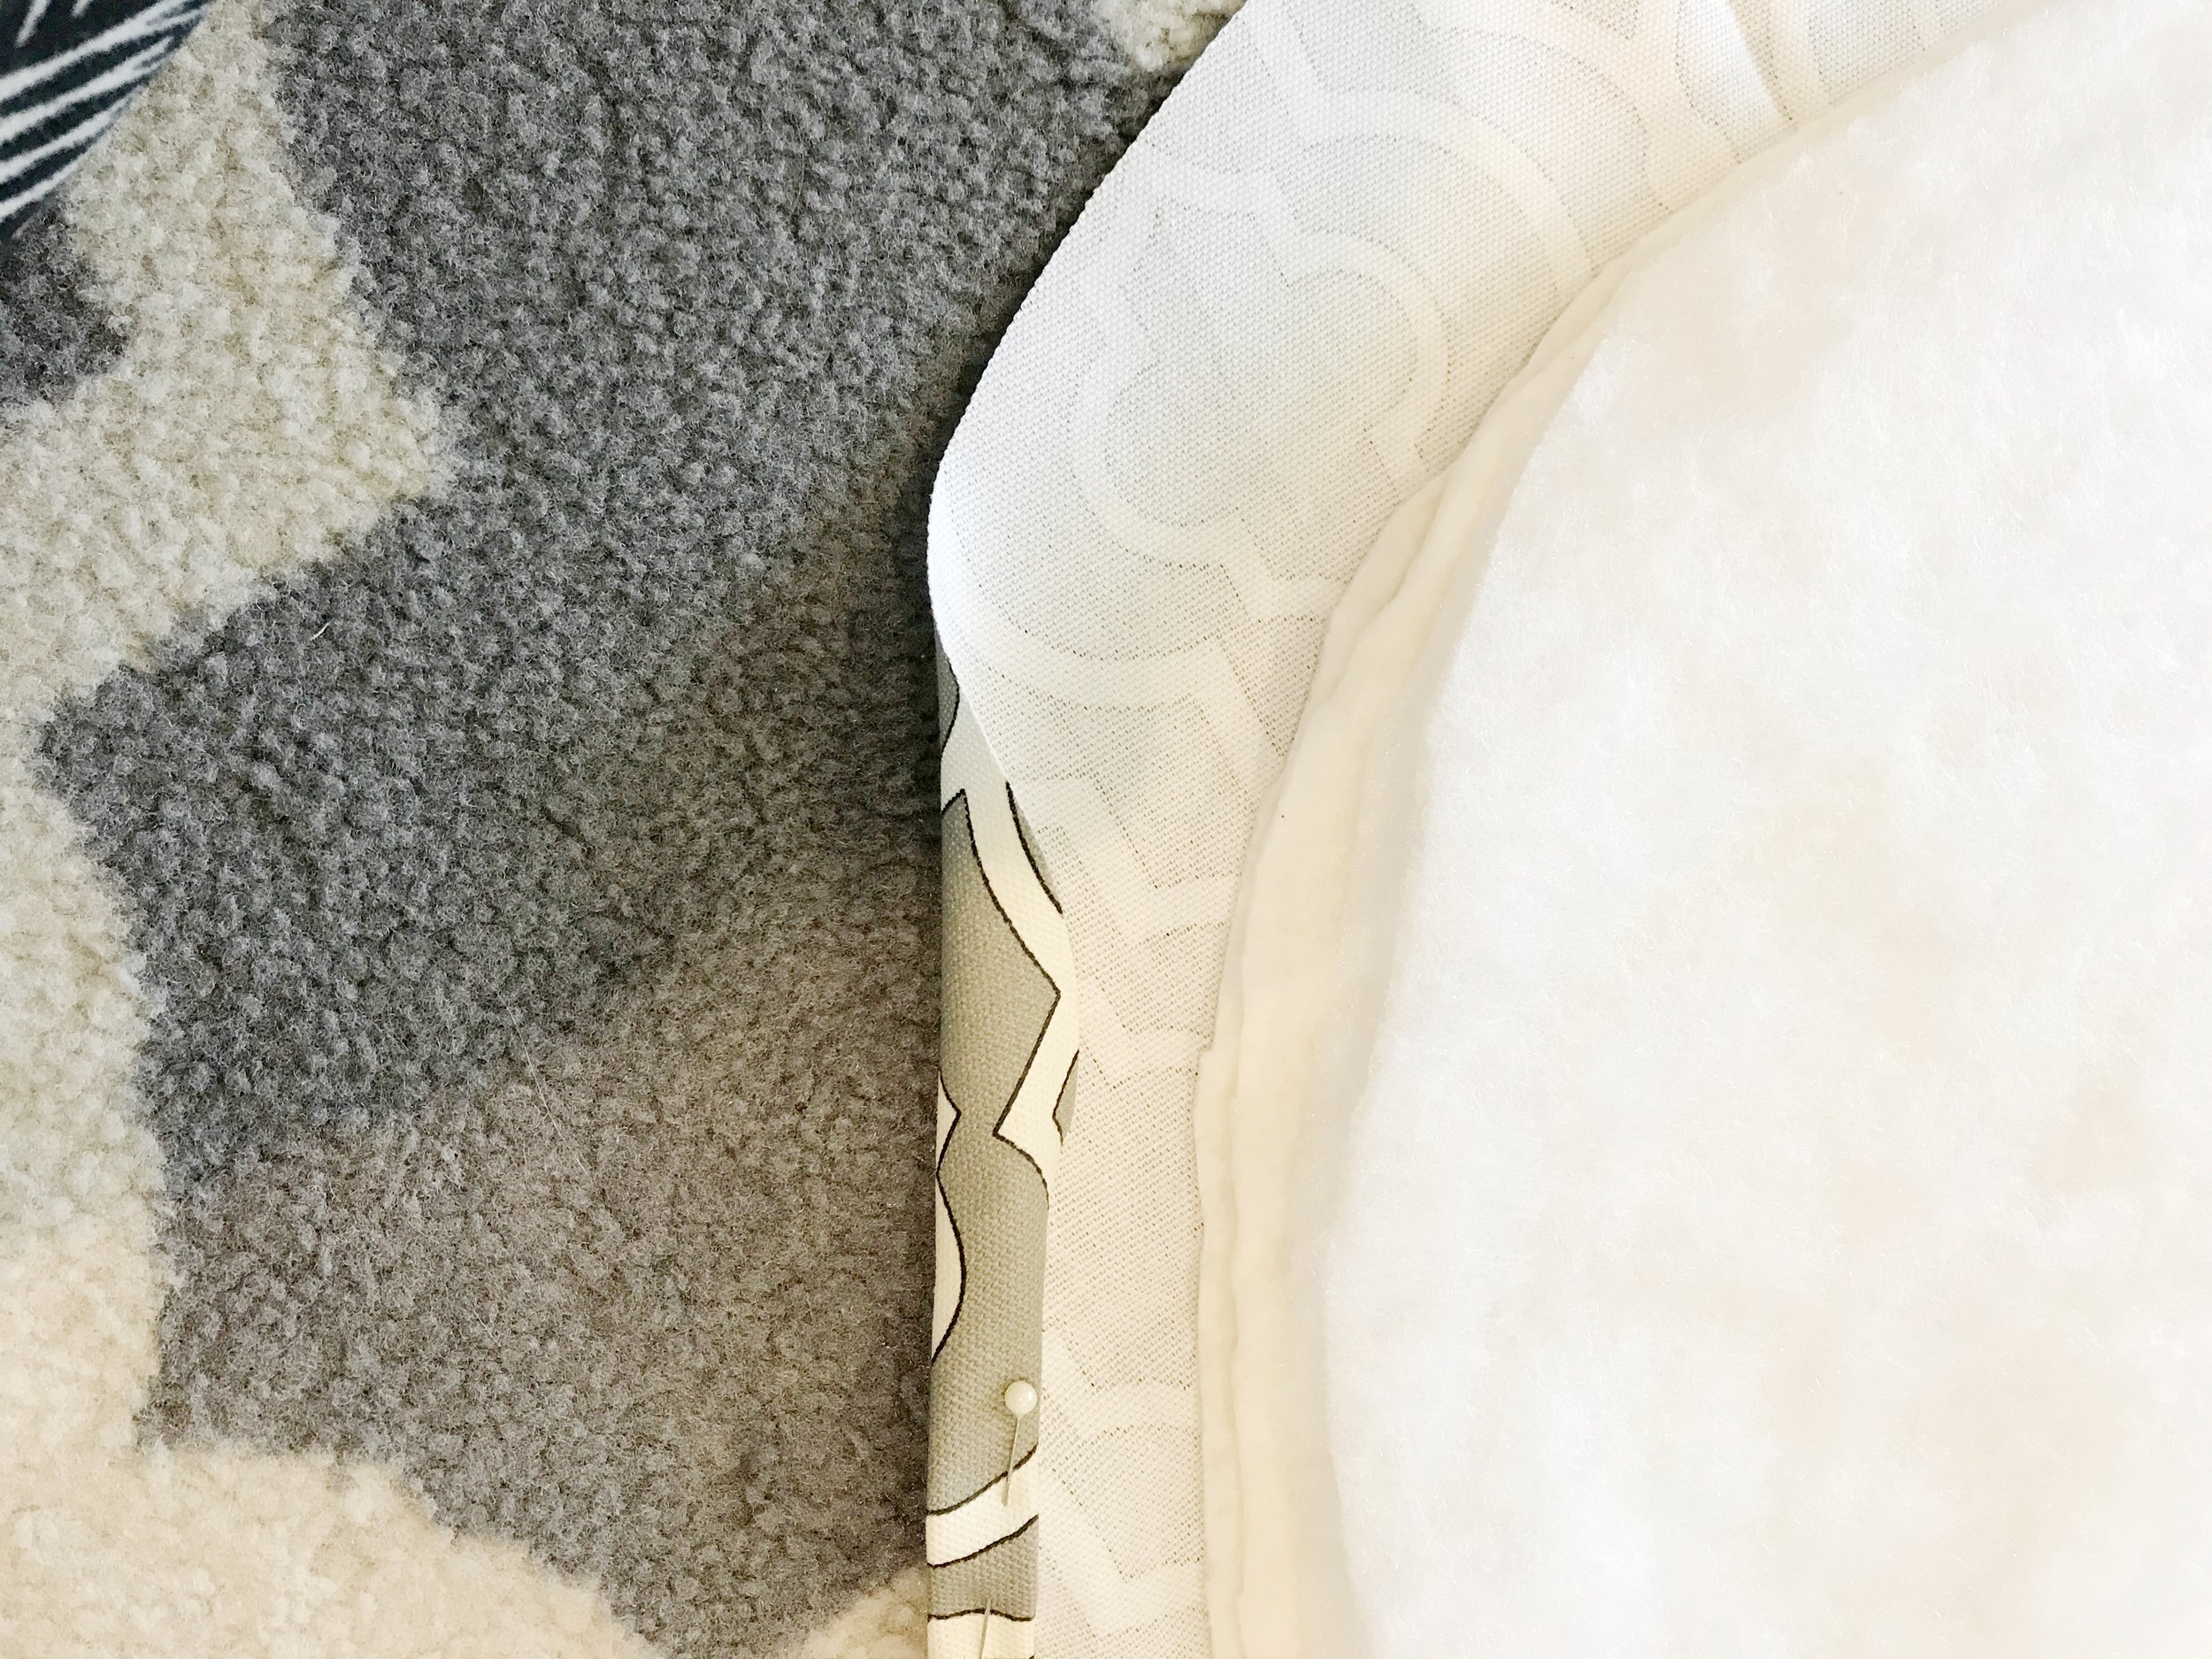
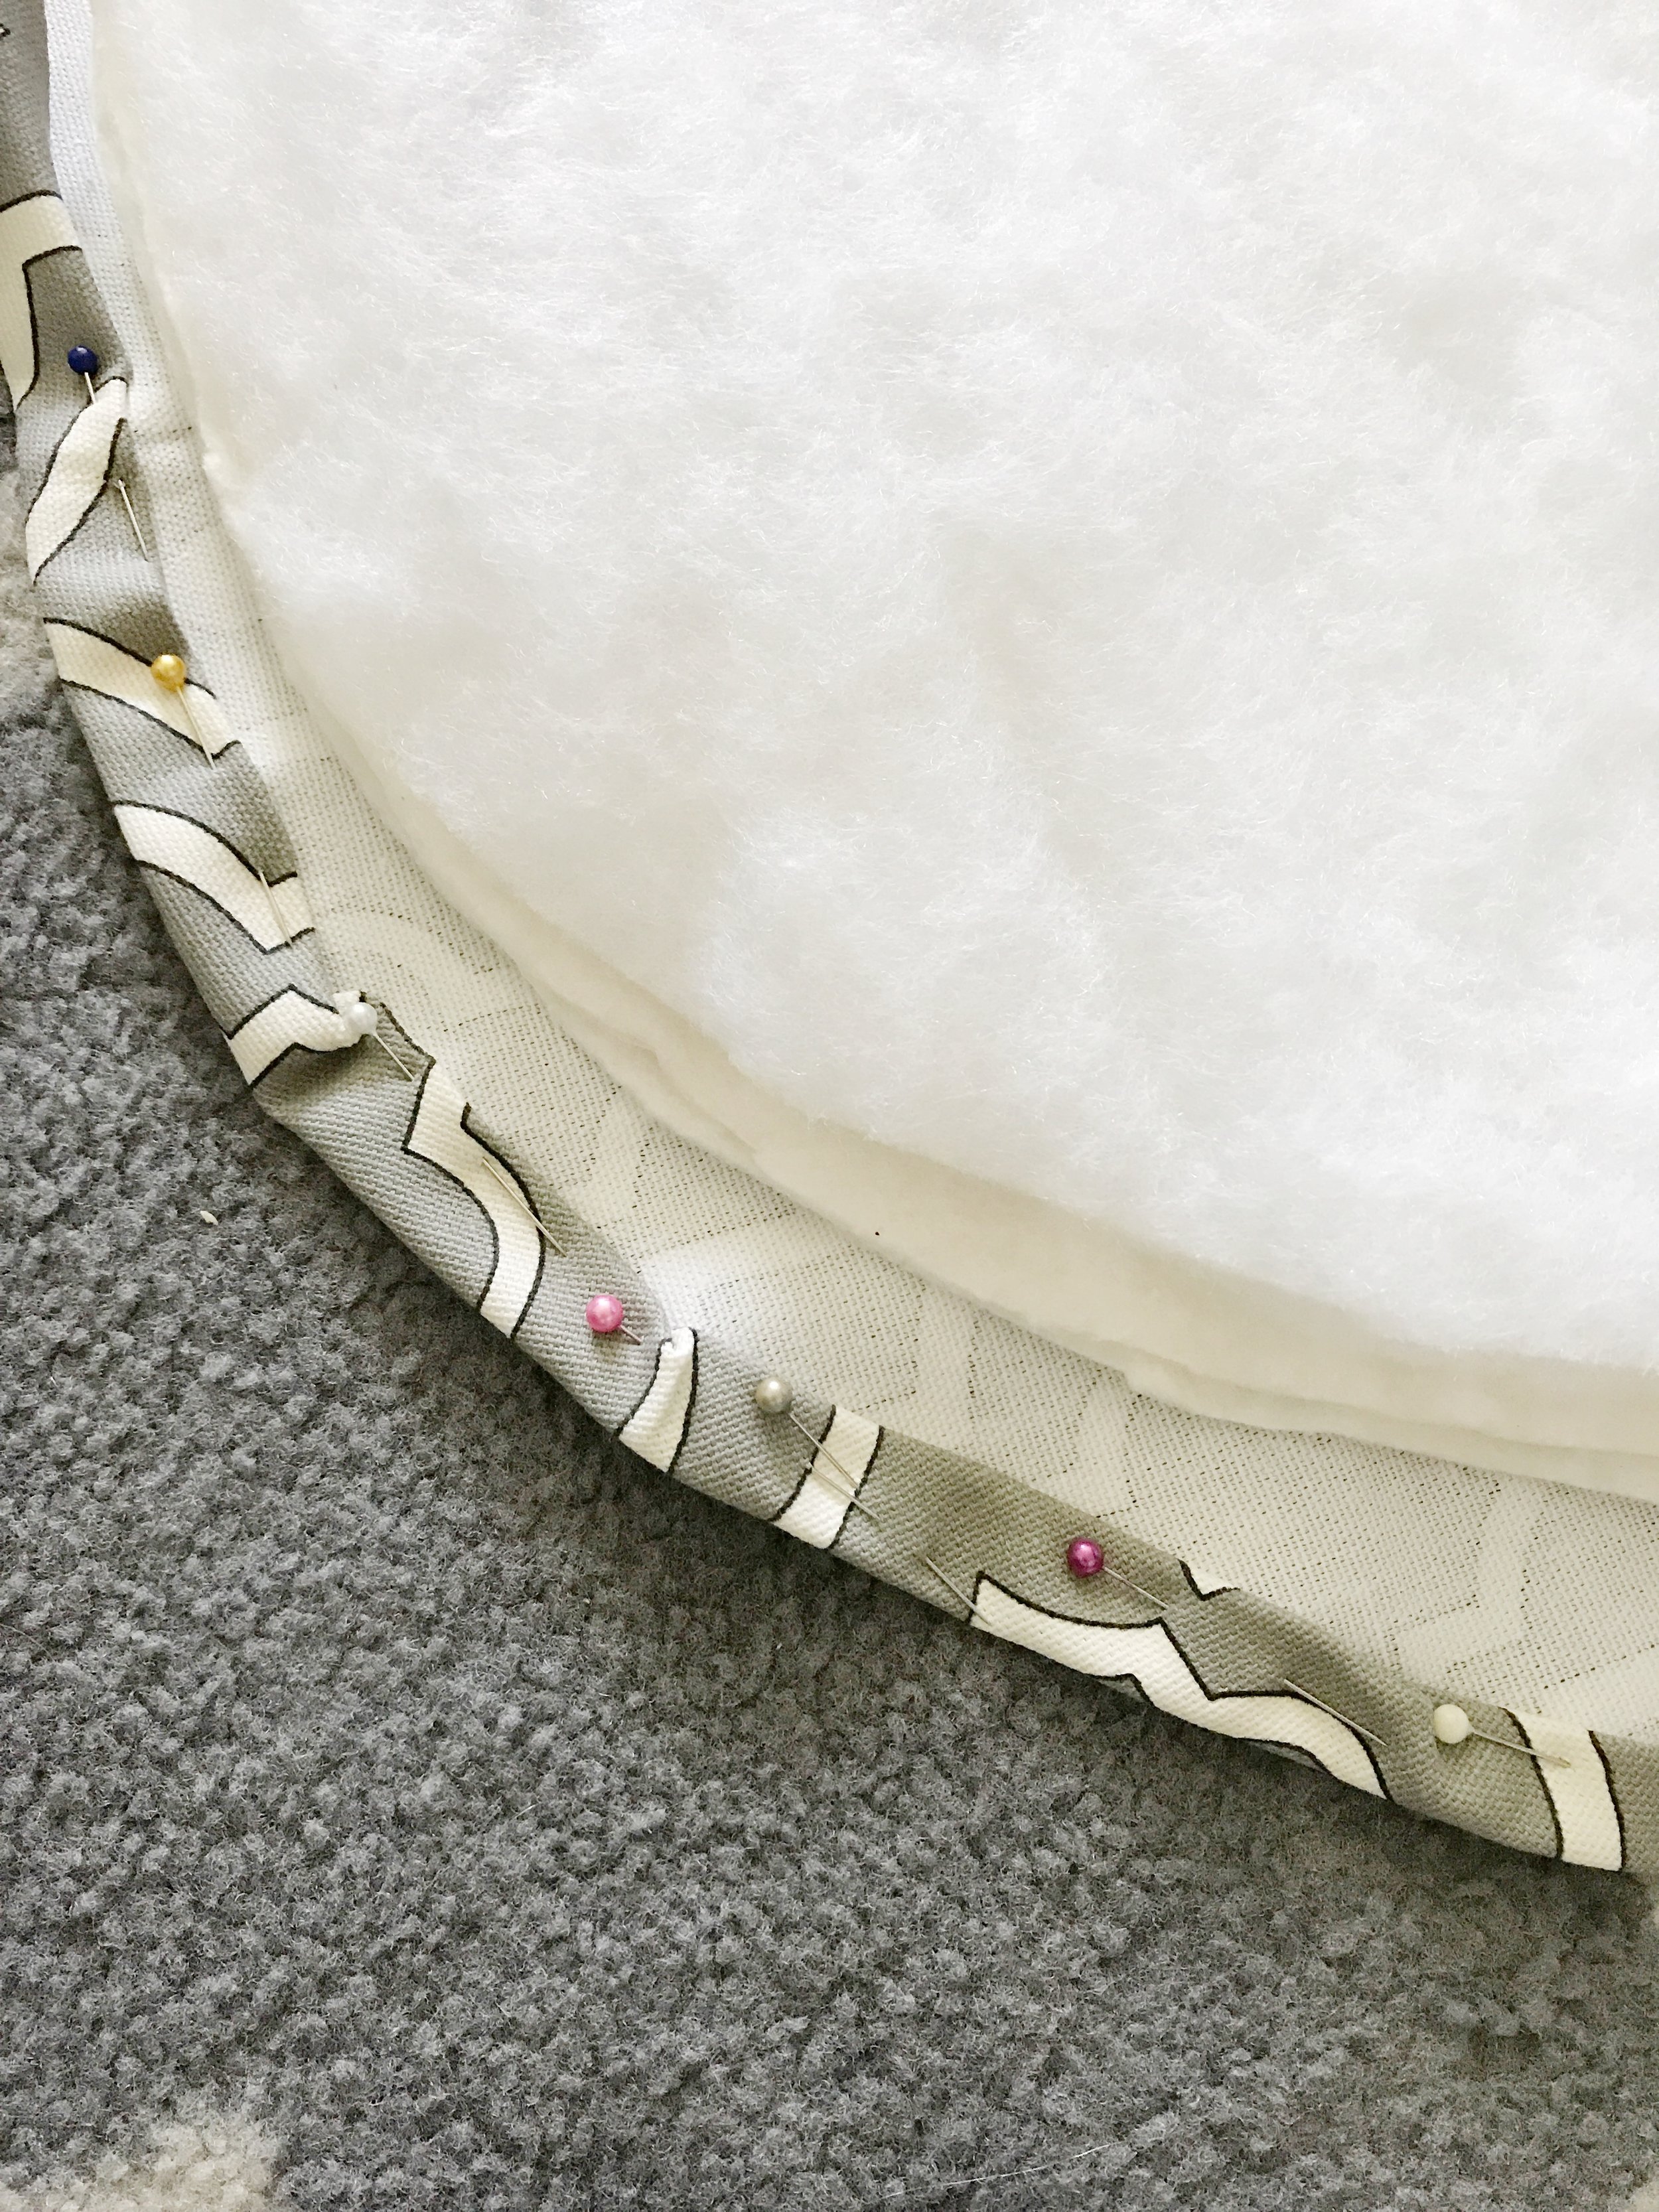
Then it was time to sew the tube for elastic to feed through. Starting on one side I rolled the edge over twice and pinned it in place. The curves were a bit tricky so I had to overlap the edges in some areas. As long as you still have enough space to feed the elastic through it's okay if the edges pucker a bit since you won't see that part once it's on.

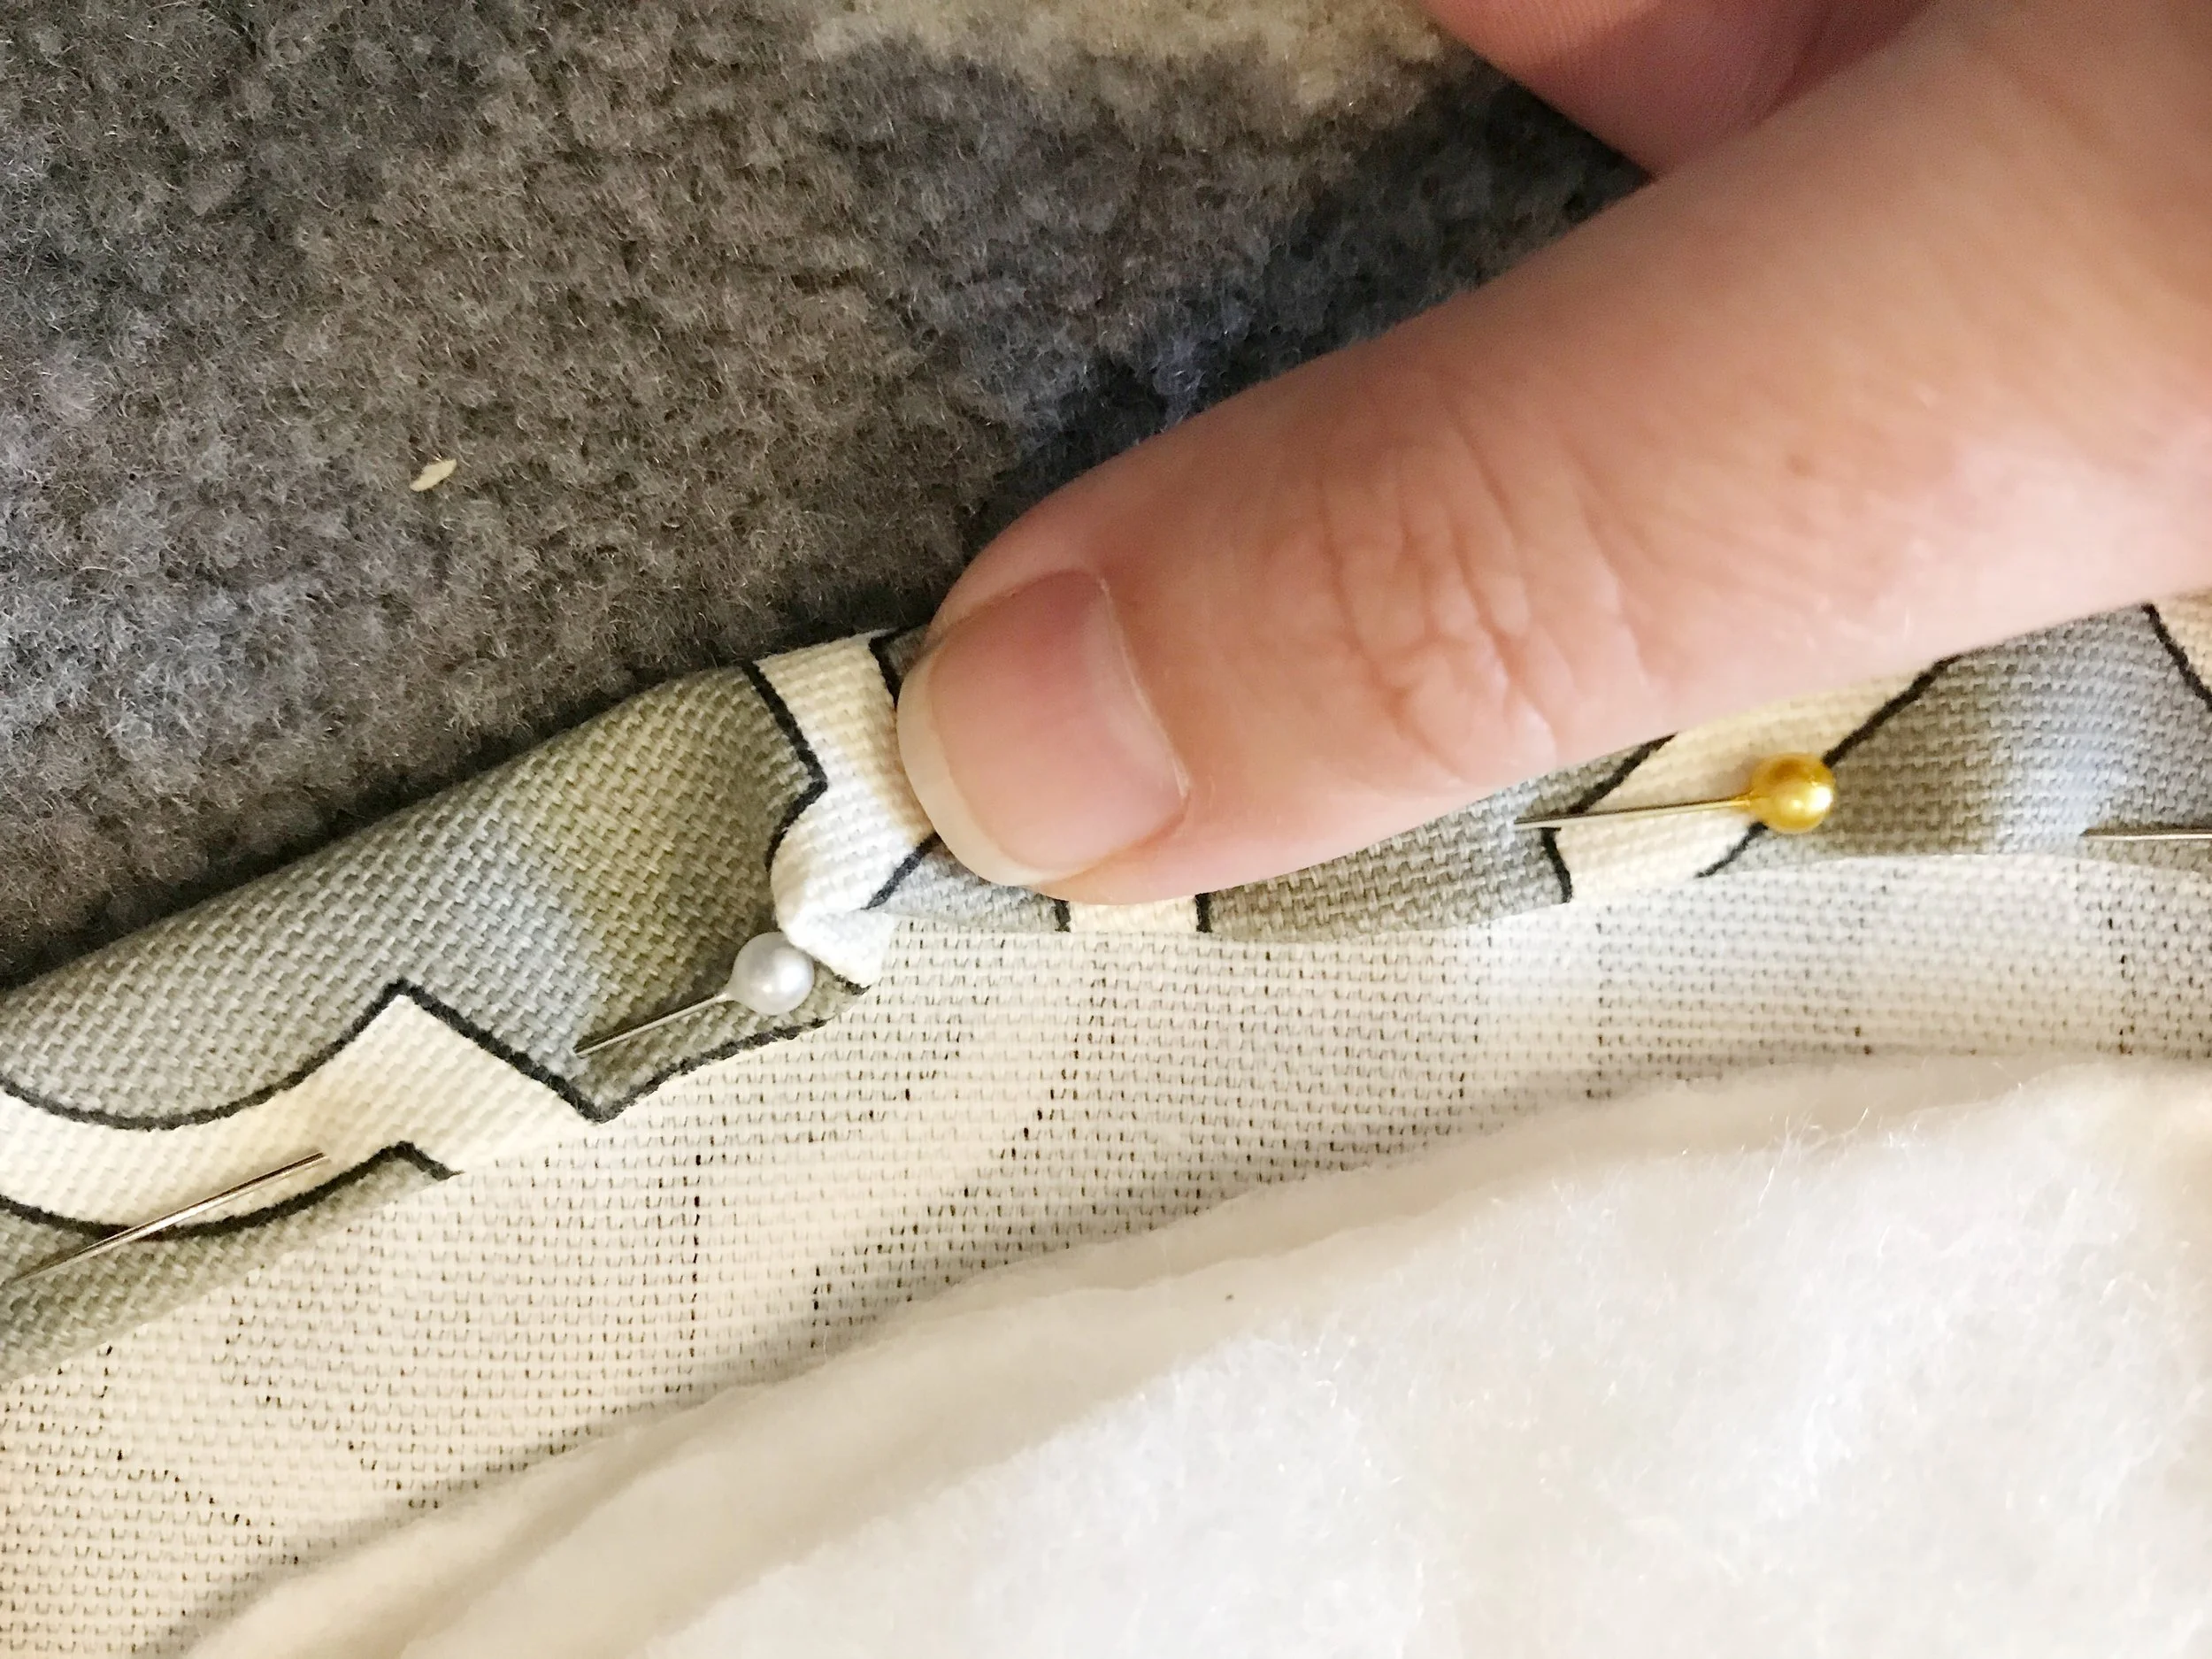
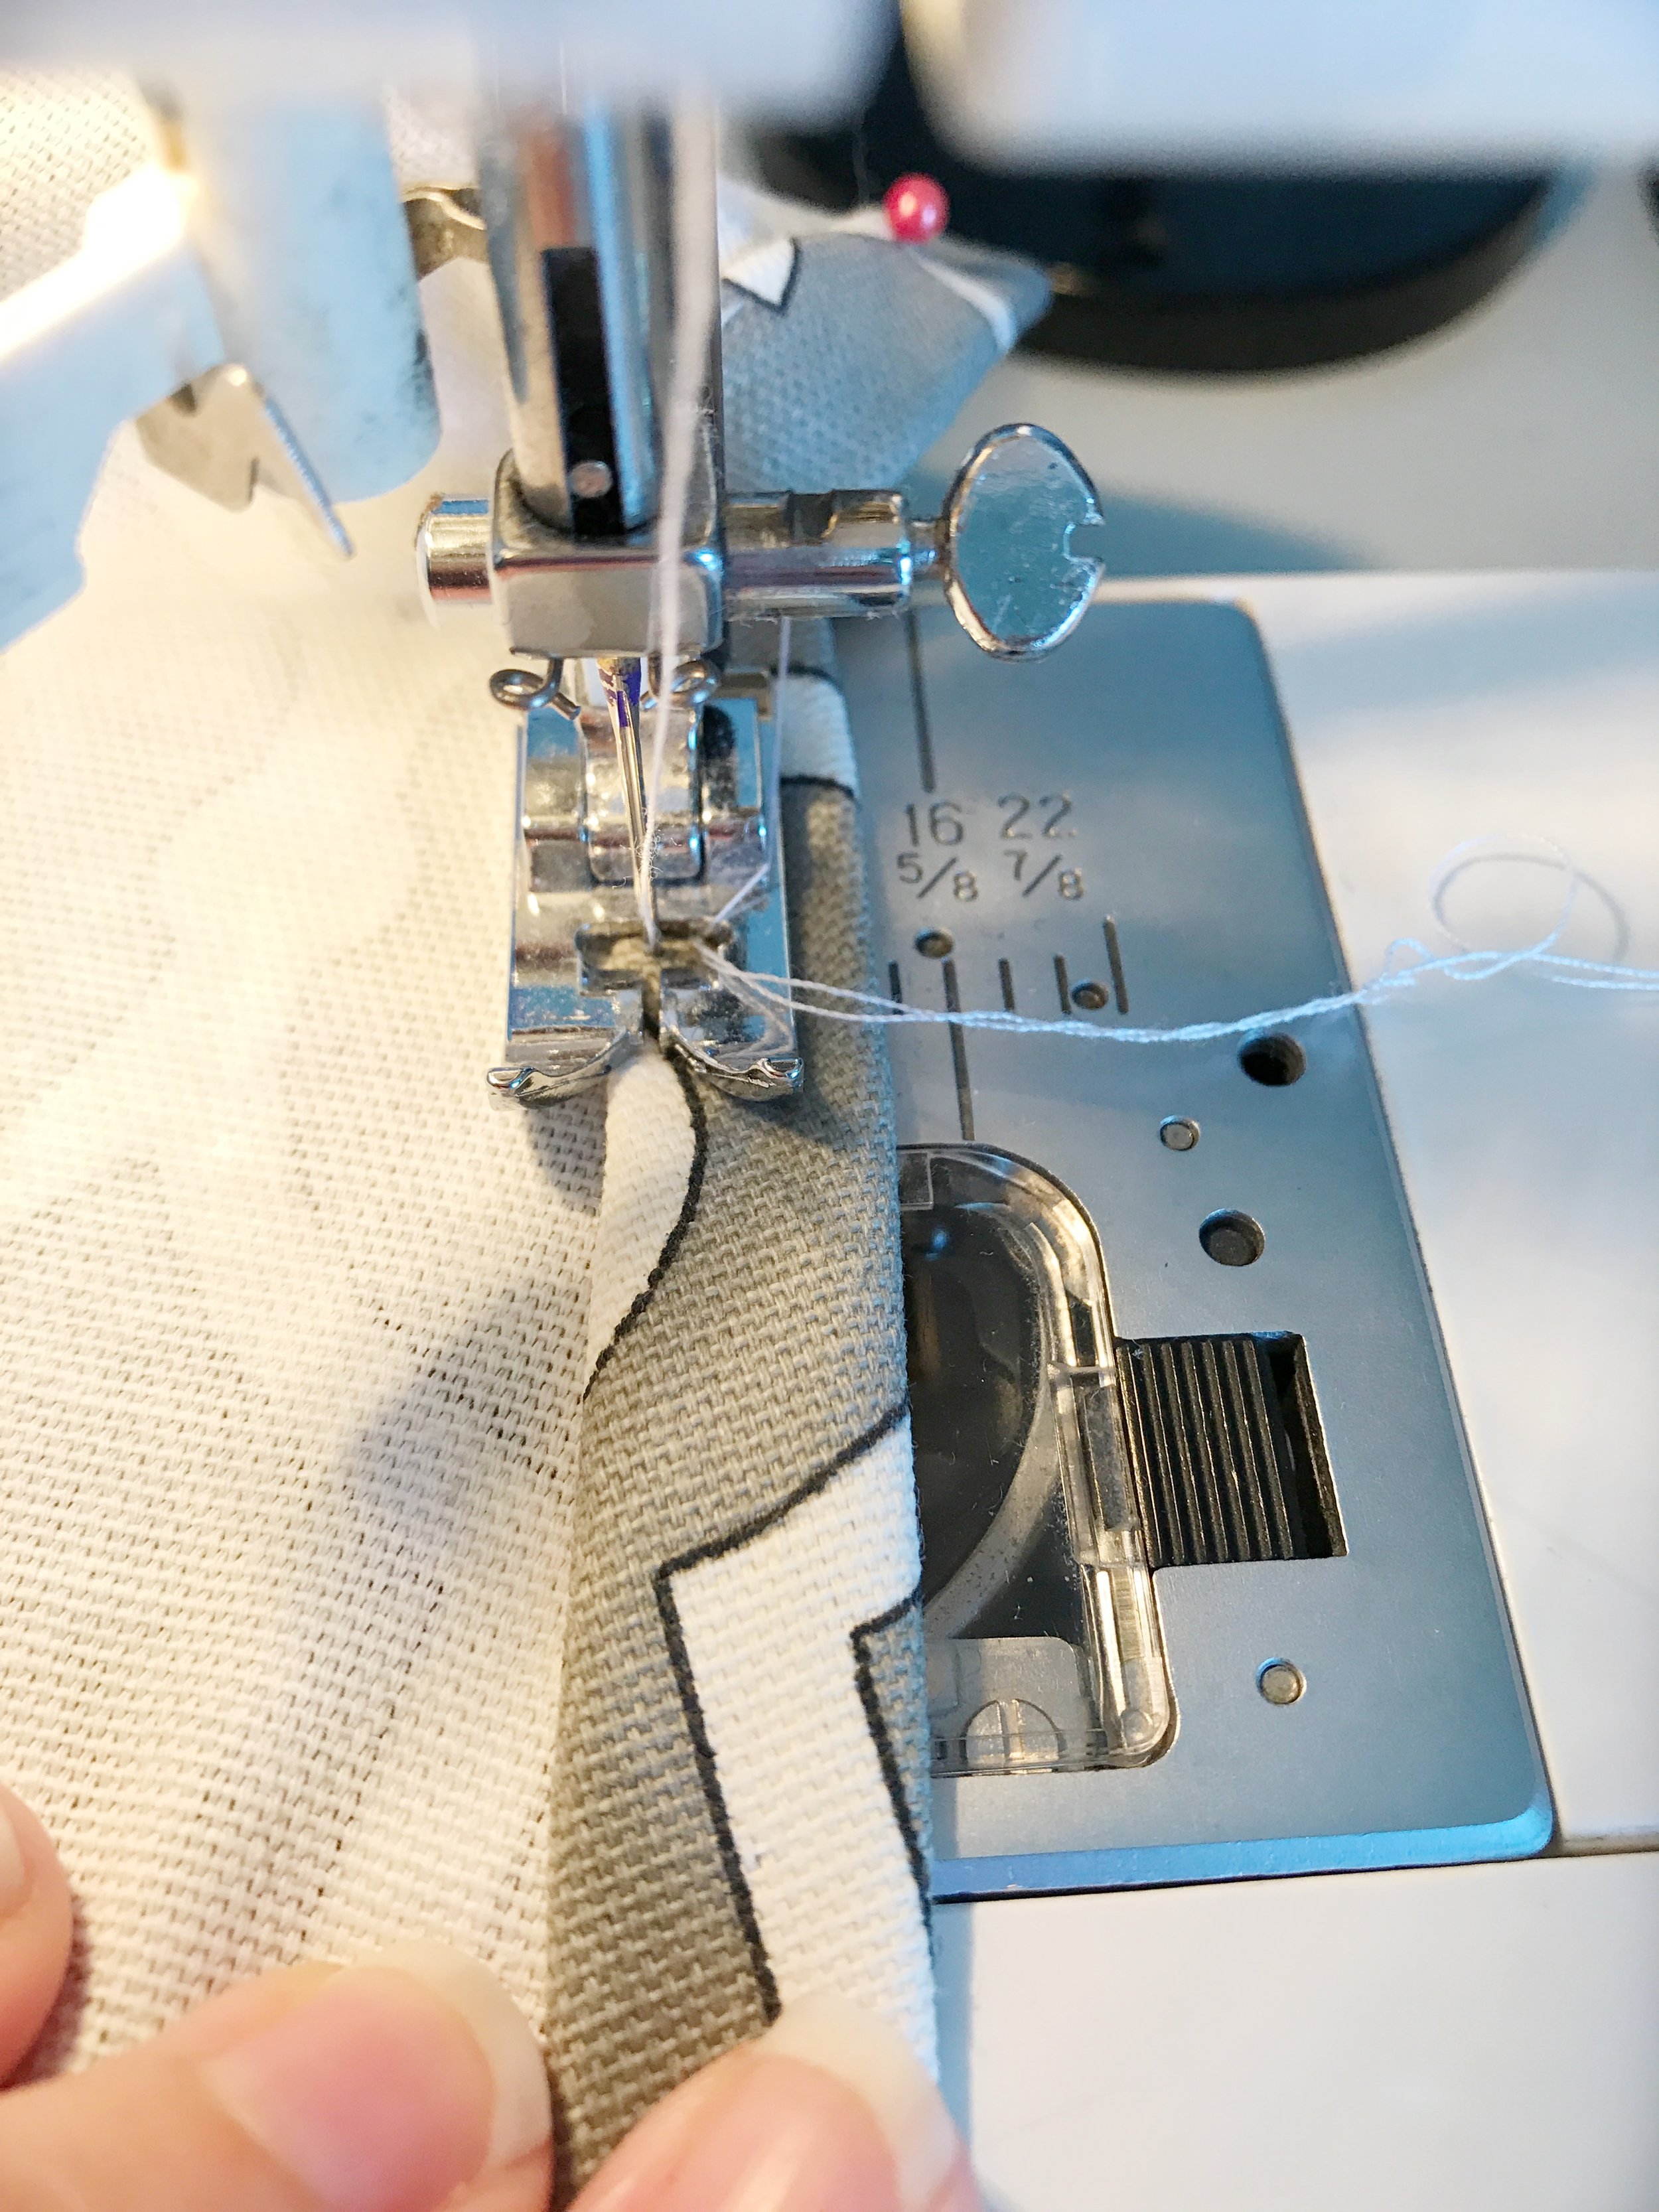
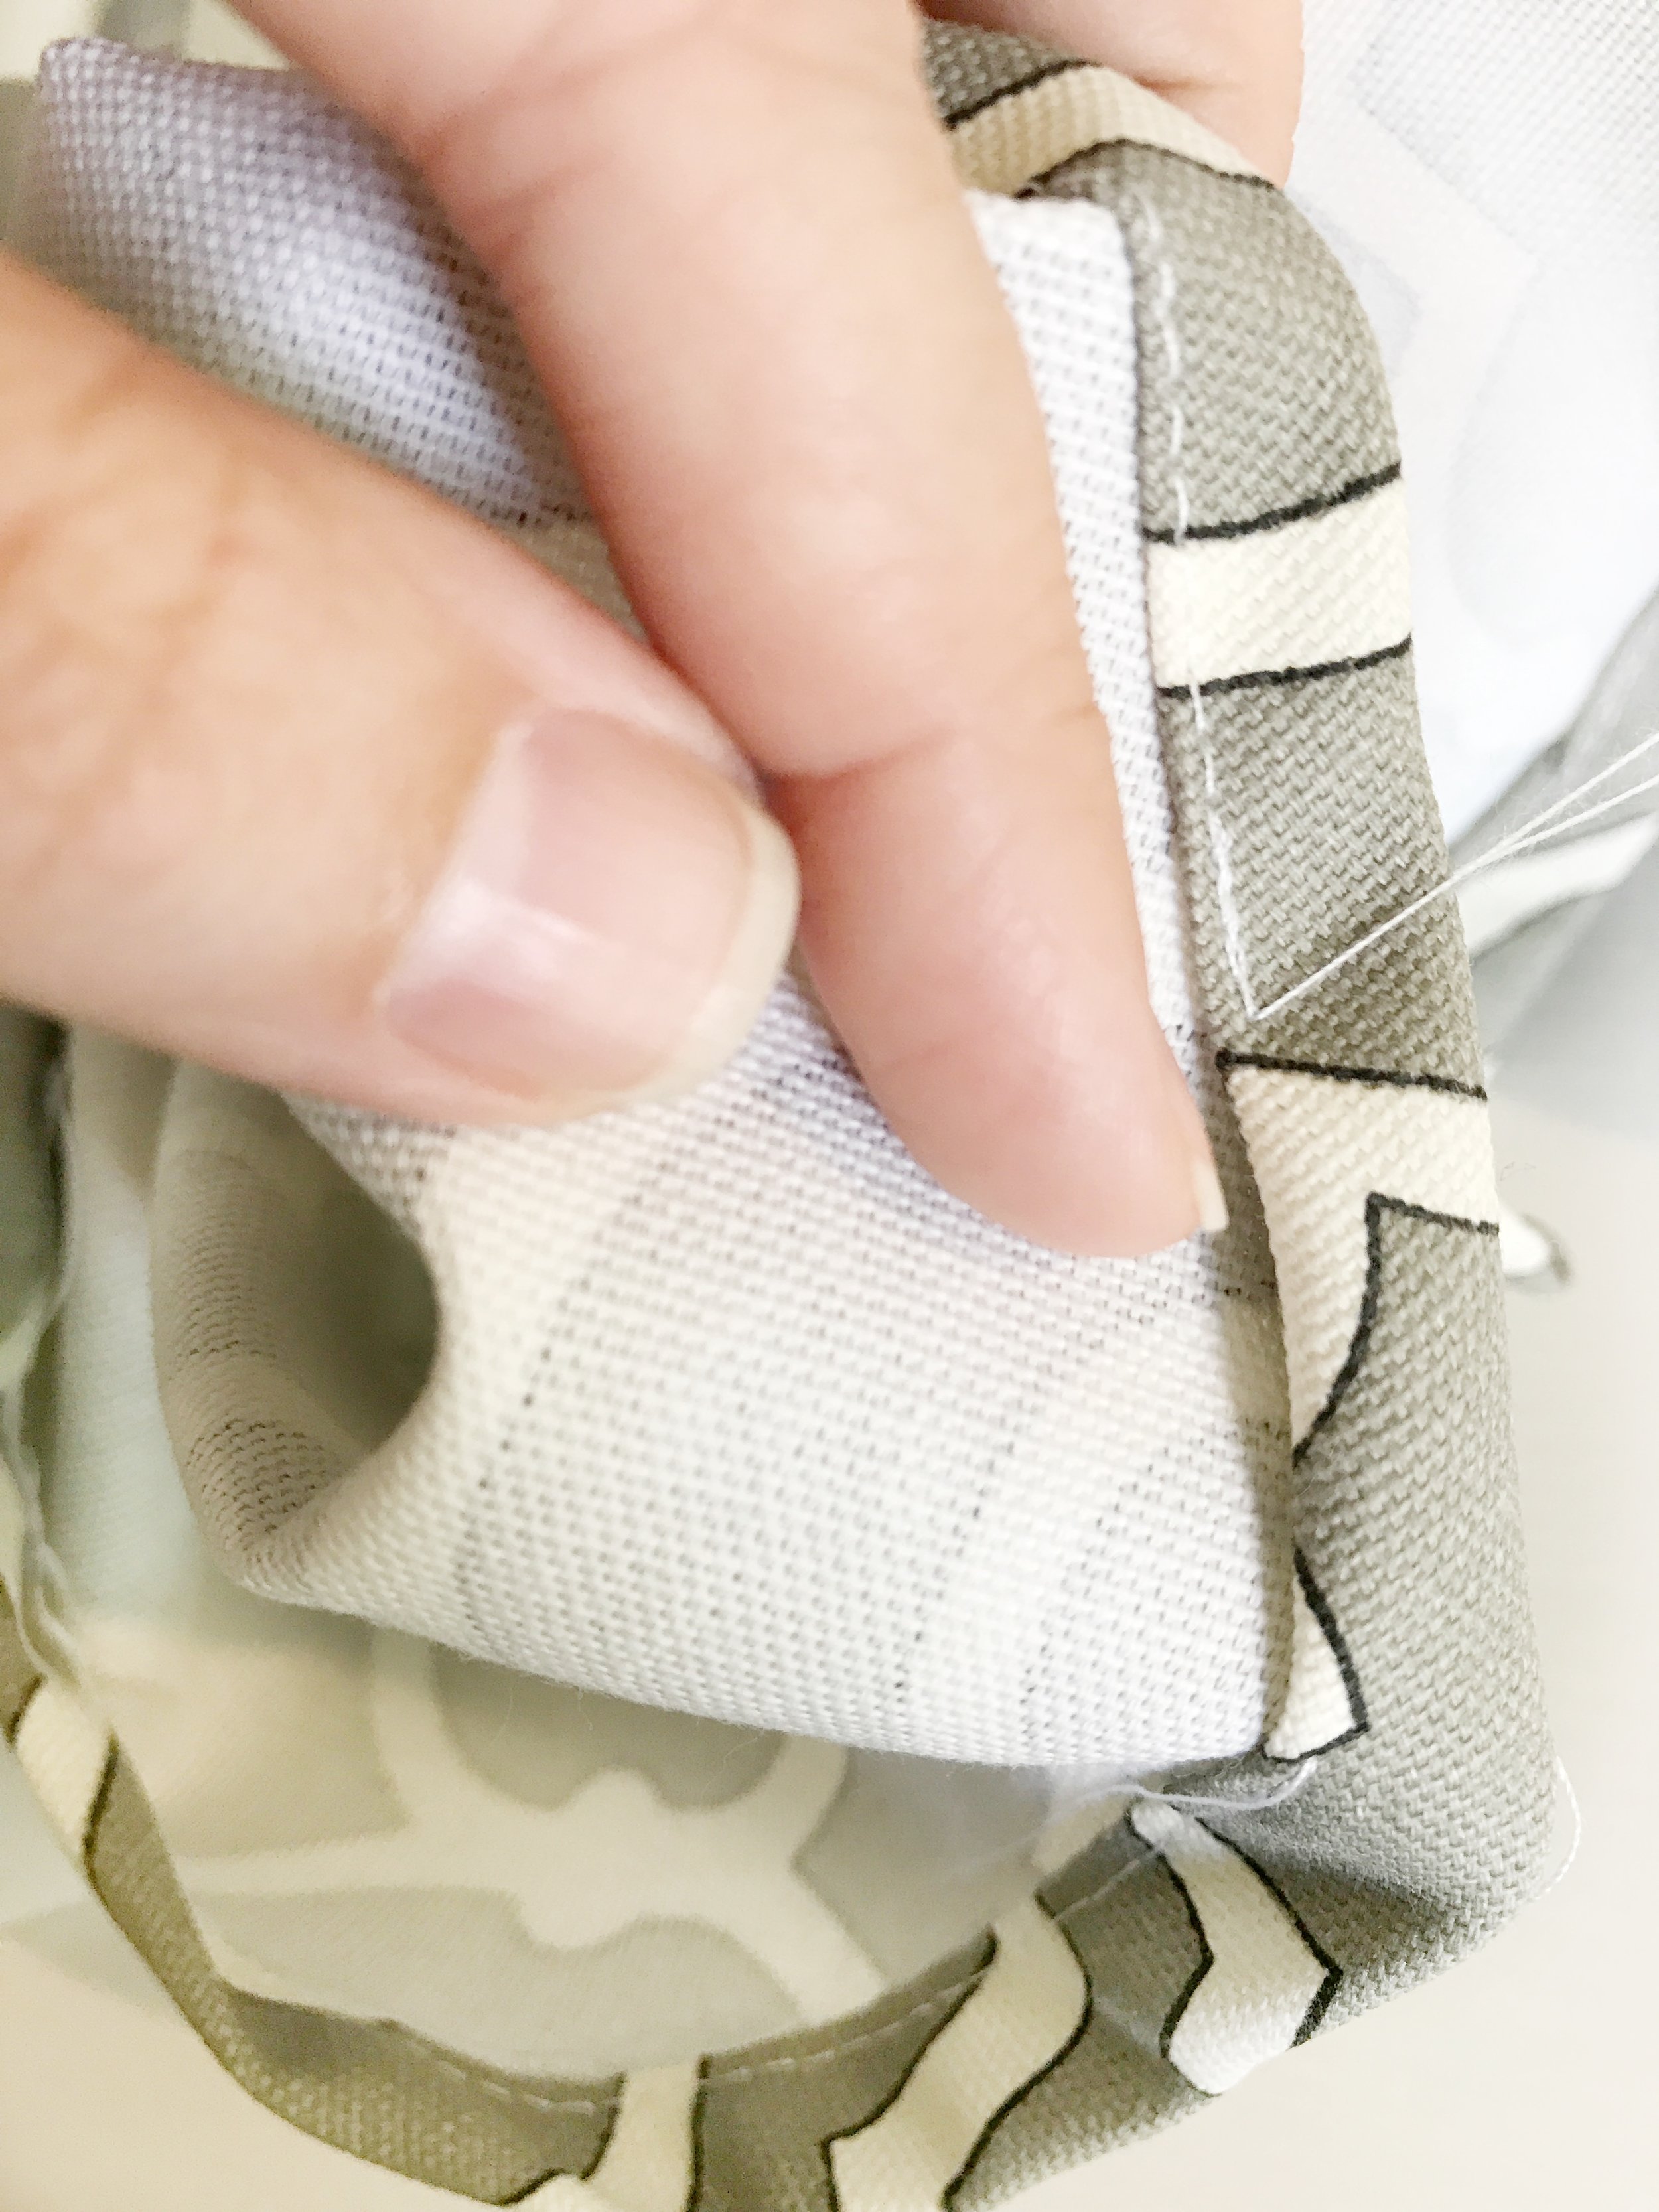
Then it was time to sew! I sewed as close to the edge as possible all the way around while leaving about 2 inches open for inserting the elastic.
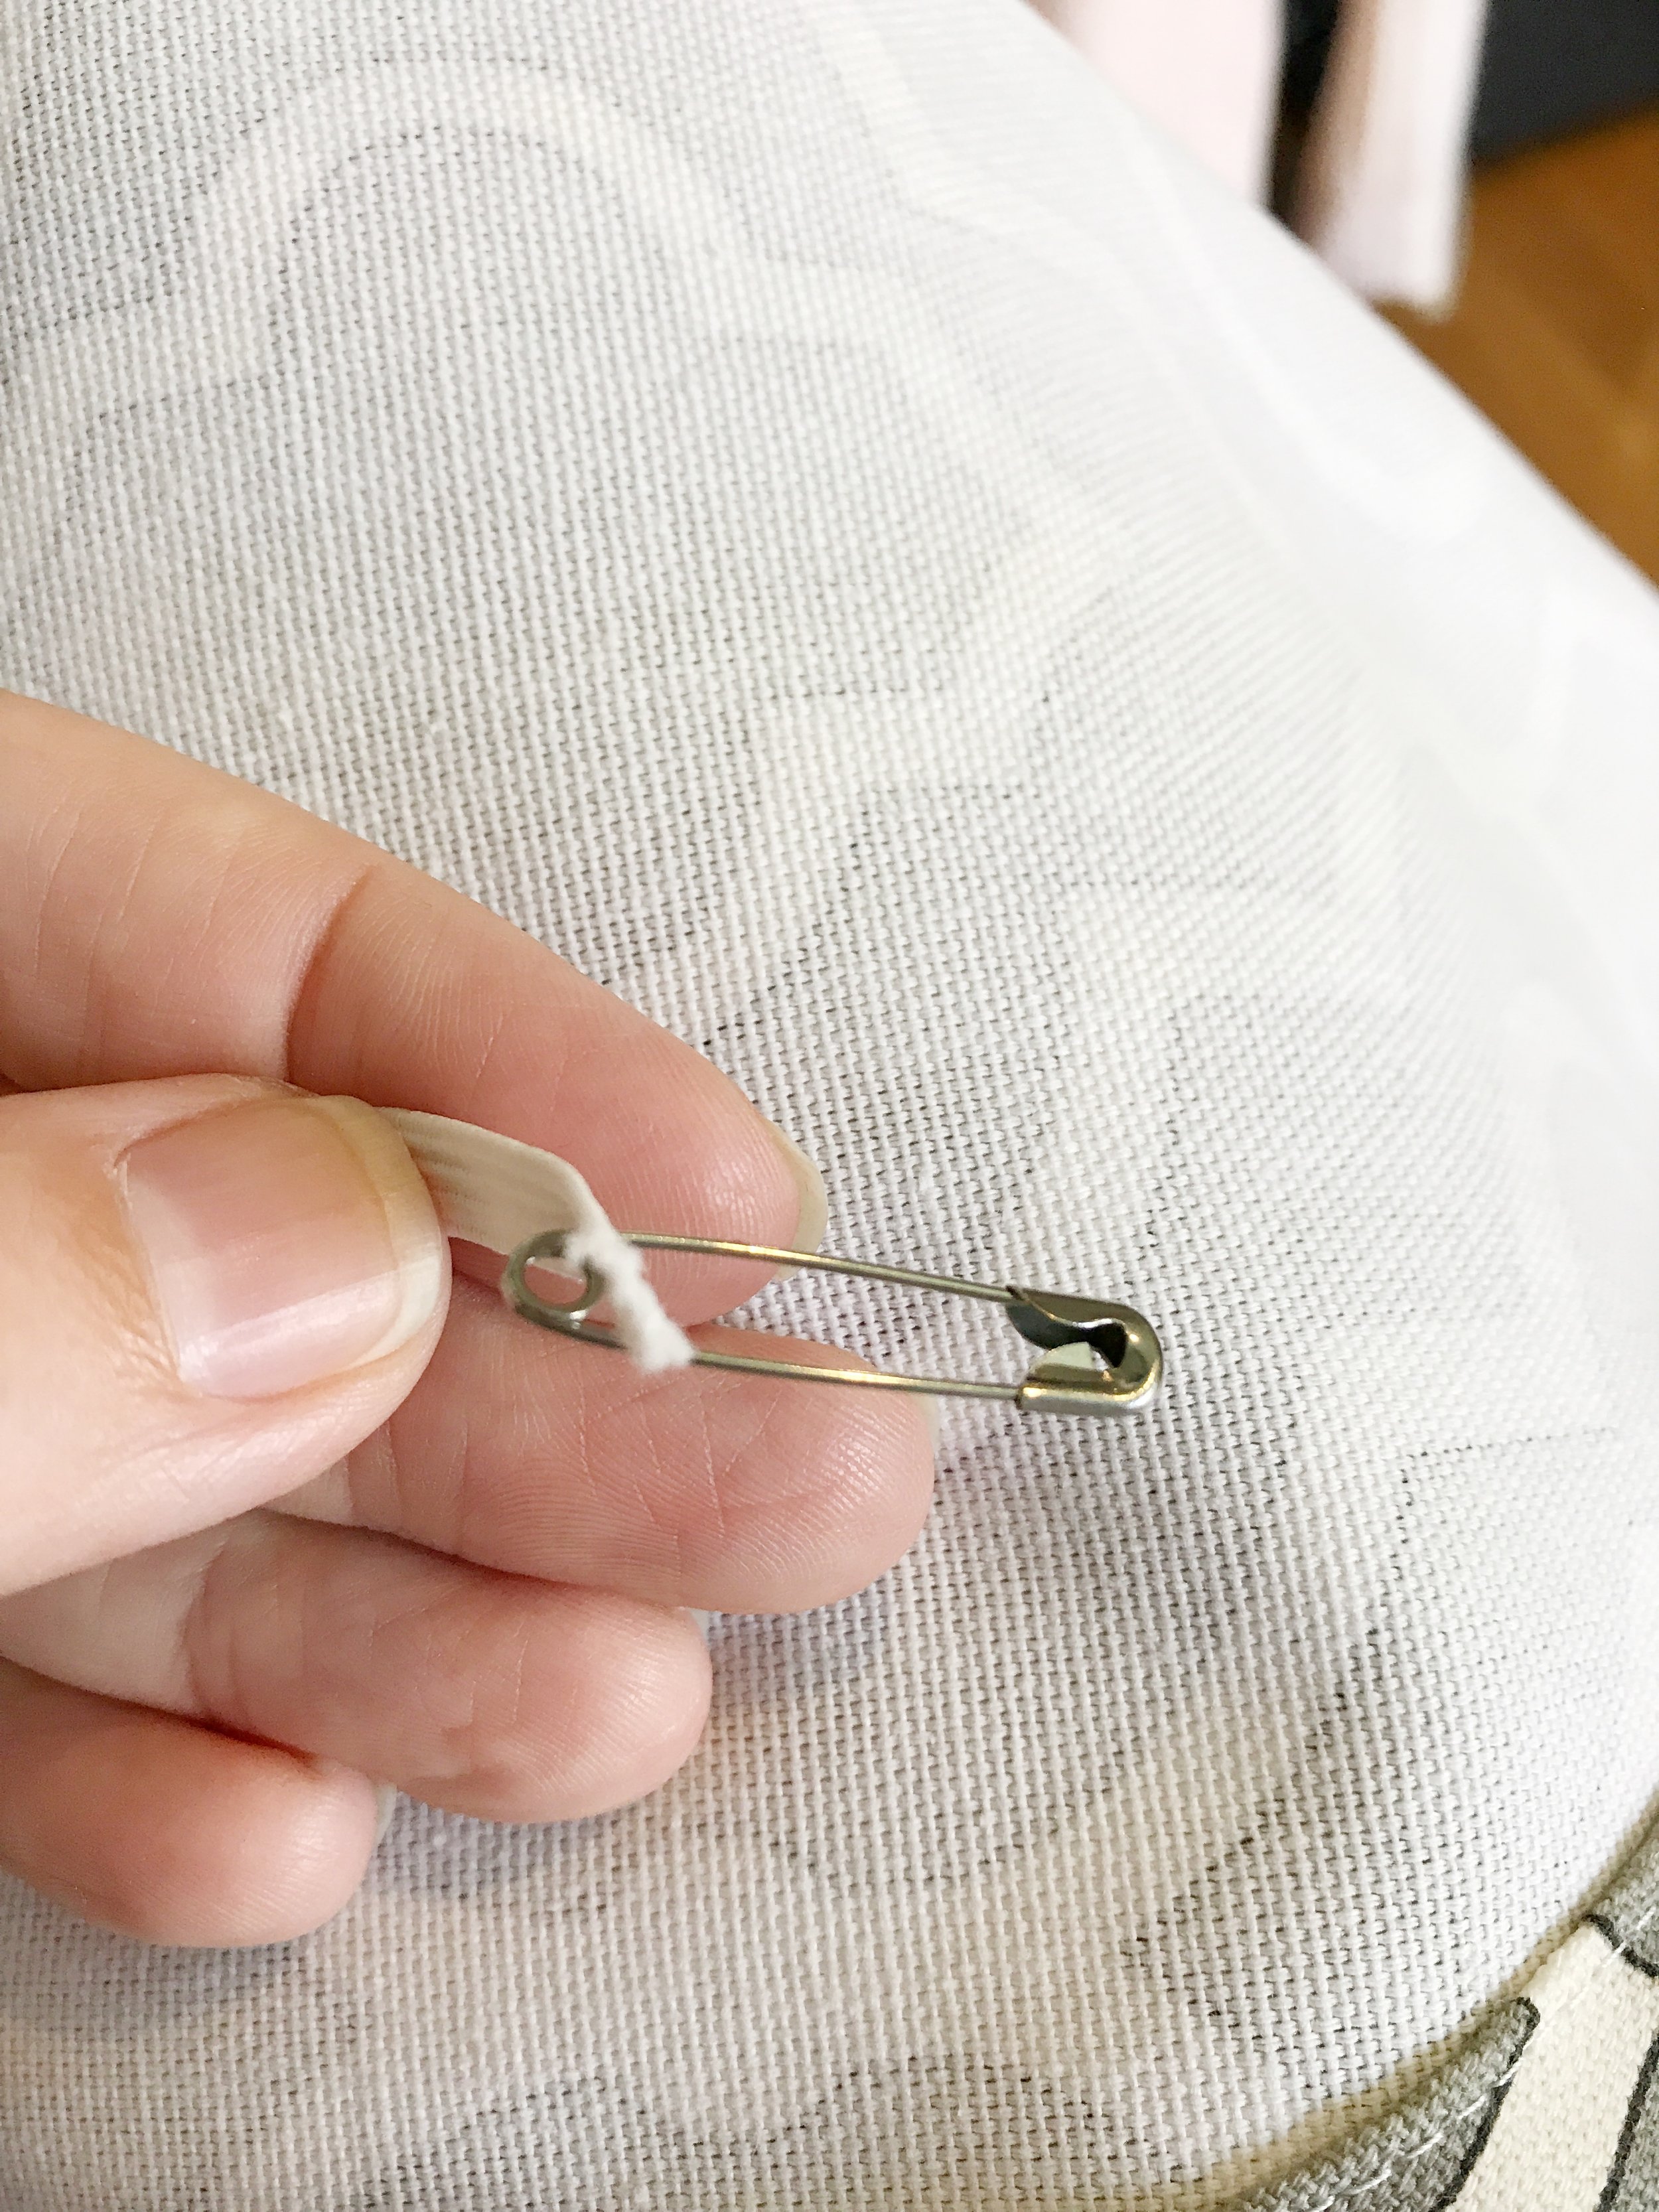
I then attached a safety pin to one end of the elastic and fed it through the tube I just created all the way around. It took a while and I had to go slow and ease the fabric apart as it bunched up. Once it is all the way through try to ease the fabric around so there is a somewhat even amount of elastic coming out of either end. Make sure as you do that you don't loose the non safety pinned end inside the tube. (I might know this from experience.)
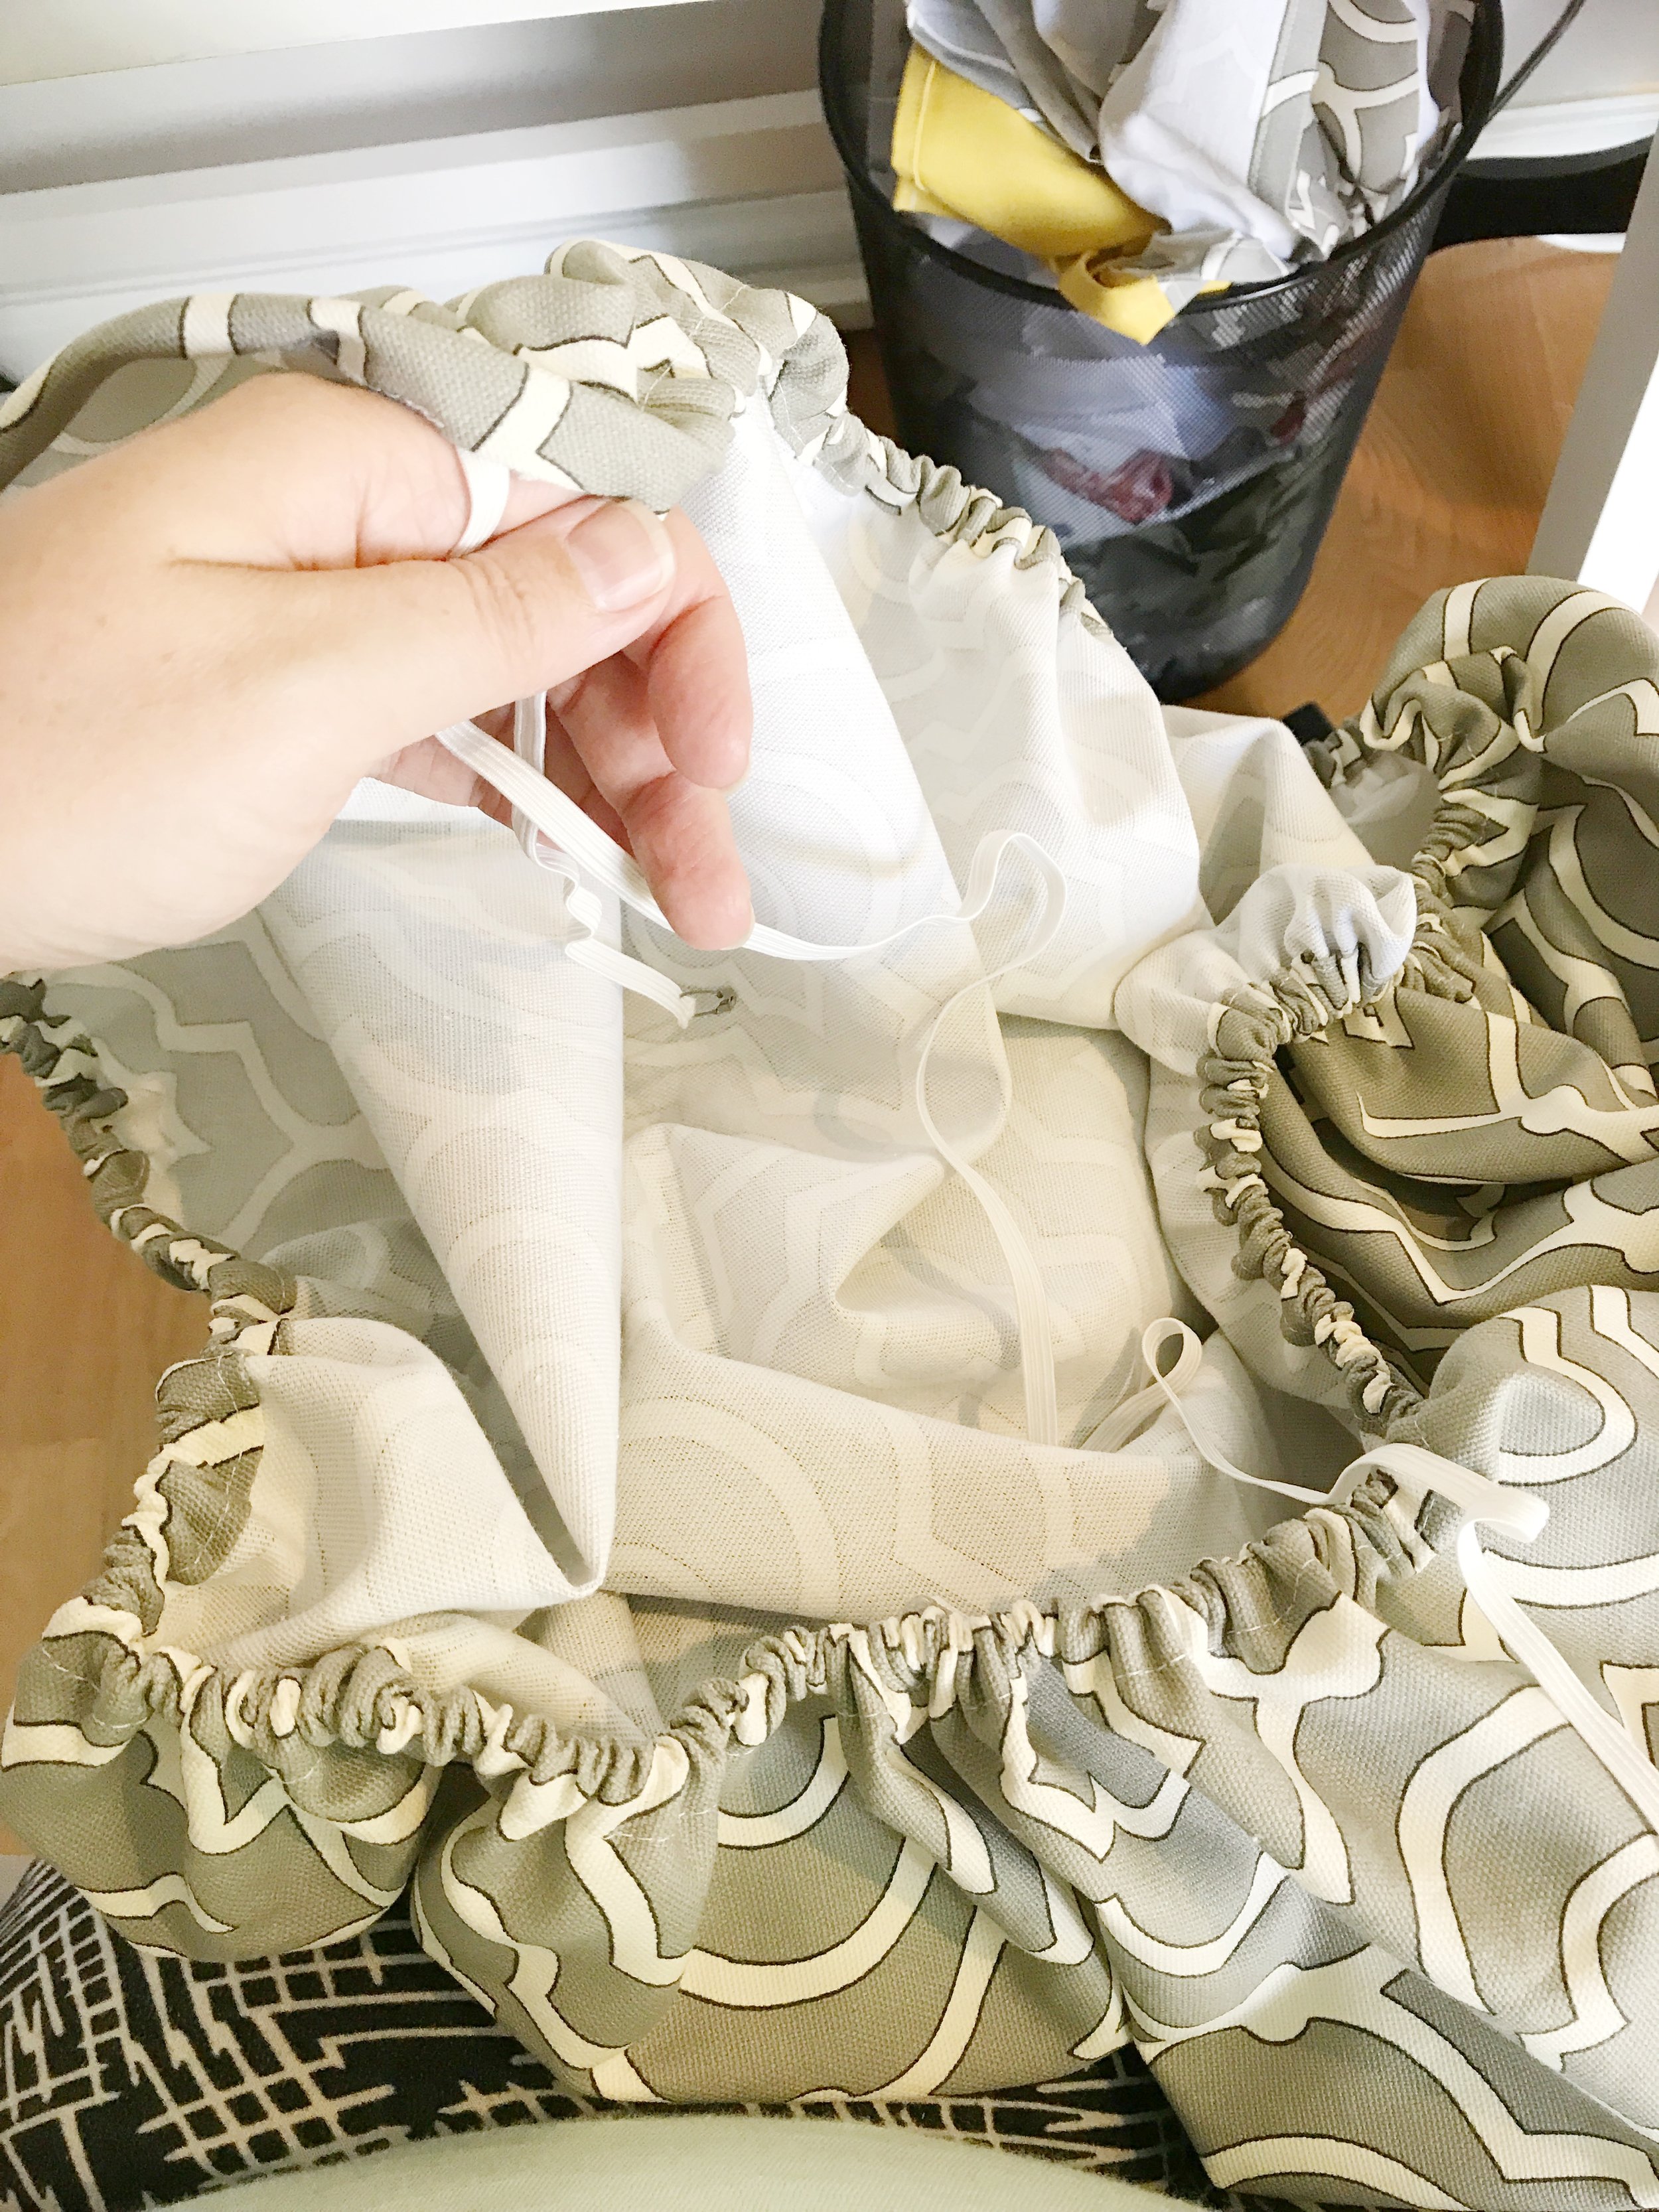
Then it was time to put it all together! I set the layers of batting on the top of the ironing board and then carefully put the cover on top, gently easing it in between the board and the iron holder. Once I had it in place I made sure that the batting was where it needed to be and that the cover looked even all the way around. Finally, I tied the ends of the elastic together tightly and tucked the ends up under the cover.


![IMG_9364[1].JPG](https://images.squarespace-cdn.com/content/v1/5522f983e4b0b2e878096910/1506496694858-241T828KVUR2RP6OGUHA/IMG_9364%5B1%5D.JPG)
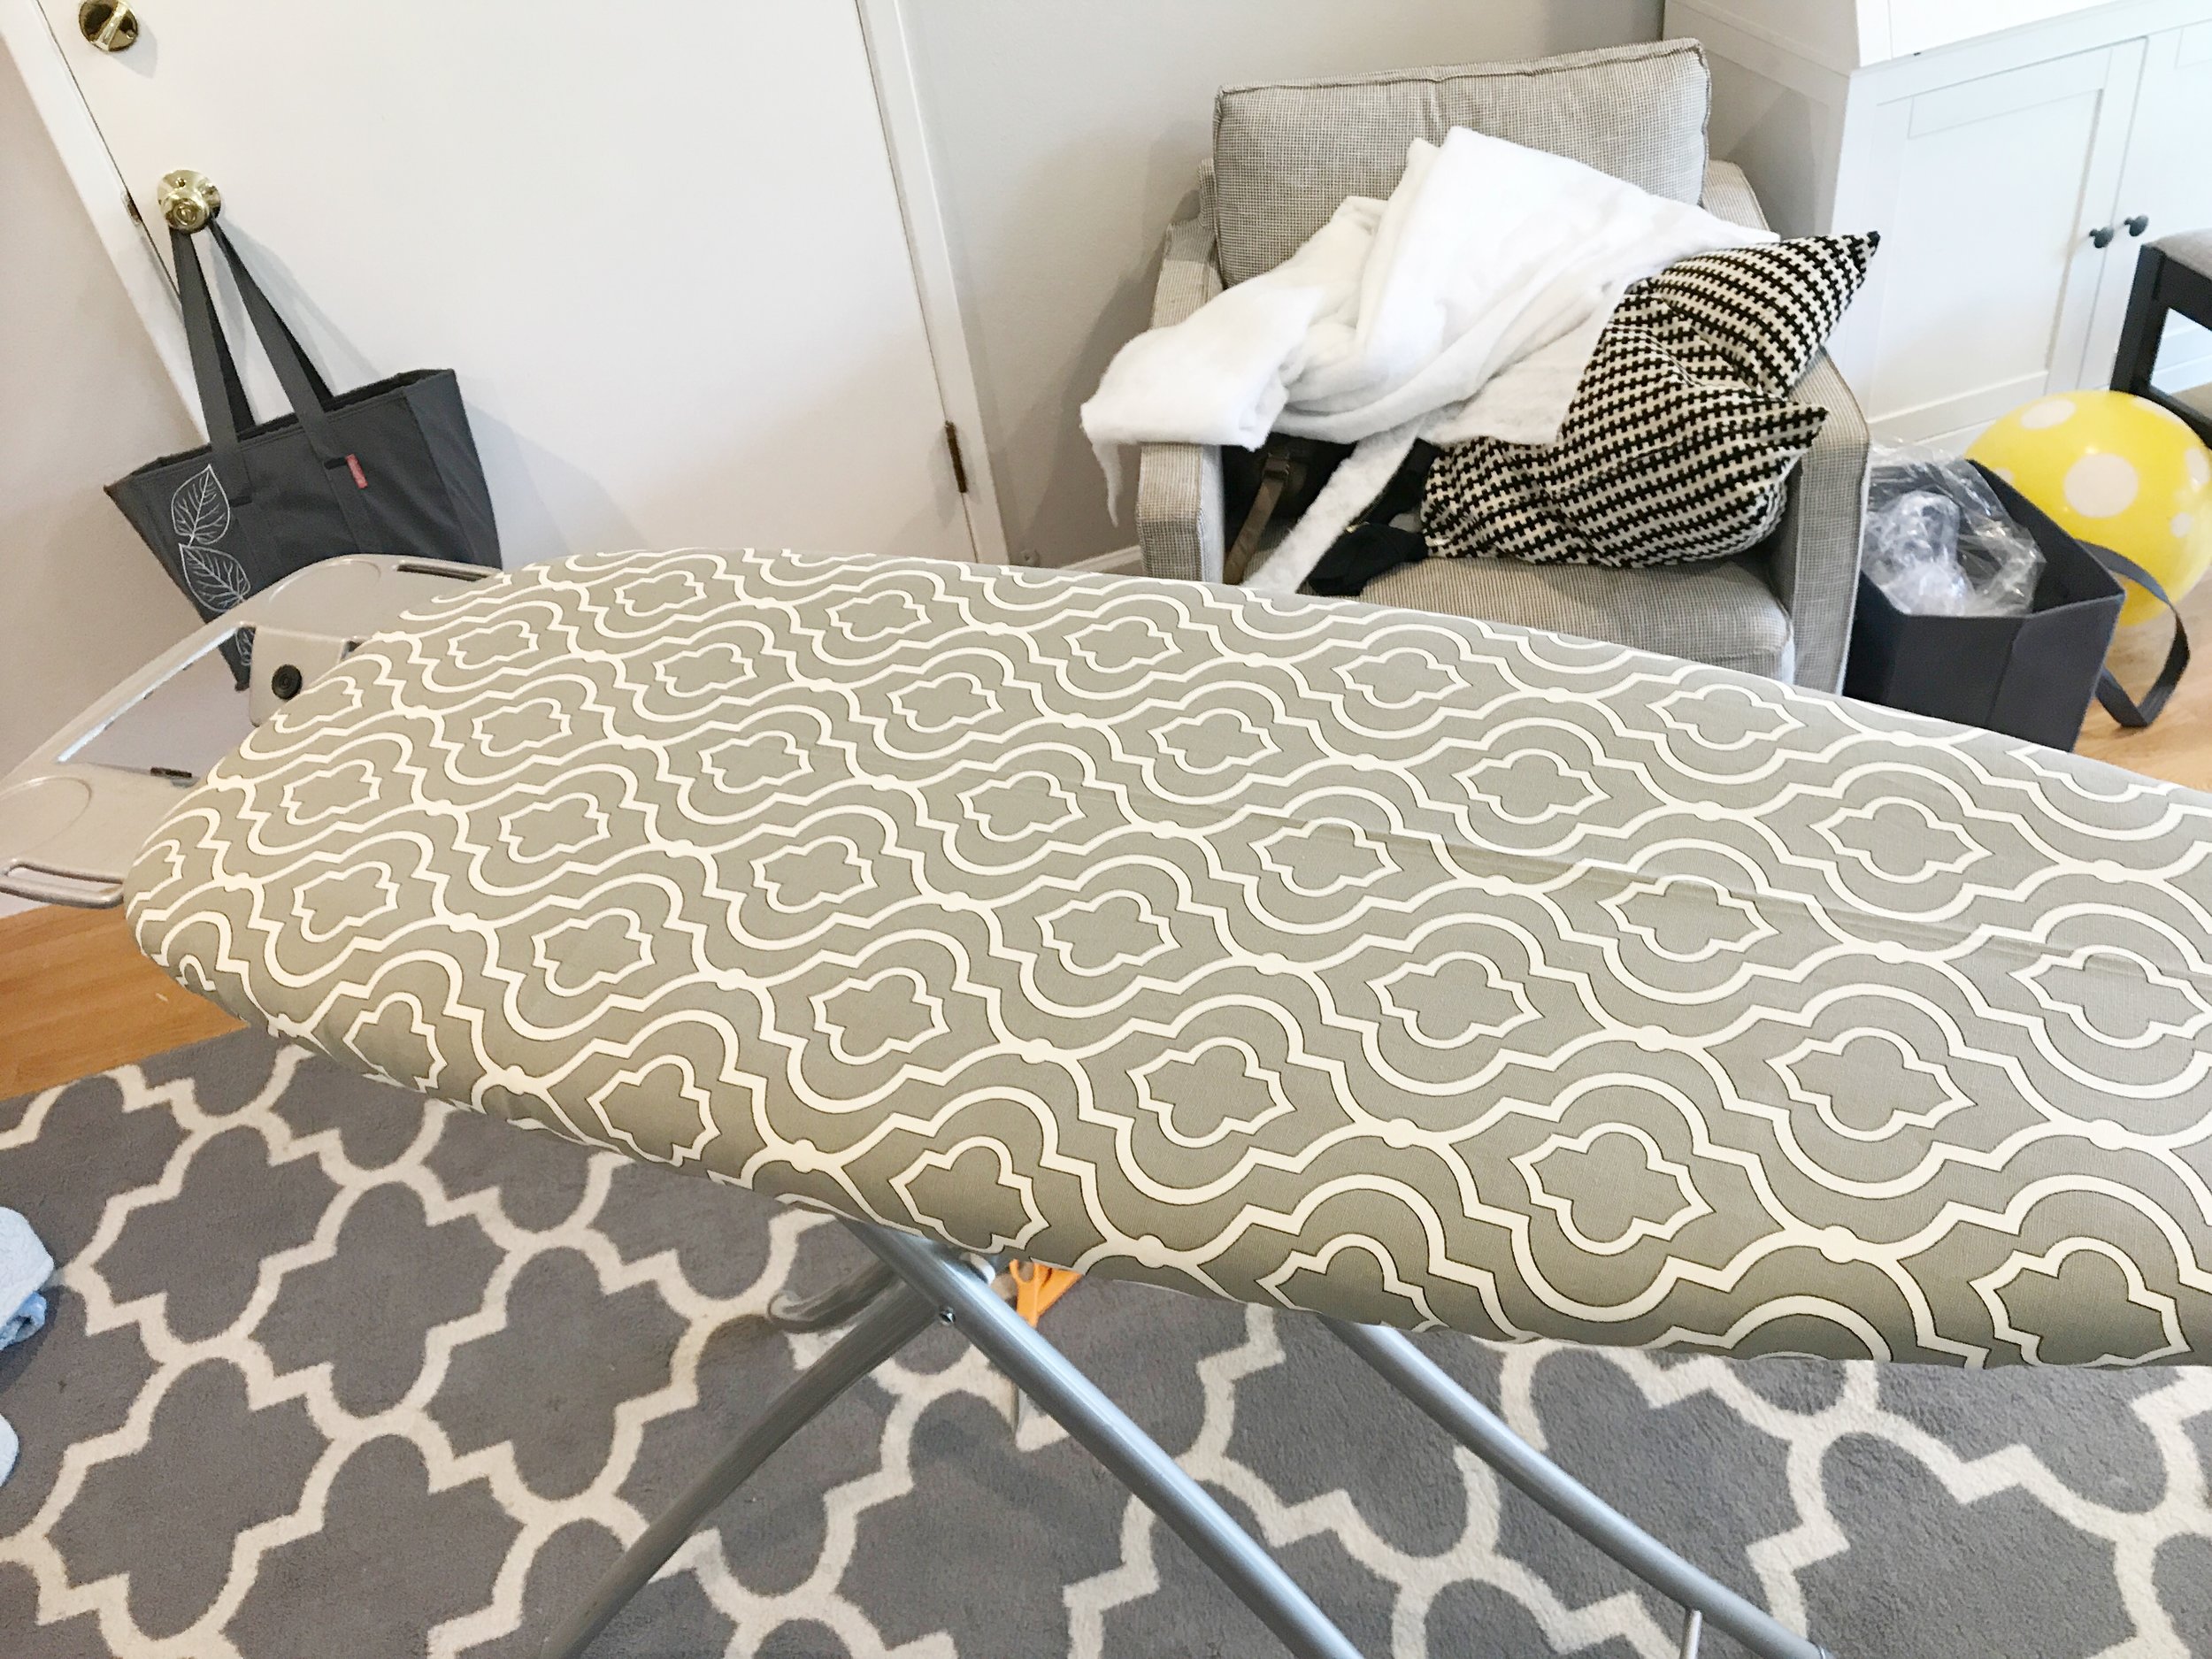
Once I had completed the cover and saw how easy it was I couldn't believe that I hadn't done it sooner! Now I have a beautiful clean and well padded ironing board. Let me know if you decide to make one of your own.
![IMG_9610[1].JPG](https://images.squarespace-cdn.com/content/v1/5522f983e4b0b2e878096910/1506496810701-QN0CFW9LZ77IZIHNR24K/IMG_9610%5B1%5D.JPG)