Lemon Peel Stitch Tutorial
This post contains affiliate links. If you make a purchase through one of those links I may receive a small commission. It’s an easy way to support this blog at no additional cost to you.
Get ready to create a gorgeous crochet stitch full of rich texture. Using just basic single crochet stitches in a unique way you can create this beautiful crochet stitch too. Find the photo and video tutorials below.

Here is what you’ll need for today’s tutorial:
Worsted weight yarn (I used leftover yarn from my Crochet Society Box)
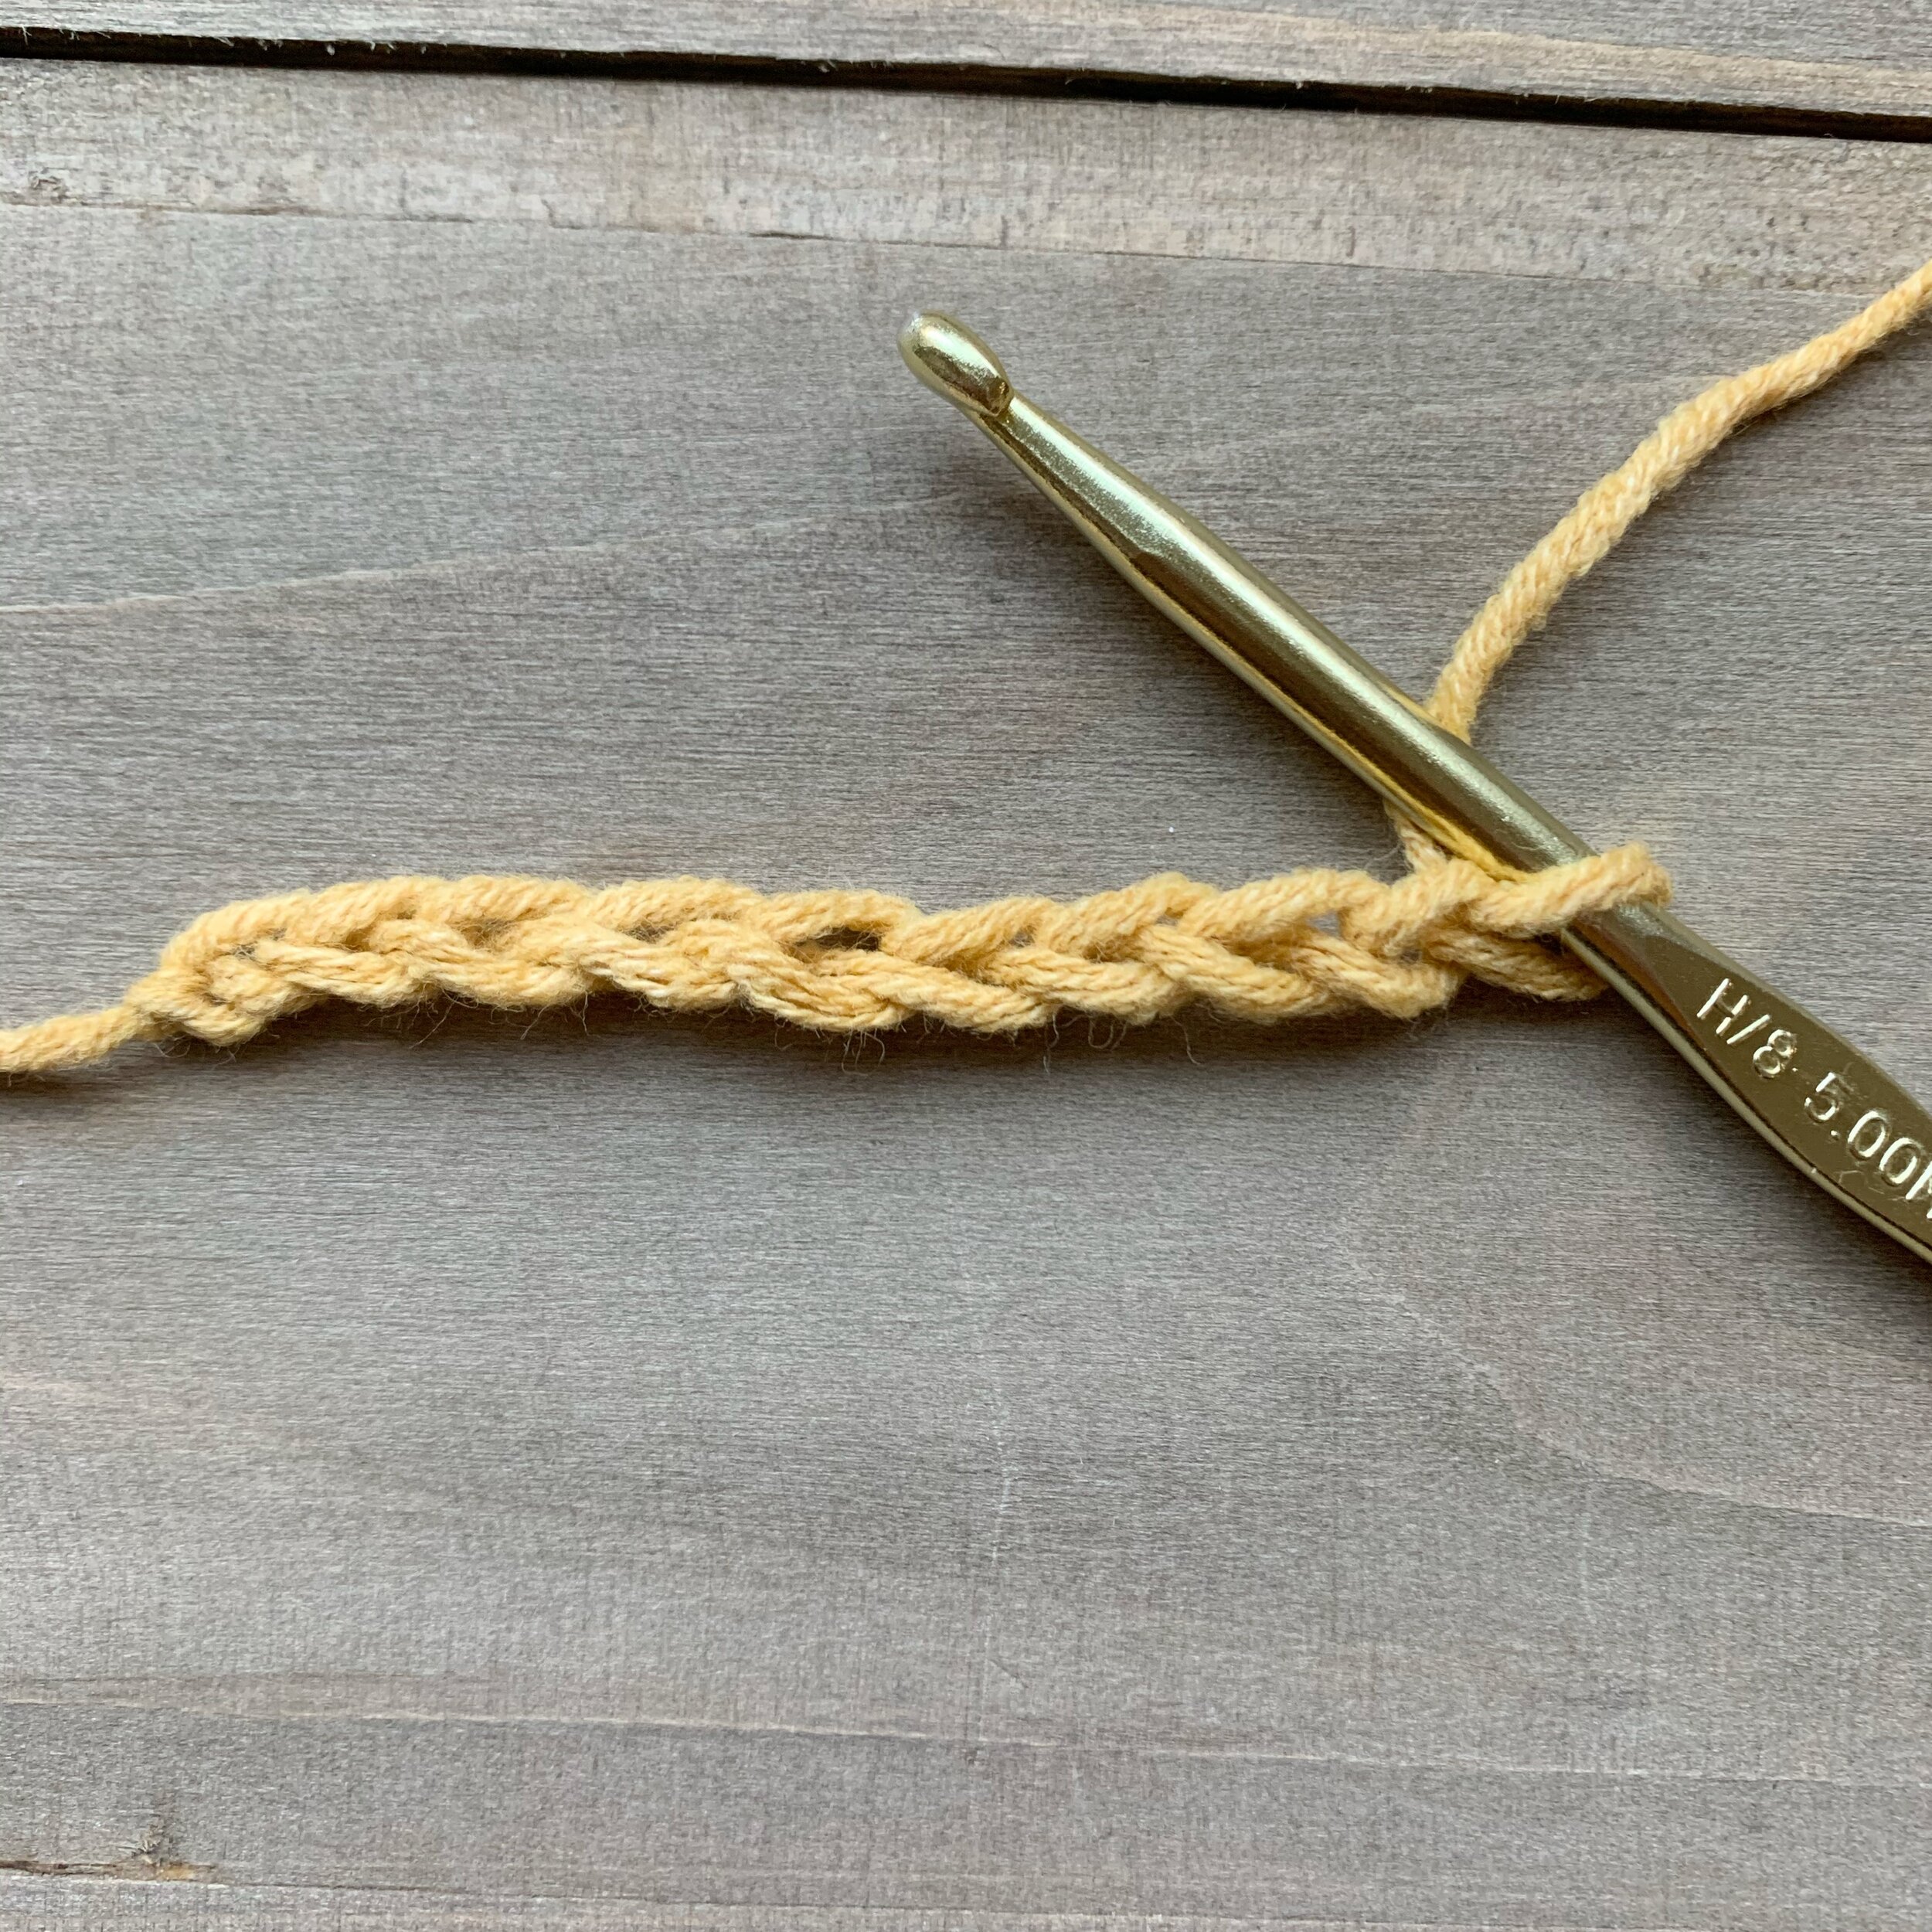
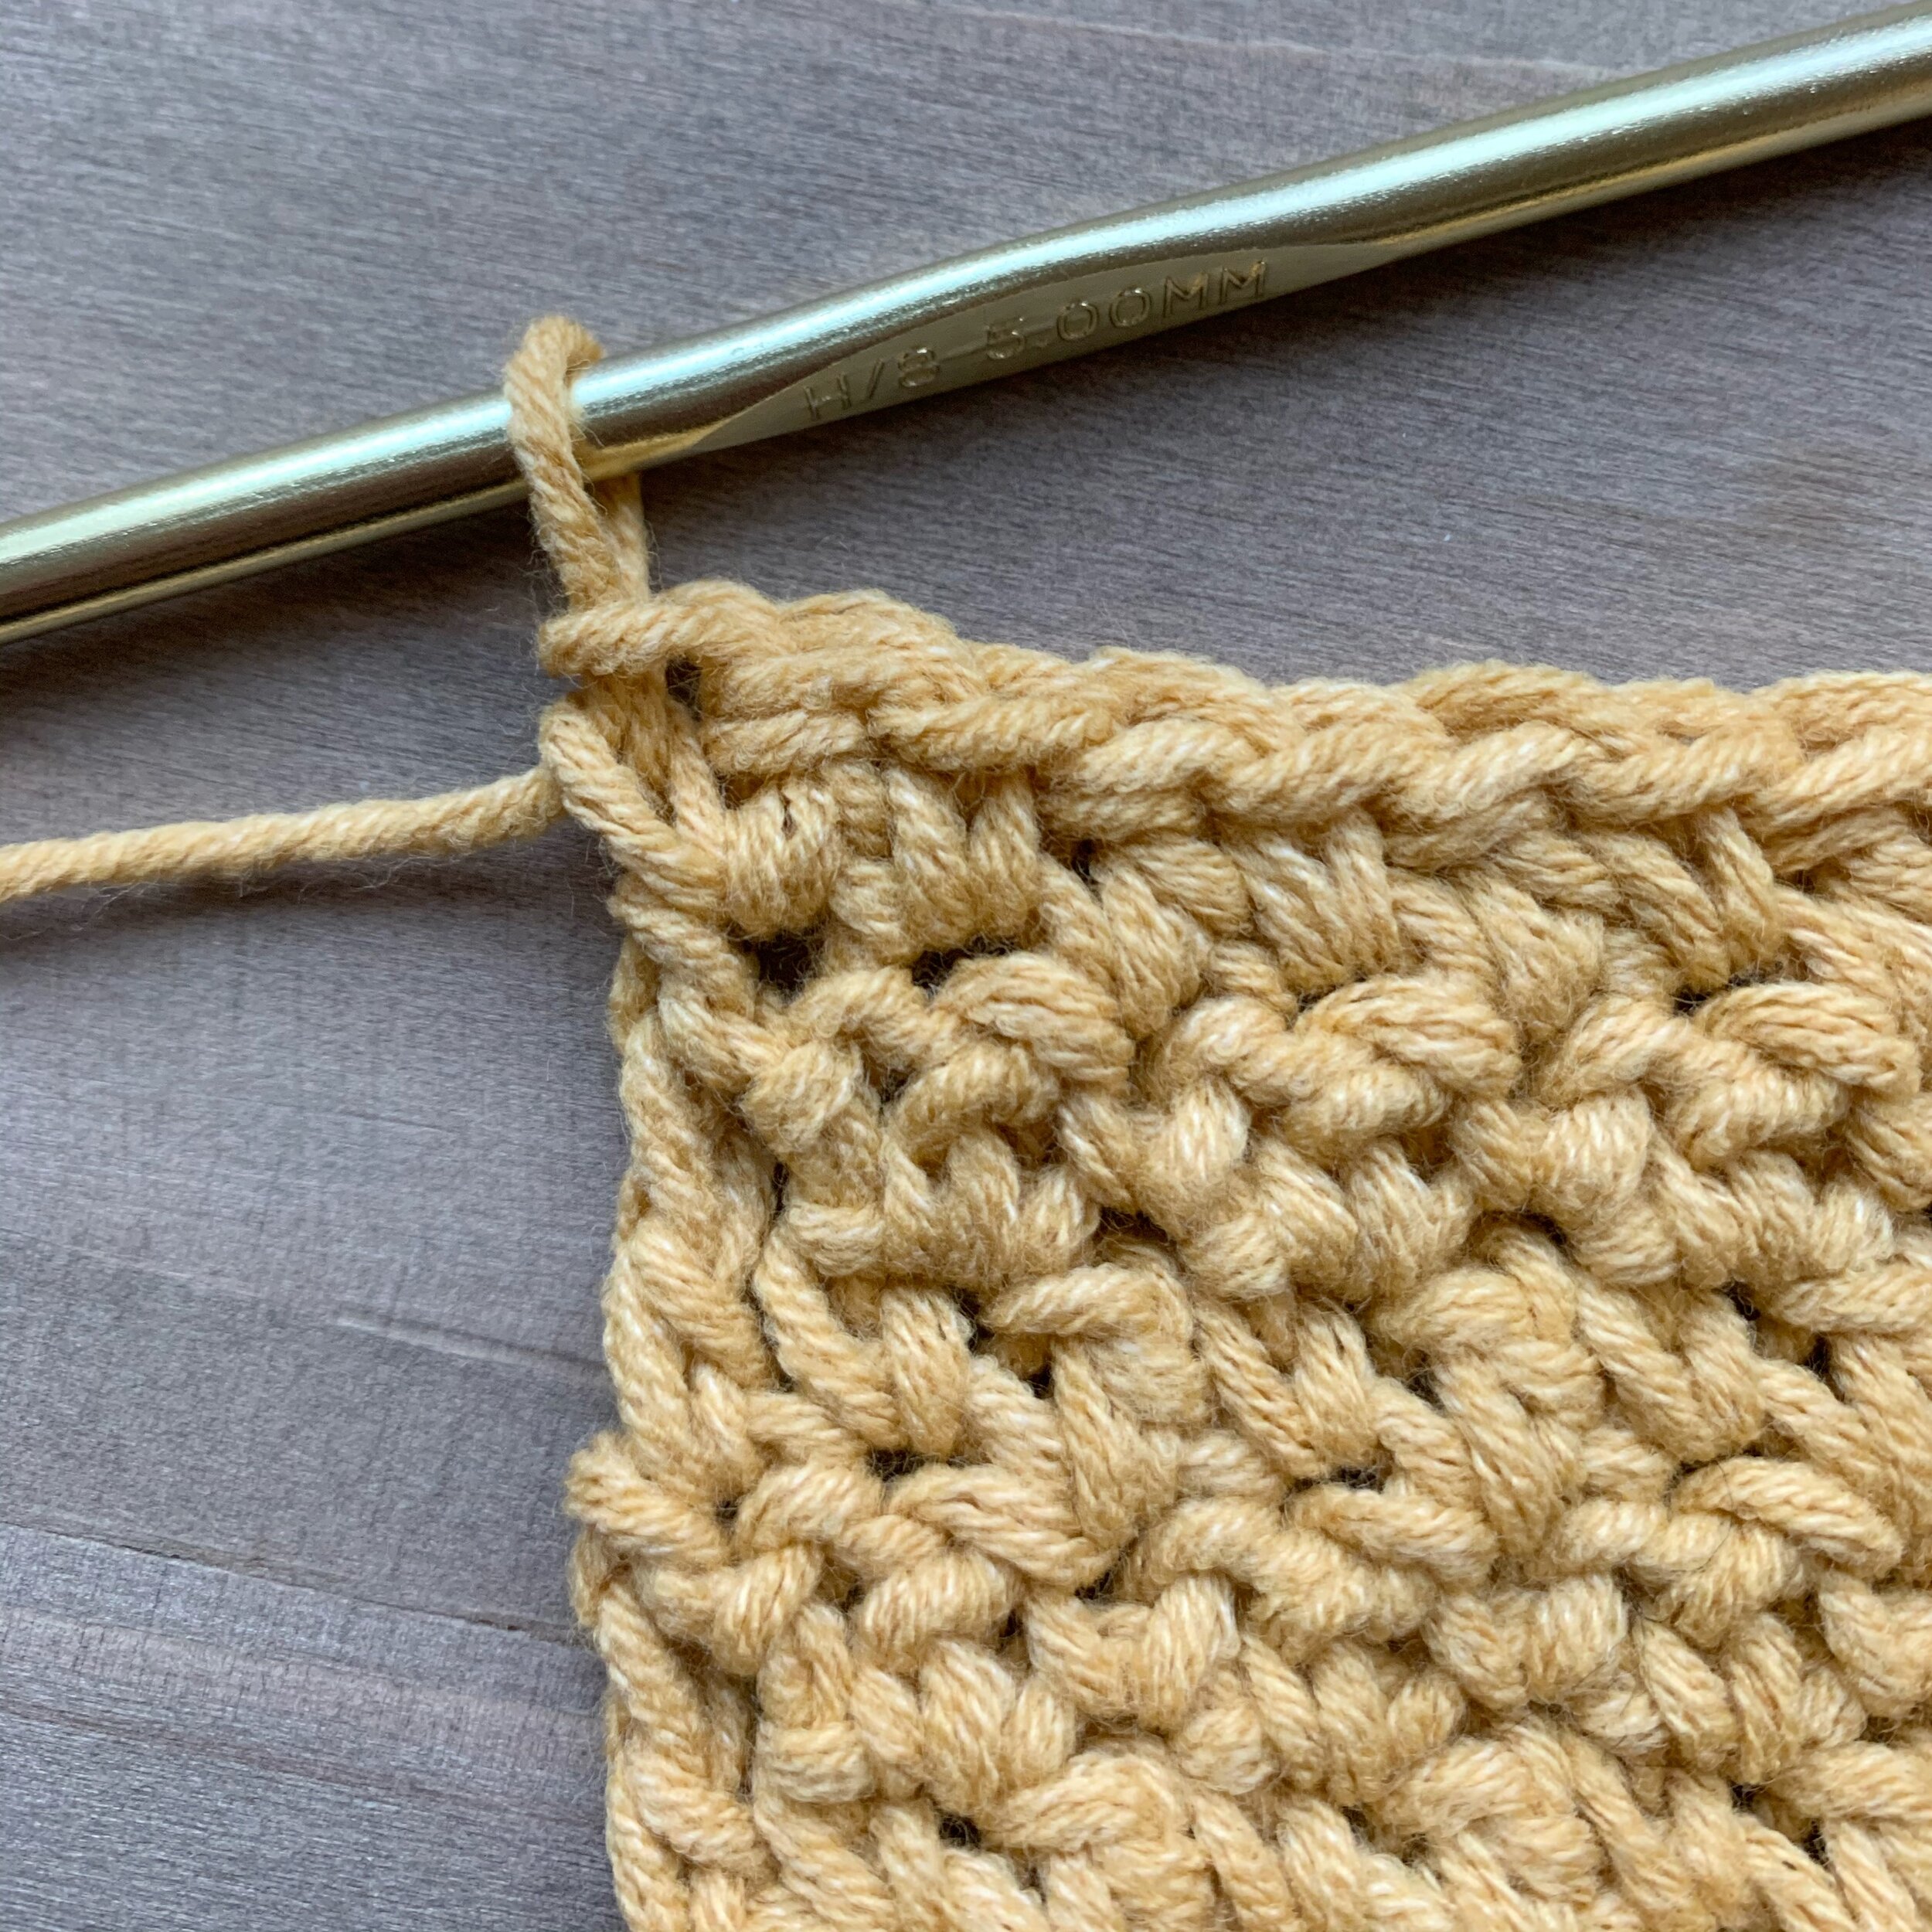
Crochet hook size H (5.00mm) (I used Boye aluminum)
Feel free to substitute the yarn and hook size with what you have on hand. I think this stitch will look great in a variety of yarn weights and textures.
Abbreviations:
ch-chain
yo-yarn over
st(s)-stitch(es)
sc-single crochet
dc- double crochet
sc2tog- single crochet 2 together
dc2tog- double crochet 2 together
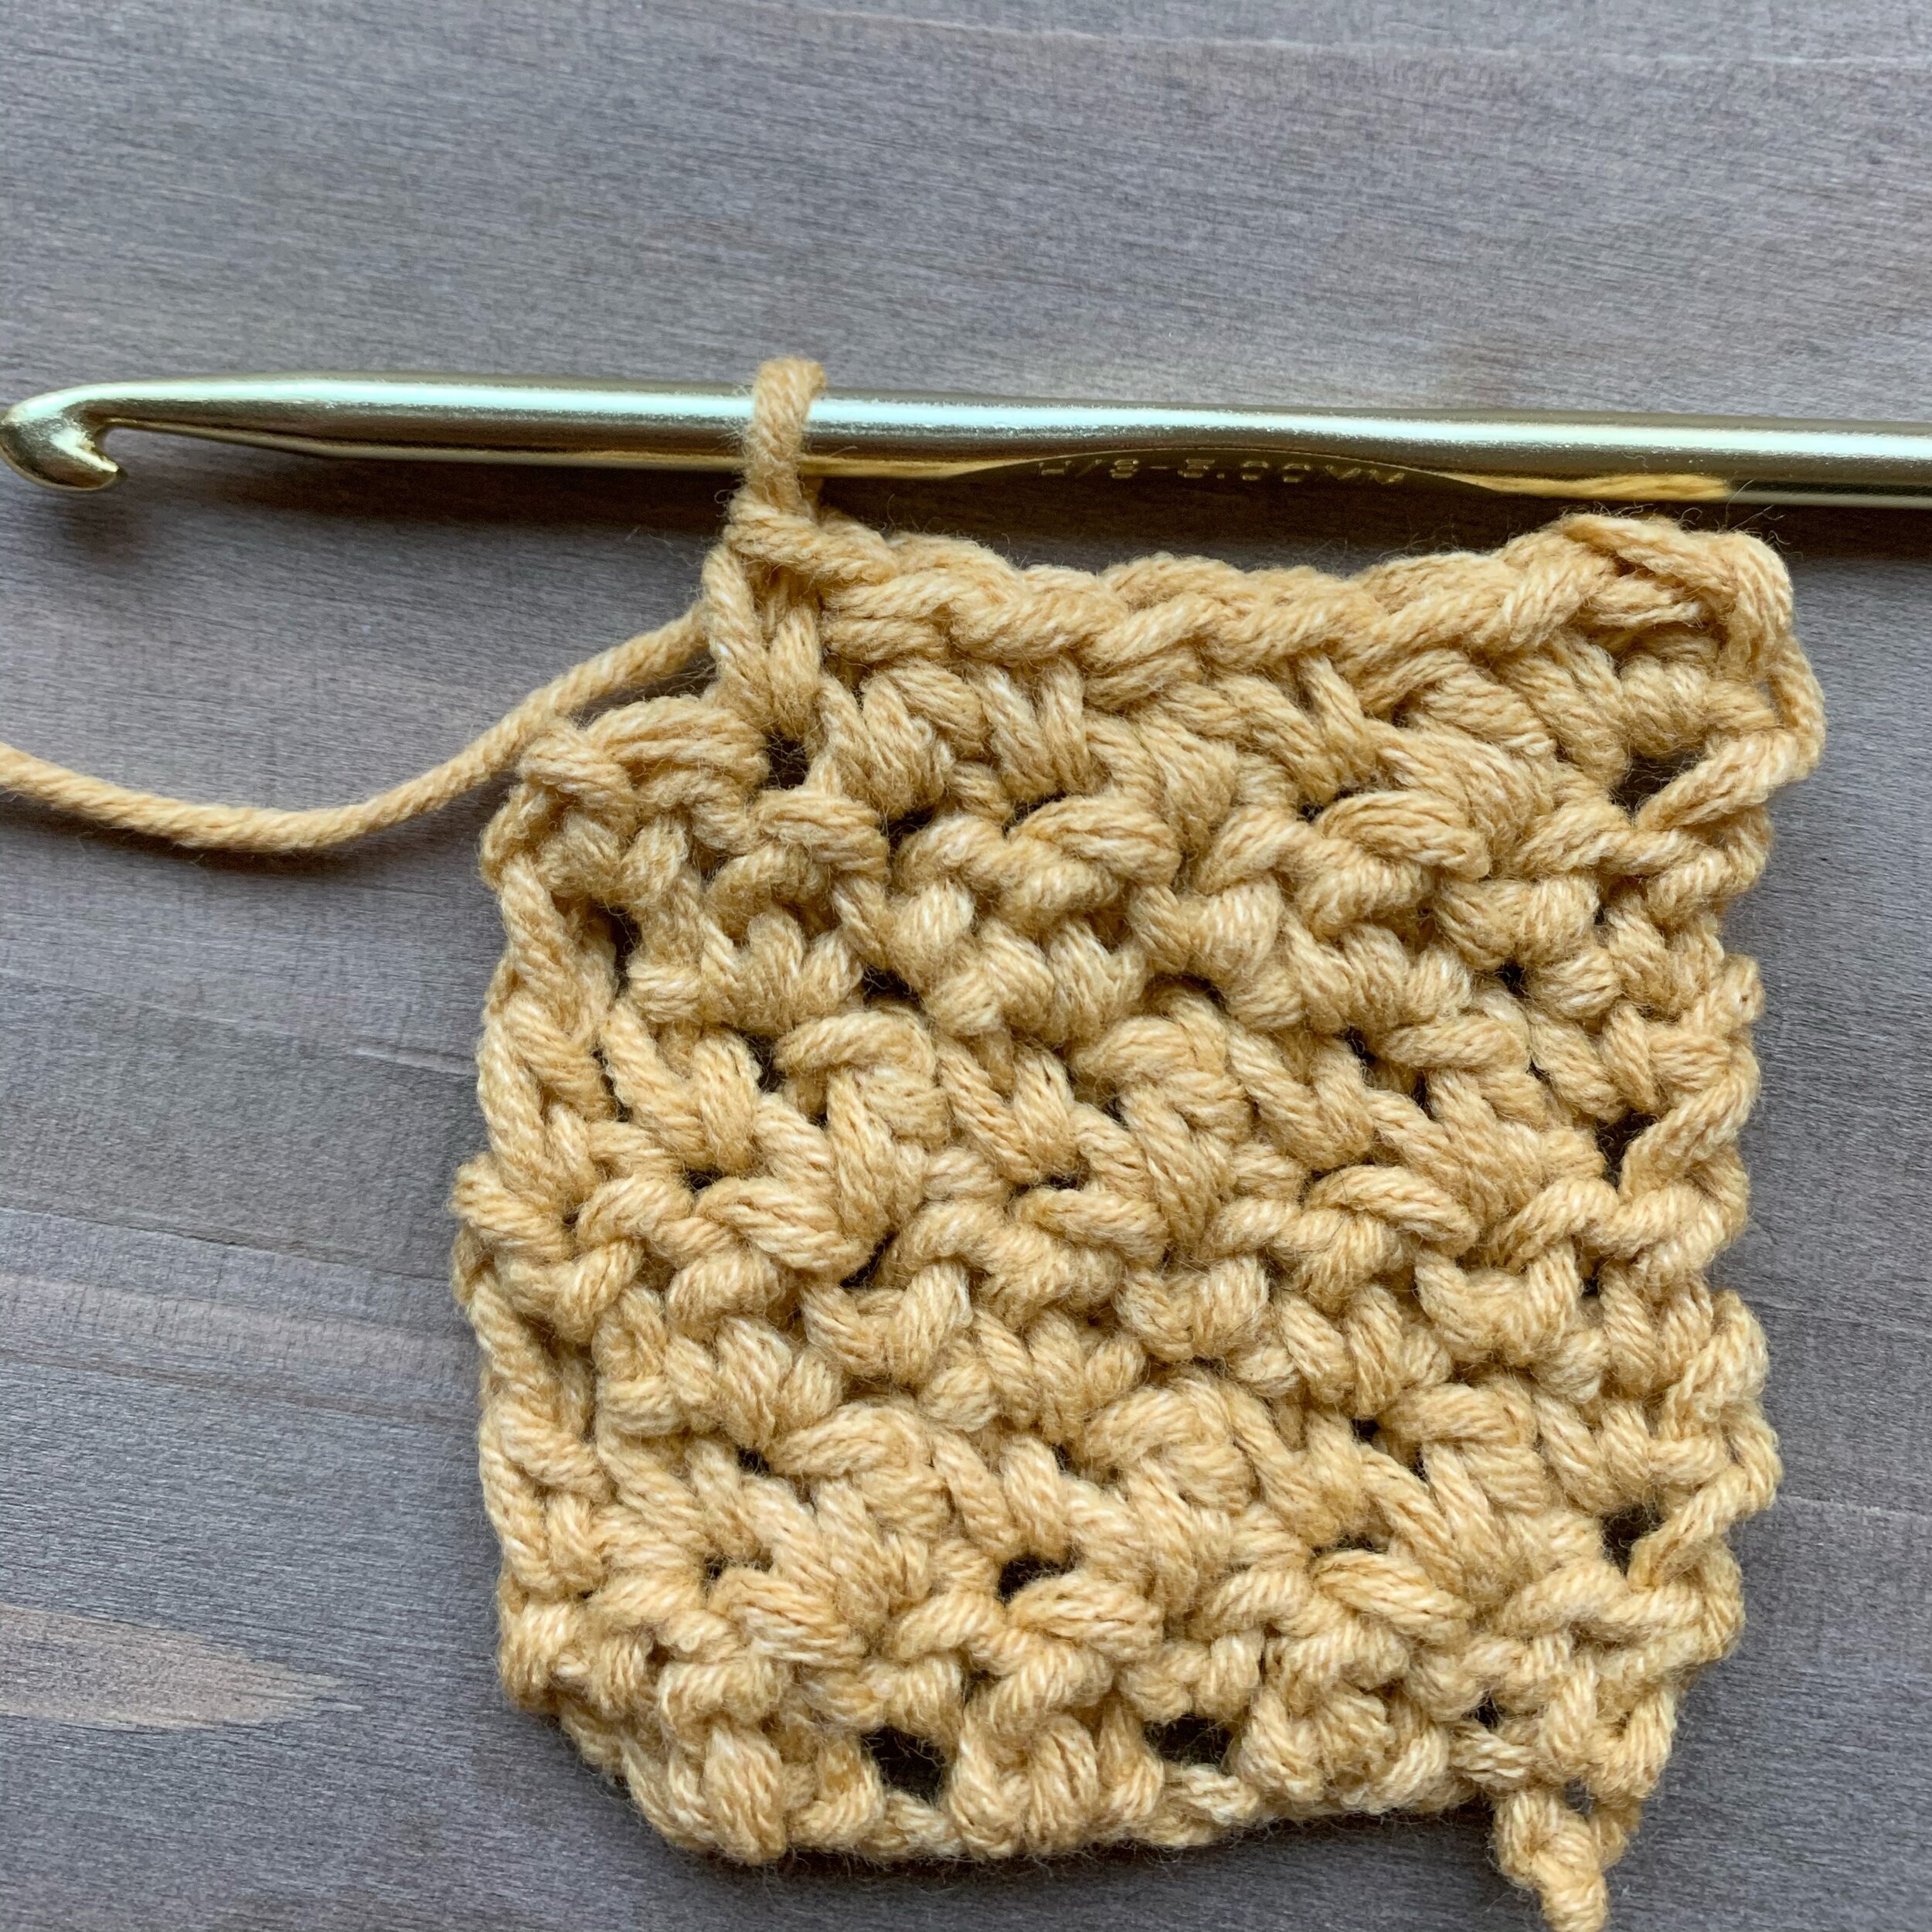
Lemon Peel Stitch
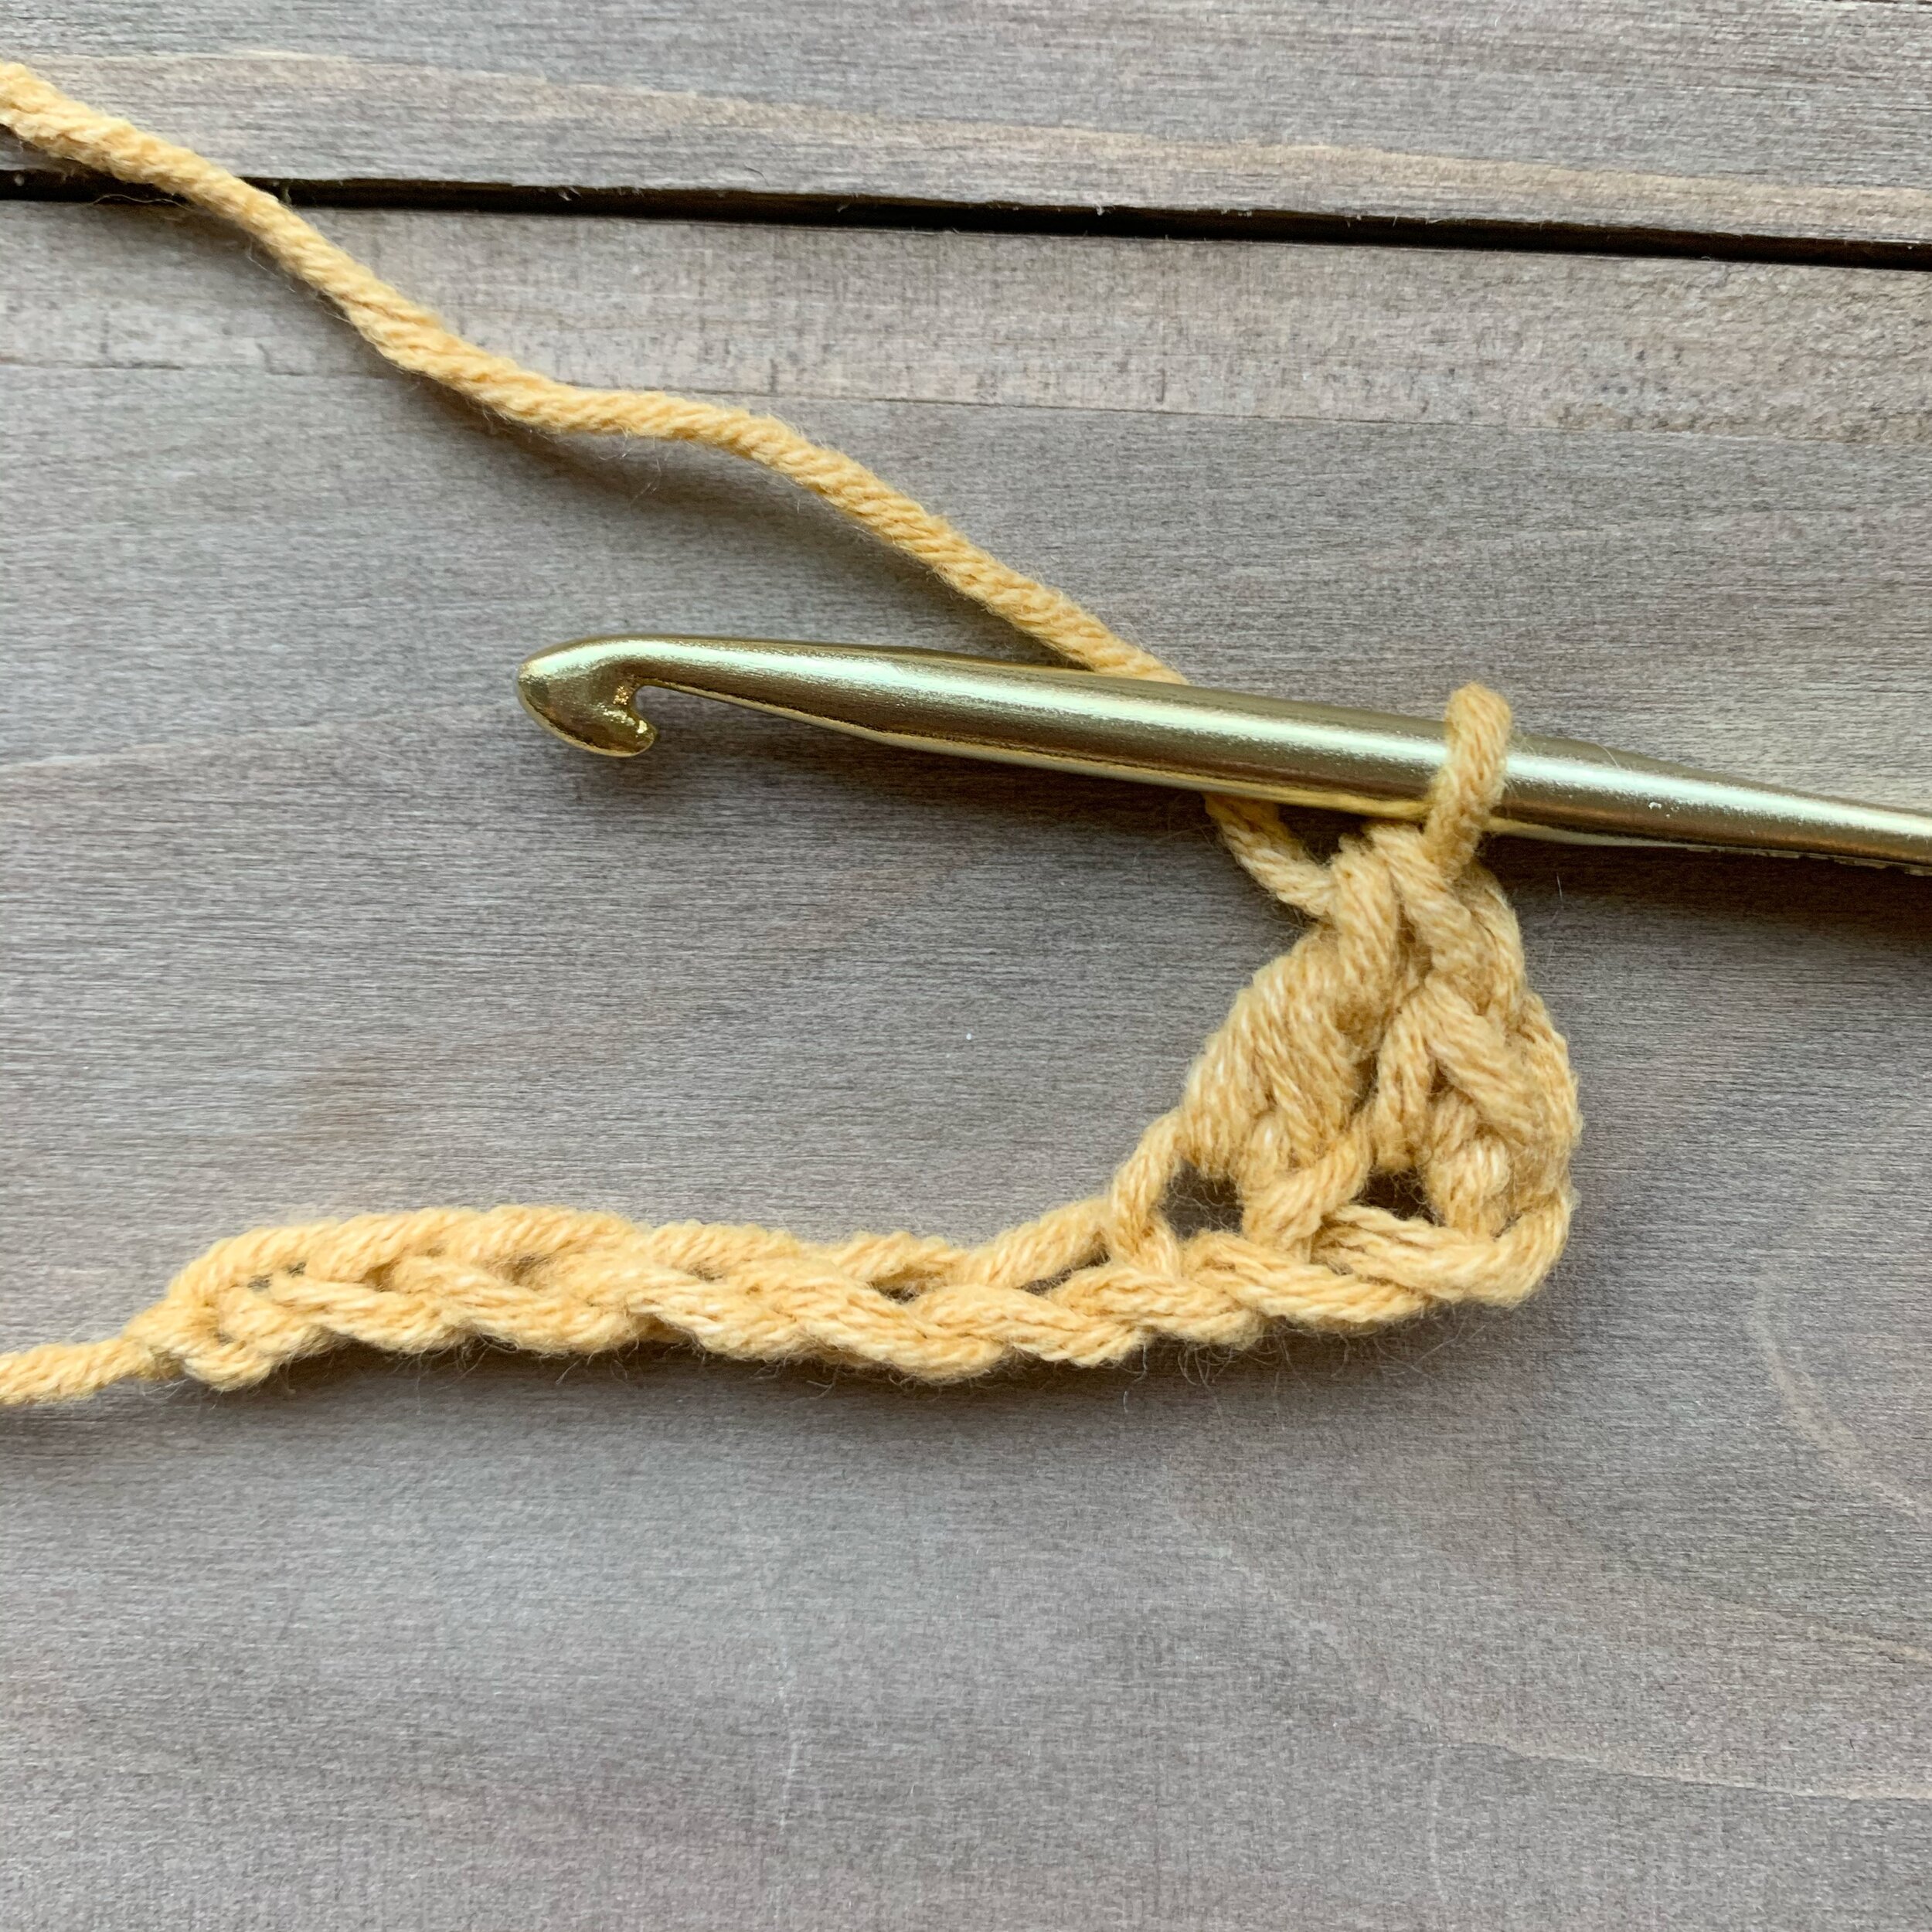
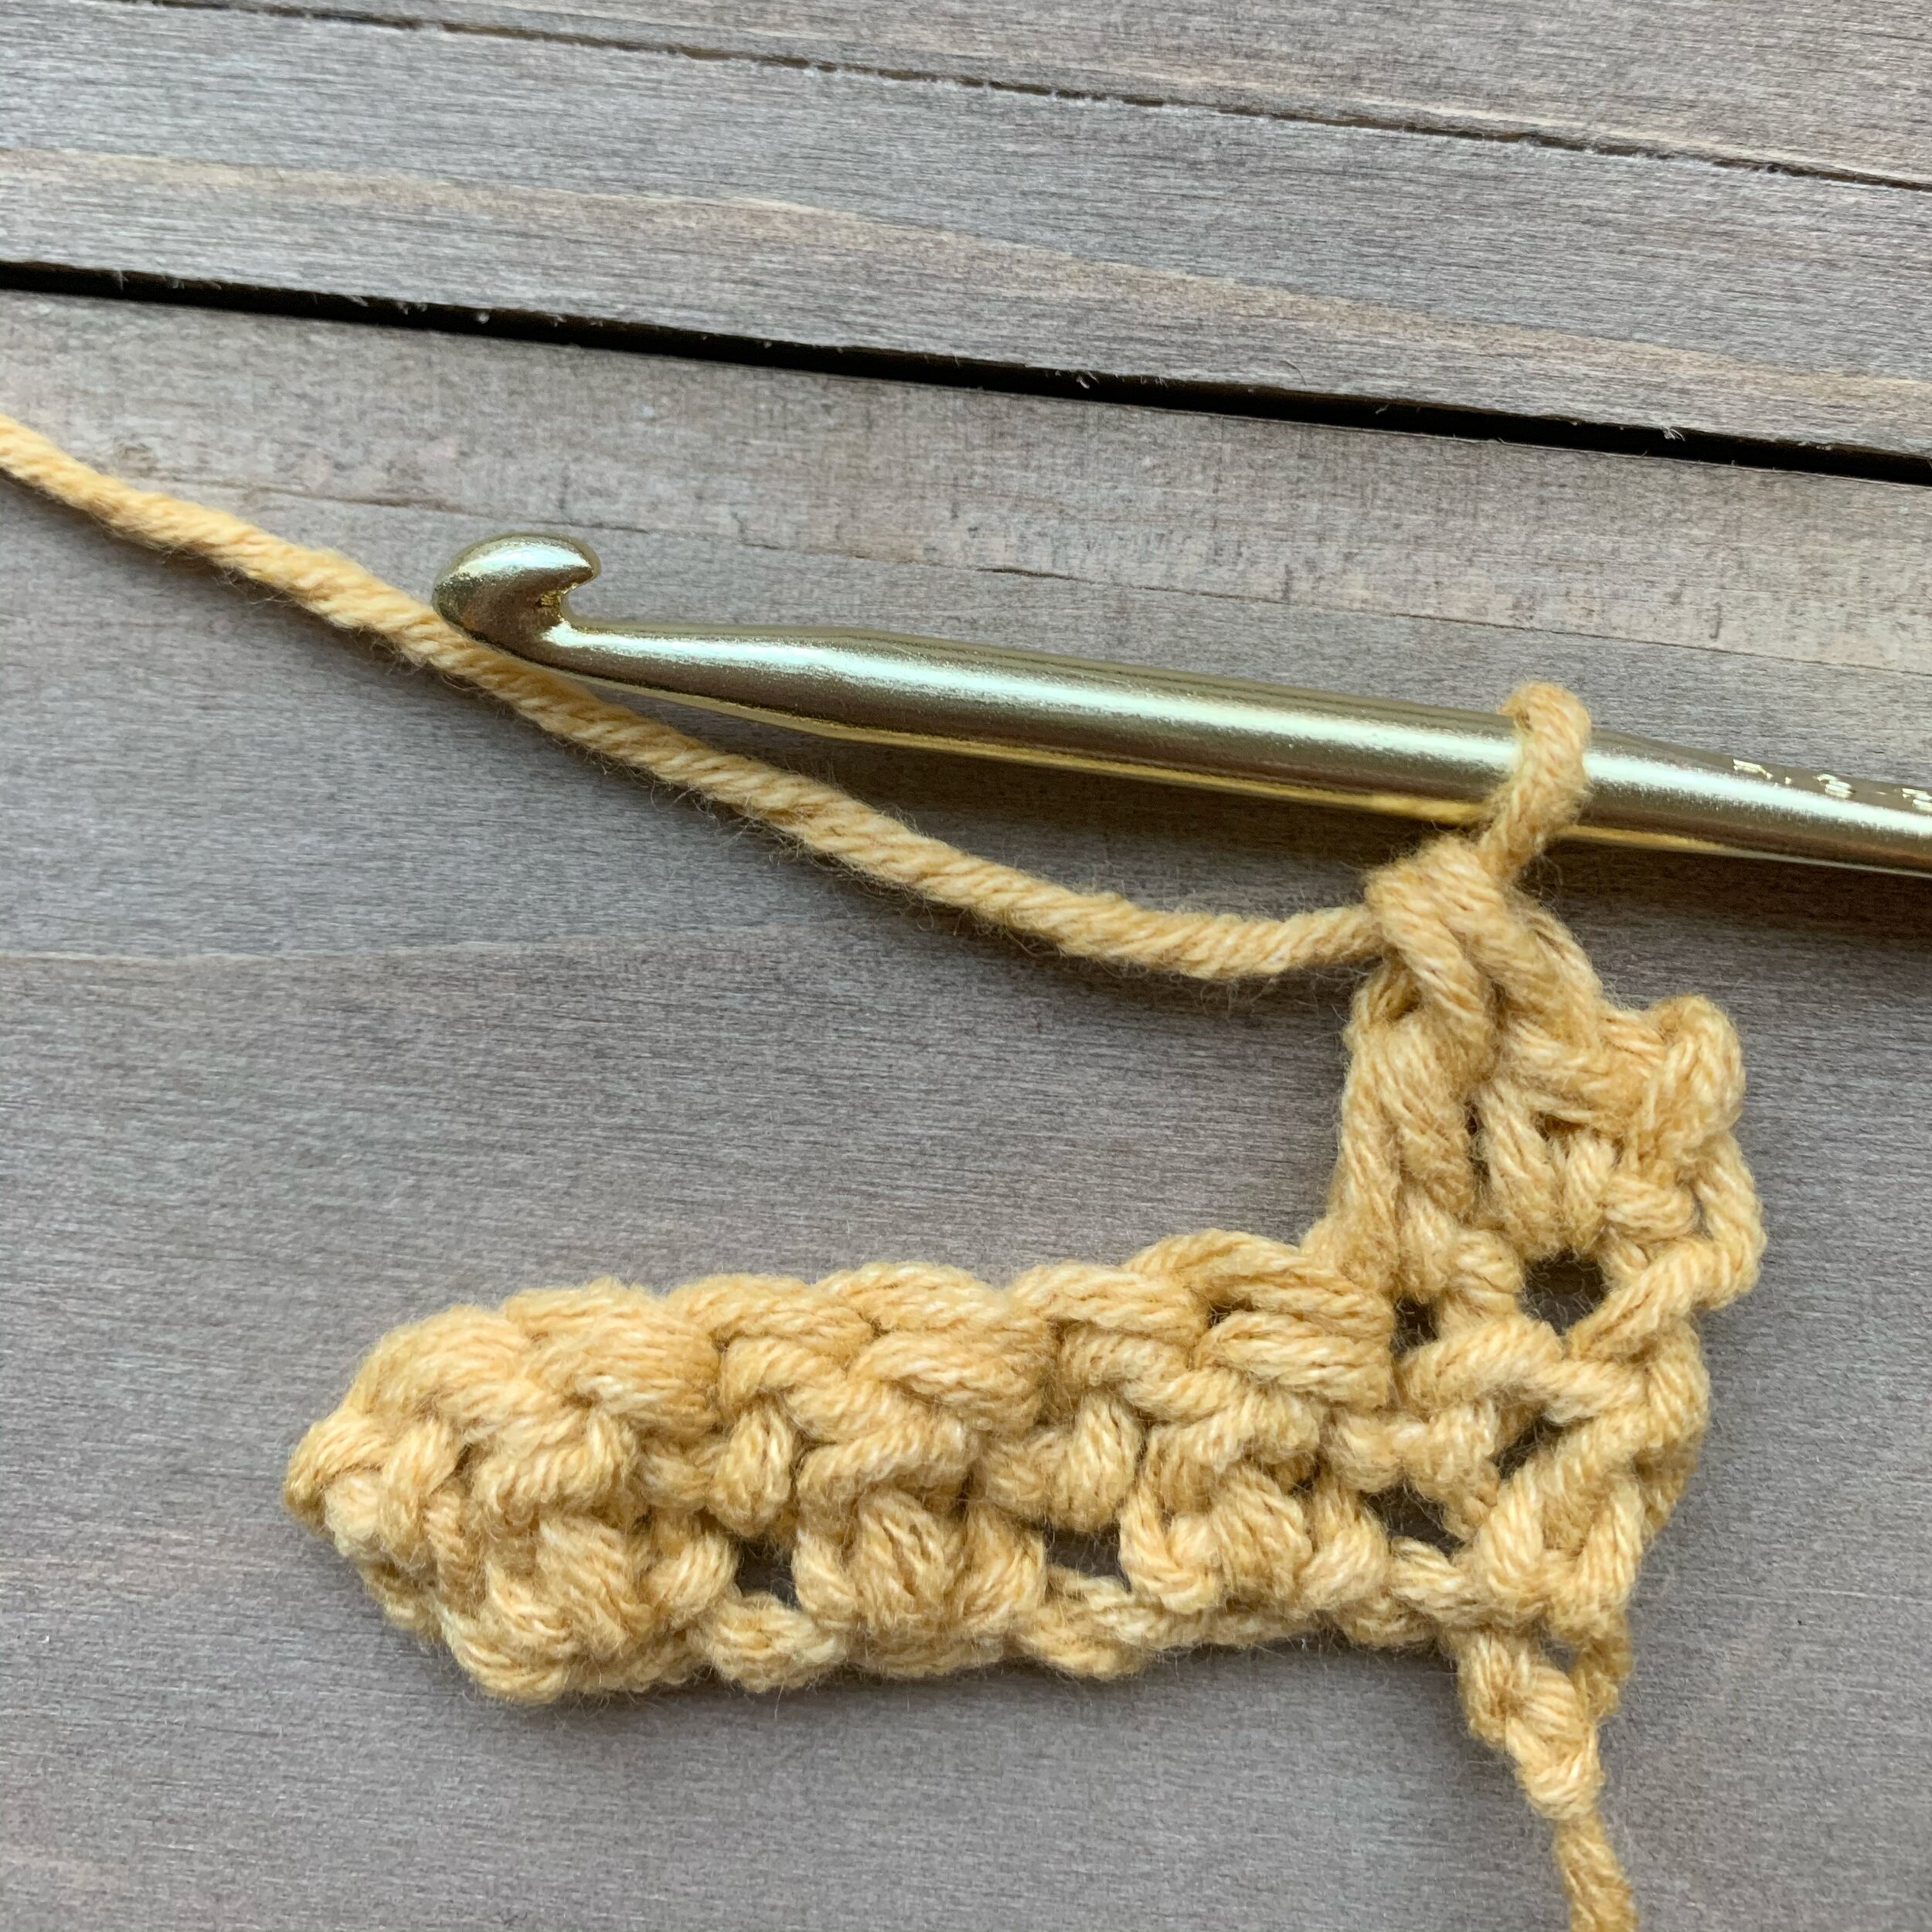
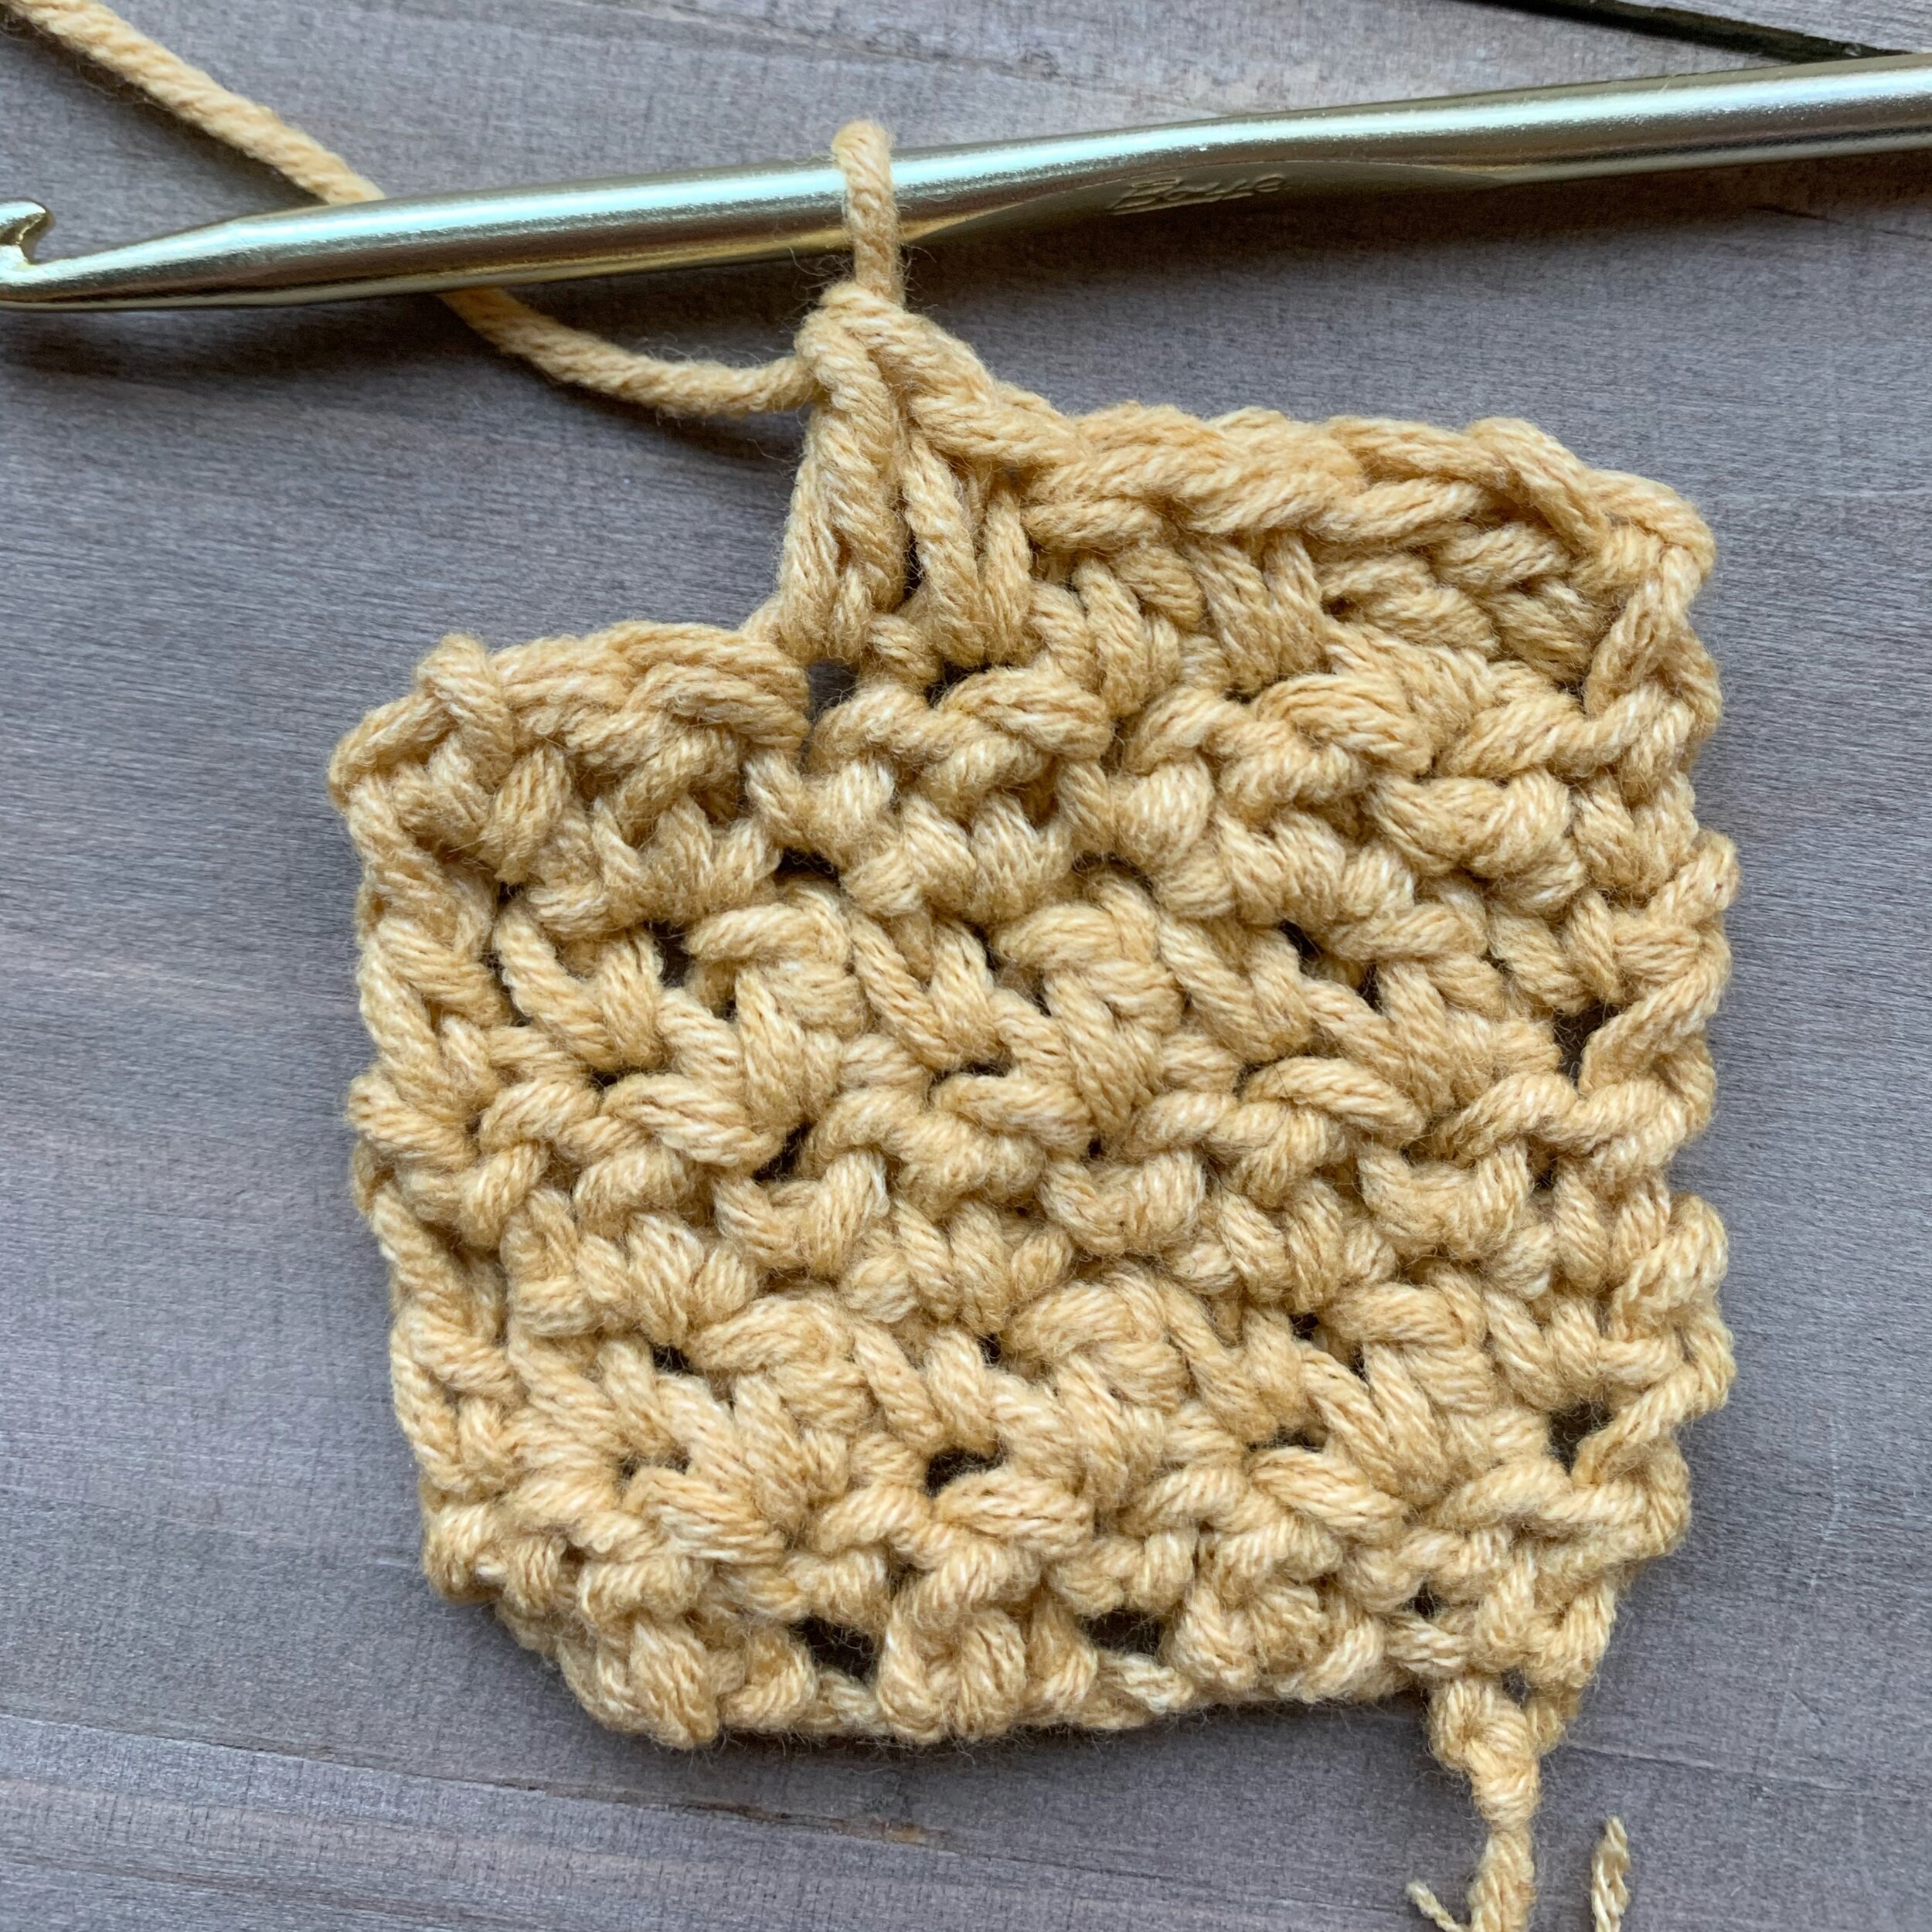
To make the lemon peel stitch start by chaining any number of chains. You will be using double crochet and single crochet stitches alternately. Sc in the 2nd ch from hook, dc in the next st, * sc, dc, repeat from * across.
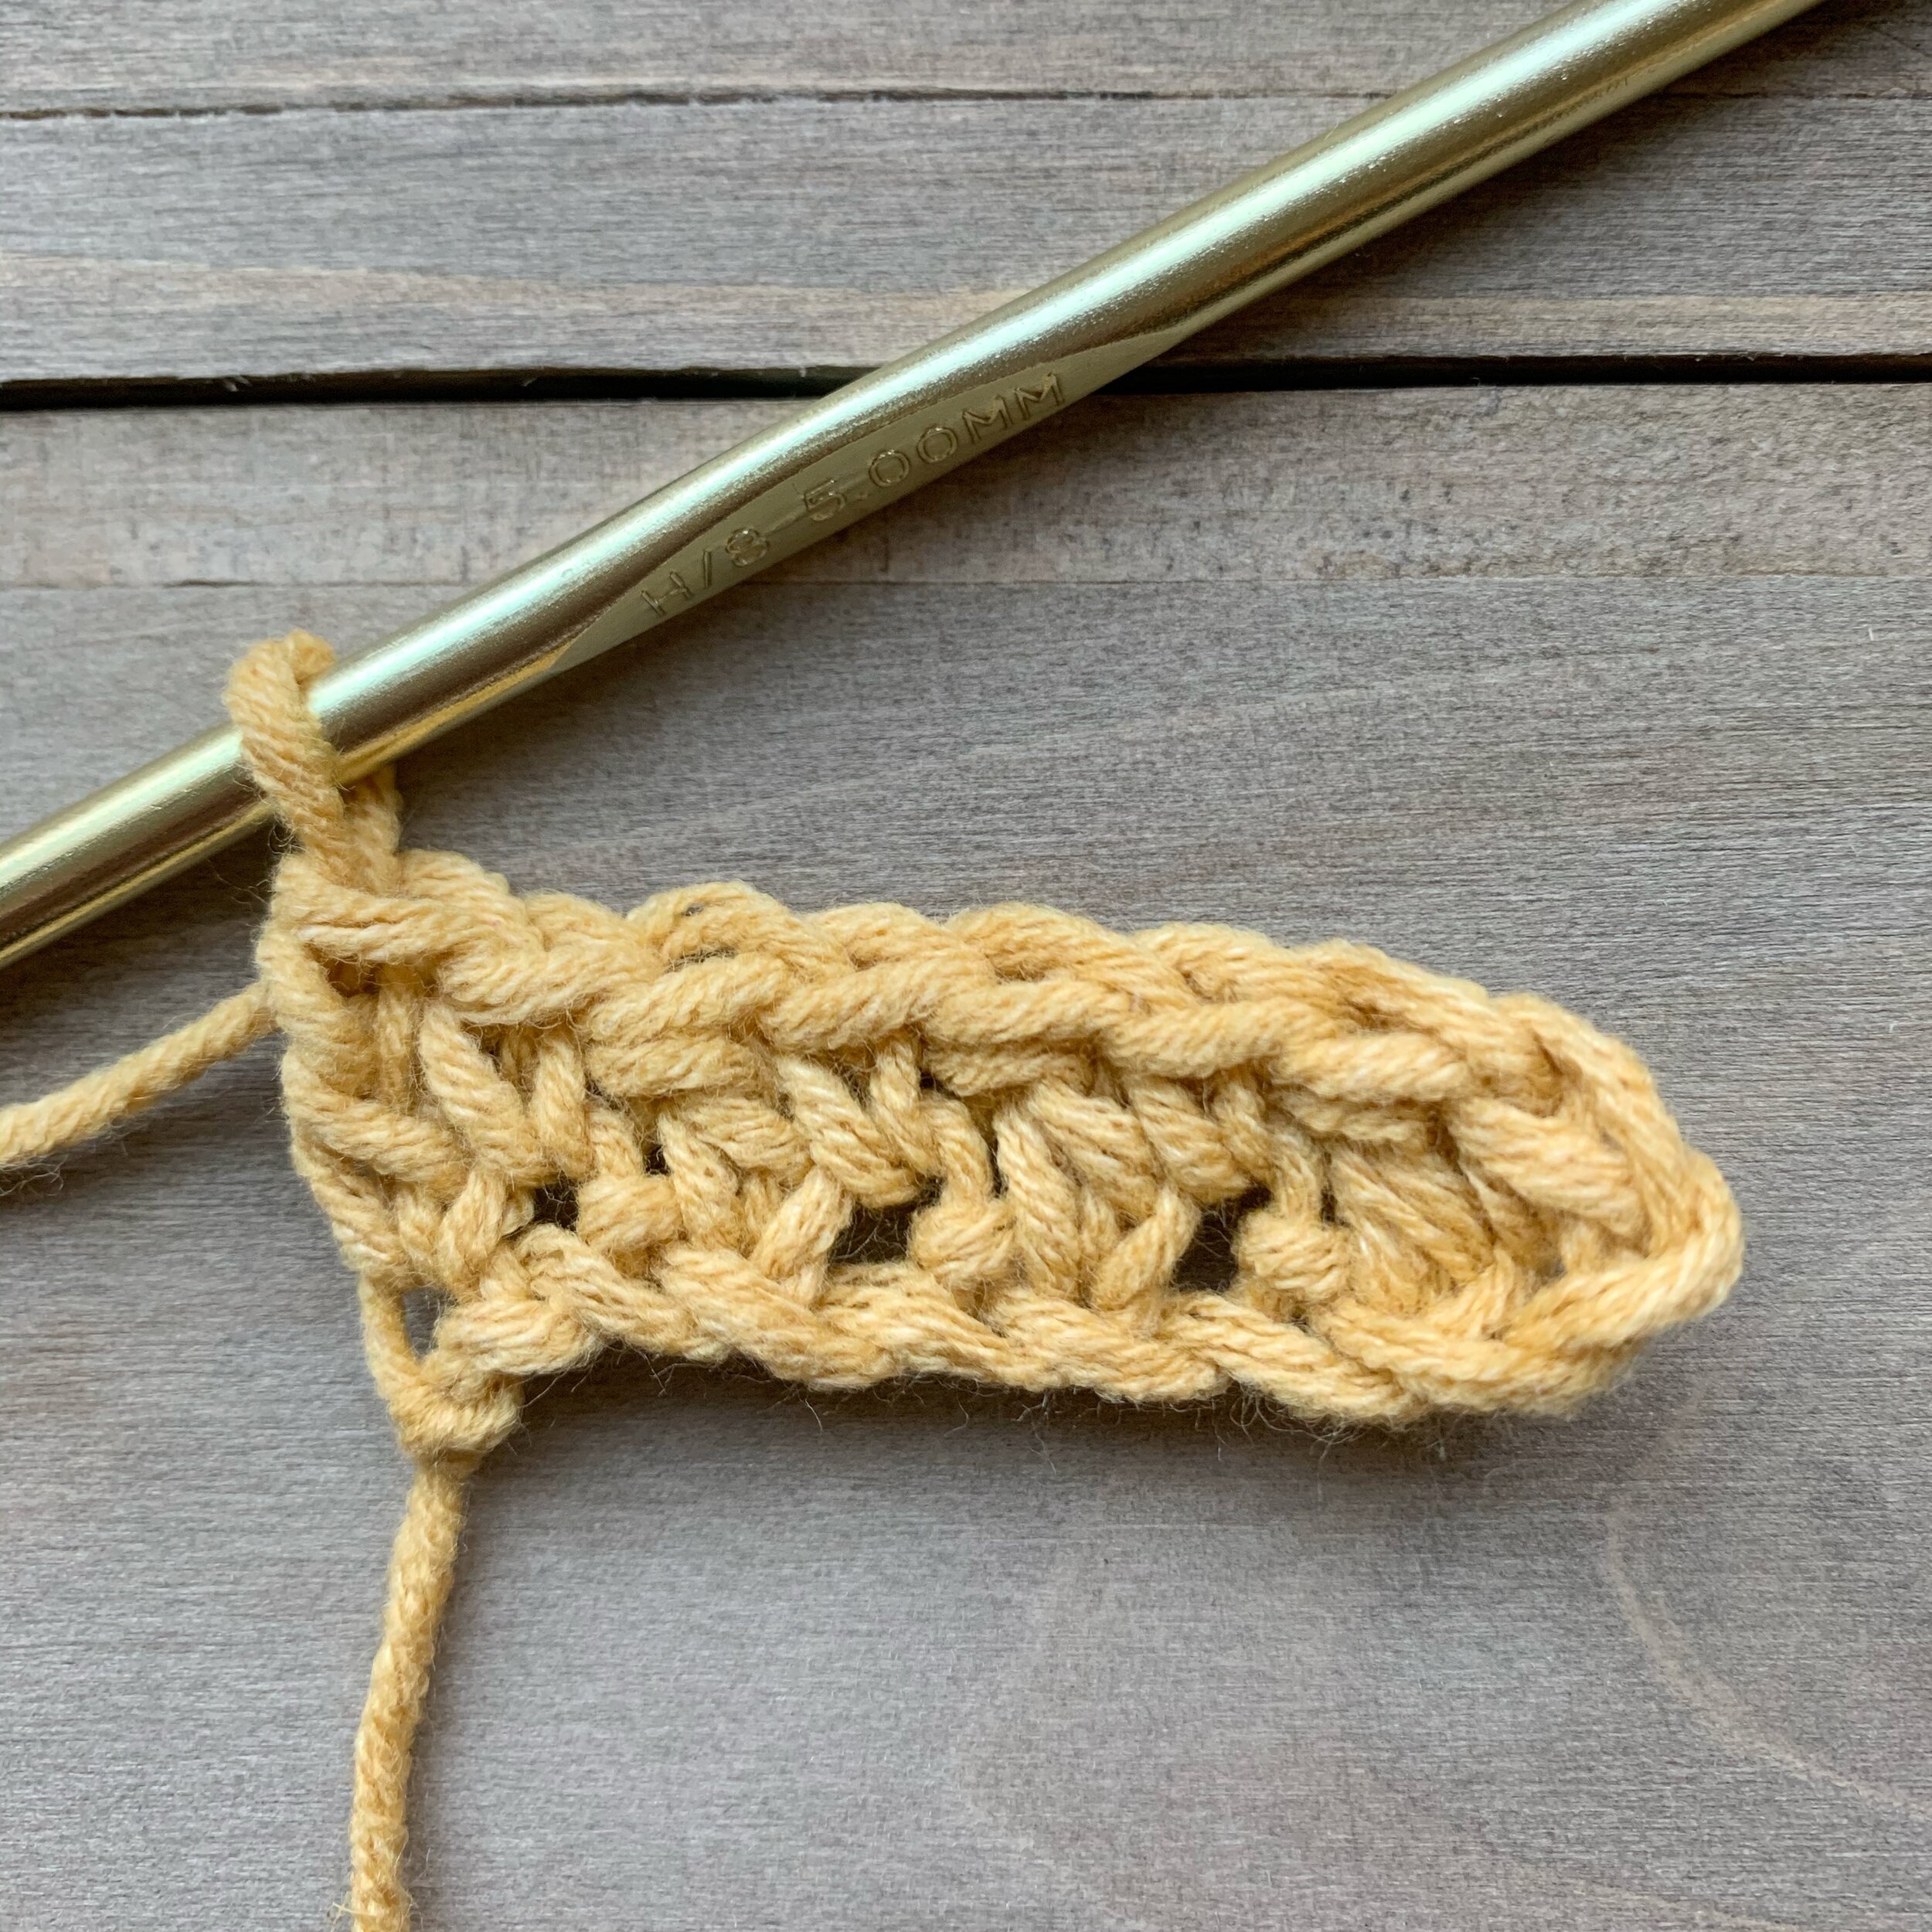
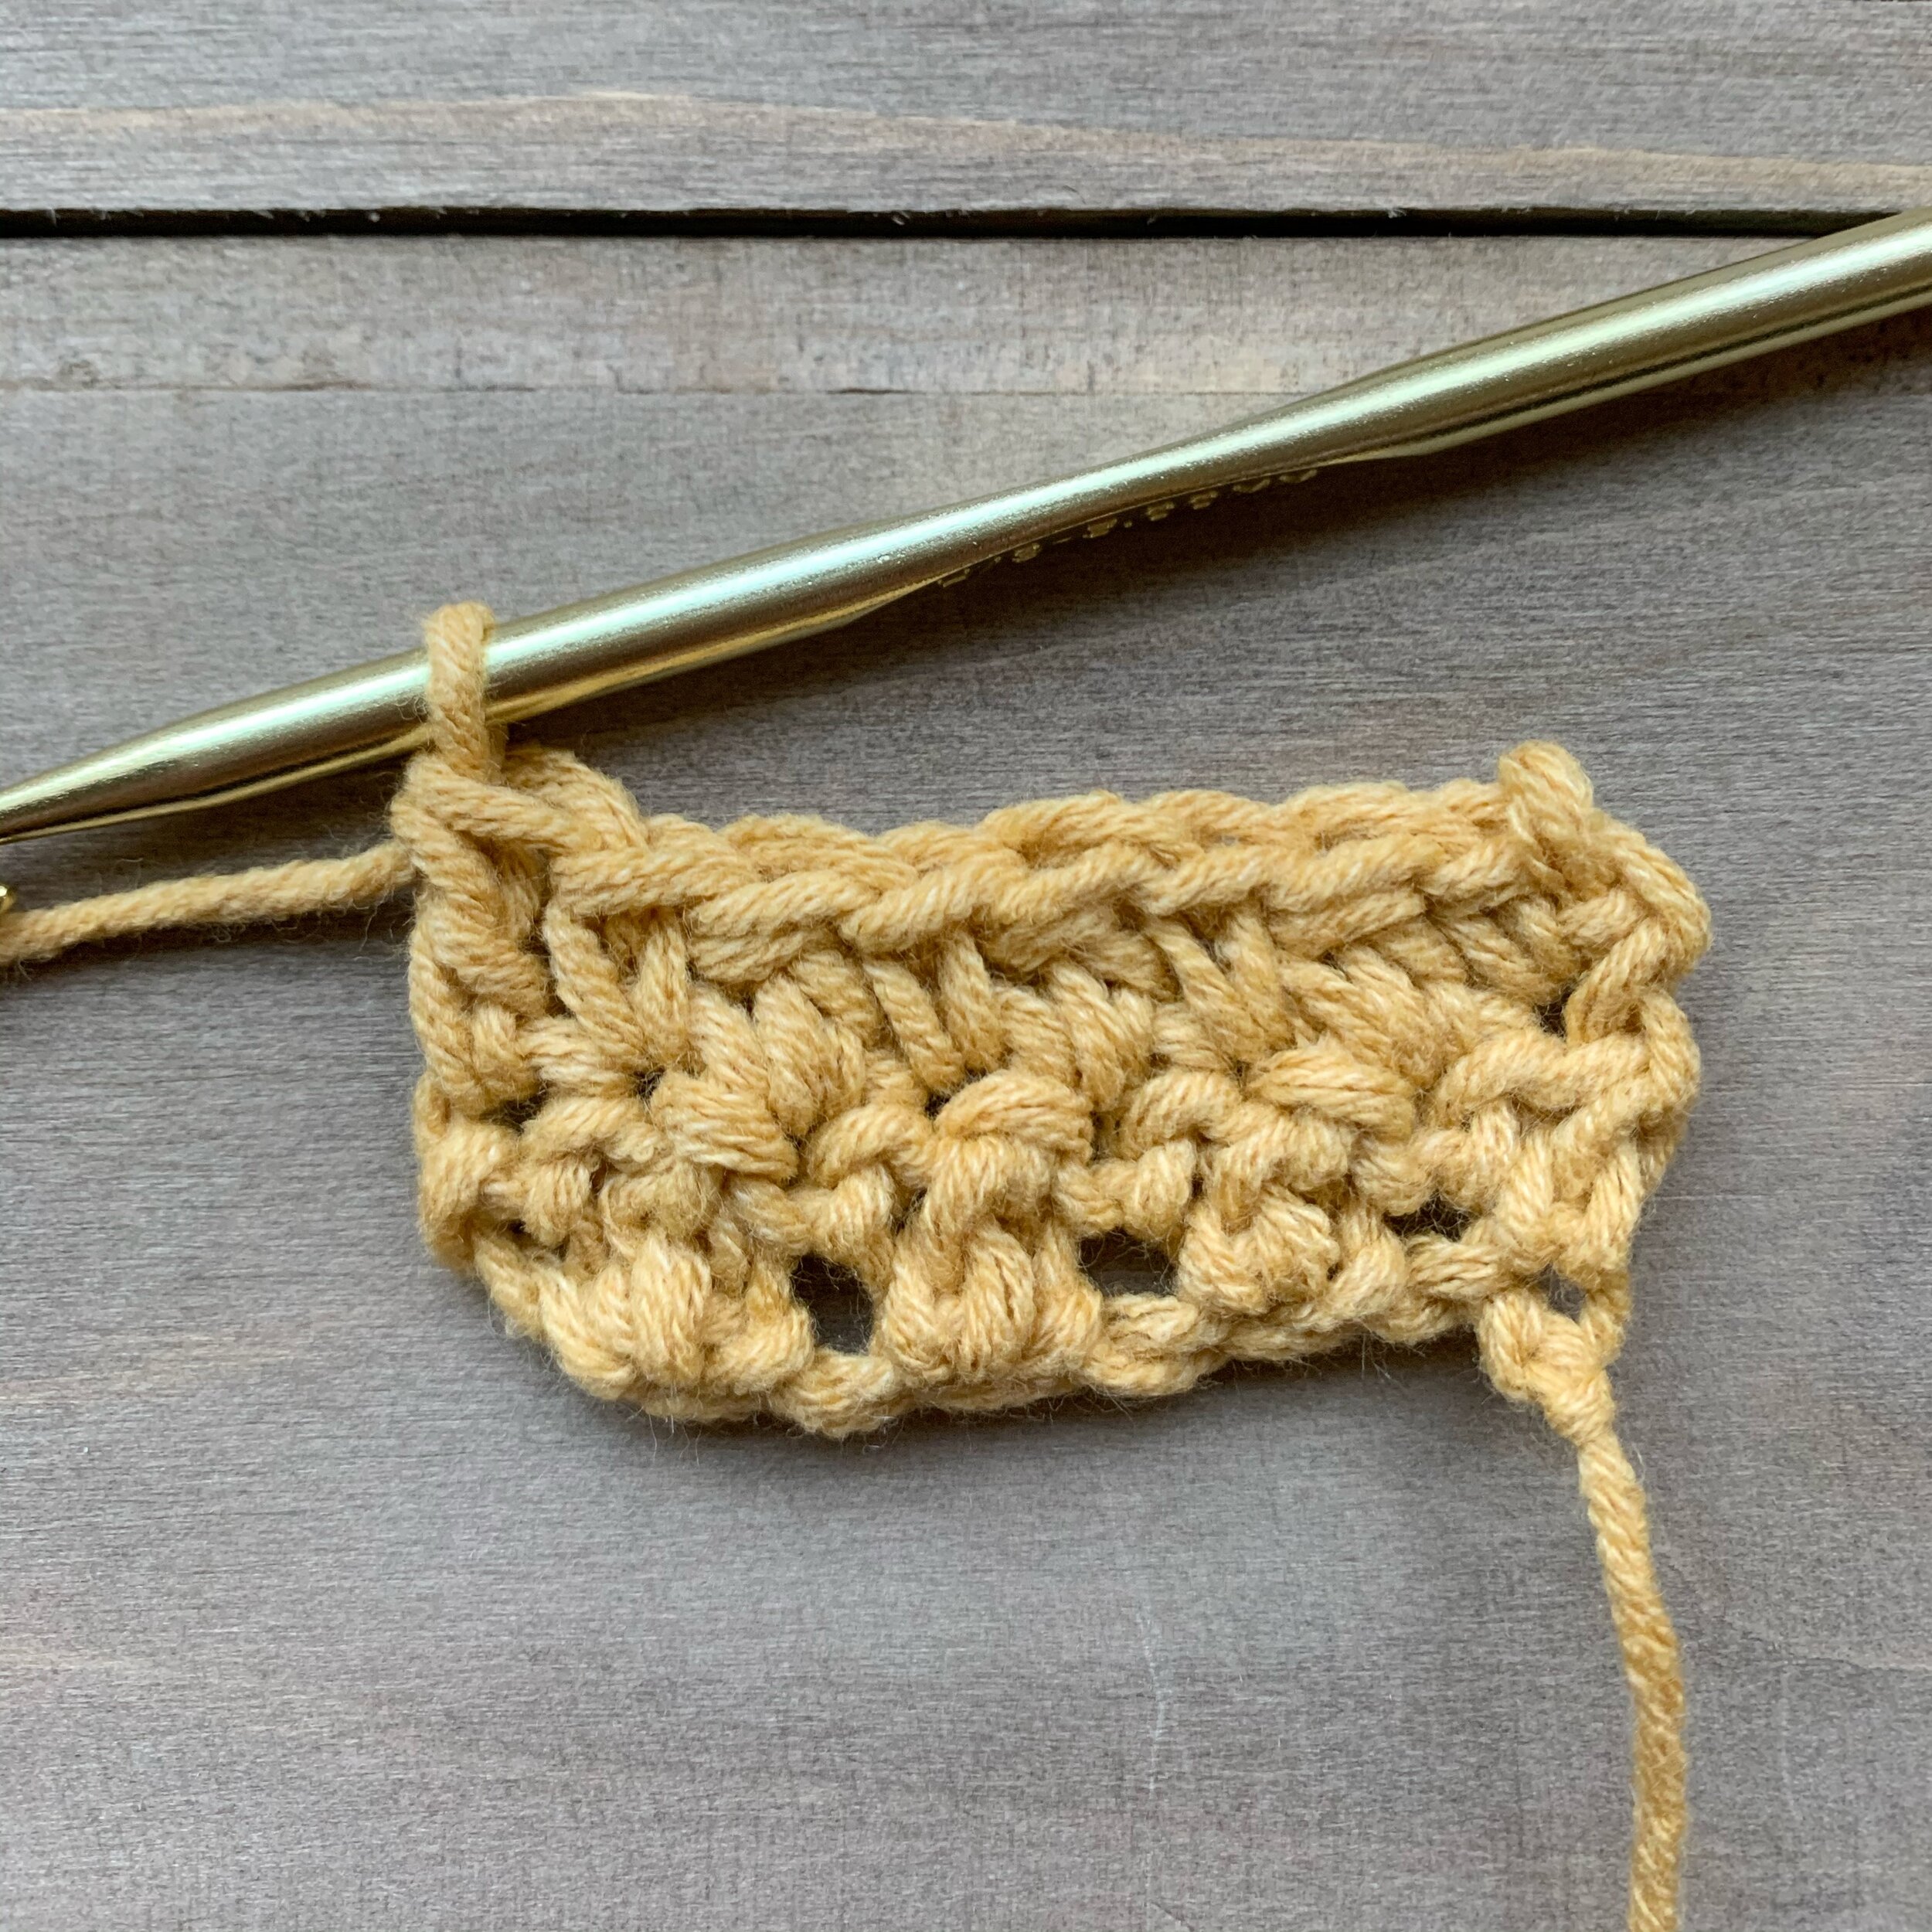
Ch 1, turn. Then continue to work dc and sc alternately, making sure to work a sc into a dc and a dc in to a sc. In this example you will start your second row with a sc, then dc, then sc and repeat that across.
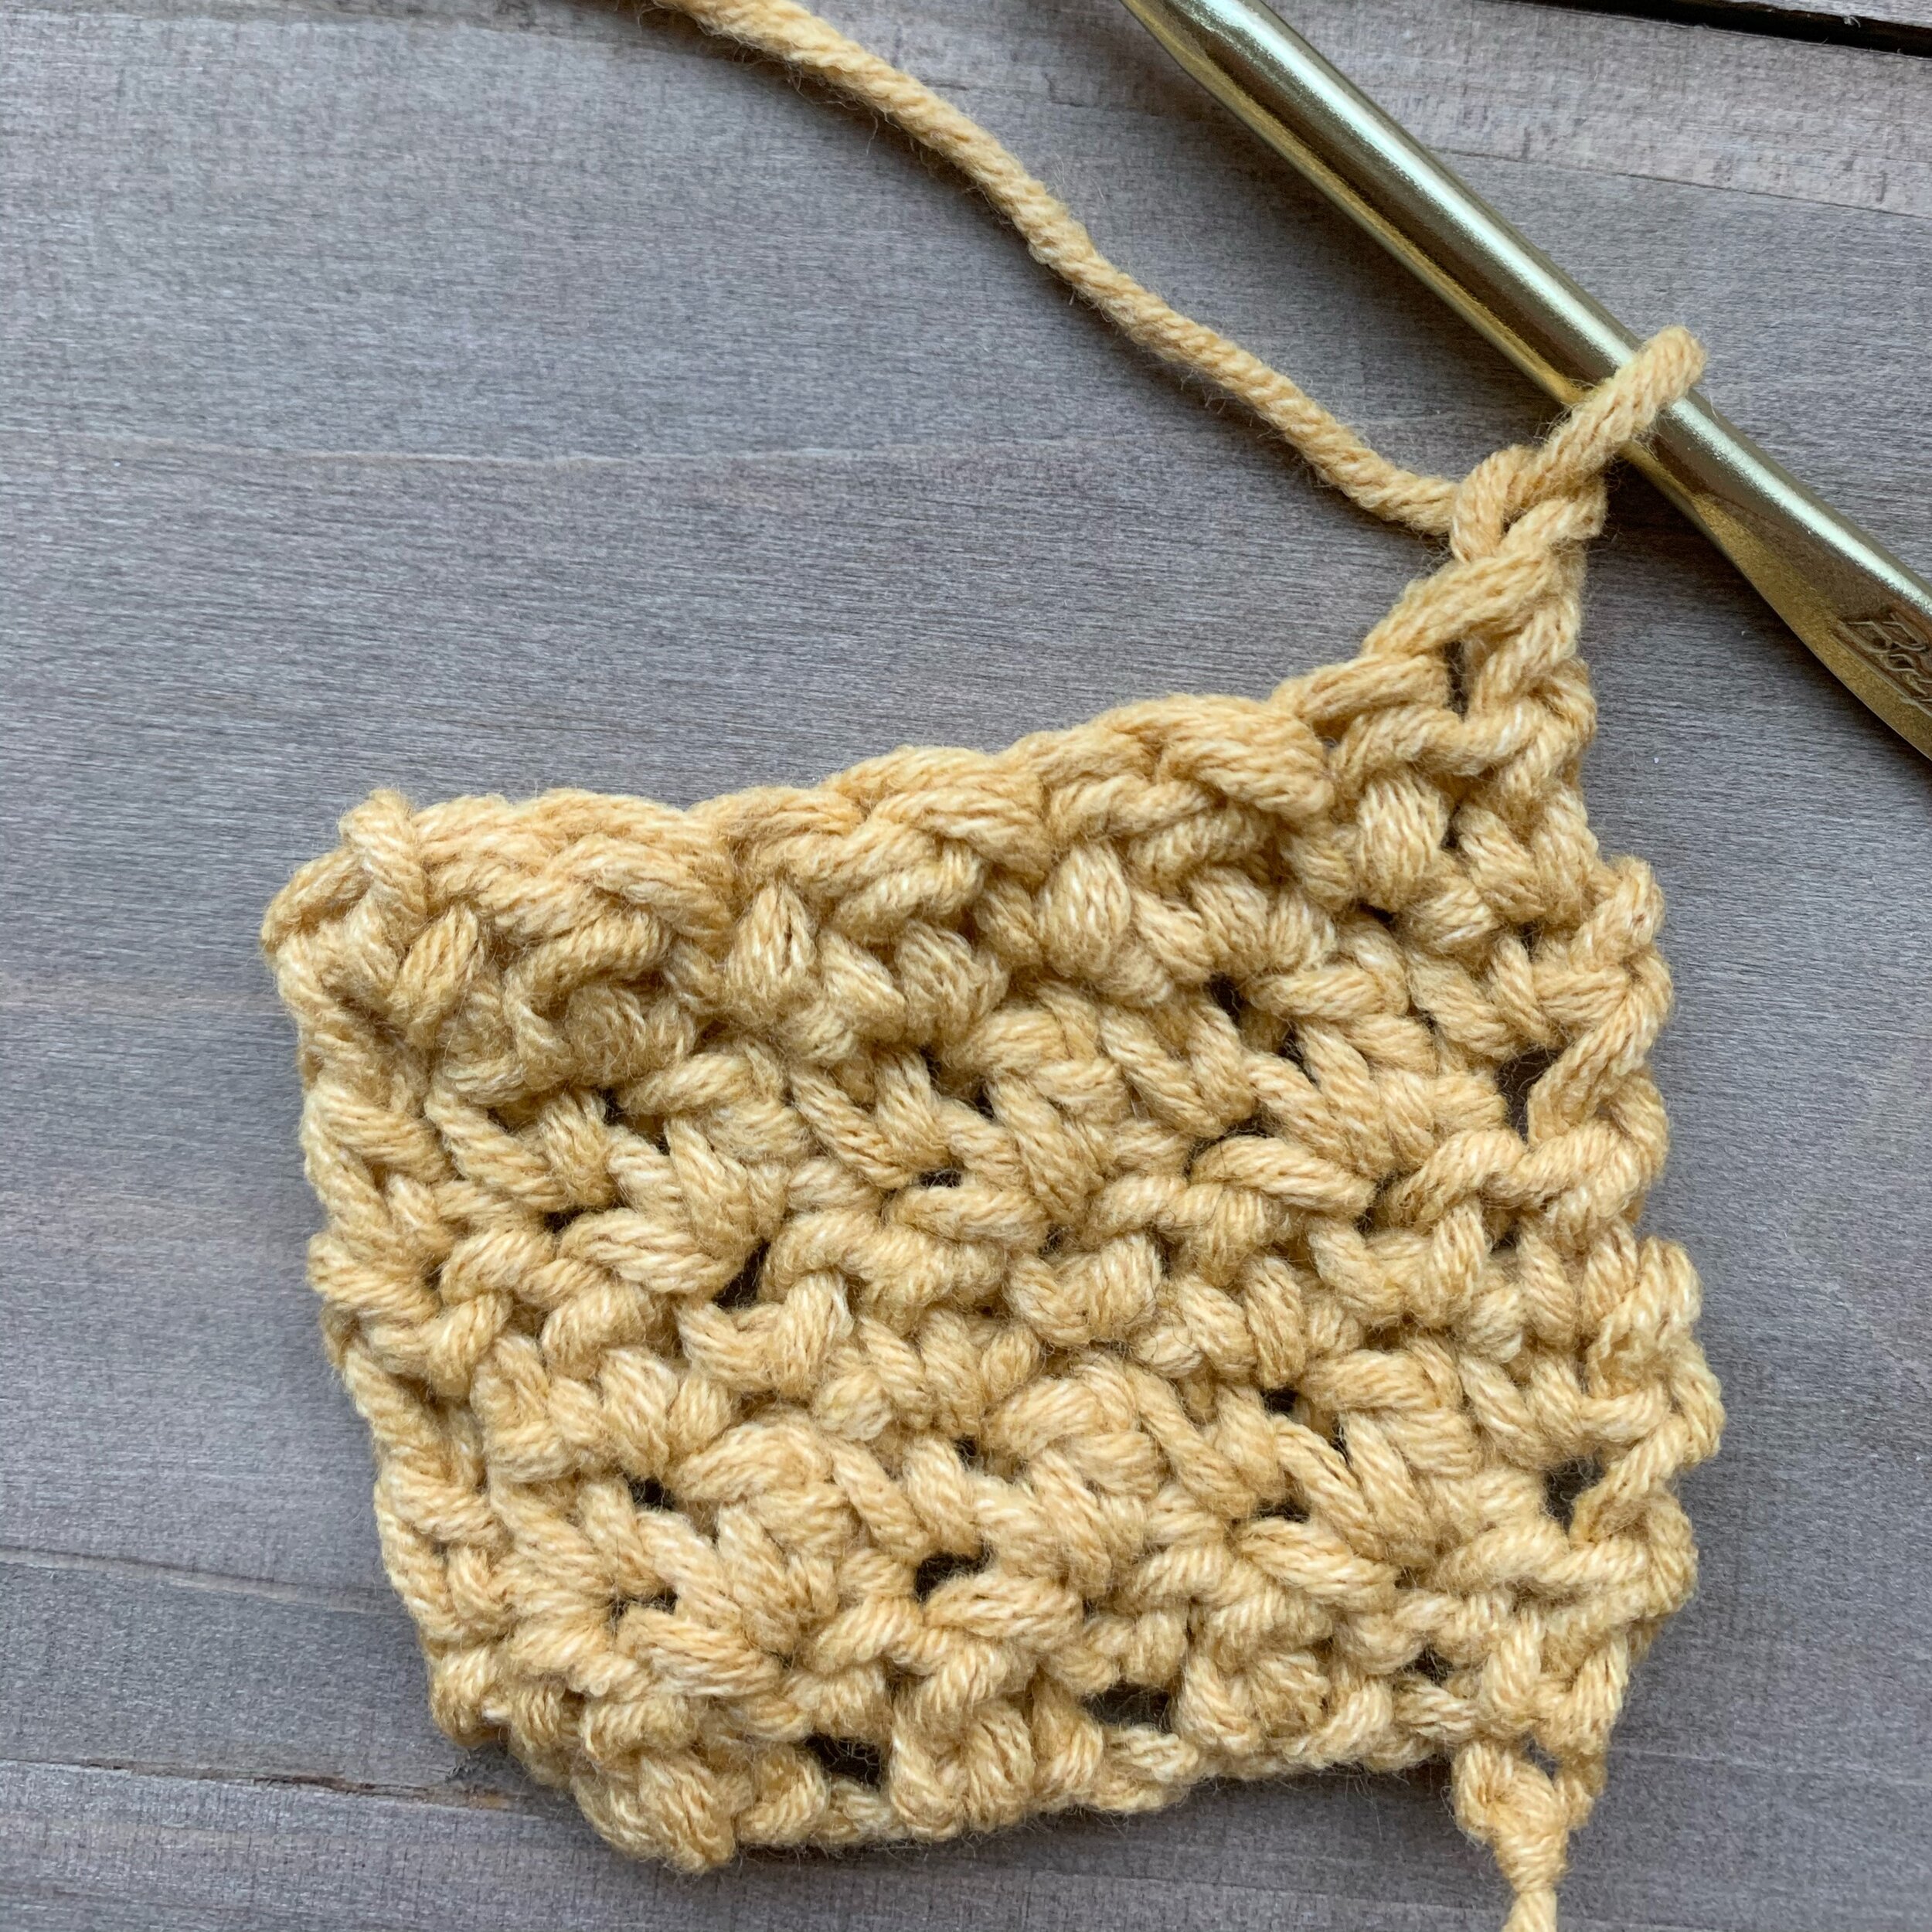
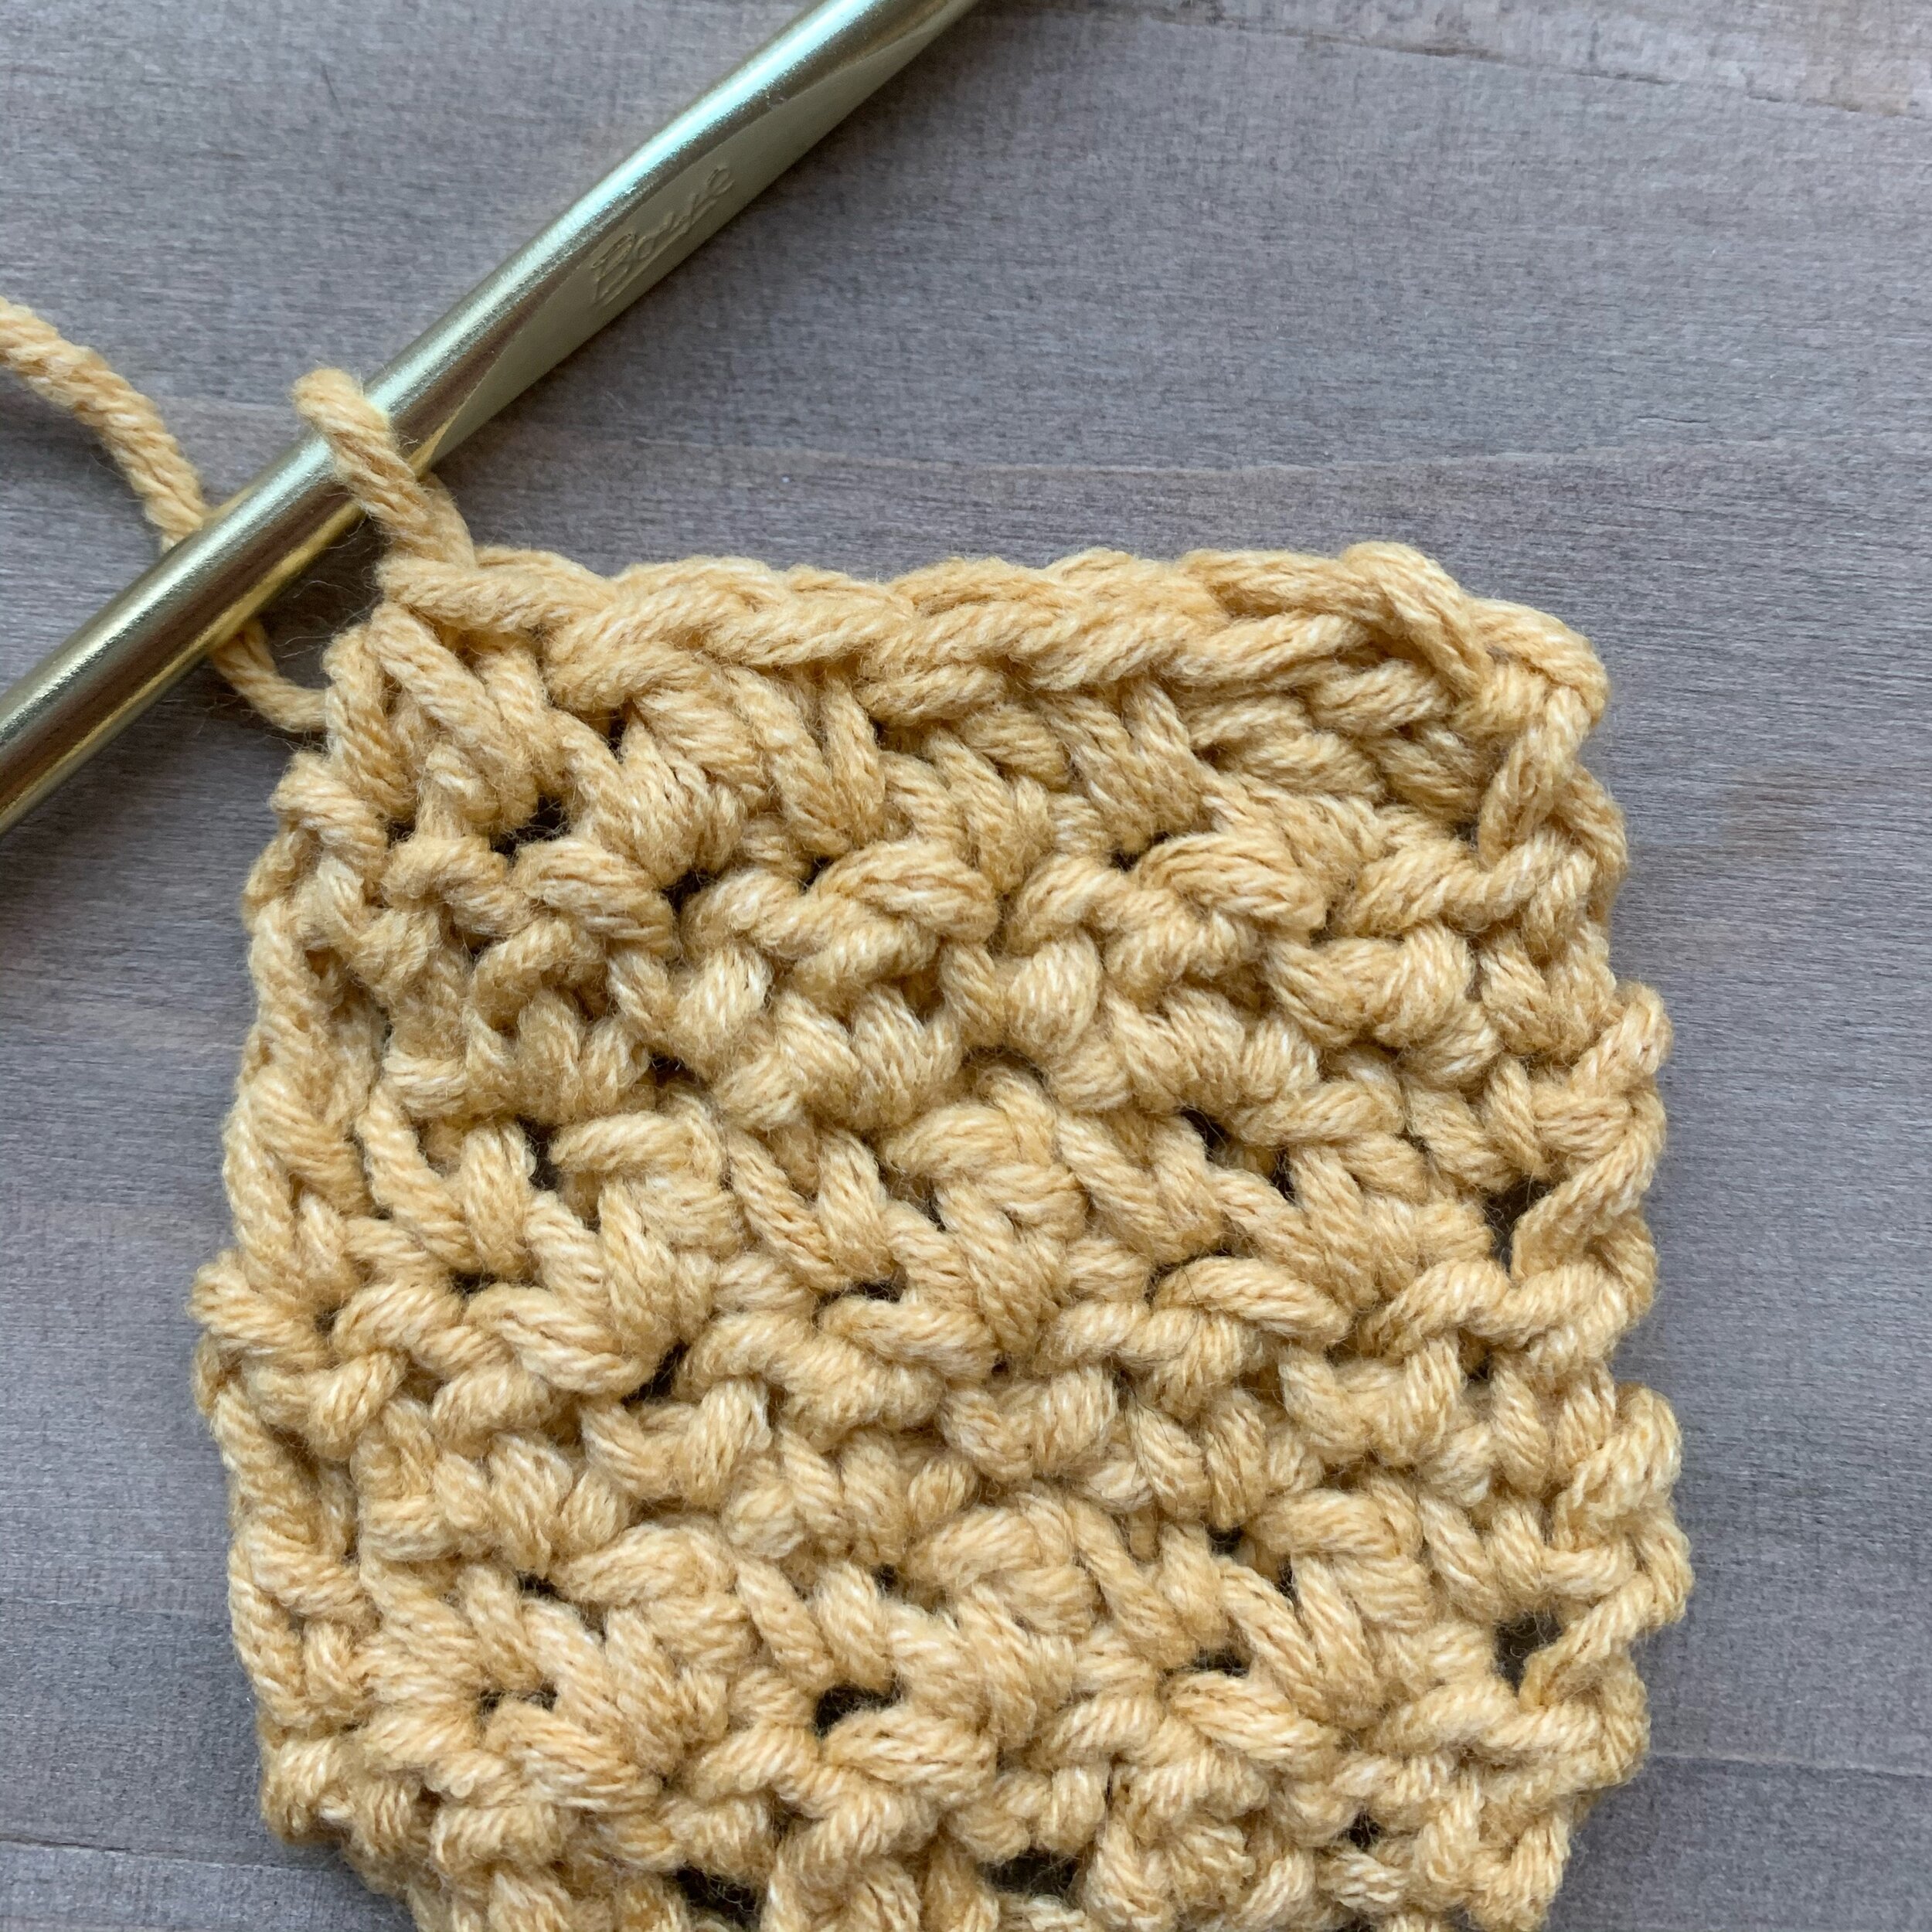
Continue to alternate between sc and dc in each row, again always working a sc into a dc and a dc in to a sc.

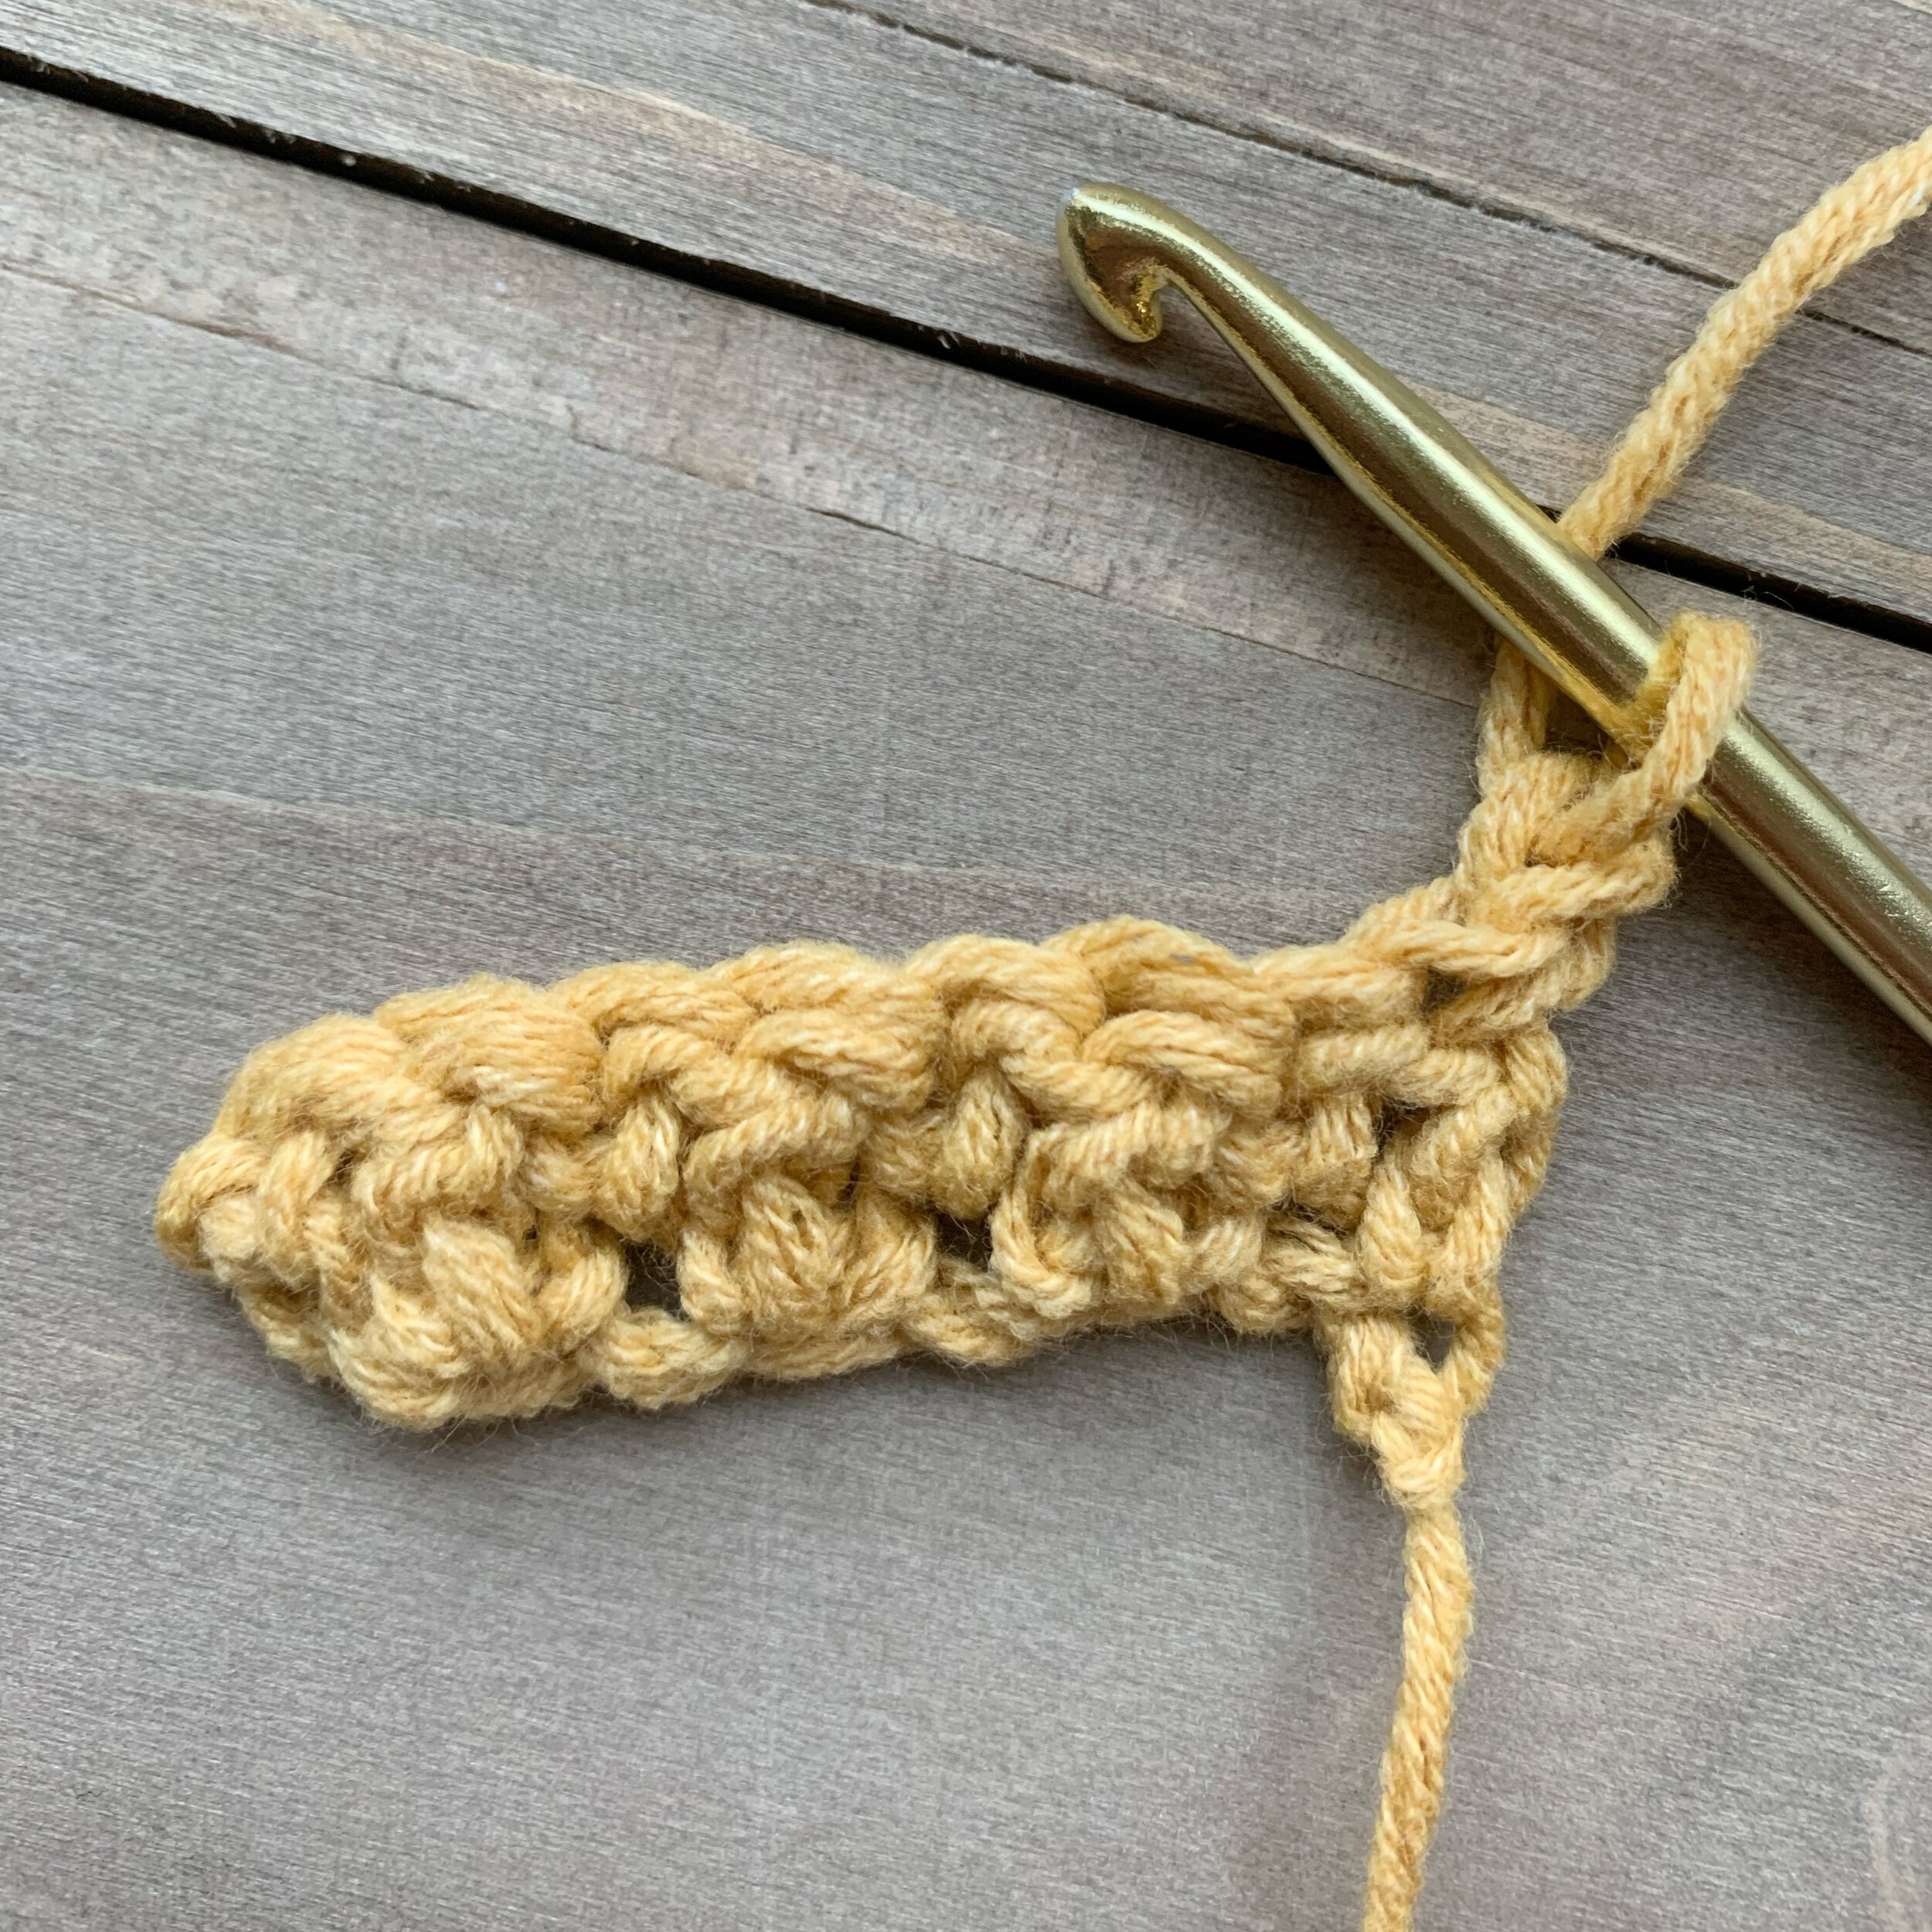
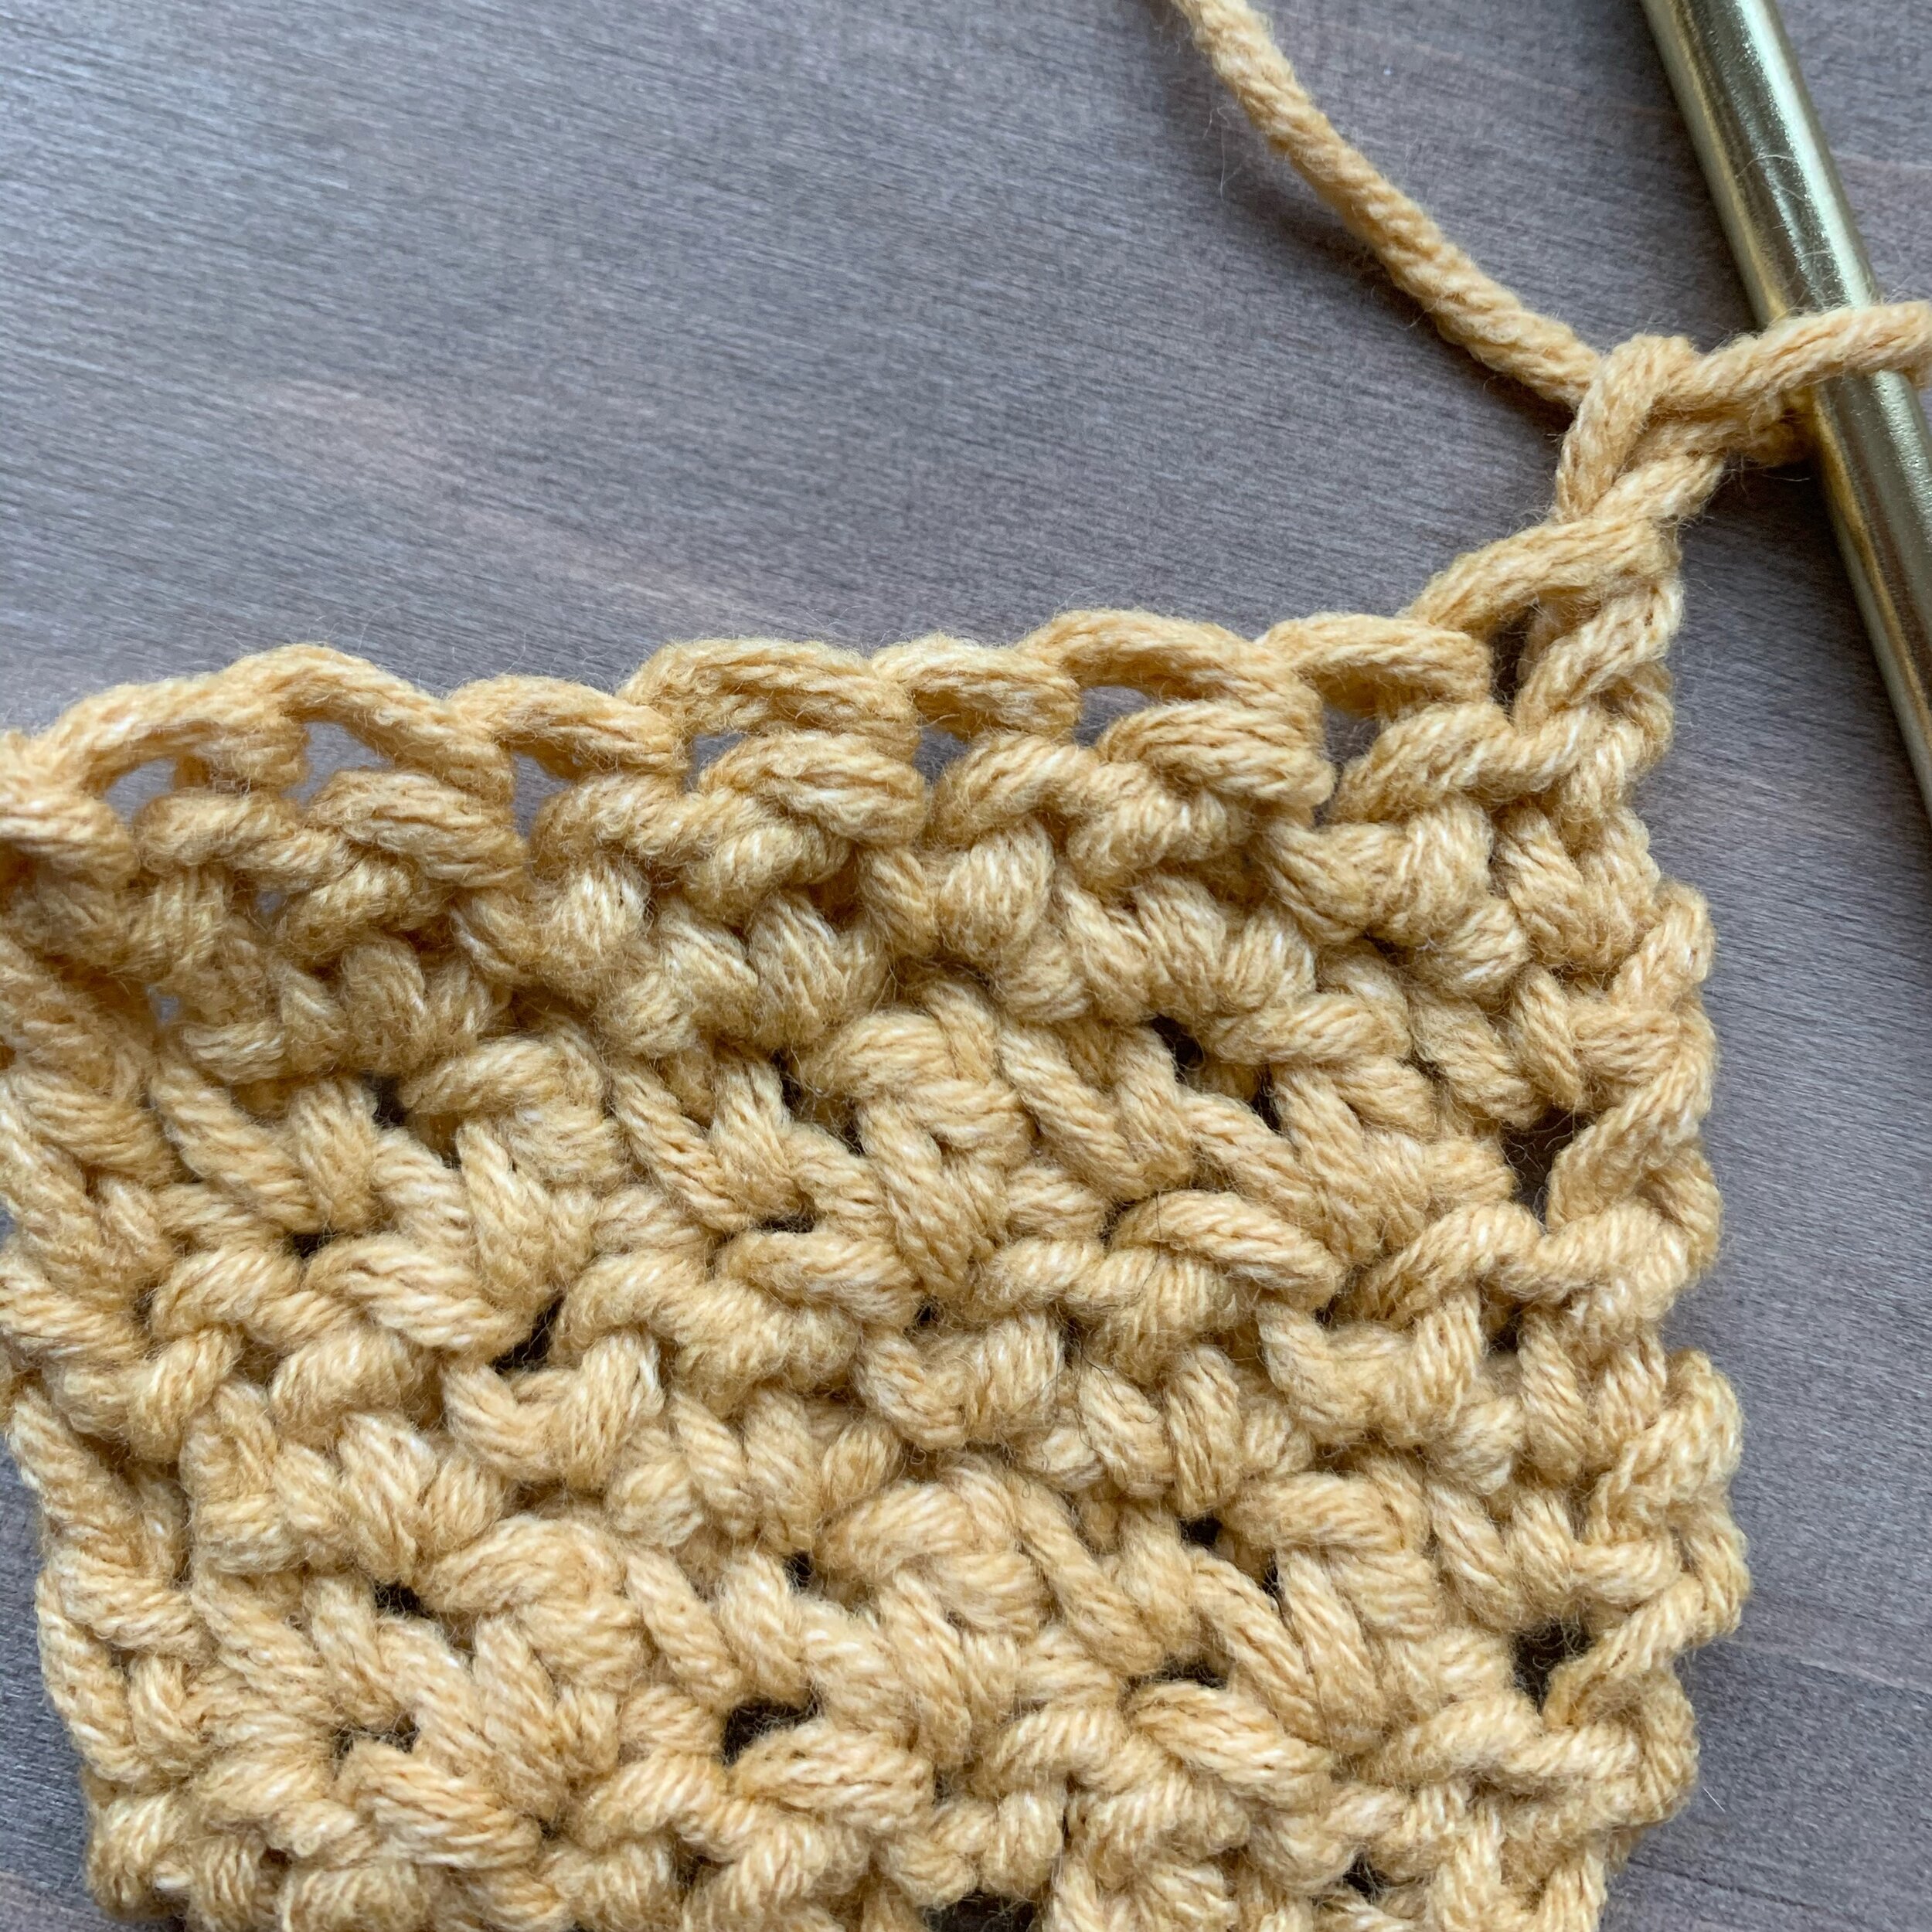
Decreasing: To decrease in lemon peel stitch, you can work a sc2tog or a dc2tog at the beginning or end of a row. If at the beginning, look at the 3rd st in from the right, if you will be making a dc in to that stitch, you will need to sc2tog over the first 2 sts. If you will be making a sc in to that st, you will need to dc2tog over the first 2 sts. In this example the 3rd st in from the right is a dc, which means I will need to work a sc into that stitch. So to decrease I worked a dc2tog over the first 2 sts.
If making a decrease at the end of the row, stop when you have 2 sts left. If the next st worked would be a sc, then sc2tog over the last 2 sts. If the next st worked would be a dc, then dc2tog over the last 2 sts. In this example the next st worked would be a sc, so I worked a sc2tog.
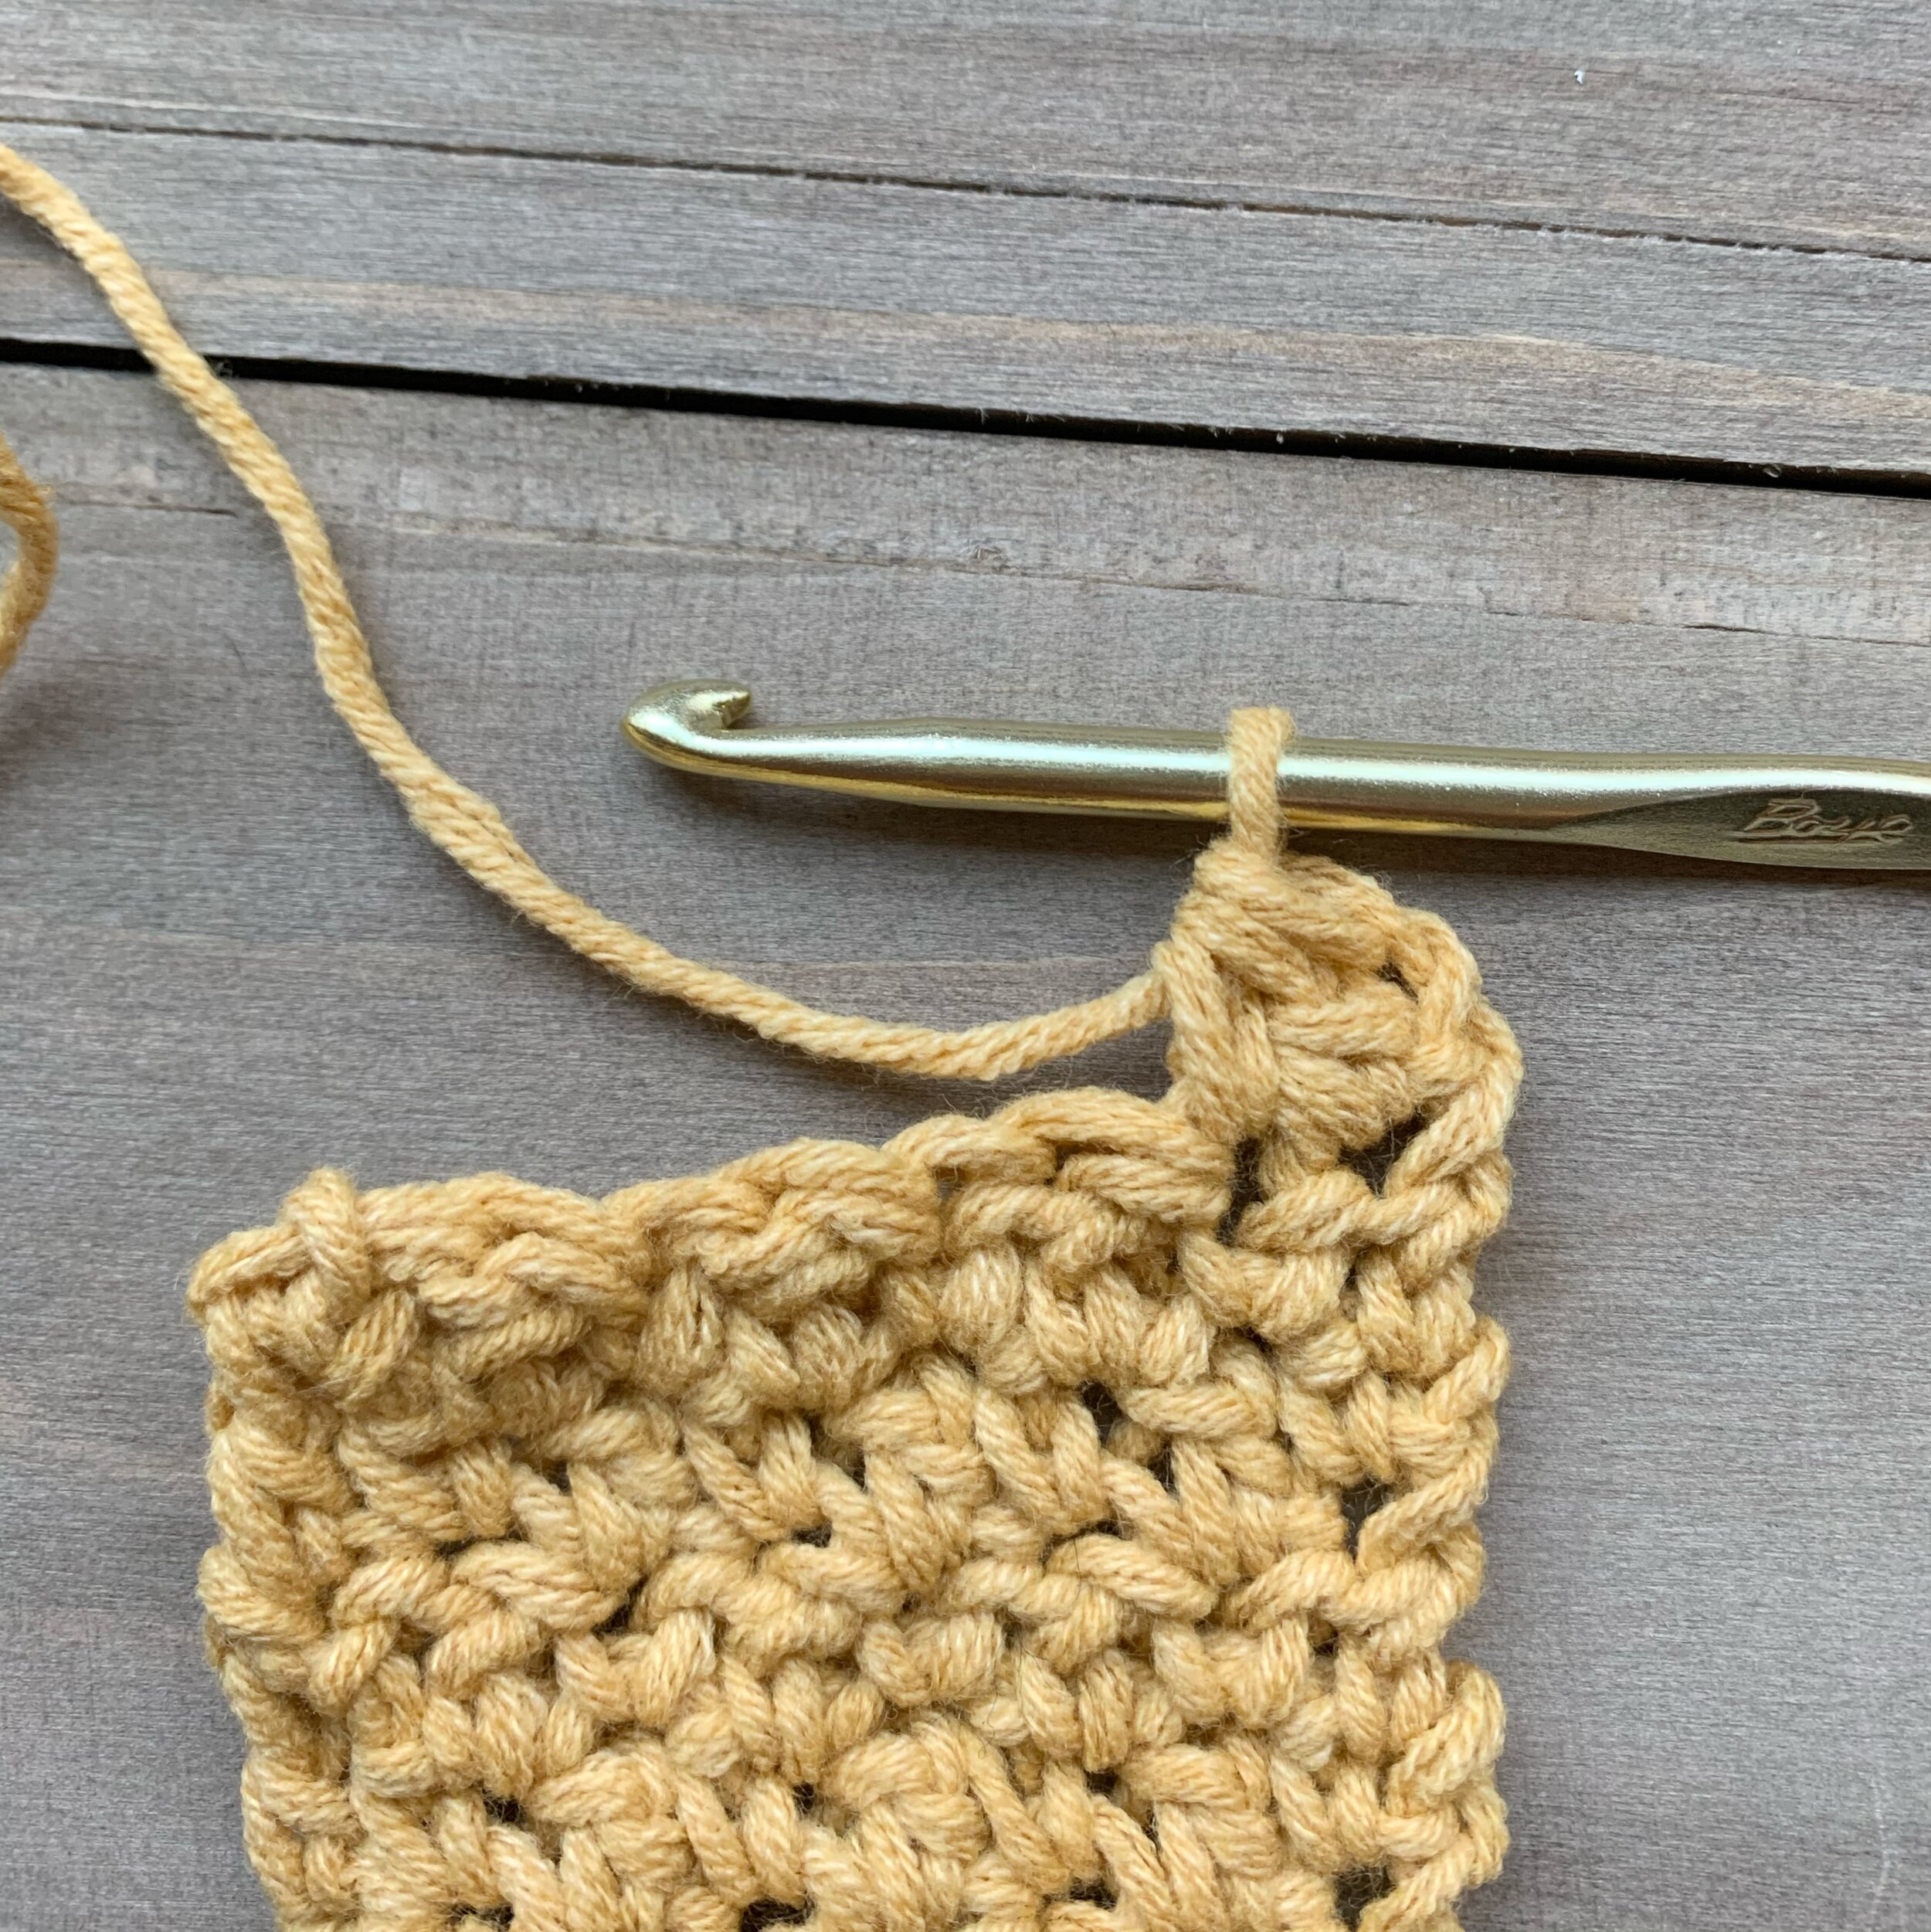
Increasing: To increase in lemon peel stitch you simple add an extra st at the beginning or end of the row making sure to keep with the alternating sc and dc. For example, if you are increasing at the beginning of the row and the first st will be a sc, work a dc and then a sc in to the first st. If the first st will be a dc, work a sc and then a dc in the first st. In this example the first st to be worked is a sc, so I worked a dc, then a sc into the first st.
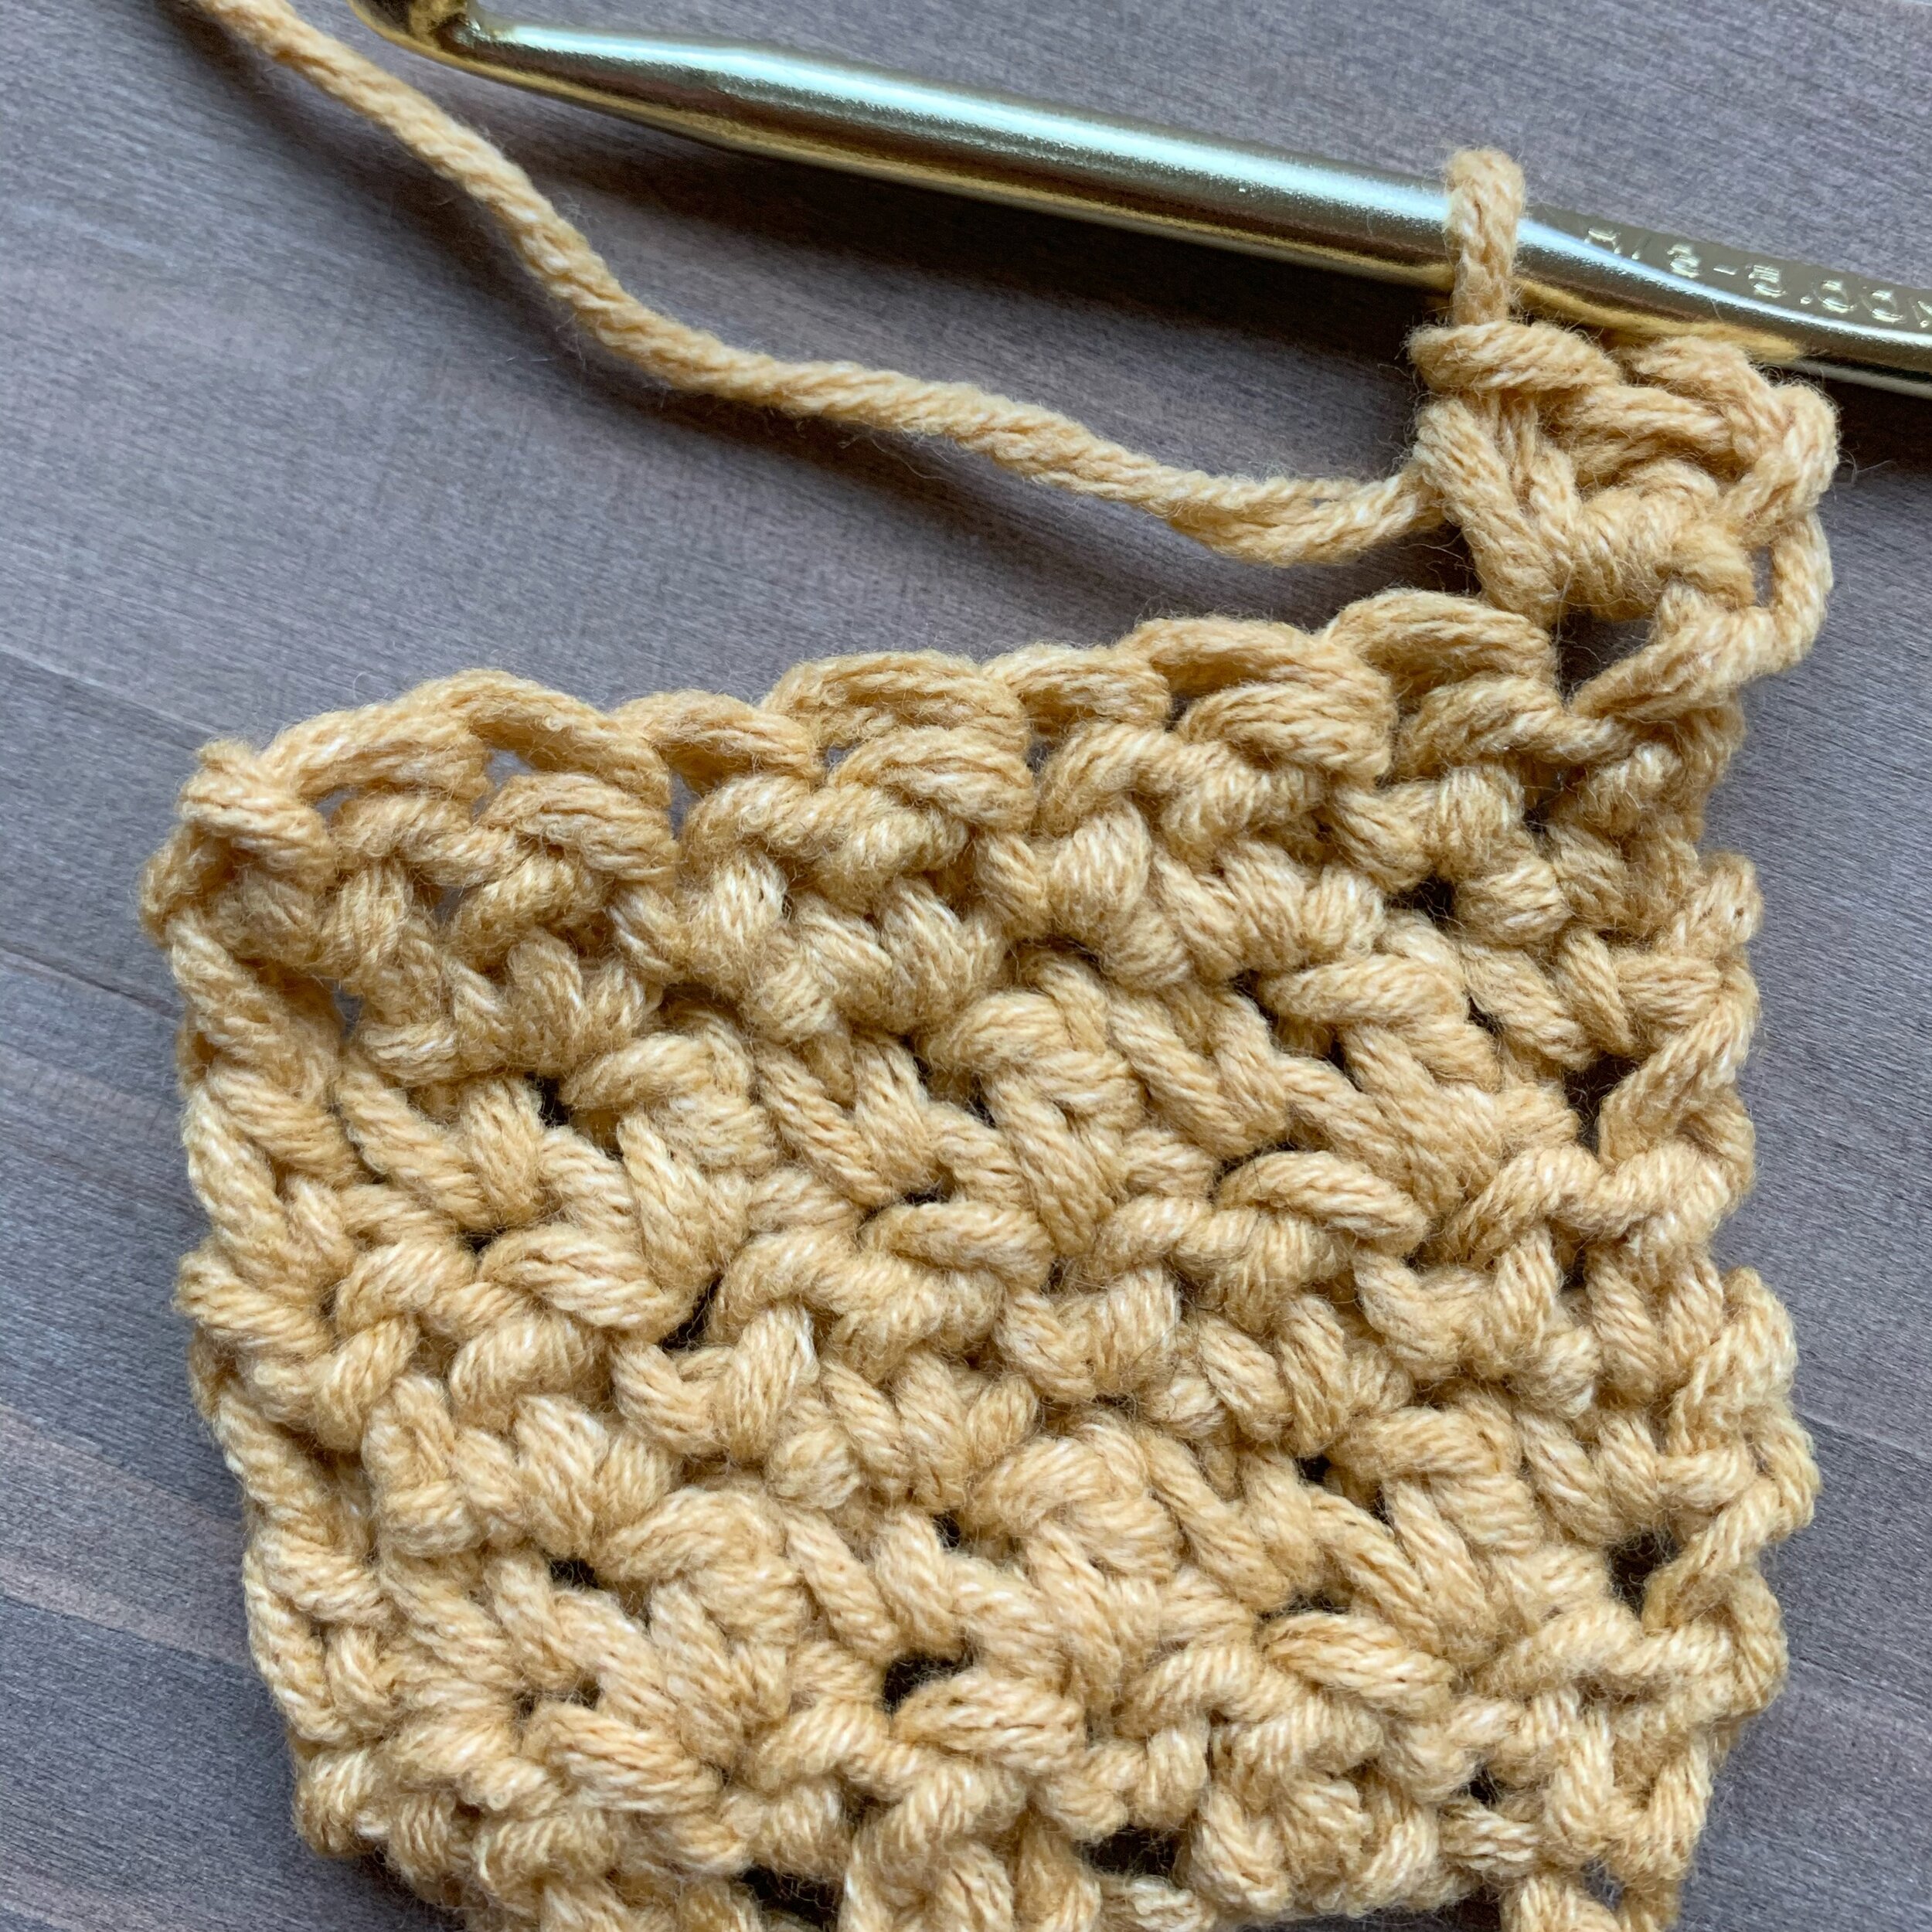
If increasing at the end of a row simple add an extra stitch into the last st keeping with the alternating stitches. For example if the last st is a sc, add a dc in that same st. If the last st is a dc, add a sc in that same st. In this example the last st to be worked is dc so I added a sc in the same st.
Now you can try the lemon peel stitch for yourself! If you are looking for a fun project that uses the lemon peel stitch, make sure to check out my Emerson Triangle Scarf free crochet pattern.
Don’t forget to check out the video tutorial of the lemon peel stitch below.
Video Tutorial:
Happy Crocheting!
Meghan