The Emerson Triangle Scarf-Free Crochet Pattern
***This pattern is available as an inexpensive ad free downloadable PDF in my shop. Pattern includes 11 full color pages with detailed instructions for stitches used and how to make tassels for finishing. Pattern is available HERE***
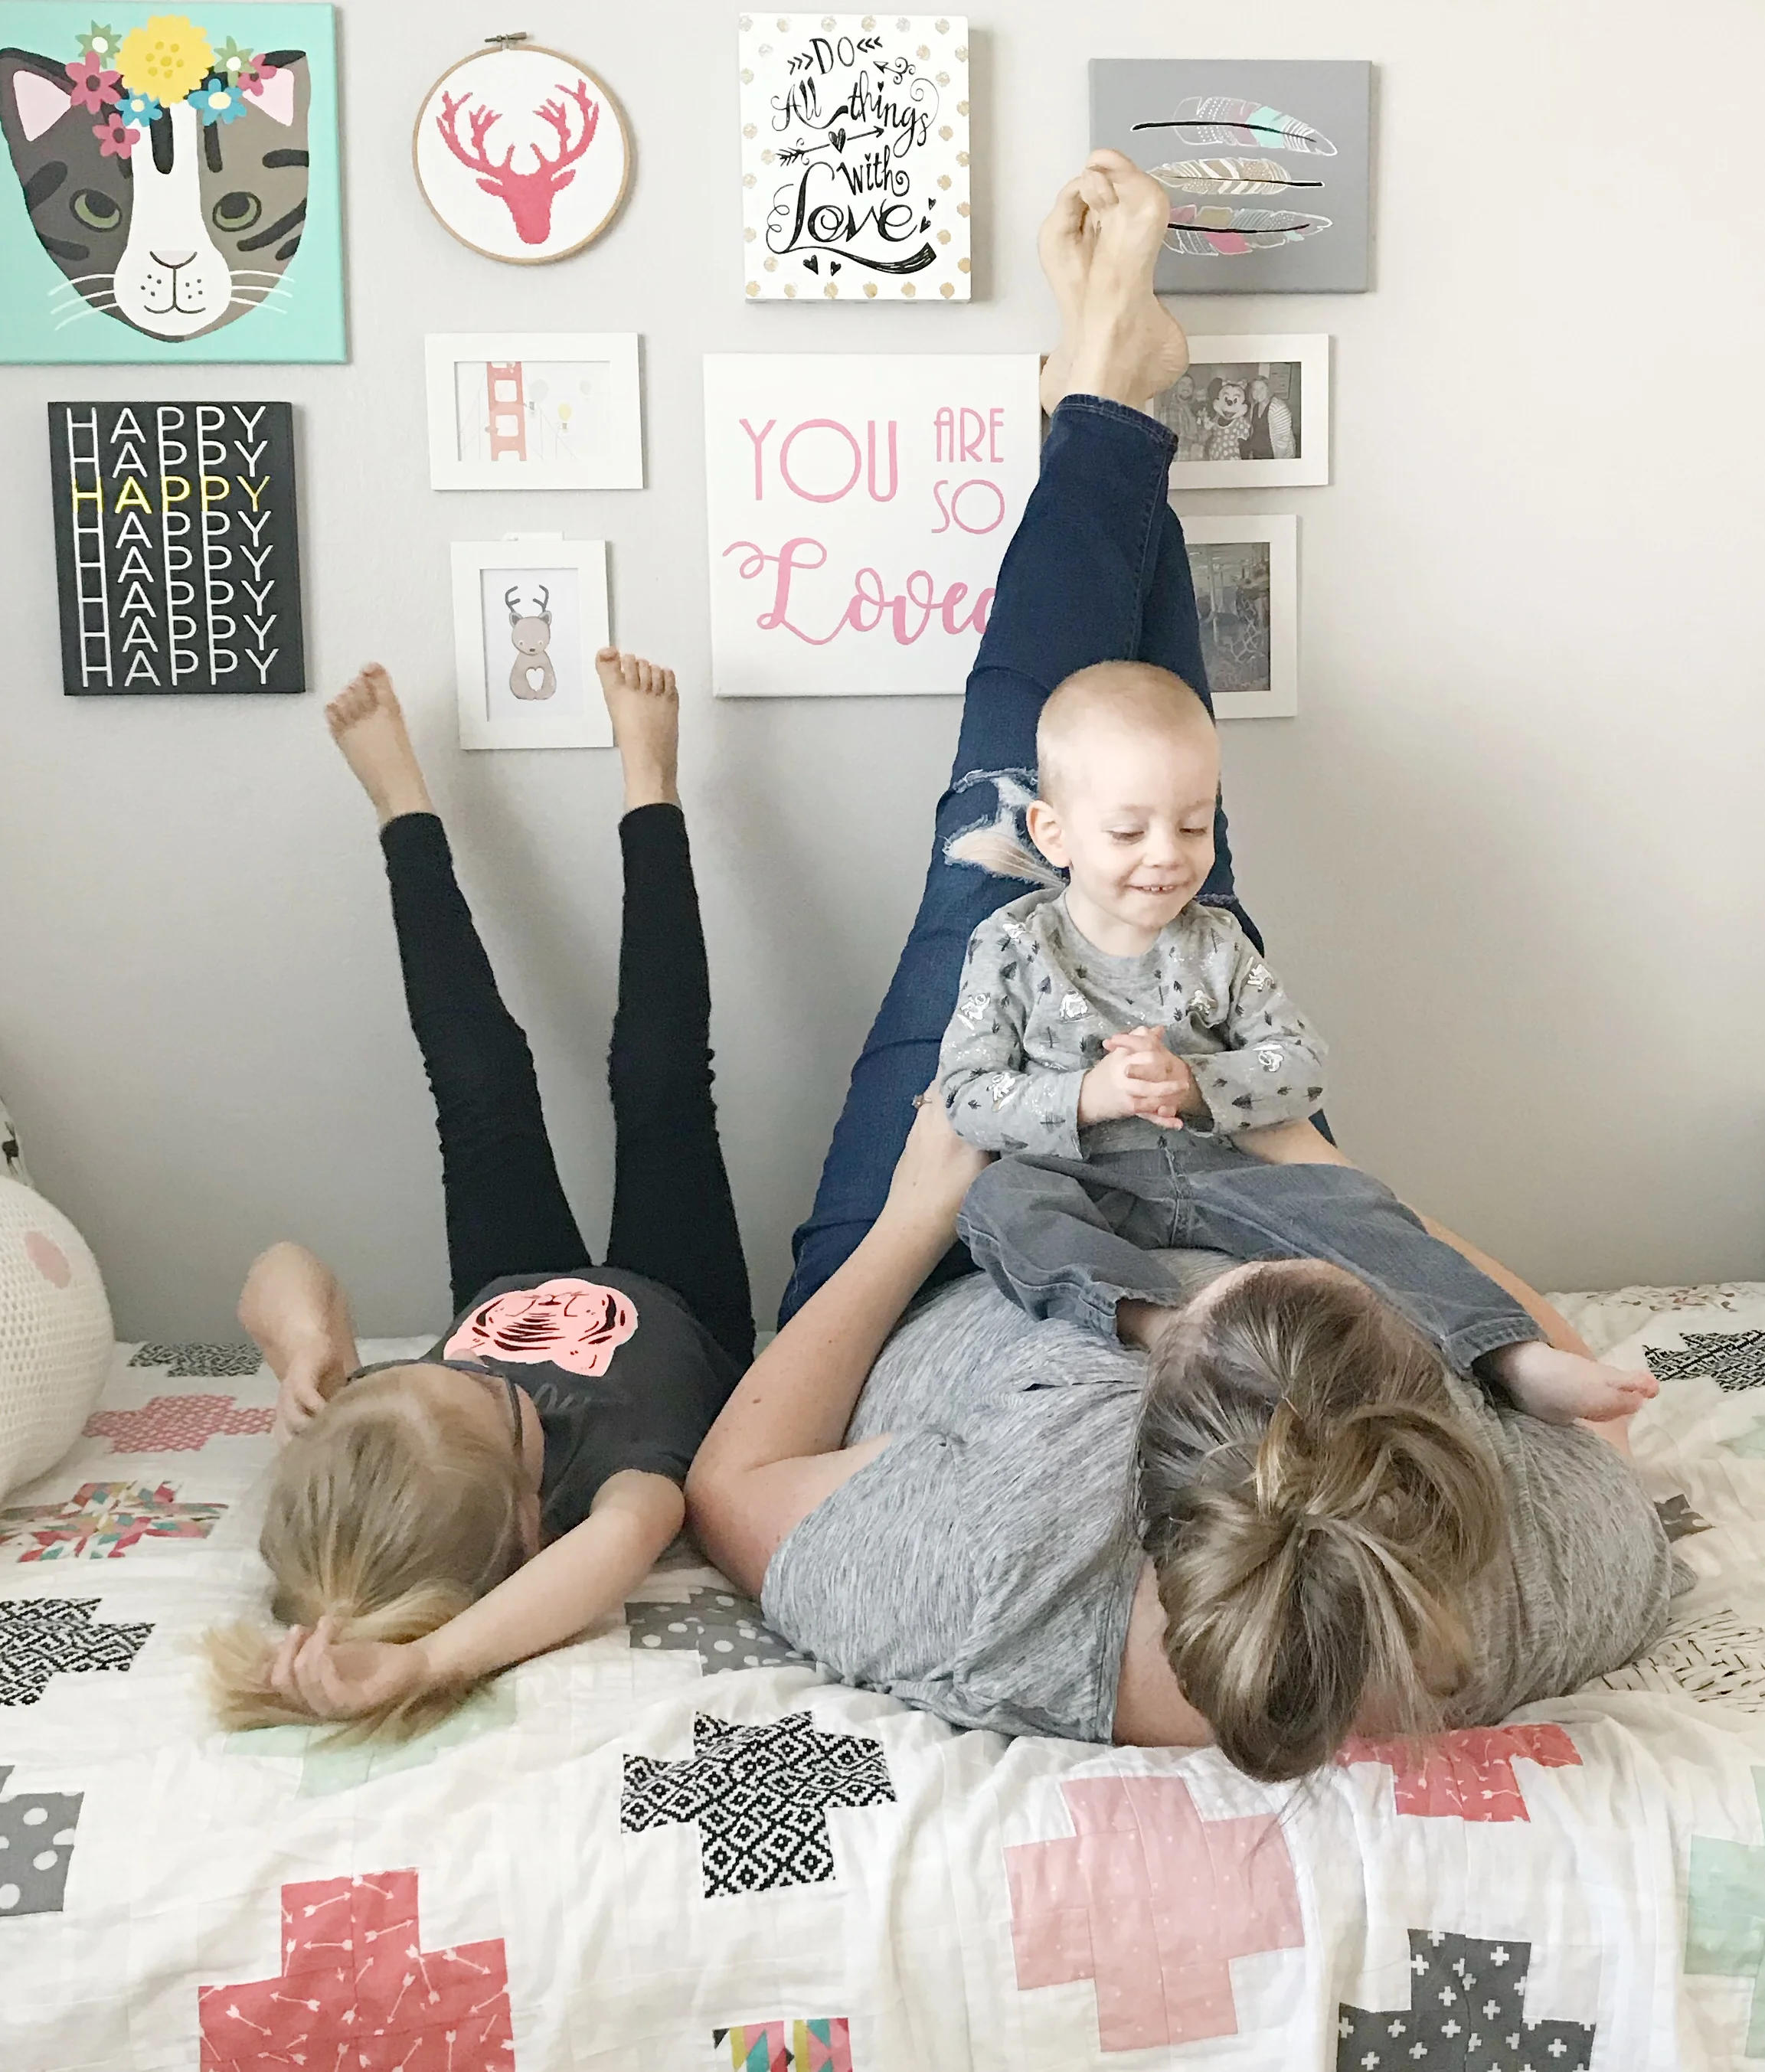
I am so excited to finally be sharing The Emerson Triangle Scarf pattern with you on the blog today! This was the very first crochet pattern I ever made and it is so special to me that I even named it after my first born. I'm sure if you've been following me on Facebook or Instagram you've seen some pictures, but here are a few more.
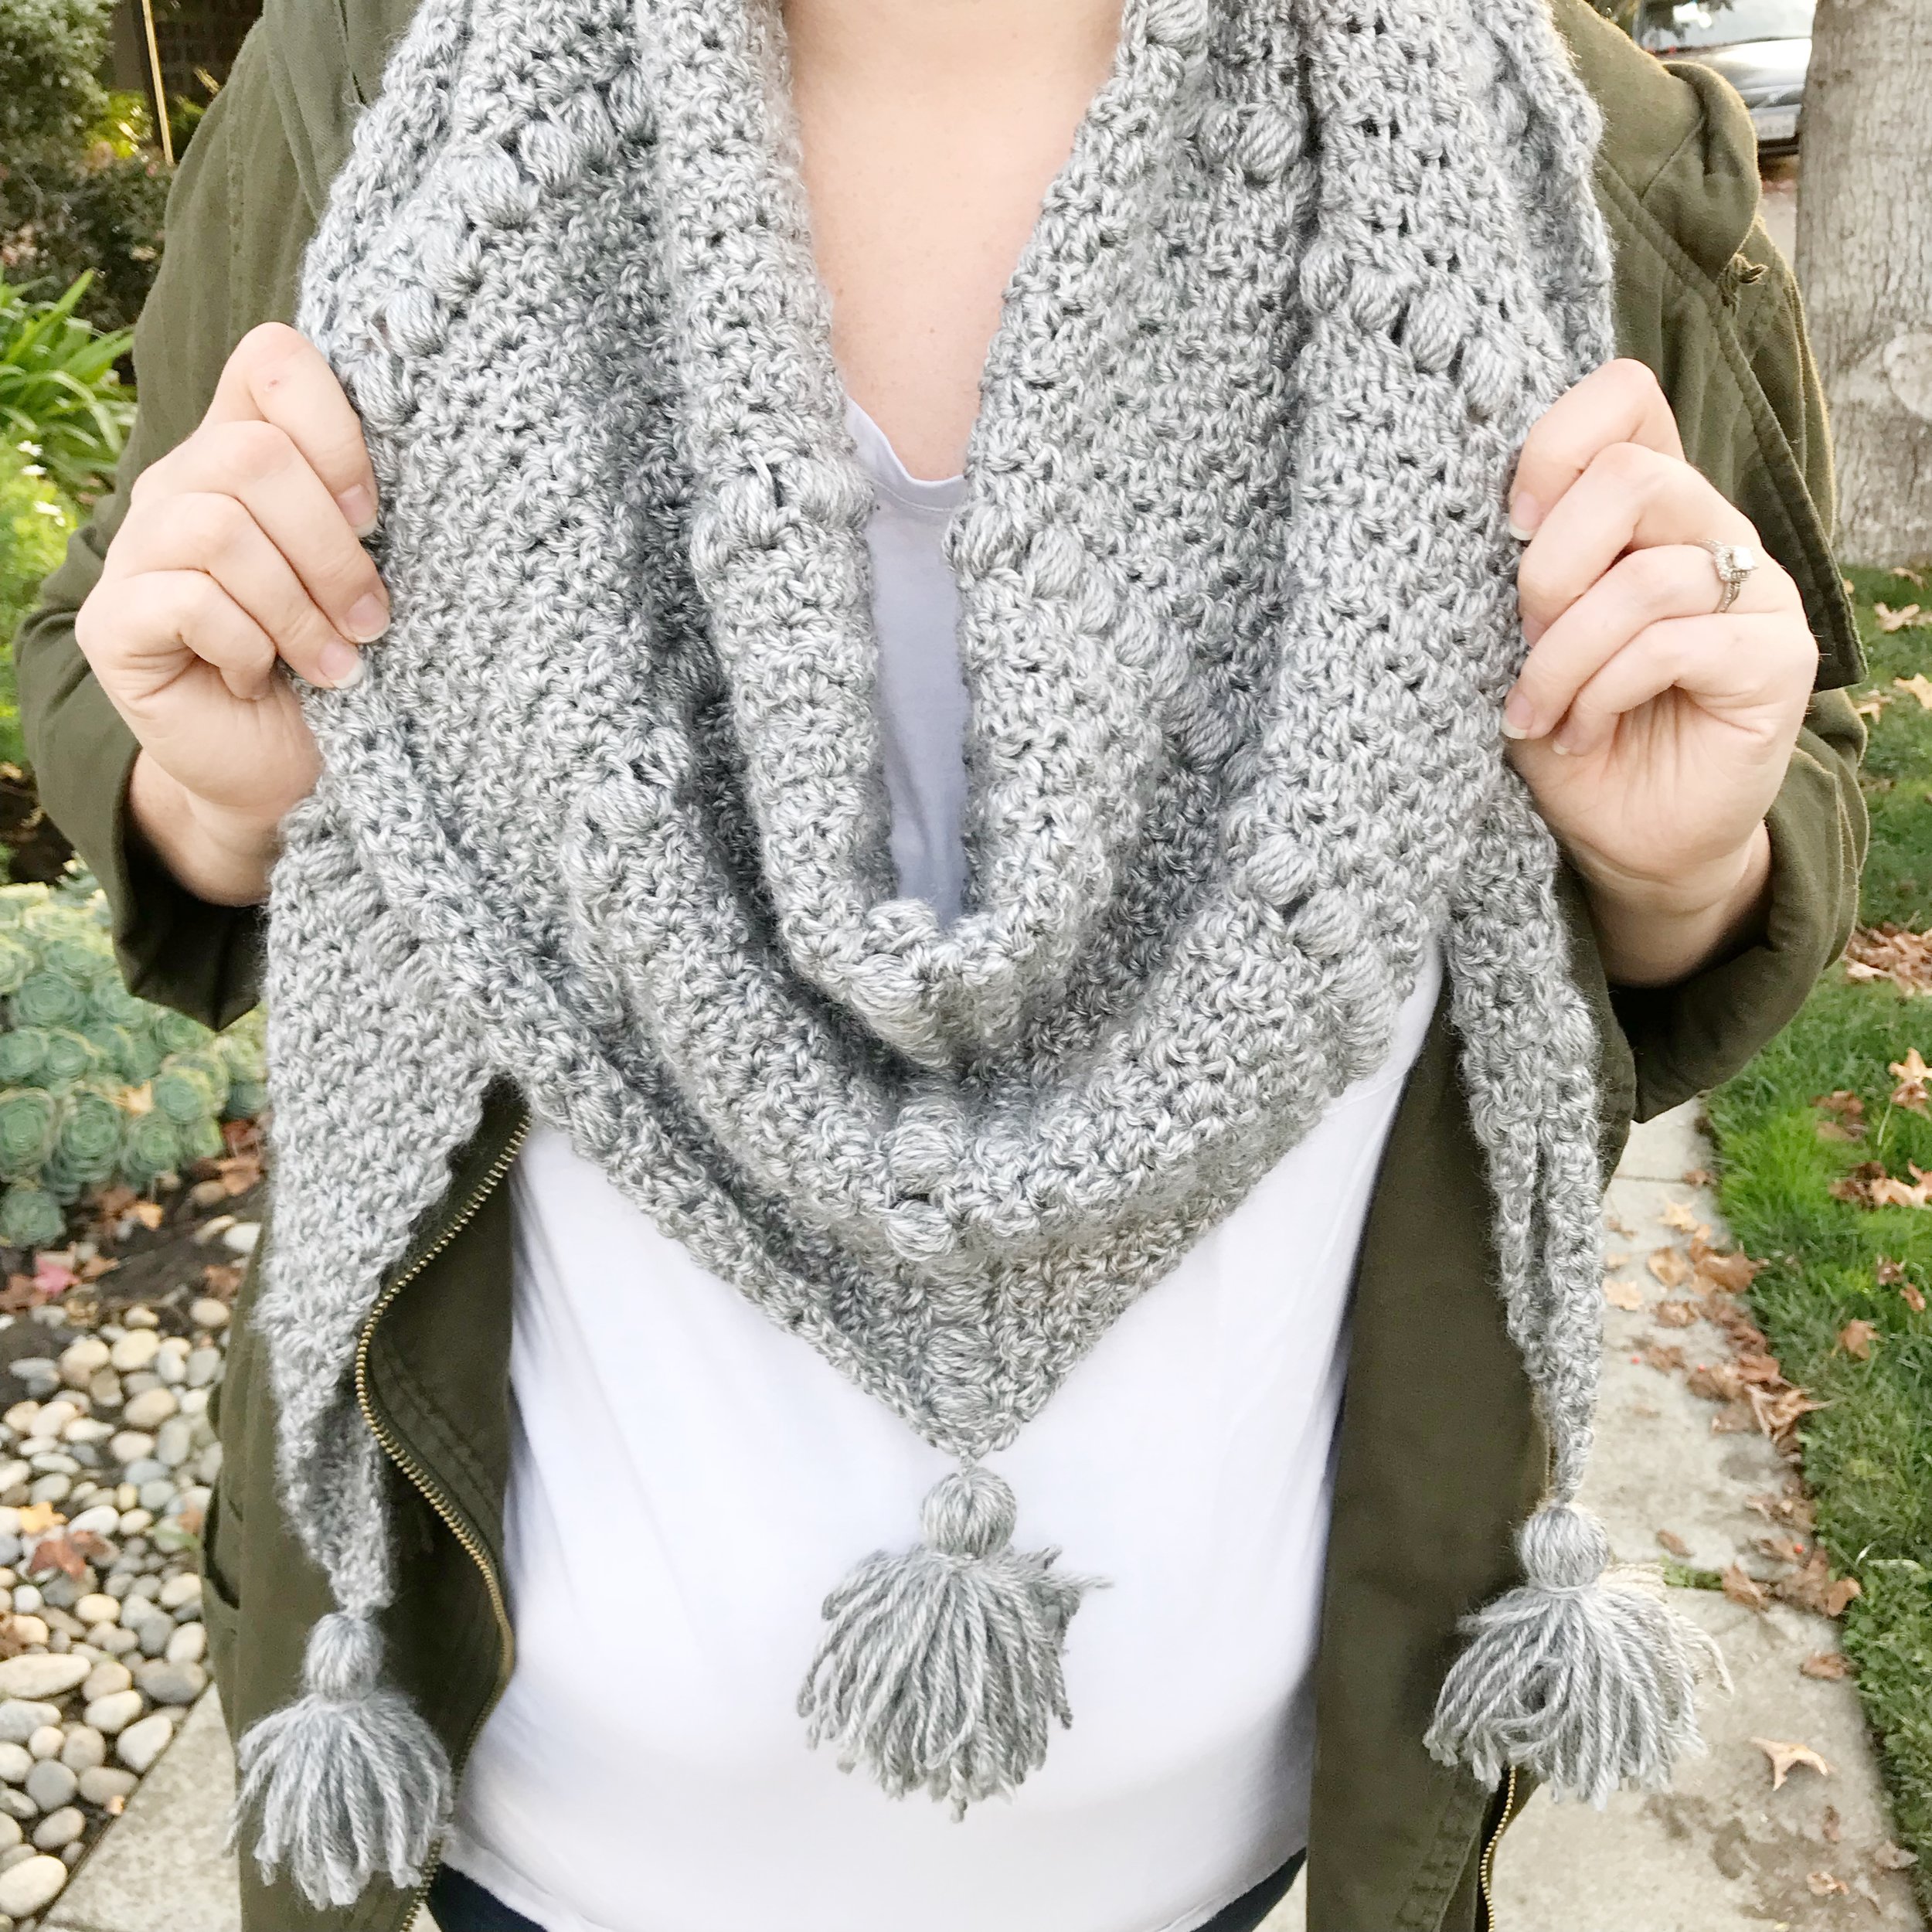
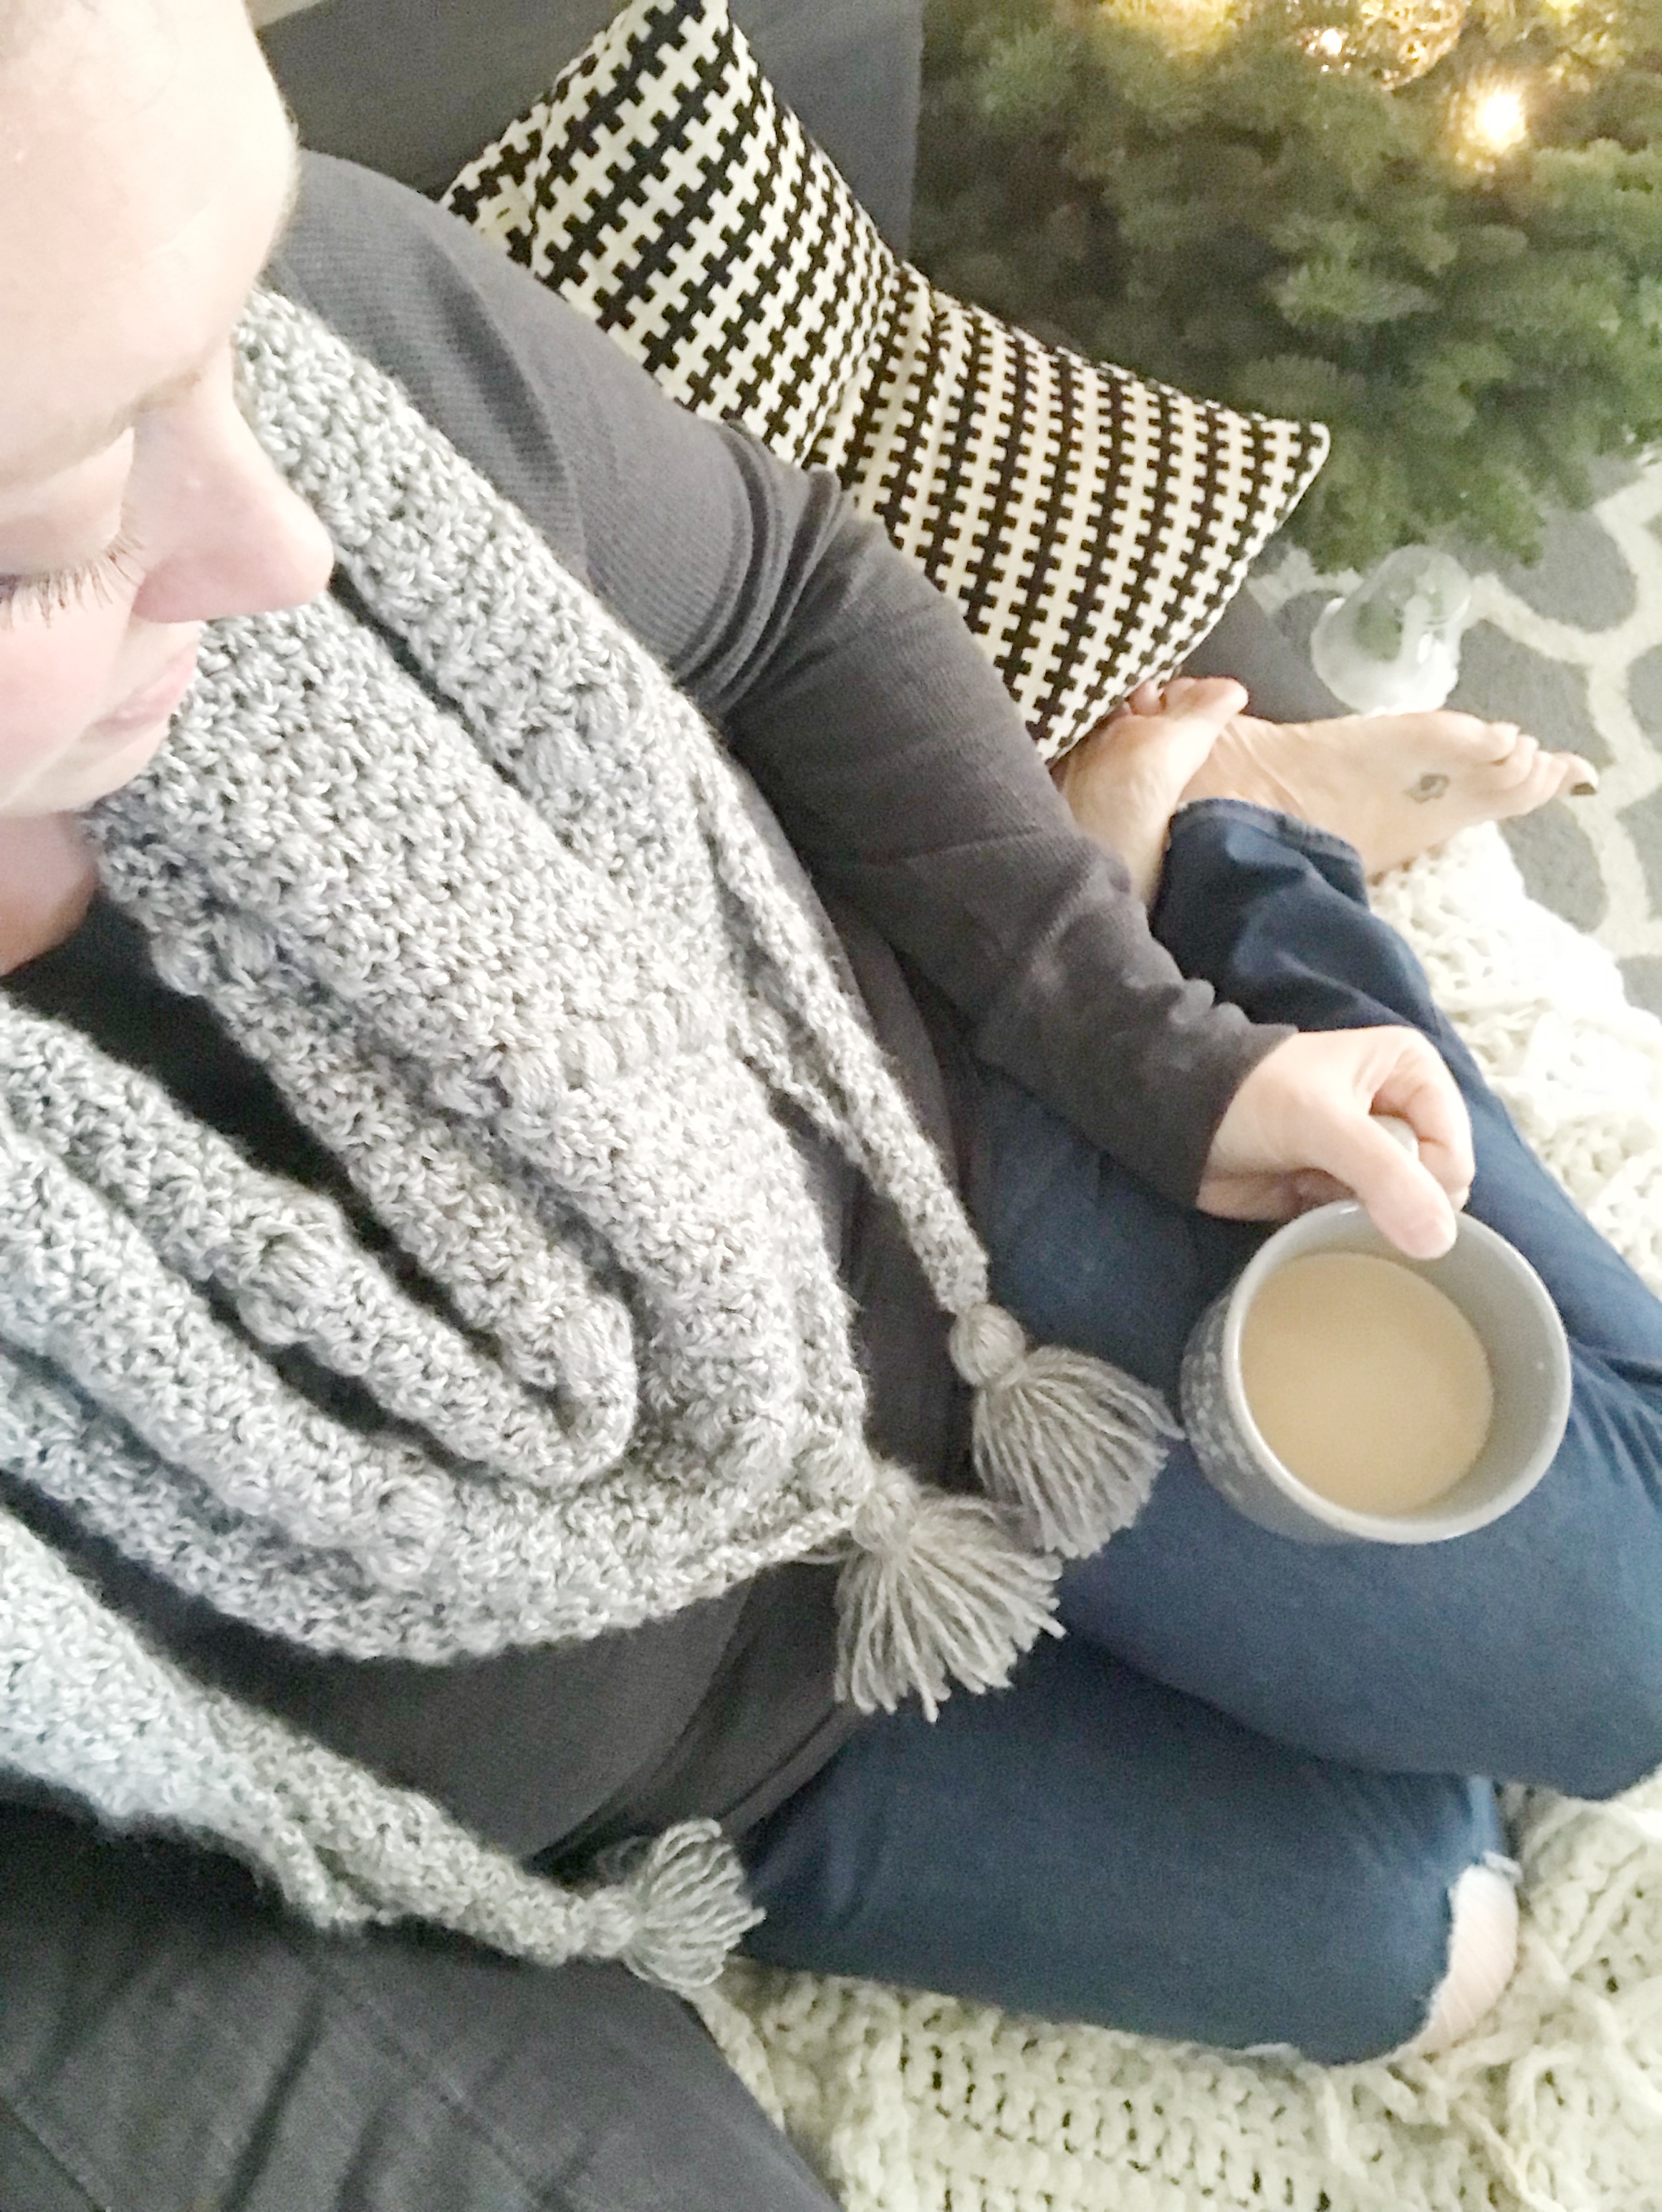
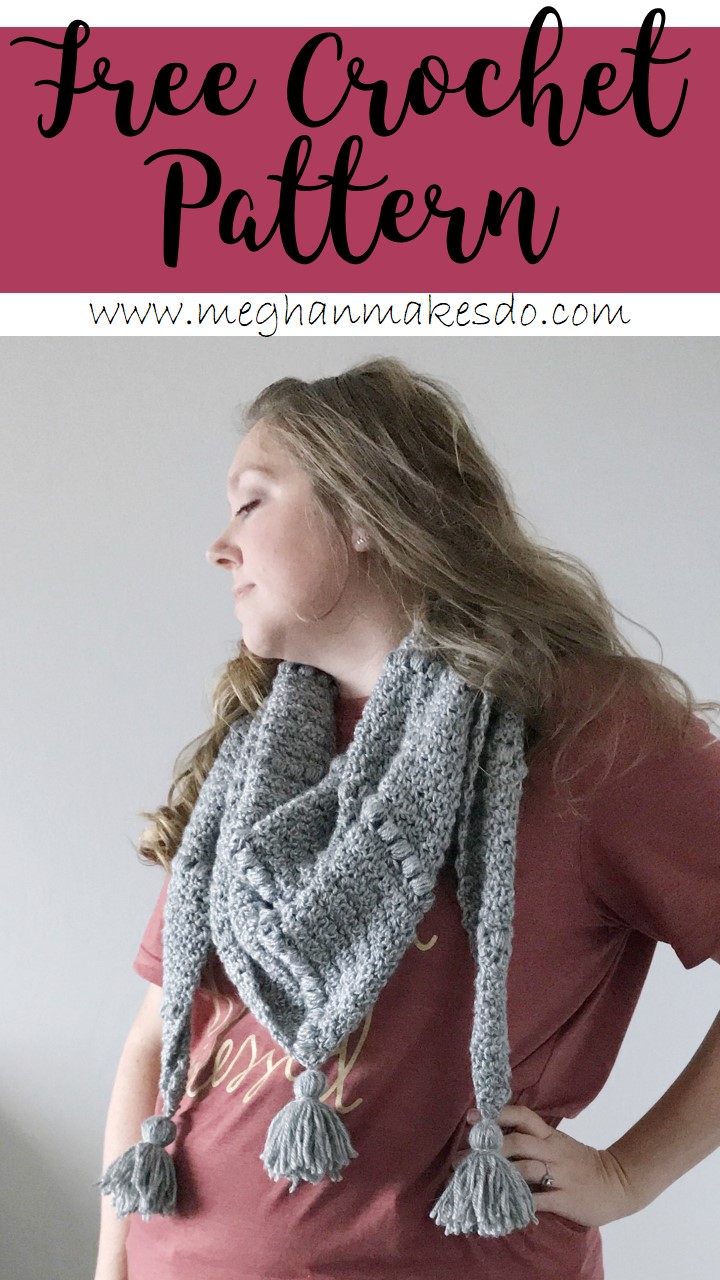
This scarf is so warm and cozy. It makes the perfect accessory for the winter season. I wear my grey one all the time and just started working on a white one. I seriously want one in every color!
So without further ado here is the pattern for The Emerson Triangle Scarf.
Materials Needed:
Approx. 700 yards of worsted weight yarn (I used lion brand heartland in Mount Rainier. About 2 and a half skeins)
Size J crochet hook
Tapestry needle
stitch markers (optional)
Gauge: 10 stitches X 7 rows = 3" X 3” square in lemon peel stitch
Abbreviations:
Chain stitch (ch) Single Crochet (sc) Double crochet (dc) Puff Stitch (ps)
Lemon Peel (LP) Increase (inc) Decrease (dec) Skip (sk)
Stitch (st) Yarn Over (yo) Decrease 3 Double crochet (dc3tog)
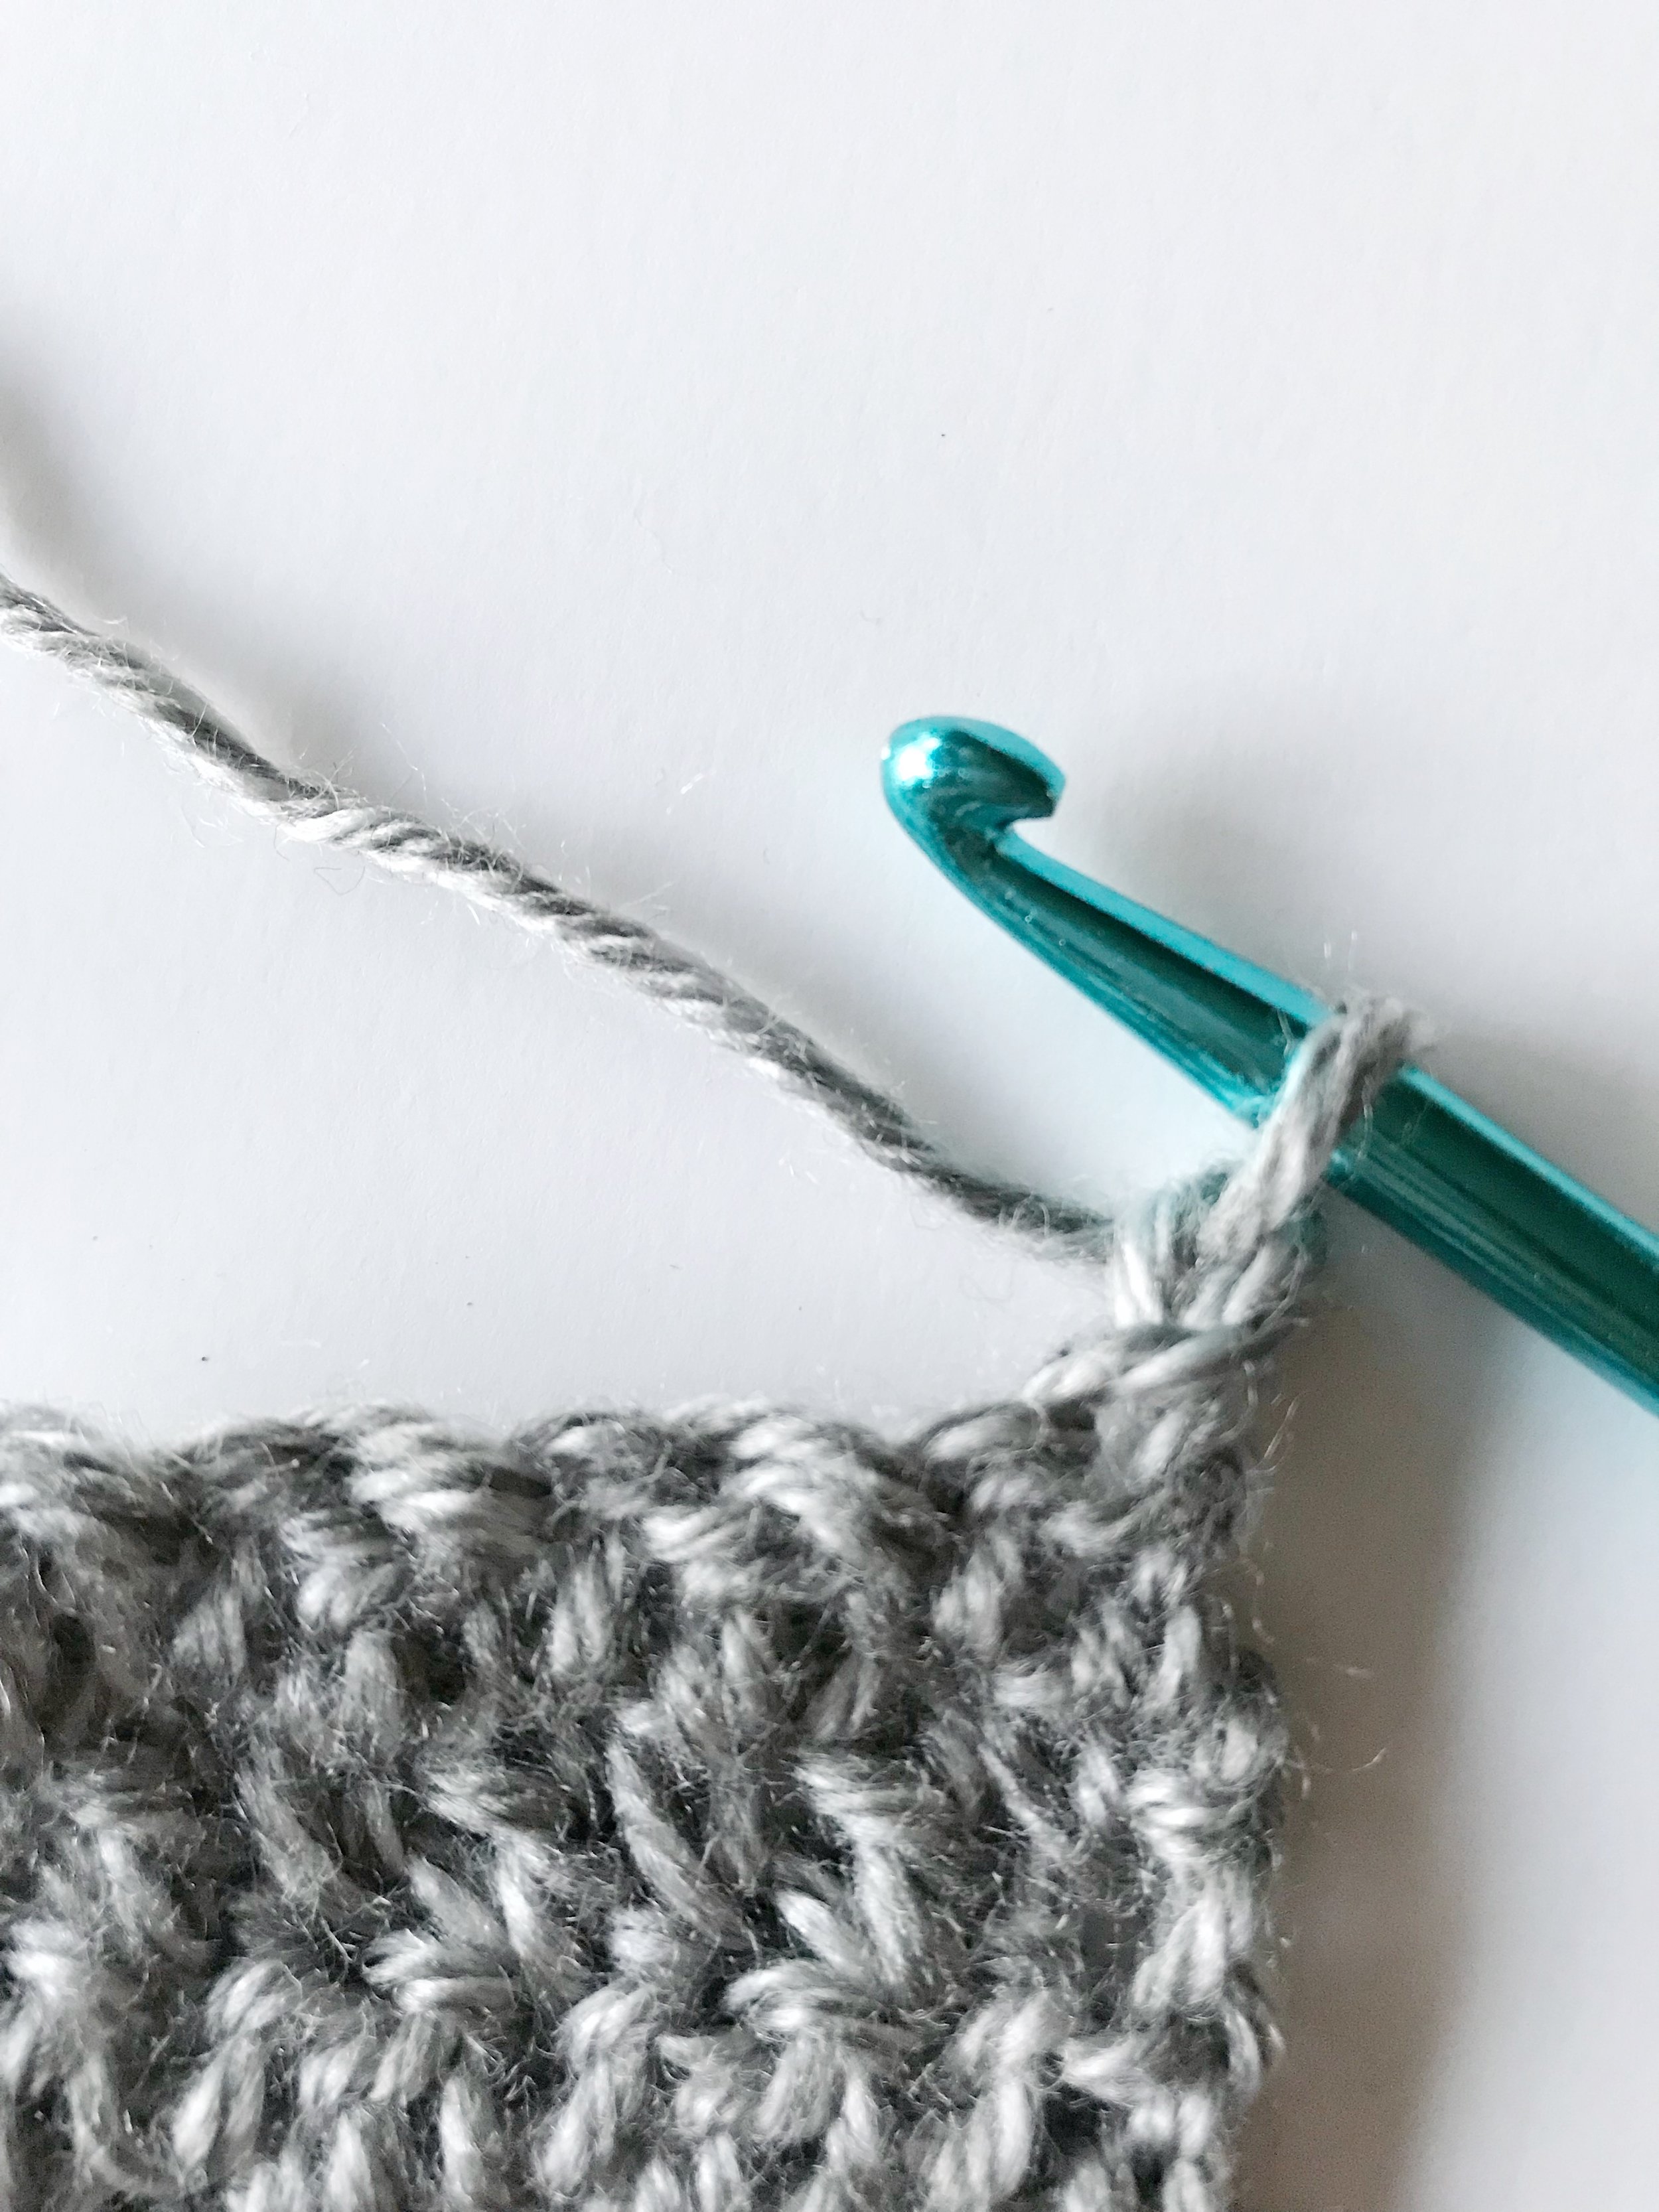
Lemon Peel: Lemon peel crochet uses two basic crochet stitches to create a unique texture. Alternate between single crochet (sc) and double crochet (dc) all across each row. Chain 1 at the end of each row. Start the next row with the opposite stitch you ended with in the previous row.
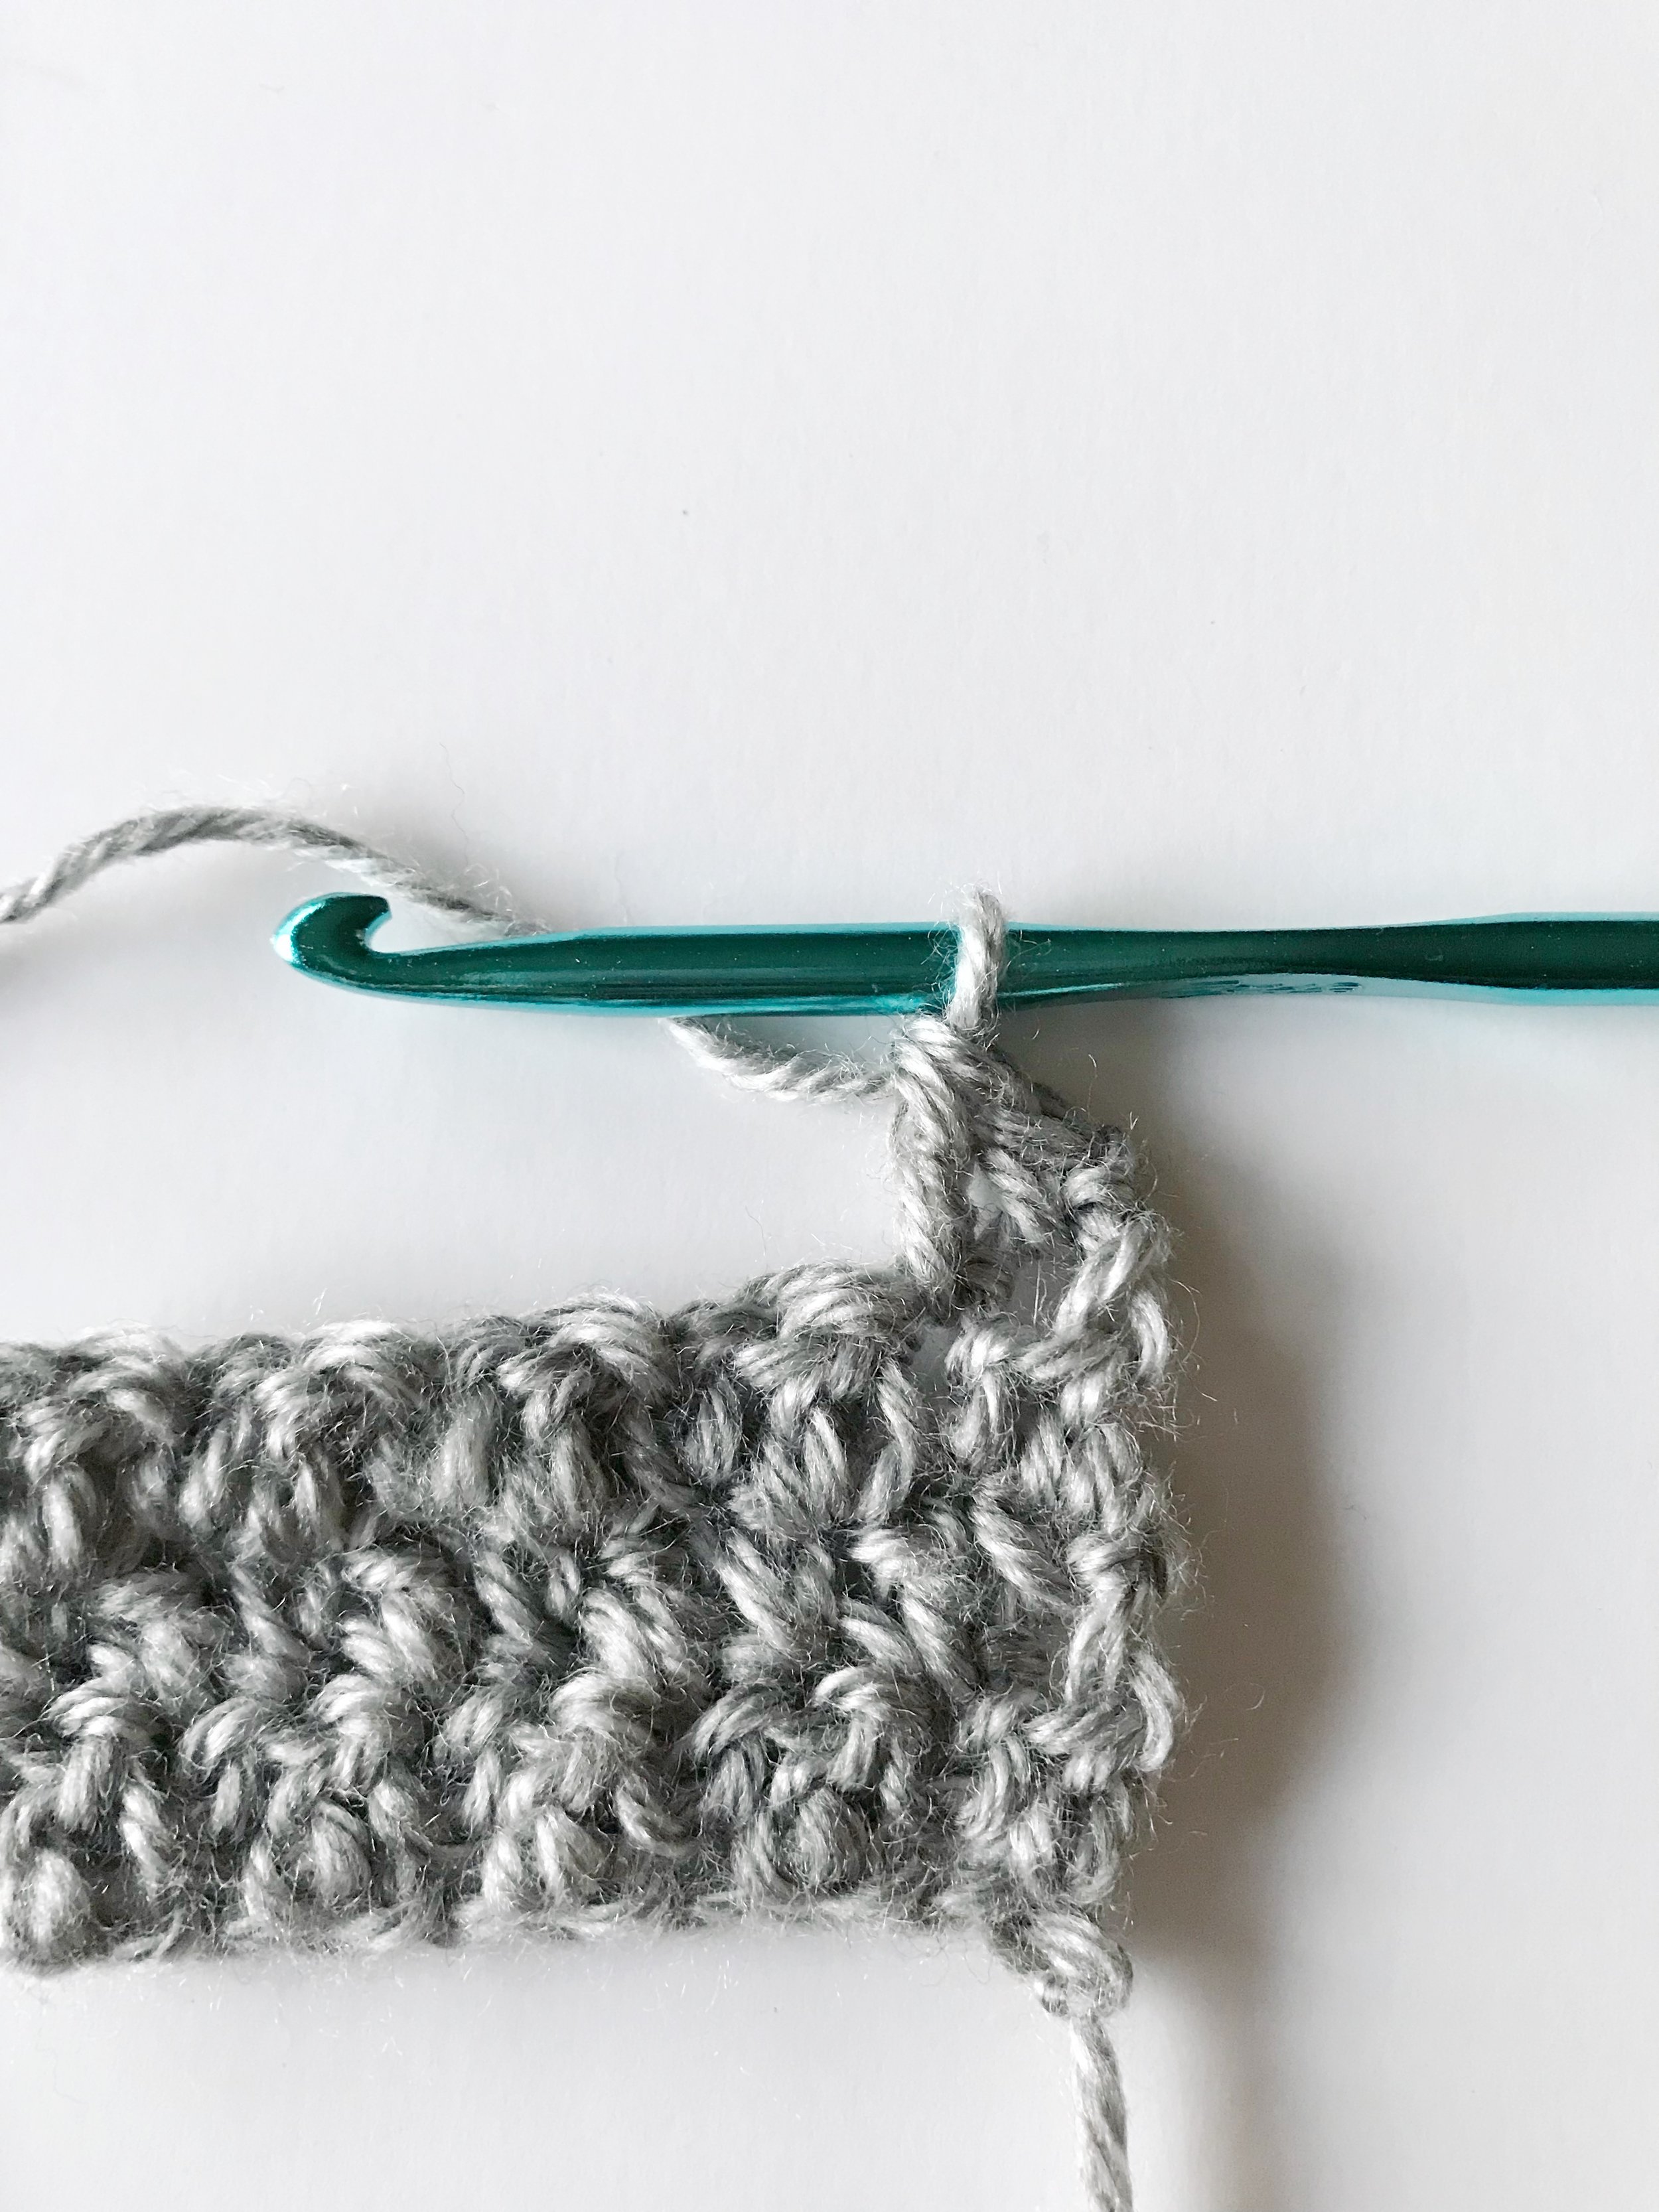
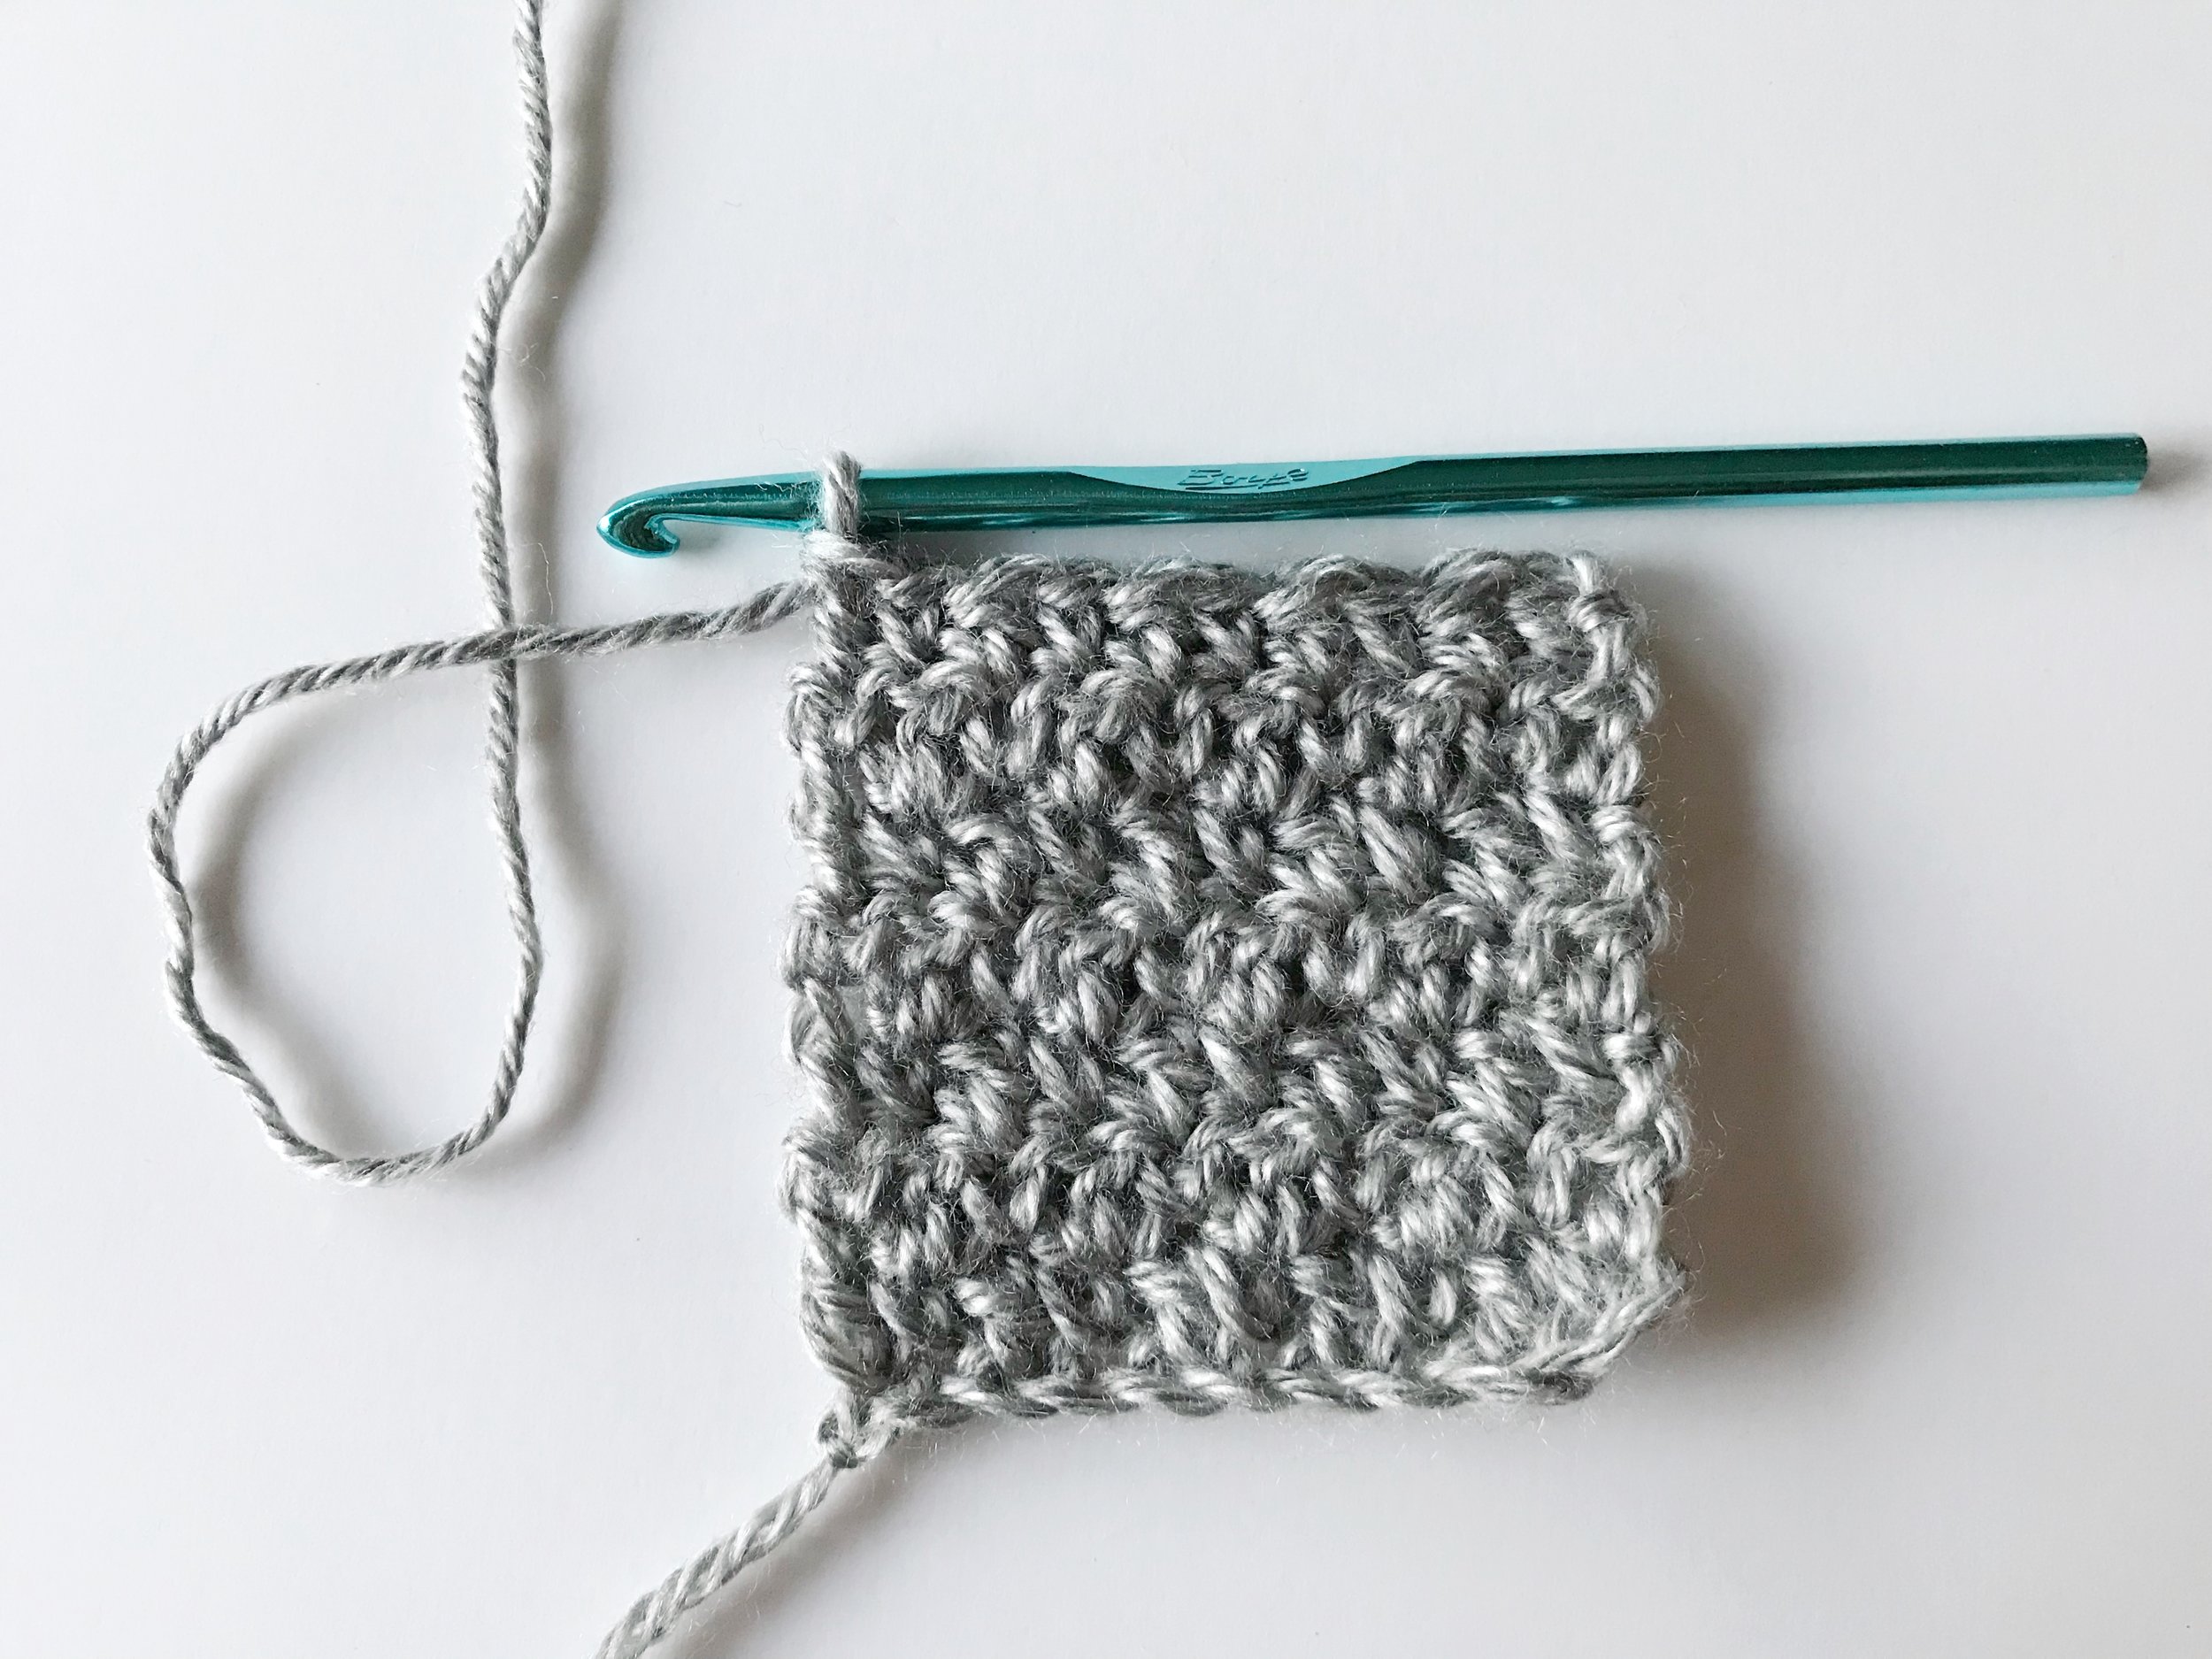
Practice the lemon peel stitch by making your gauge swatch.
Ch 11 then sc in second chain from hook, dc, sc, dc, sc, dc, sc, dc, sc, dc, ch1 turn.
Start the next row with a sc into the dc stitch from the previous row. You will see that the dc stitches look like little bumps and the sc stitches look like dips. Always work a dc into a sc and a sc into a dc.

Pattern:
Ch 3
Row 1: 3 dc in 3rd chain from hook, ch1 turn. (4) (chain at the beginning counts as a stitch.)
Row 2: (begin lemon peel) dc, sc, dc, sc (in top of previous row ch 3), ch1, turn. (4)
Row 3: LP across starting with a dc, increasing in the last stitch of the row, ch1, turn. (5)
Row 4: LP across starting with a sc, ch1, turn. (5)
Row 5: LP across starting with a dc, increasing in the last stitch of the row, ch1, turn. (6)
Row 6: LP across starting with a dc, ch1, turn. (6)
Row 7: LP across starting with a dc, increasing in the last stitch of the row, ch1, turn. (7)
Row 8: LP across starting with a sc, ch1, turn. (7)
Row 9: LP across starting with a dc, increasing in the last stitch of the row, ch1, turn. (8)
Row 10: LP across starting with a dc, ch 1, turn. (8)
Row 11: LP across starting with a dc, increasing in the last stitch of the row, ch1, turn. (9)
Row 12: Sk first stitch, puff st in next st, *sk, puff st* repeat two more times, sc in last st, ch1 turn.
*puff sts will be worked in the top of sc sts from previous row.
Row 13: LP across starting with a dc, increasing in the last st of the row, ch1, turn. (10)
Row 14: LP across starting with a dc, ch1, turn. (10)
Row 15: LP across starting with a dc, inc in the last stitch of the row, ch1, turn. (11)
Row 16: LP across starting with a sc, ch1, turn. (11)
Row 17: LP across starting with a dc, inc in the last stitch of the row, ch1, turn. (12)
Row 18: LP across starting with a dc, ch1, turn. (12)
Row 19: LP across starting with a dc, inc in last stitch of the row, ch1, turn. (13)
Row 20: LP across starting with a sc, ch1, turn. (13)
Row 21: LP across starting with a dc, inc in last stitch of the row, ch1, turn. (14)
Row 22: LP across starting with a dc, ch 1, turn. (14)
Row 23: LP across starting with a dc, inc in last stitch of the row, ch1, turn. (15)
Row 24: sk first st, puff st in next, *sk, puff st repeat from * 5 more times, sc in last st, ch1, turn.
Row 25-35: Repeat rows 13-23 increasing at the end of all odd rows.
Row 36: sk first st, puff st in next, *sk, puff st repeat from * 8 more times, sc in last st, ch1, turn.
Row 37-47: Repeat rows 13-23 increasing at the end of all odd rows.
Row 48: sk first st, puff st in next, *sk, puff st repeat from * 11 more times, sc in last st, ch1, turn.
Row 49-59: Repeat rows 13-23 increasing at the end of all odd rows.
Row 60: sk first st, puff st in next, *sk, puff st repeat from * 14 more times, sc in last st, ch1, turn.
Row 61-71: Repeat rows 13-23 increasing at the end of all odd rows.
Row 72: sk first st, puff st in next, *sk, puff st repeat from * 17 more times, sc in last st, ch1, turn.
Row 73-83: Repeat rows 13-23 increasing at the end of all odd rows.
Row 84: sk first st, puff st in next, *sk, puff st repeat from * 20 more times, sc in last st, ch1, turn.
Row 85-95: Repeat rows 13-23 increasing at the end of all odd rows.
Row 96: sk first st, puff st in next, *sk, puff st repeat from * 23 more times, sc in last st, ch1, turn.

Starting with row 97 you will be decreasing by one at the end of every other row instead of increasing. To decrease you will either make a sc decrease or a dc decrease depending on which stitch you should work next. If you make a sc decrease you will start the next row with a dc. If you make a dc decrease you will start the next row with a sc.
Row 97: LP across decreasing by one at the end of the row, ch1, turn. (50)
Row 98: LP across, ch1, turn. (50)
Row 99: LP across decreasing by one at the end of the row, ch1, turn. (49)
Row 100: LP across, ch1, turn. (49)
Row 101: LP across decreasing by one at the end of the row, ch1, turn. (48)
Row 102: LP across, ch1, turn. (48)
Row 103: LP across decreasing by one at the end of the row, ch1, turn. (47)
Row 104: LP across, ch1, turn. (47)
Row 105: LP across decreasing by one at the end of the row, ch1, turn. (46)
Row 106: LP across, ch1, turn. (46)
Row 107: LP across decreasing by one at the end of the row, ch1, turn. (45)
Row 108: sk first st, puff st in next. *sk, puff st* repeat 20 more times, ch1, turn.
Row 109-119: Repeat rows 97-107 decreasing at the end of each odd row.
Row 120: sk first st, puff st in next. *sk, puff st* repeat 17 more times, ch1, turn.
Row 121-131: Repeat rows 97-107 decreasing at the end of each odd row.
Row 132: sk first st, puff st in next. *sk, puff st* repeat 14 more times, ch1, turn.
Row 133-143: Repeat rows 97-107 decreasing at the end of each odd row.
Row 144: sk first st, puff st in next. *sk, puff st* repeat 11 more times, ch1, turn.
Row 145-155: Repeat rows 97-107 decreasing at the end of each odd row.
Row 156: sk first st, puff st in next. *sk, puff st* repeat 8 more times, ch1, turn.
Row 157-167: Repeat rows 97-107 decreasing at the end of each odd row.
Row 168: sk first st, puff st in next. *sk, puff st* repeat 5 more times, ch1, turn.
Row 169-179: Repeat rows 97-107 decreasing at the end of each odd row.
Row 180: sk first st, puff st in next. *sk, puff st* repeat 2 more times, ch1, turn.
Row 181-190: Repeat rows 97-107 decreasing at the end of each odd row.
Row 191: sk 1st st, dc3tog.
Weave in ends. Make 3 tassels and attach one tassel to each corner of the scarf.
Or cut 294 10” strands. Then attach the fringe evenly down the edges of the scarf using 2 folded strands for each piece of fringe.
Yay! You made your own Emerson Triangle Scarf. Put that baby on and go enjoy the cold weather in style!