

Front Post Back Post Double Crochet Stitch Tutorial
This post contains affiliate links. If you make a purchase through one of those links I may receive a small commission. It’s an easy way to support this blog at no additional cost to you.
Looking for an easy way to add texture to your crochet projects? Front post and back post double crochets are just the thing to create gorgeous textured stitches. They are perfect for crochet cables and for creating easy ribbing. Find the photo and video tutorials below.
Here is what you’ll need for today’s tutorial:
Worsted weight yarn (I used We Crochet Comfy Cotton in the color Sea Foam)
Crochet hook size G (4.25mm) (I used Boye aluminum)
Change up the yarn weight and hook size to get the look that you desire. These stitches work great with all yarn weights.
Abbreviations:
ch-chain
yo-yarn over
st(s)-stitch(es)
dc- double crochet
fpdc- front post double crochet
bpdc- back post double crochet
Front Post & Back Post Double Crochet
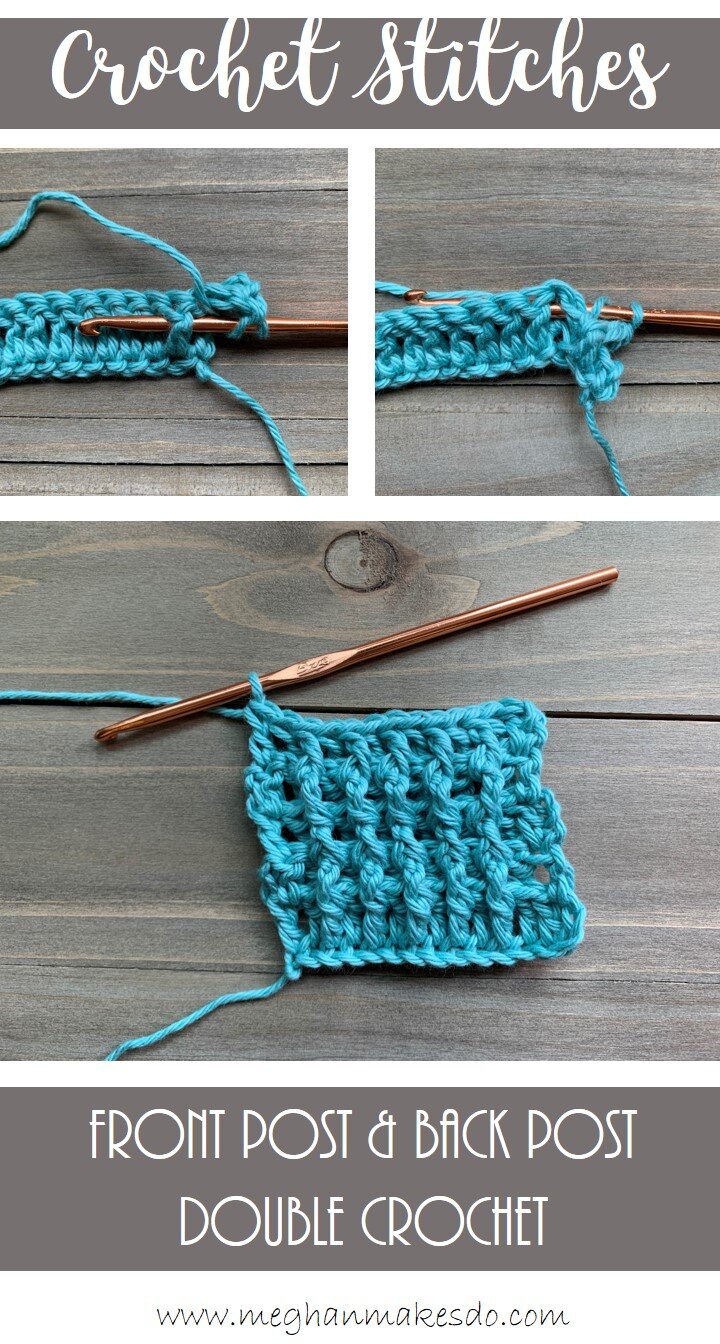
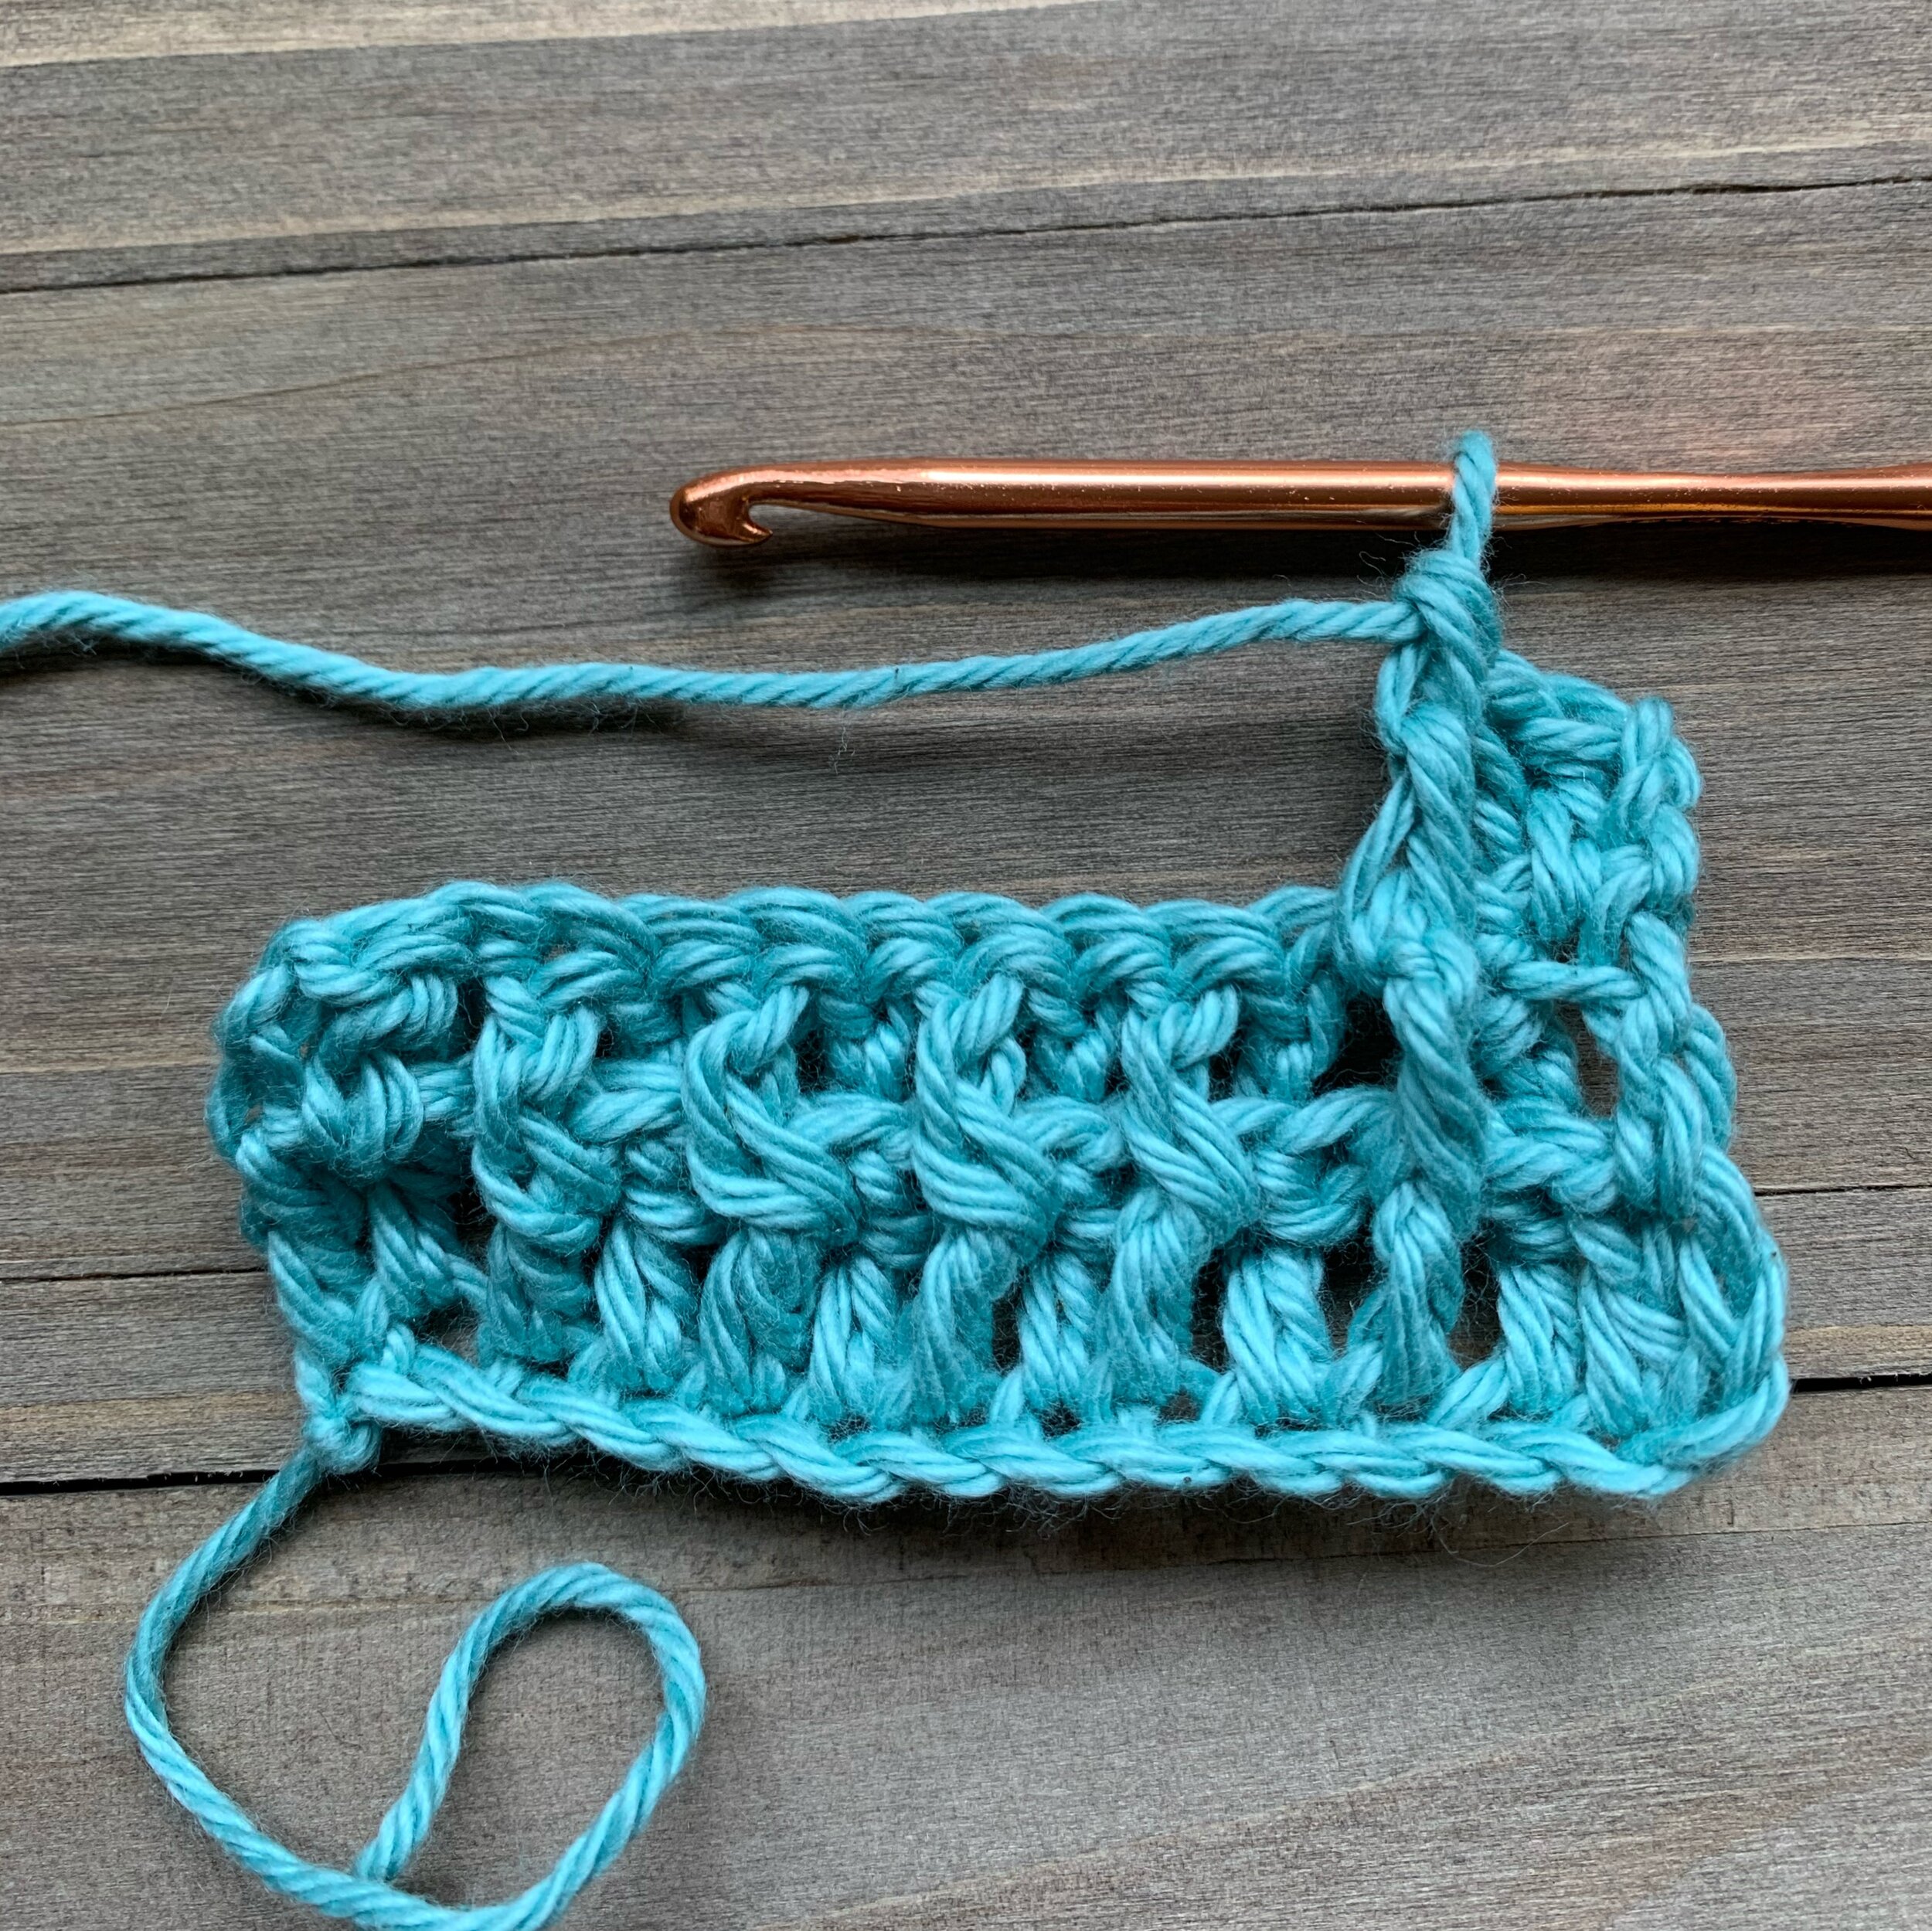
To make front post and back post double crochets start by chaining any number of chains. You will be using double crochet stitches, but instead of inserting your hook in the top of your stitch as normal, you will be placing your hook either in front of or behind the post of the dc of the row below.
For this tutorial I chained 15, then starting in the 3rd ch from the hook I worked a dc in each ch st across.

Ch 2(does not count as a stitch), turn. Work a dc in the first st, then yo and work a fpdc by inserting your hook front to back behind the post and then back to the front so that the post is laying across your hook. Then finish the stitch like you normally would for a dc.
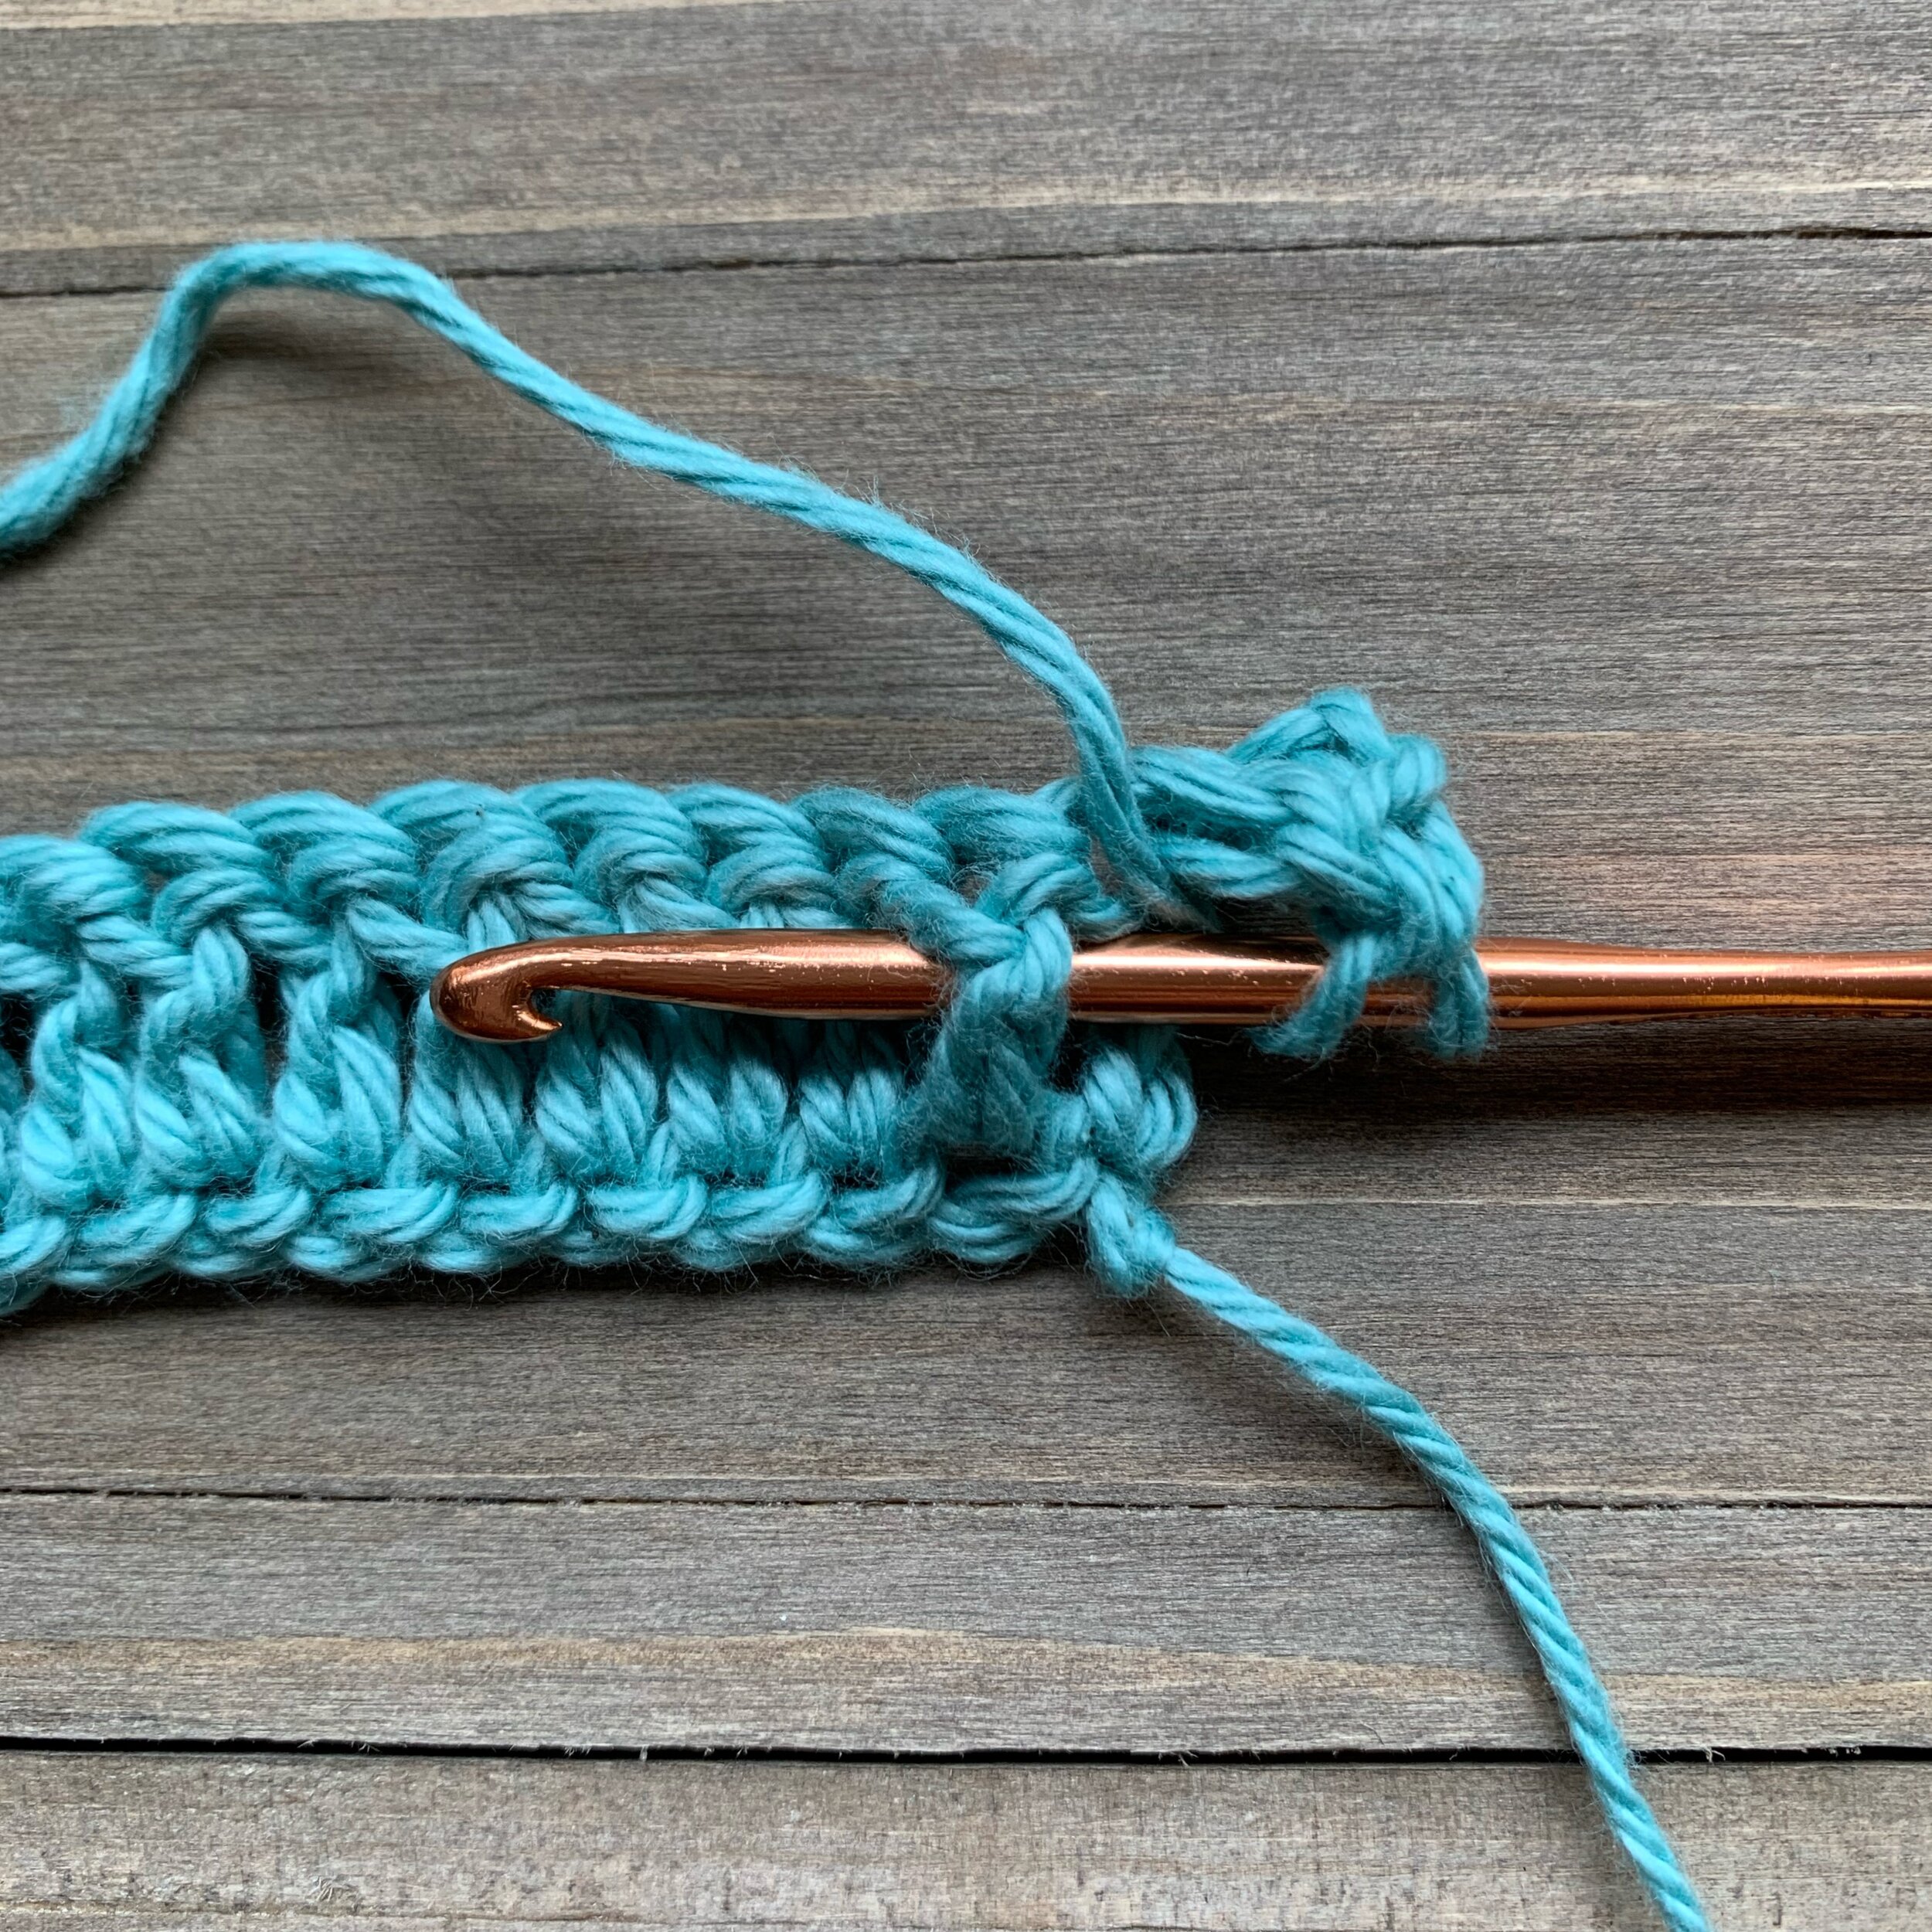
Yo and work a bpdc in the next stitch by inserting your hook from the back to the front, across the front of the post and then to the back again. Then finish your dc as normal.
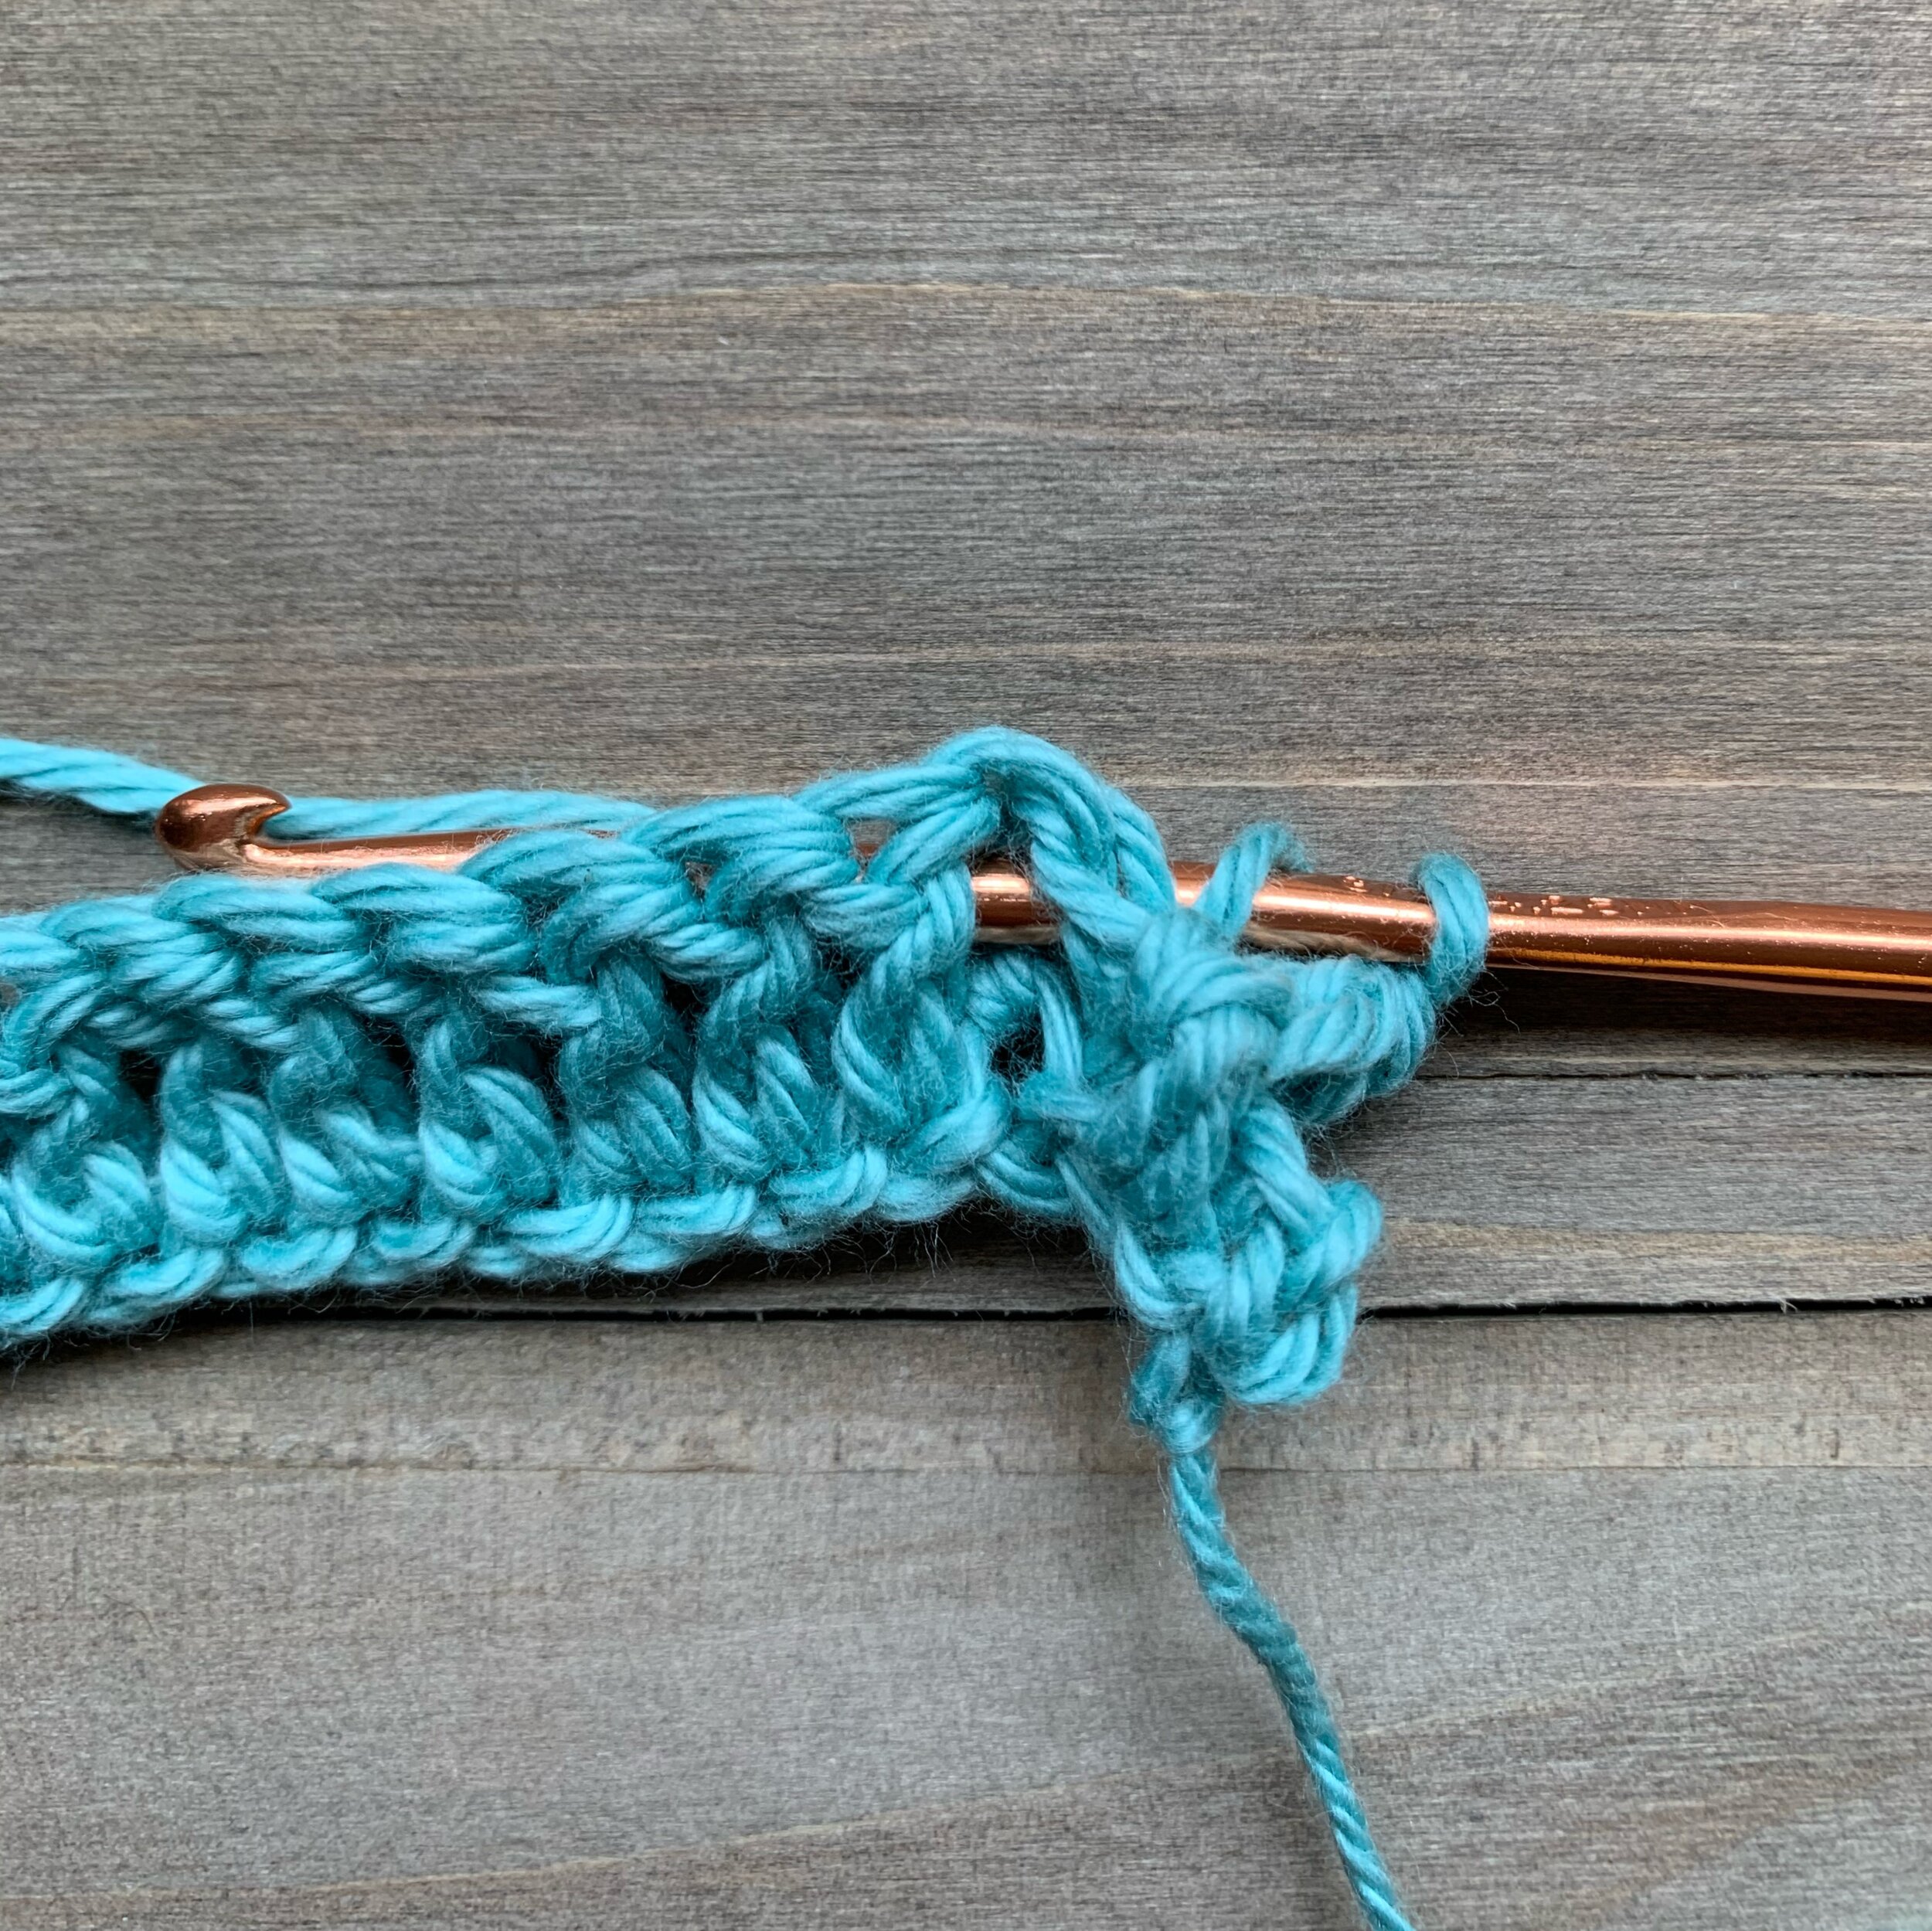

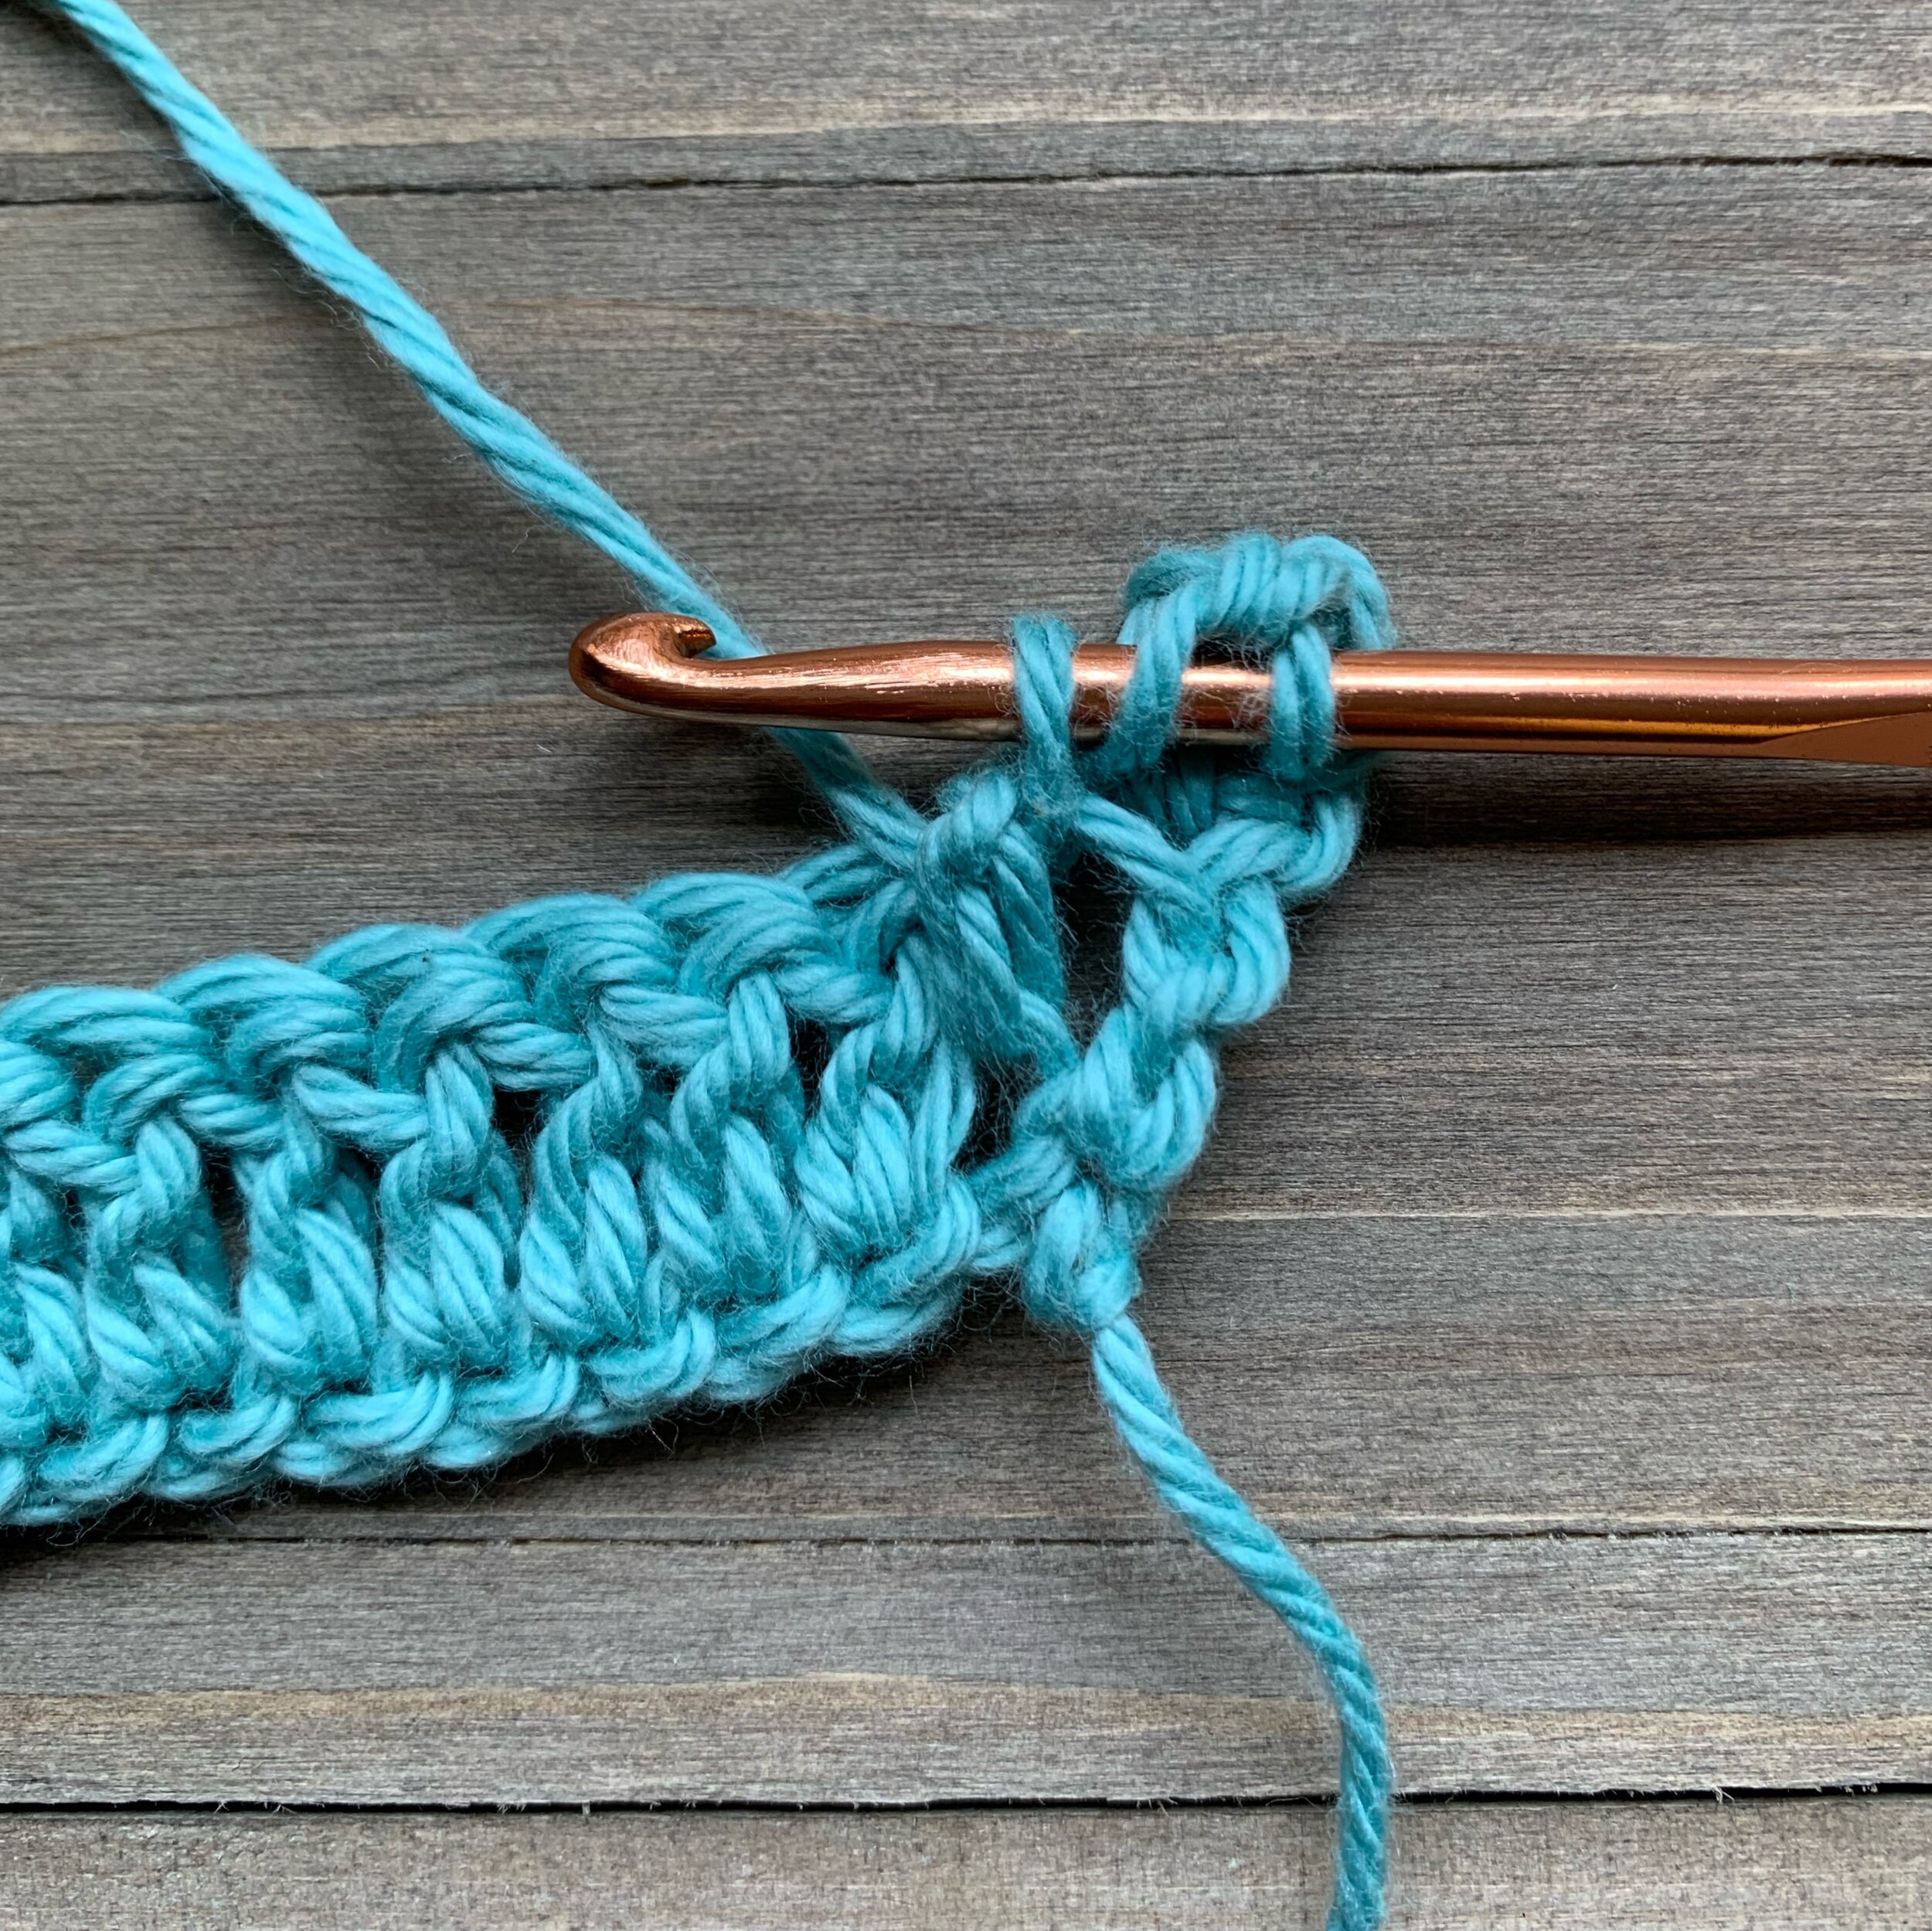
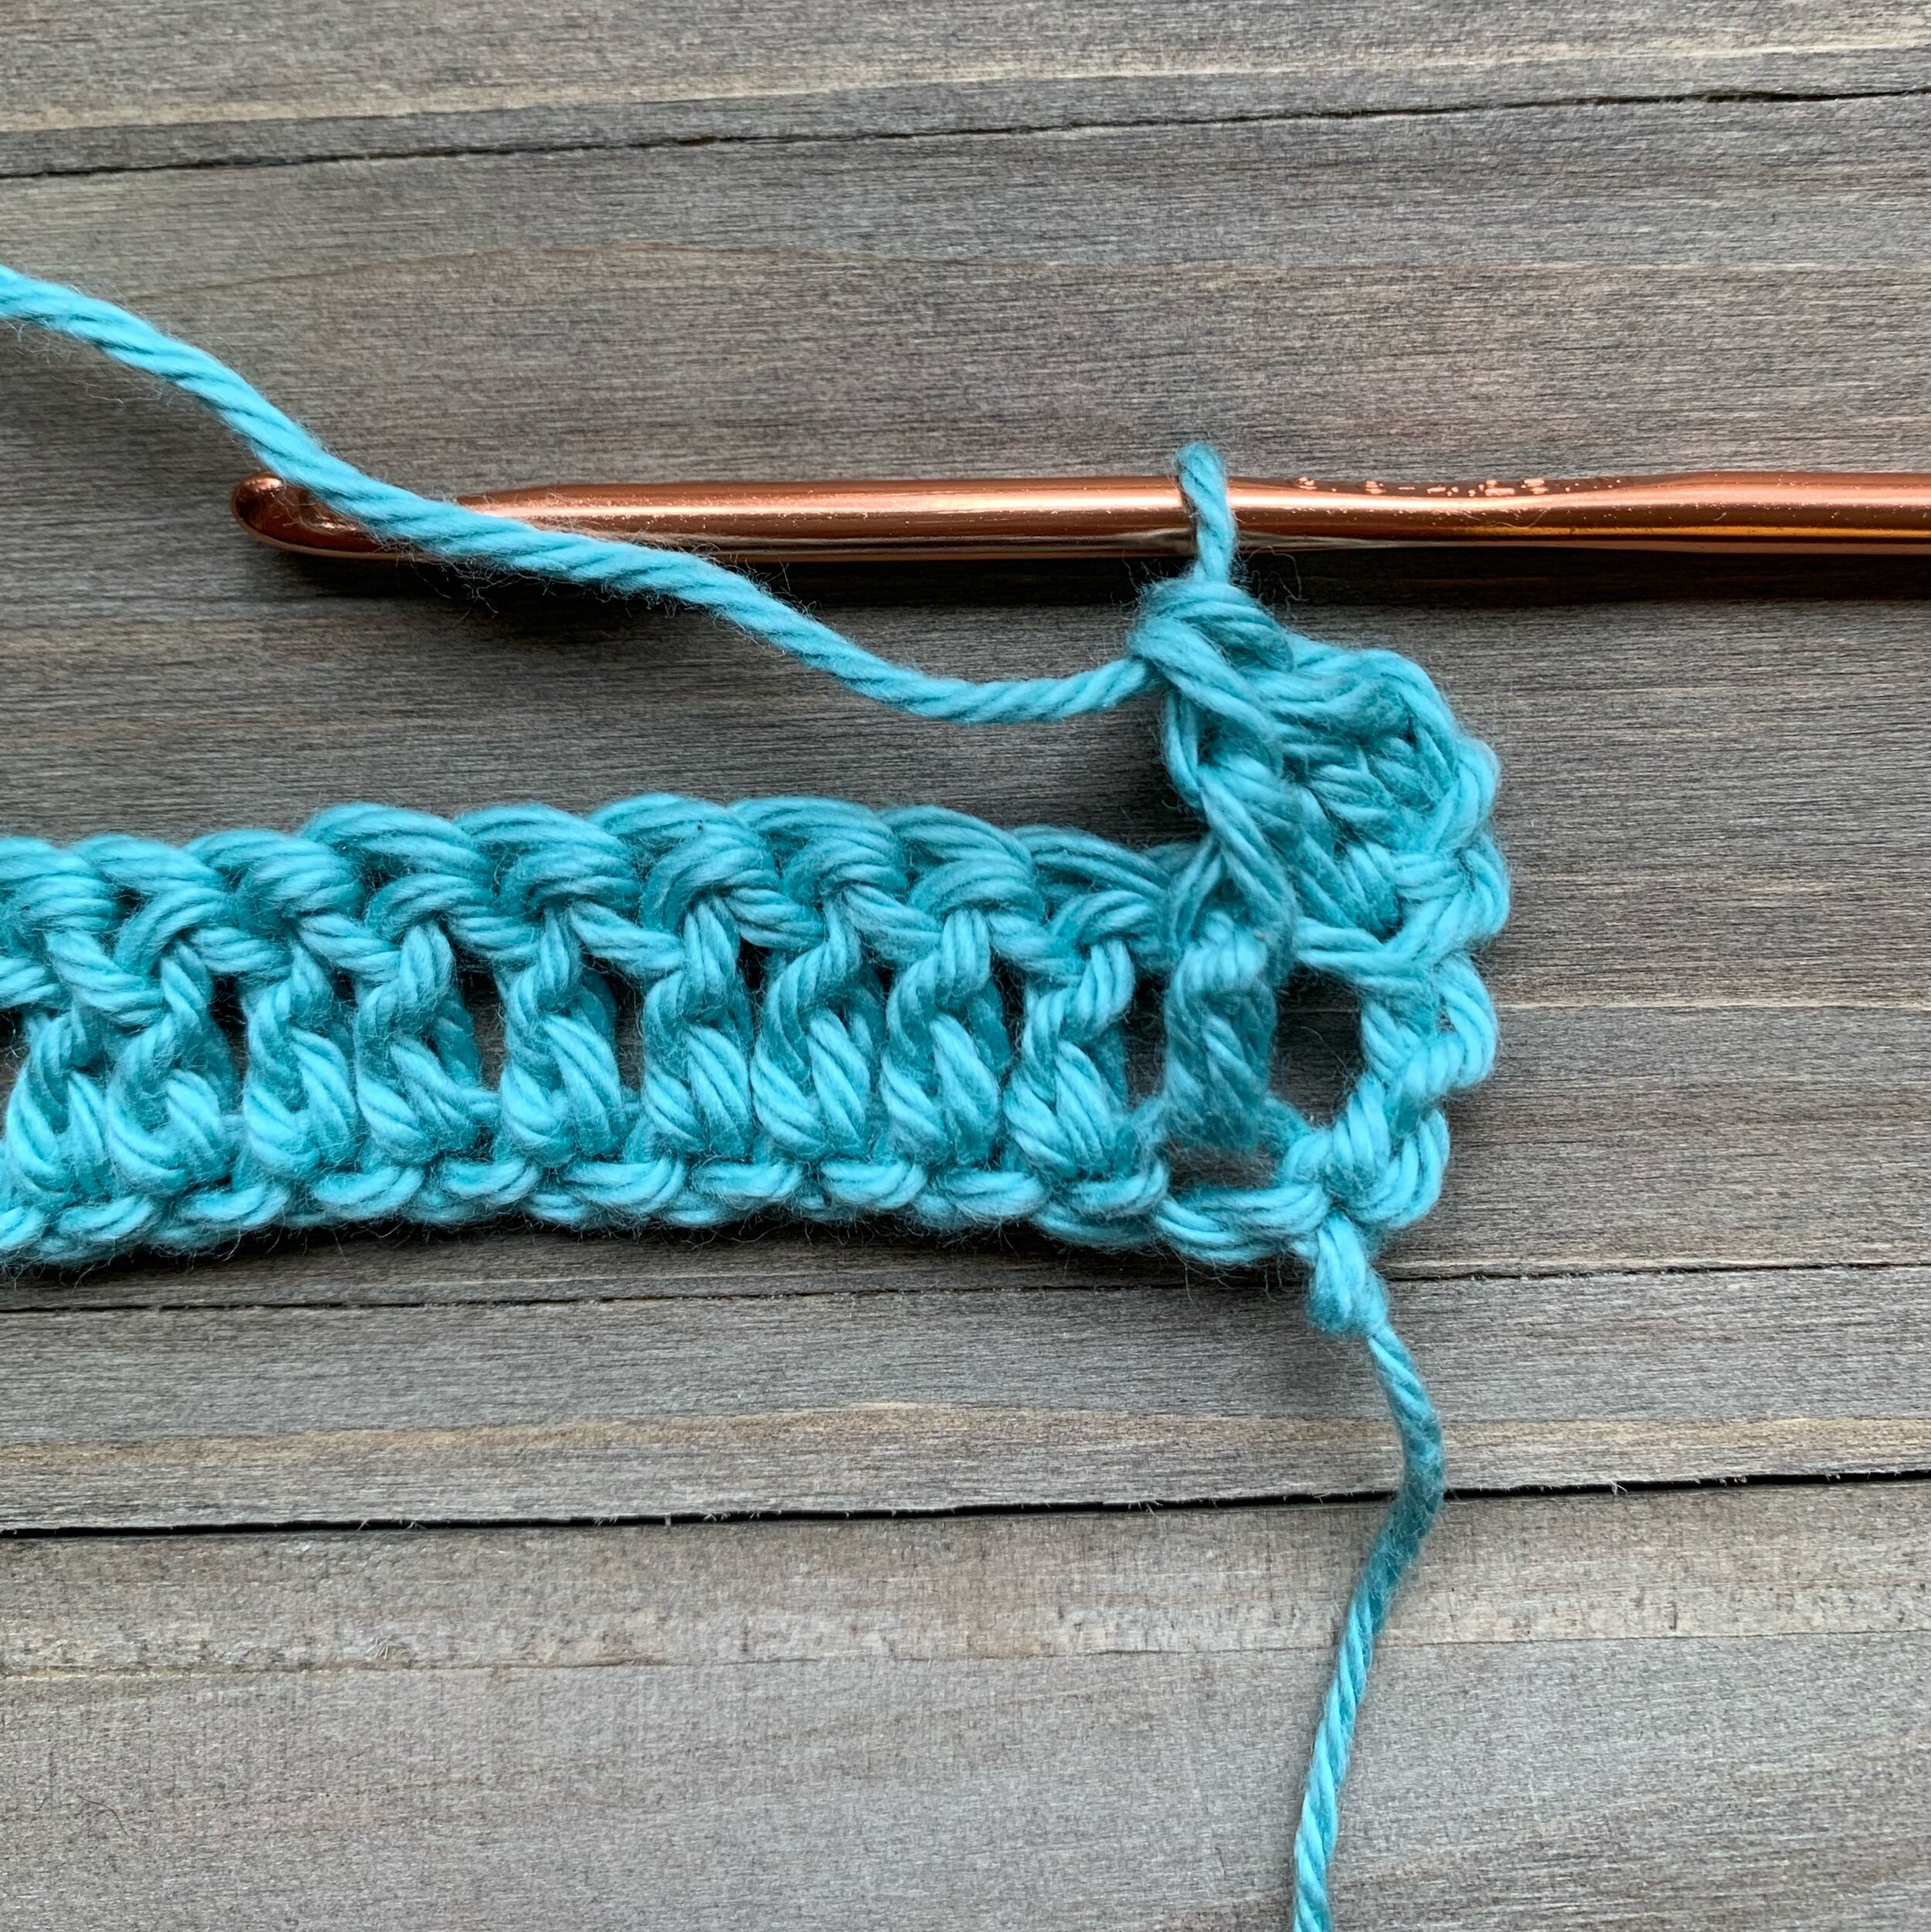
Continue to alternate between fpdc and bpdc until one st remains, dc in the last st, ch 2 and turn.
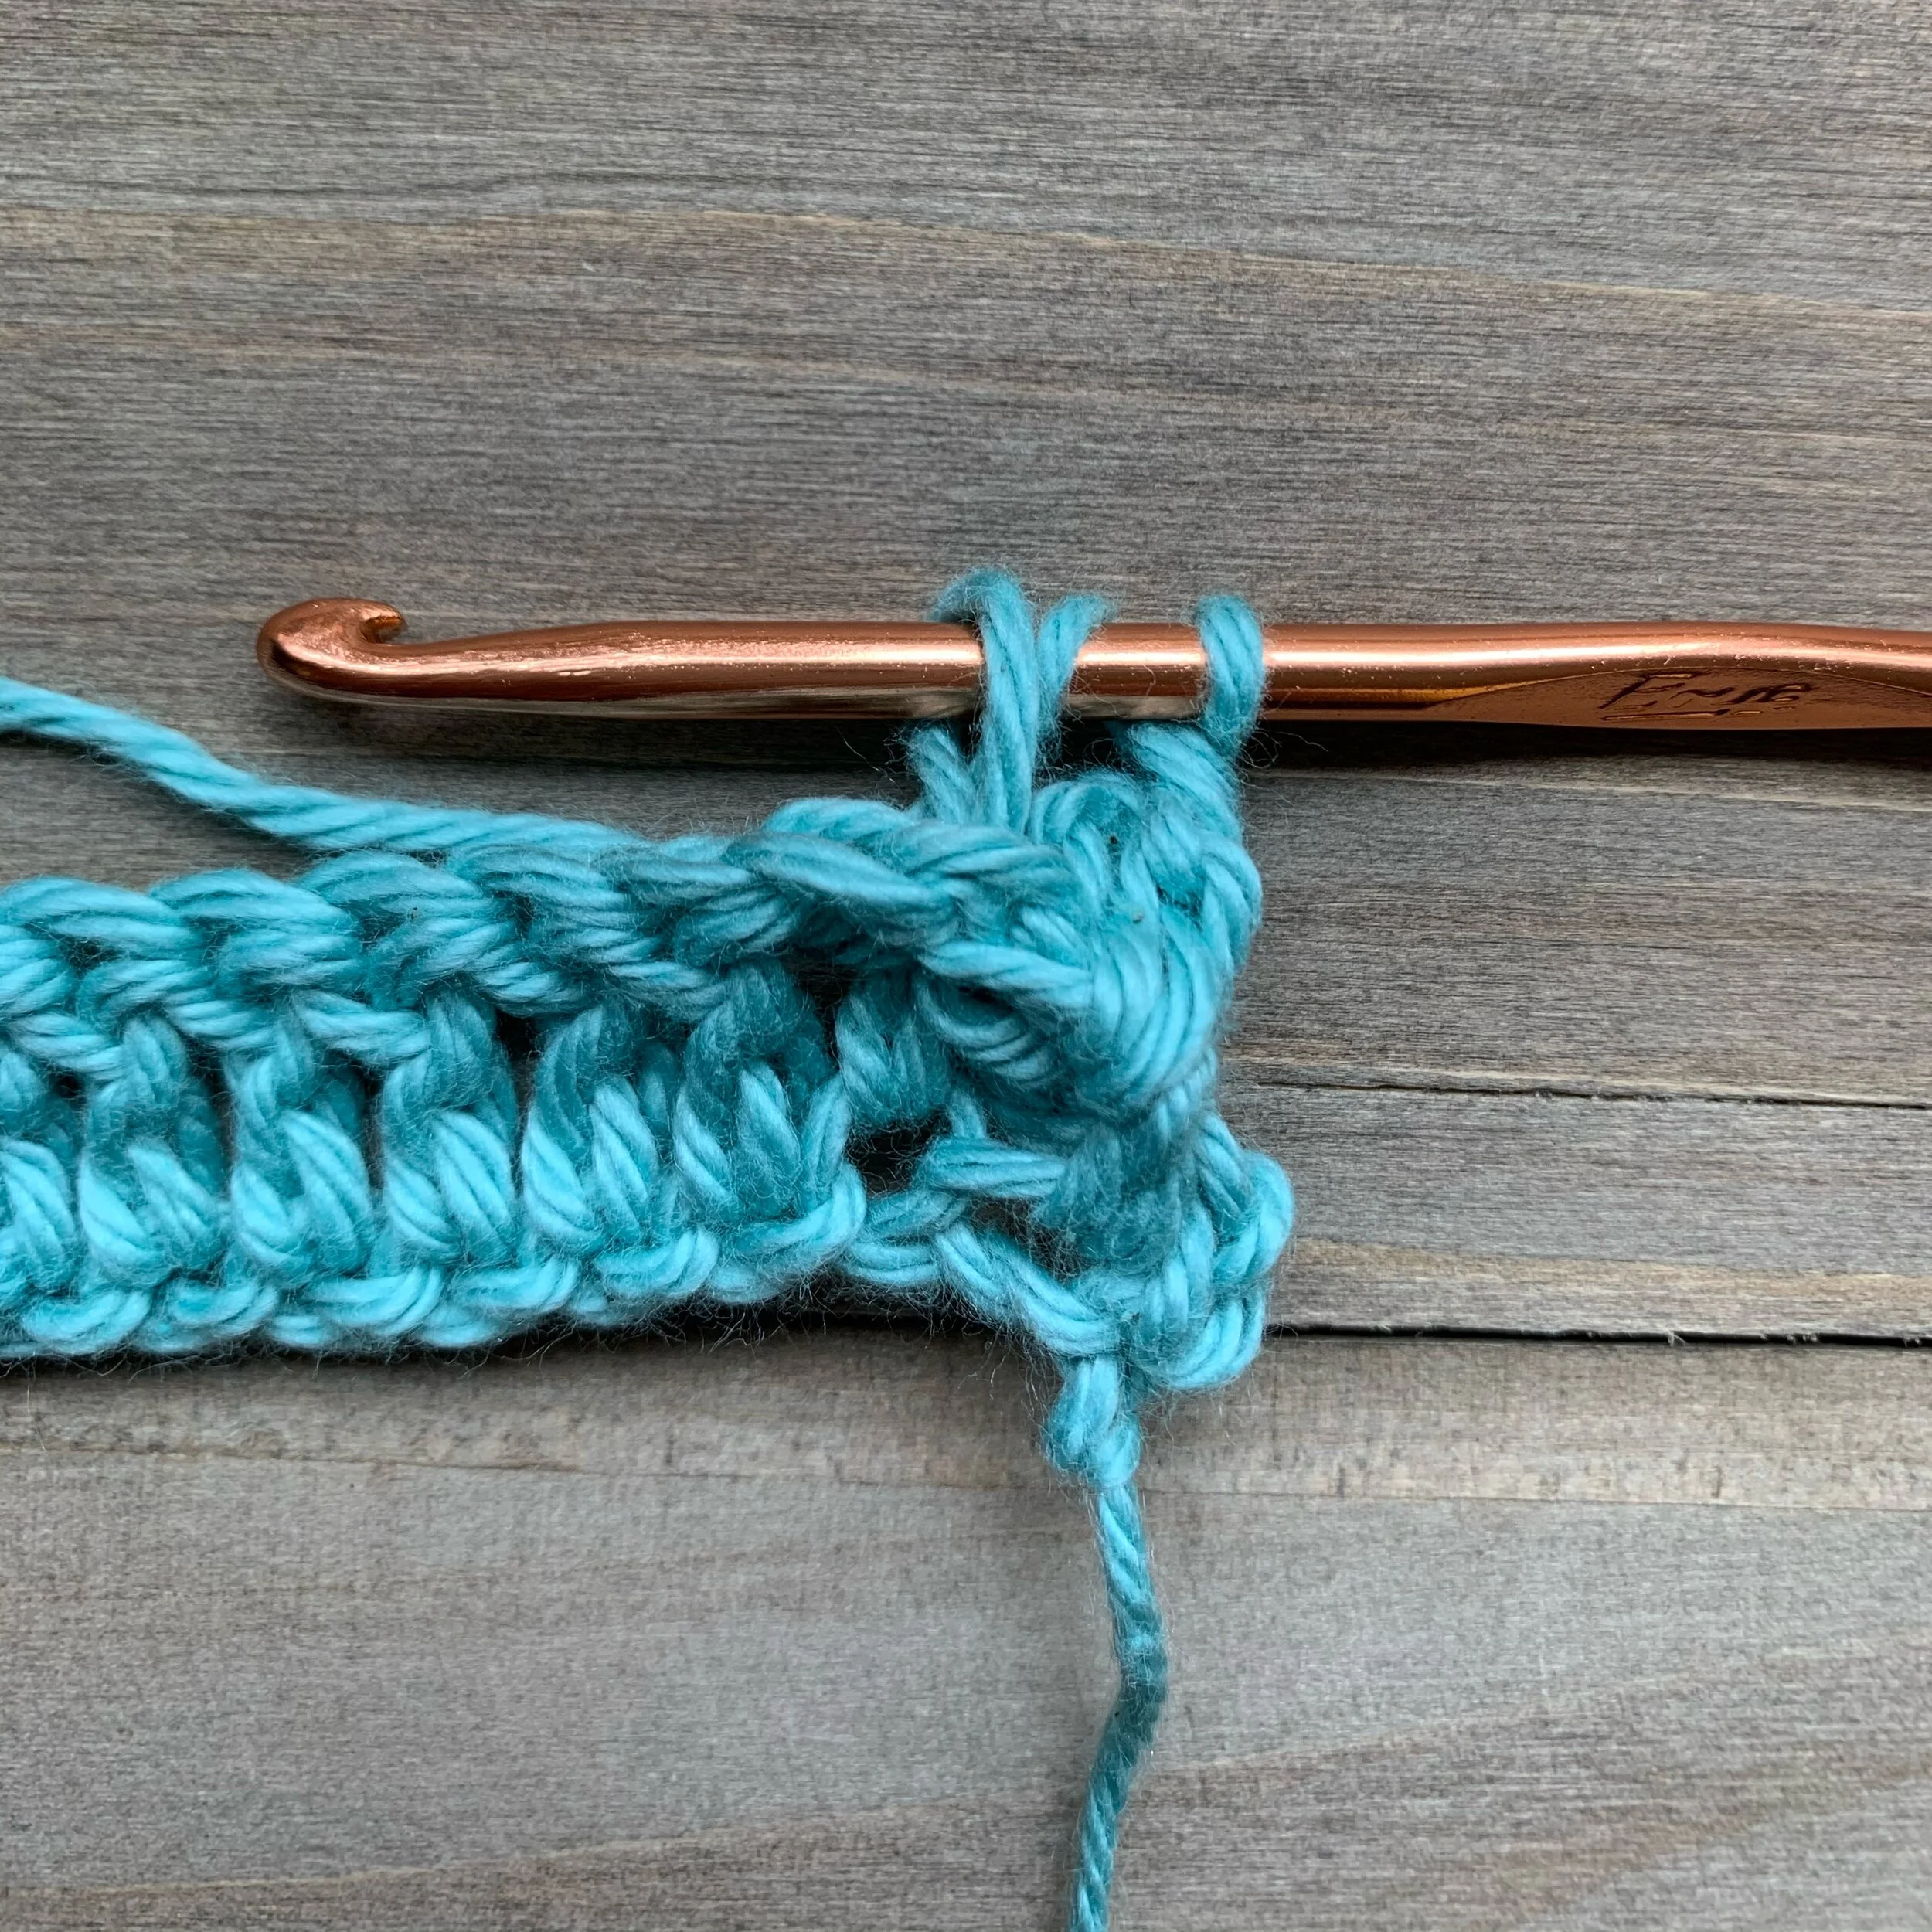
For the next row you will work the first st as a dc, then alternate between bpdc and fpdc until the last st. In order to keep the posts pushed to the same side you’ll work the opposite stitch you did previously. For example, the 2nd st looks like a bpdc so that is what I will work into it, even though it was a fpdc on the other side.
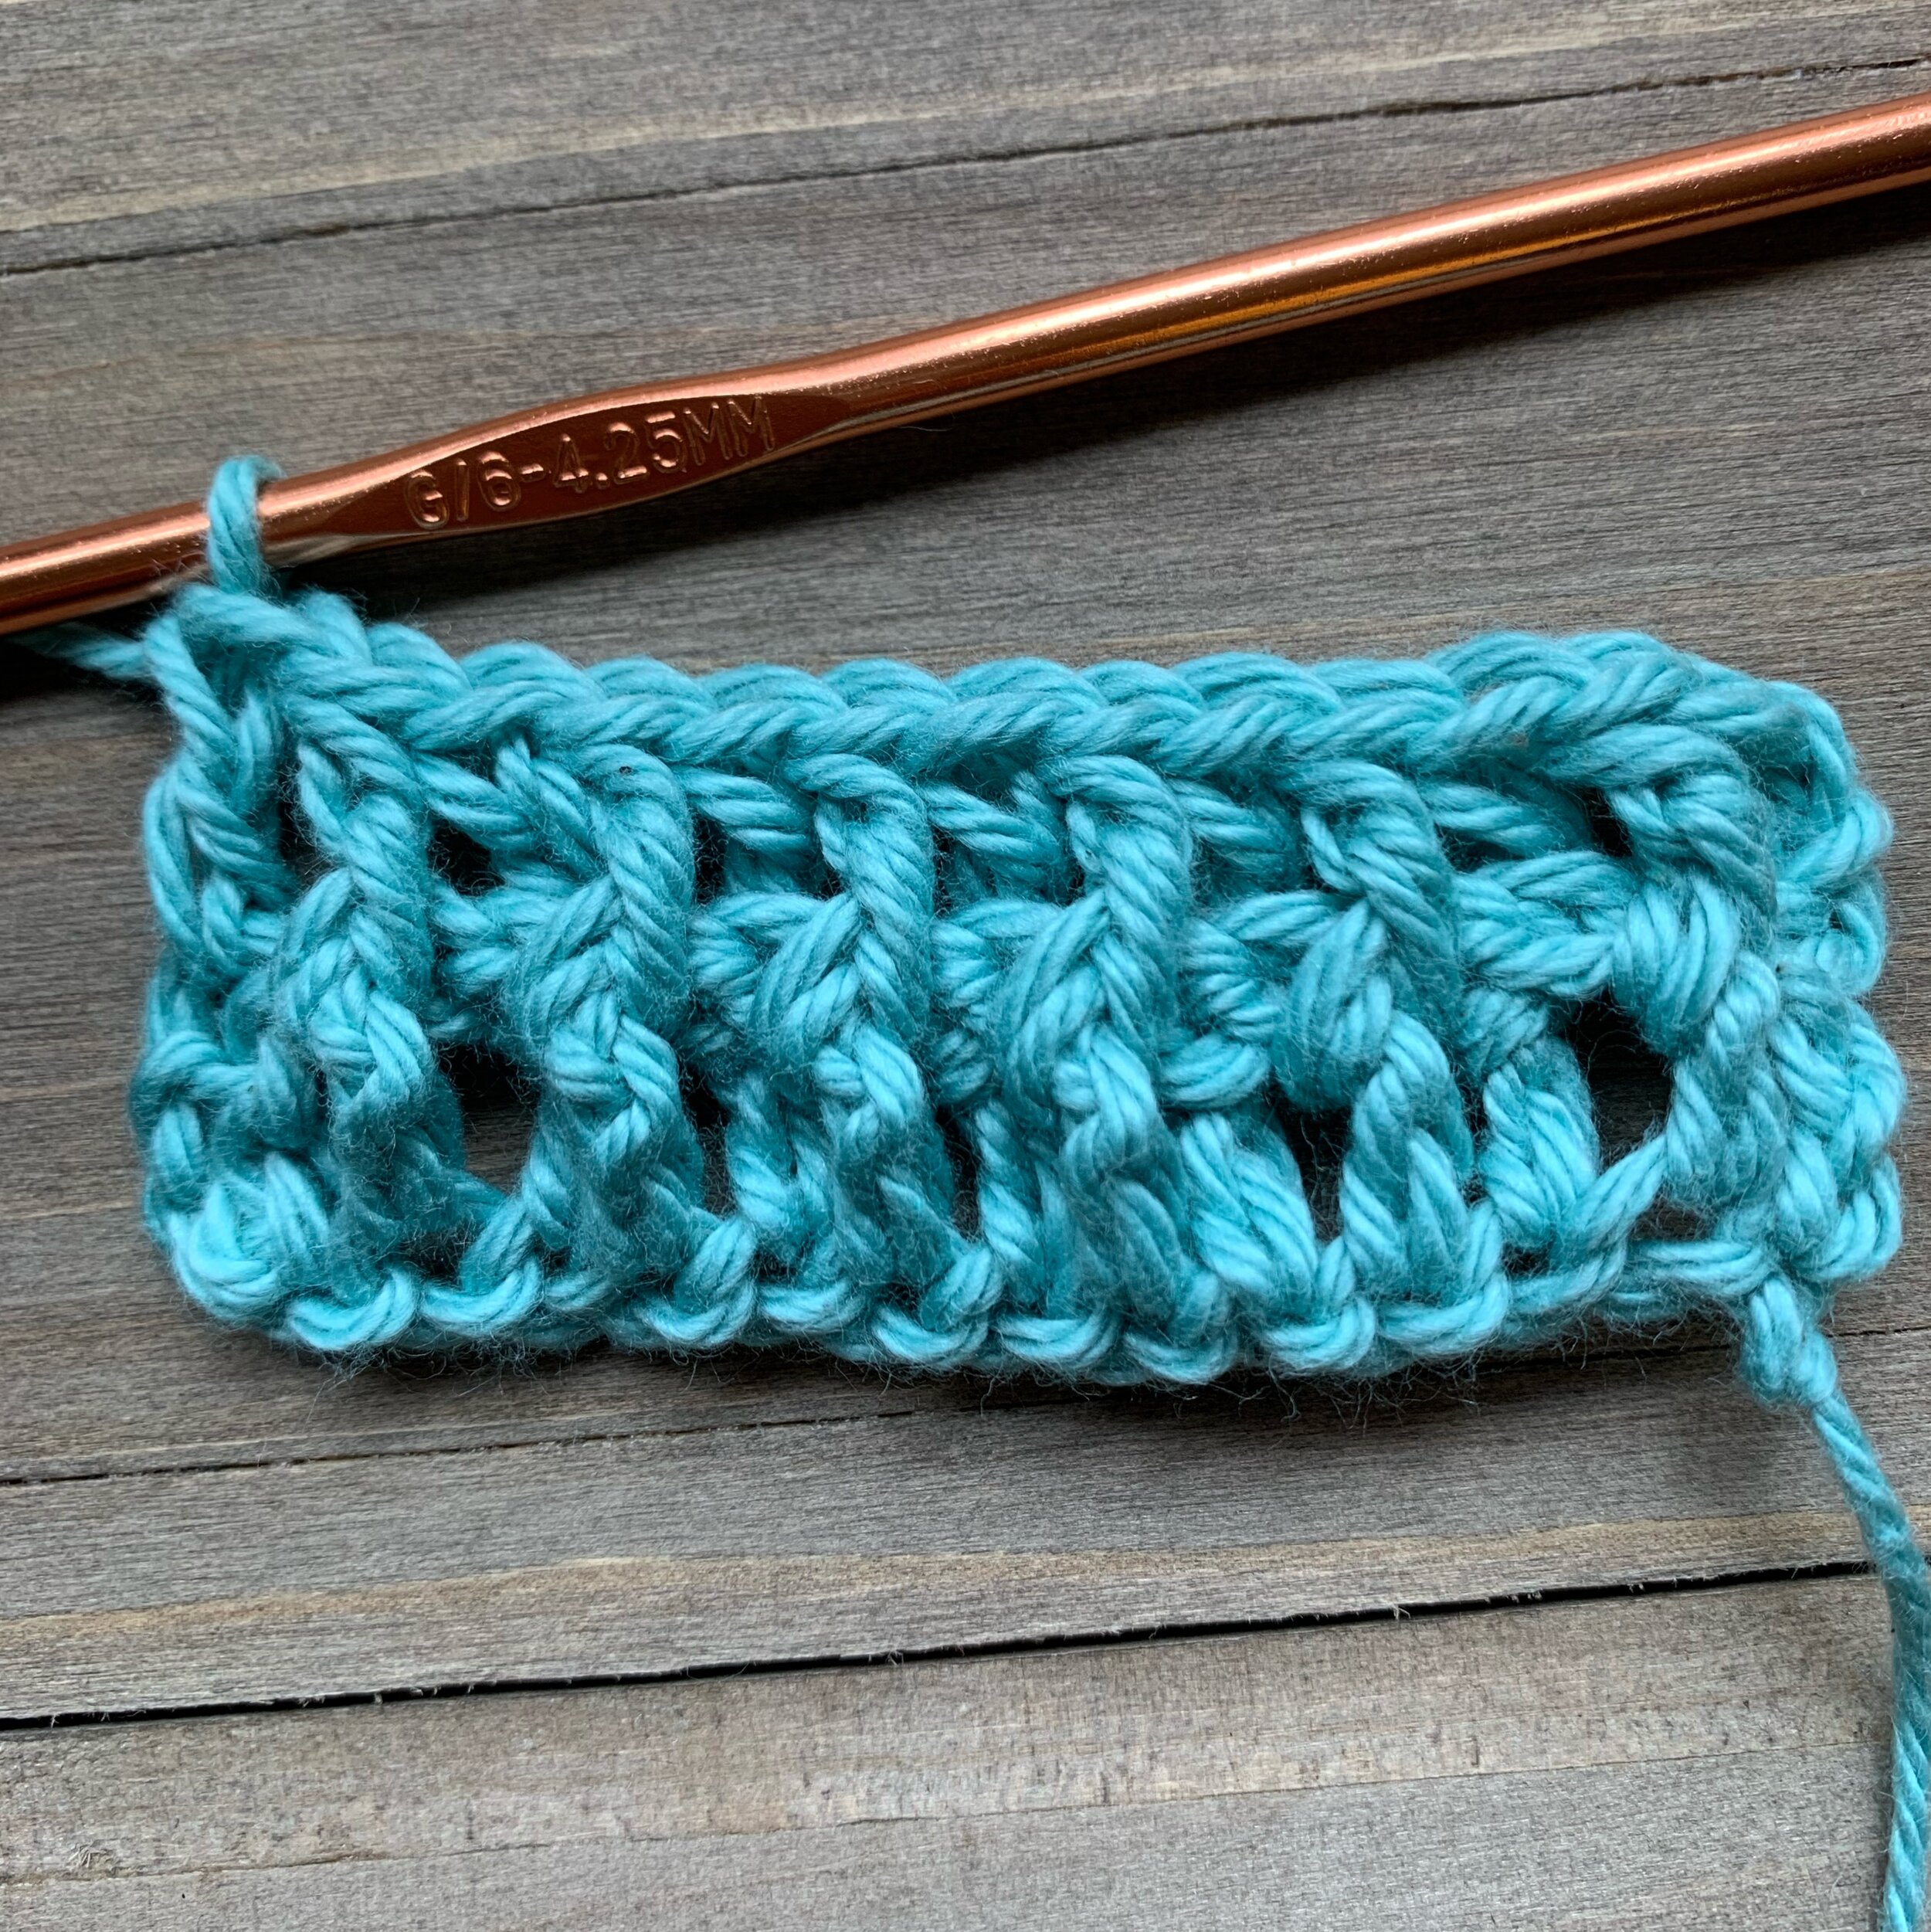
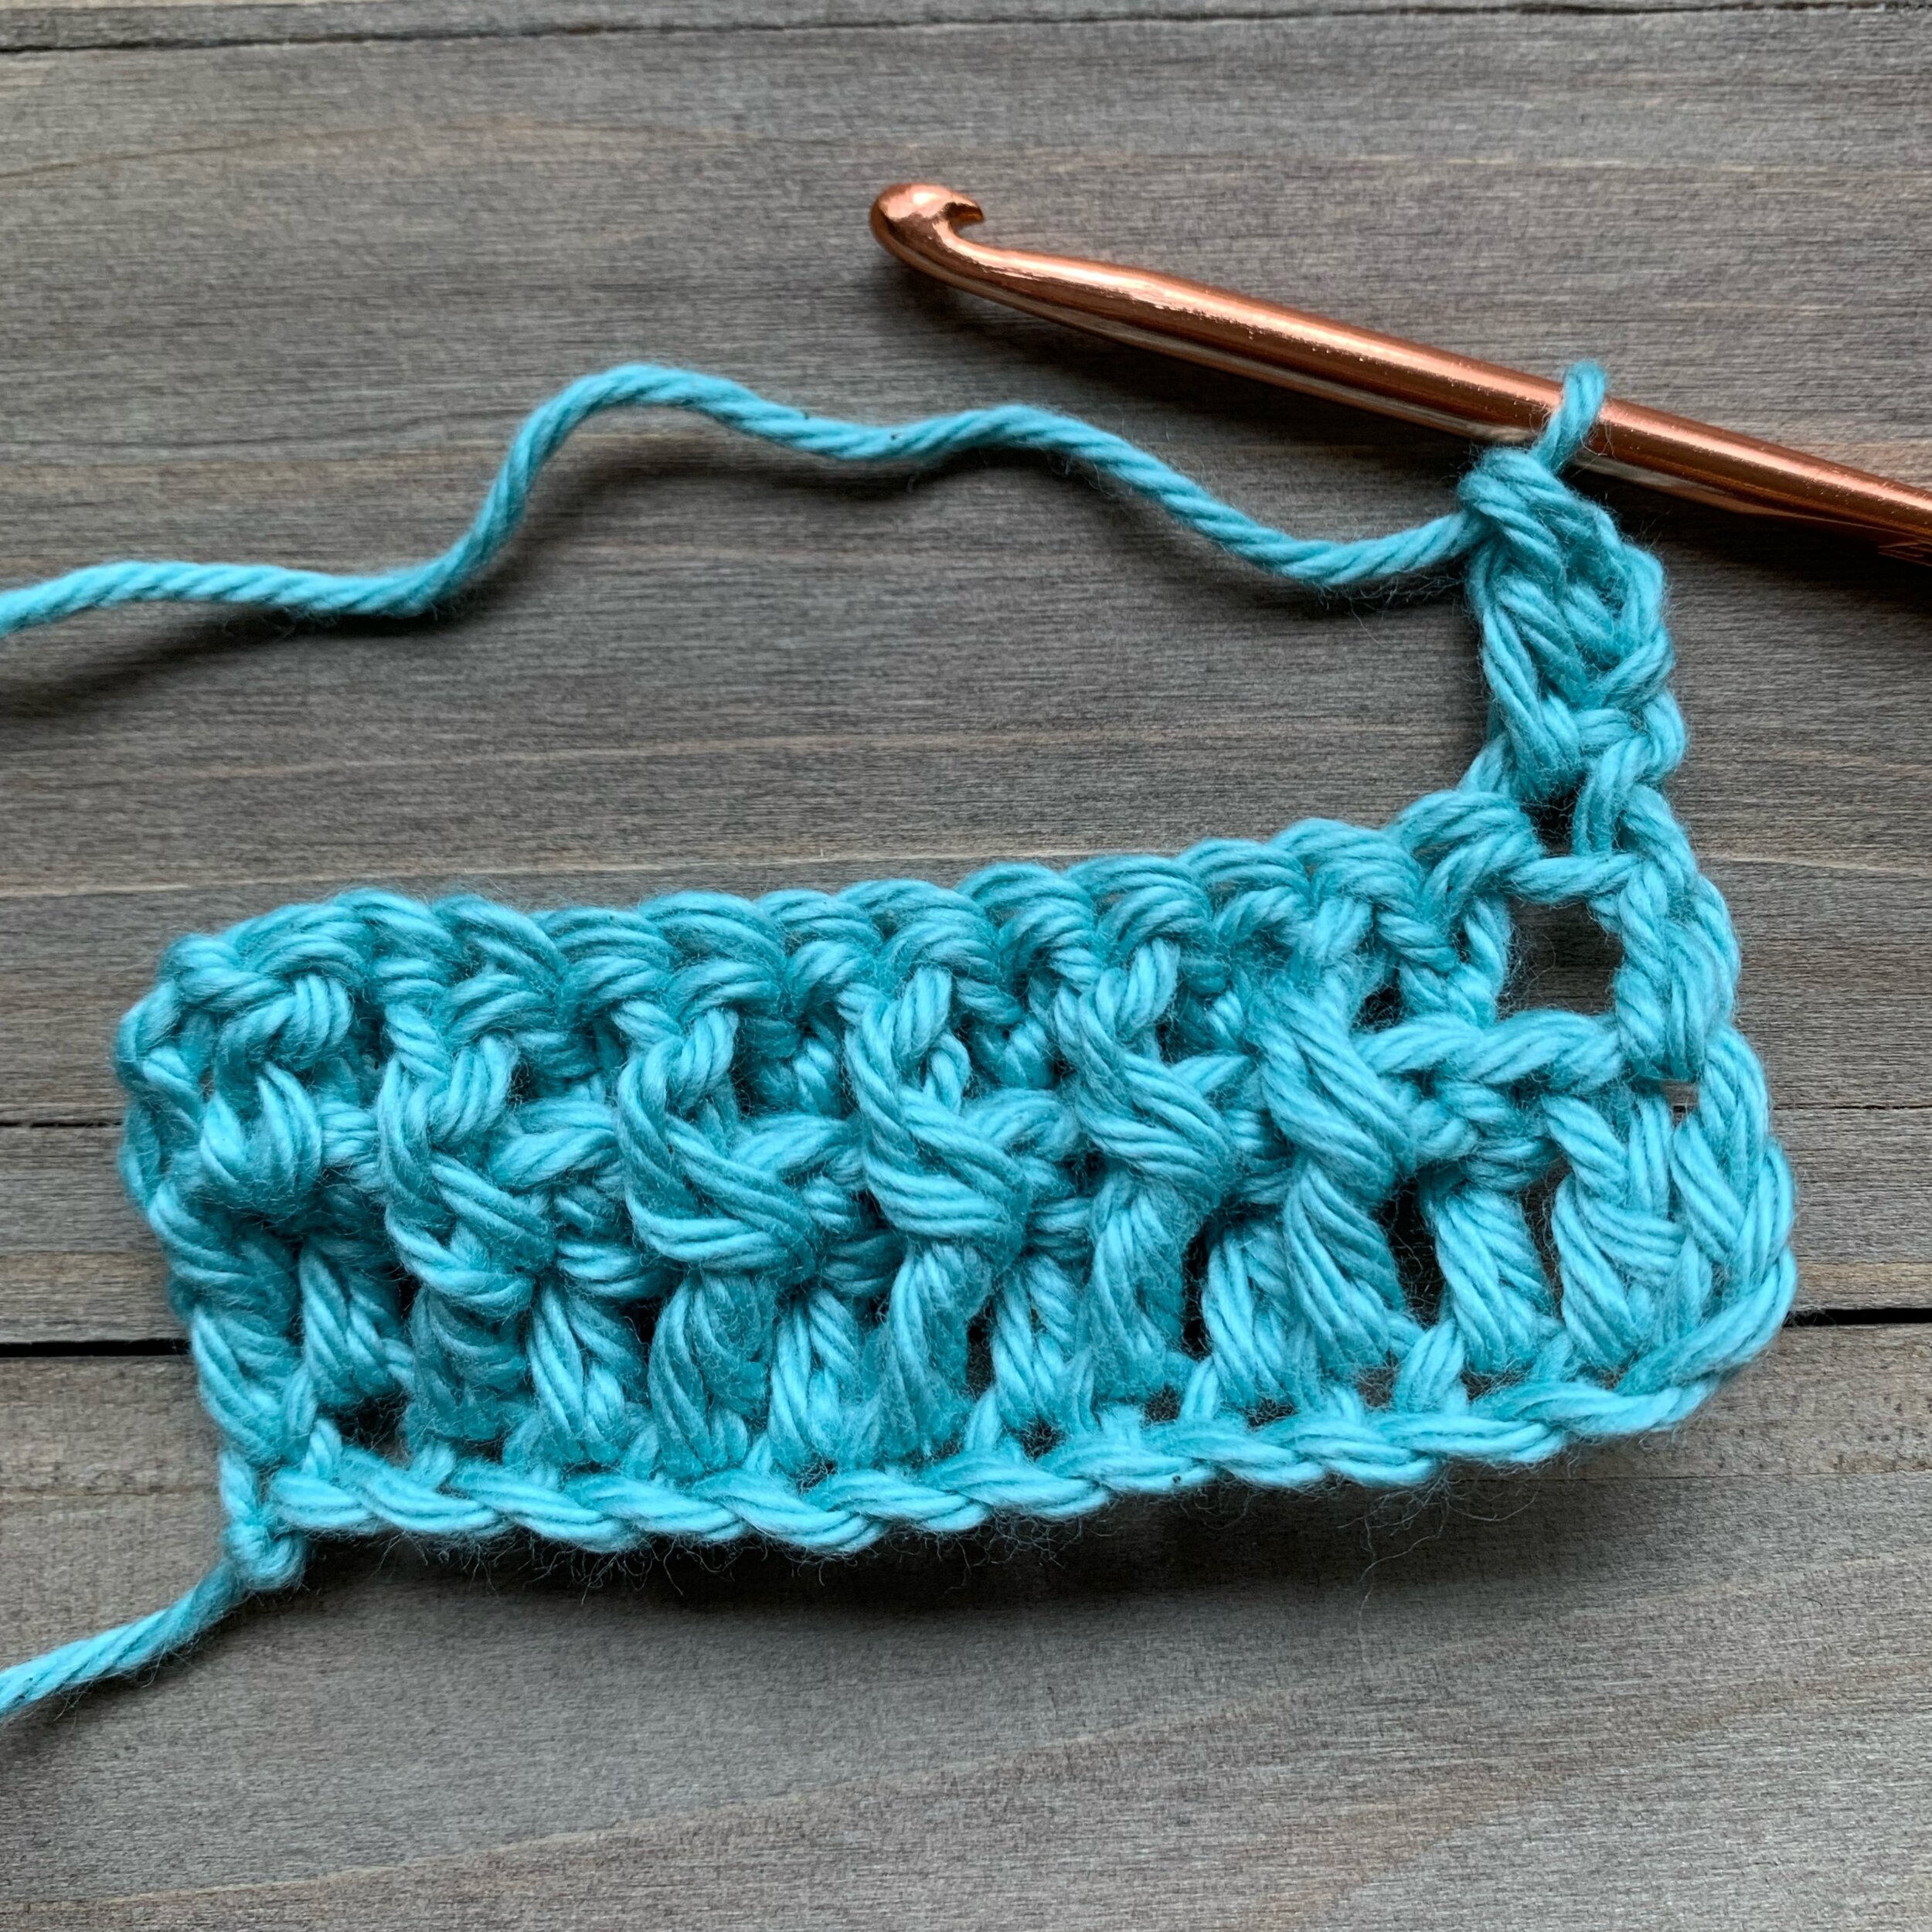
Keep repeating rows 1 and 2 until you’ve gotten the hang of the stitches. Bpdc and fpdc can be used in a variety of different ways. To give these stitches a try check out my Dakota Beanie free crochet pattern or my Colbie hat pattern. Both patterns use fpdc and bpdc to create uniquely textured hats.
Don’t forget to check out the video tutorial of front post and back post double crochet below.
Video Tutorial:
Happy Crocheting!
Meghan

