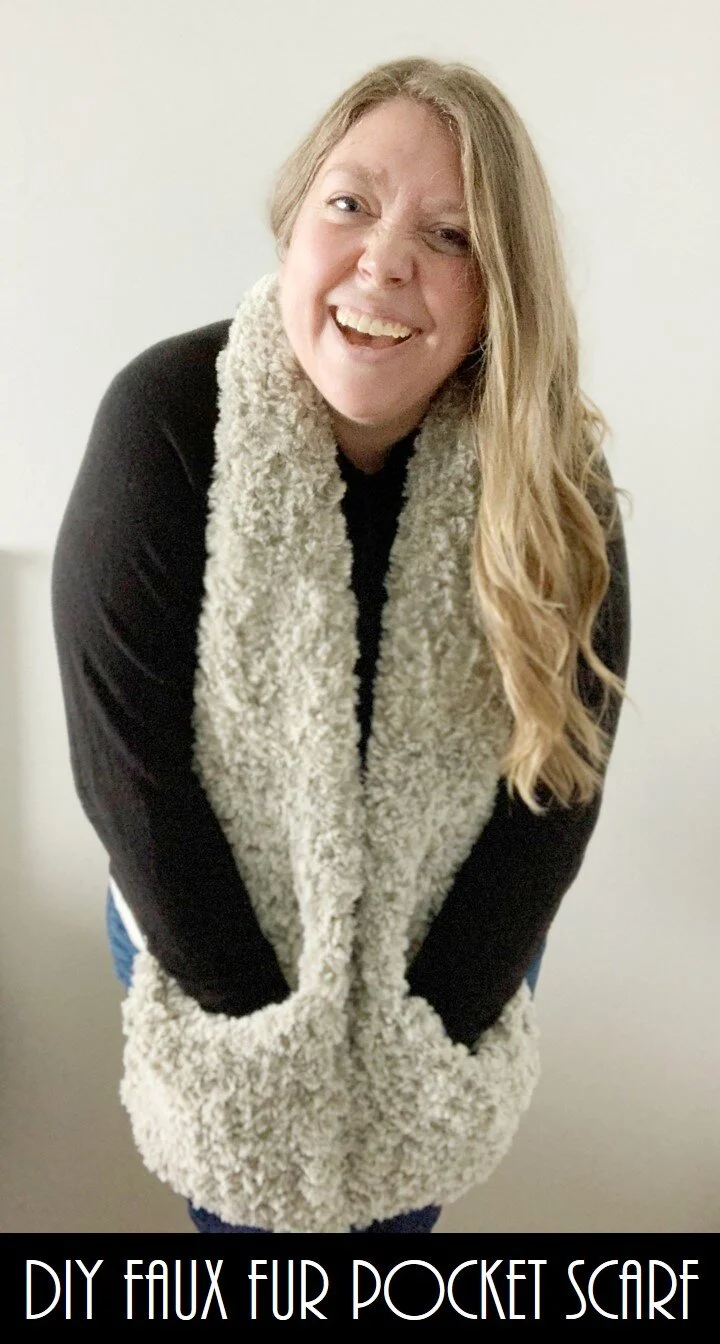
Off The Hook Faux Fur Scarf
Ready for the easiest and coziest DIY scarf? Off The Hook Faux Fur from Lion Brand Yarn makes creating blankets, scarves and more super easy. The best part is…no tools required! Scroll down for a free video tutorial for this gorgeous faux fur pocket scarf made with Lion Brand’s Off The Hook yarn.
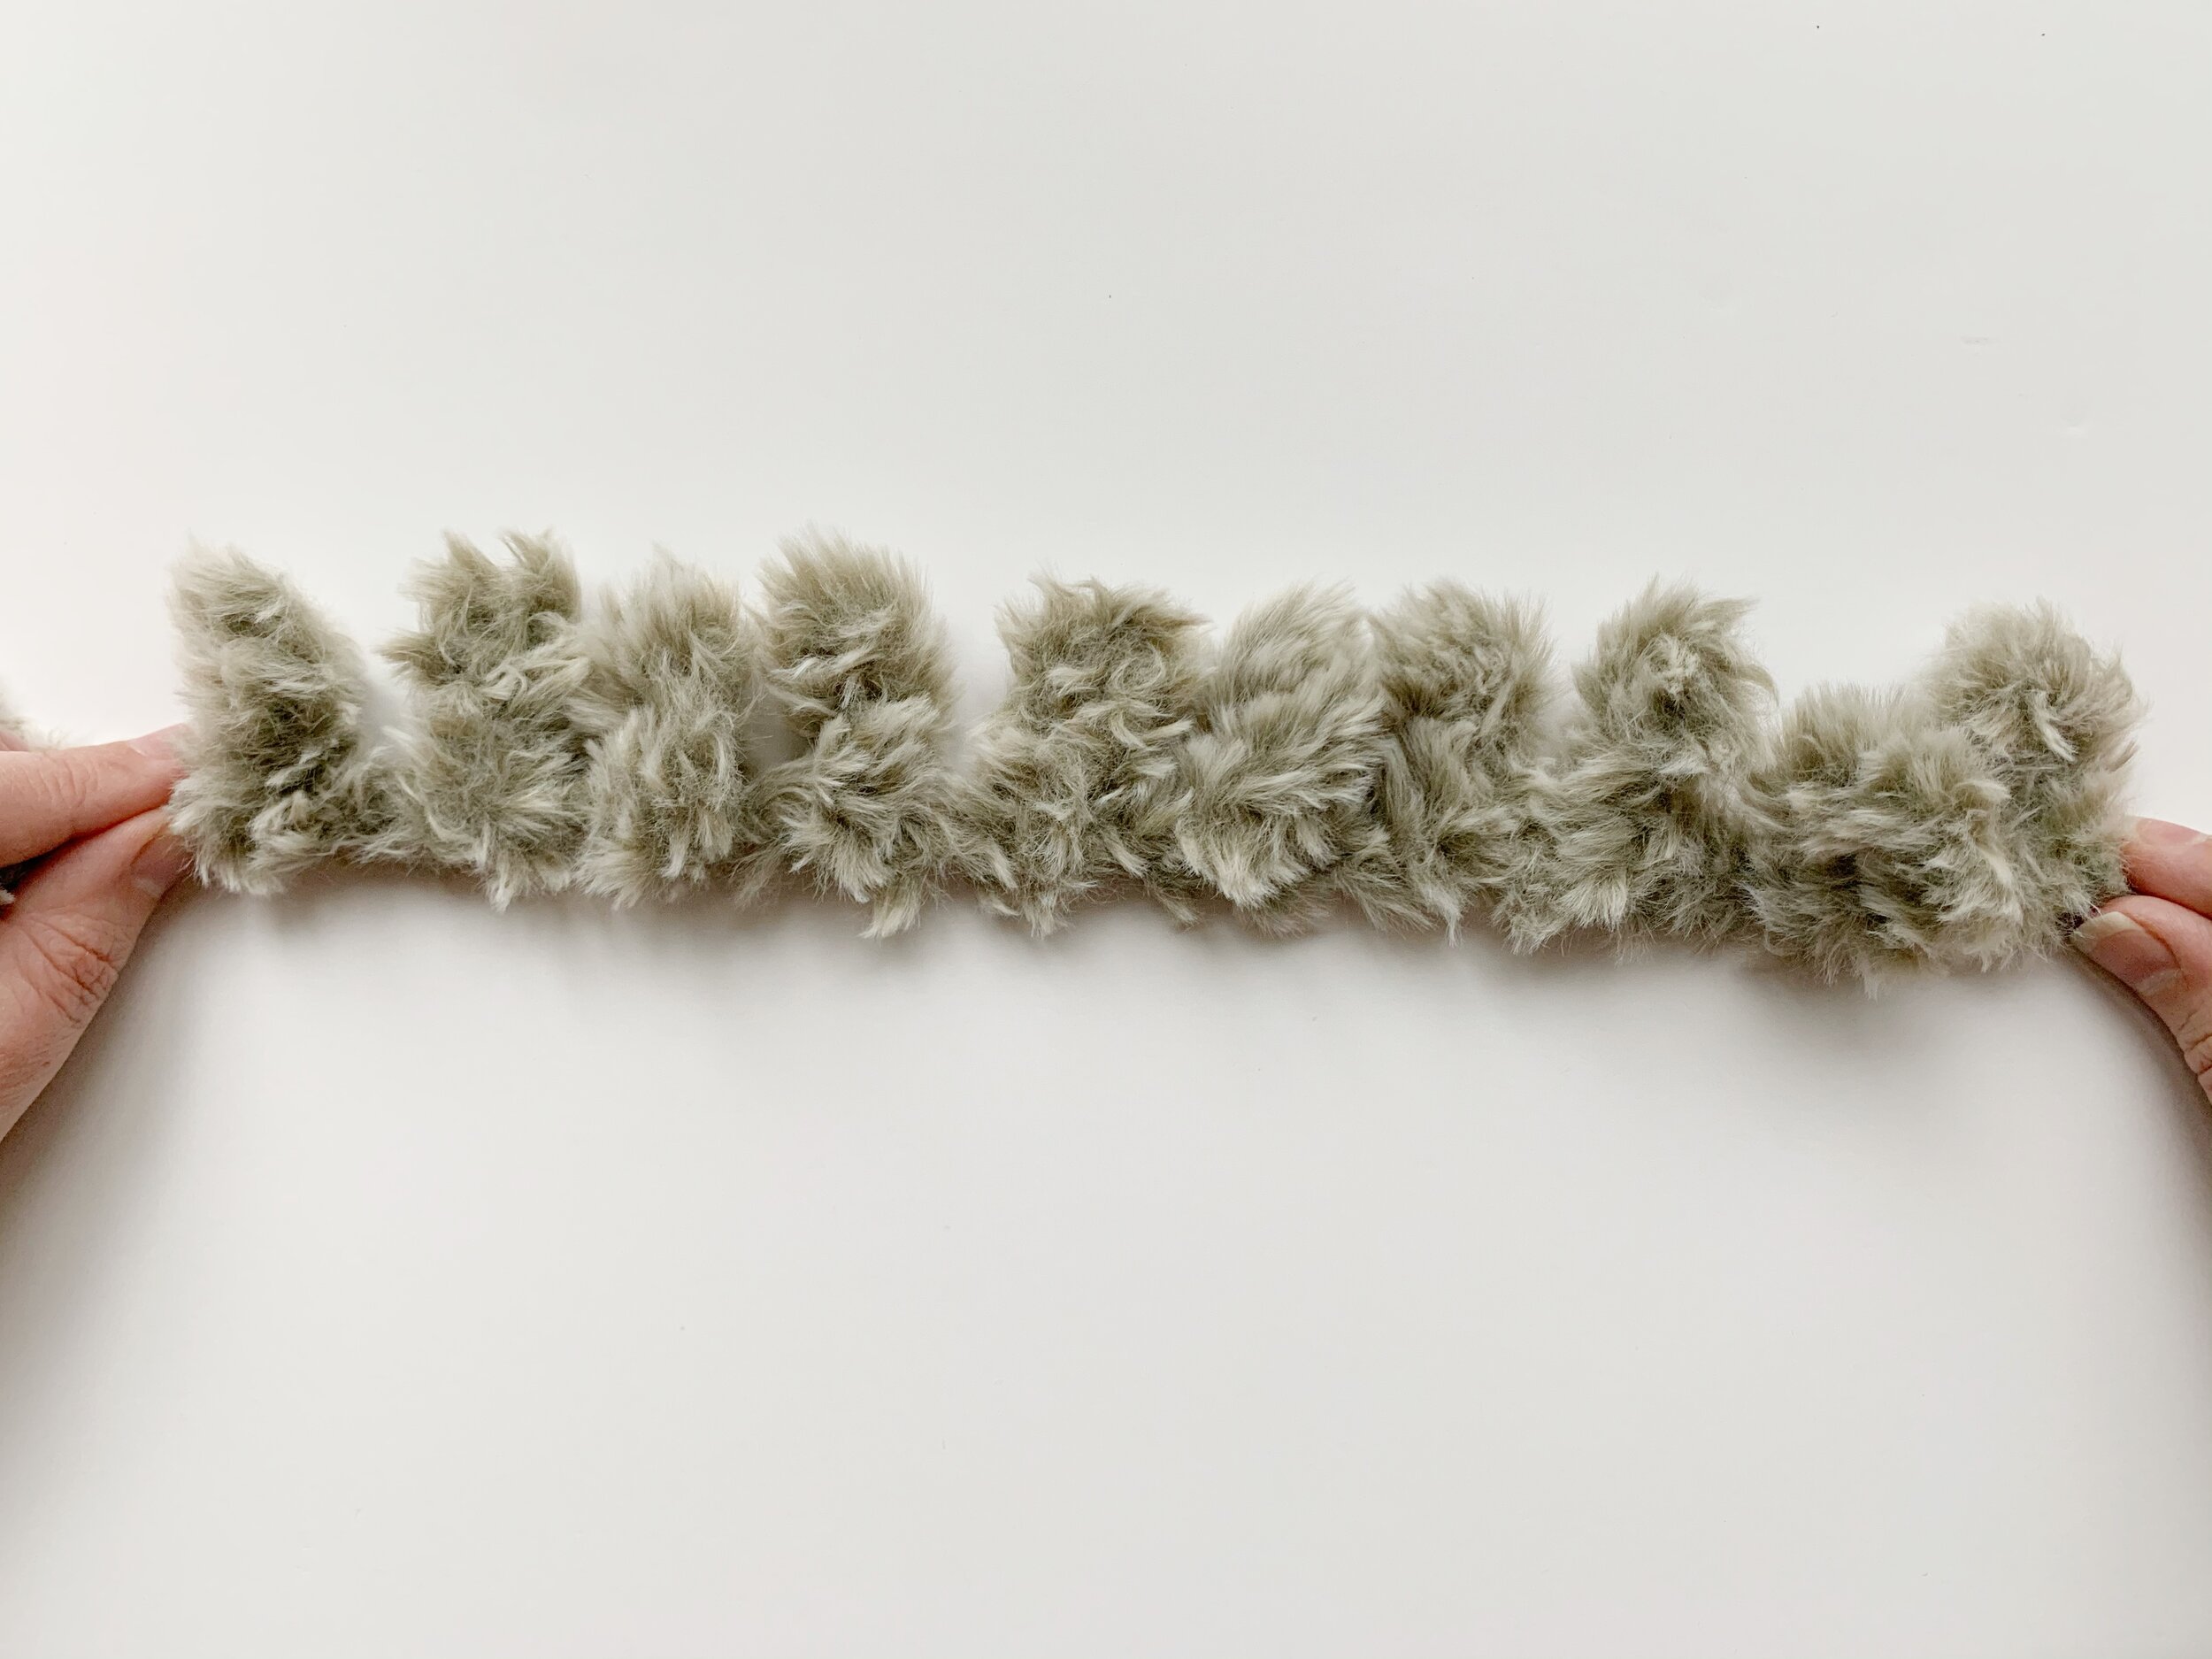
Ever since the loop yarn craze started, I’ve been skeptical. I wasn’t a huge fan of how the loop yarns worked up because they were made using a chenille like material. Luckily Lion Brand Yarn came out with a faux fur loop yarn and I couldn’t wait to try it.
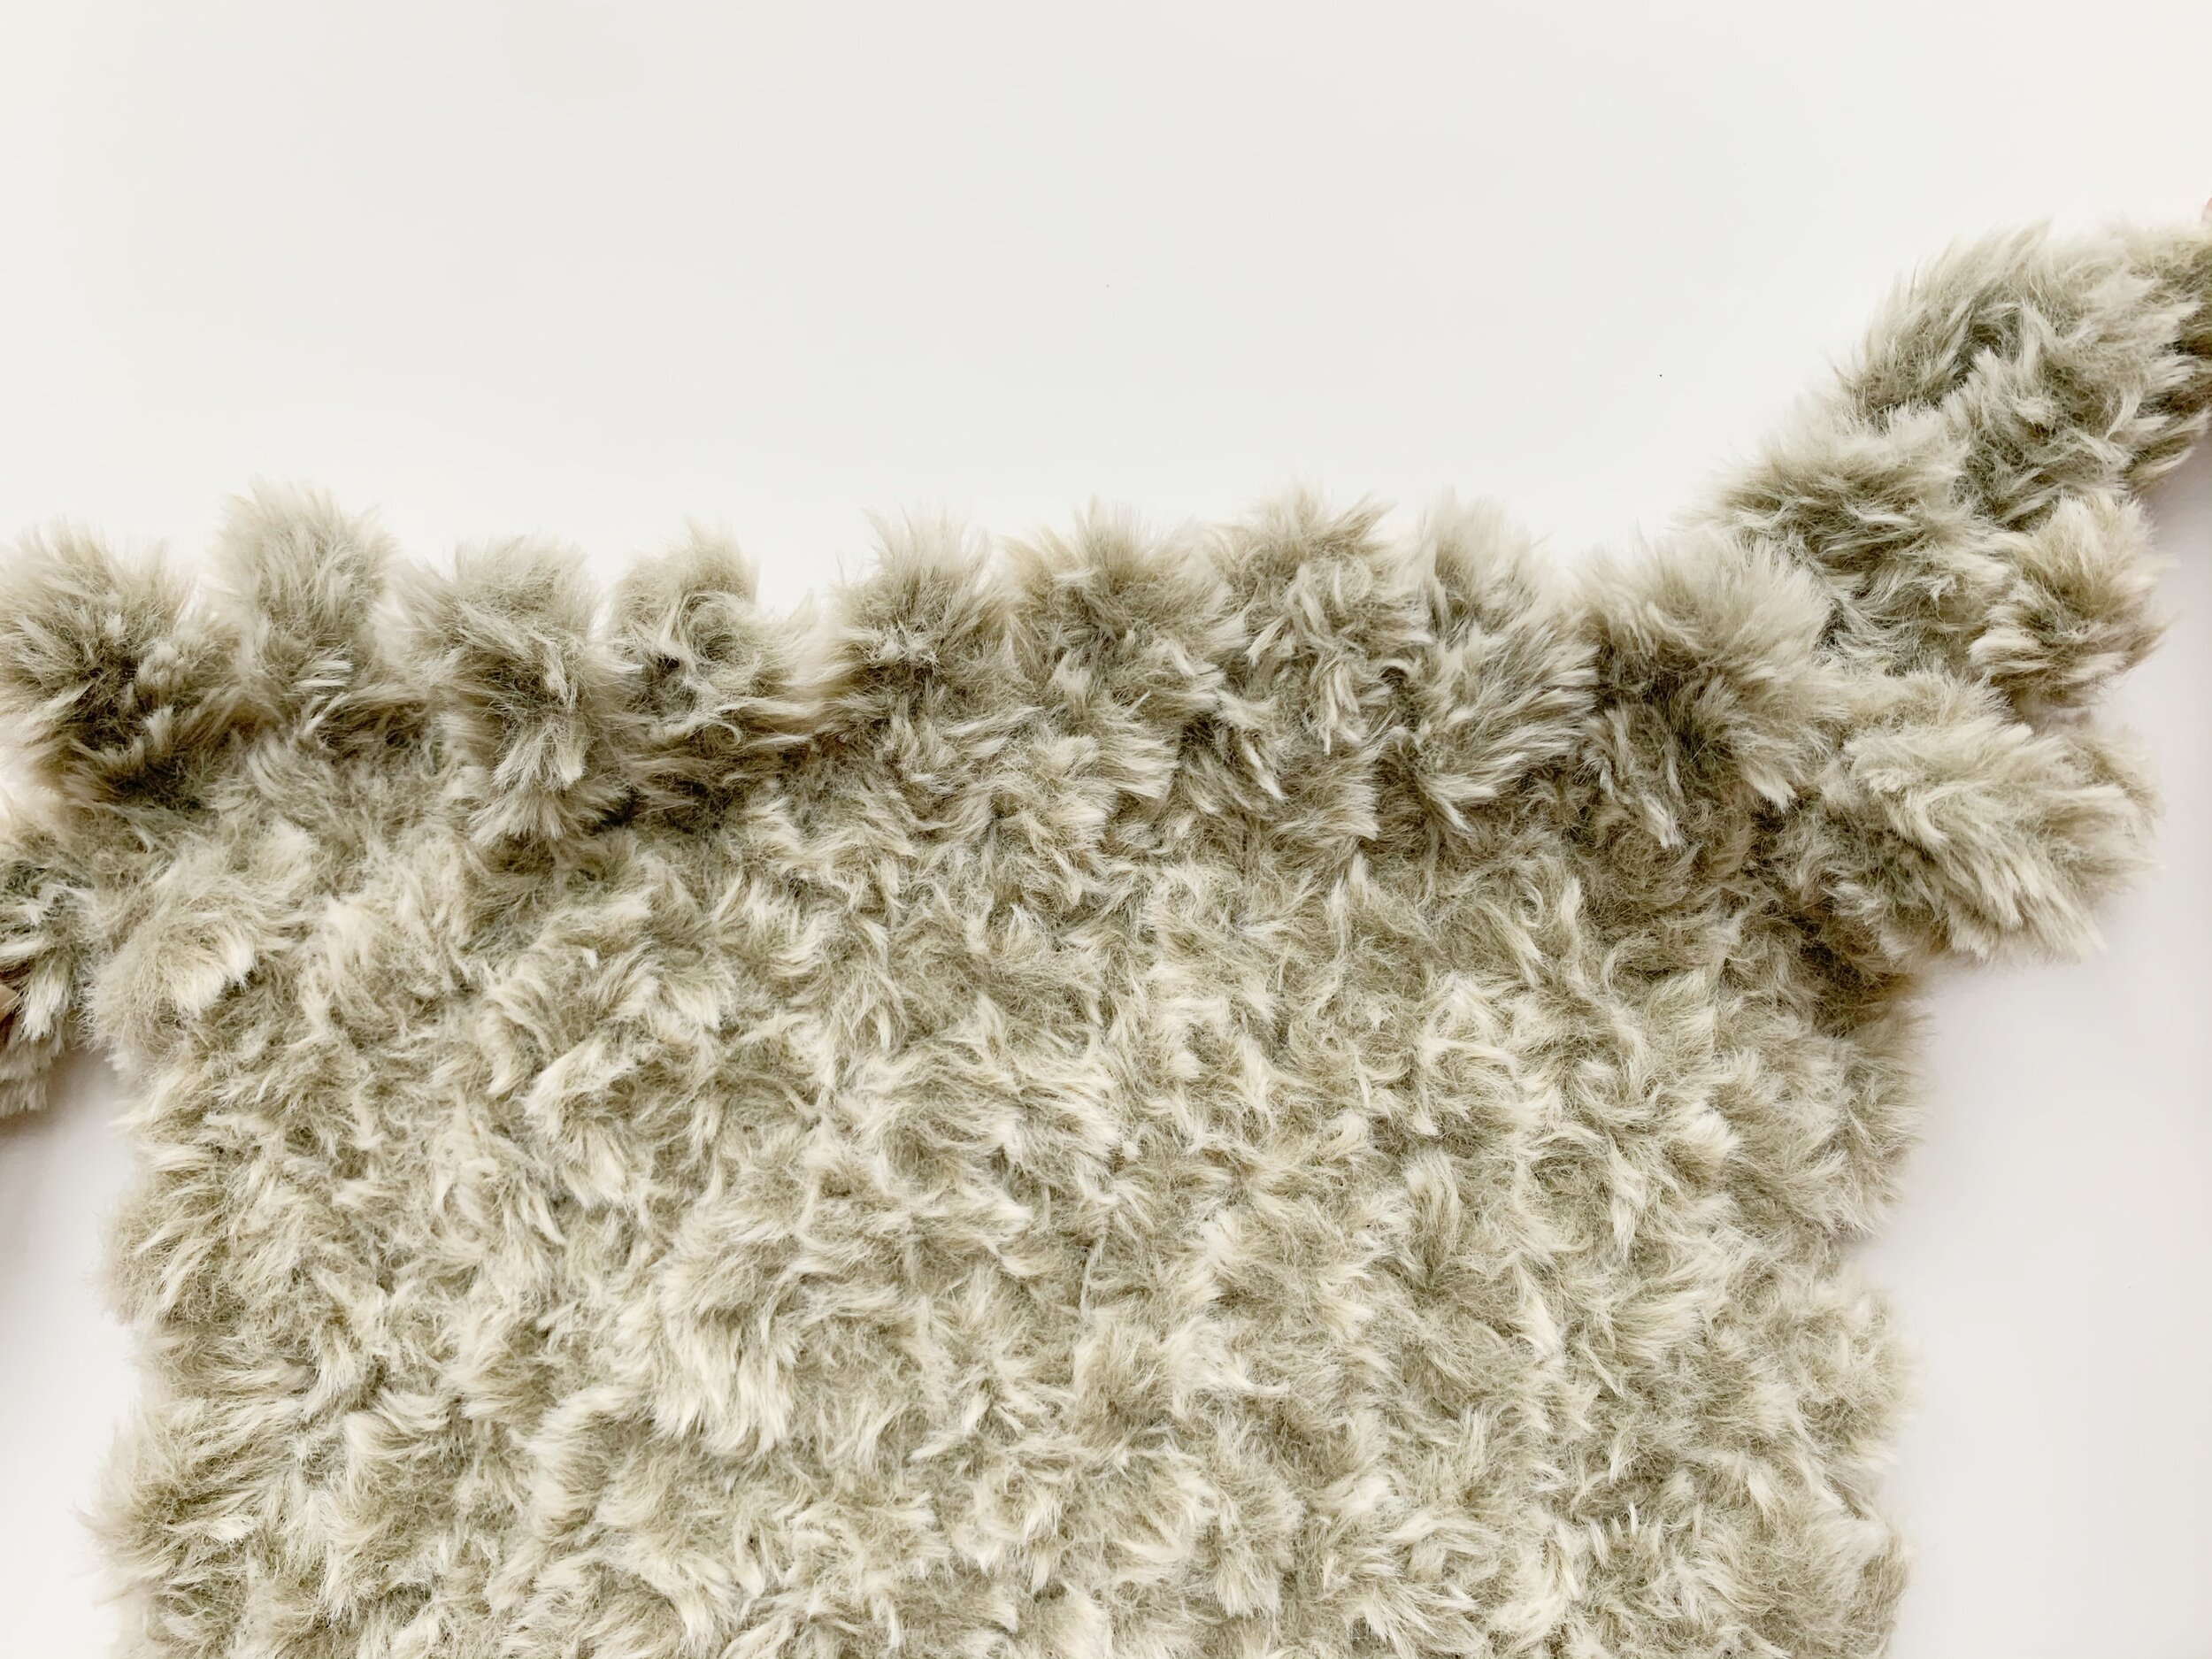
I love the simplicity of the loop yarns and with the faux fur you don’t see the stitches which I am a huge fan of. Since the fur is so fuzzy, the material is very forgiving and your ends can easily be hidden away when you weave them in.
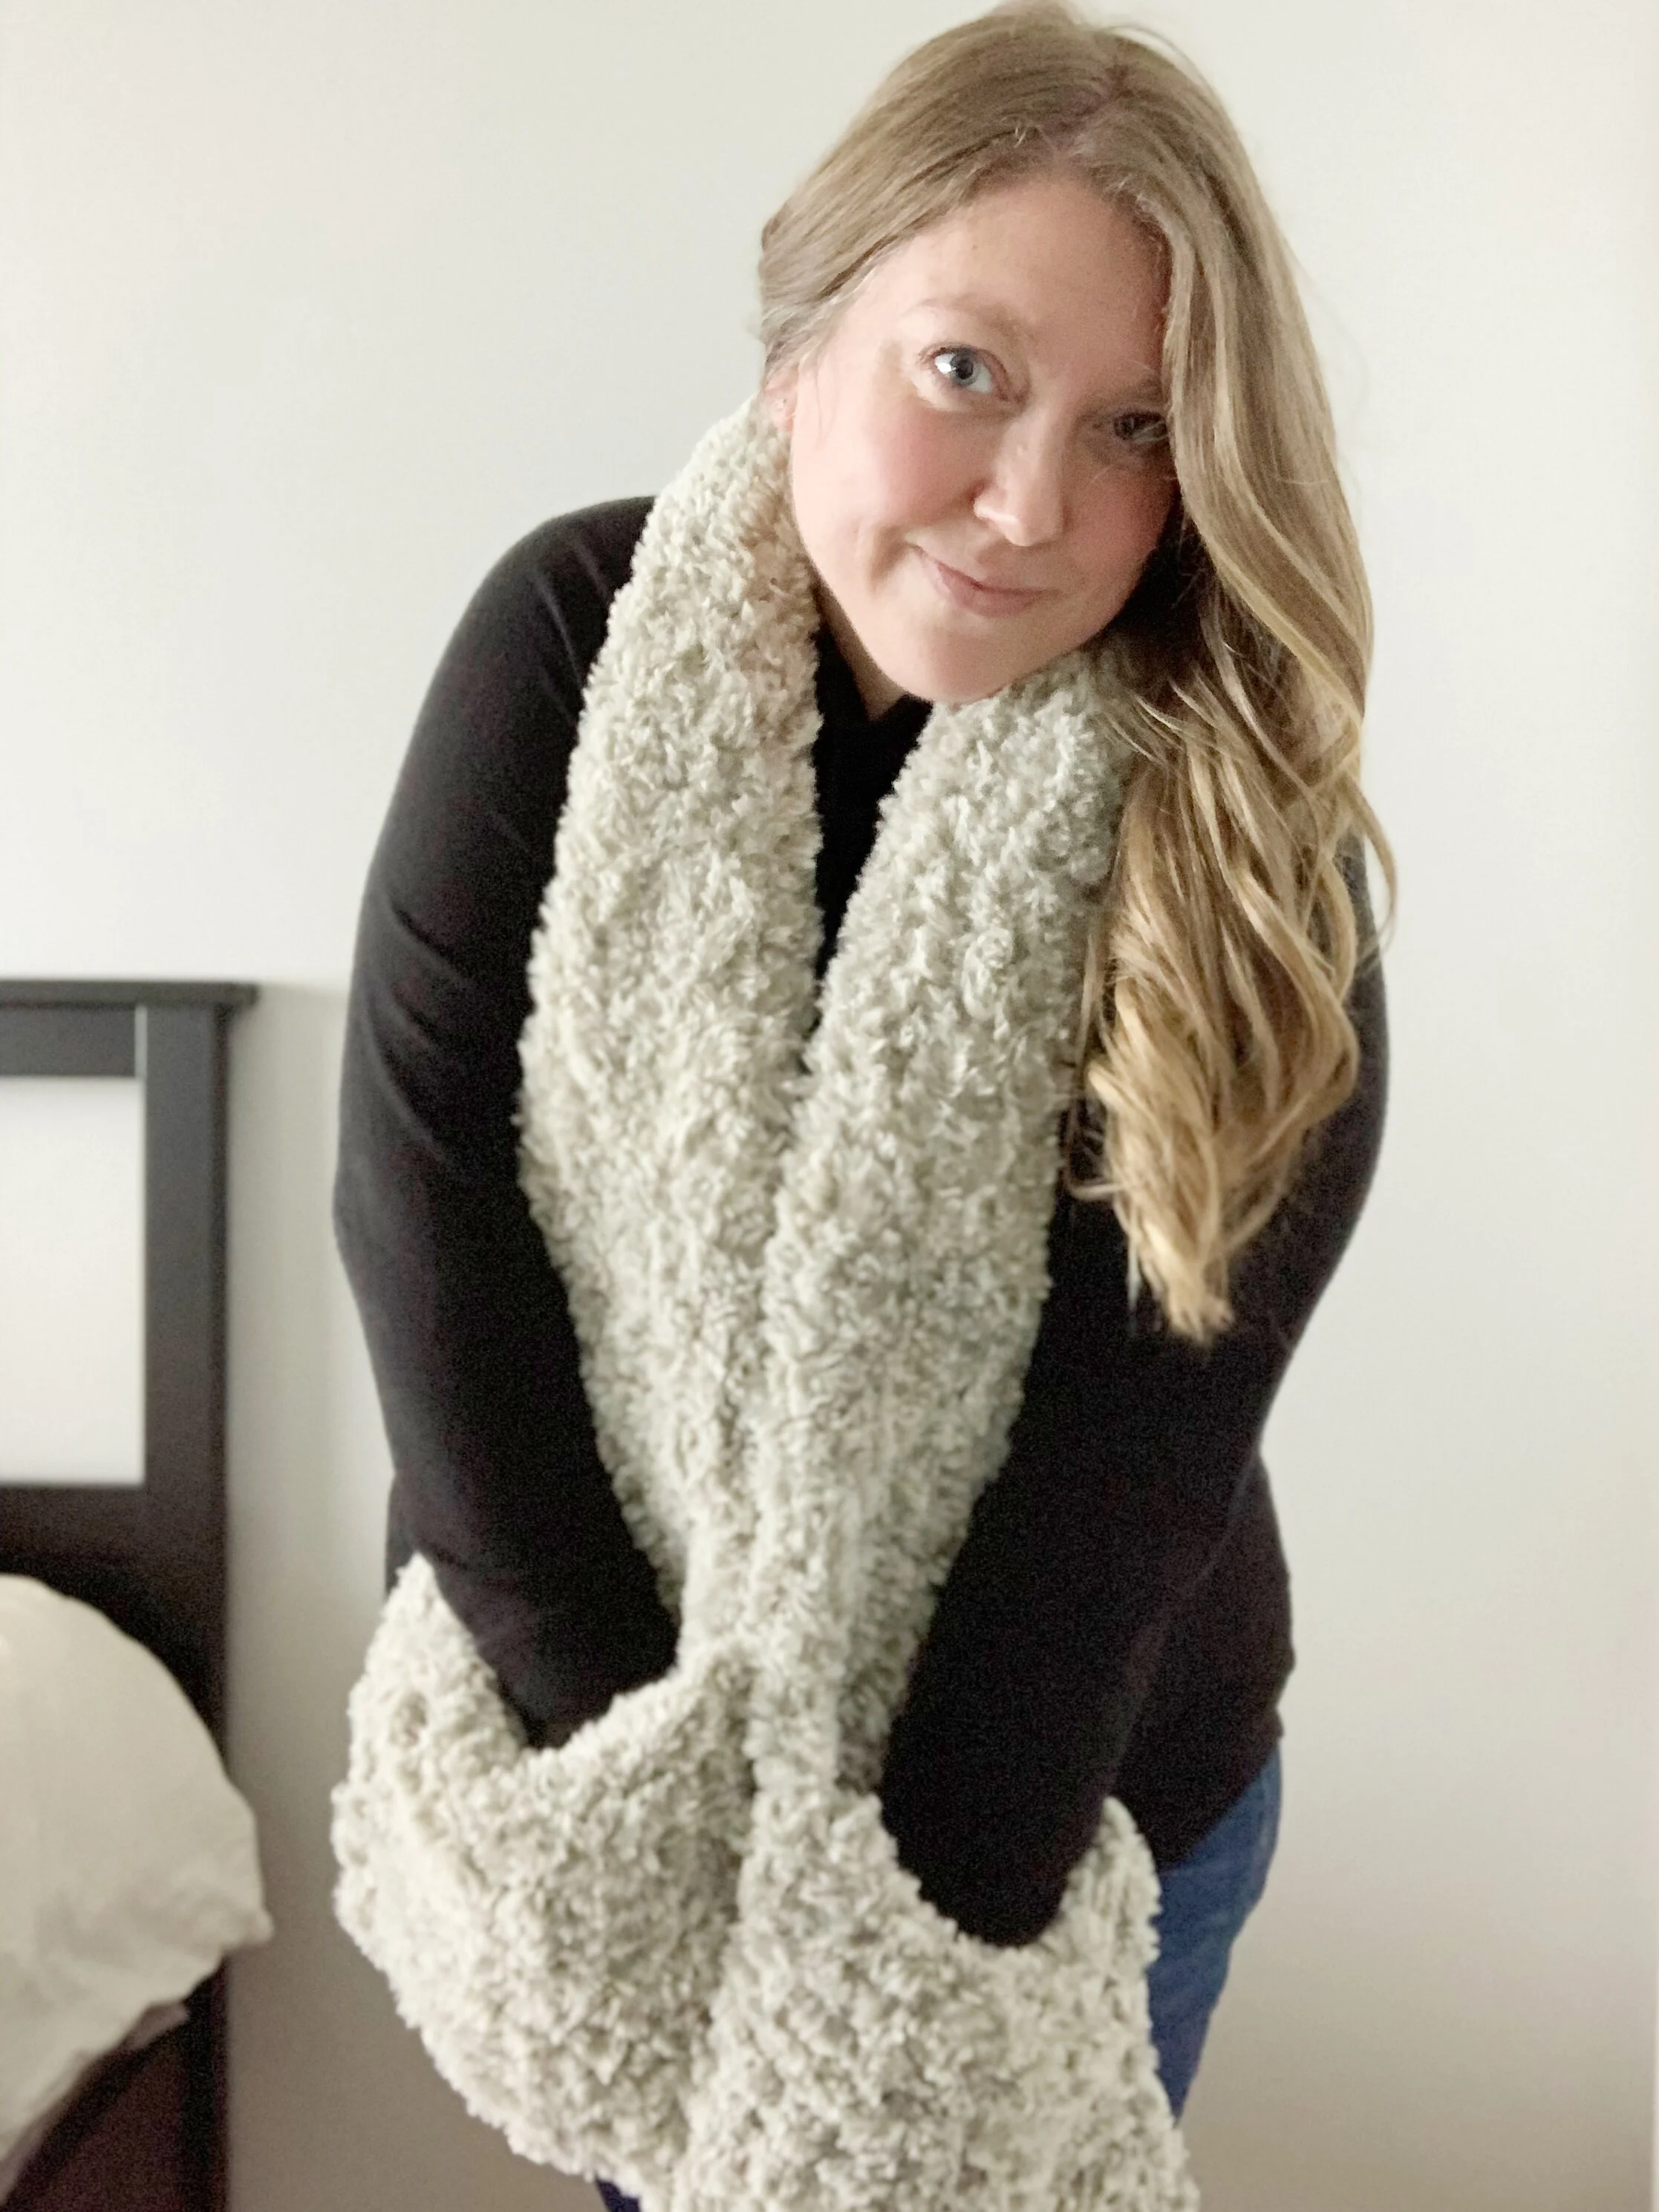
Lion Brand was kind enough to send me three skeins of their Off The Hook Faux Fur yarn to try. I chose the color Husky and it’s the perfect shade of grey and white. I created a super cozy faux fur pocket scarf using all three skeins of yarn. It worked up in about an hour start to finish and makes an extra warm scarf for the winter.
I created a full video tutorial so you can see exactly how to create your own faux fur scarf. I walk you through each step including how to weave in ends and seam up your pockets. Check it out below.
Off The Hook Faux Fur Pocket Scarf
Materials:
3 skeins of Lion Brand Yarn Off The Hook Faux Fur in Husky
Scissors
5 yards of worsted weight yarn for seaming pockets (Vanna’s Choice in Linen is shown in the video)
Tapestry Needle
Pattern:
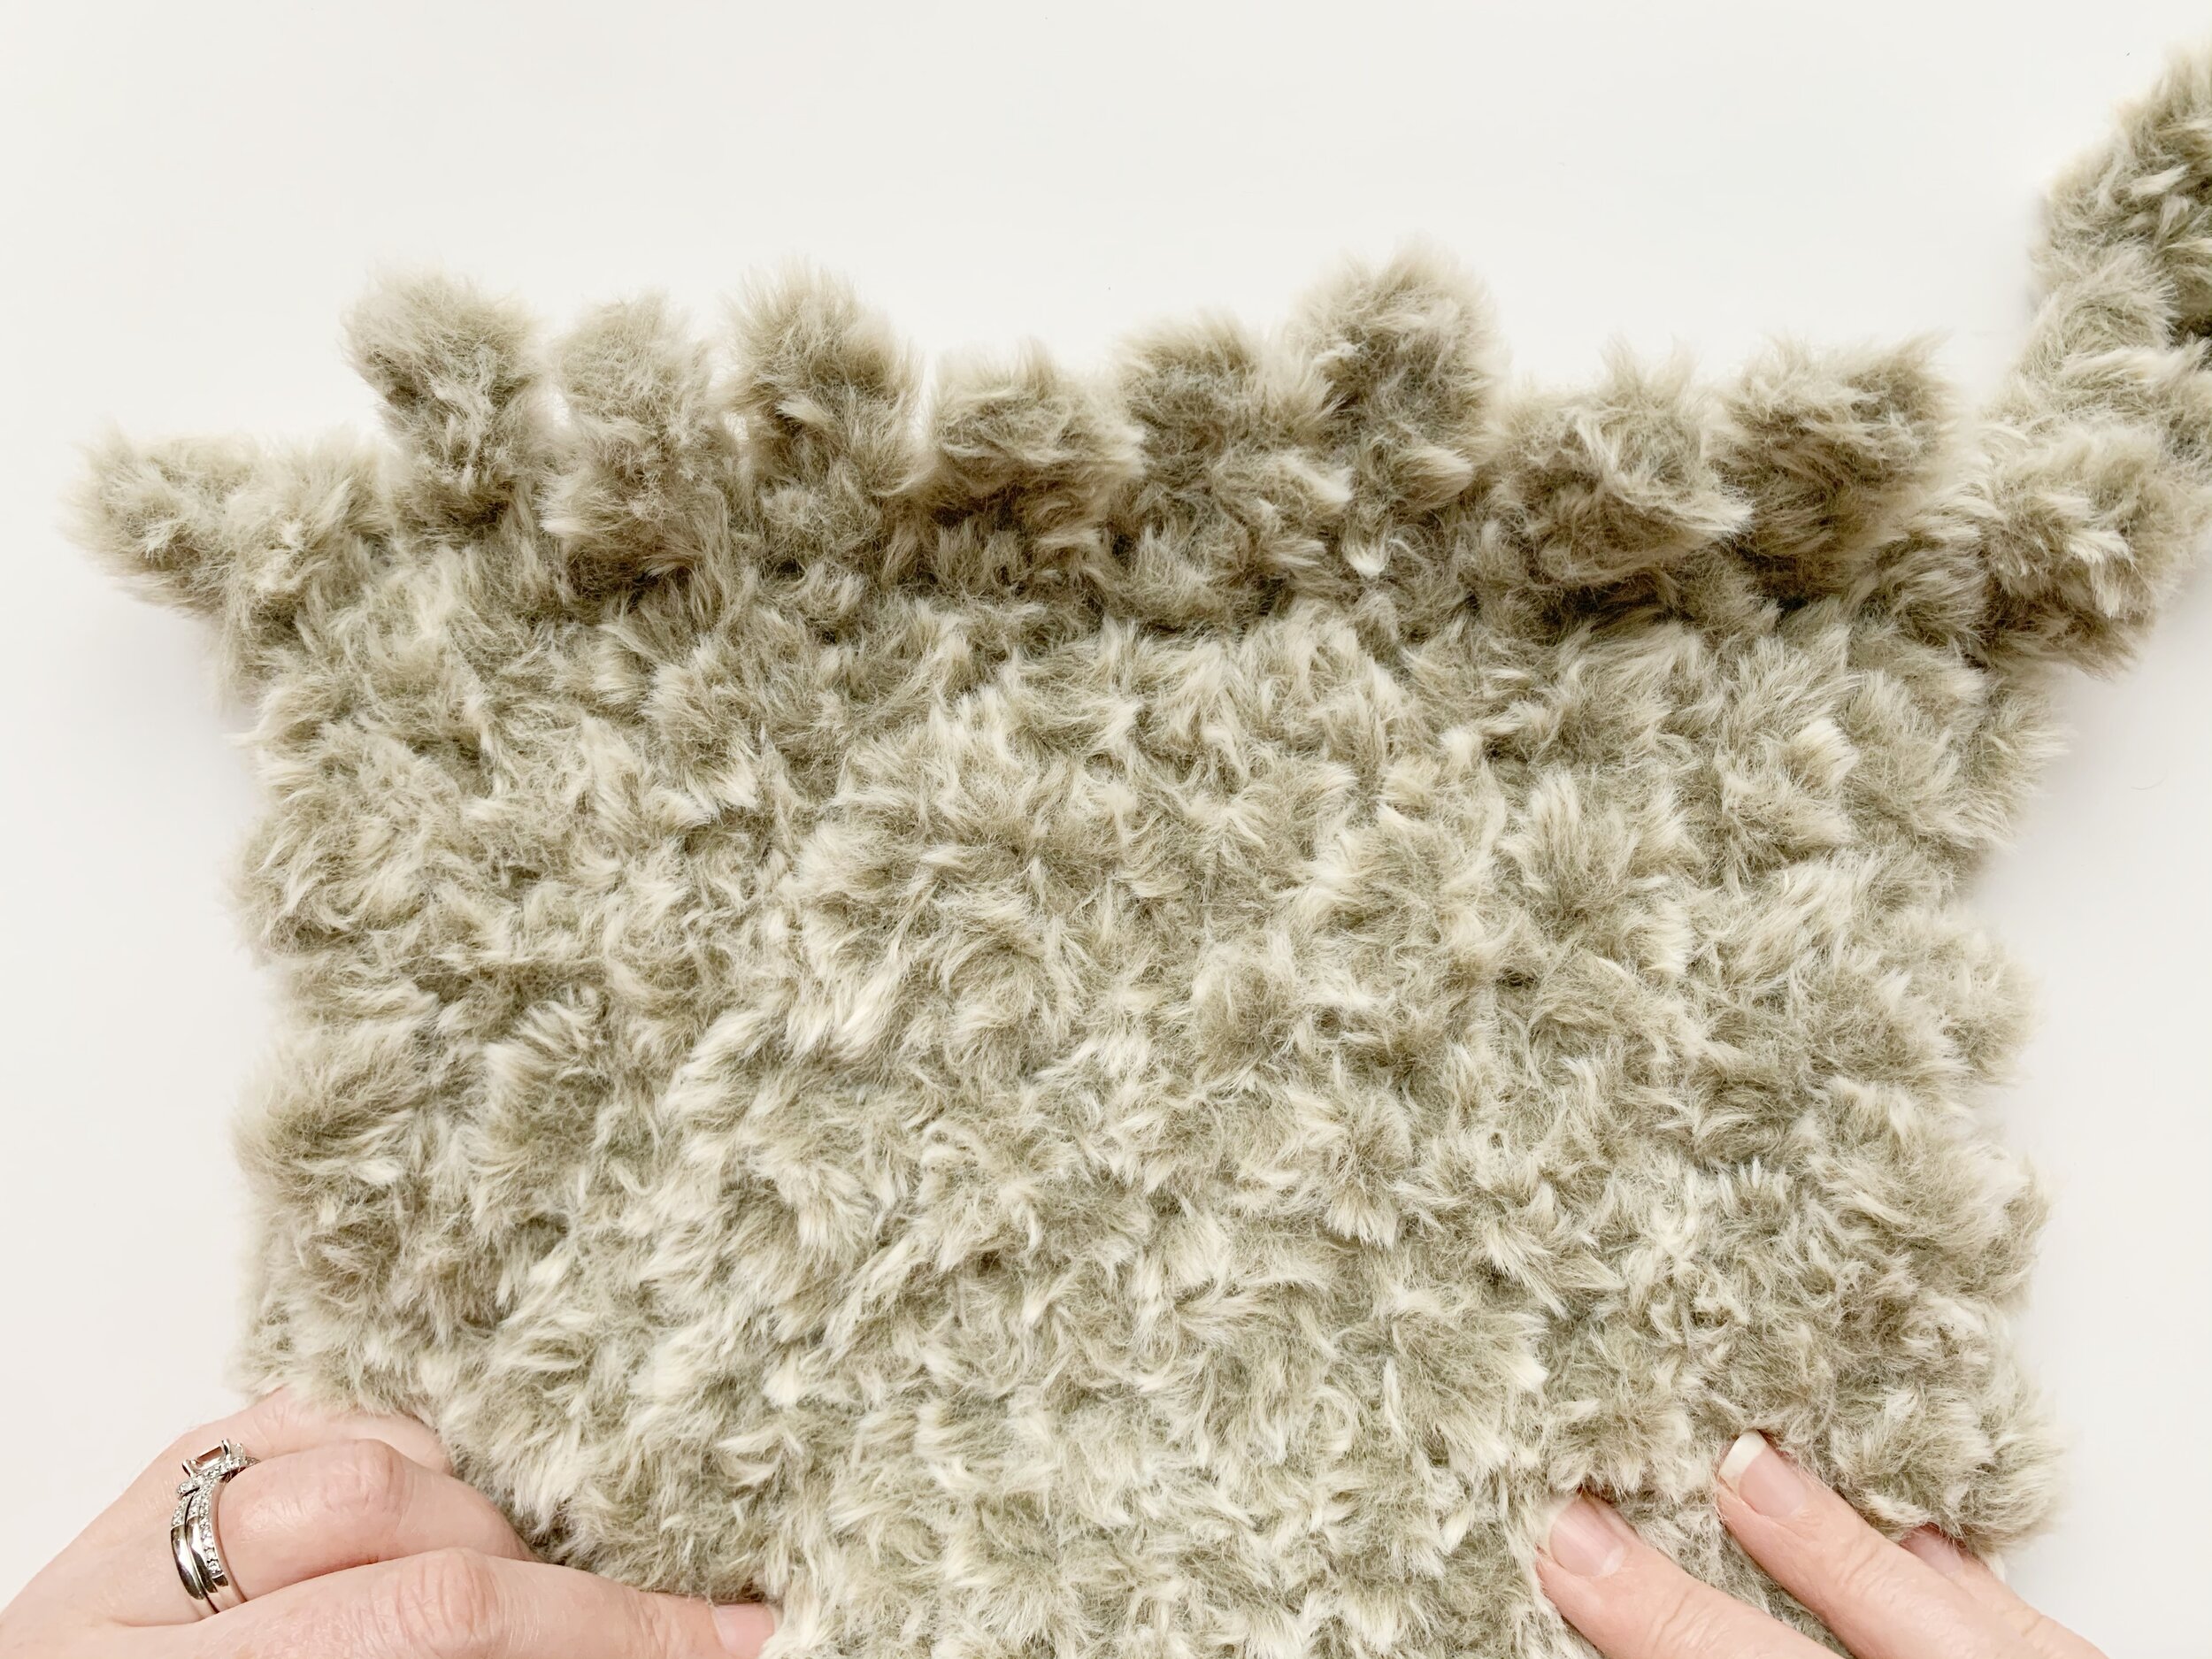
Count out 10 loops of yarn.
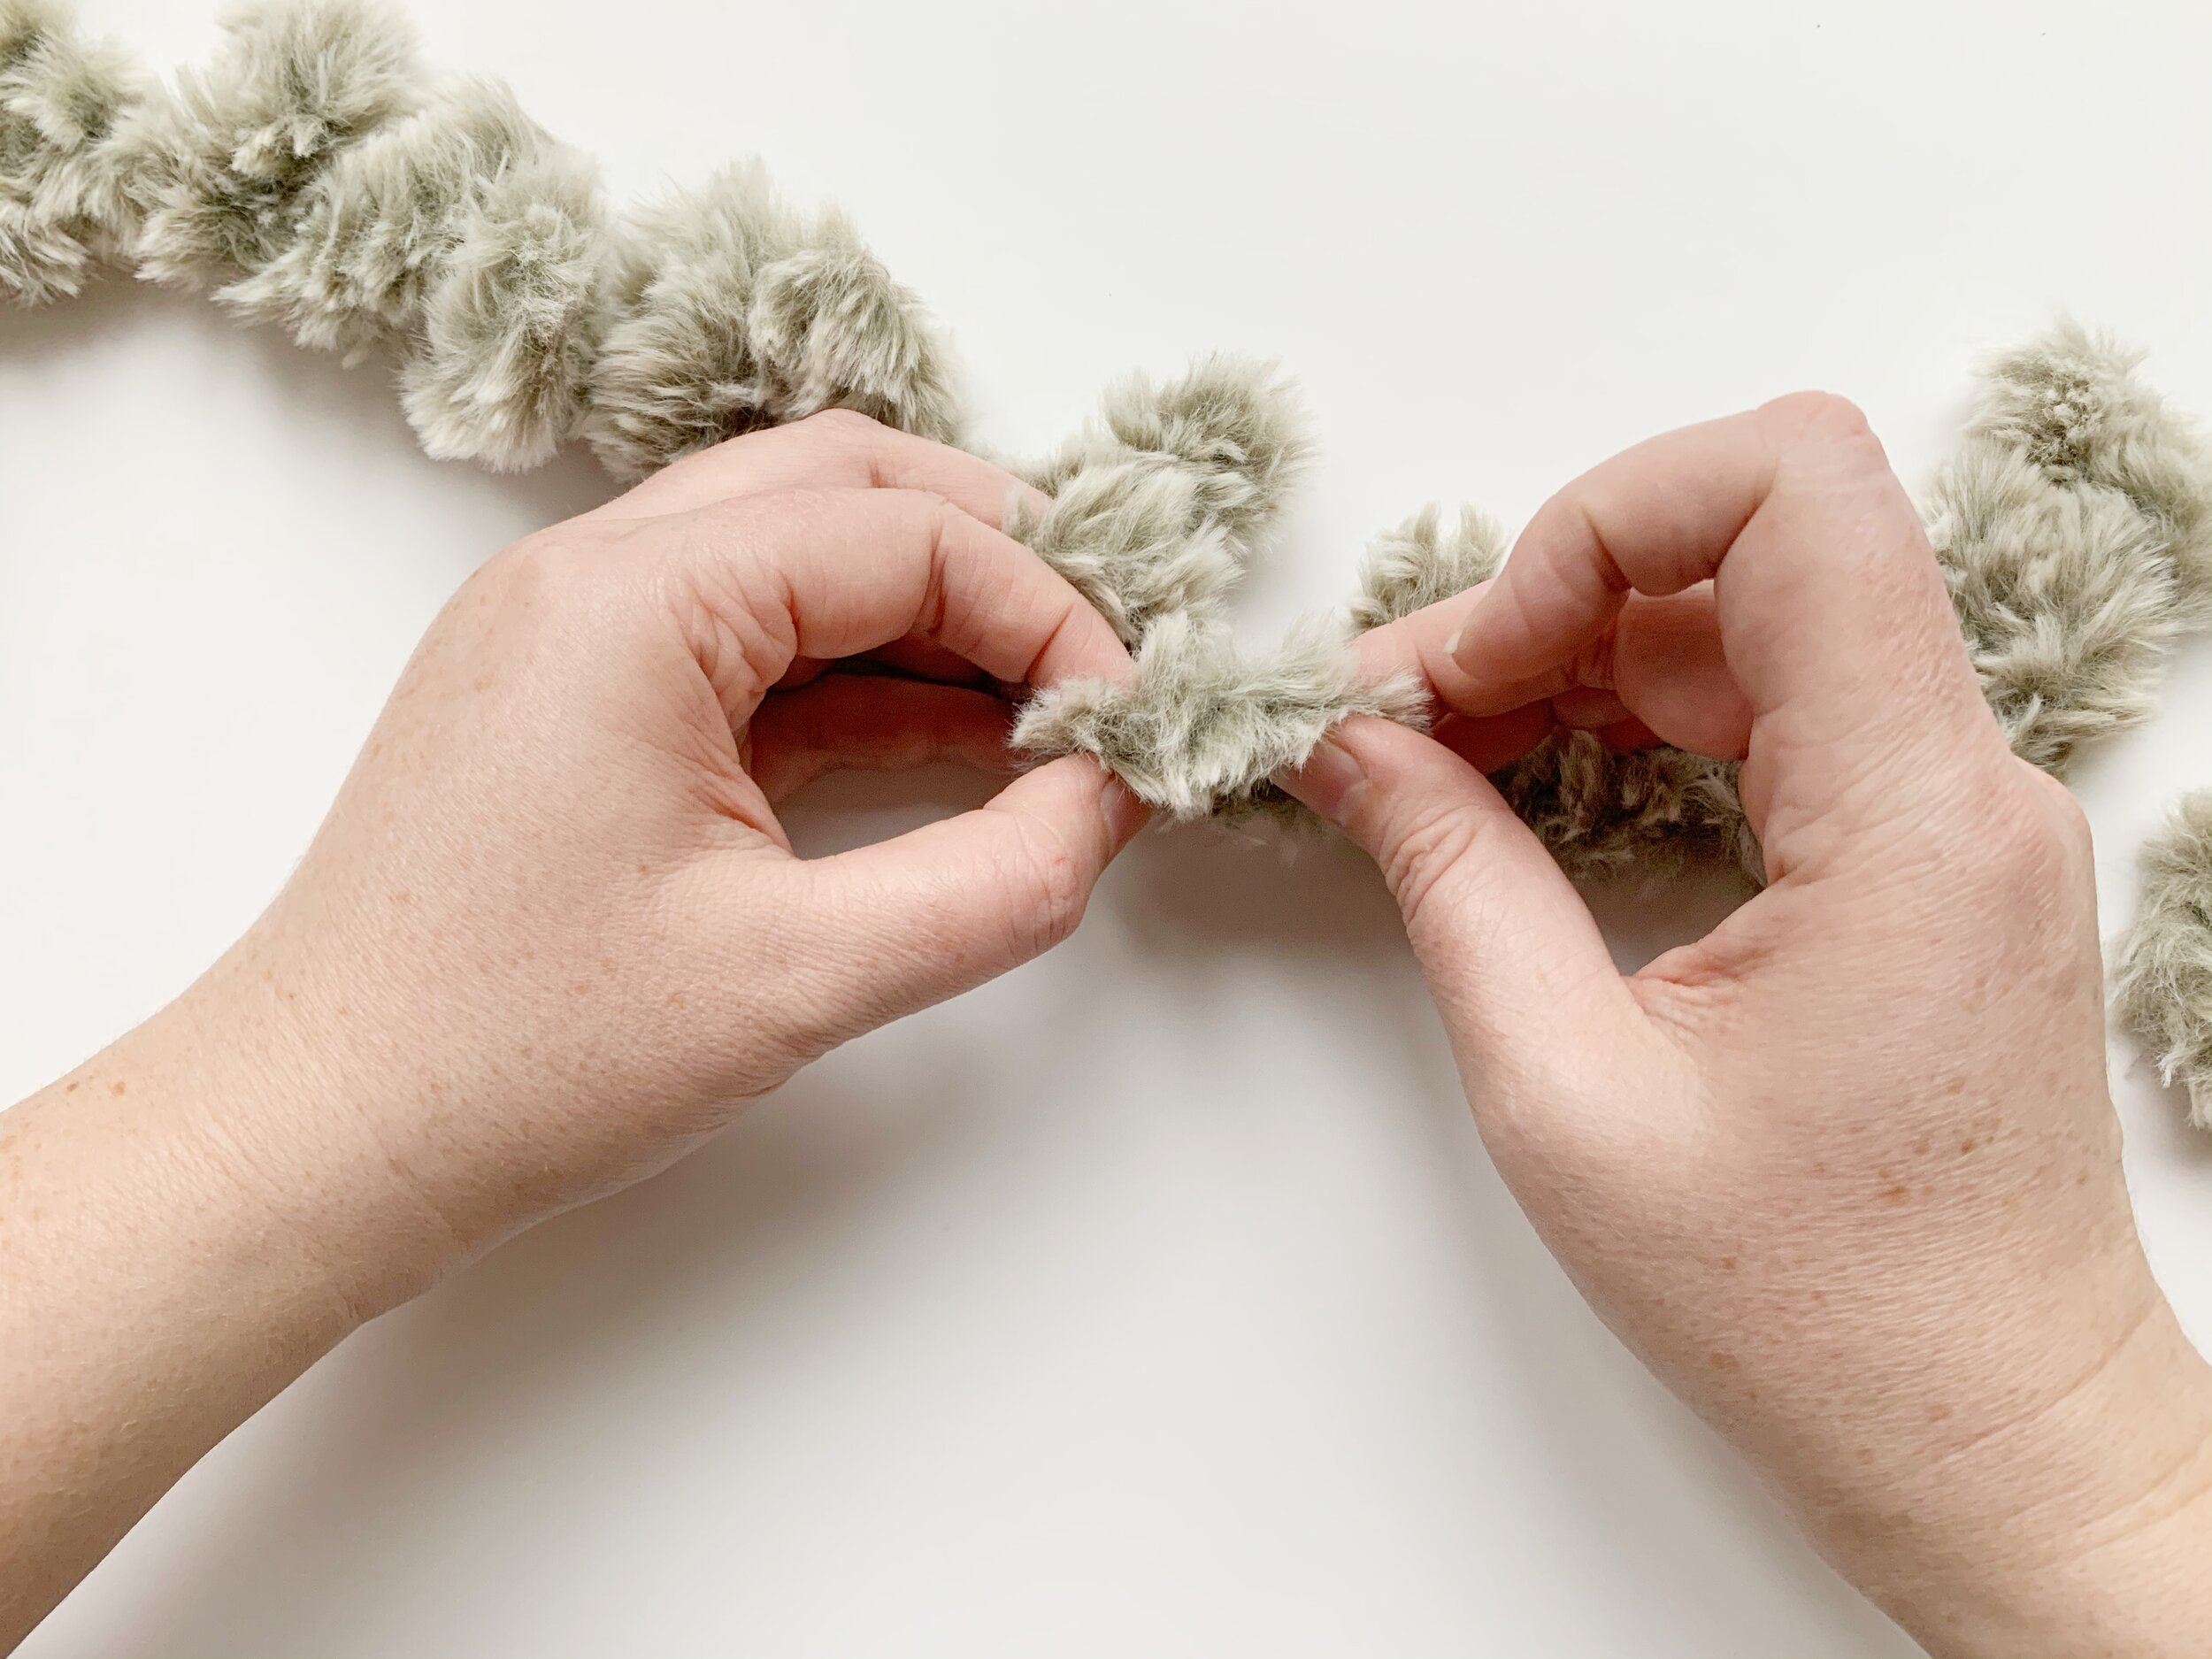
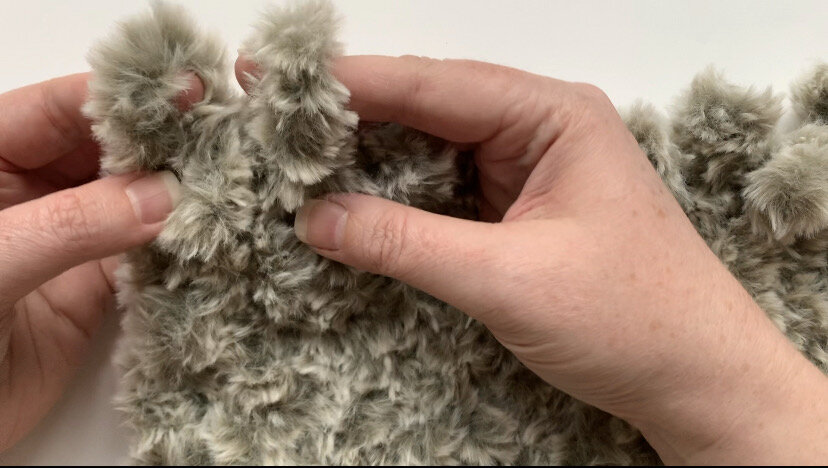
2. Now start working your first row by taking the 11th loop and drawing it through the 10th loop from the back to the front. Then work the 12th loop through the 9th, the 13th through the 8th, etc all the way to the first loop by the tail.
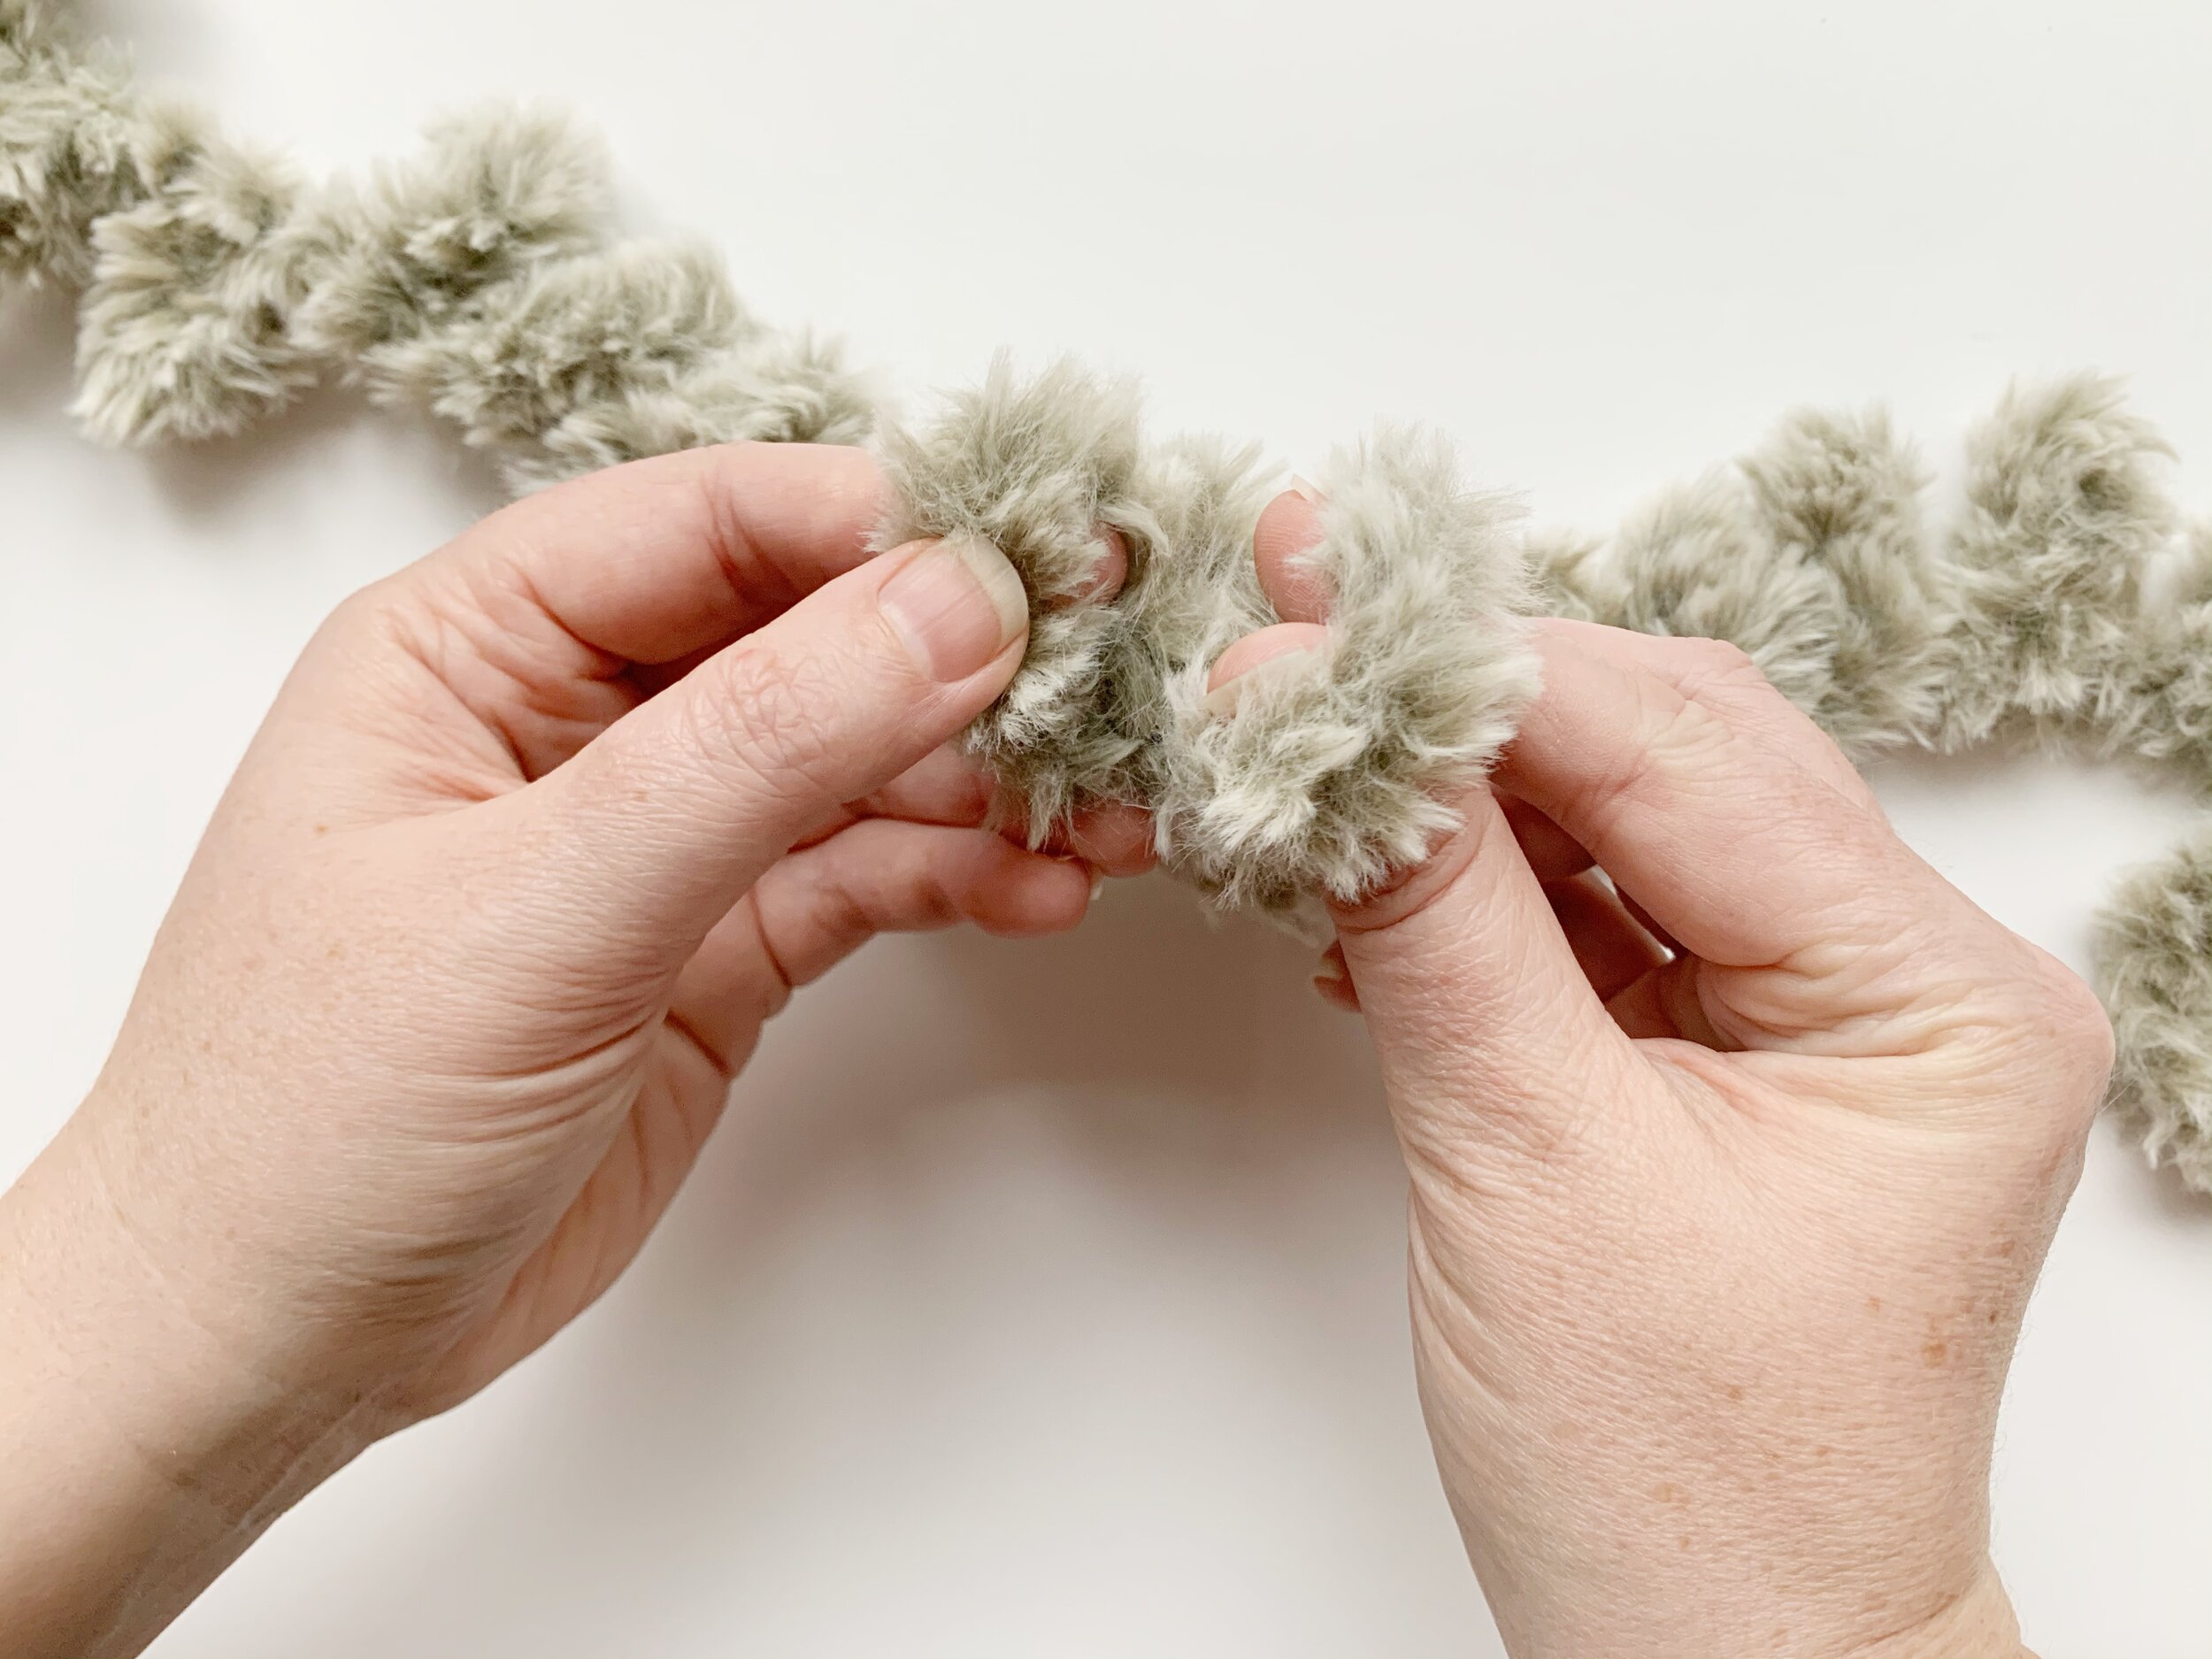
3. Then work your next row going right to left, continuing to draw the loops of your working yarn through the loops of your scarf from back to front.
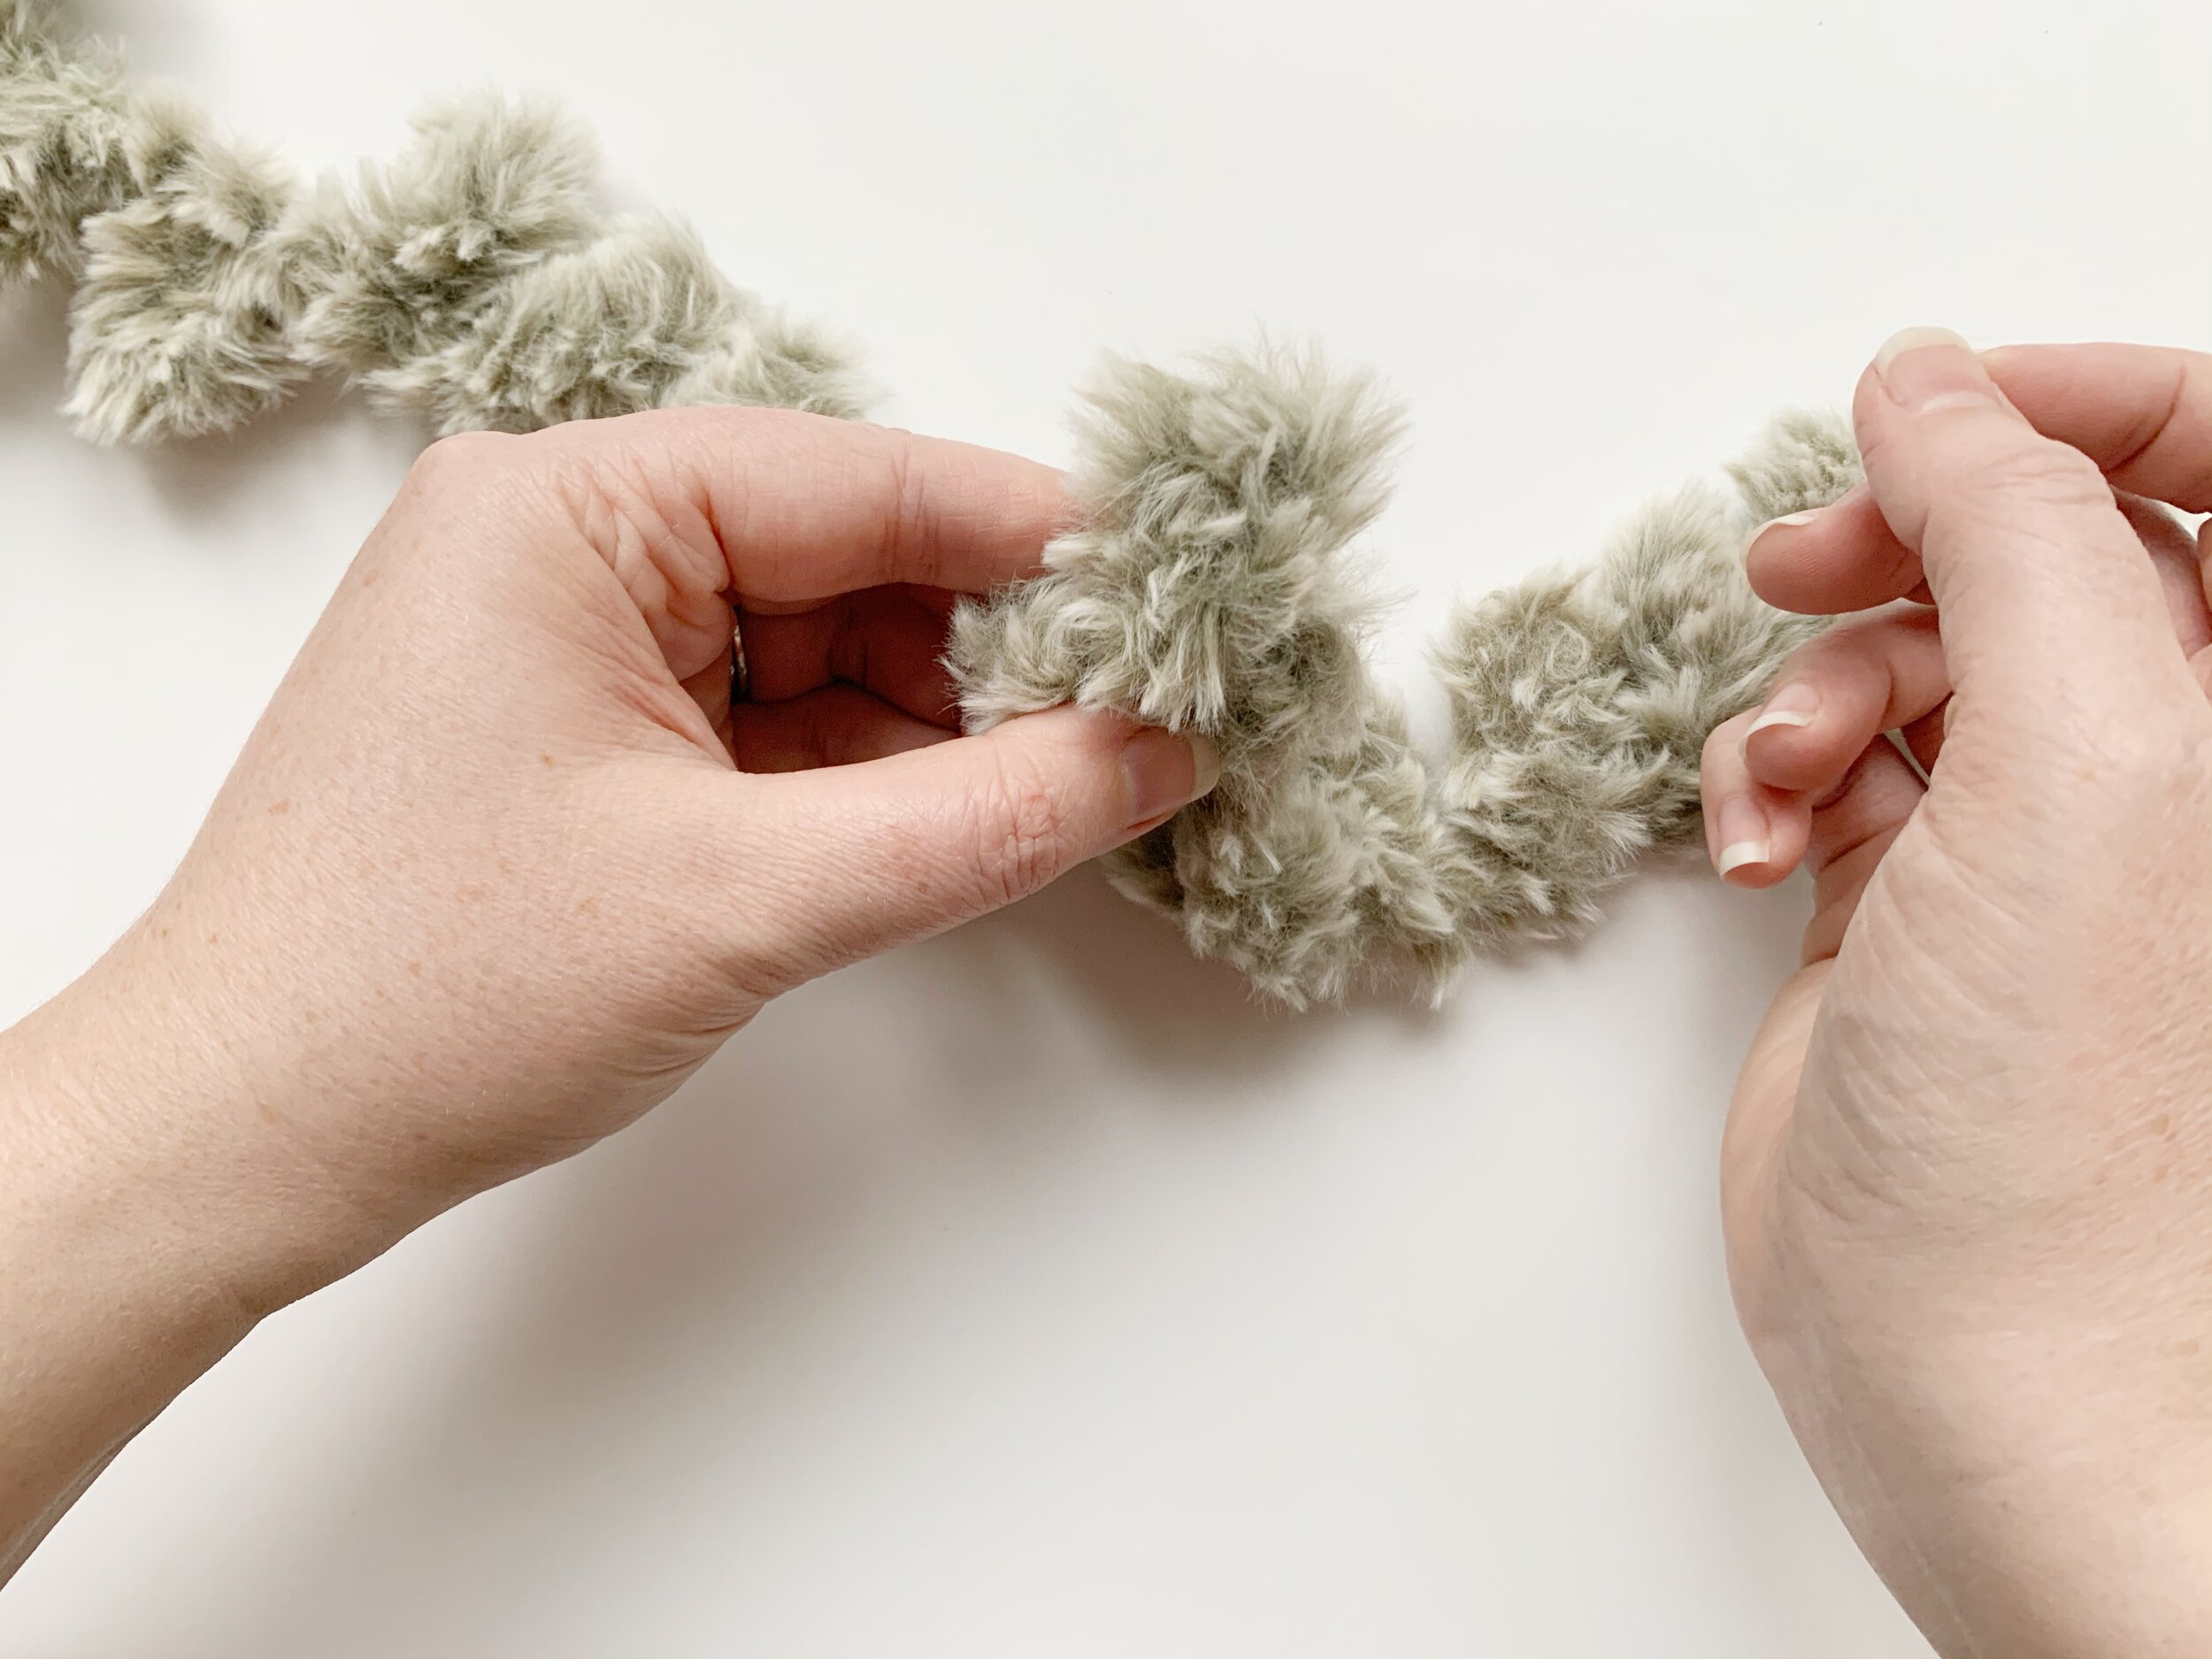
4. Work back and forth in rows (left to right, then right to left) until you have finished your 1st skein.
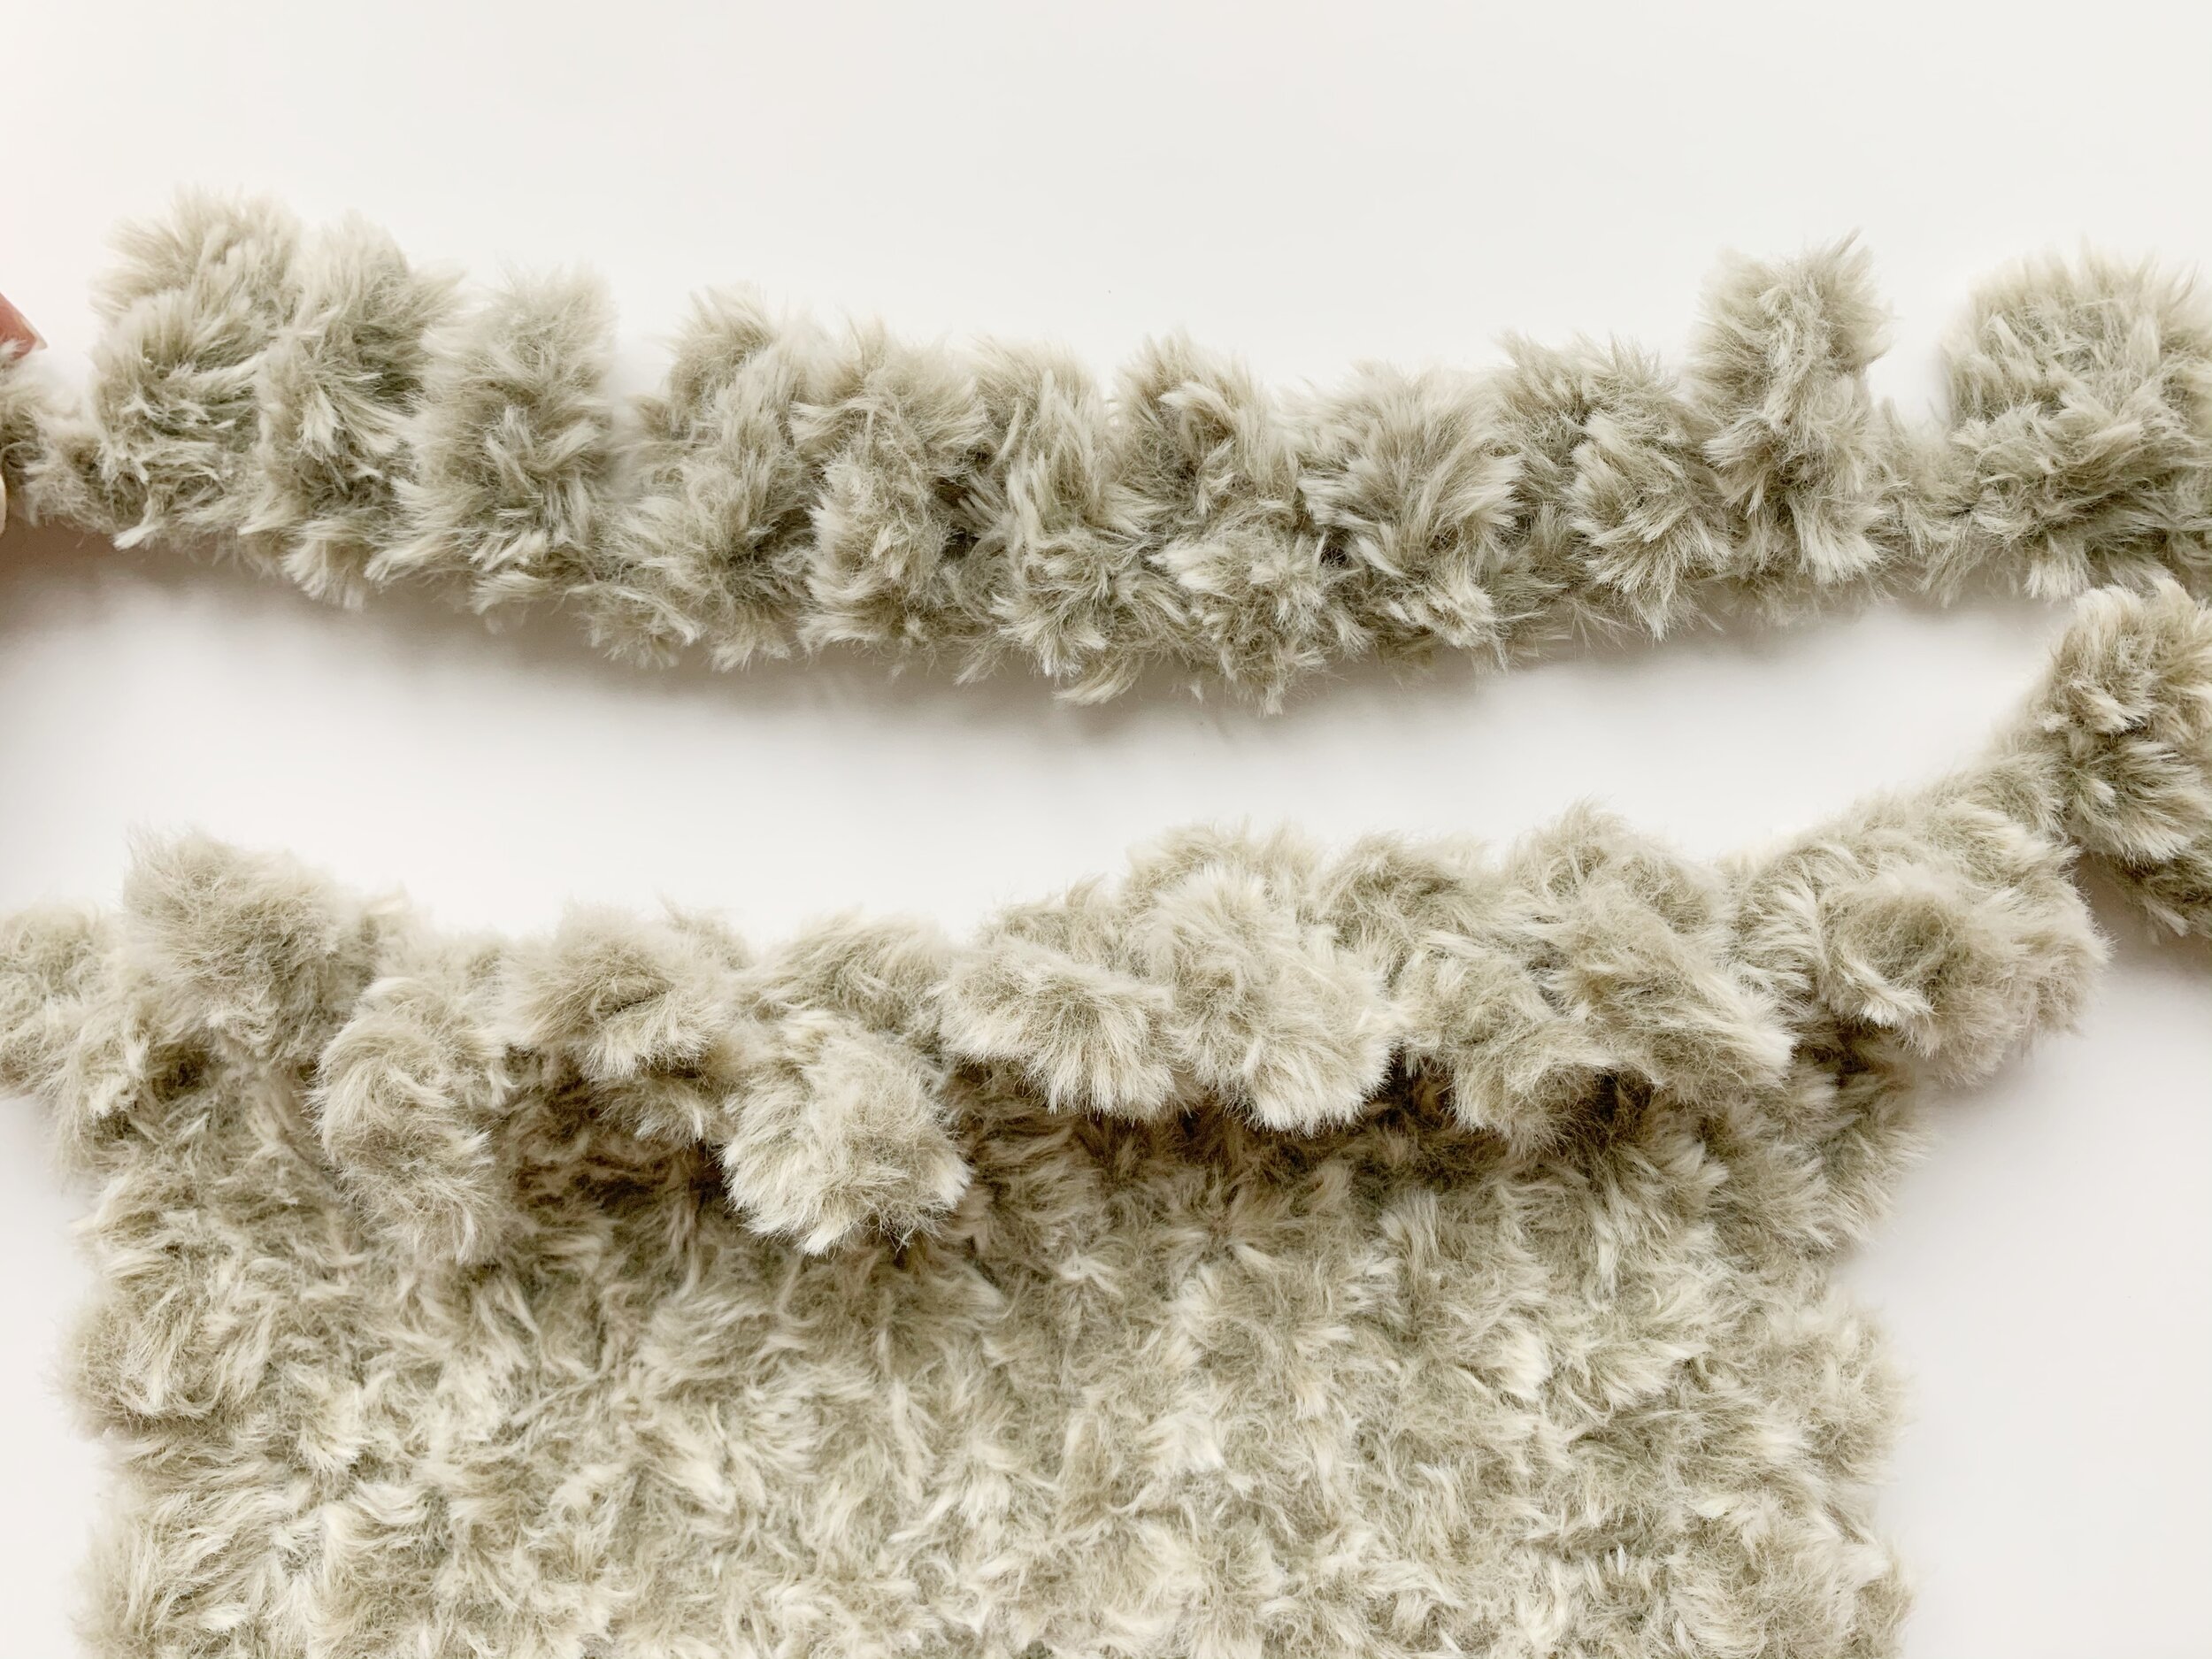
5. To add your second skein, leave two loops of the new skein un worked. Then line up the next 10 loops with the loops on your scarf. Starting on the tail side of the new skein, draw each loop through the loops on your scarf from back to front.
6. Continue to work in rows back and forth until you have finished the 2nd and third skein.
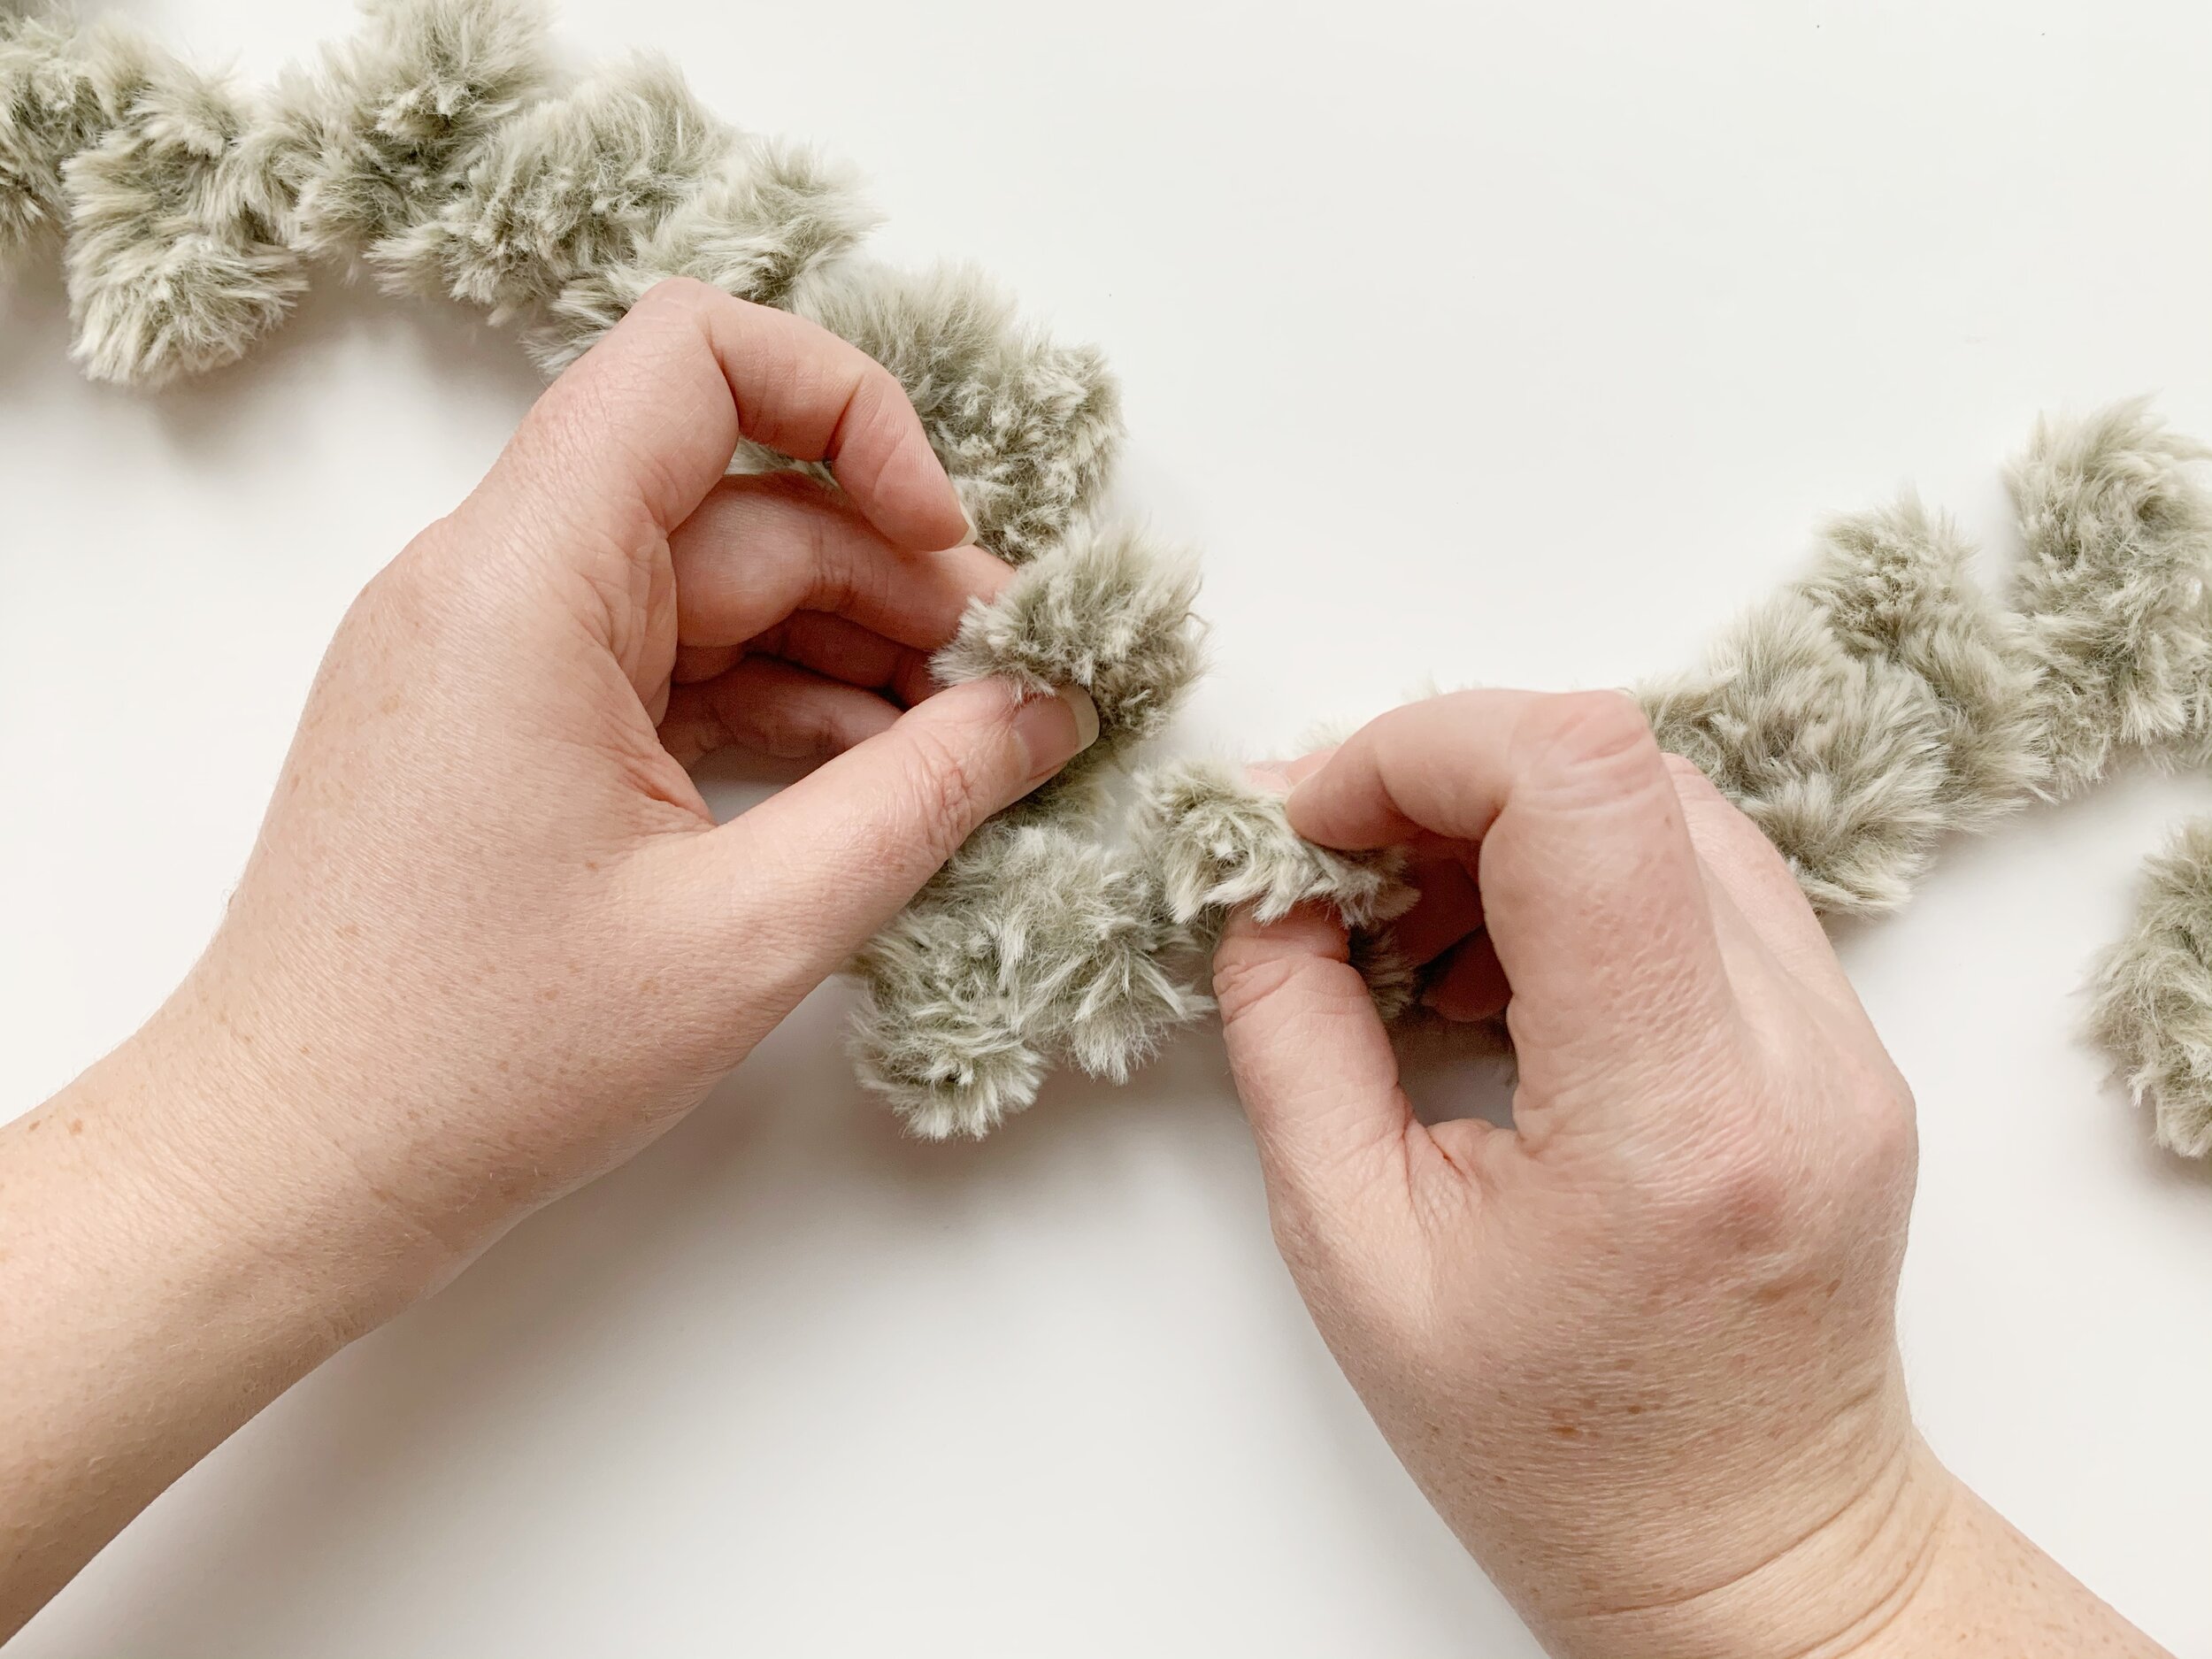
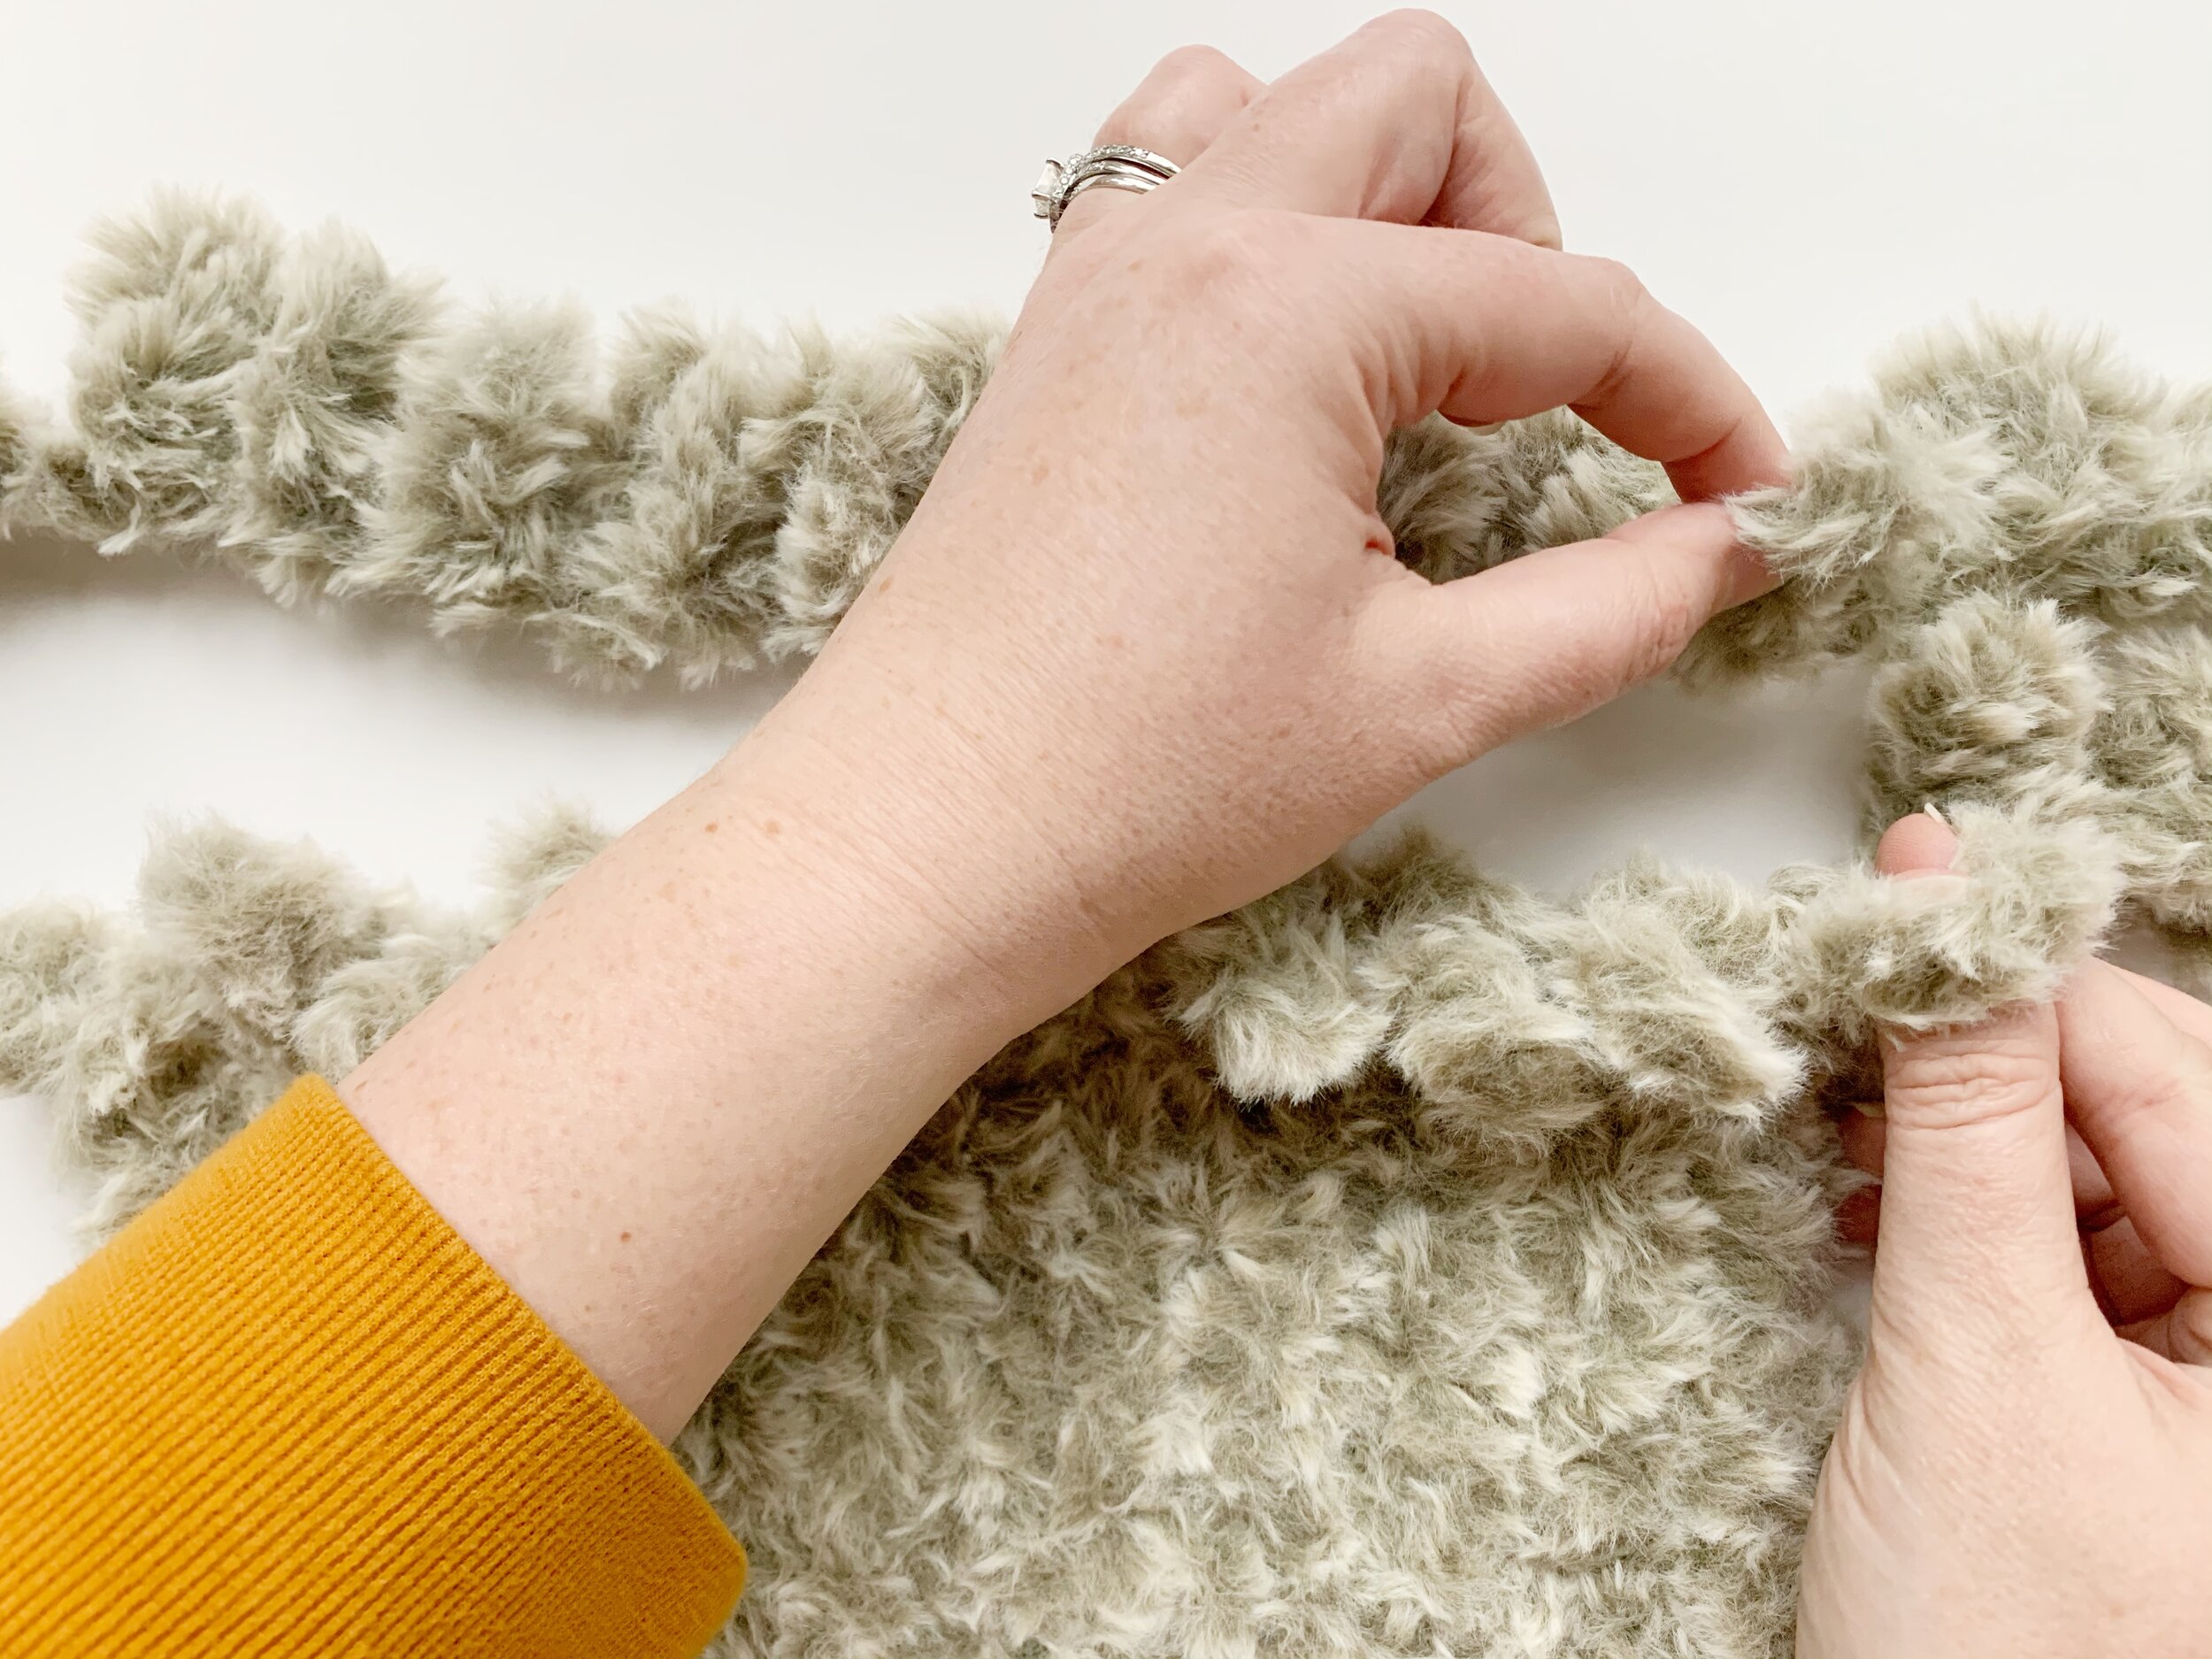
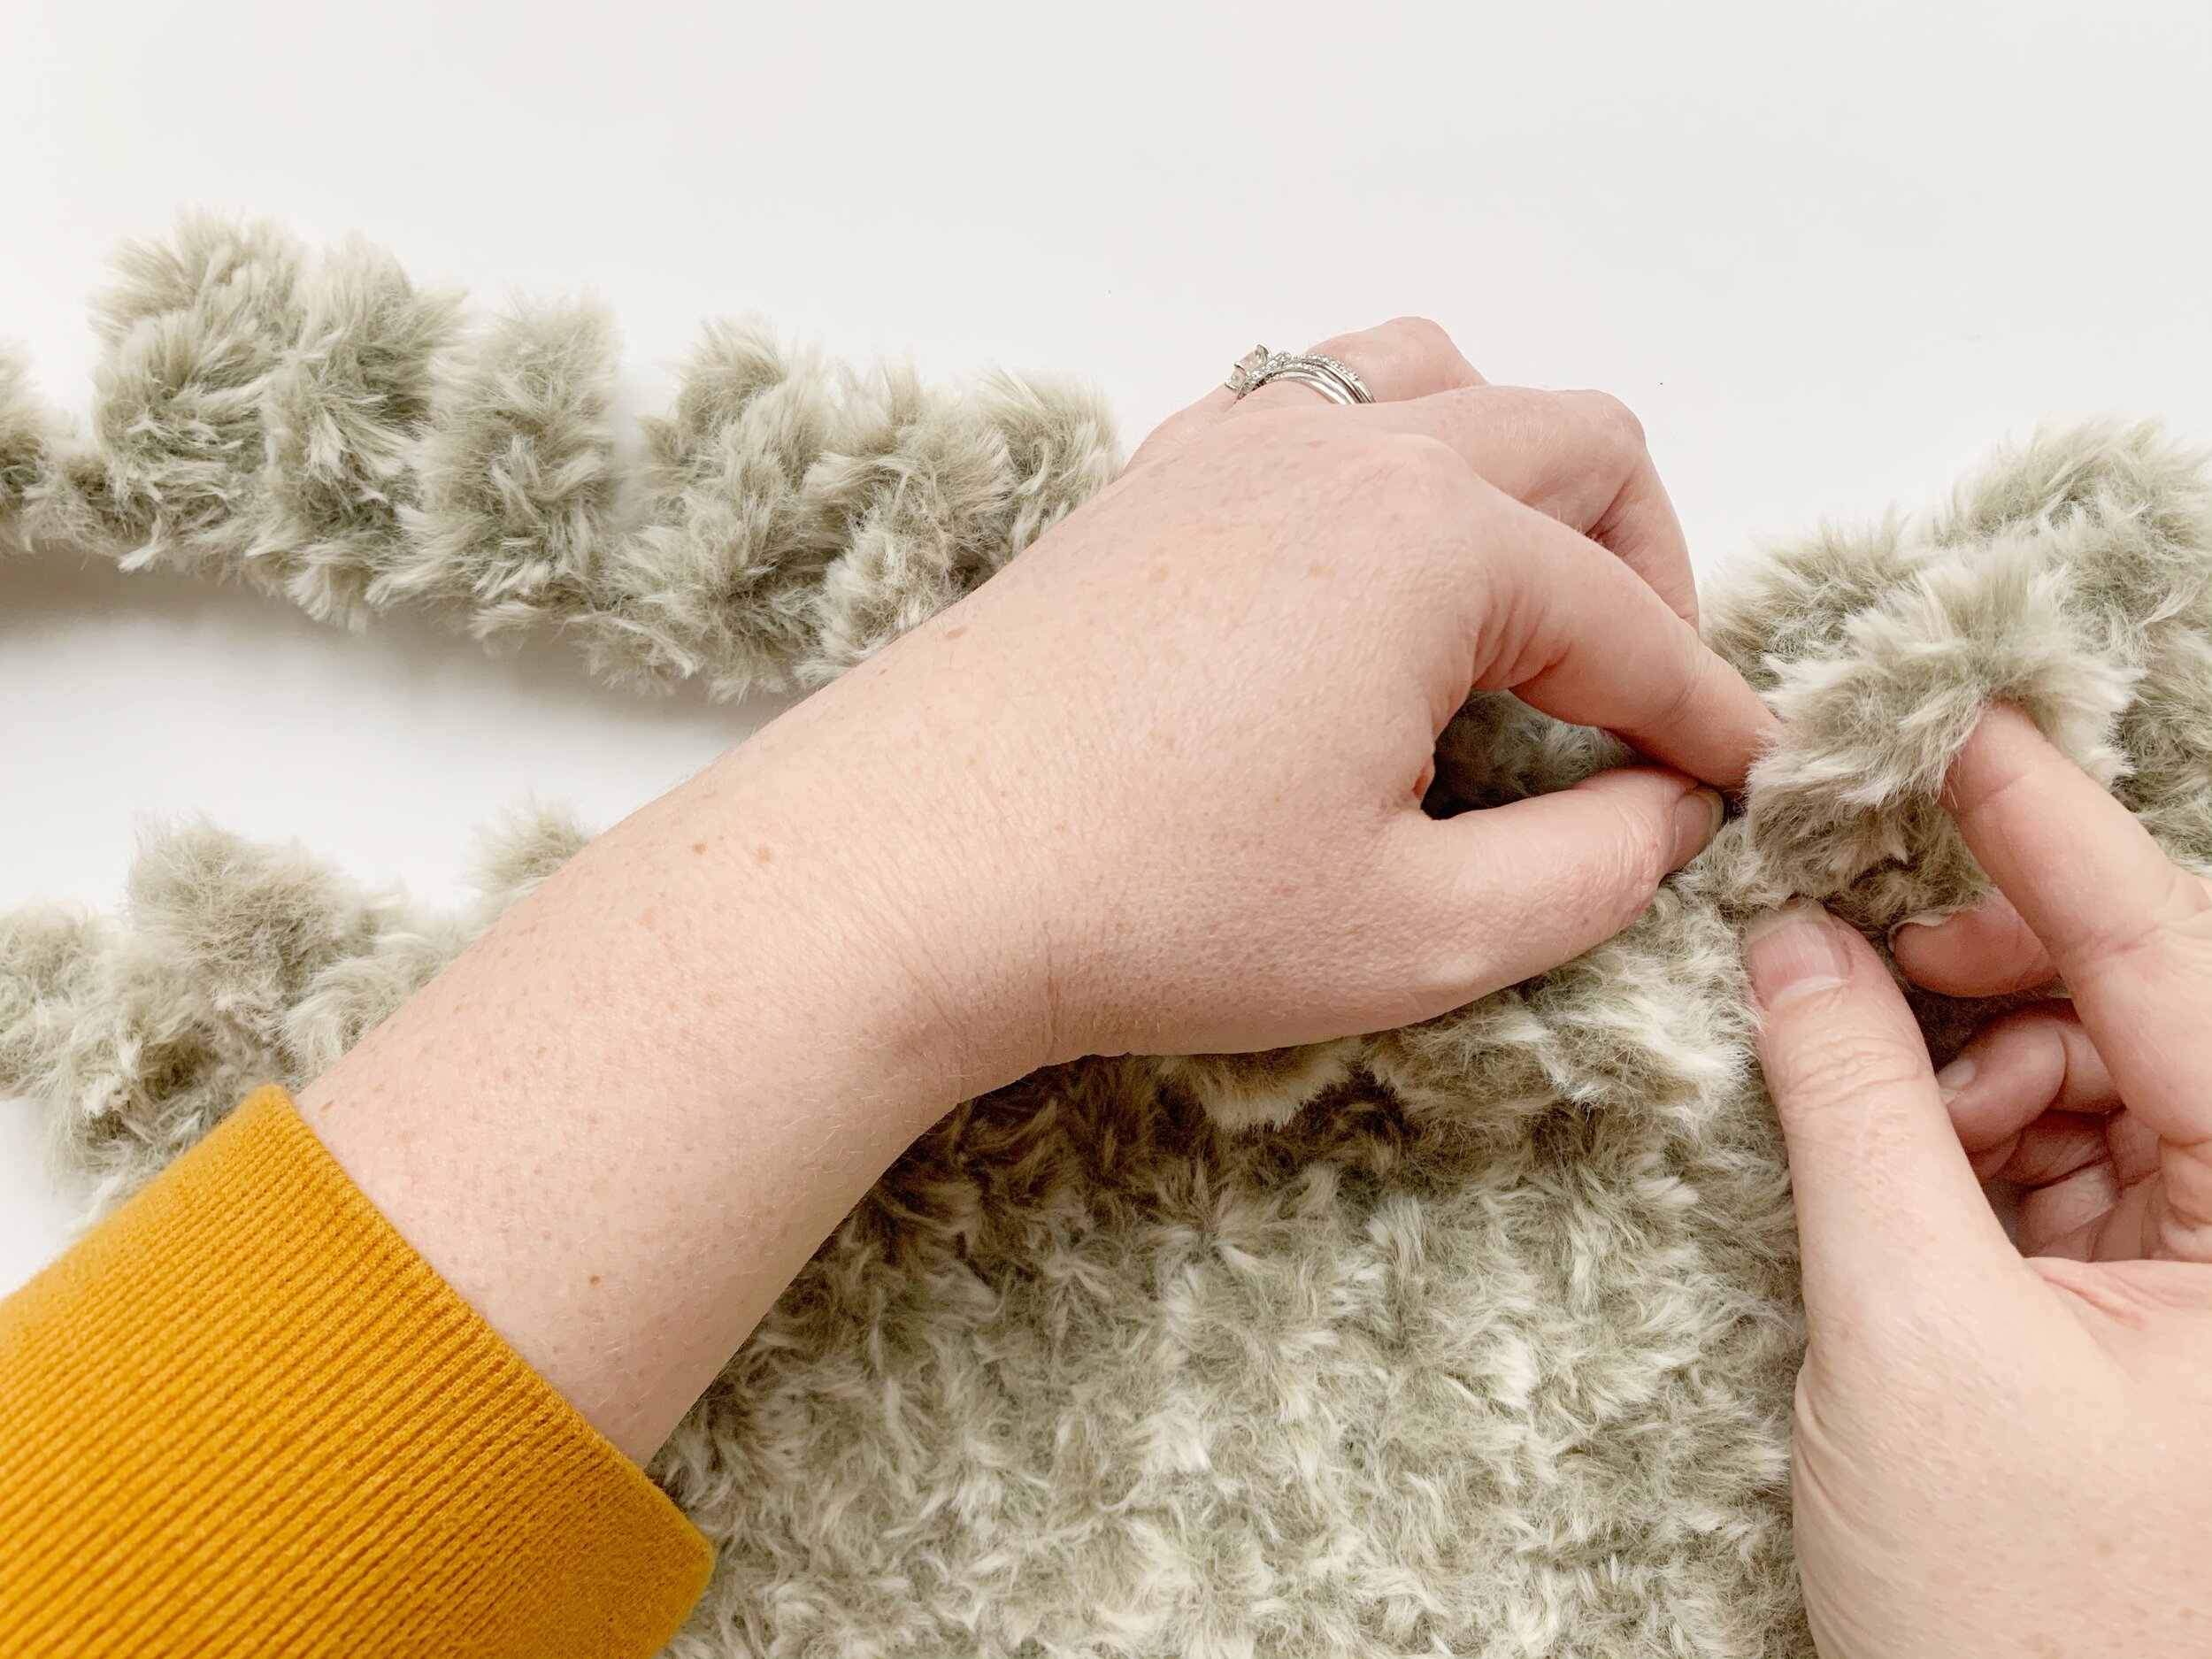
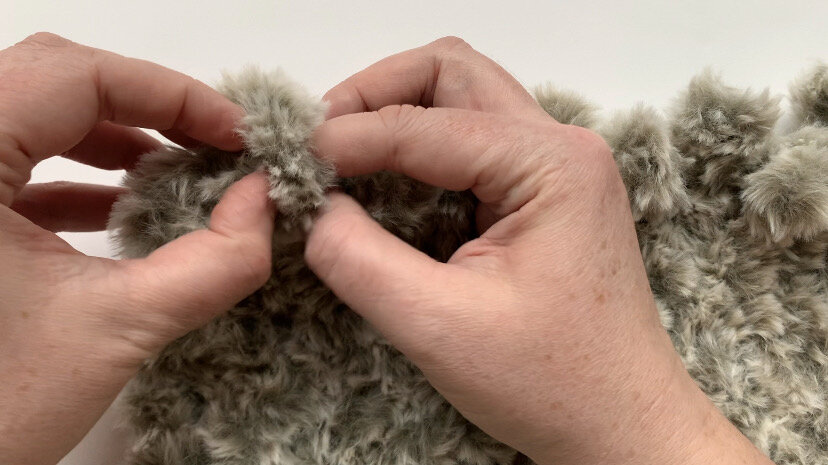
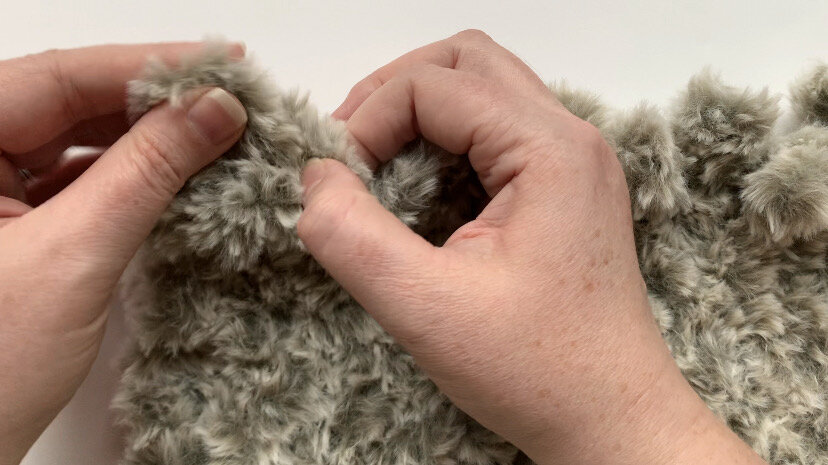
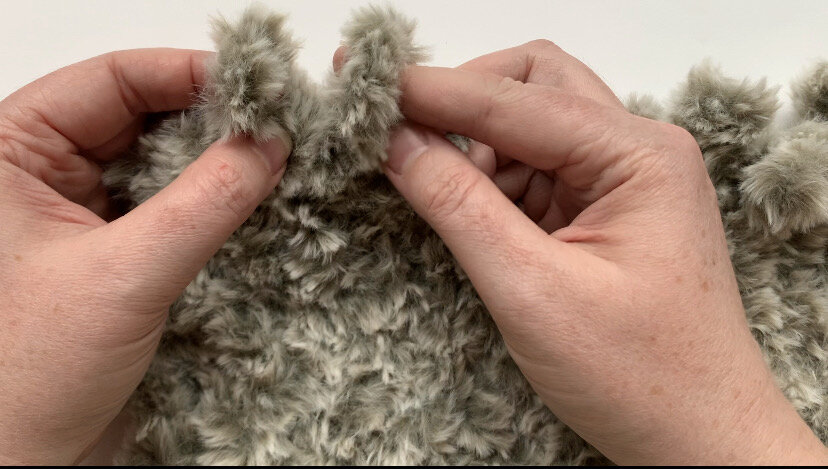
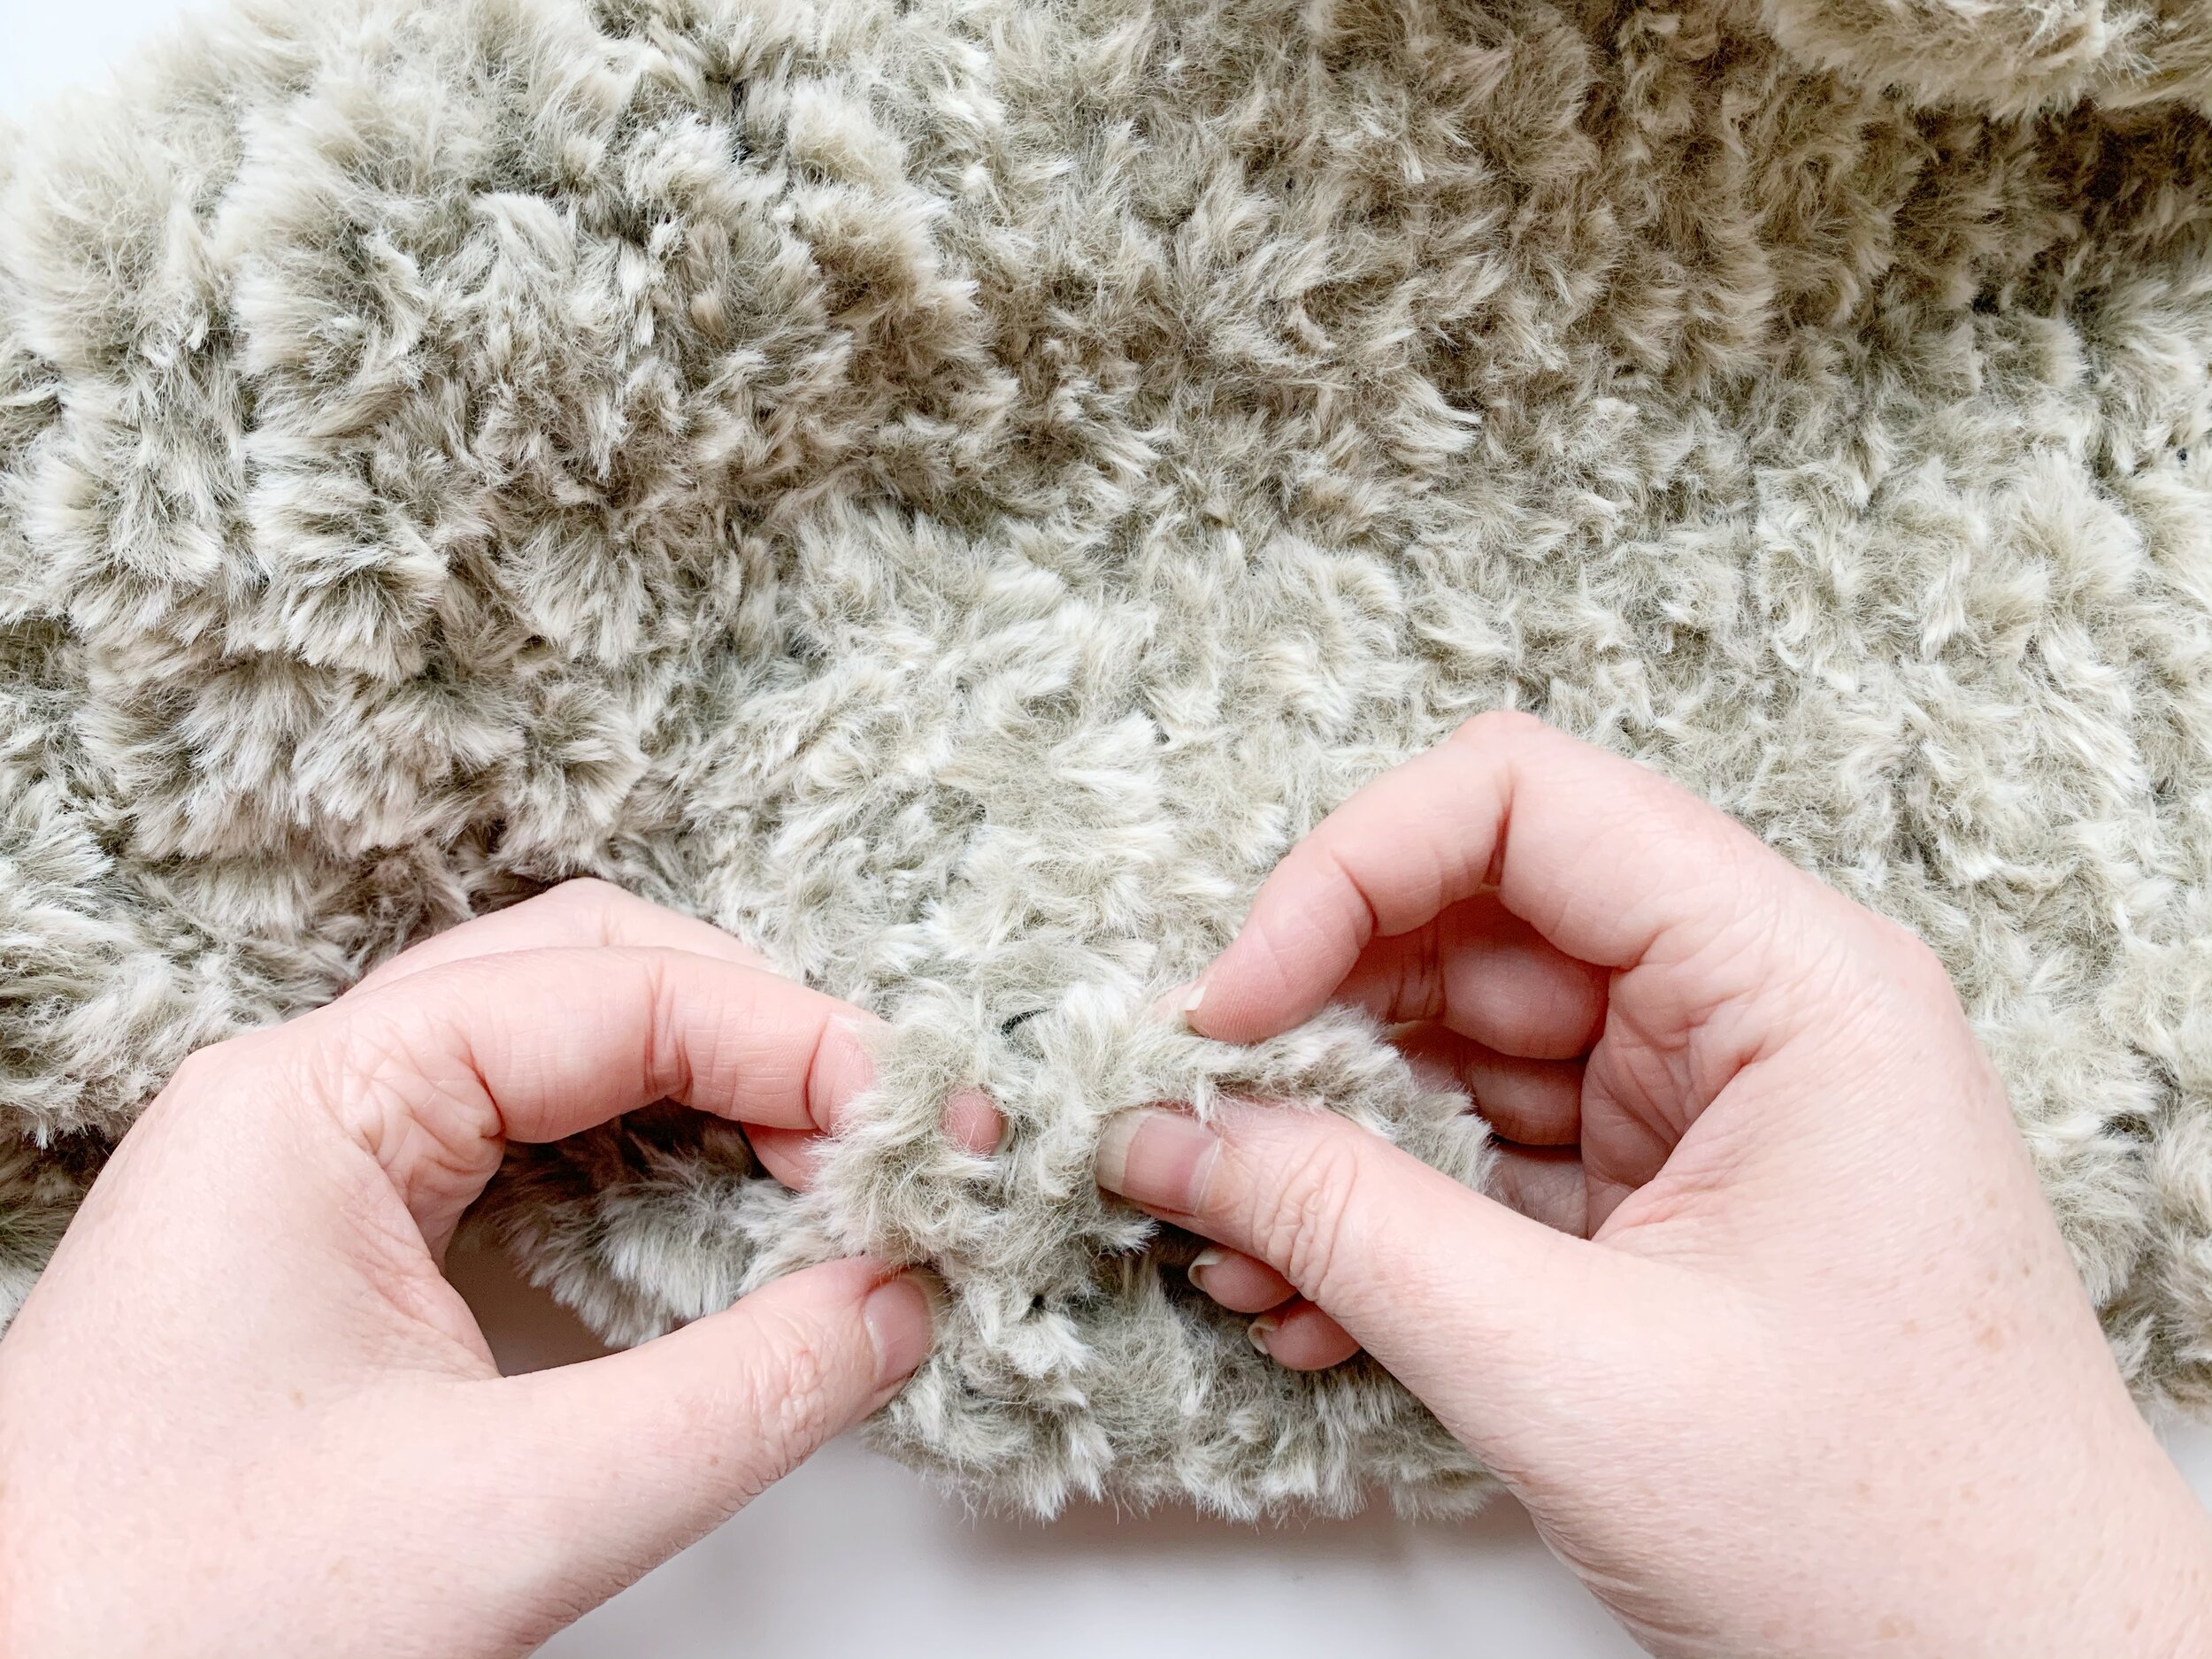
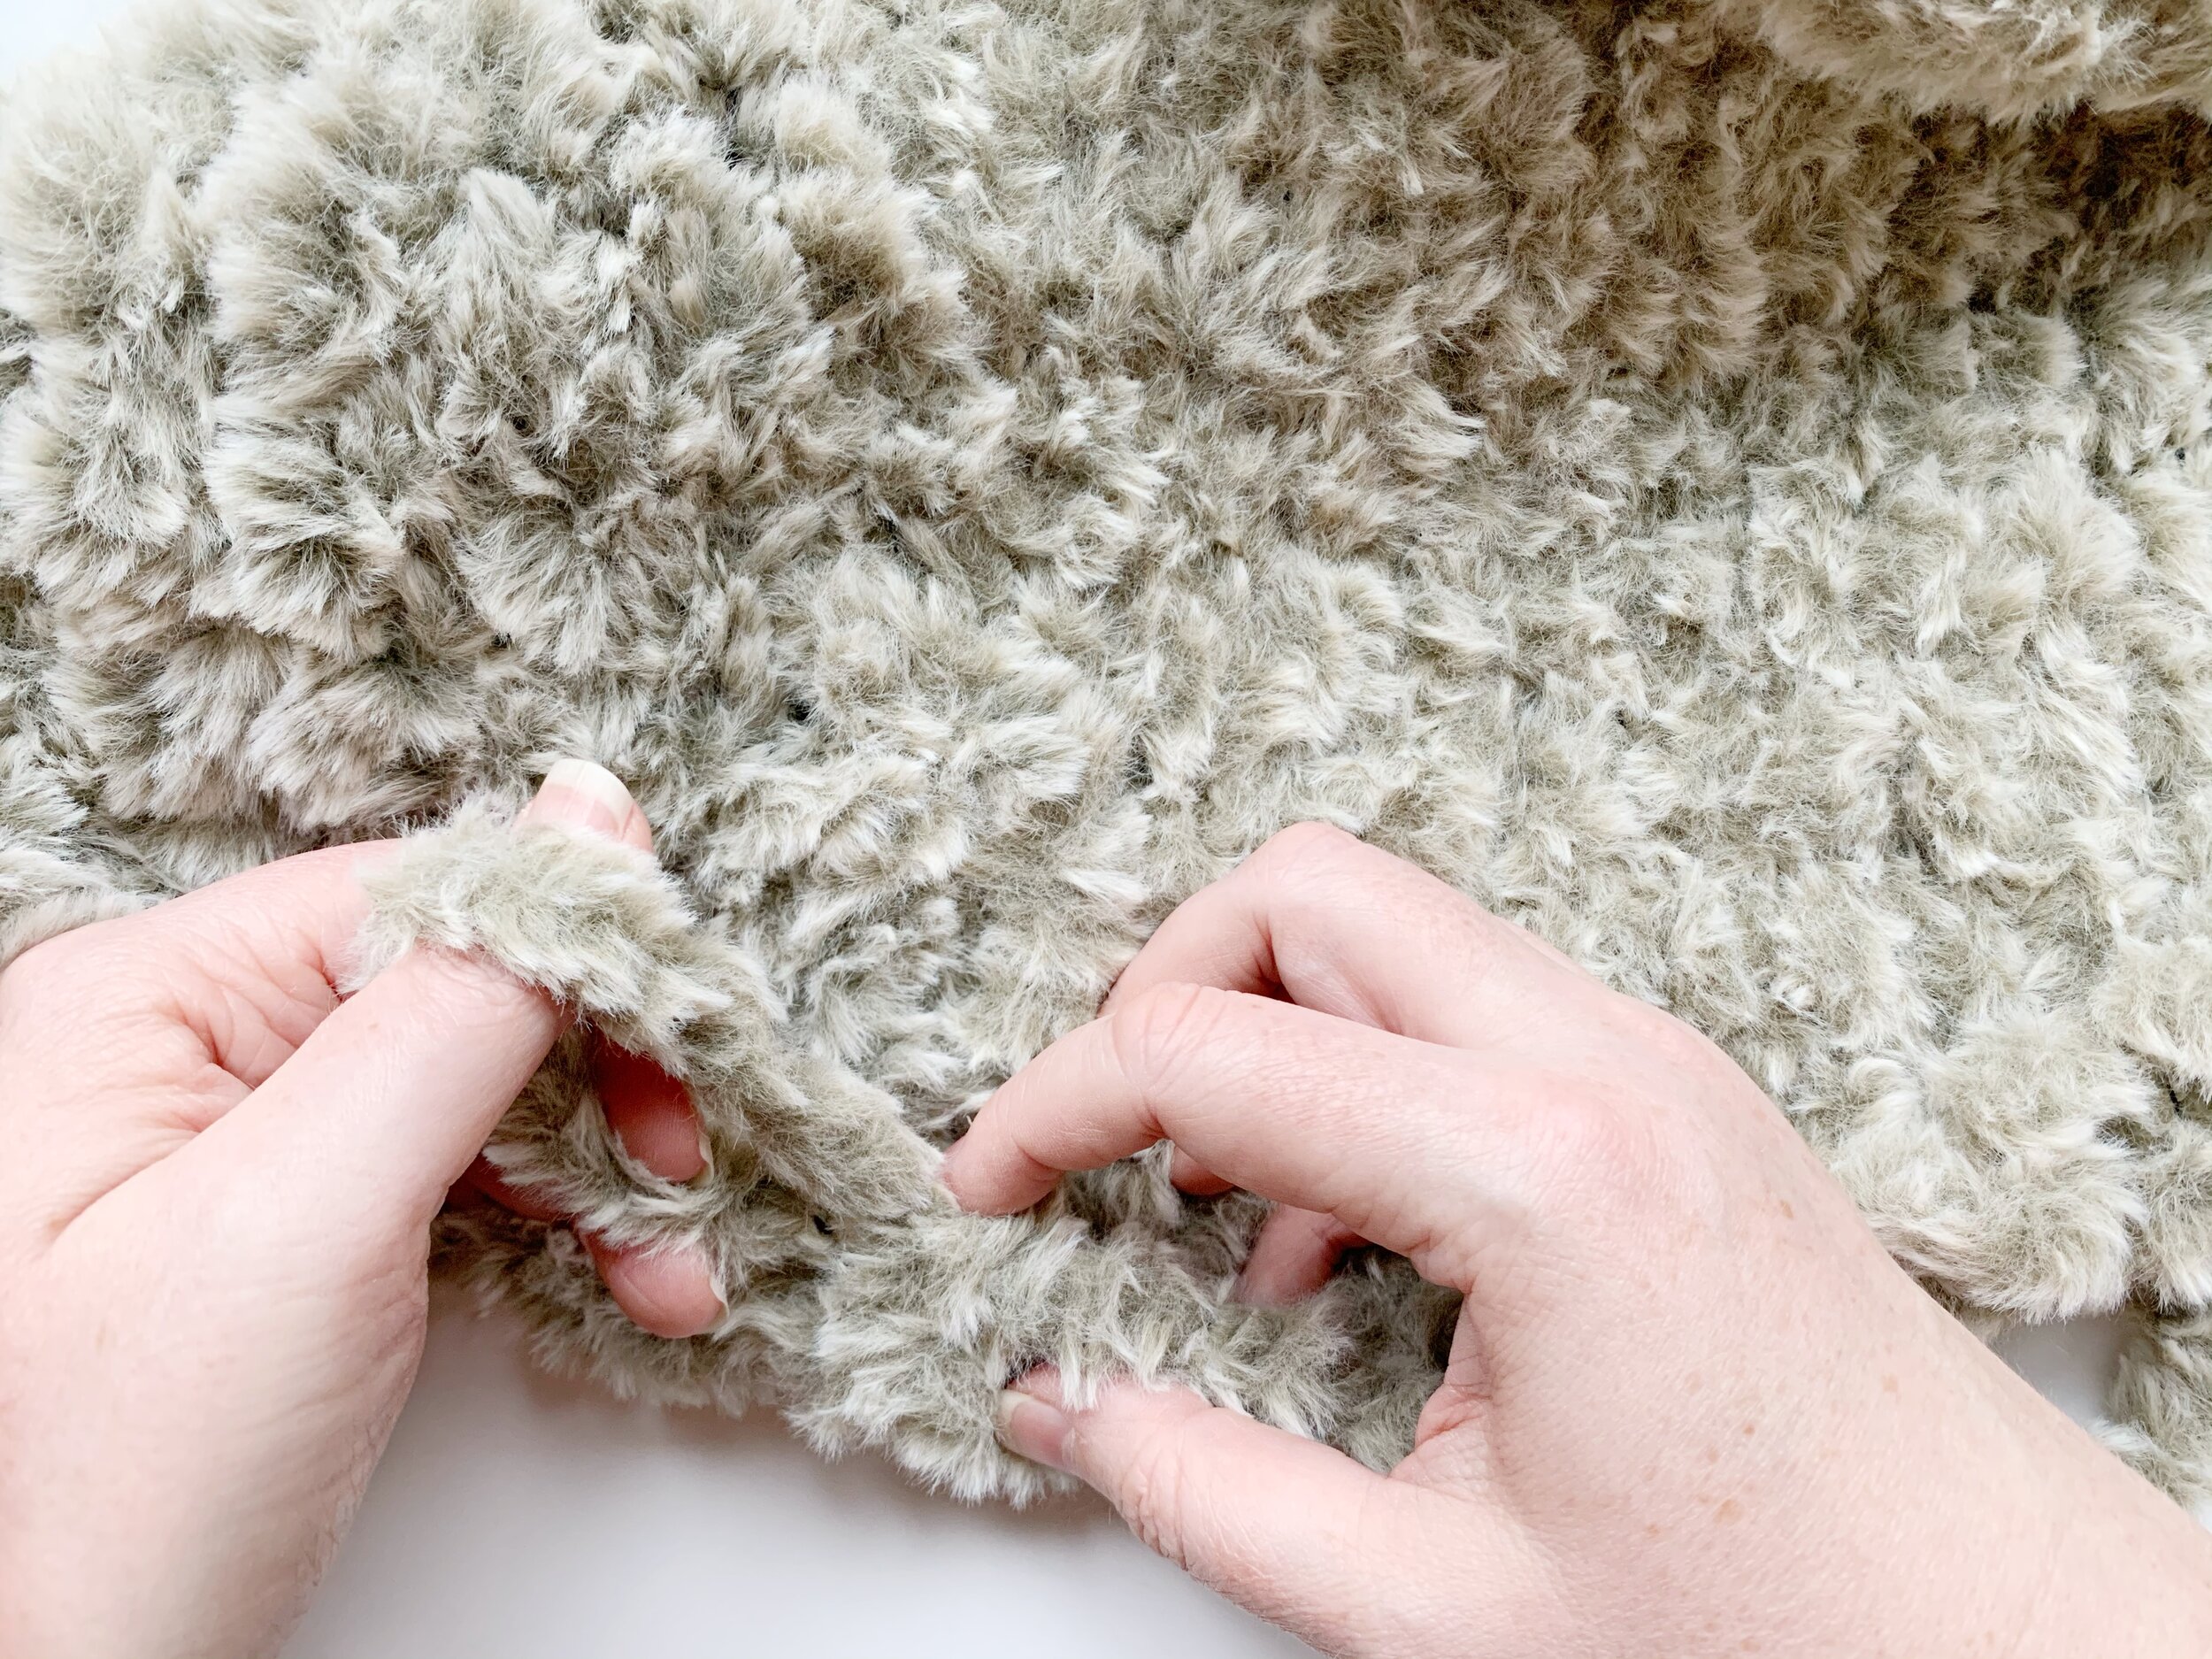
7. Once you have finished the final row you will need to bind off the scarf. To do this, start at the end opposite the tail. Pick up the first two loops in your right and left hand. Draw the loop in your right hand through the loop on your left hand, (or the left through the right depending on which side your tail is on). Then pick up the next loop in your right hand and draw that loop through the on in your left. Continue to draw through loops through each other until you’ve reached the tail. Then draw the tail through the last loop and pull tight.

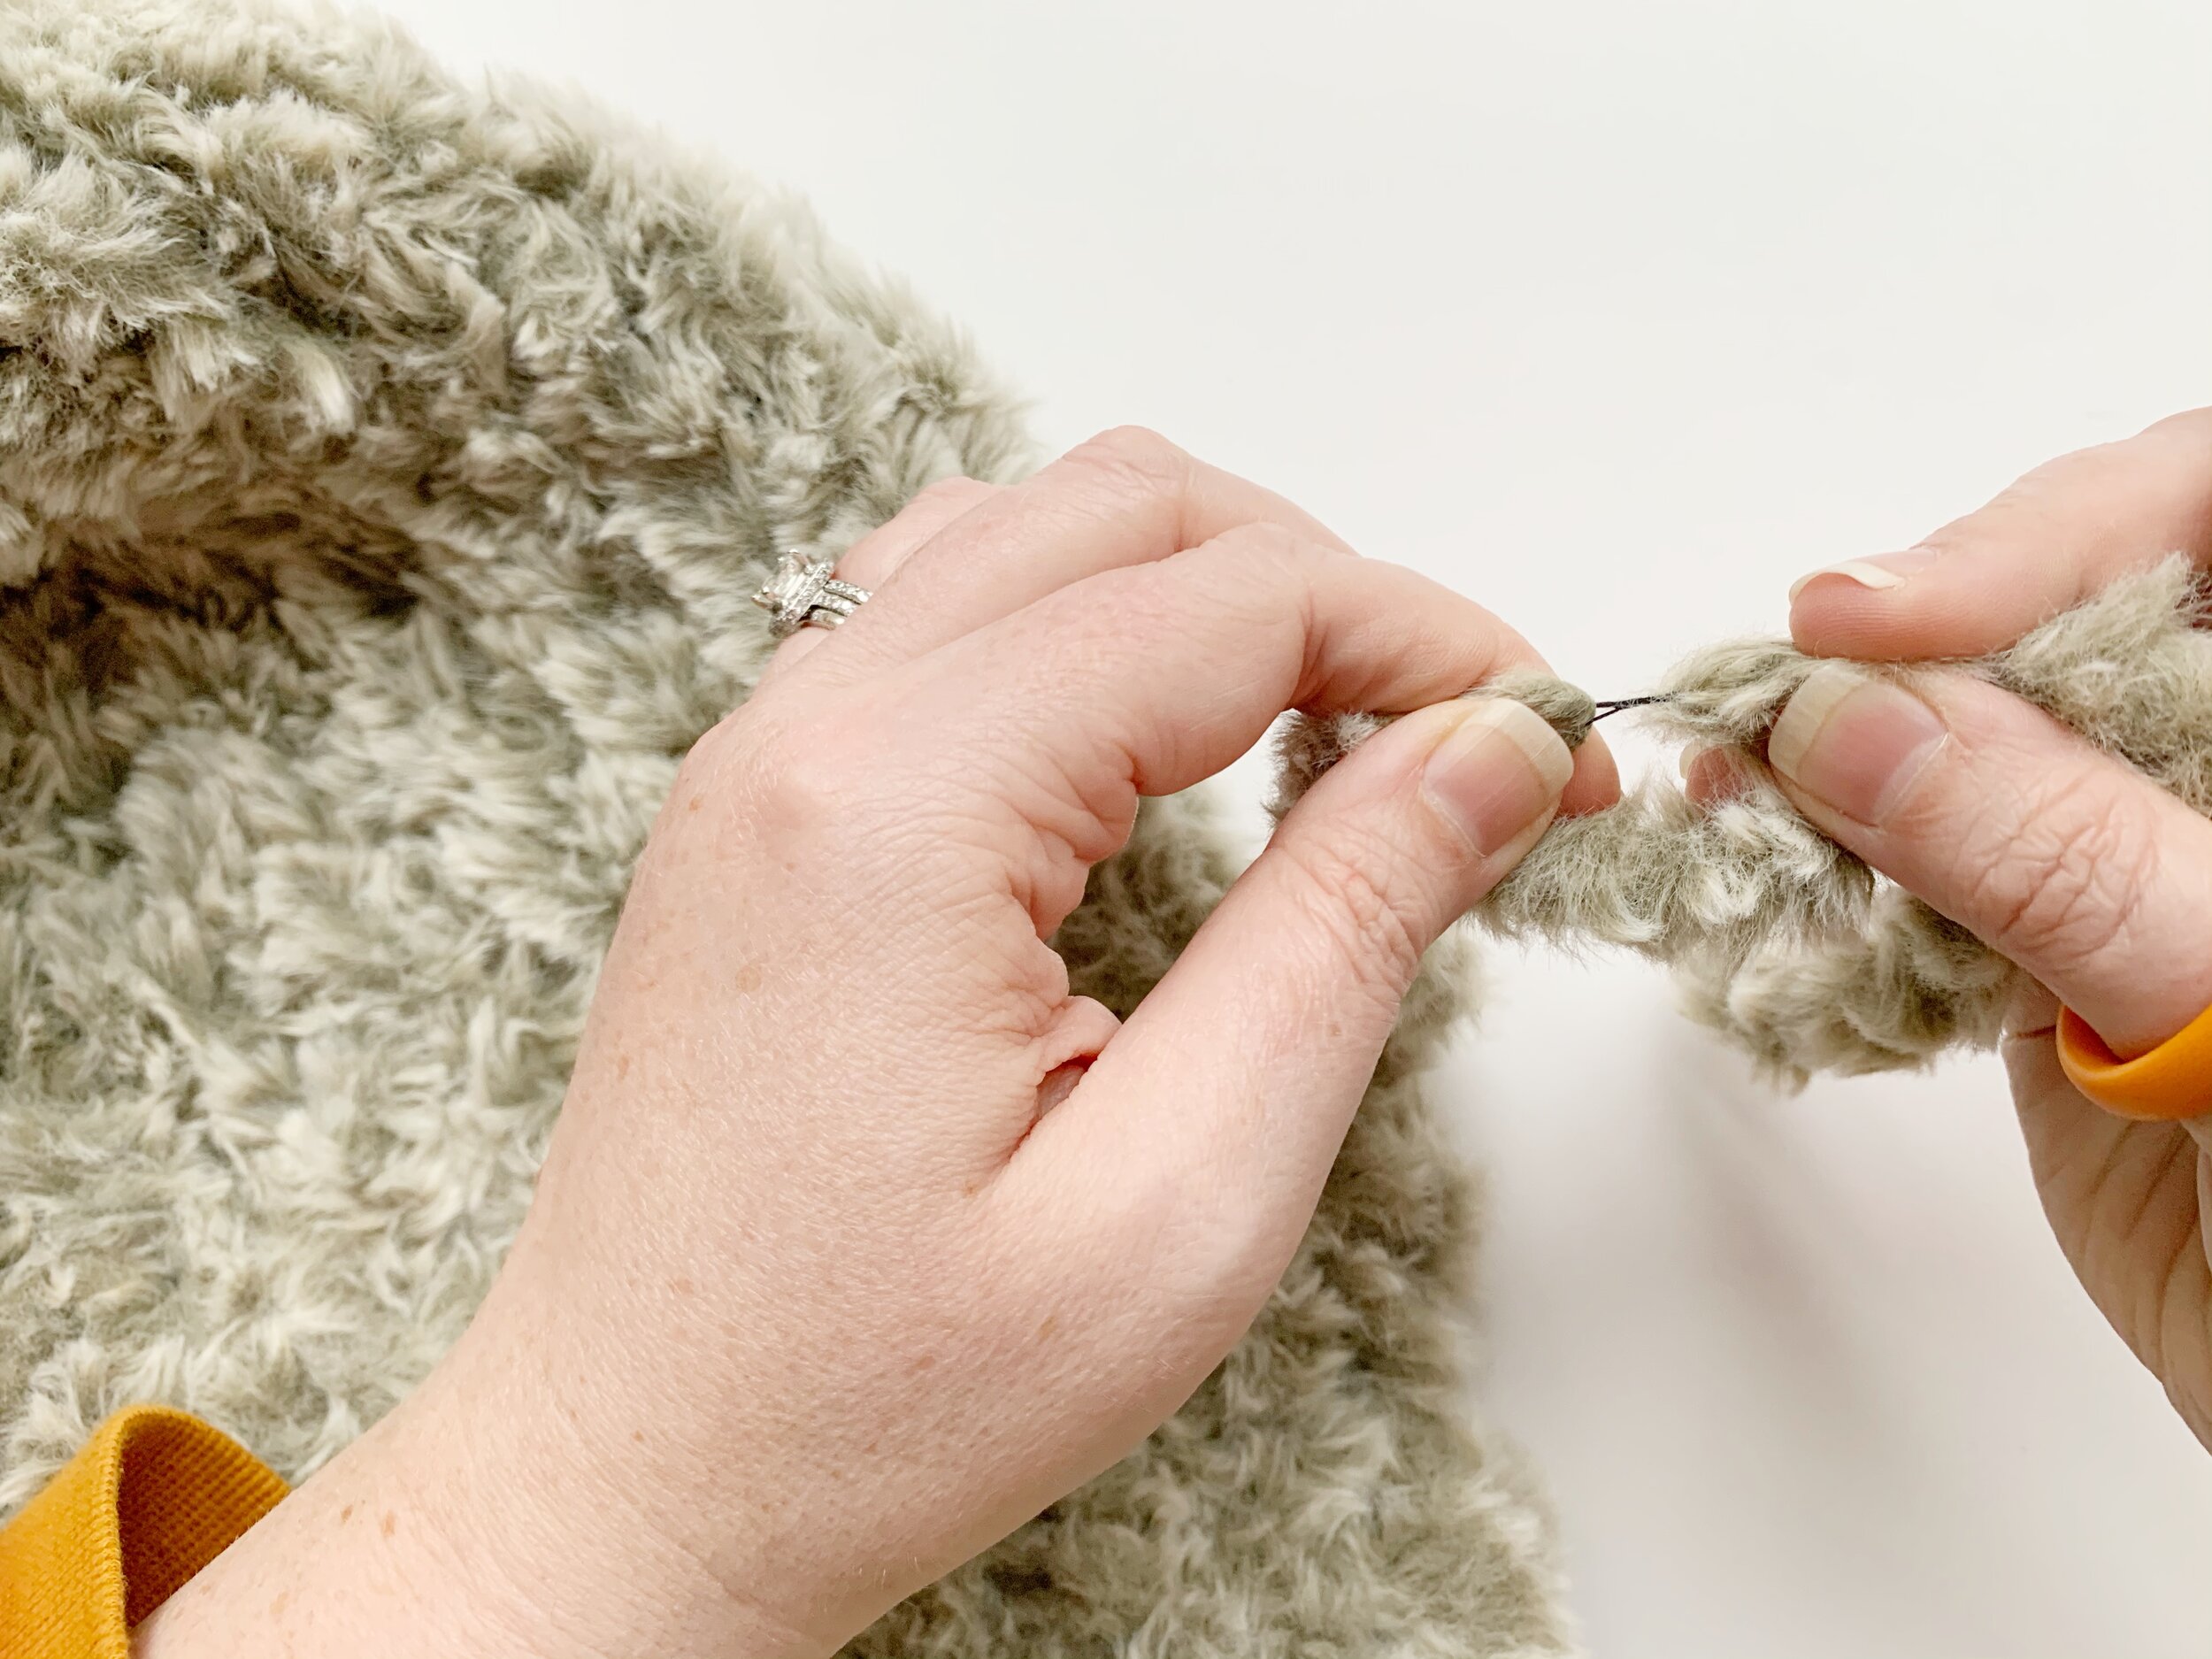
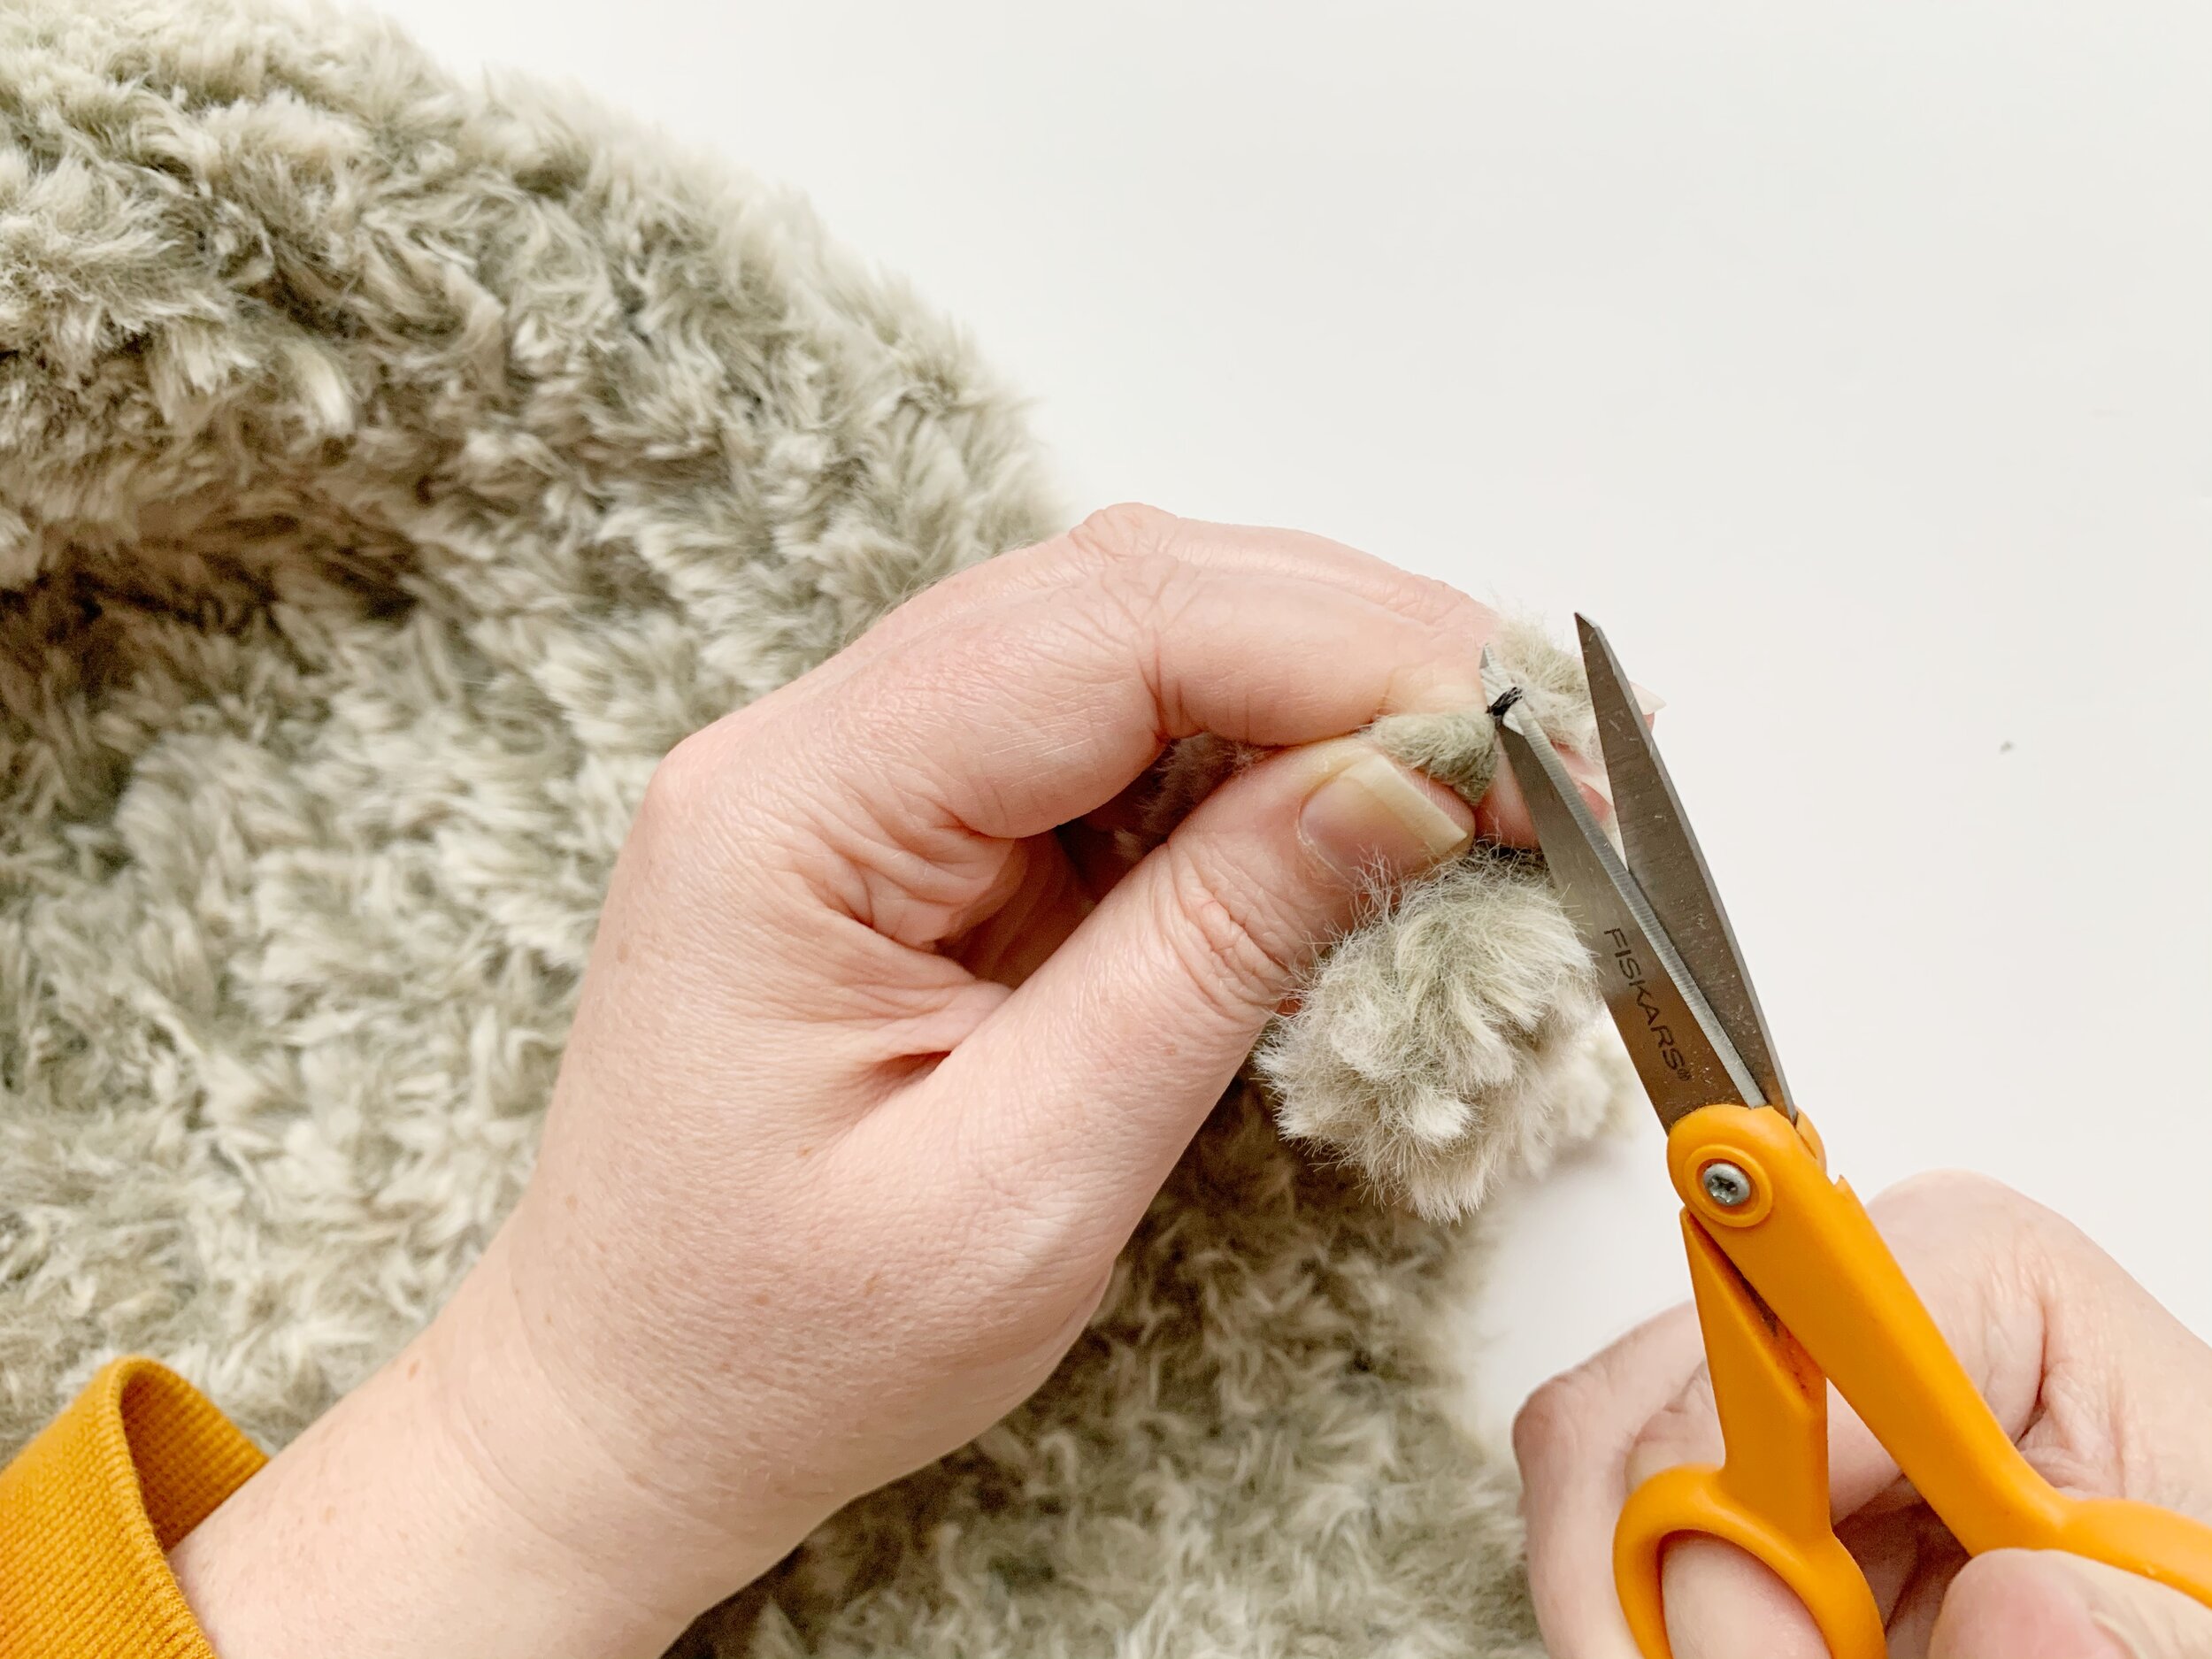
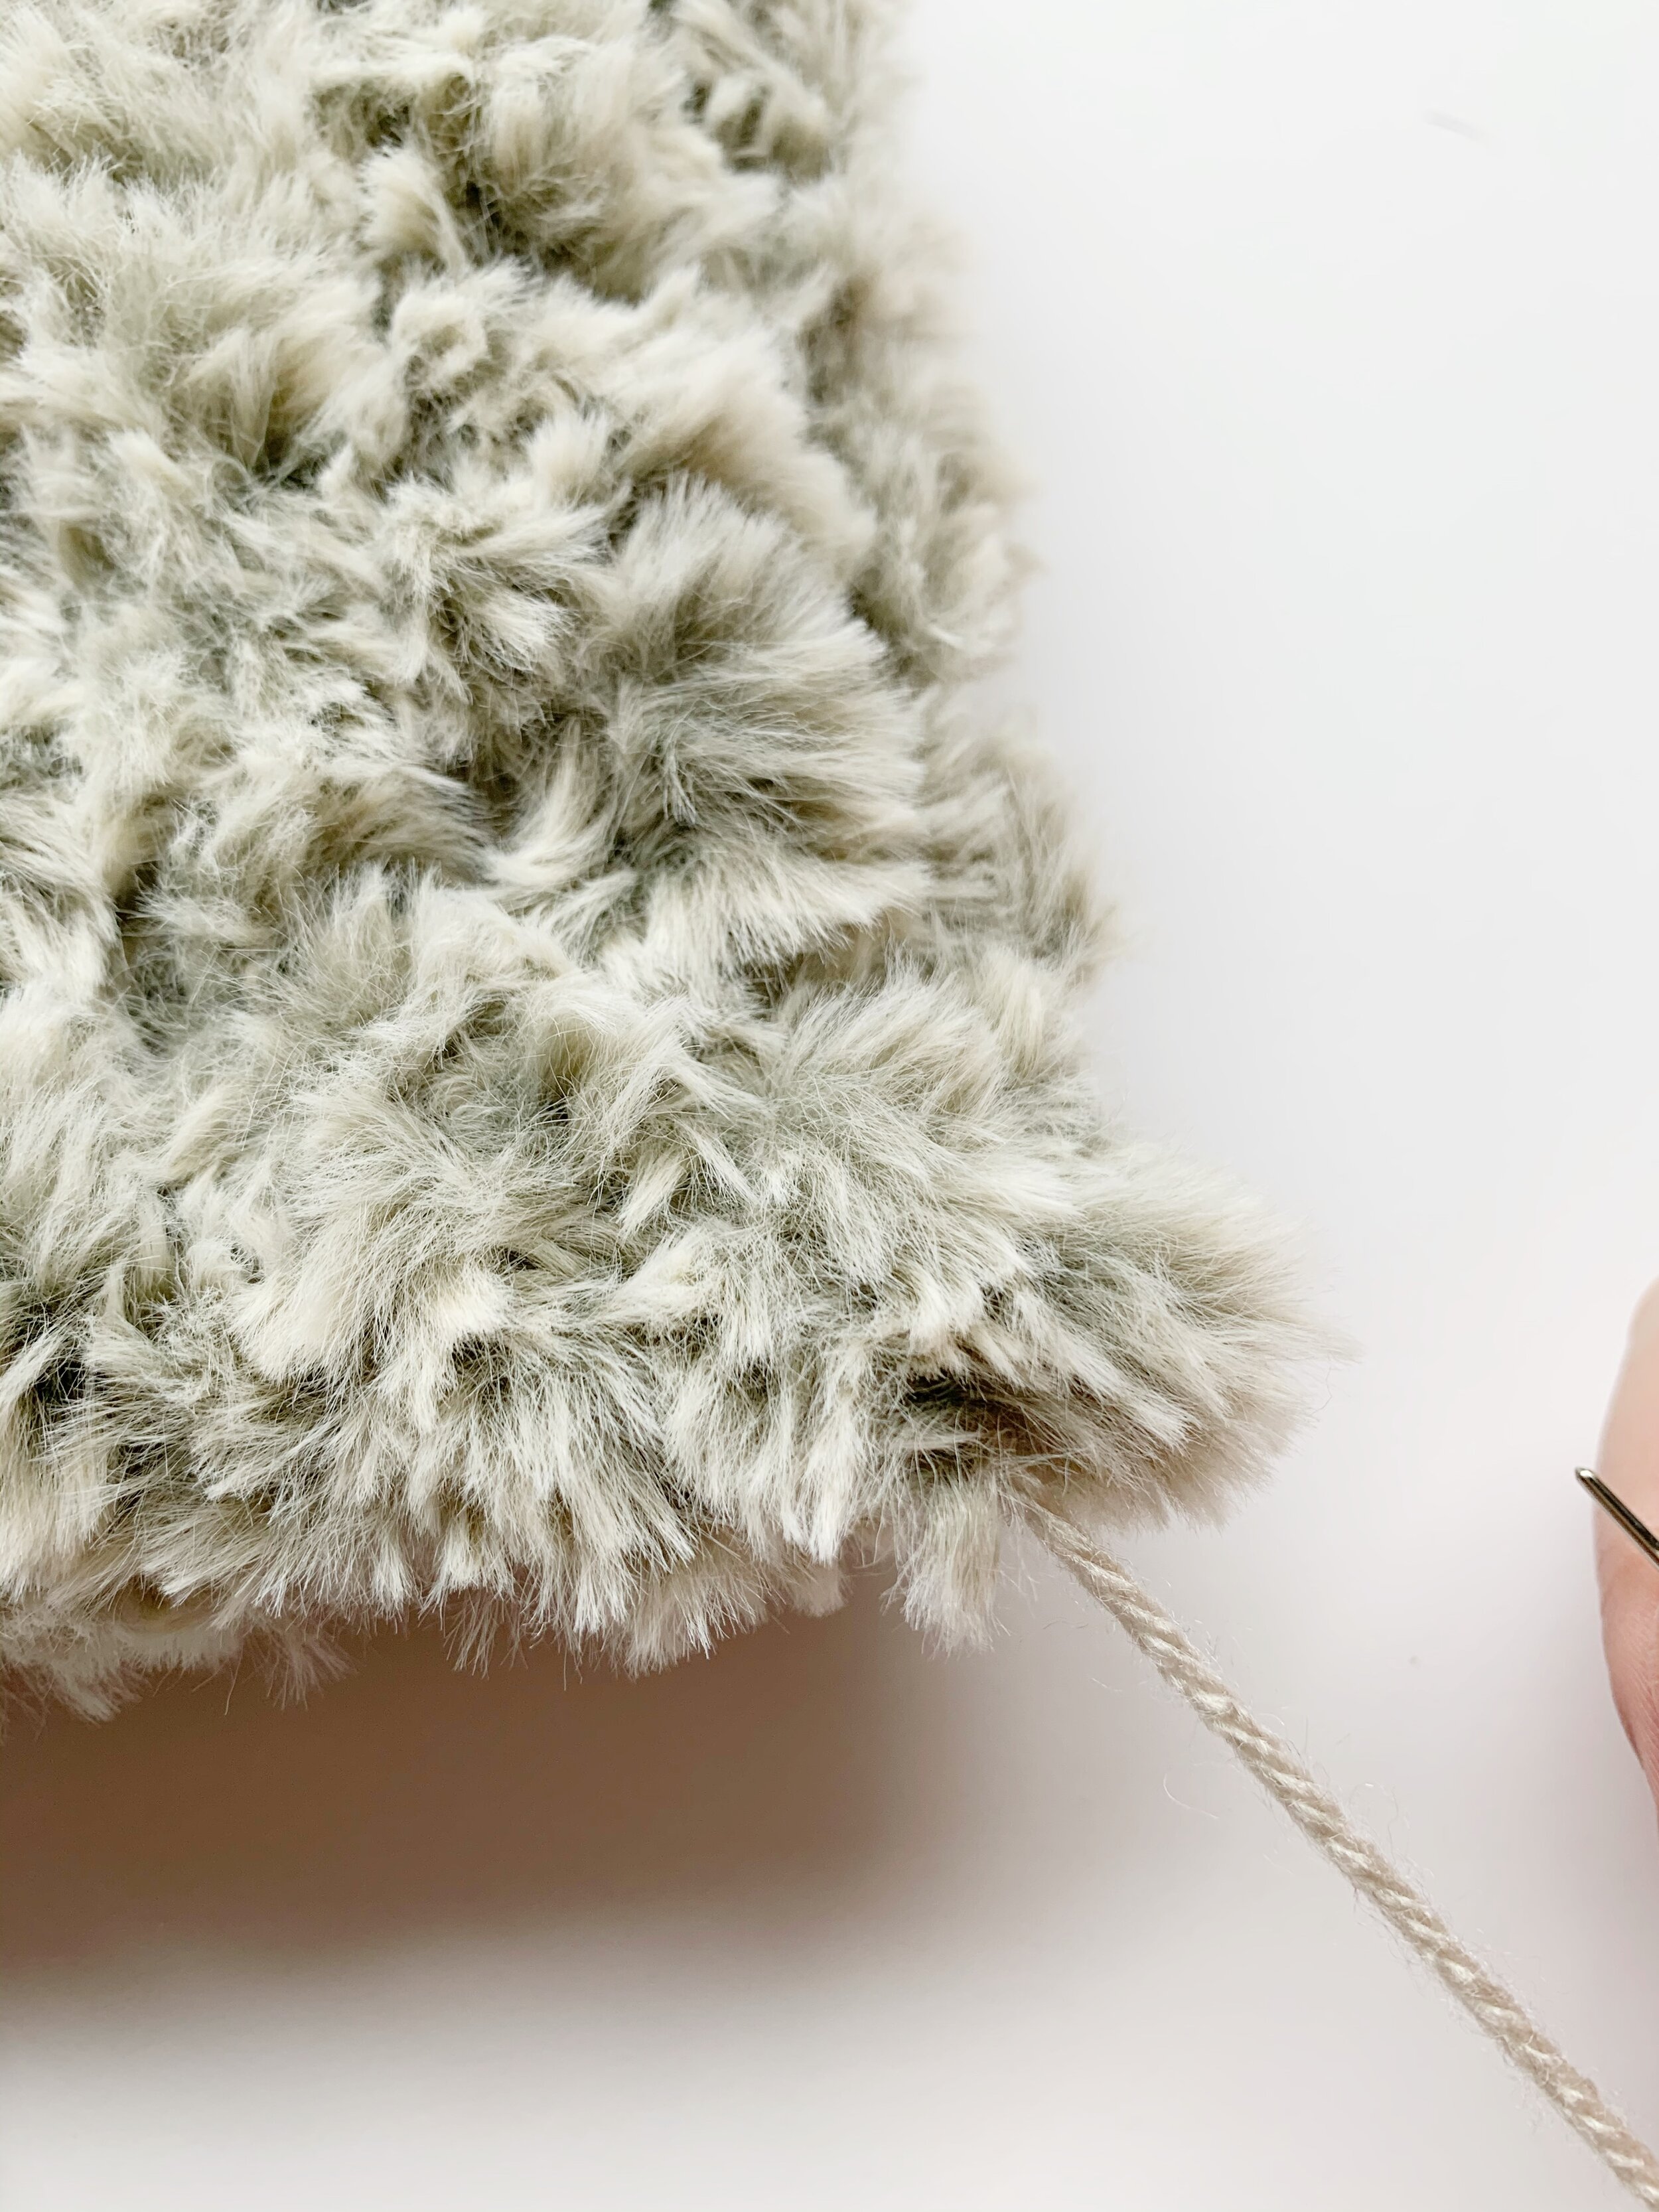
8. To weave in the ends, you’ll need to find the string that is connecting the loops together. Slide the faux fur out of the way and cut the string with a pair of scissors. This will release the loop and give you a regular yarn tail to weave in.
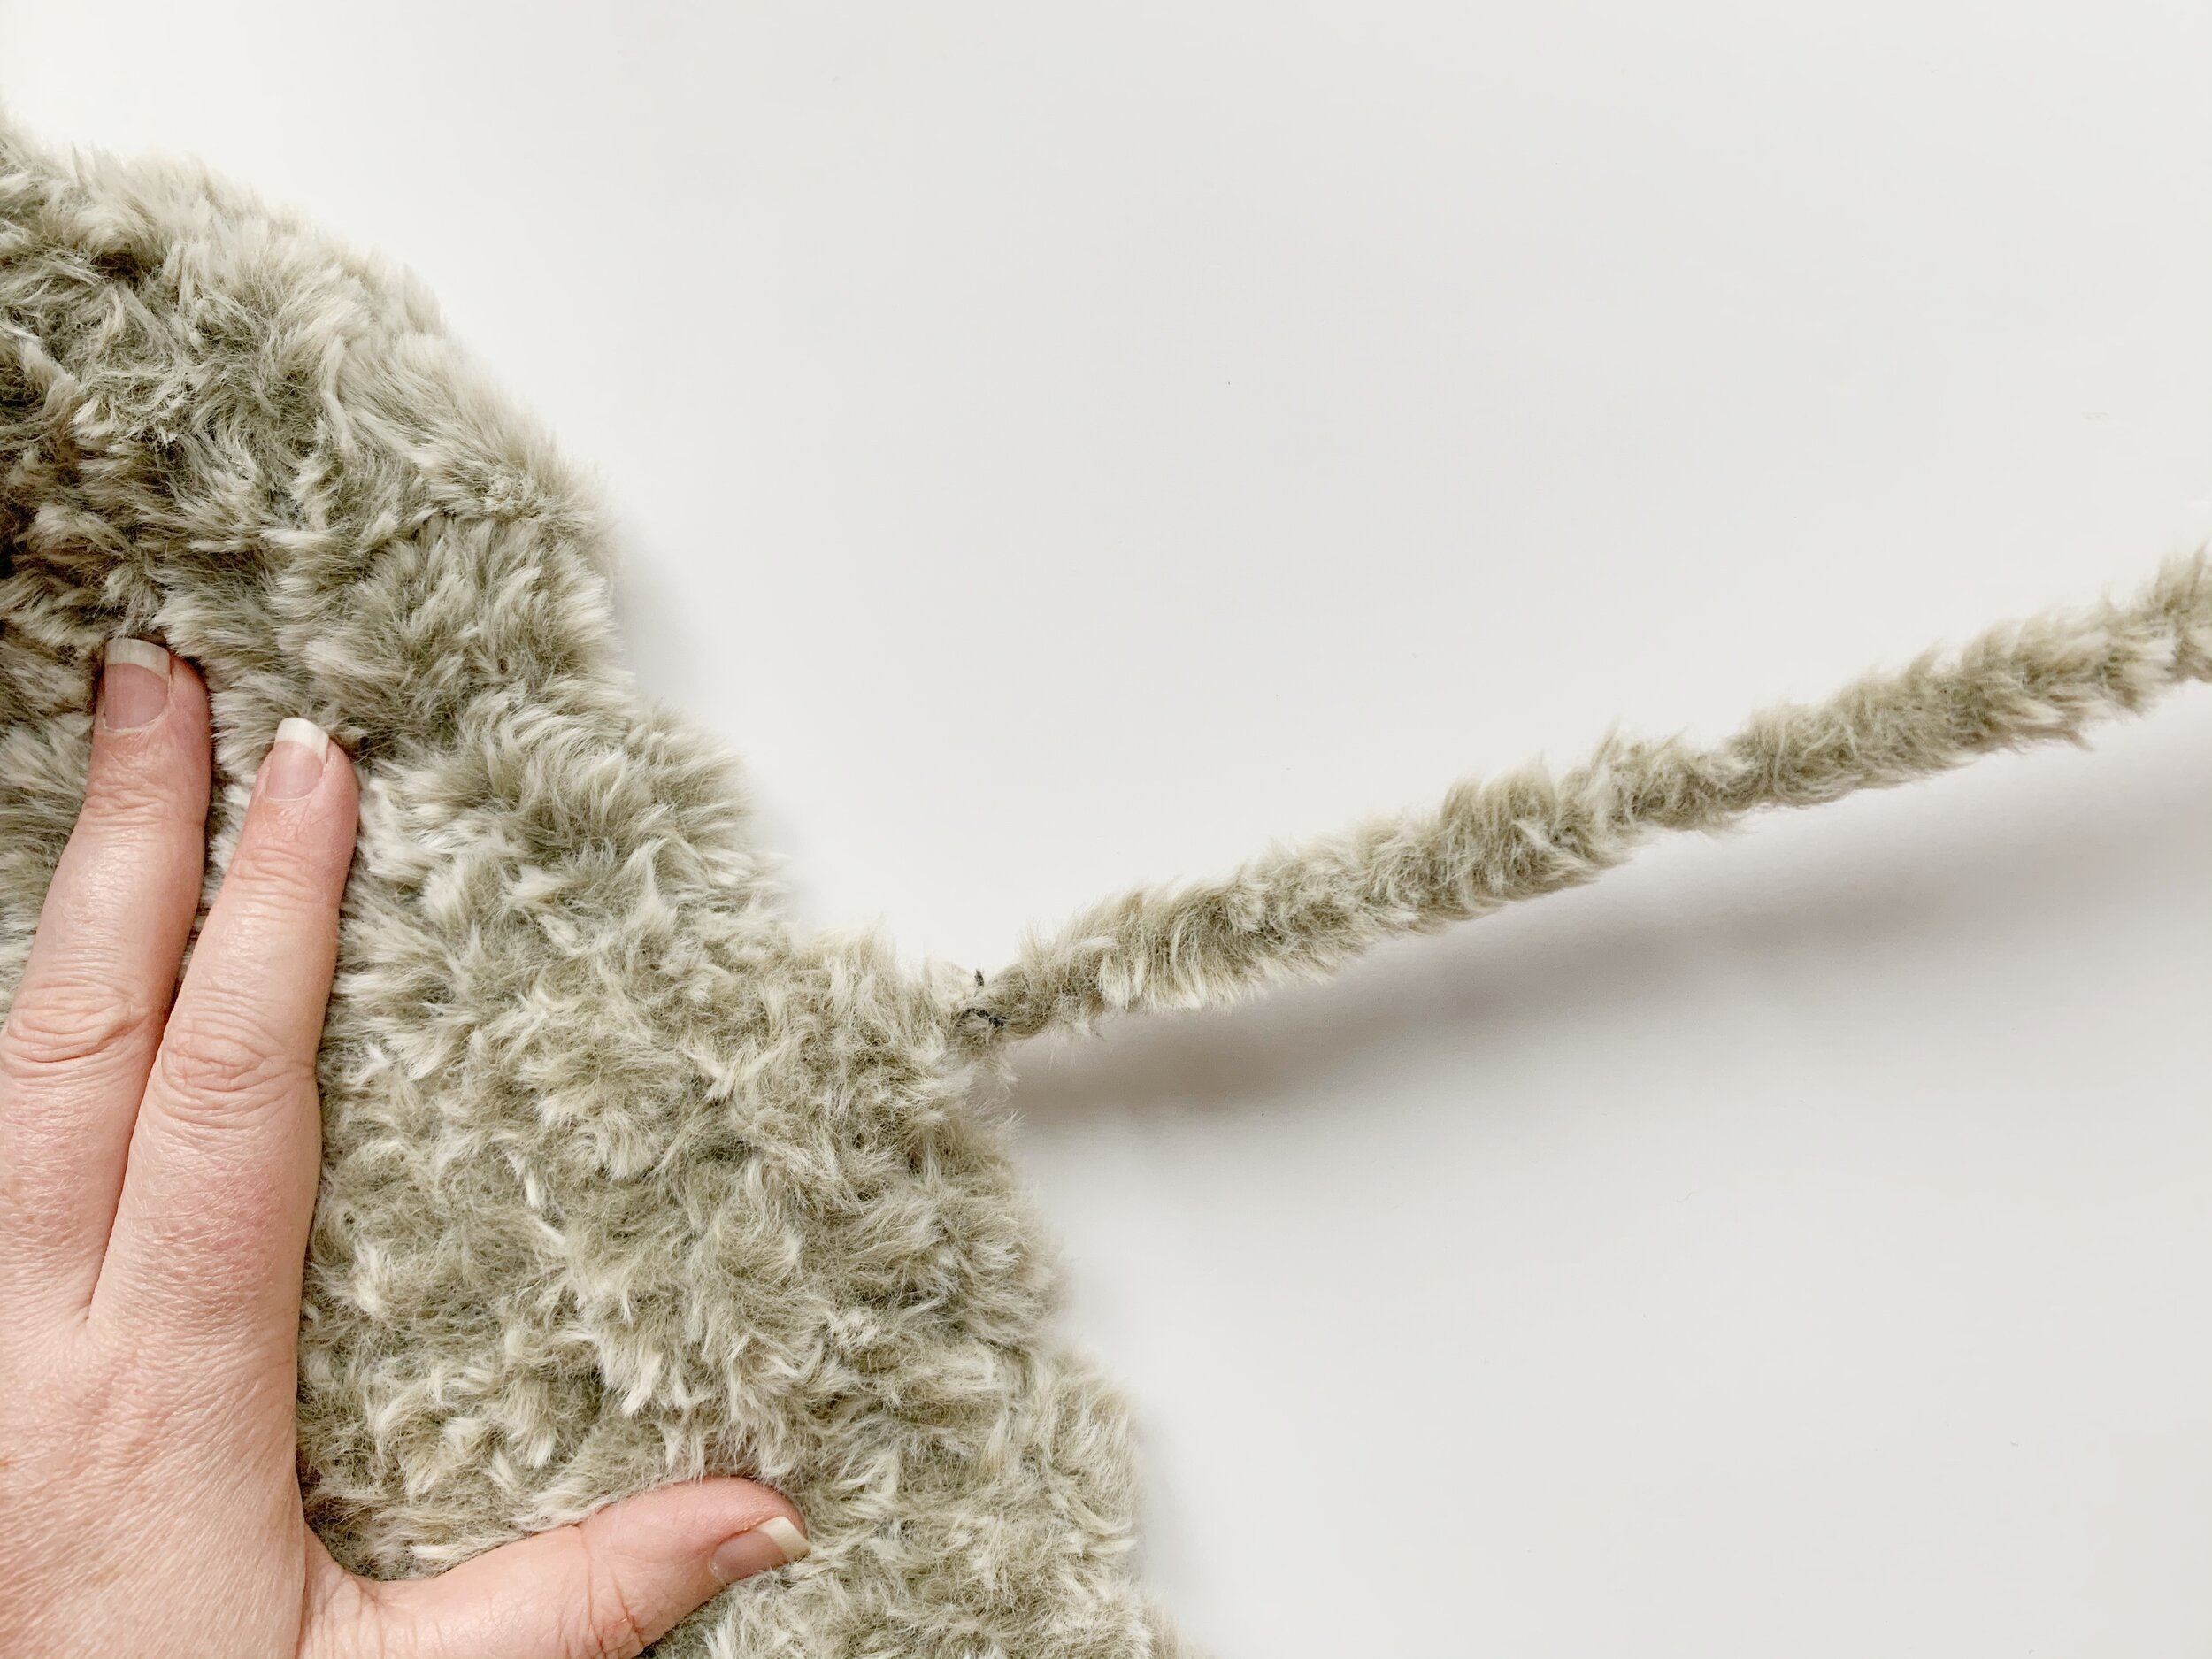
9. Using your fingers feel for some loops to pull your tails through on the back side of the scarf. Weave the ends in until they are secure and then trim off the excess. Continue until all ends have been woven in.
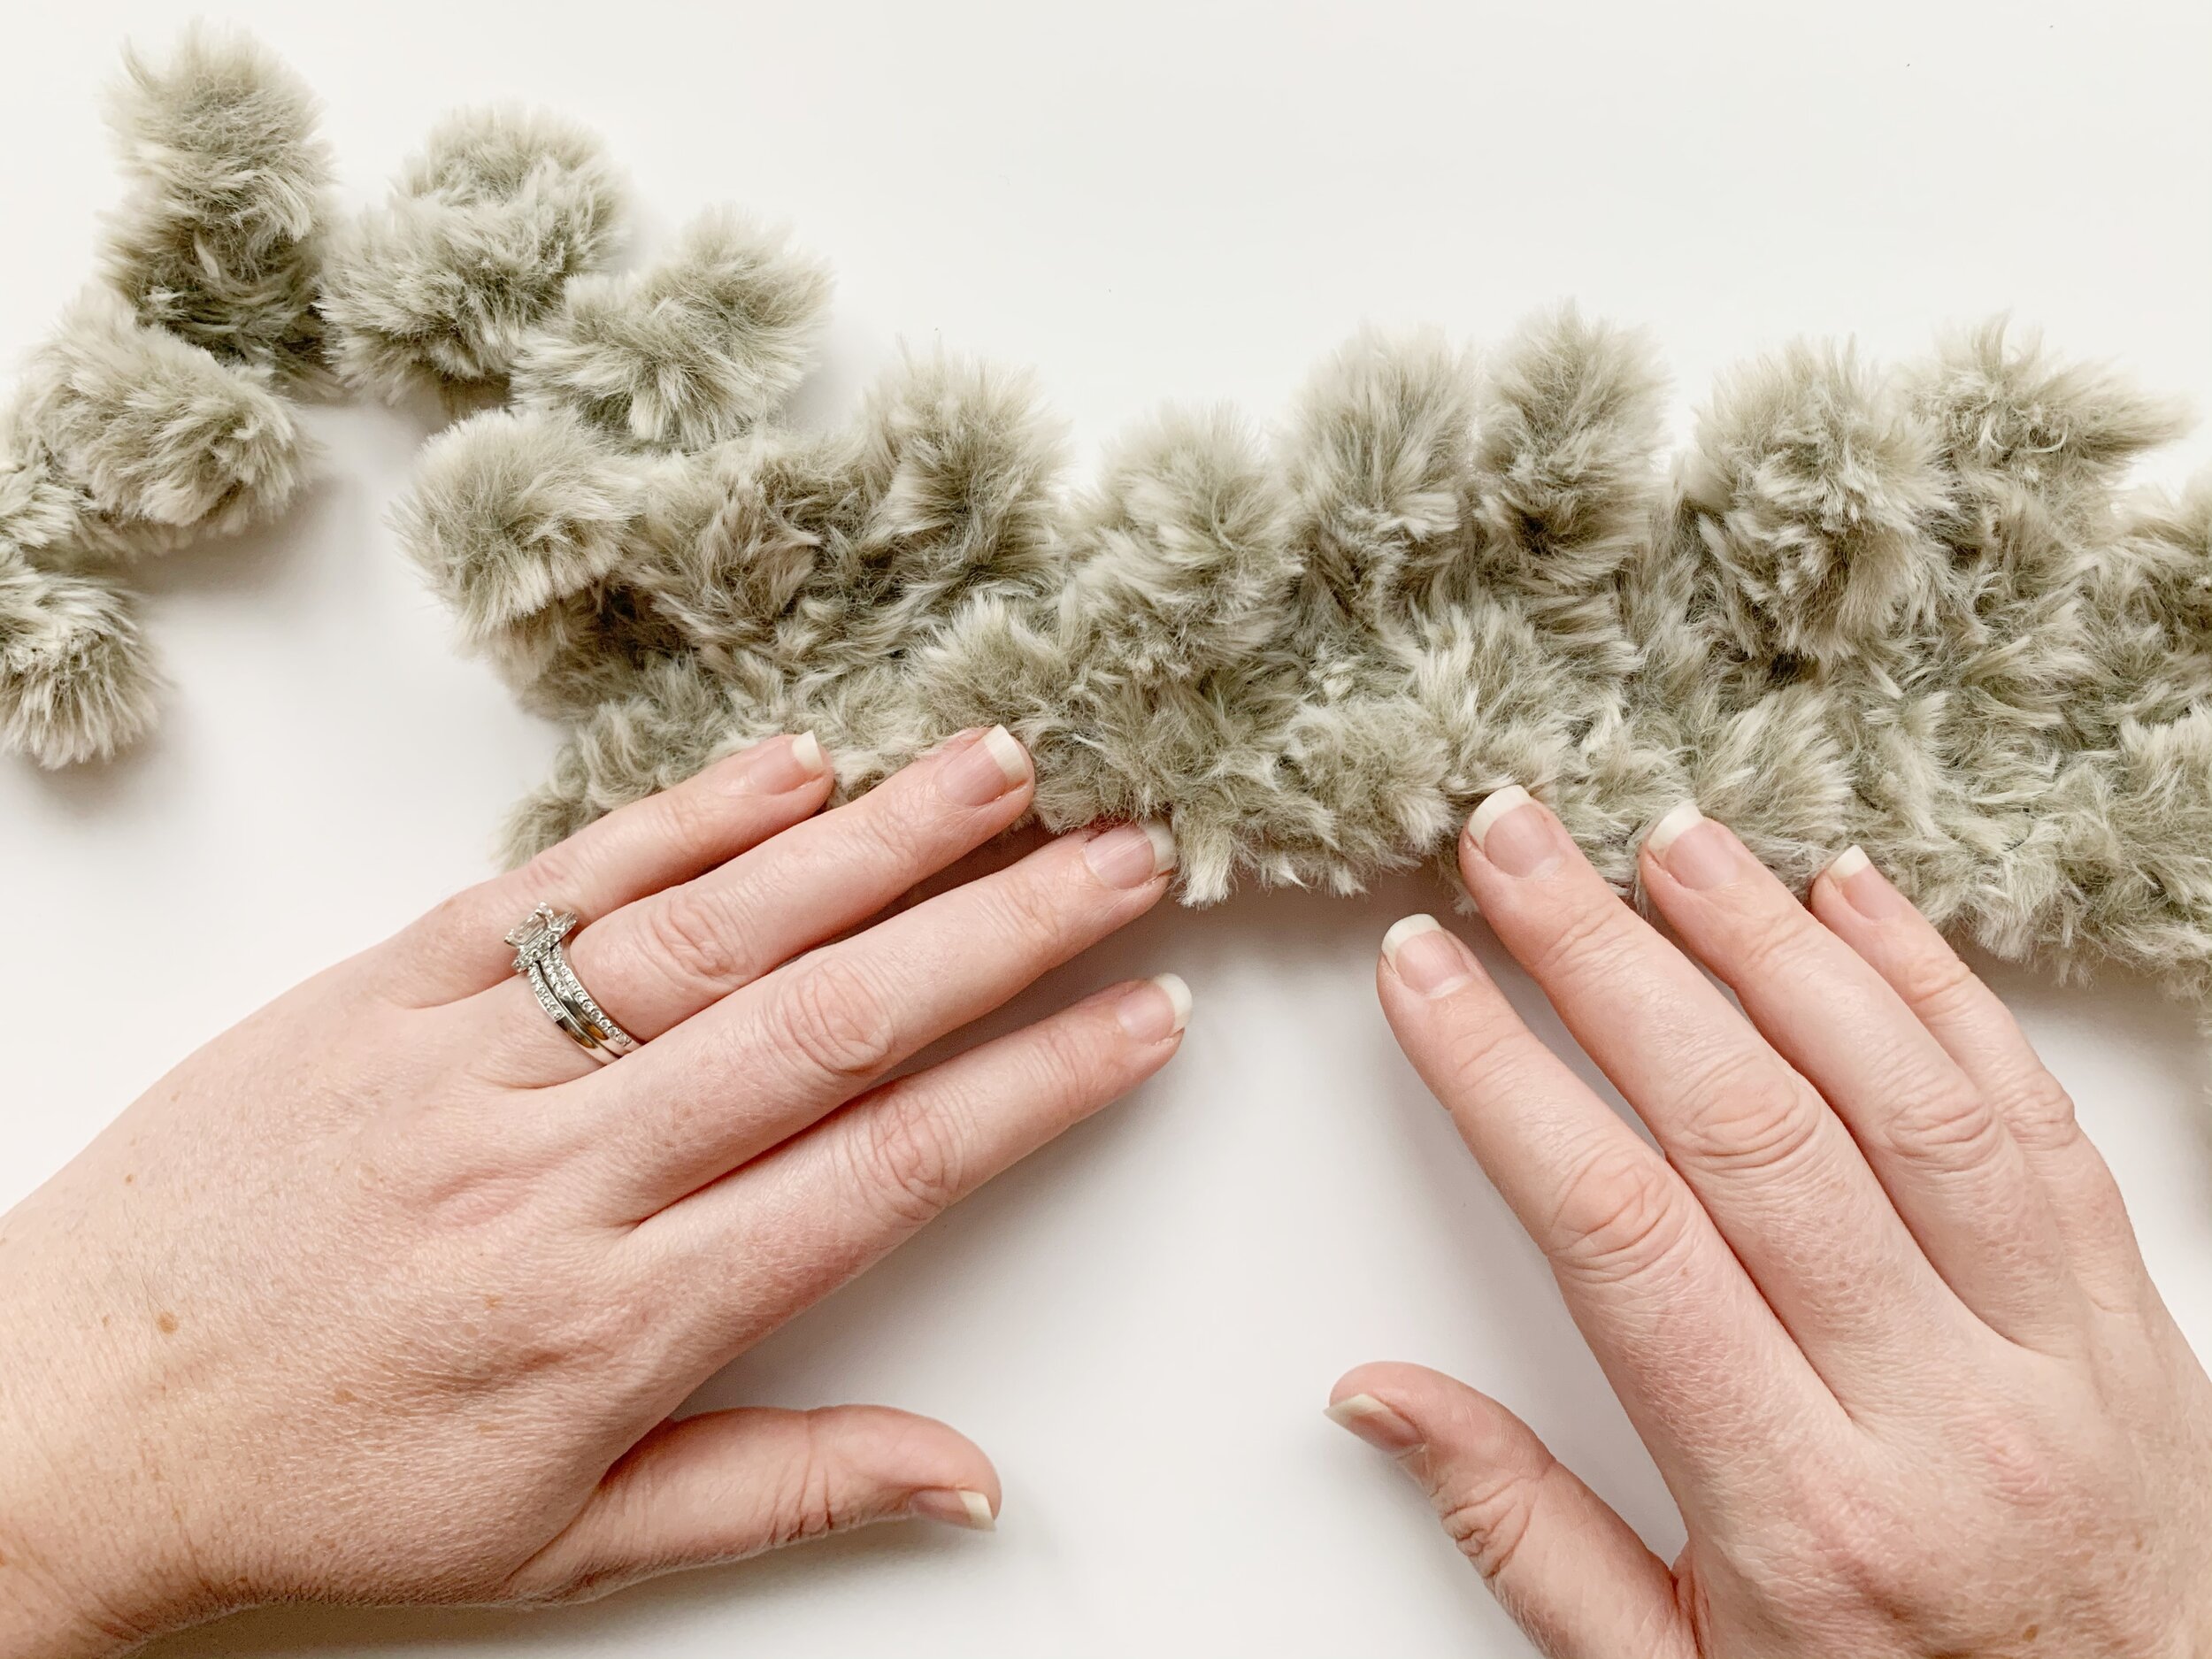
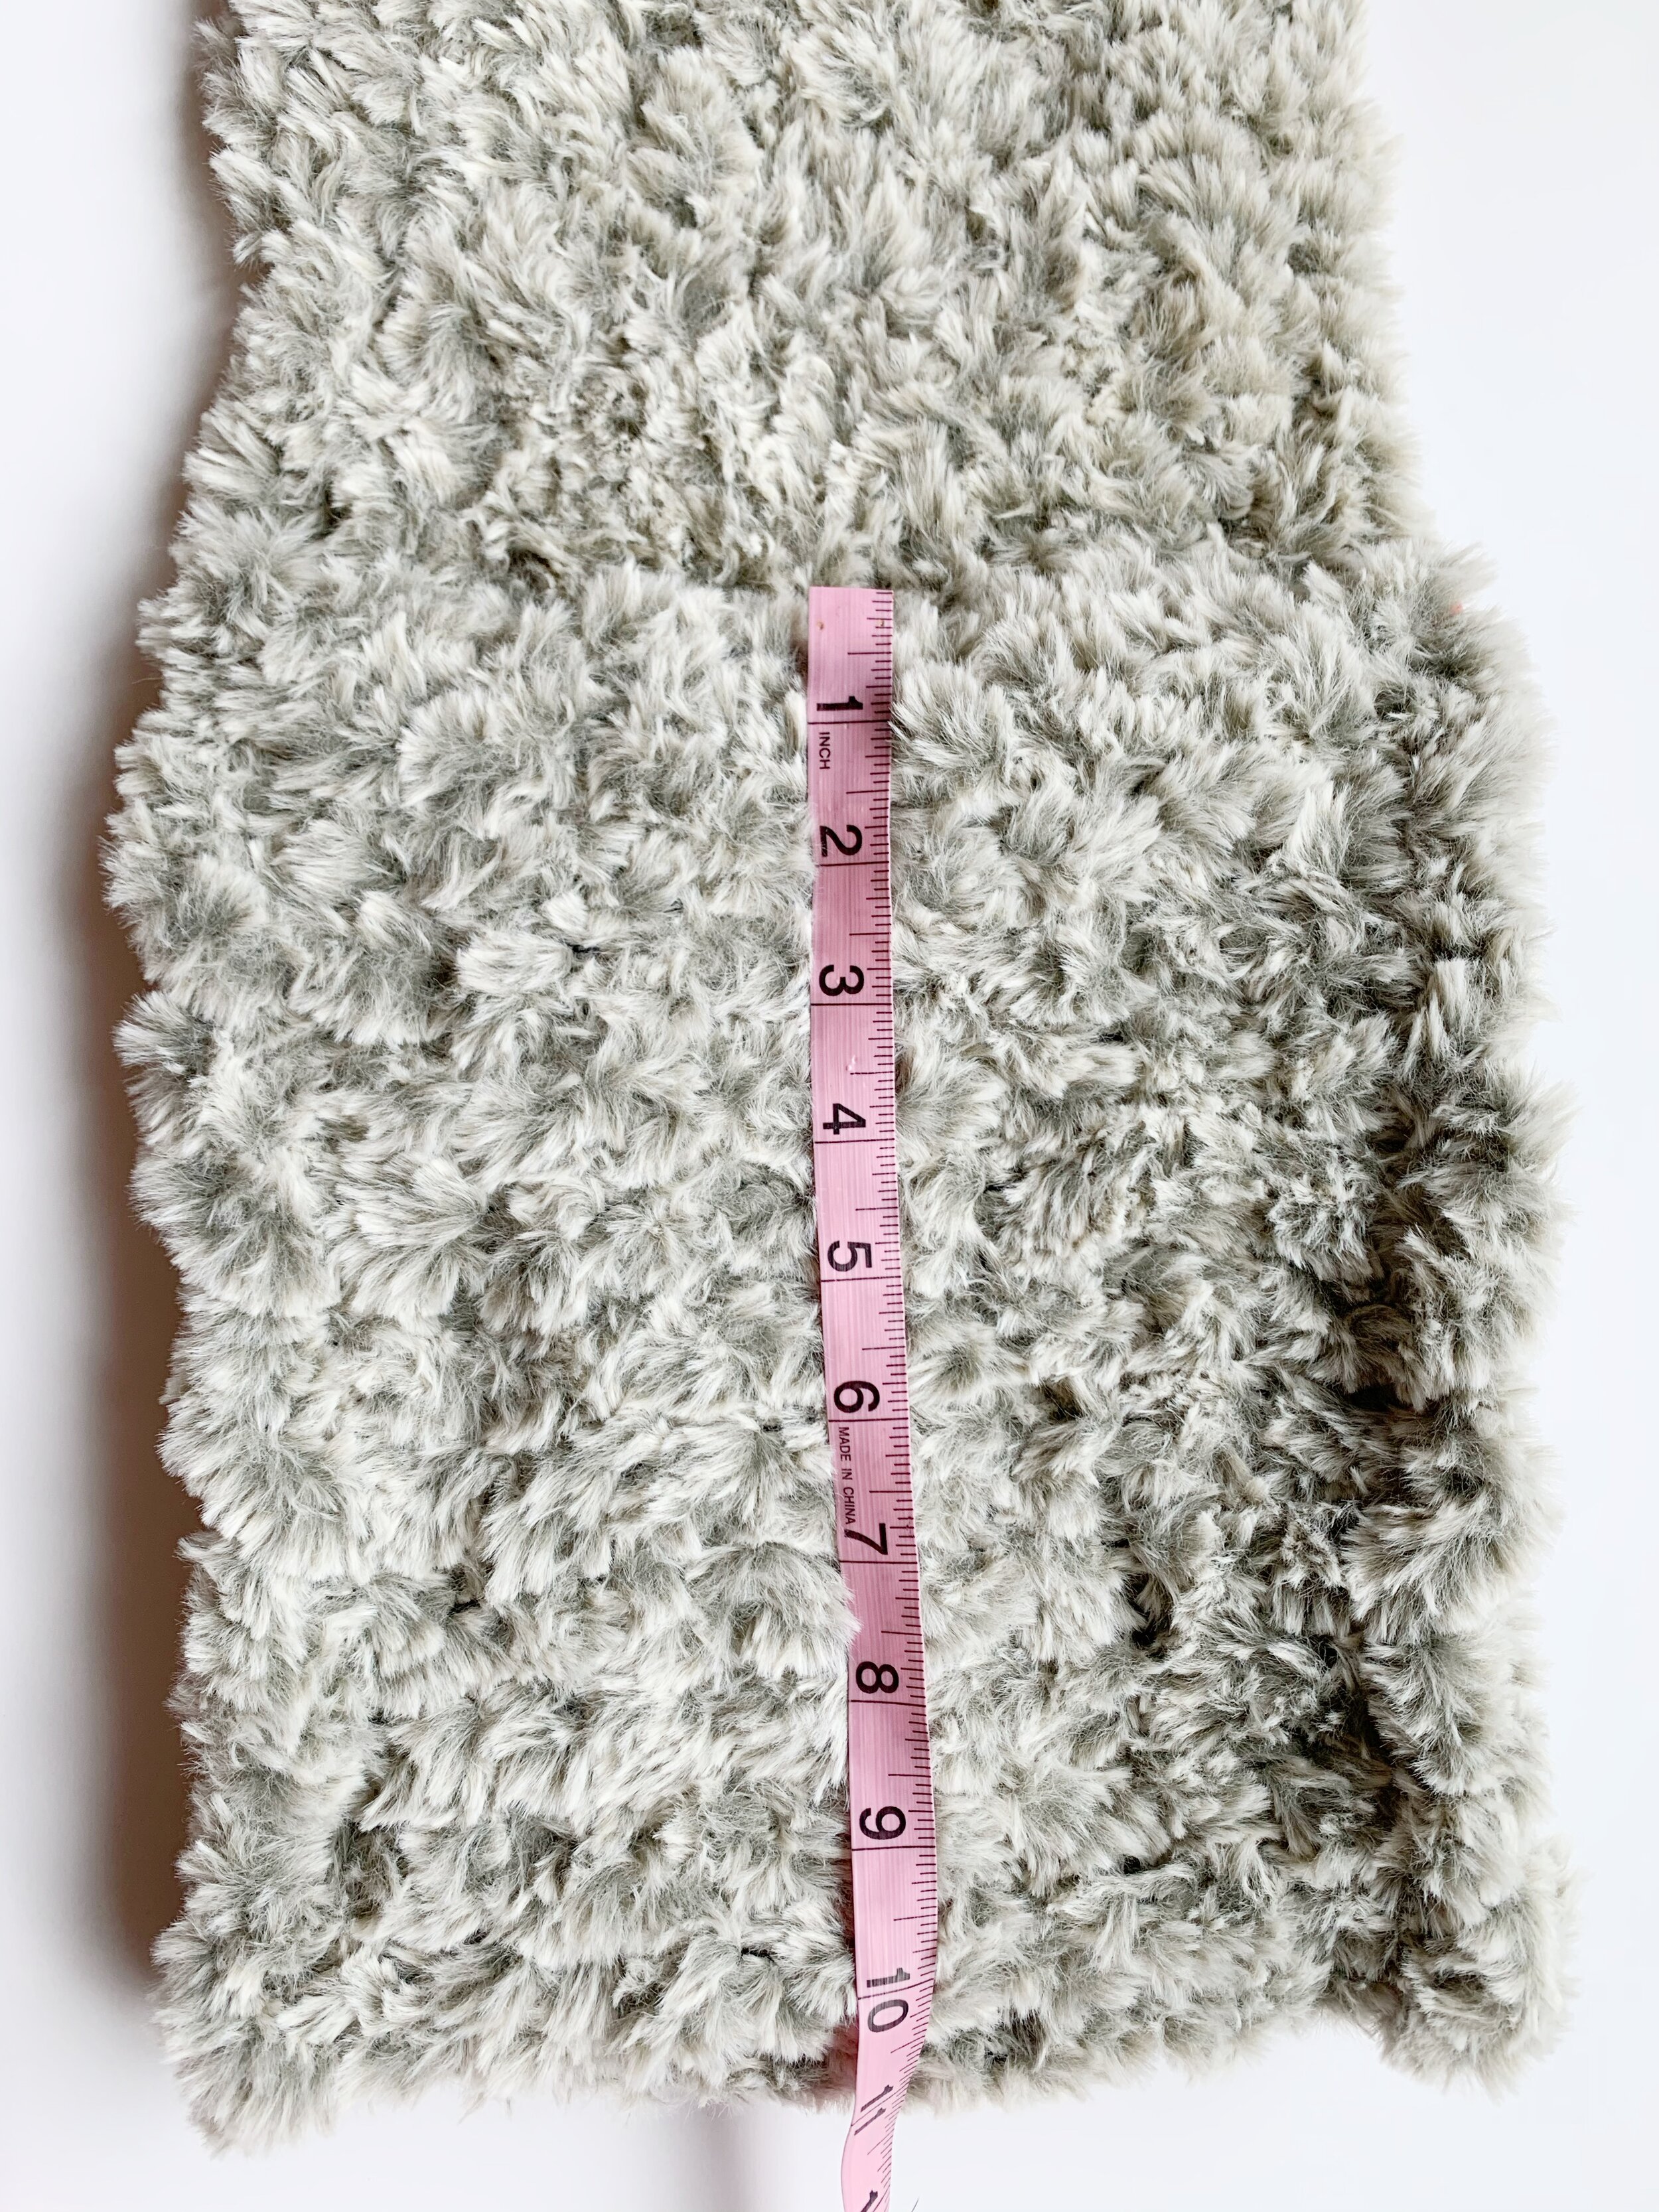
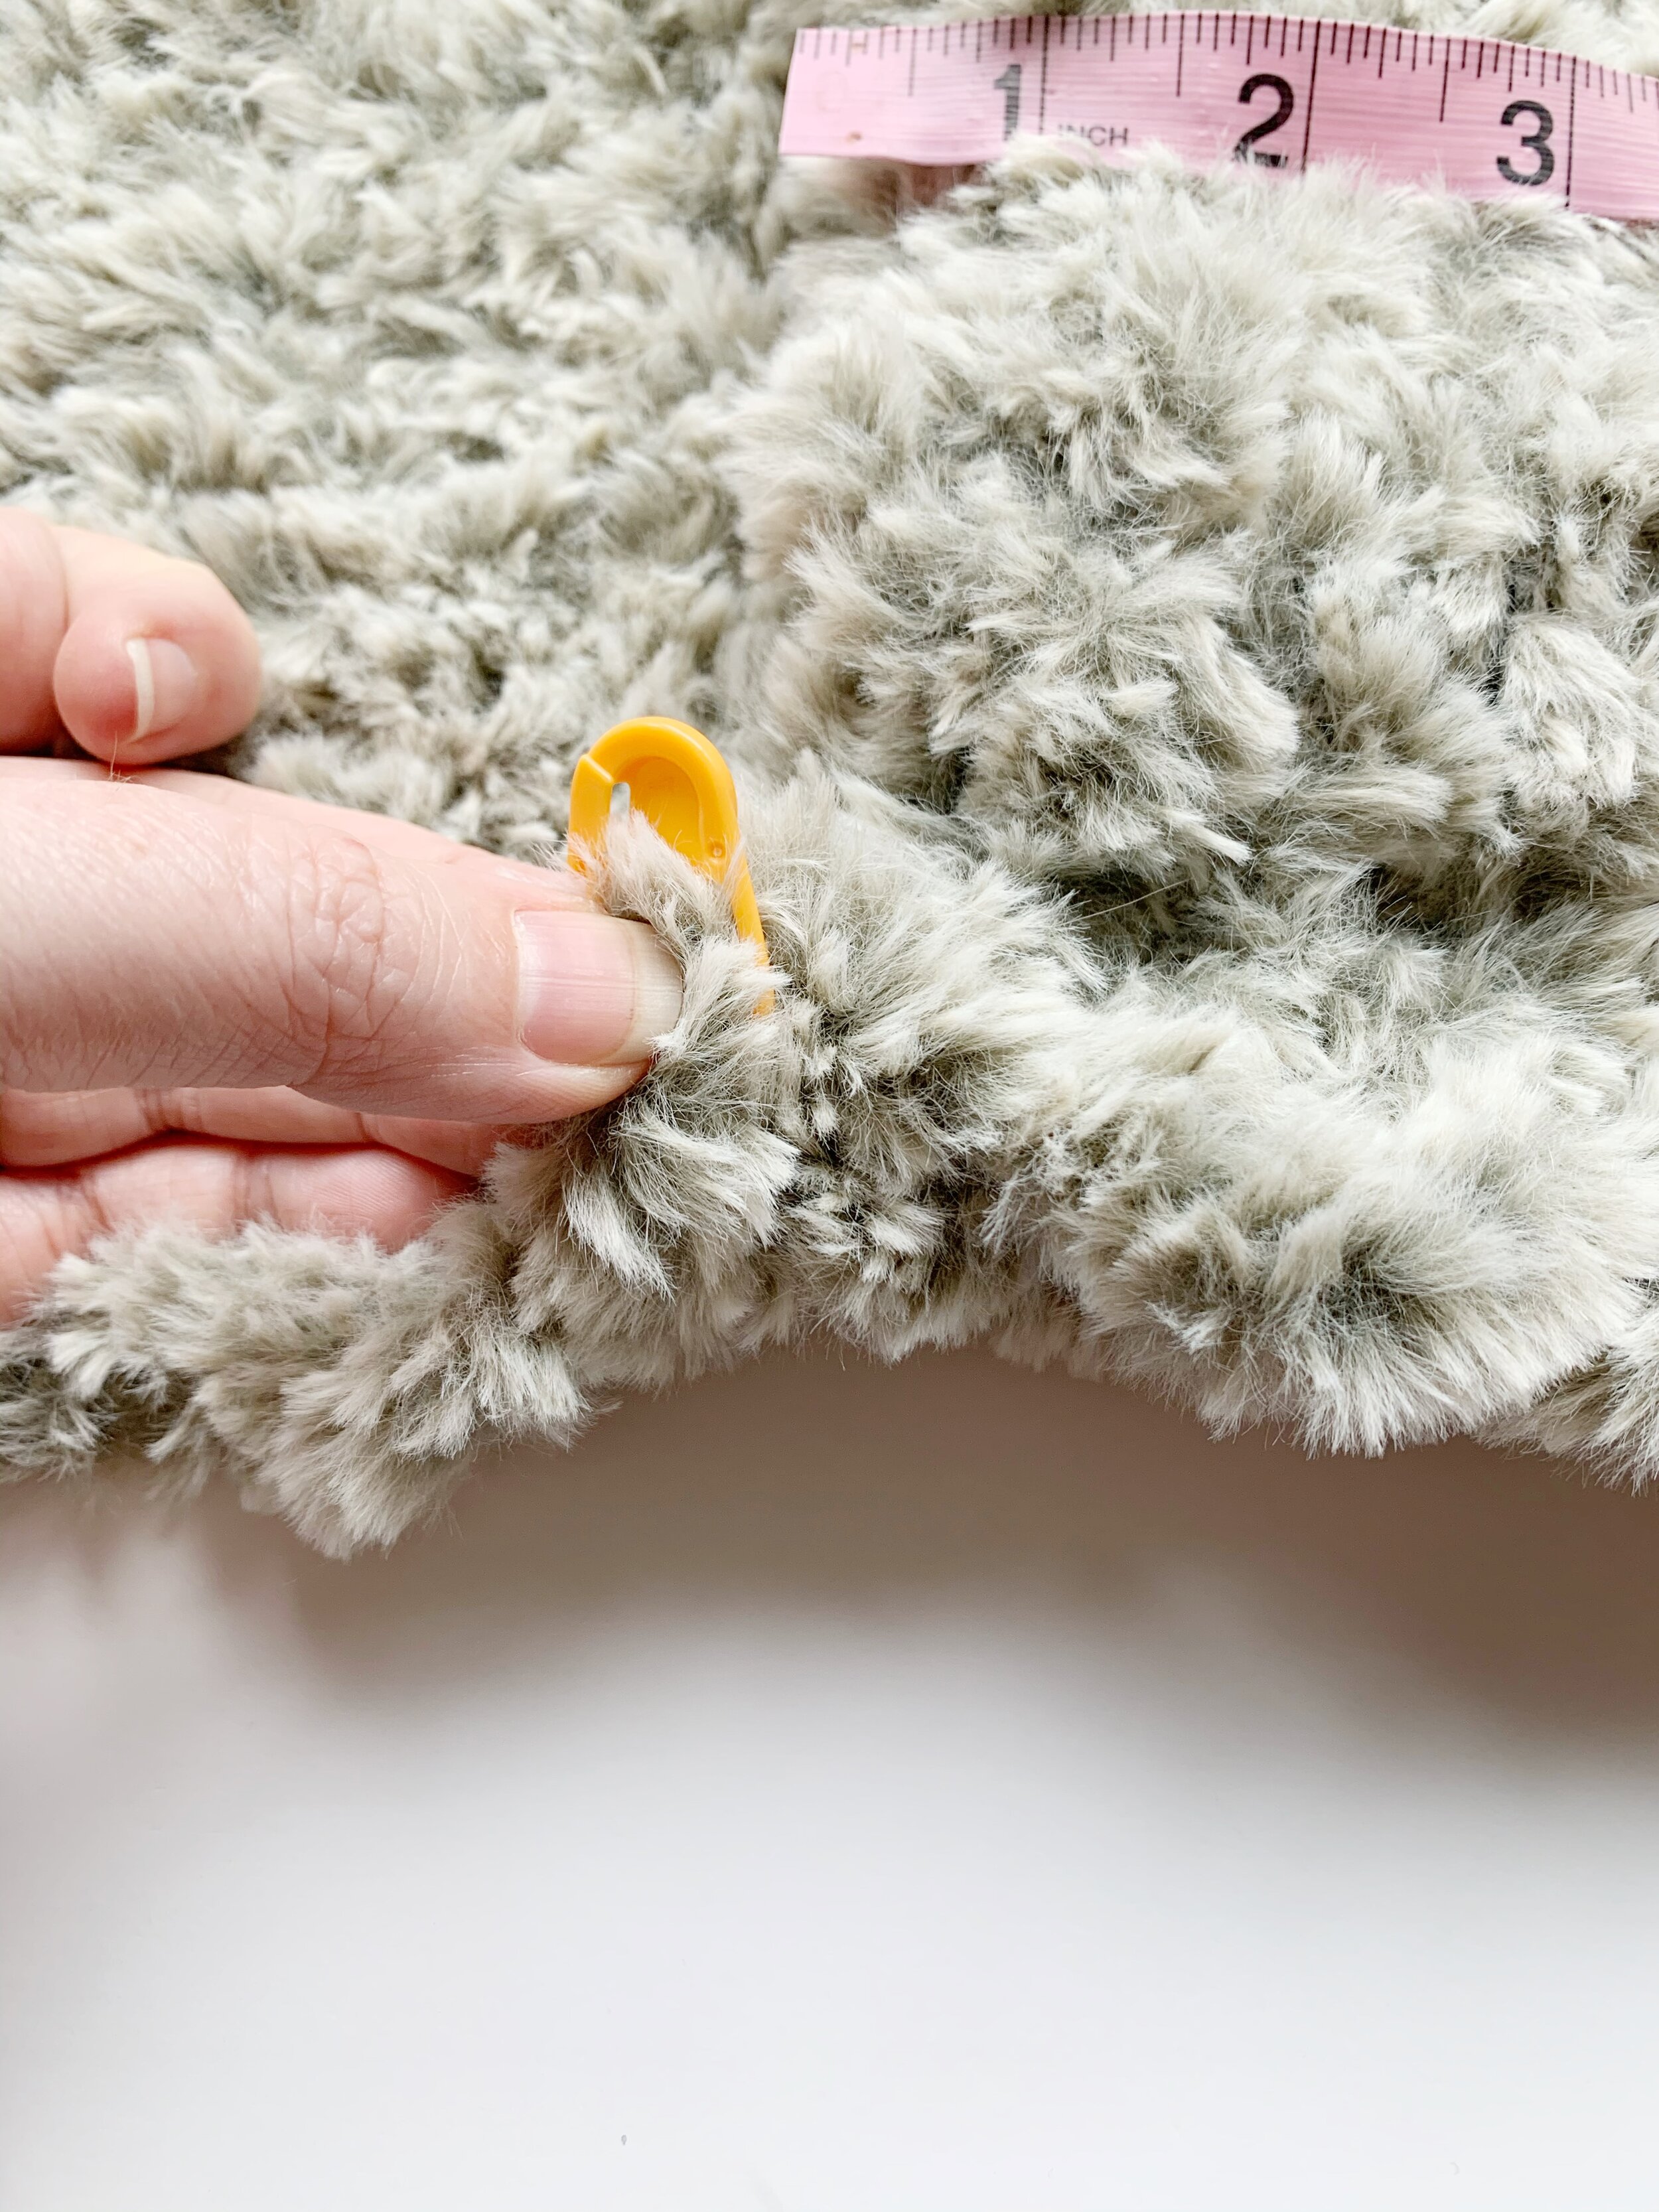
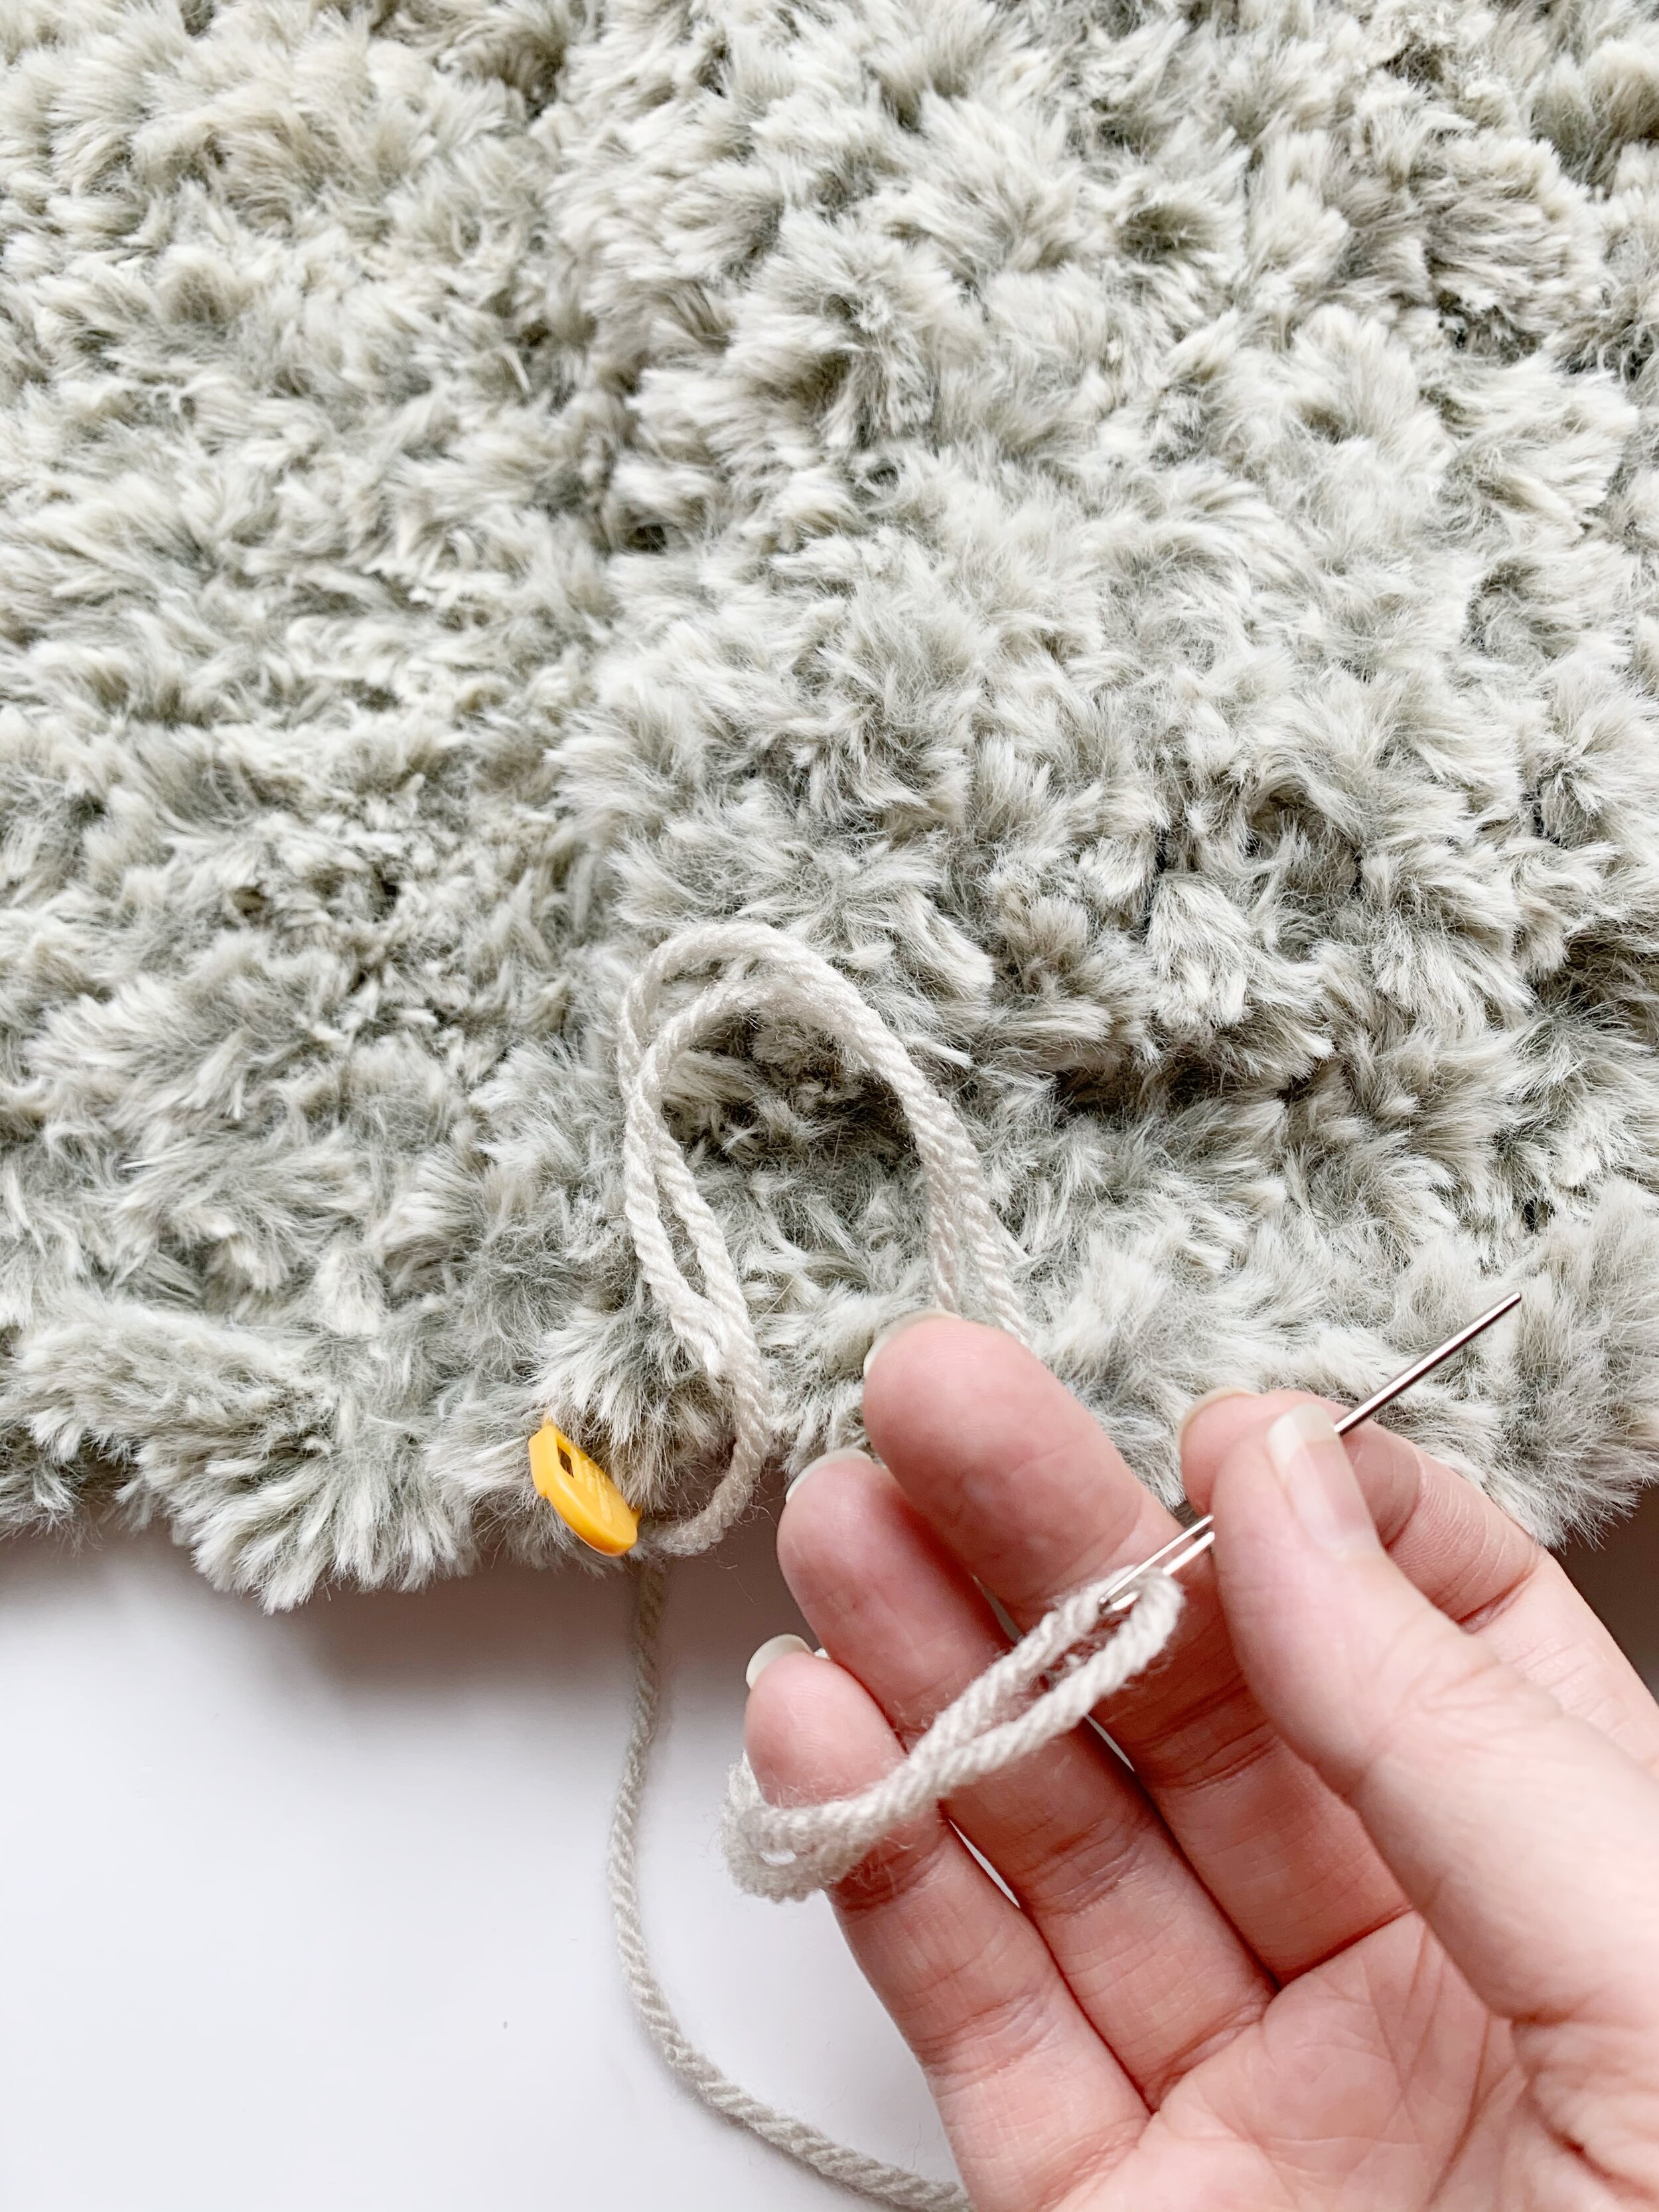
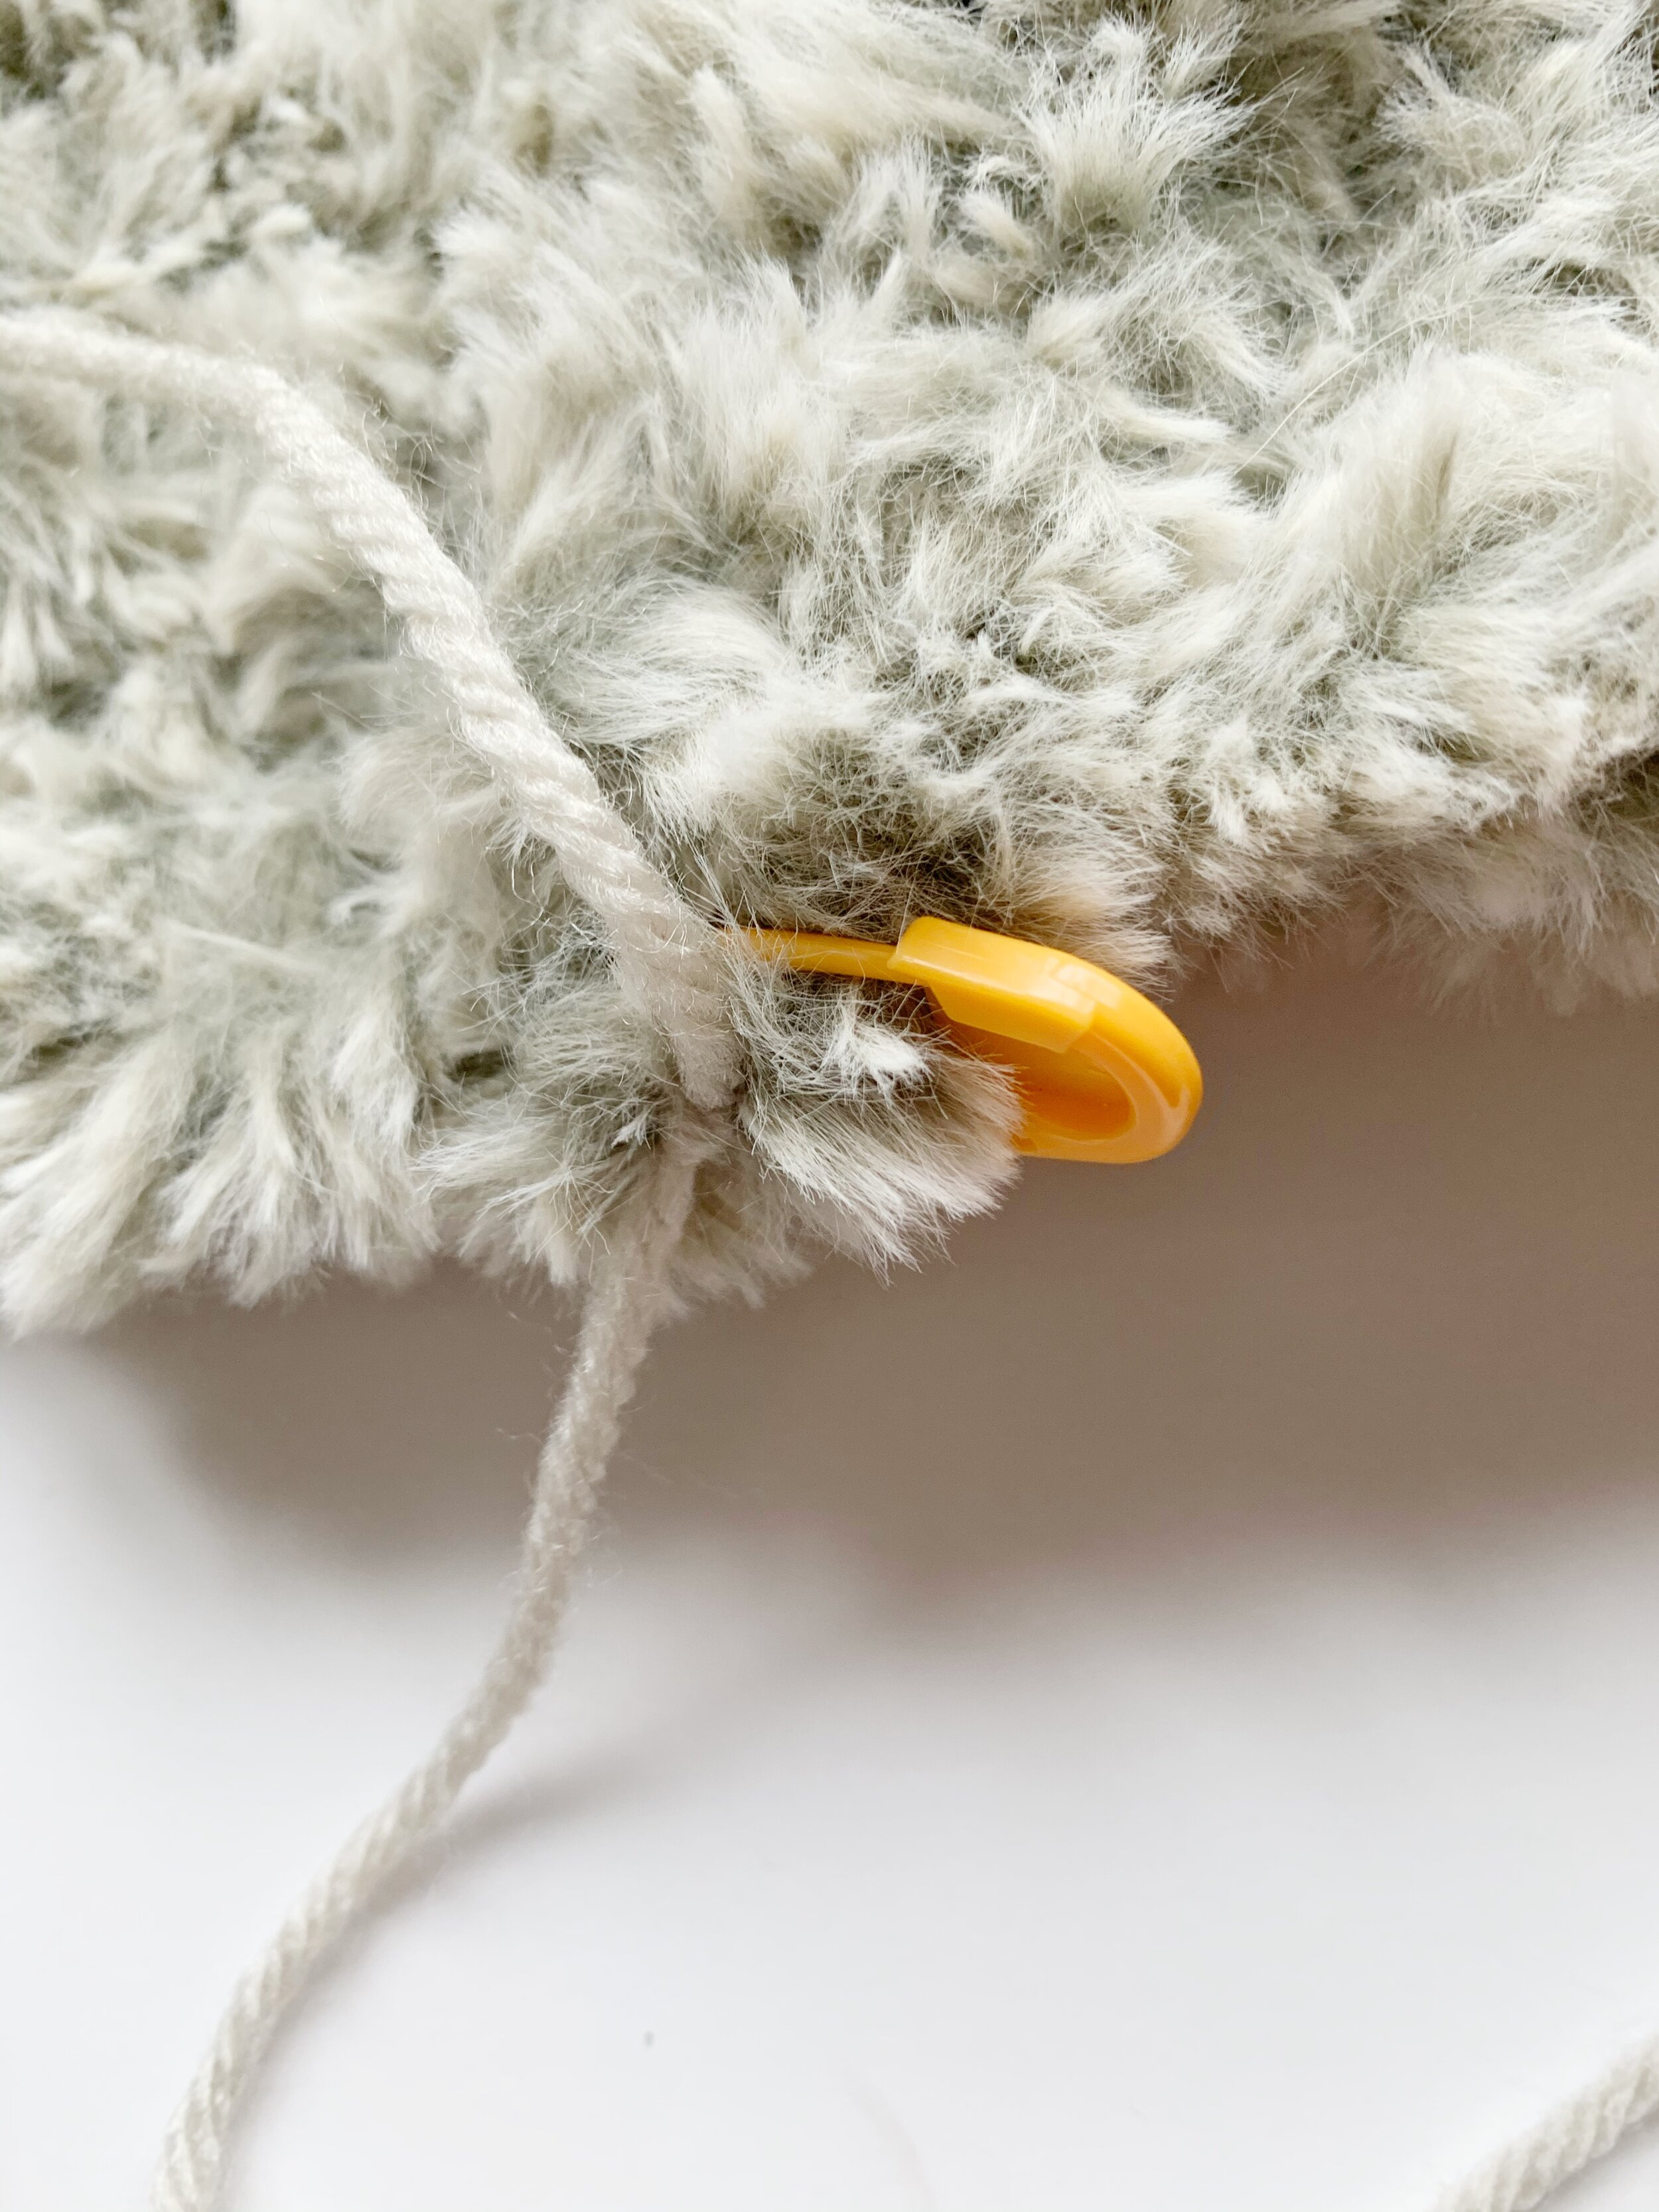
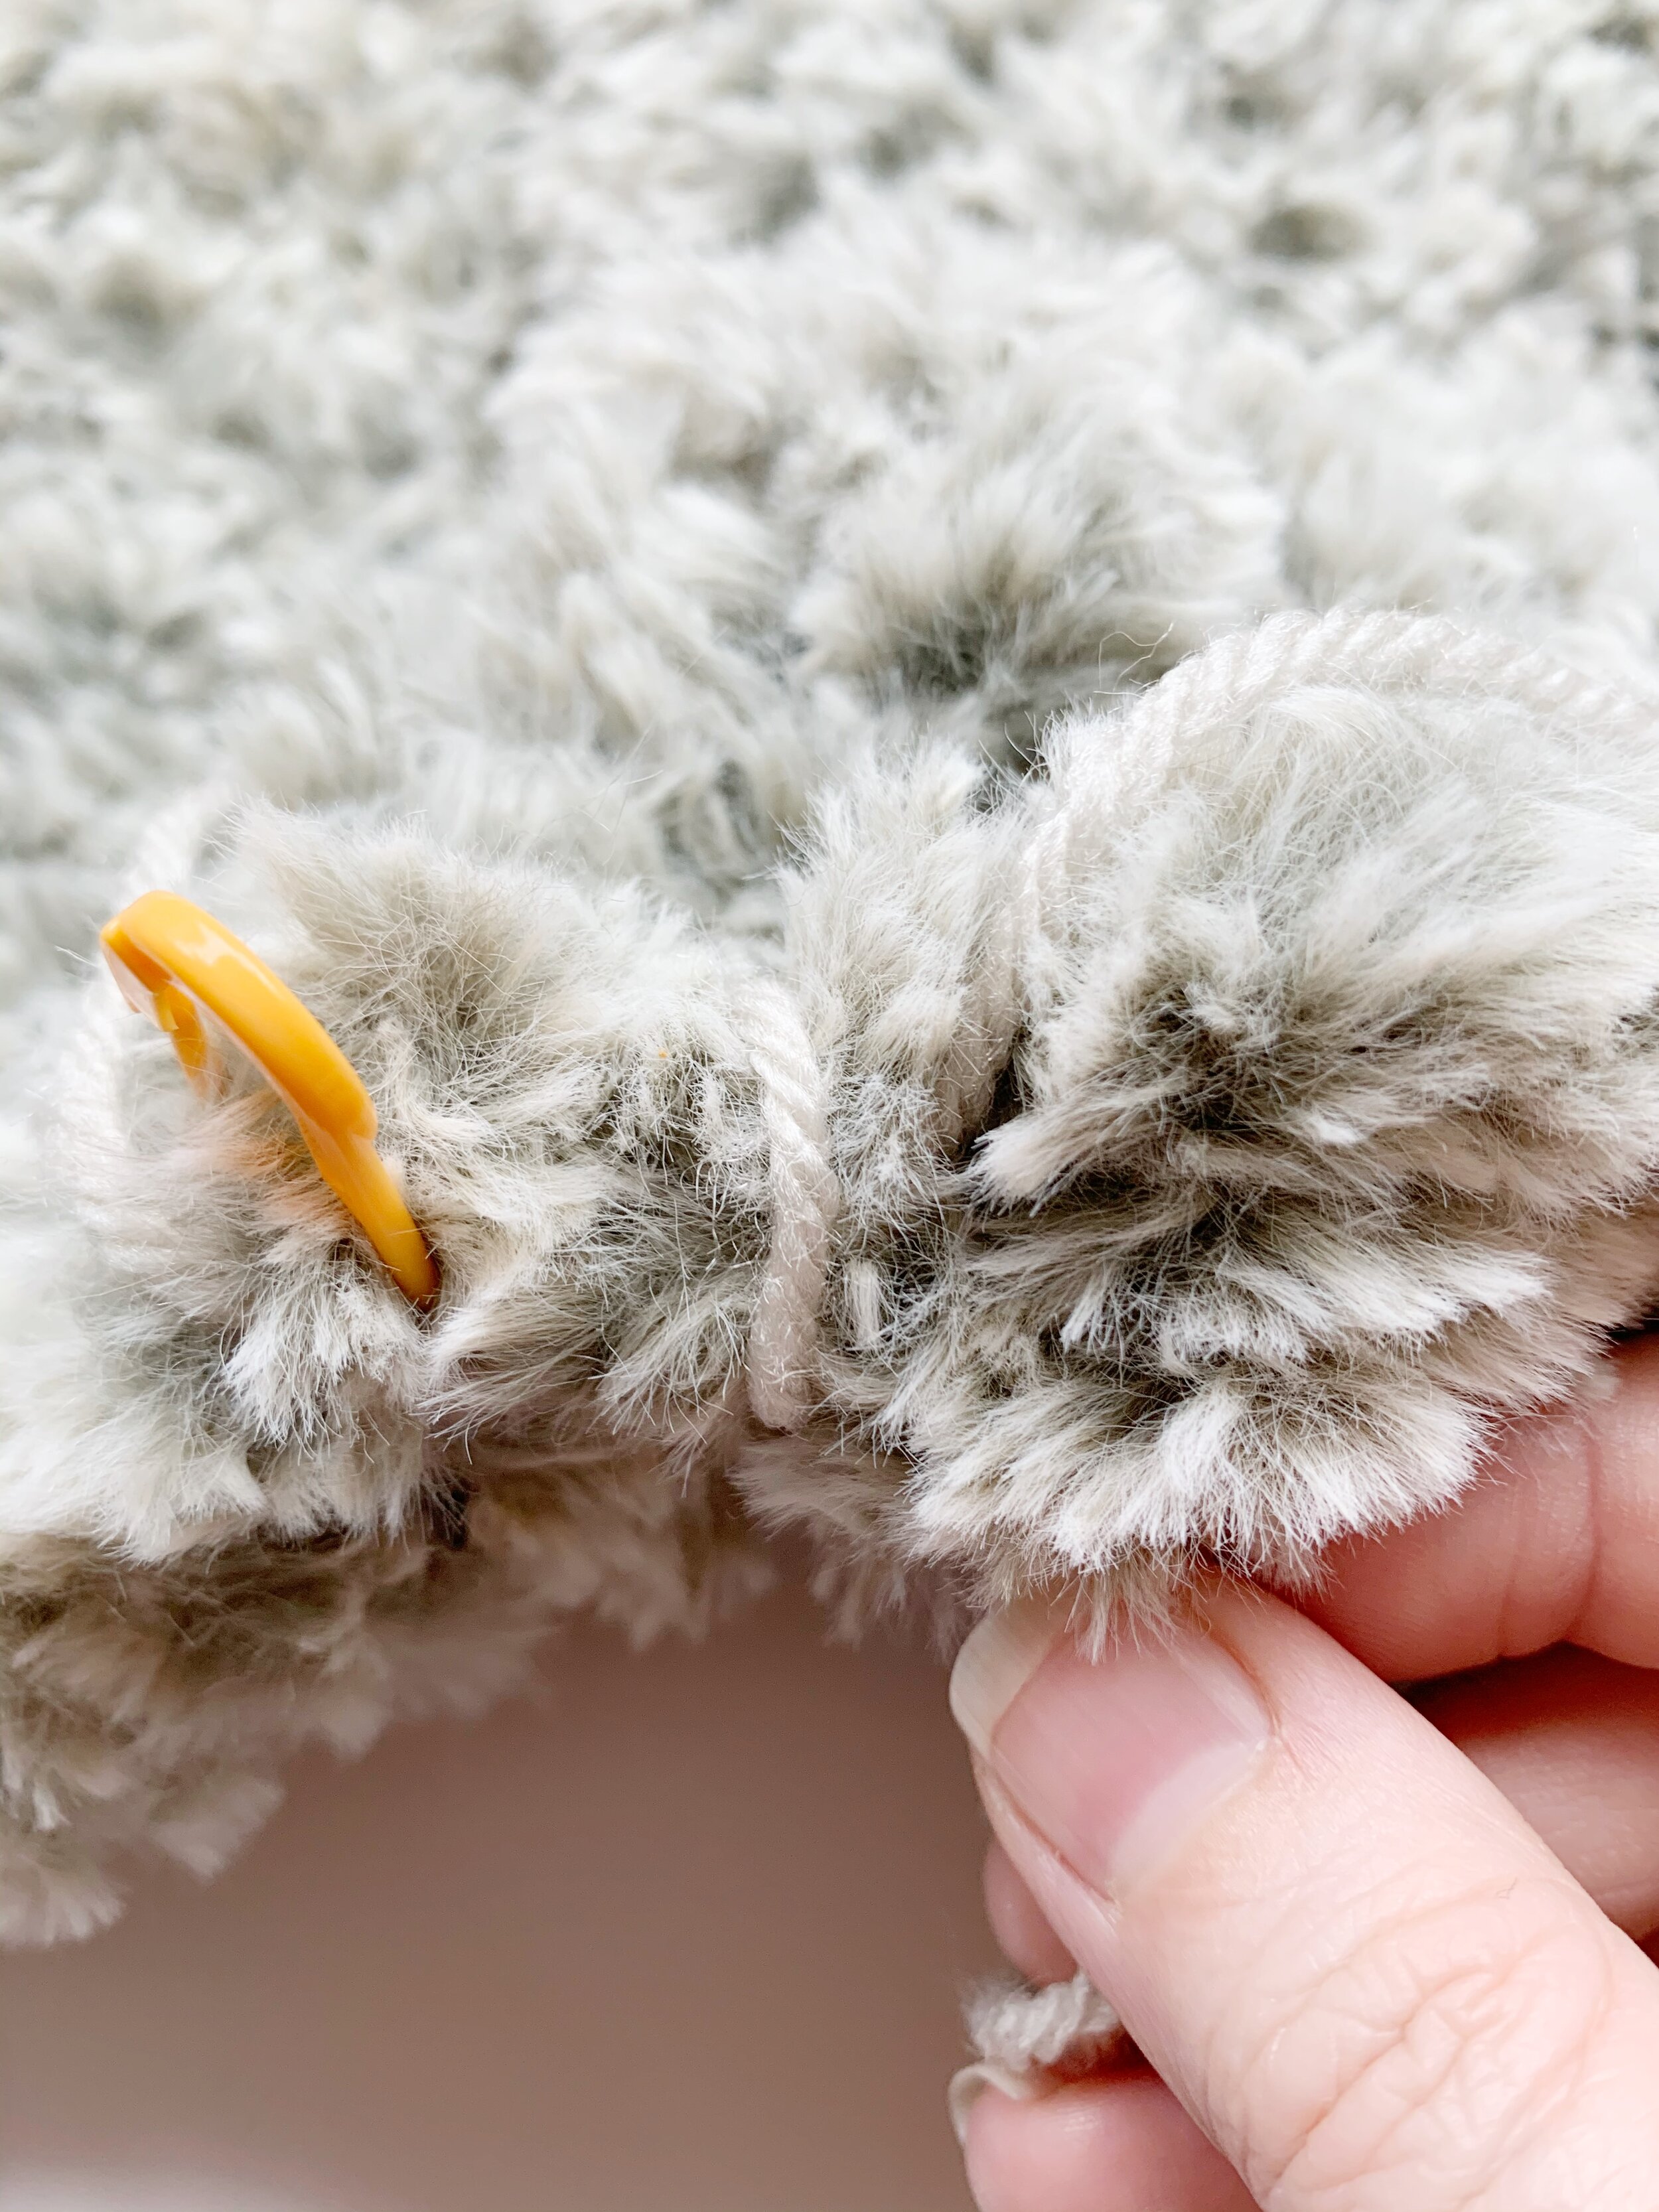
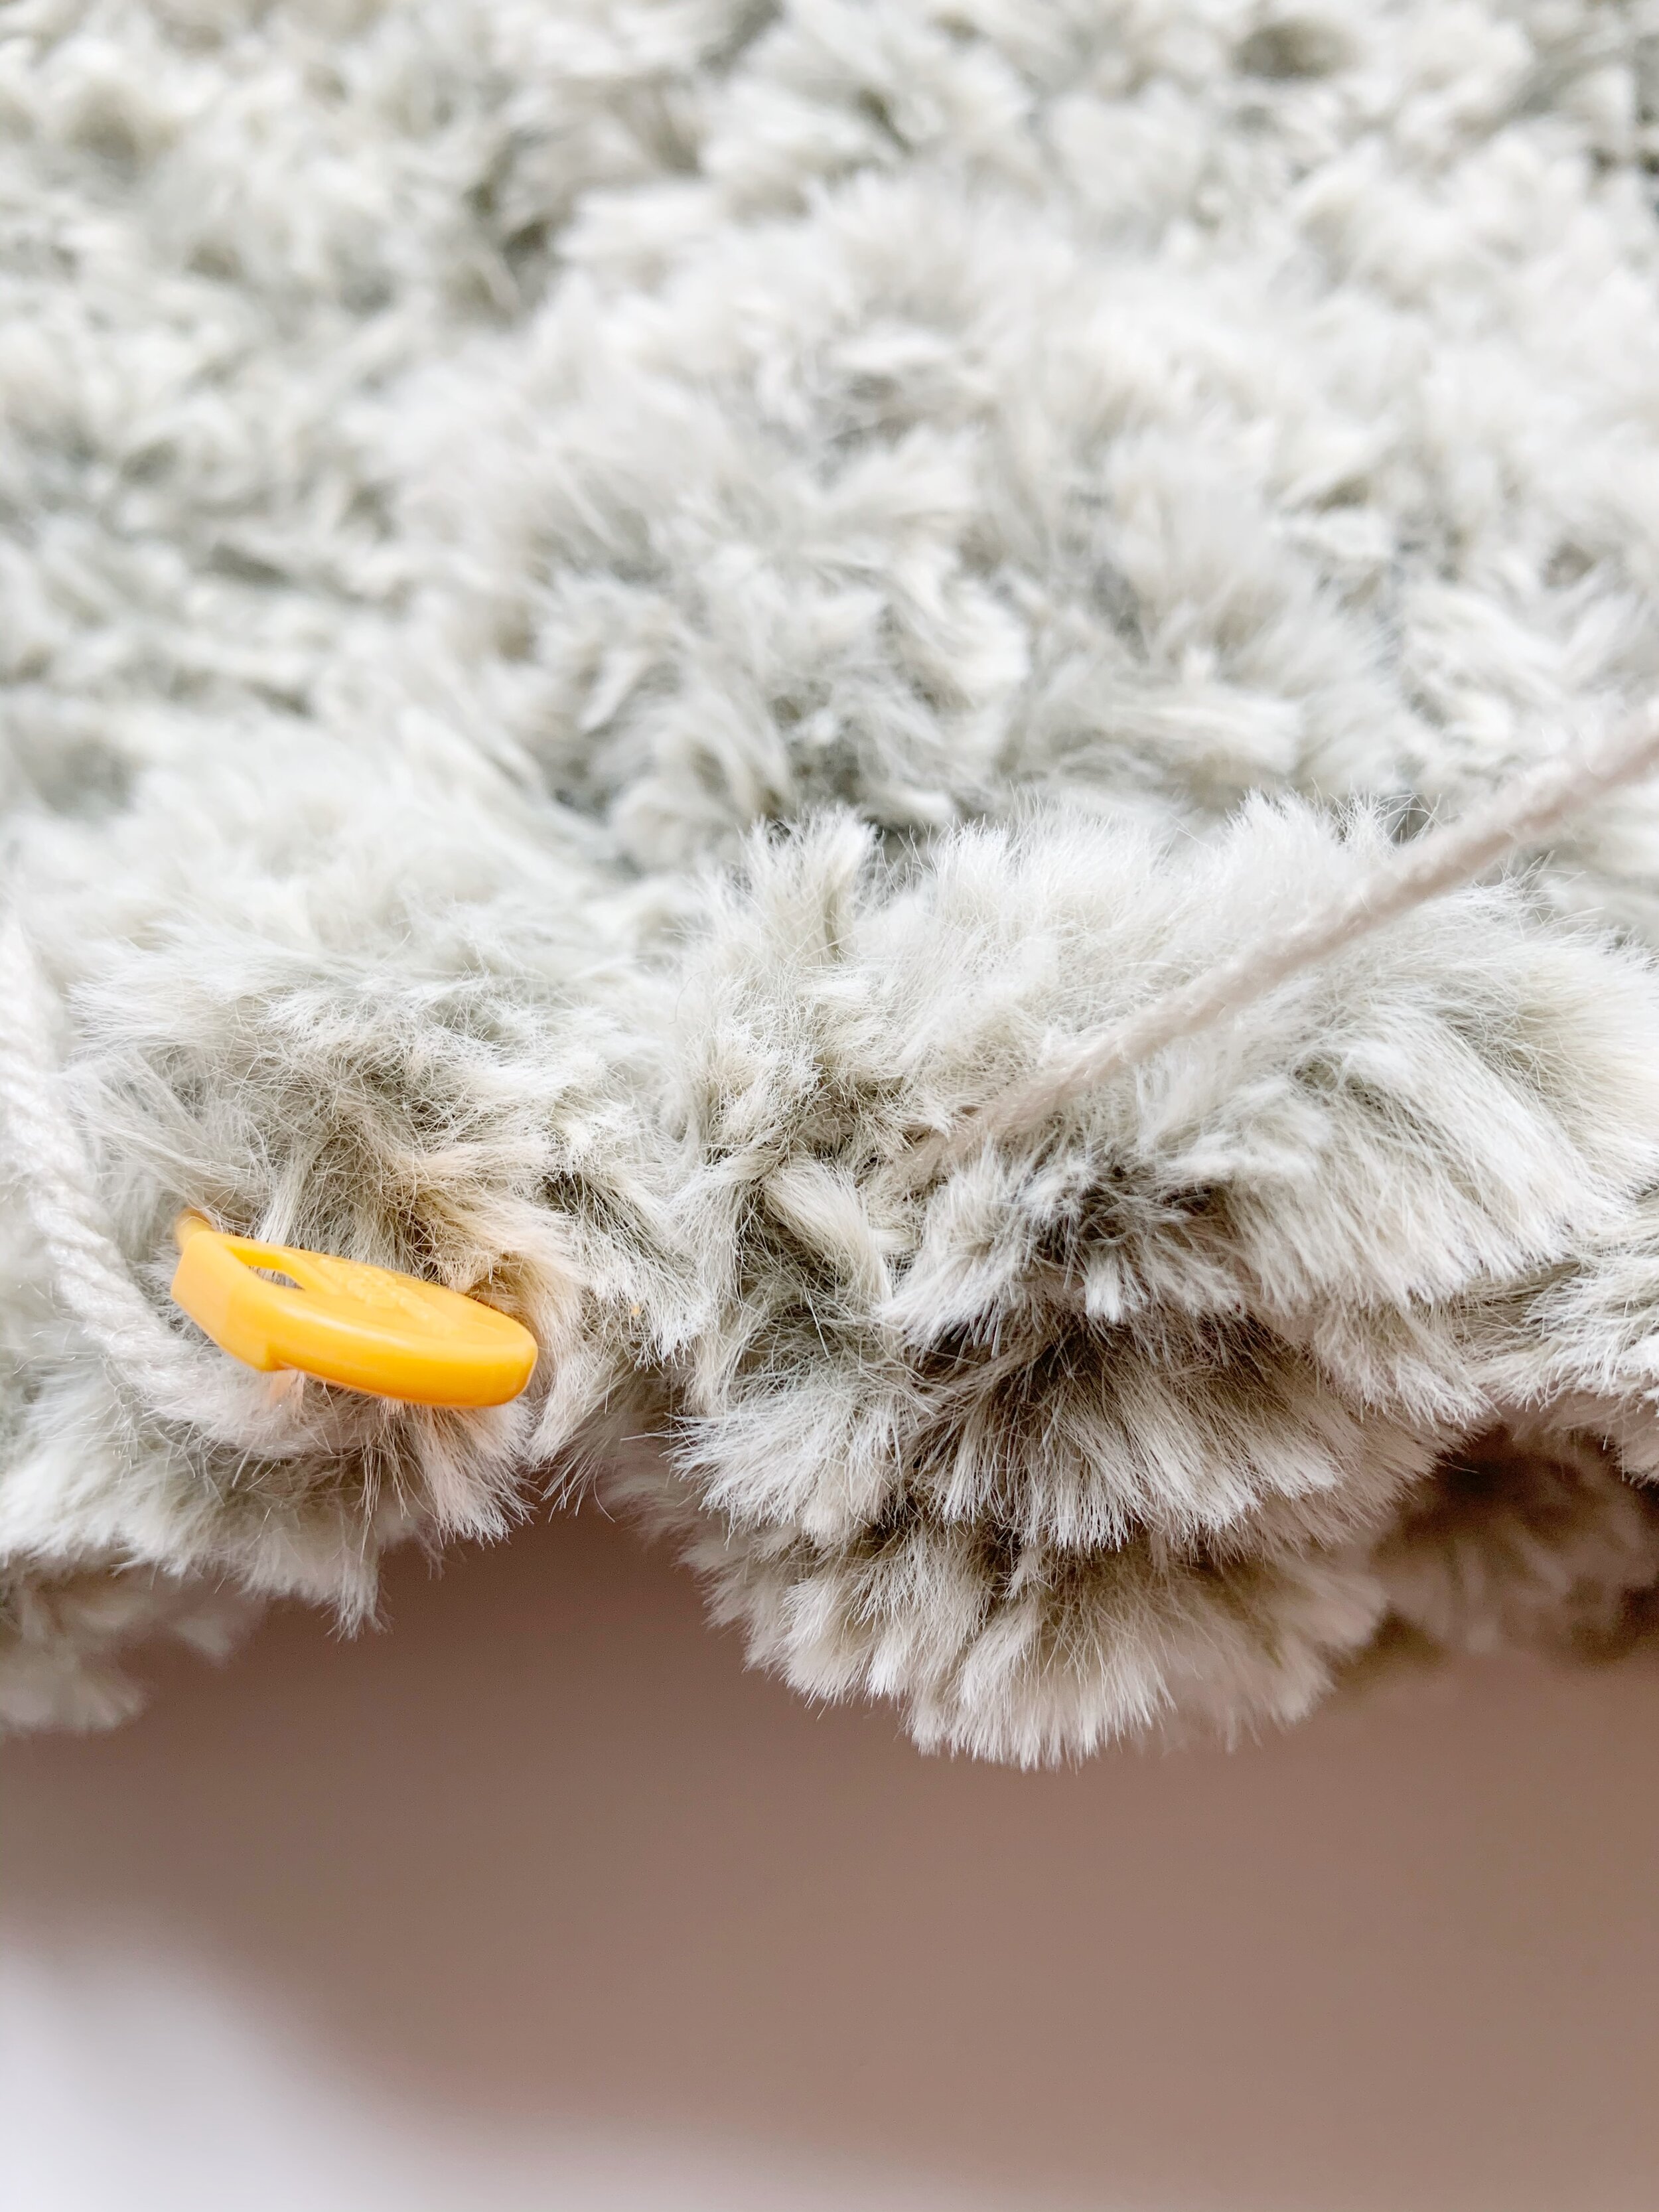
10. You can either leave the scarf as is, or turn it into a pocket scarf. To make the pockets, you will fold up each end of the scarf by about 11 inches. Then using a small amount of worsted weight yarn, in a matching color, and a tapestry needle, tie a knot to connect the end of the scarf to the side of the scarf to hold it in place. Then whip stitch down the edge of the scar to the fold. Repeat on the other side of the pocket and then with the other end of the scarf. Weave in ends of the worsted weight yarn on the inside of the pocket.
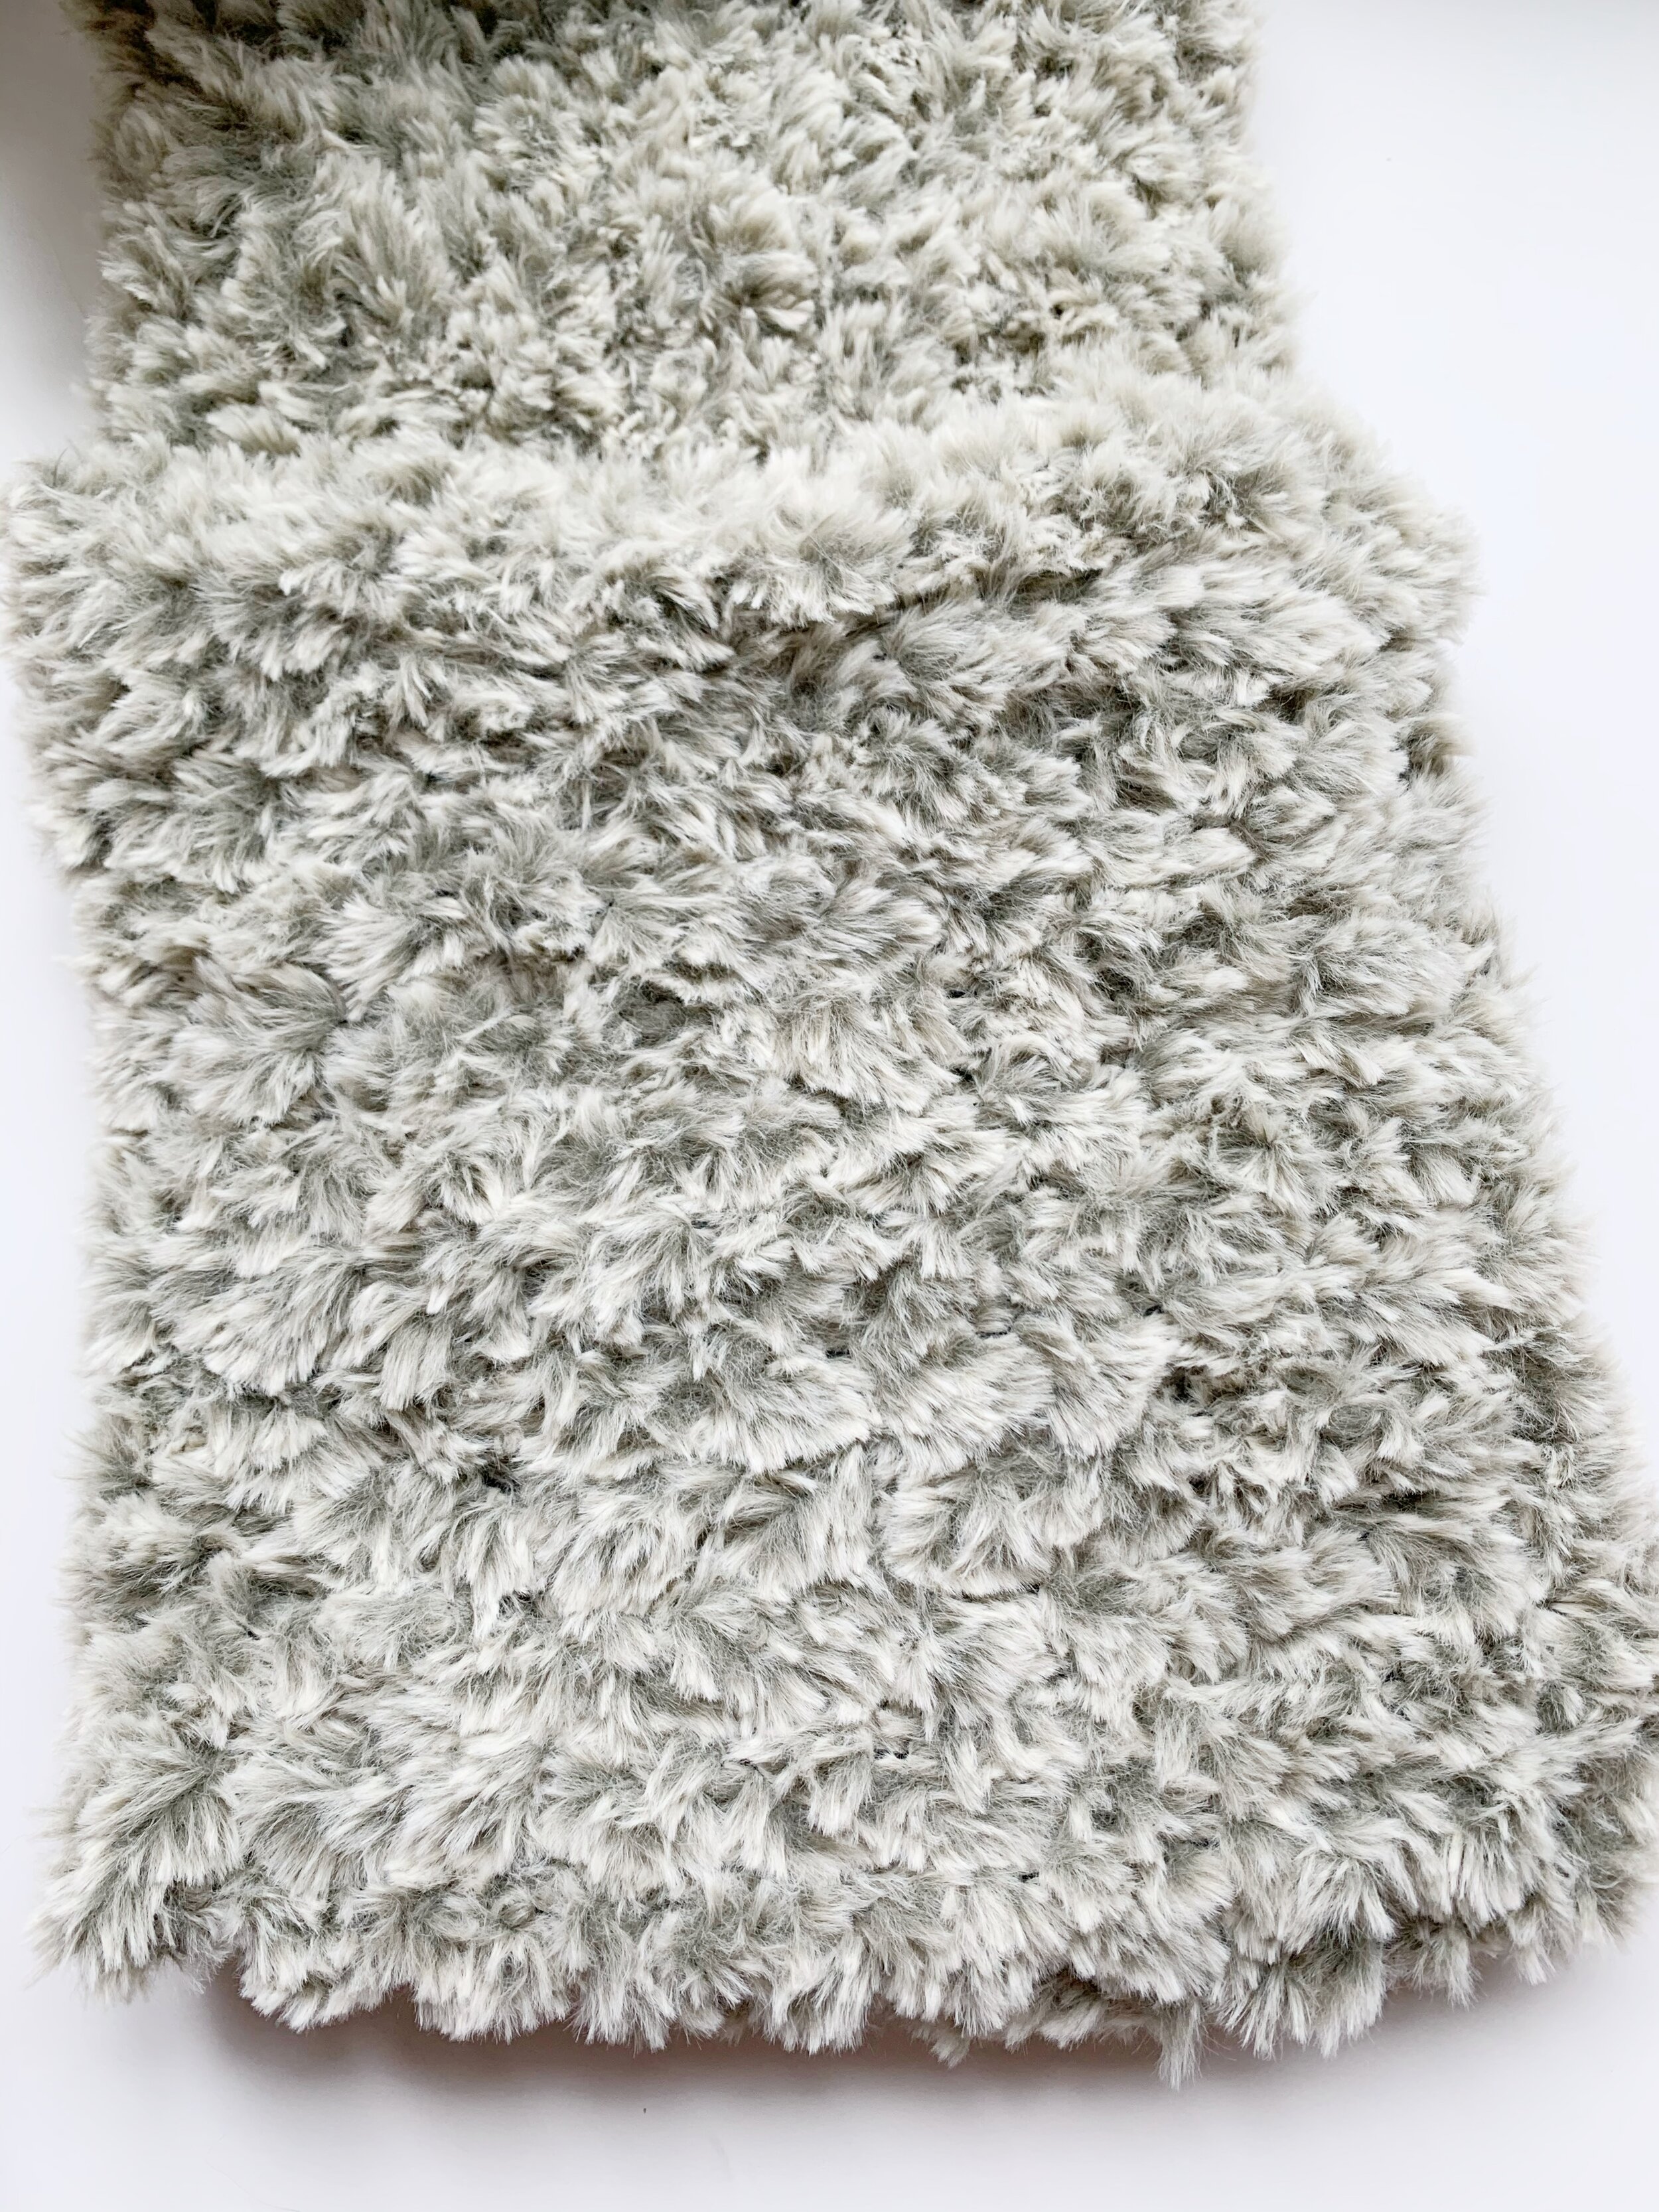

11. Enjoy your brand new faux fur pocket scarf!
I hope you enjoyed this tutorial. If you give this pocket scarf a try I’d love to see it. Make sure to tag me @meghanmakesdo and use #meghanmakesdo on social media.
Happy Crafting!
Meghan