
The Dakota Beanie- Free Crochet Pattern
Get ready to master the crochet cable stitch with this gorgeous hat pattern. The simple repeats and step by step video and photo instructions will have you making cables like a pro. Find the free pattern below or grab a digital PDF in my shop.

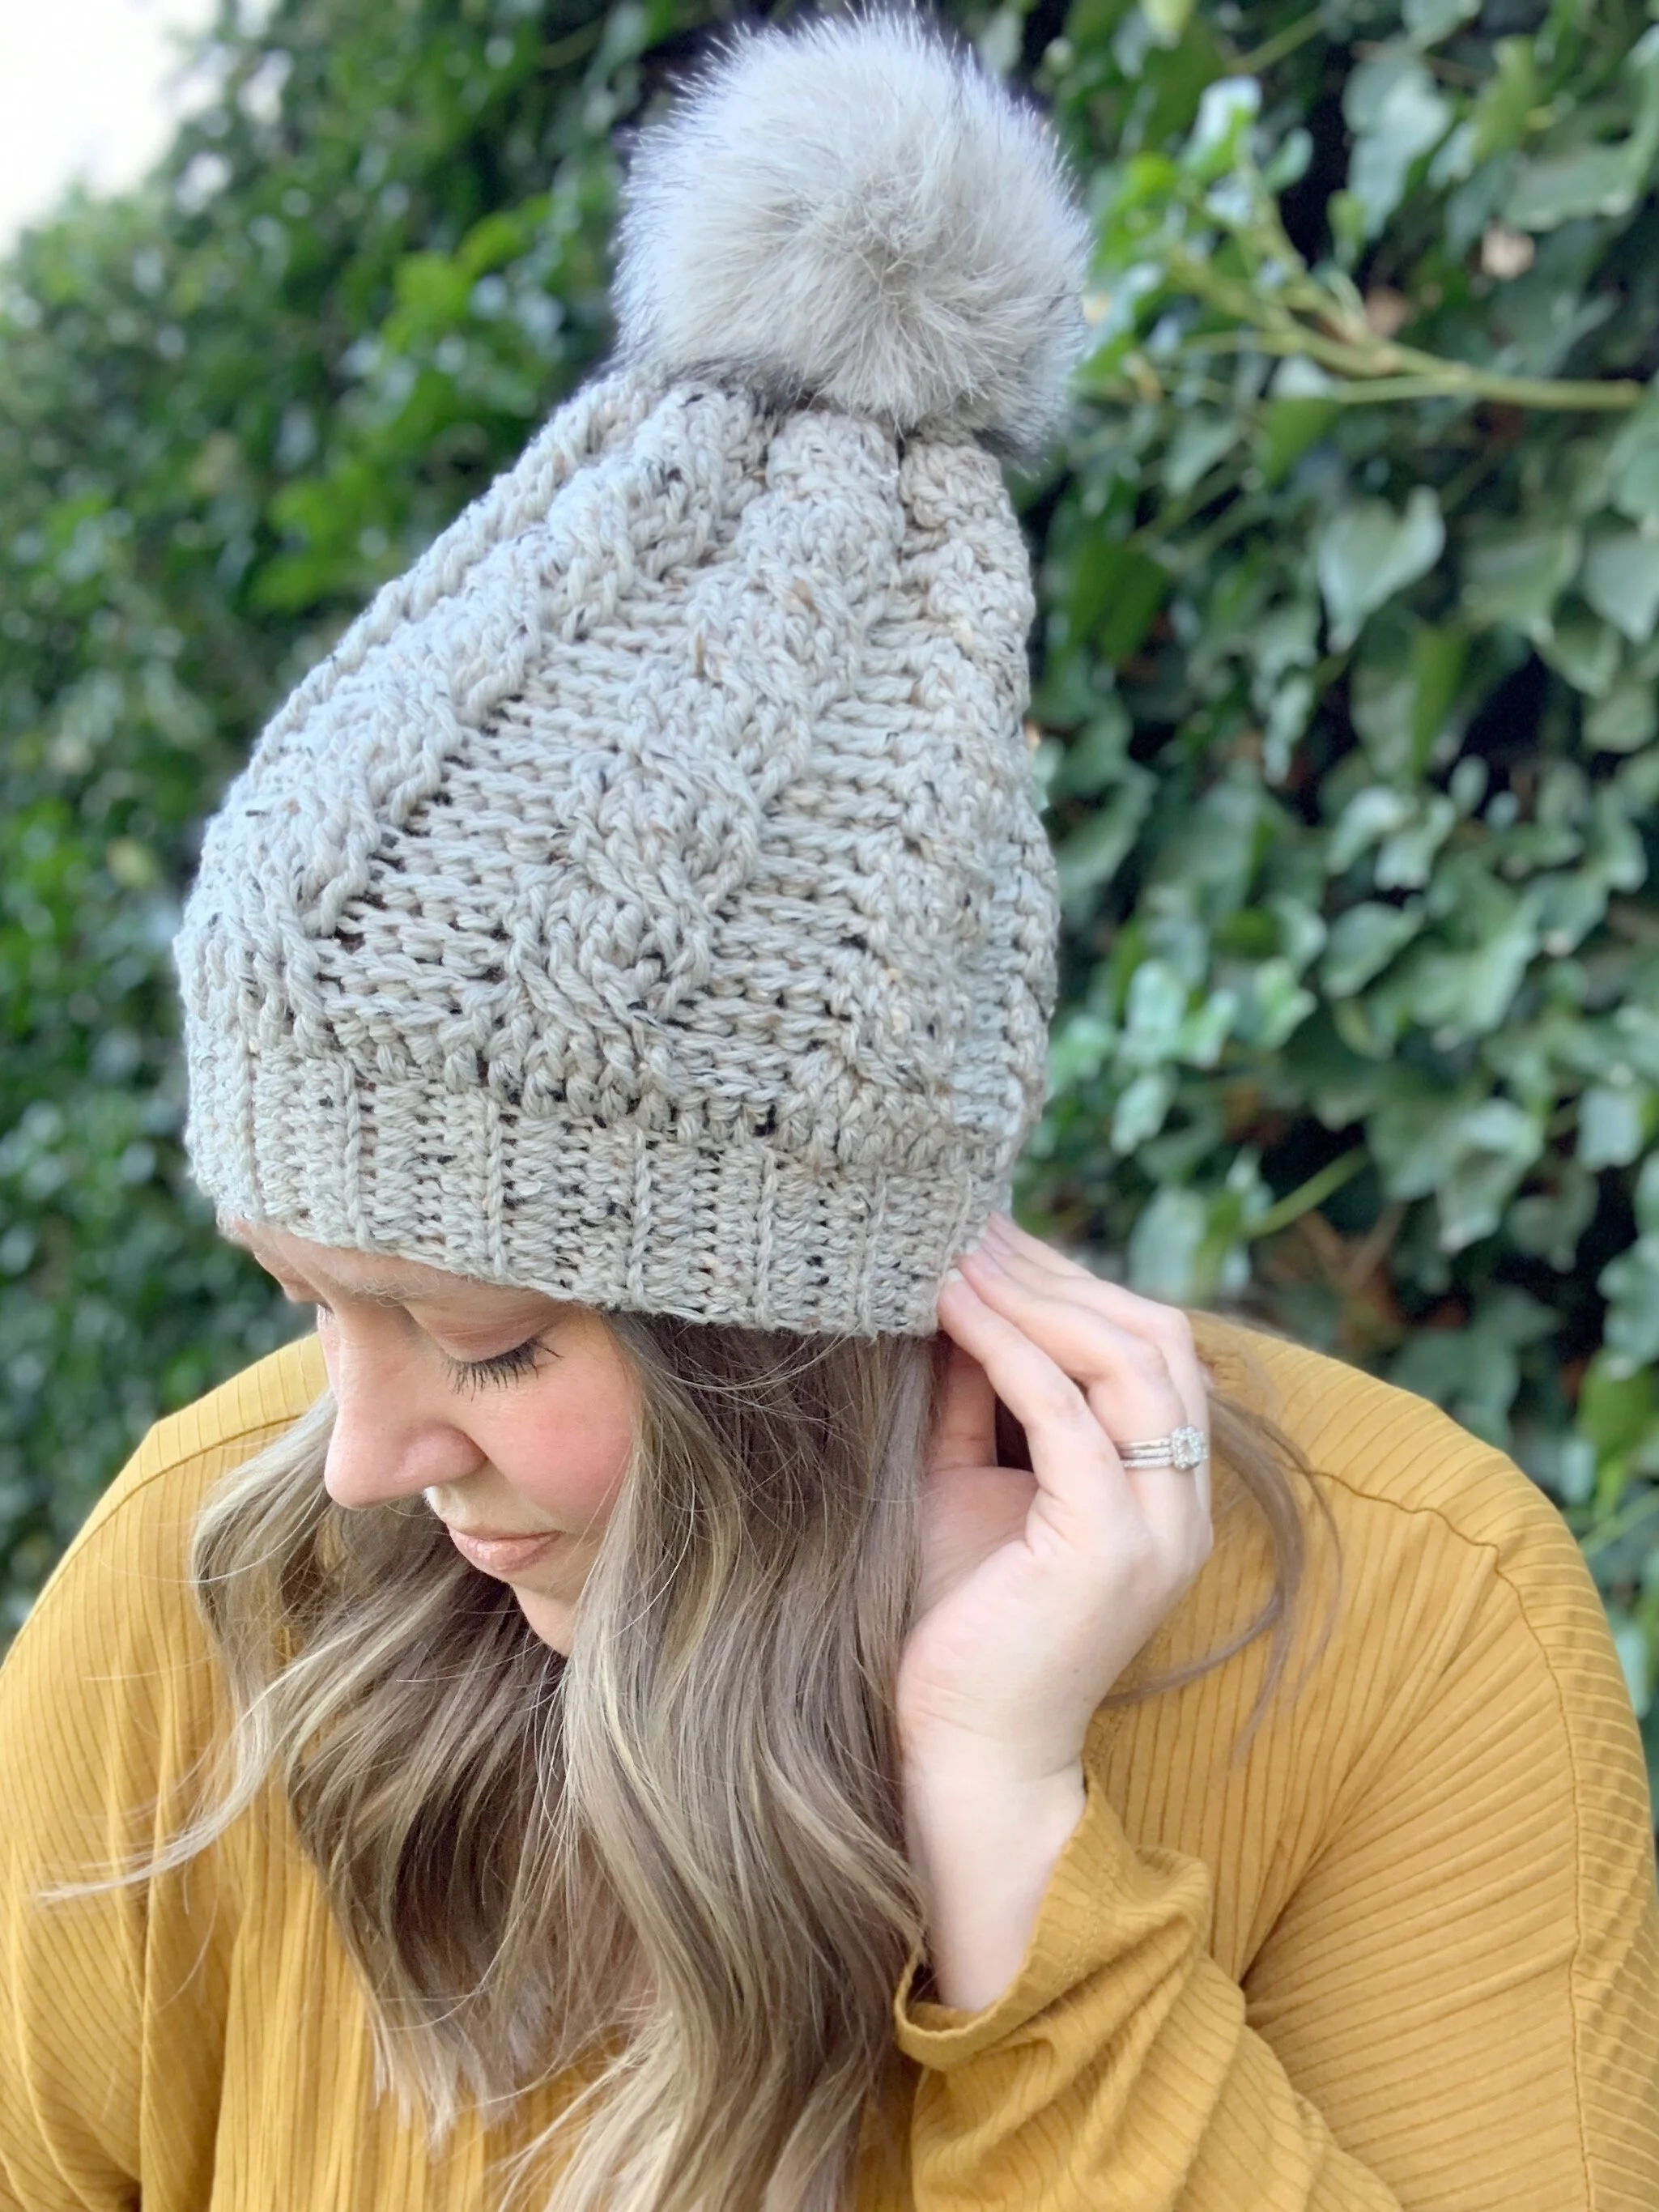
Back when I was doing craft shows and selling finished crochet pieces, one of my best sellers was always my Dakota Beanie. It’s the perfect winter hat and looks great on everyone. Now that I’m done selling finished crochet items I wanted to share this beautiful design with all of you!
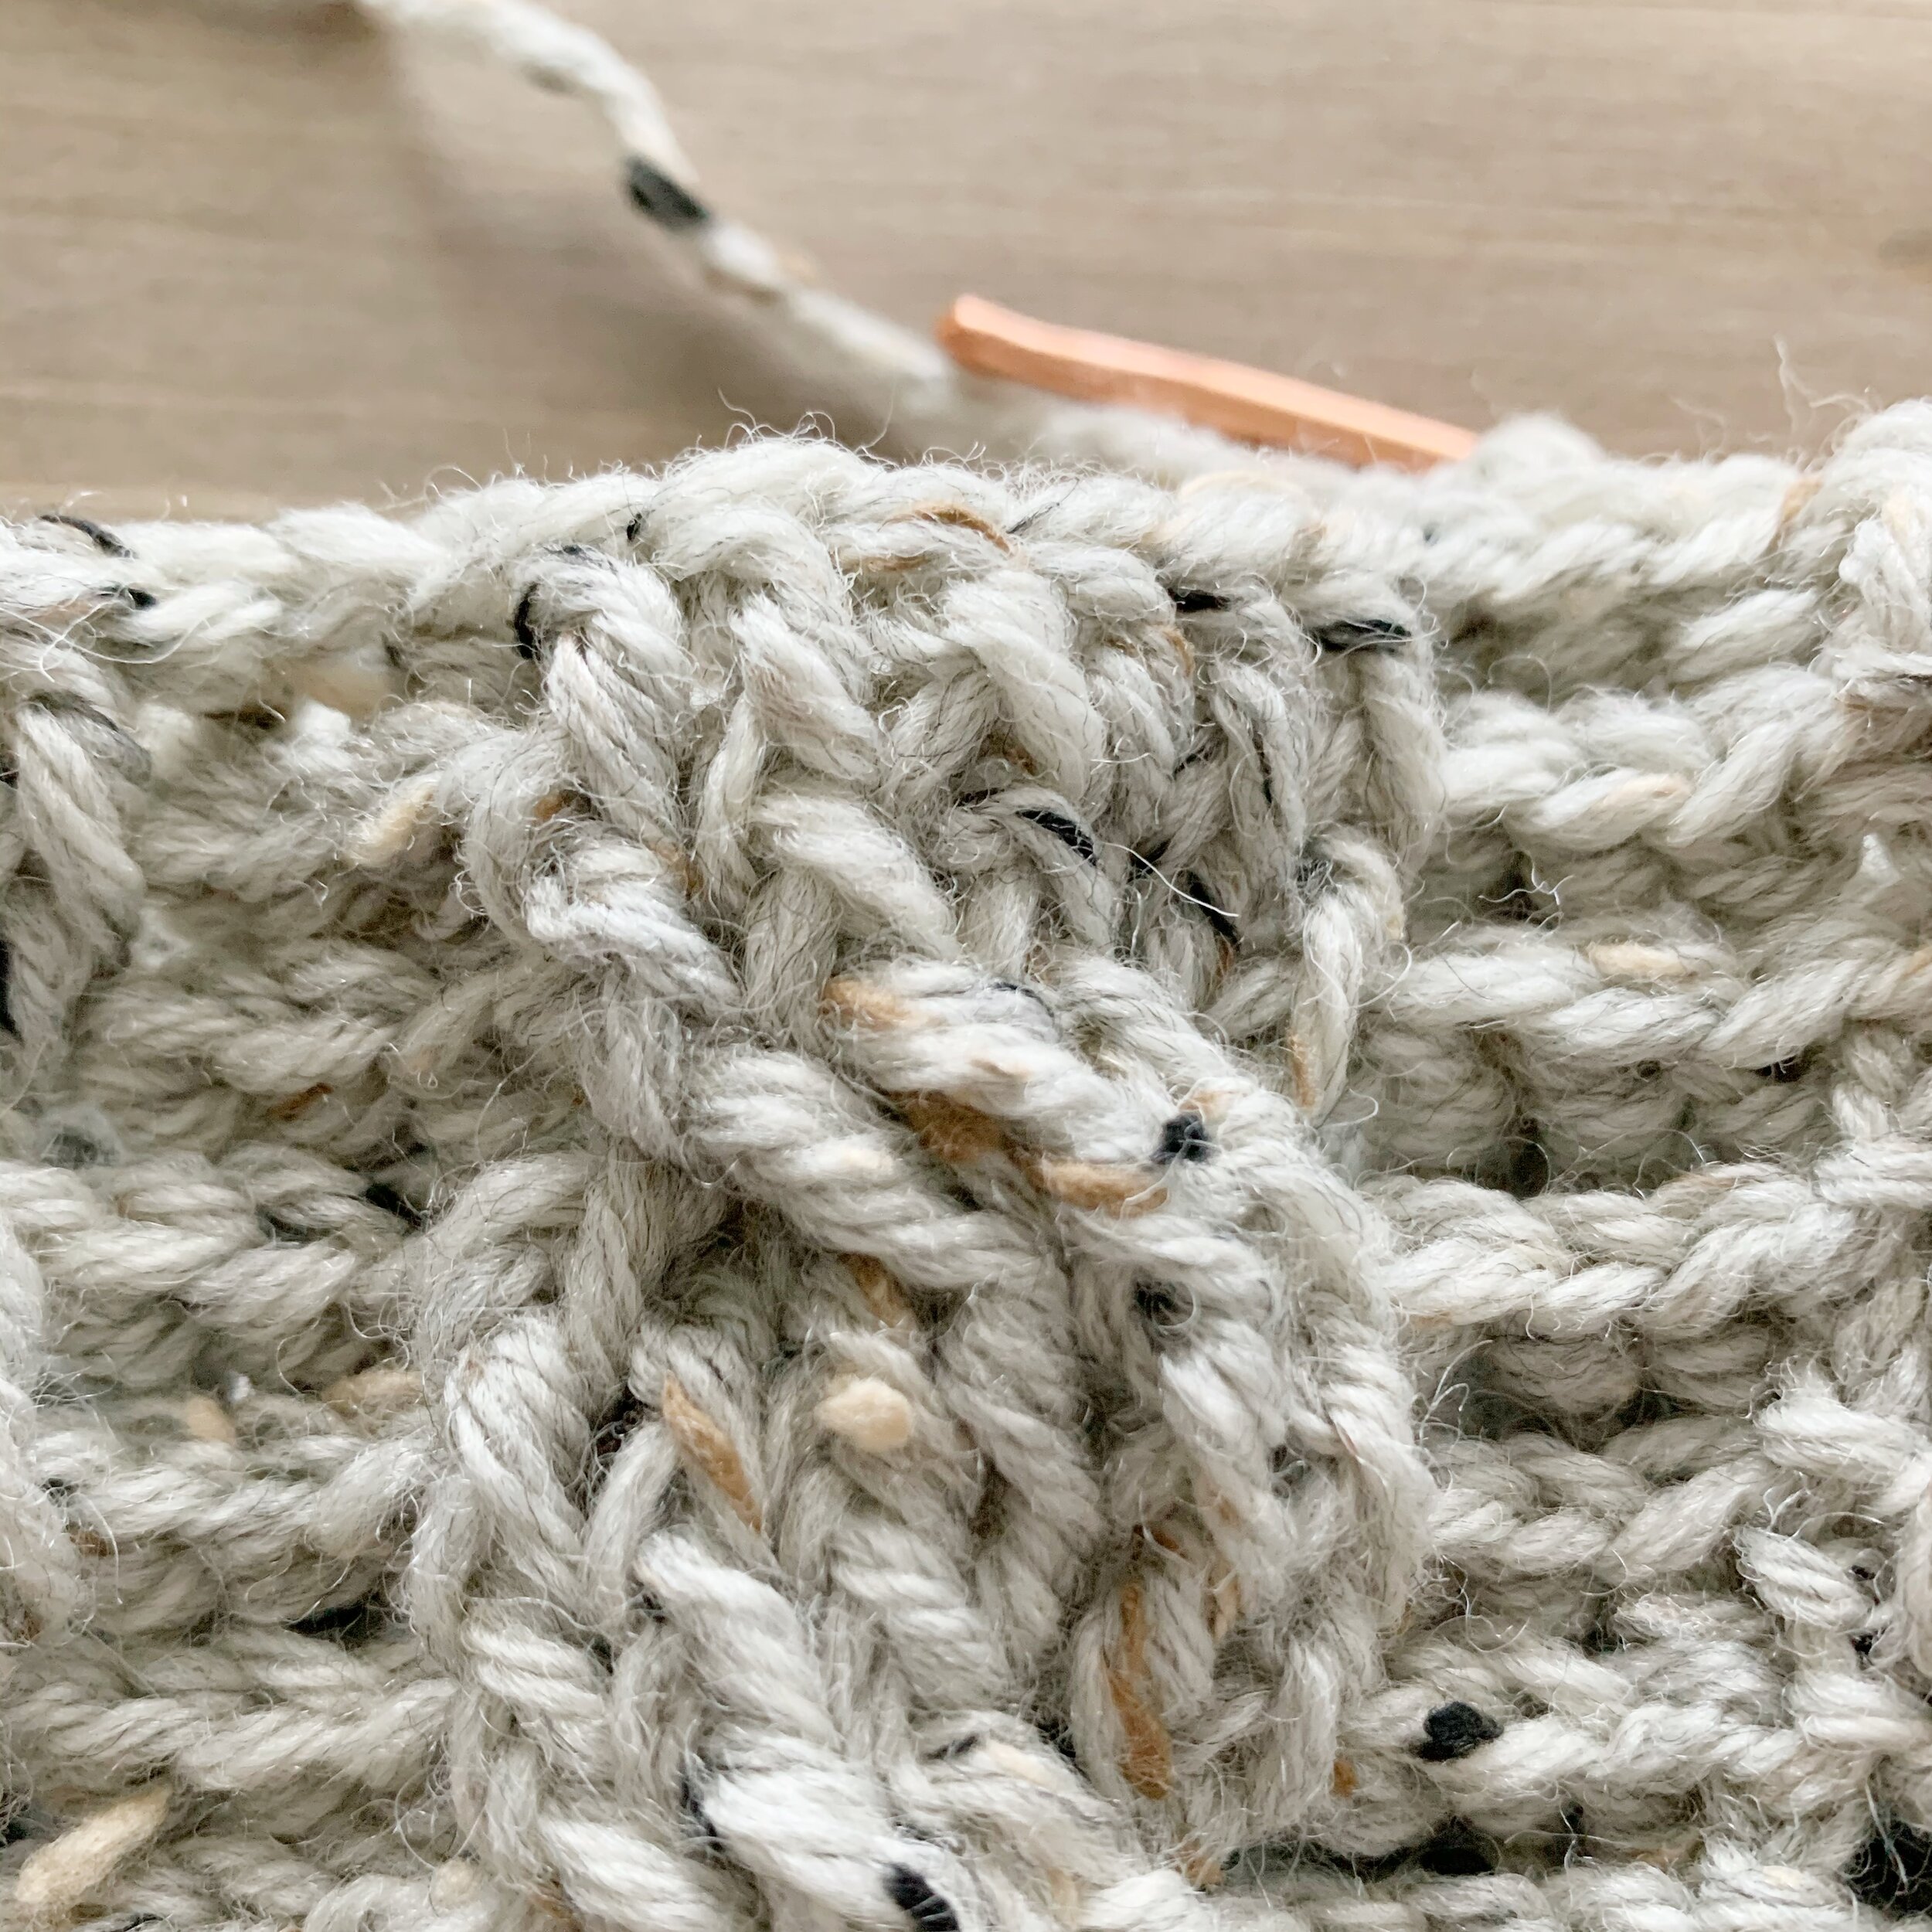
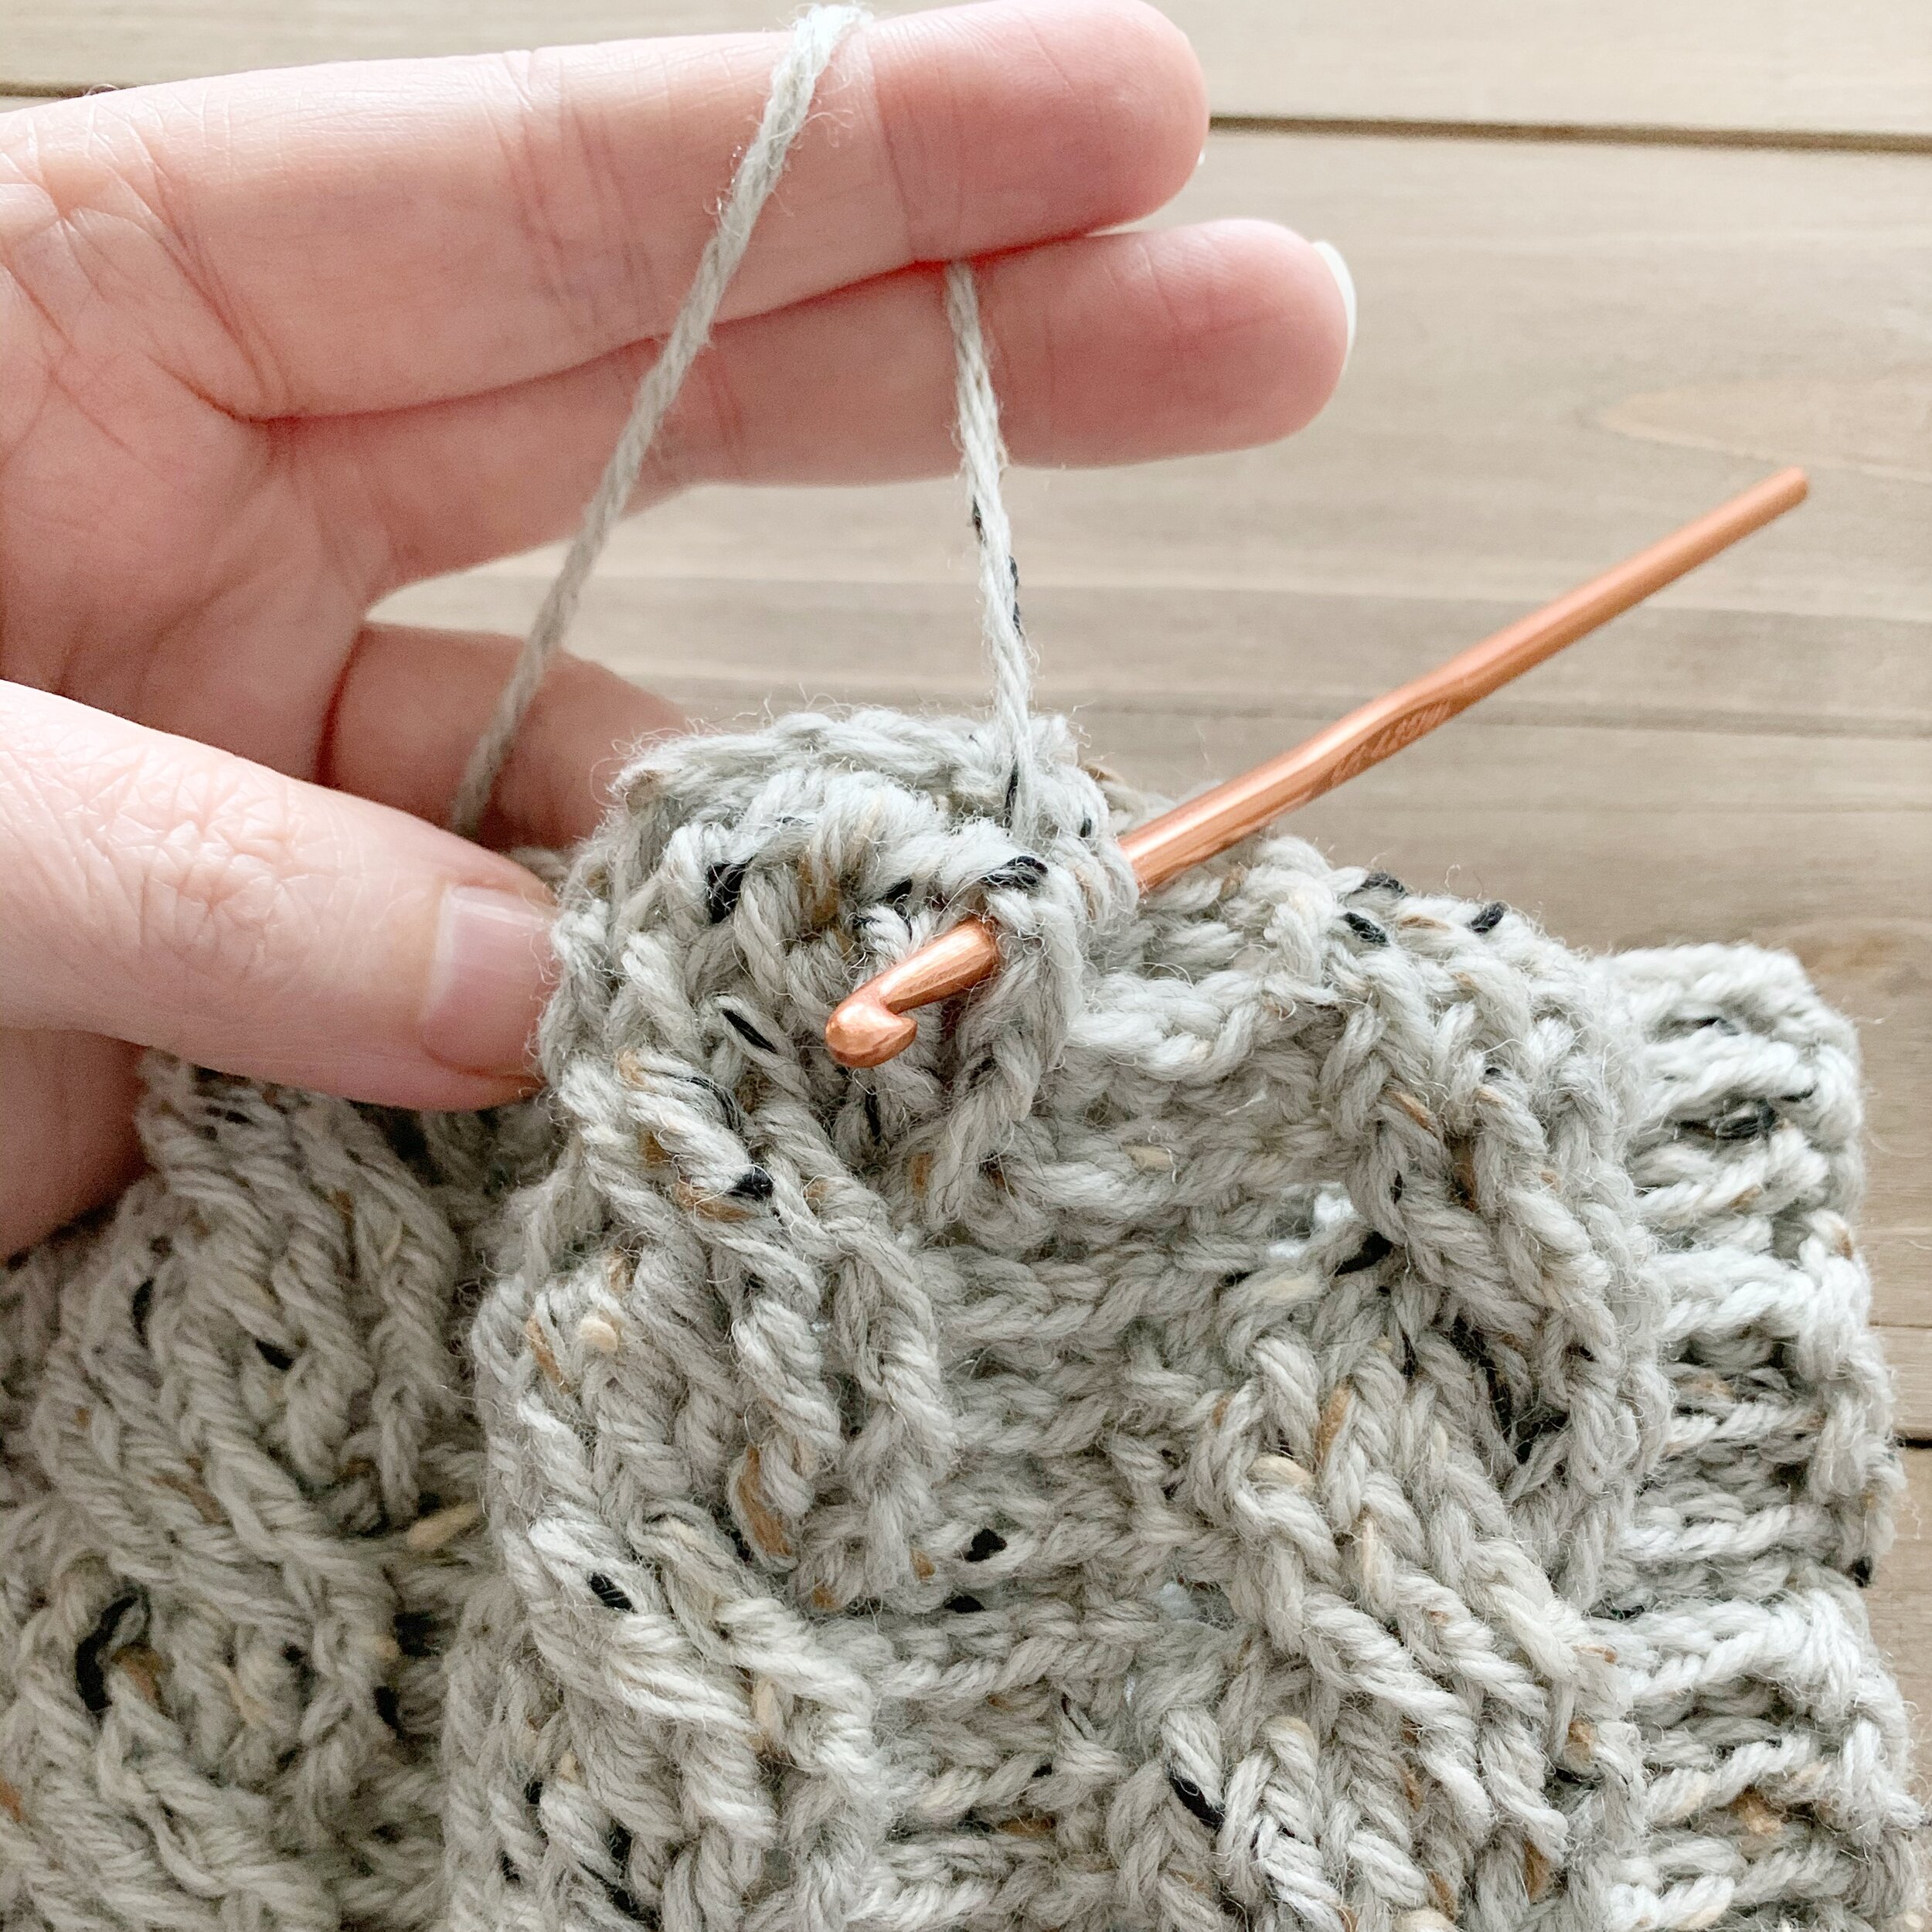
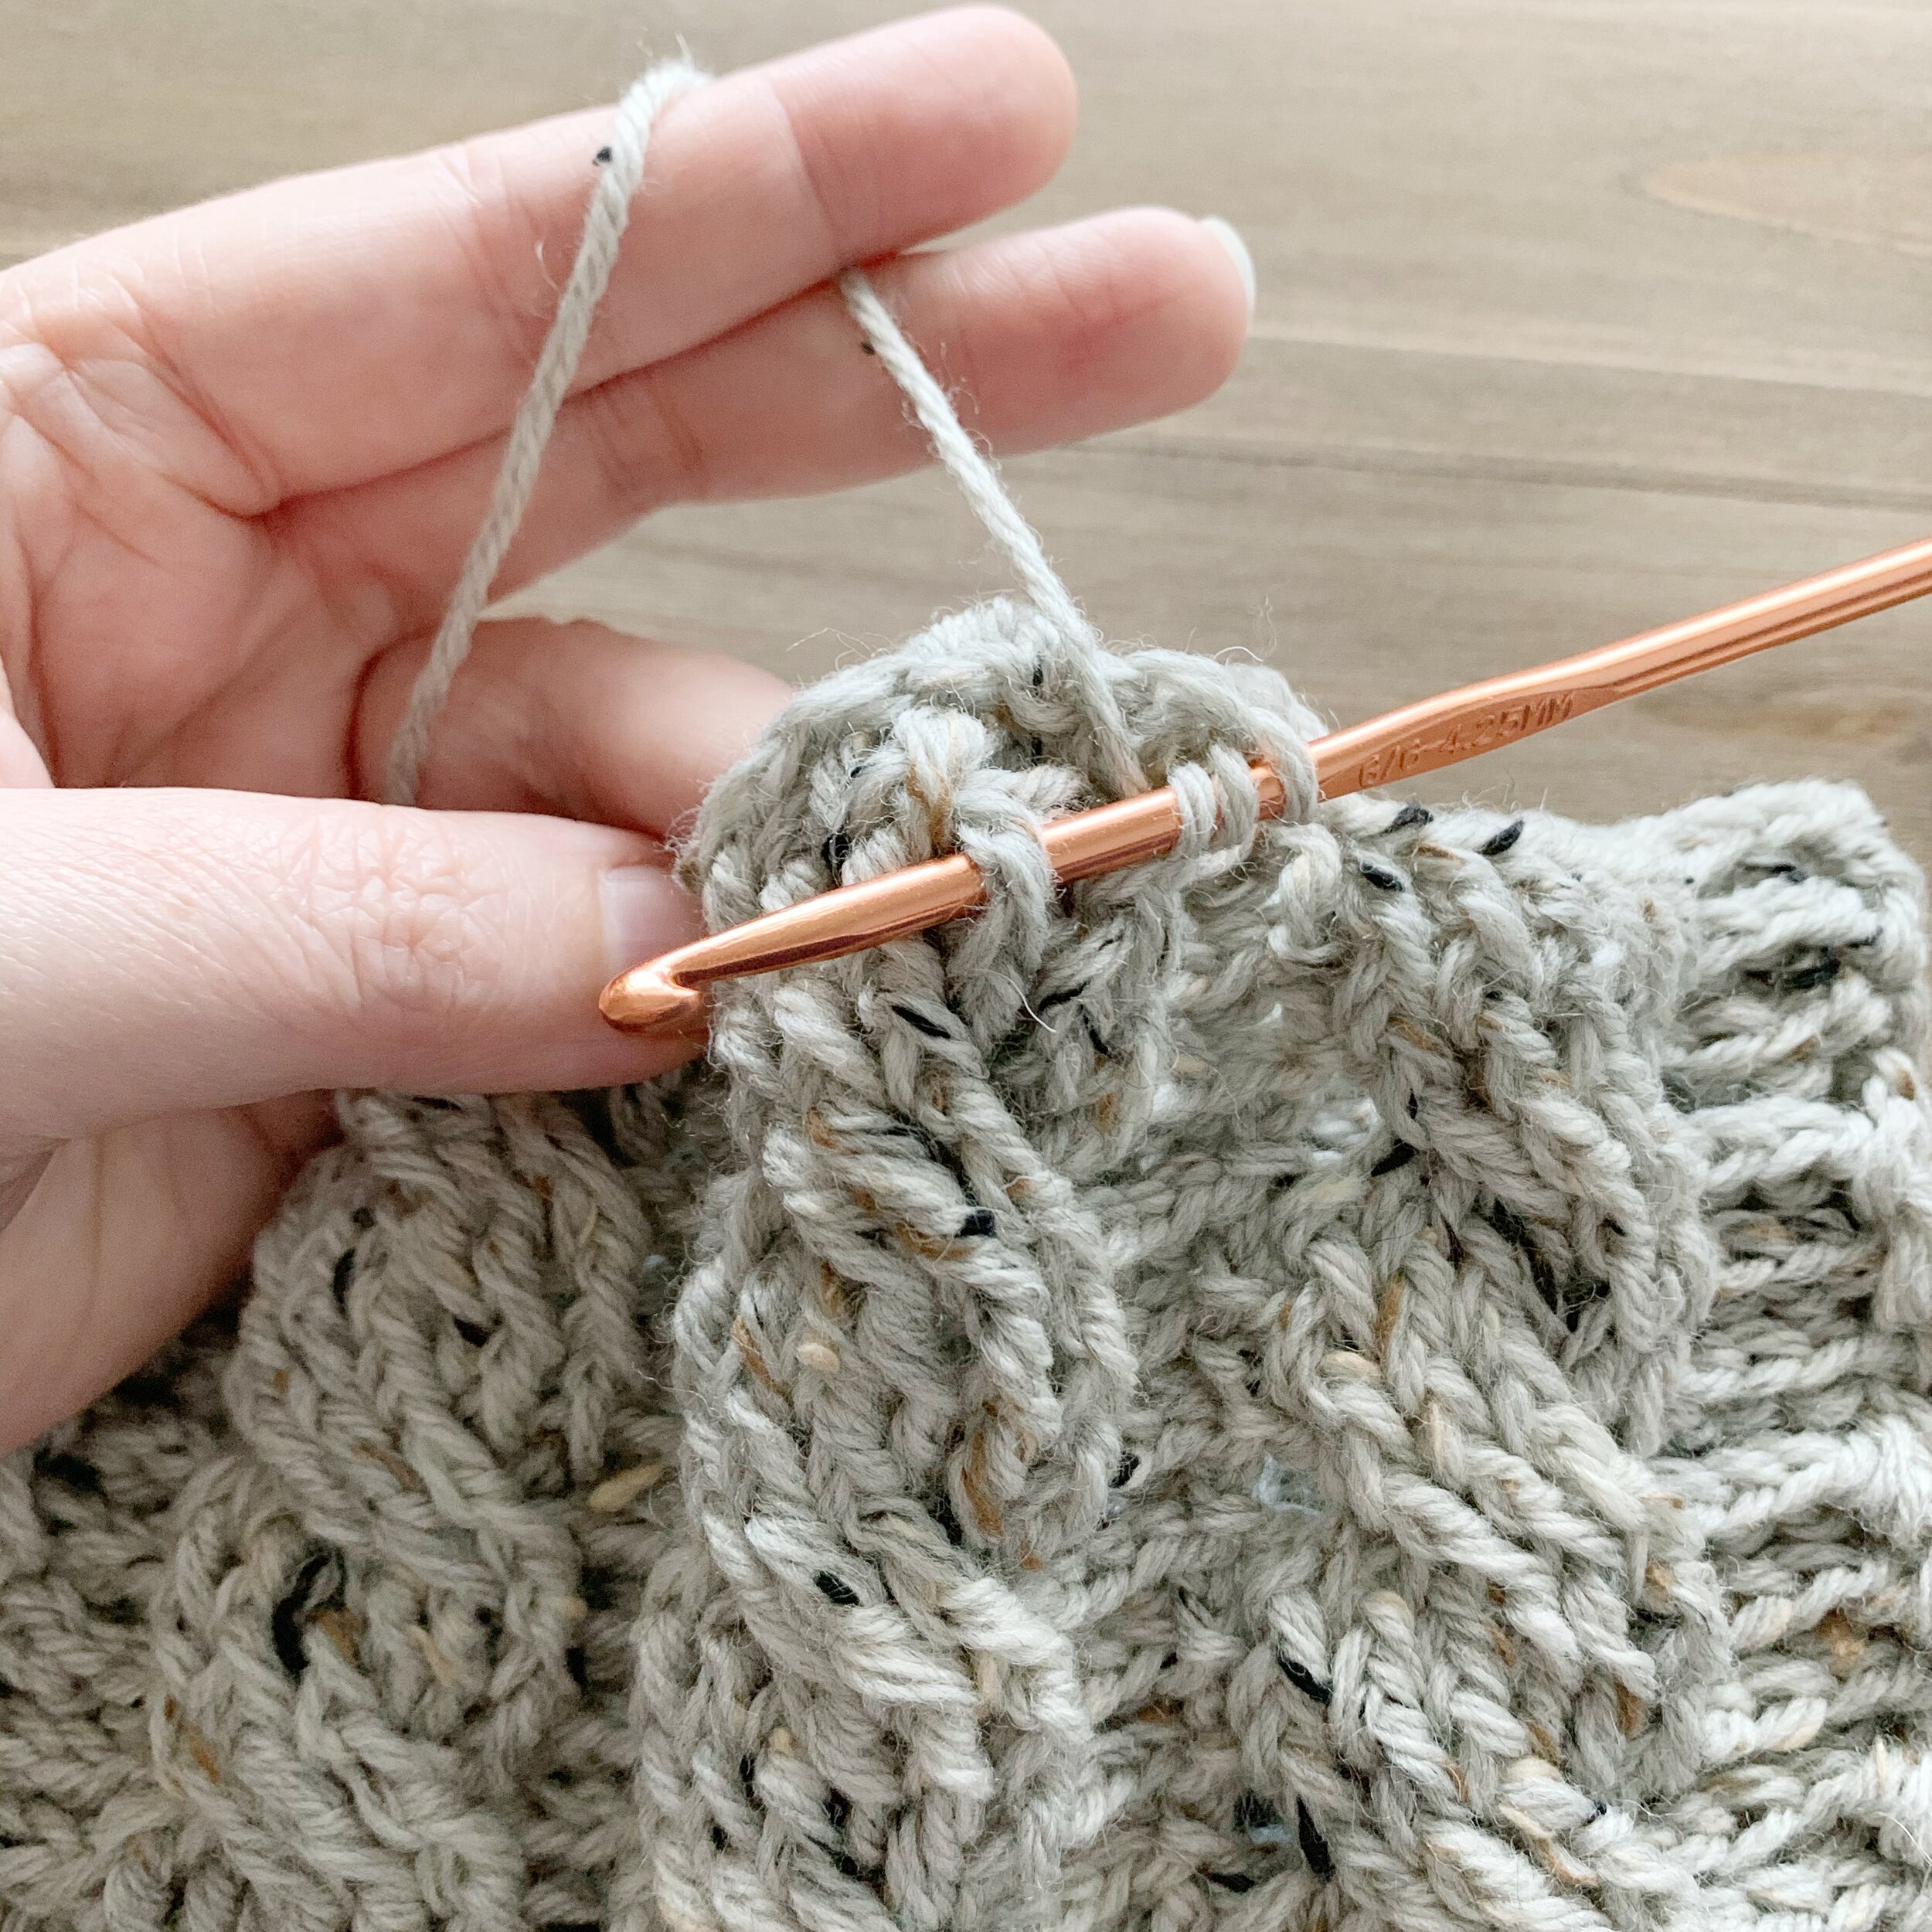
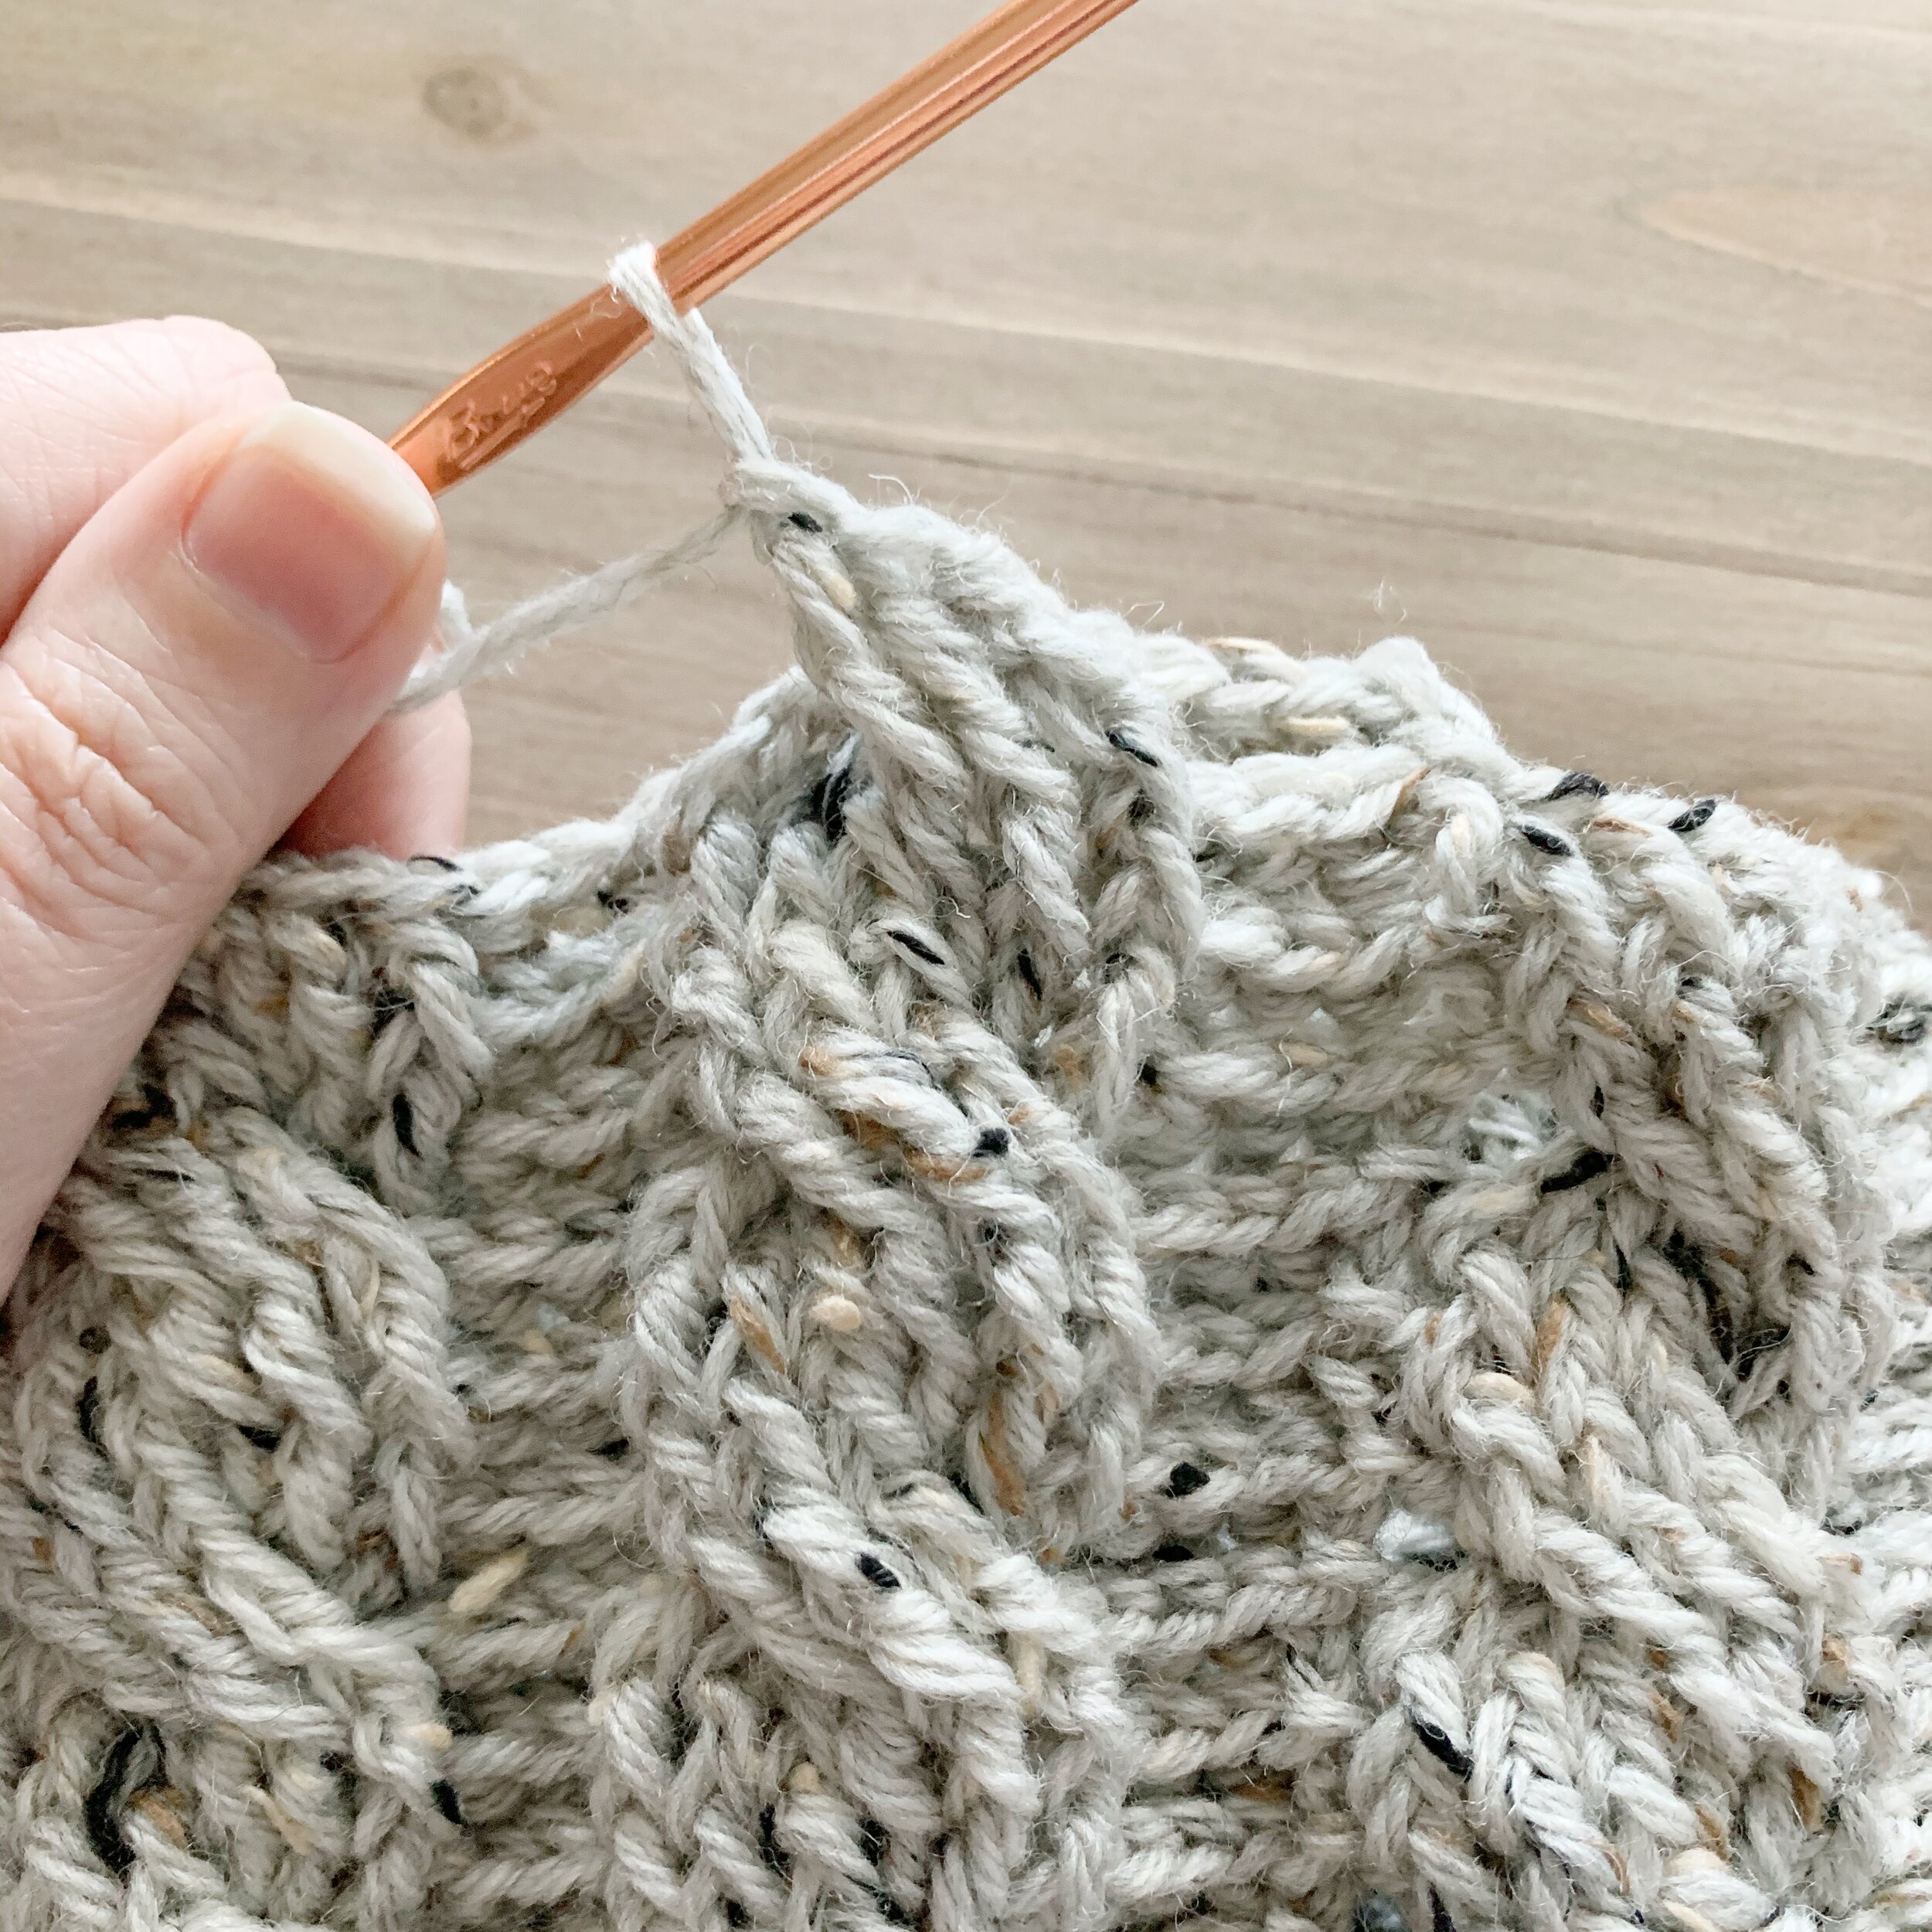
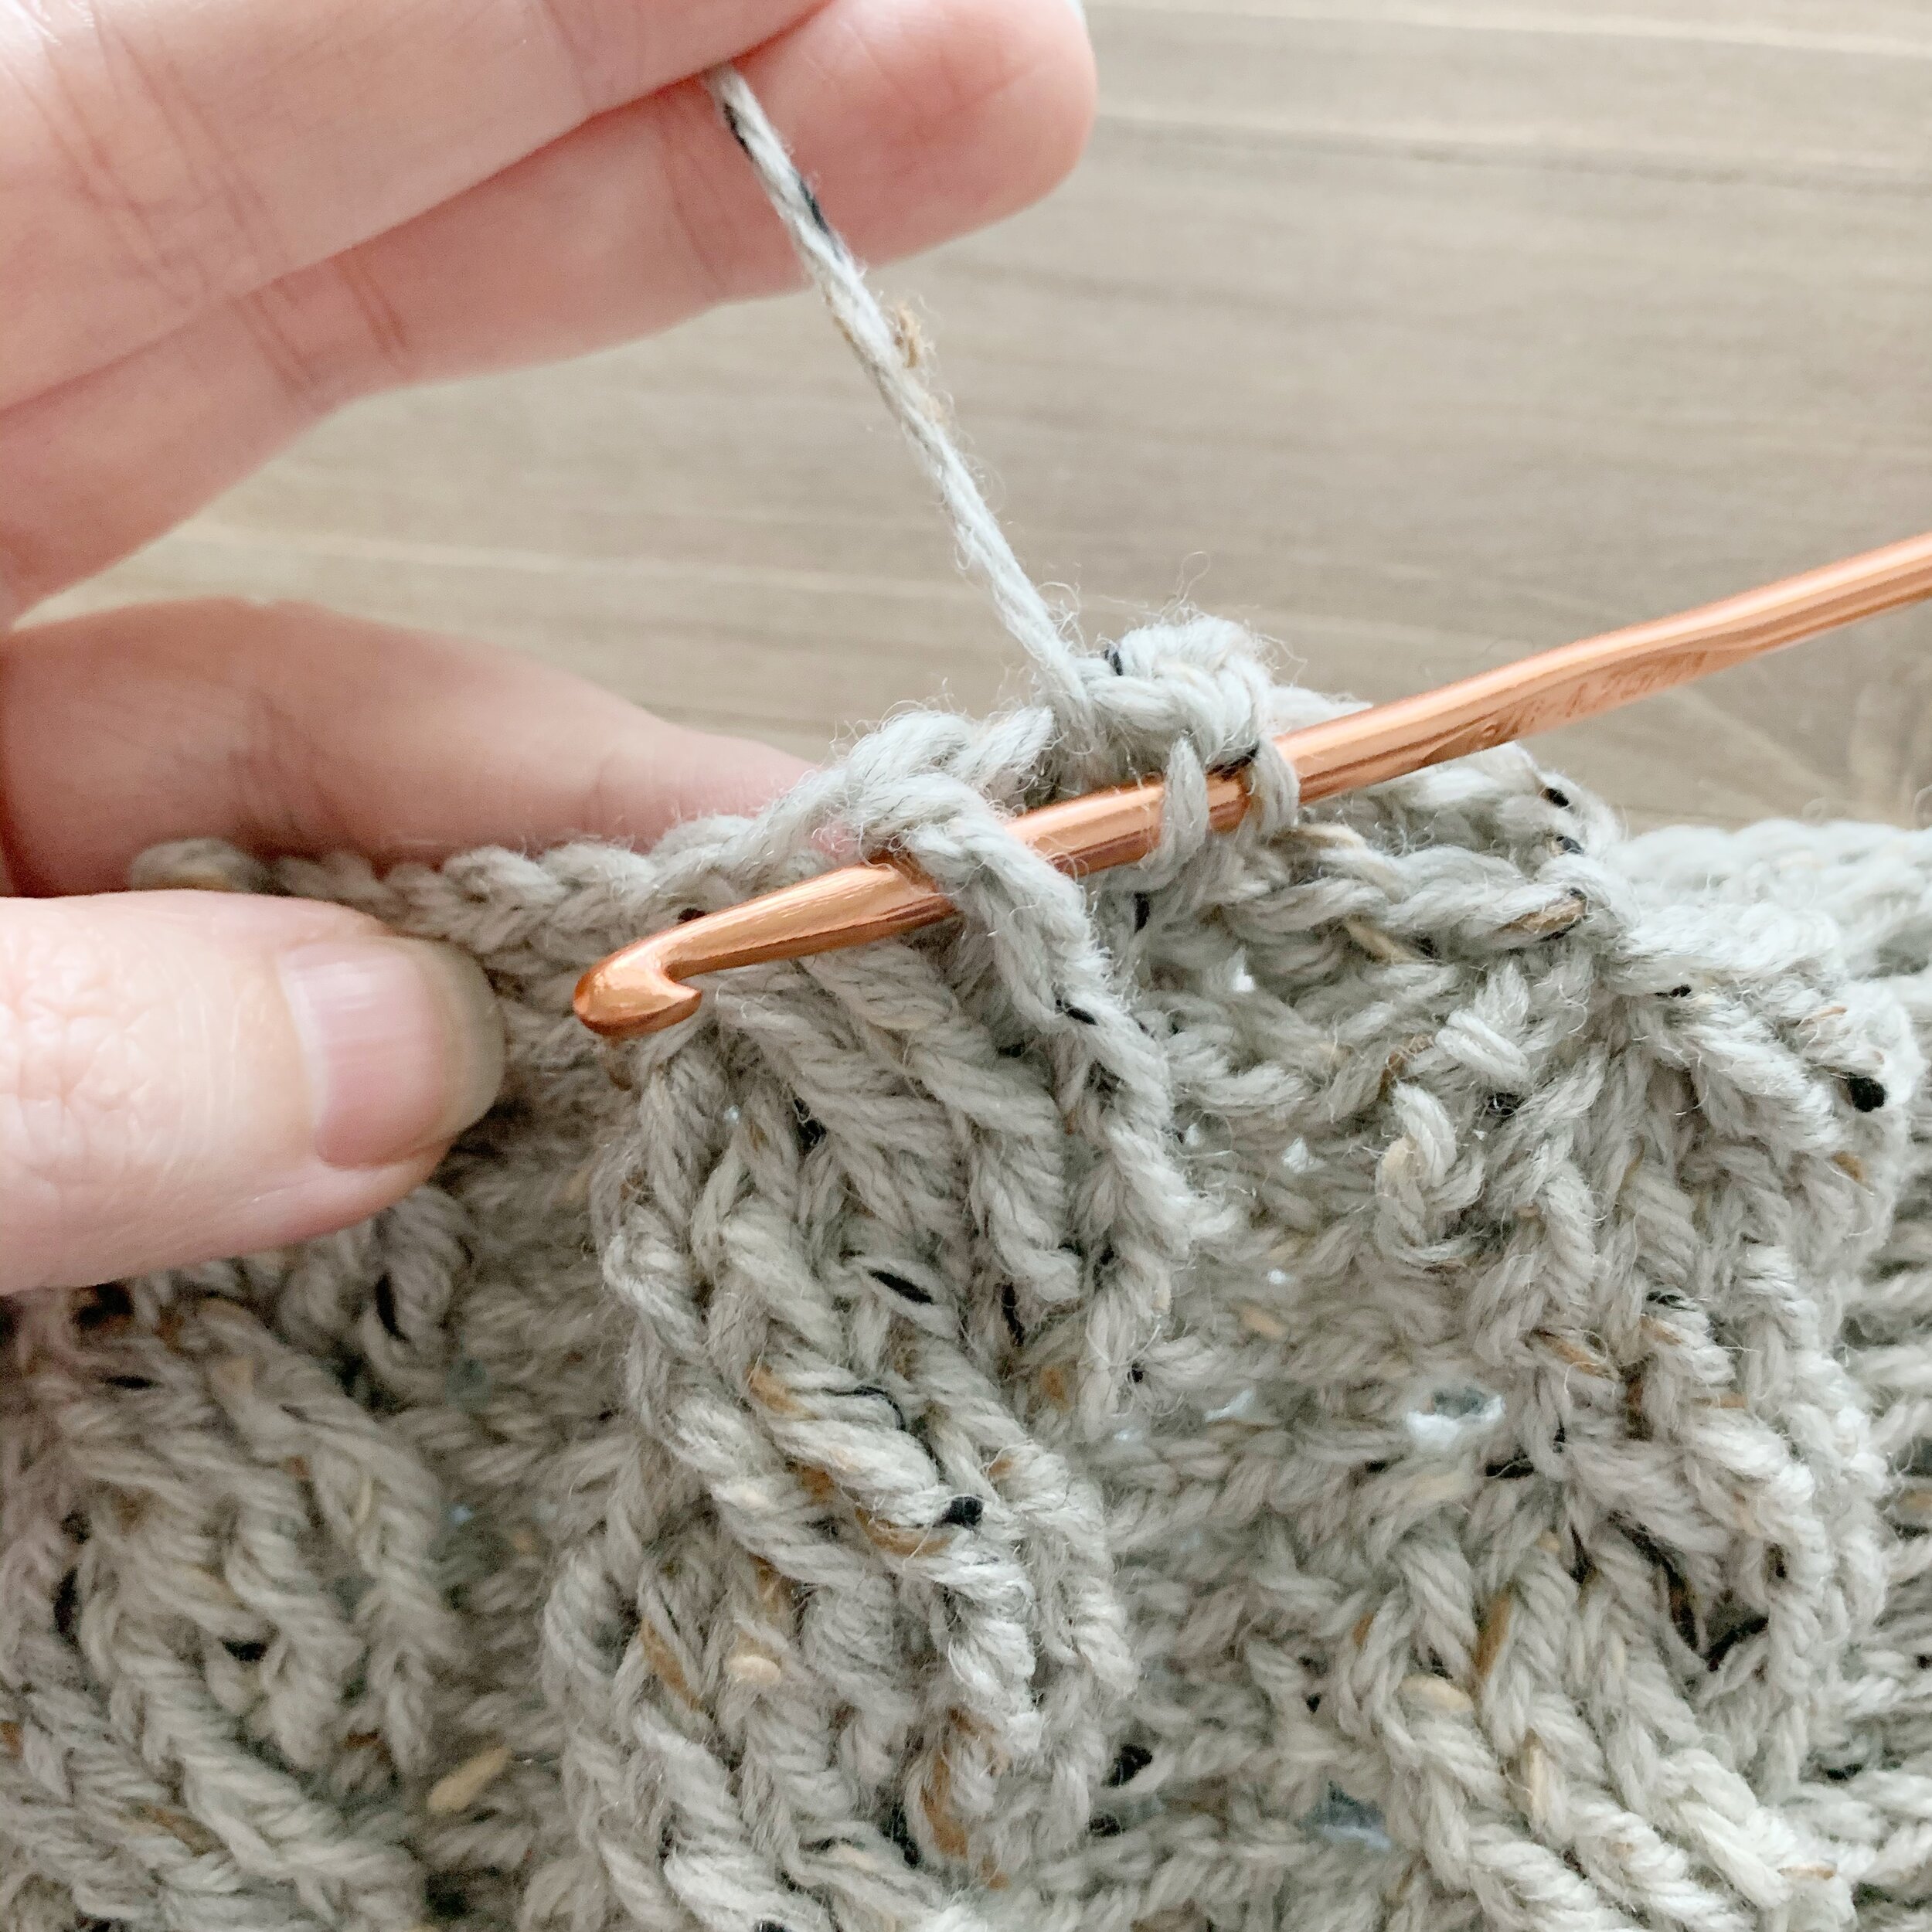
If you’re new to crochet cables, don’t worry, I’ve got you covered. Below I’ll share step by step photos and have also made a detailed video tutorial that goes over how to make the complete Dakota Beanie. Trust me, crochet cables are deceptively simple and after a bit of practice you’ll be making them with no problem.
I love the texture of the Dakota and the simple cables really make this piece pop. It looks great in every color and is the perfect unisex hat.

The Dakota Beanie Crochet Pattern
Materials:
253 yards of We Crochet Wool of The Andes Tweed in Down Heather
Tapestry needle
Scissors
Faux Fur Pom (optional)
Abbreviations:
Ch- chain
st(s)- stitch(es)
sl- slip
RS- right side
WS- wrong side
Hdc- half double crochet
BLO- back loop only
Bpdc- back post double crochet
Fpdc- front post double crochet
fptr- front post treble crochet
Notes:
1.Pattern is worked brim first in rows and then joined to form a circle. Main body of hat is worked in rounds directly into the edge of the brim.
2.Hat is made with 5-6” of negative ease to account for stretching when worn. Adjust the band size to get the best fit.
3.Main body of the pattern is a multiple of 9 sts.
4.Pattern is written for adult size with child and toddler in parenthesis. Adult(Child, Toddler).
Size:
Toddler: fits head circumference of 16-18 inches
Child: fits head circumference of 18-20 inches
Adult: fits head circumference of 21-23 inches
Gauge:
19 sts and 8 rows in hdc BLO = 4” square
Pattern:
Brim:
Ch 10(9, 8)
Row 1: hdc in 2nd ch from hook and in each ch across, ch 1, turn. (9, 8, 7)
Row 2: hdc BLO in each st across, ch 1, turn. (9, 8, 7)
Repeat Row 2 until brim measures approx. 17(15, 13) inches long when slightly stretched.
Helpful Tip: add or subtract rows on the band to get the perfect fit. It can help to measure the wearer’s head and then subtract 5-6 inches to get the brim measurement you’ll need.
Bring short ends together and slip stitch together to create a circle. Do not fasten off.
Main Body:
Working directly into the edge of the brim;
Round 1: ch 2, dc 72(63, 54) evenly around edge of brim, sl st to top of 1st st to join. (72, 63, 54)
Round 2: ch 2, *bpdc 3, fpdc 6, repeat from * around, sl st to top of 1st st to join. (72, 63, 54)
Round 3: ch 2, *bpdc 3, fptr around 4th fpdc, fptr around 5th fpdc, fptr around 6th fpdc, fptr around 1st fpdc, fptr around 2nd fpdc, fptr around 3rd fpdc, repeat from * around, sl st to top of 1st st to join. (72, 63, 54)


Rounds 4 & 5: ch 2, *bpdc 3, fpdc 6, repeat from * around, sl st to top of 1st st to join. (72, 63, 54)

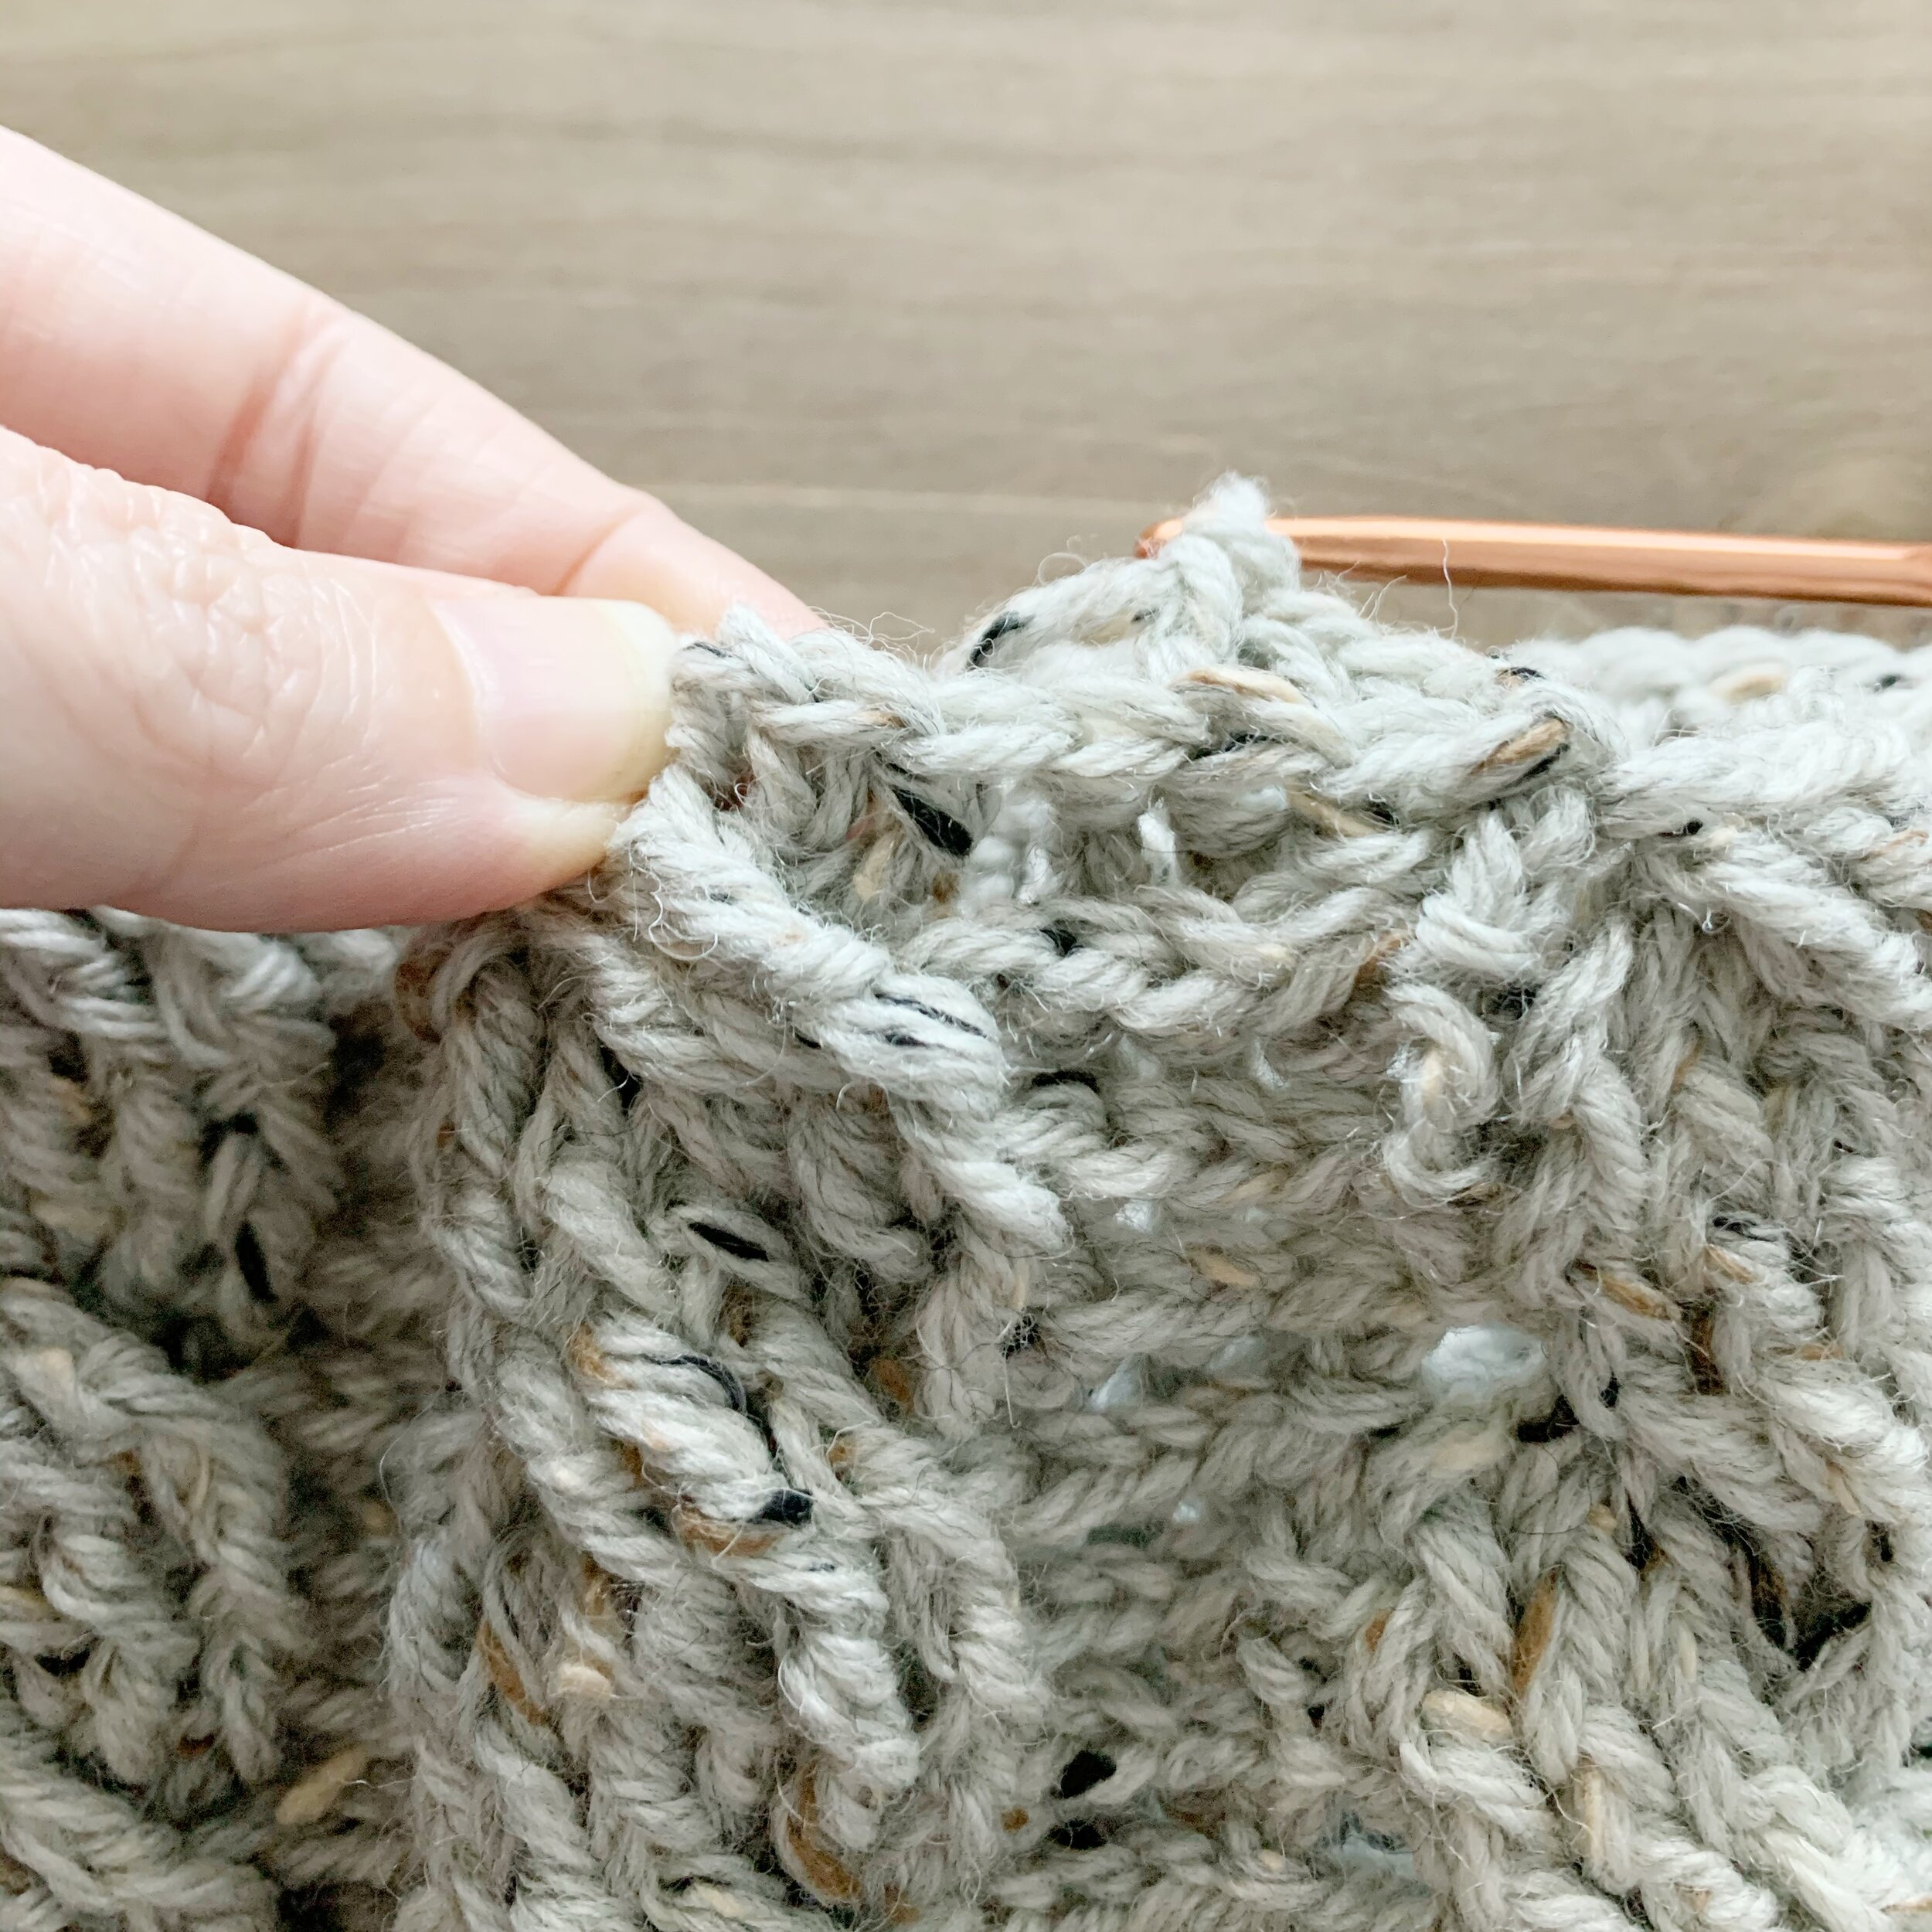
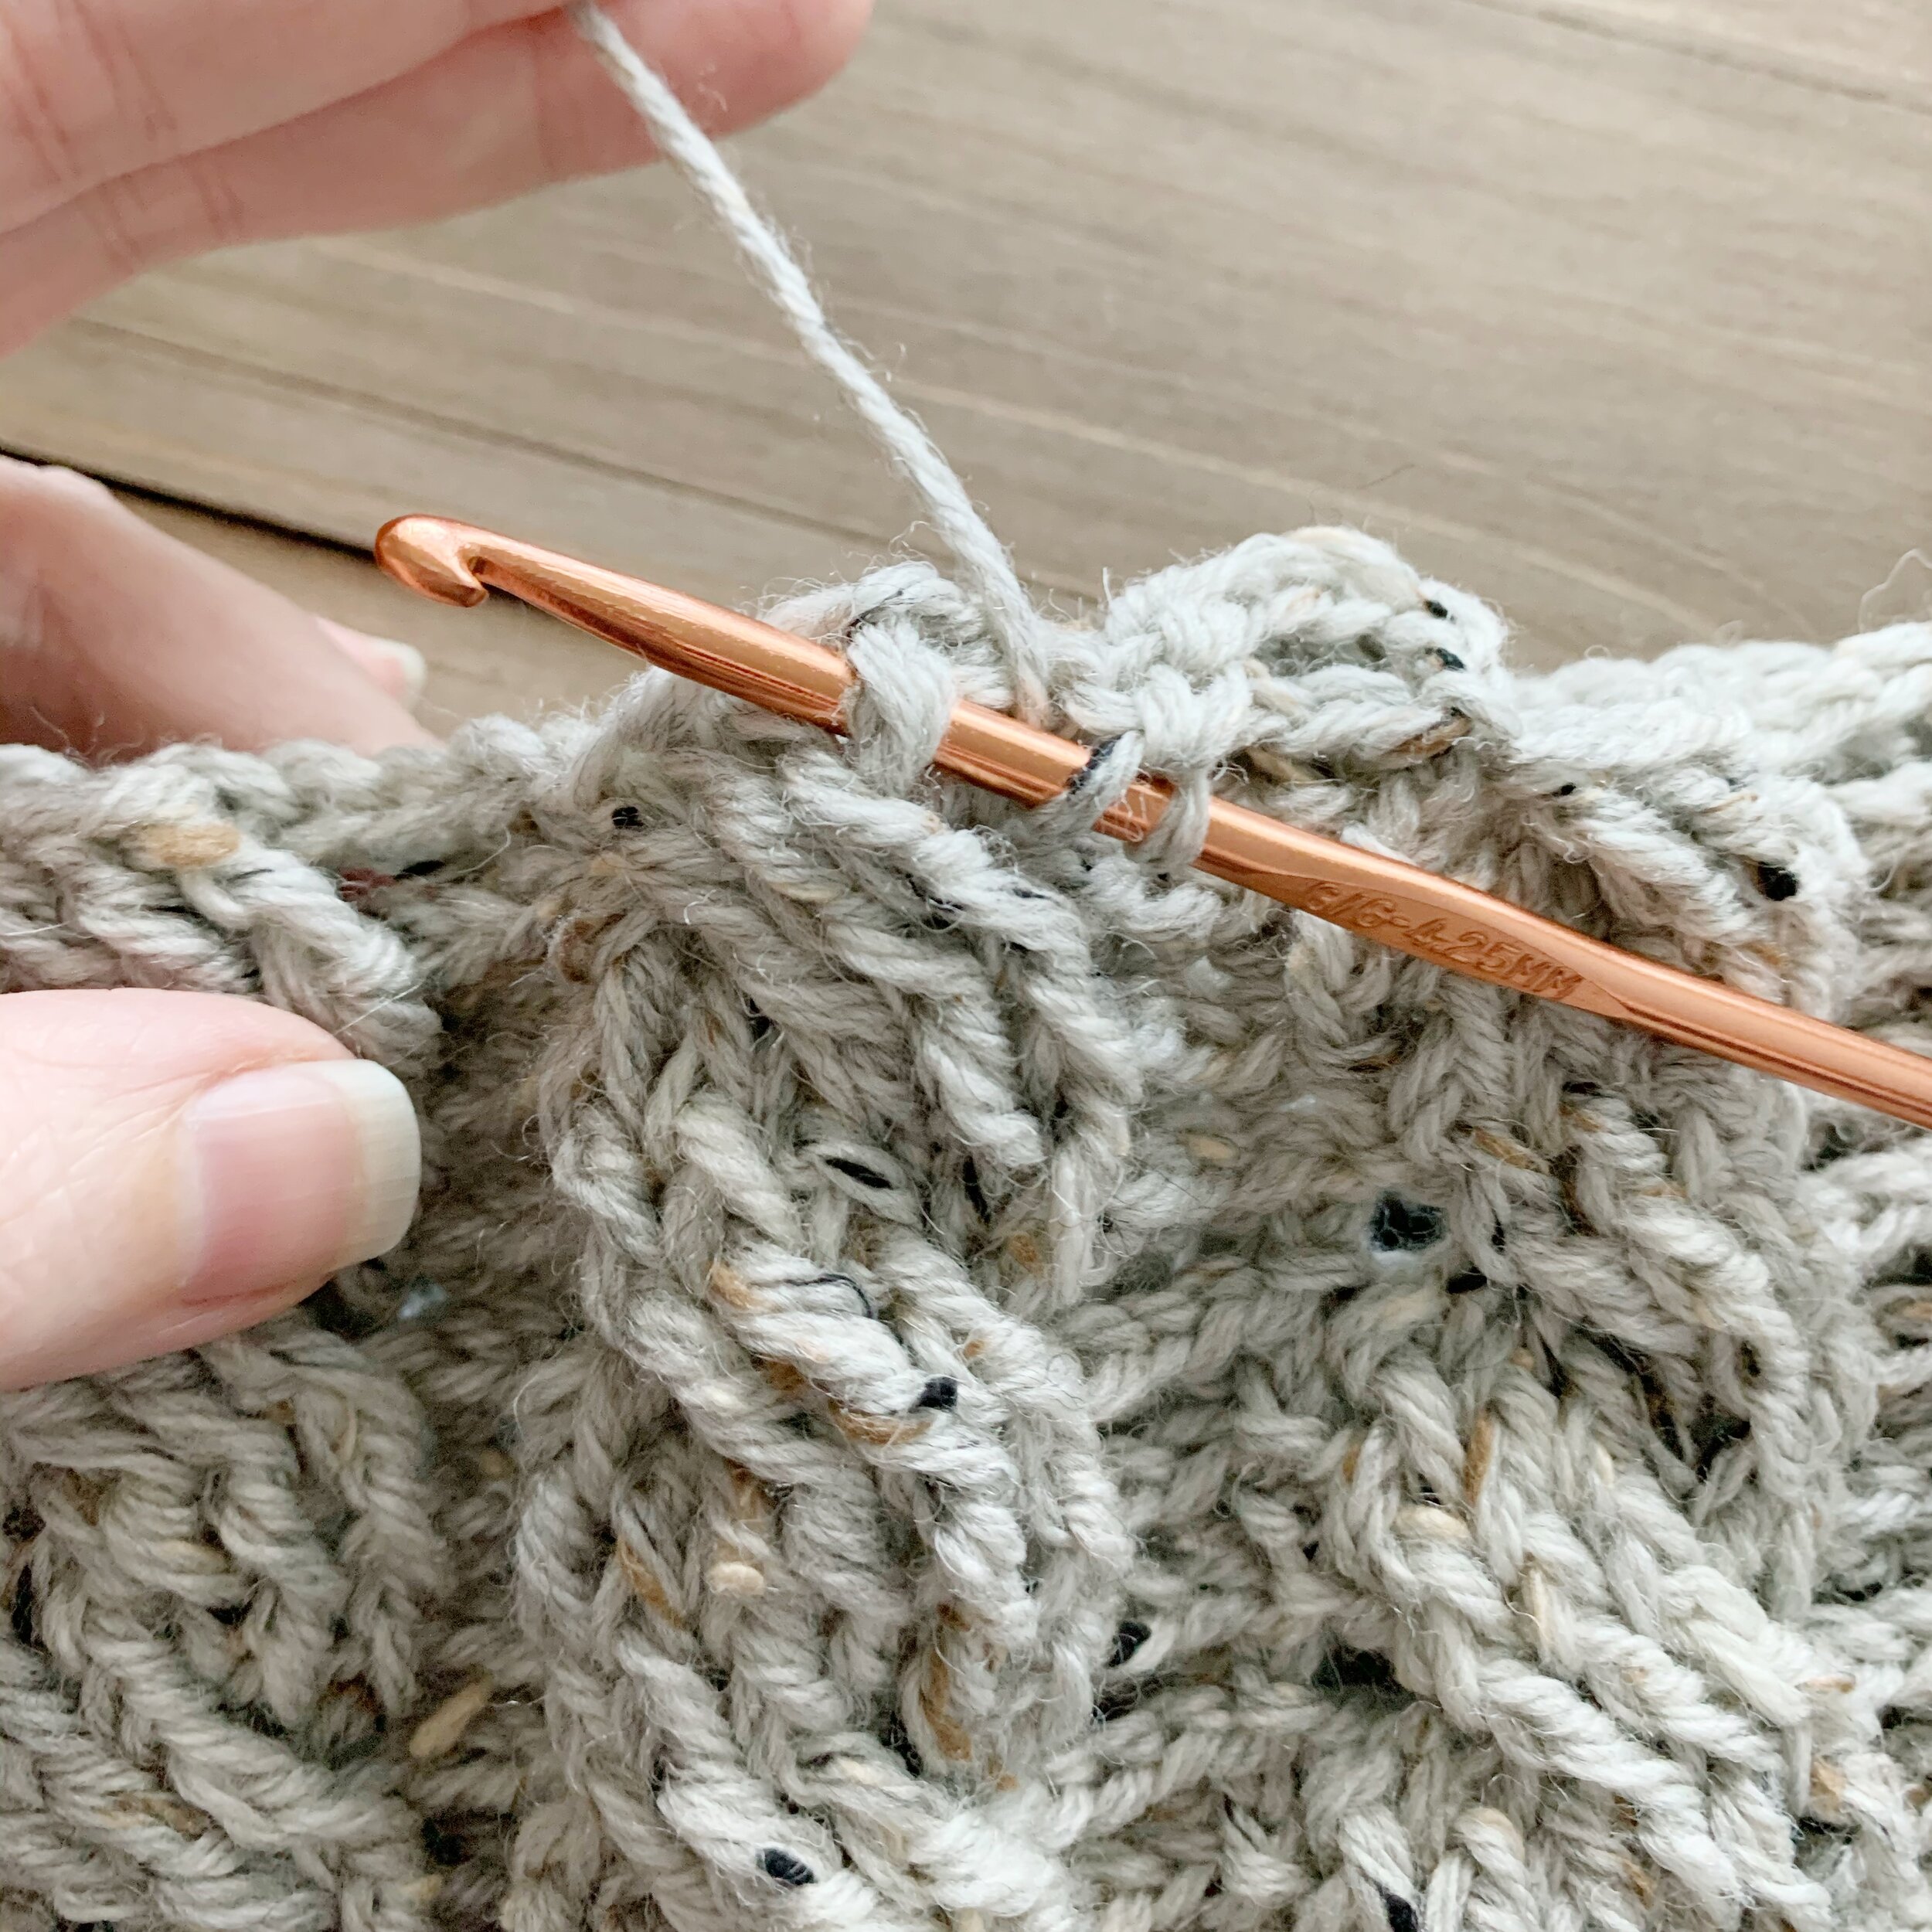
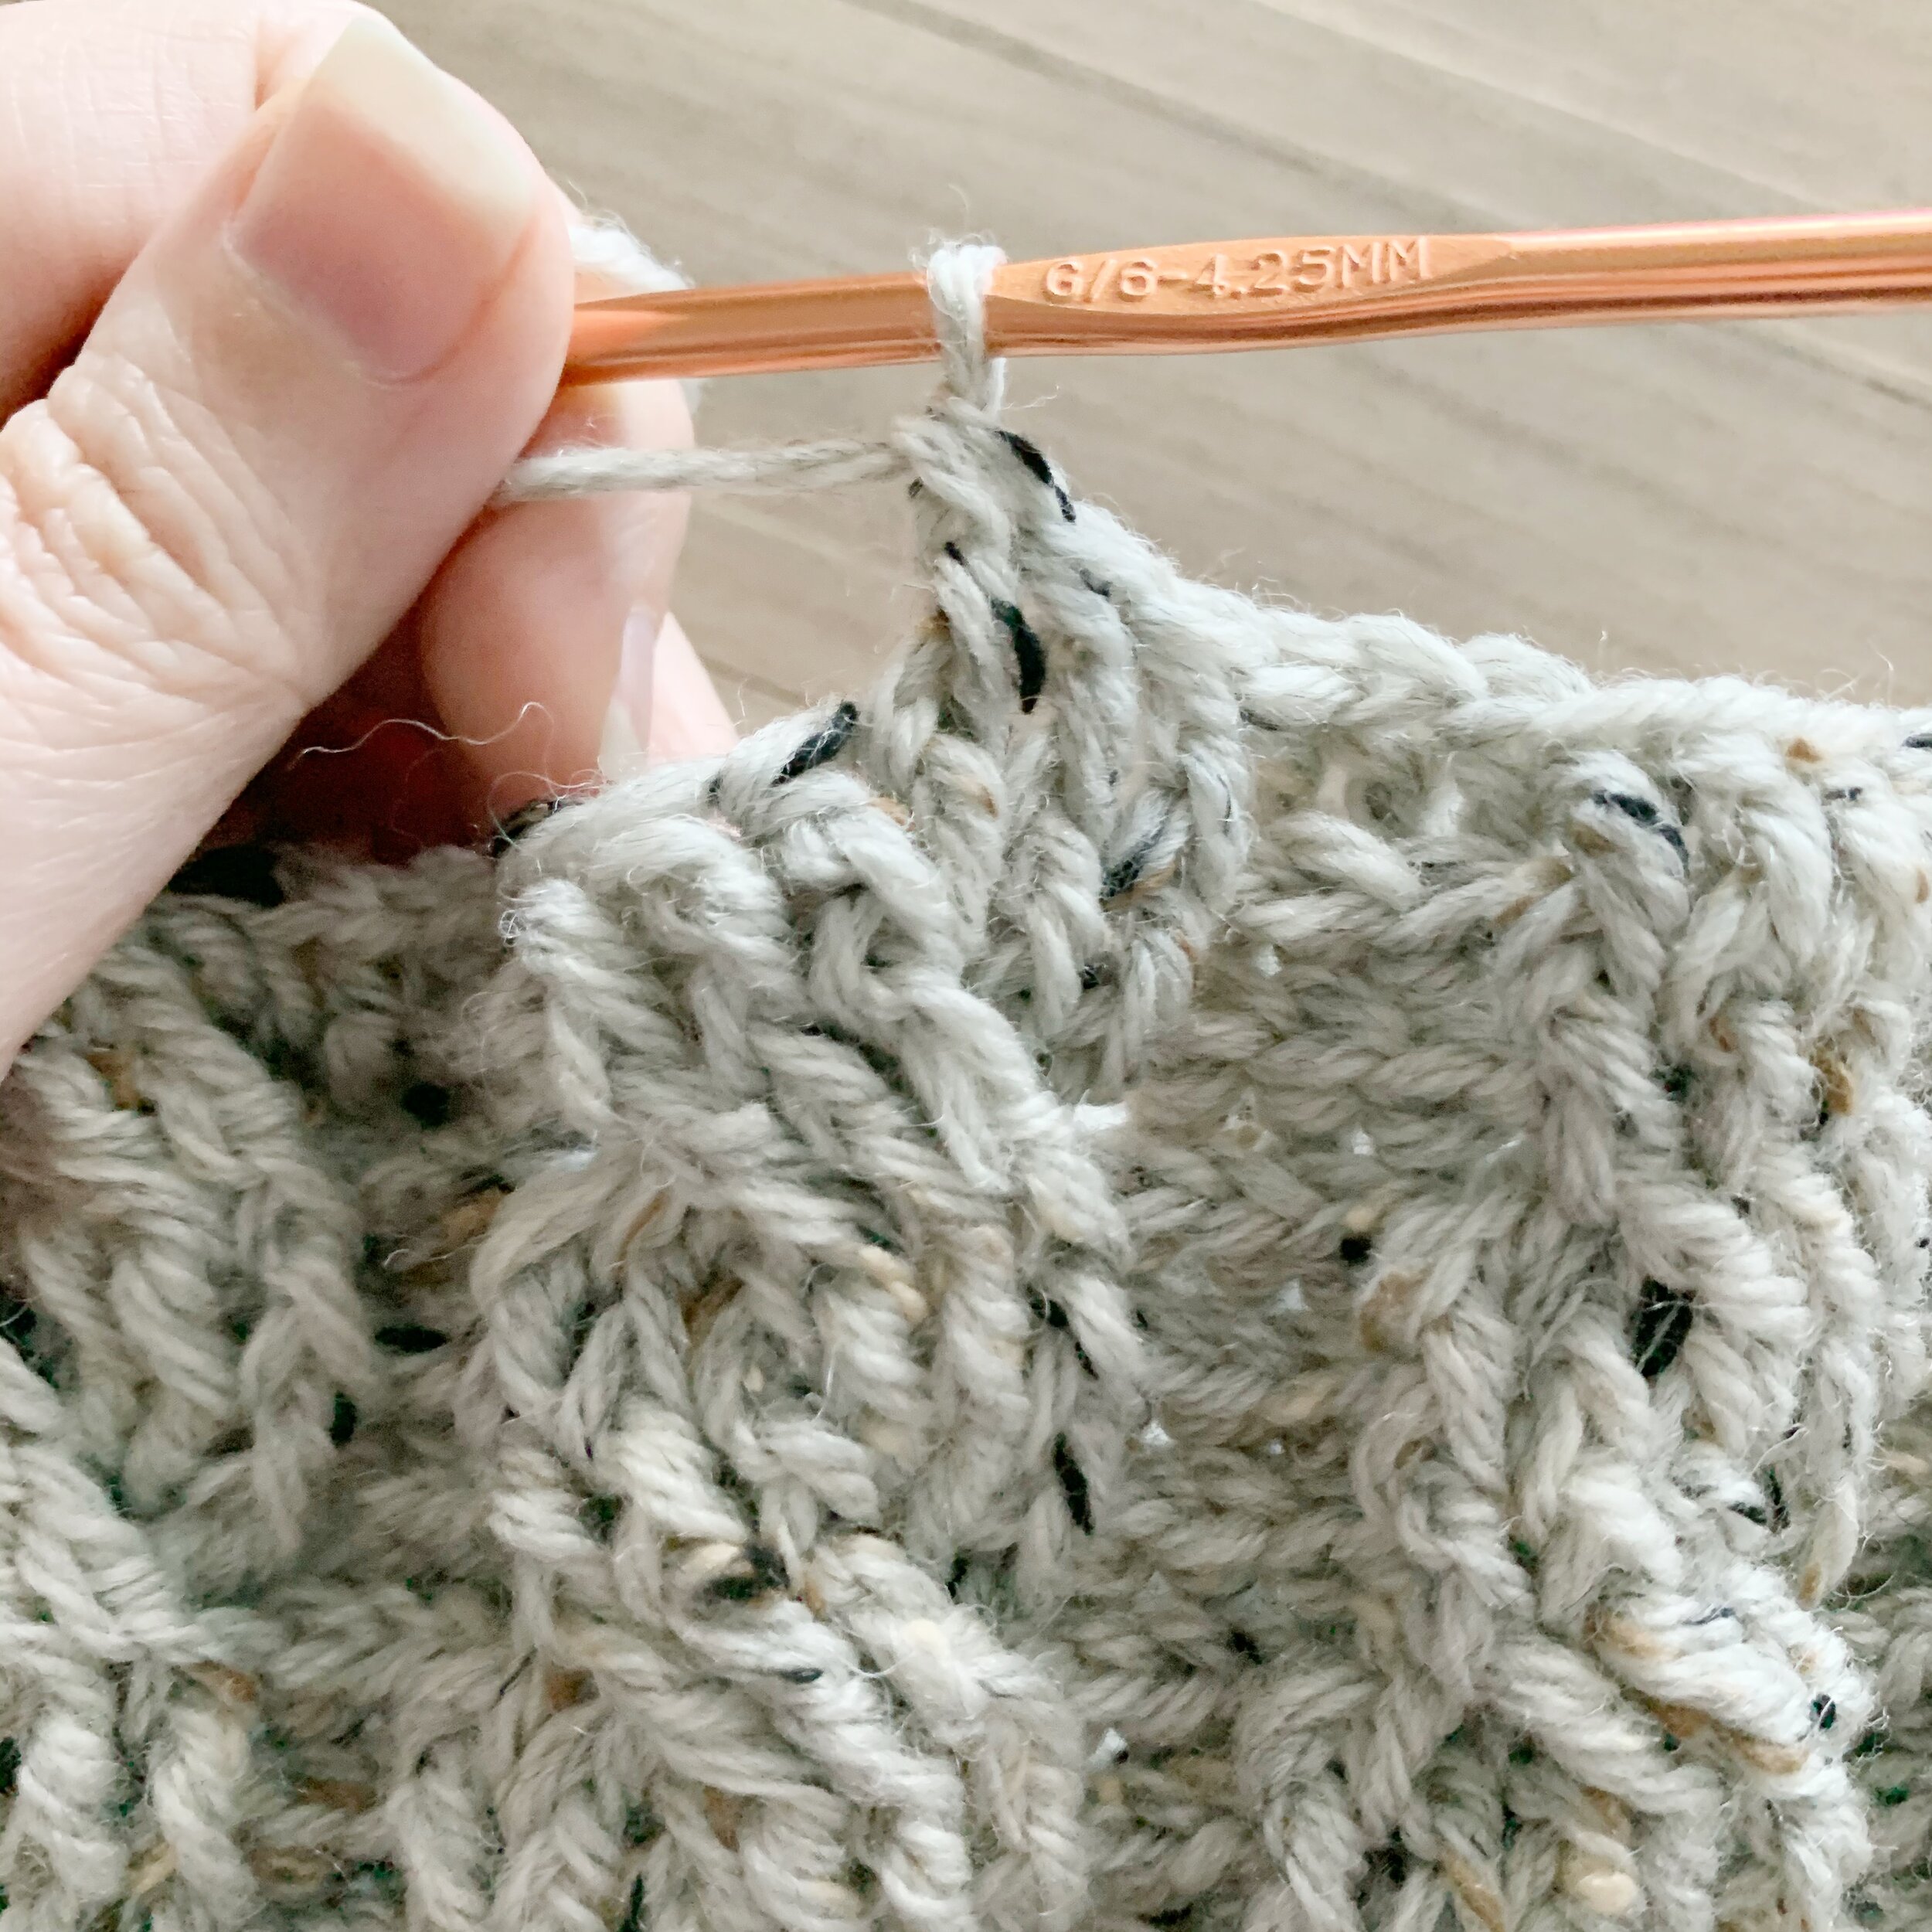
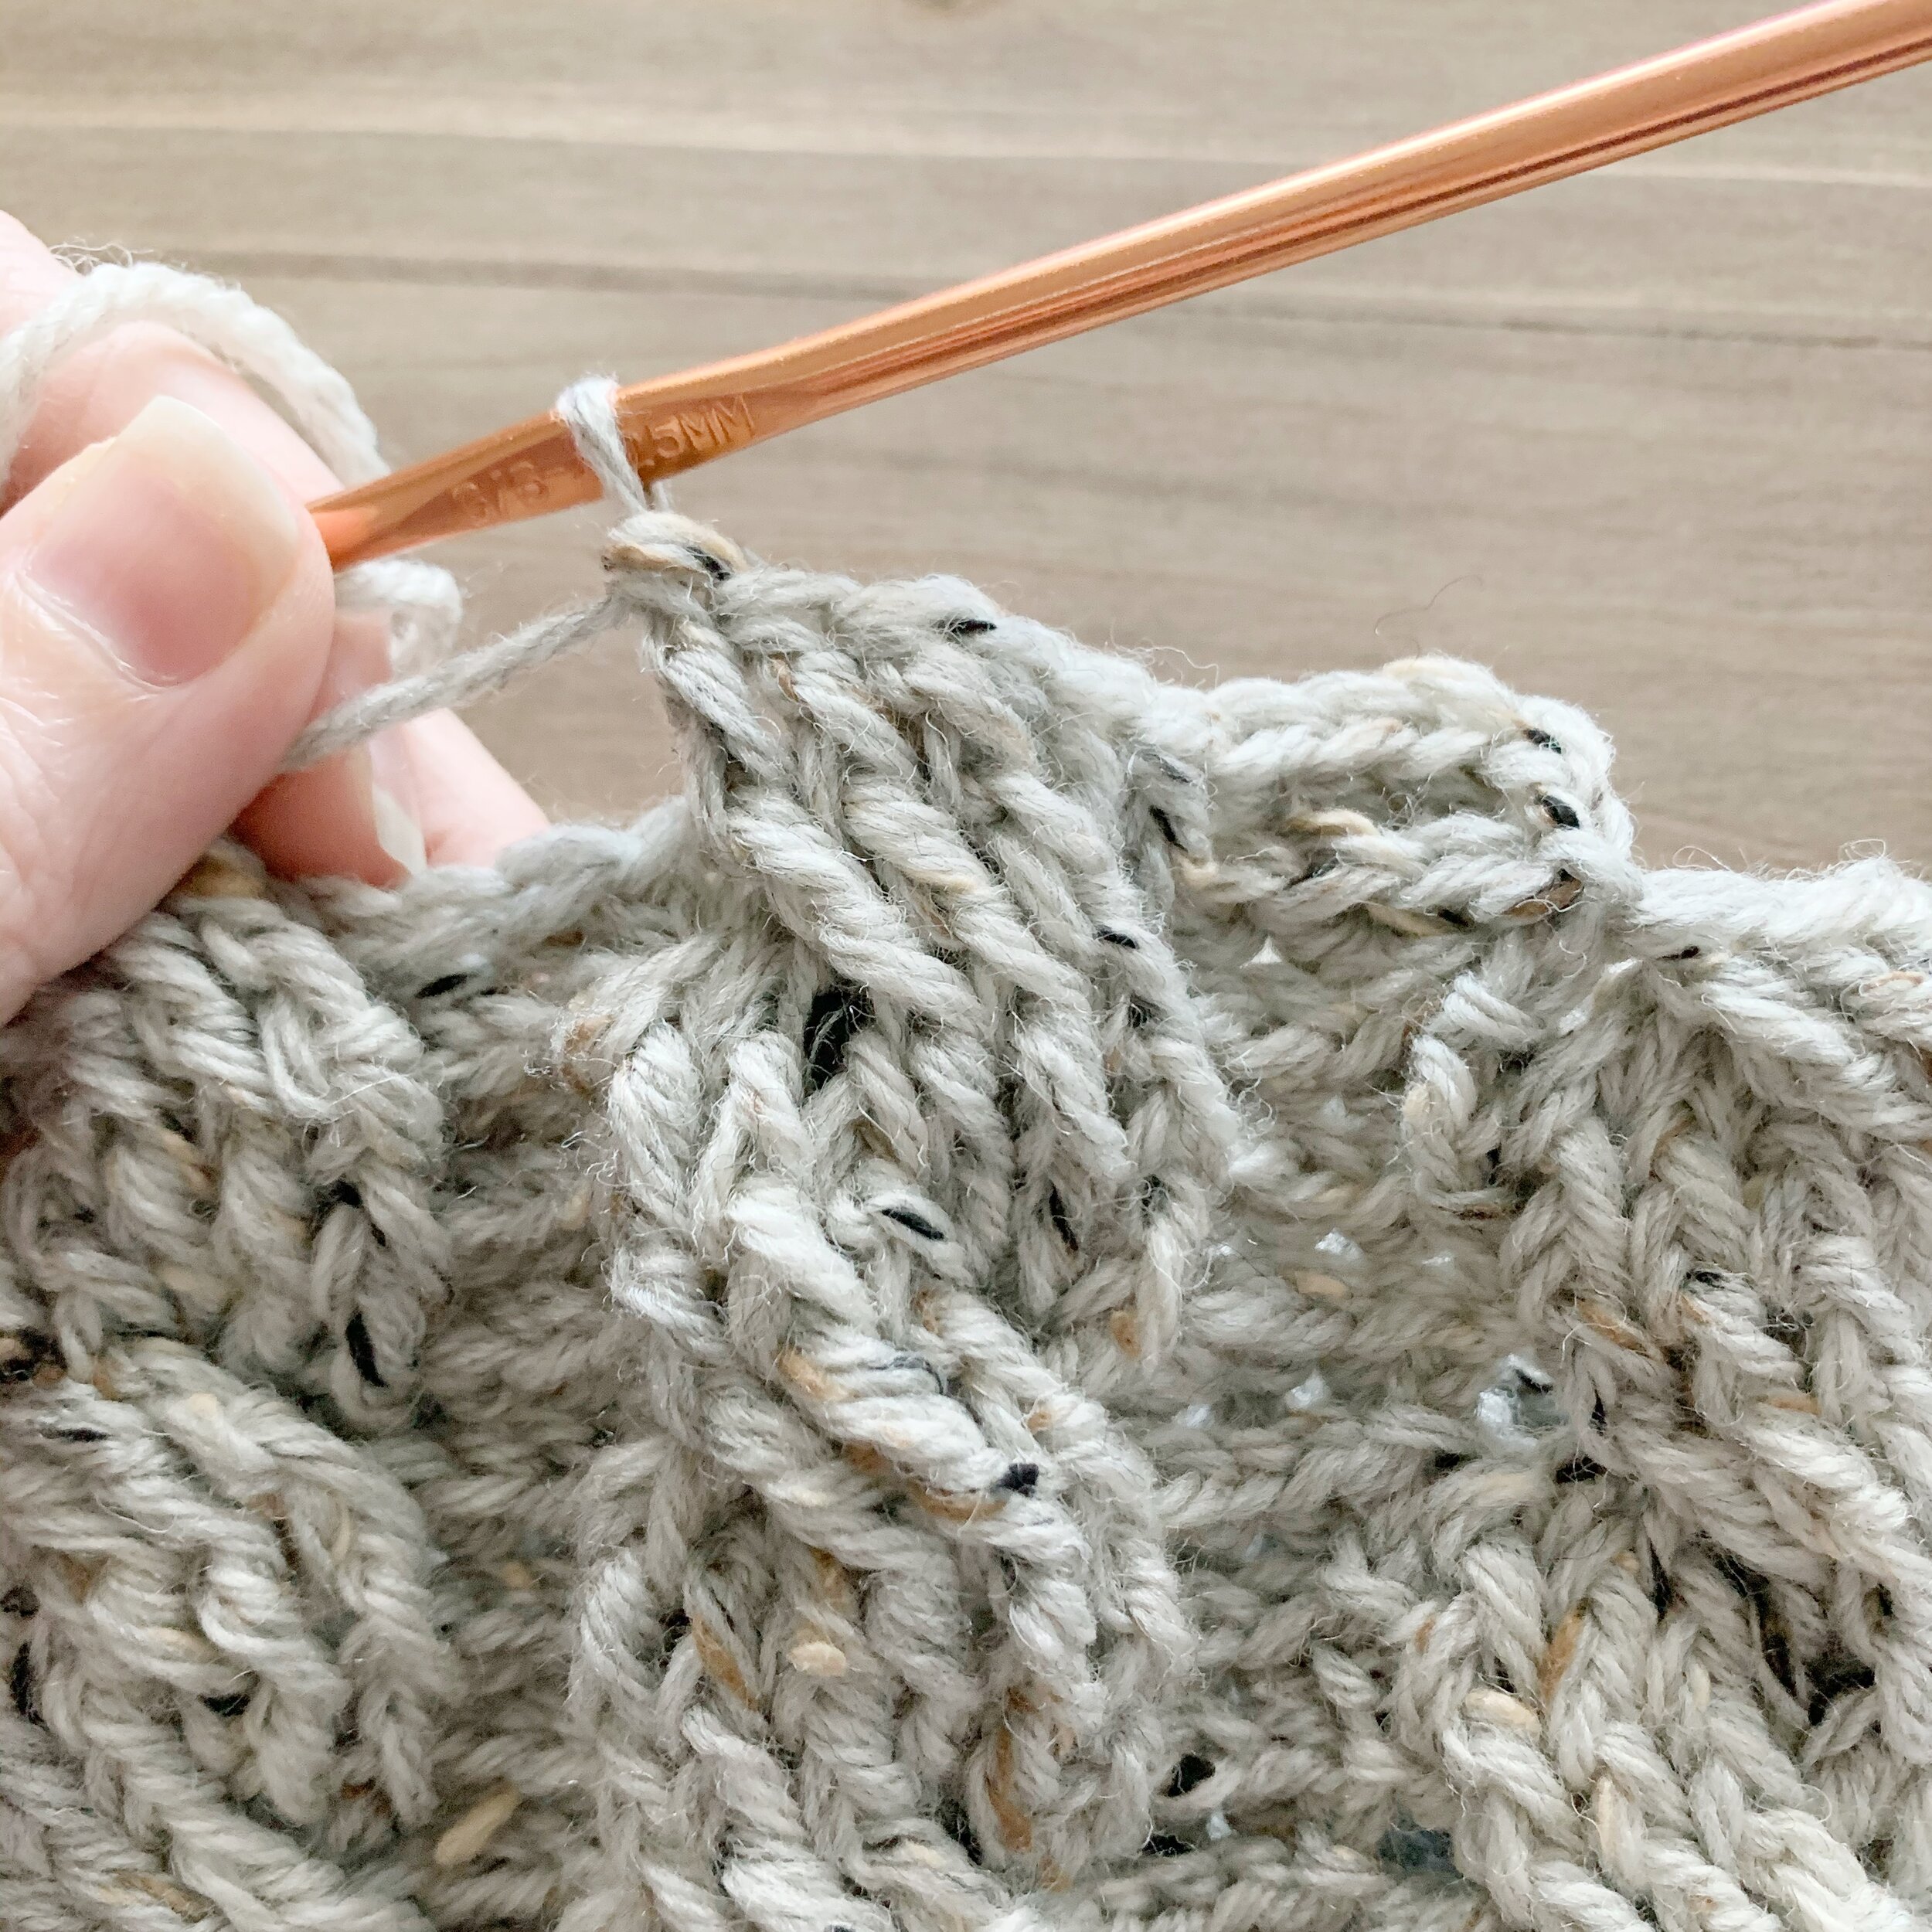
*You may need to pull back the top 3 fptr sts in order to reach the back 3 that you need to work in first.
Repeat Rounds 3-5 until hat measures approx. 10(9, 8) inches high.
Fasten off leaving a long tail for seaming.
Finishing:
To close the top of the hat fold in half so join is in the center, sew through both sides at the top.
You will have two open circles at the top your hat, bring the center of one circle in and sew through the center and back through the first stitch made, then bring in the center of the second and sew through the center and back through the first stich made.
Now you will have four open circles, bring the center of each circle into the middle and stitch closed. You will have eight open circles.
One at a time bring the center of each circle into the middle and stitch closed. Fasten off and weave in ends. Attach a faux fur pom-pom if desired.
Now go enjoy your new Dakota Beanie. I hope you love this pattern as much as I do. As always you can find a digital PDF version of this pattern in my shop, Etsy or Ravelry.
If you make a Dakota, I’d love to see it. Make sure to tag me @meghanmakesdo on social media and use #thedakotabeanie.
Happy Crocheting,
Meghan

