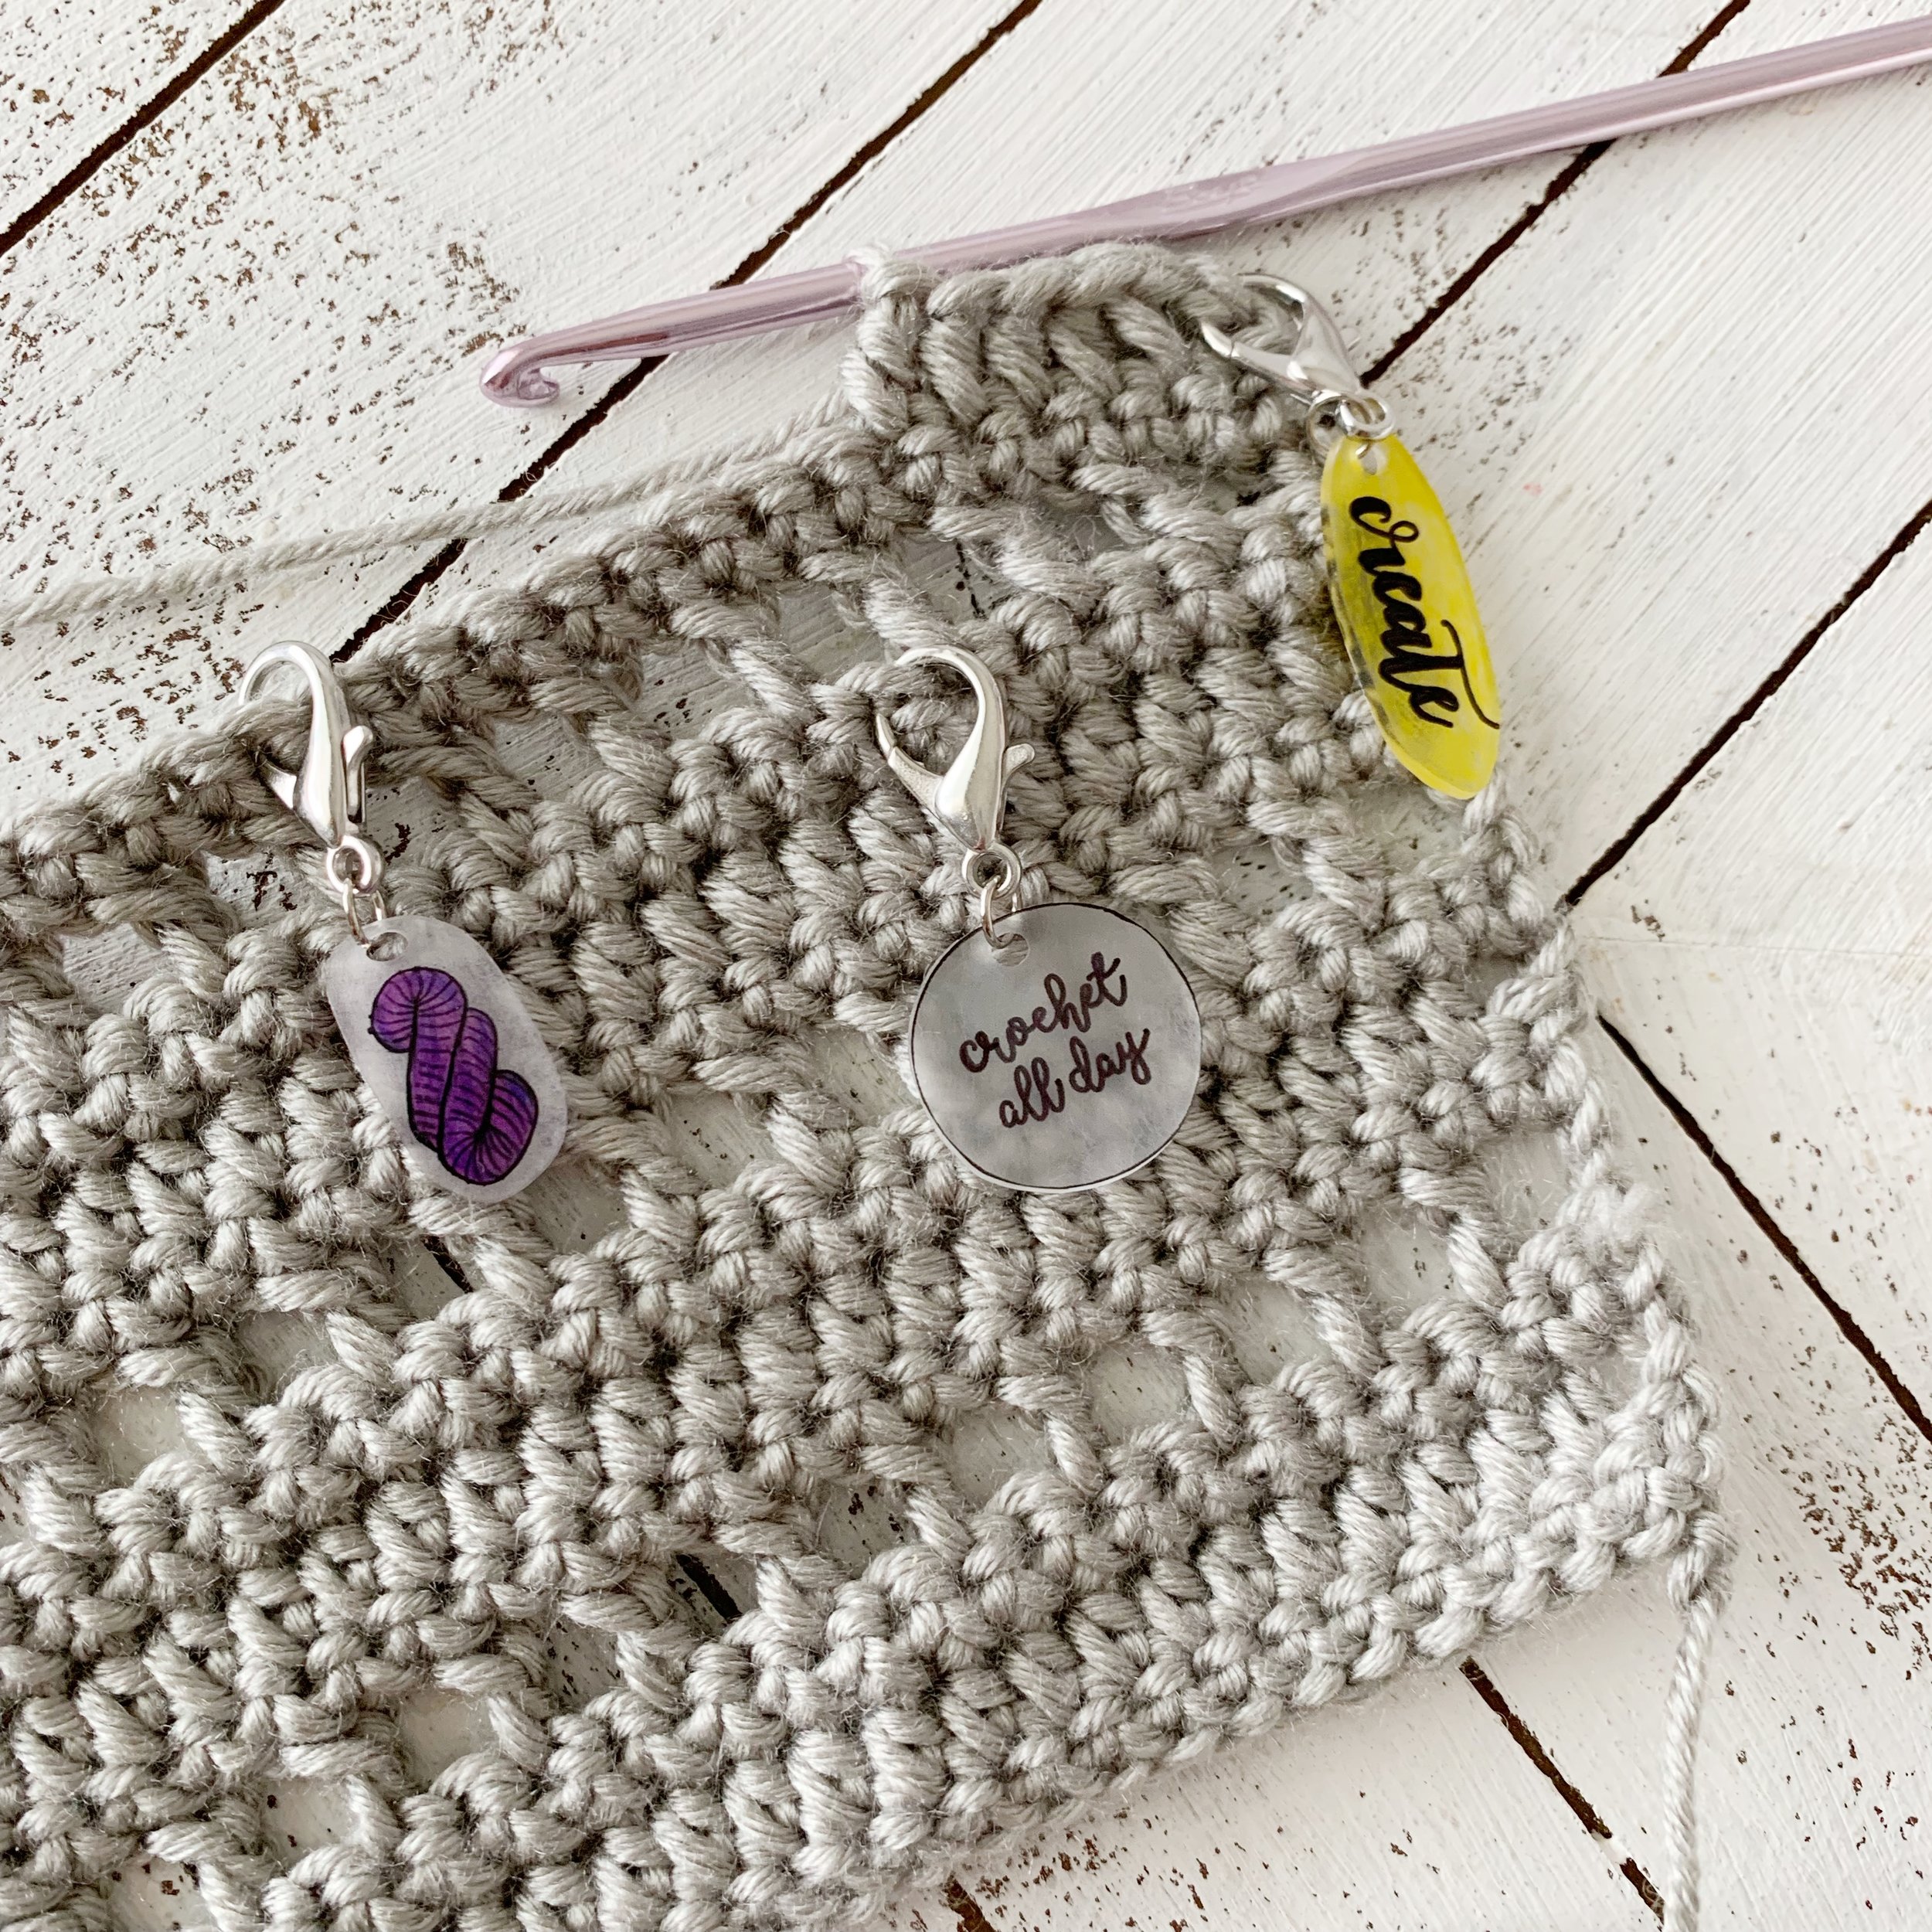
DIY Shrinky Dink Stitch Markers
This post may contain affiliate links. If you make a purchase through one of those links I may receive a small commission.
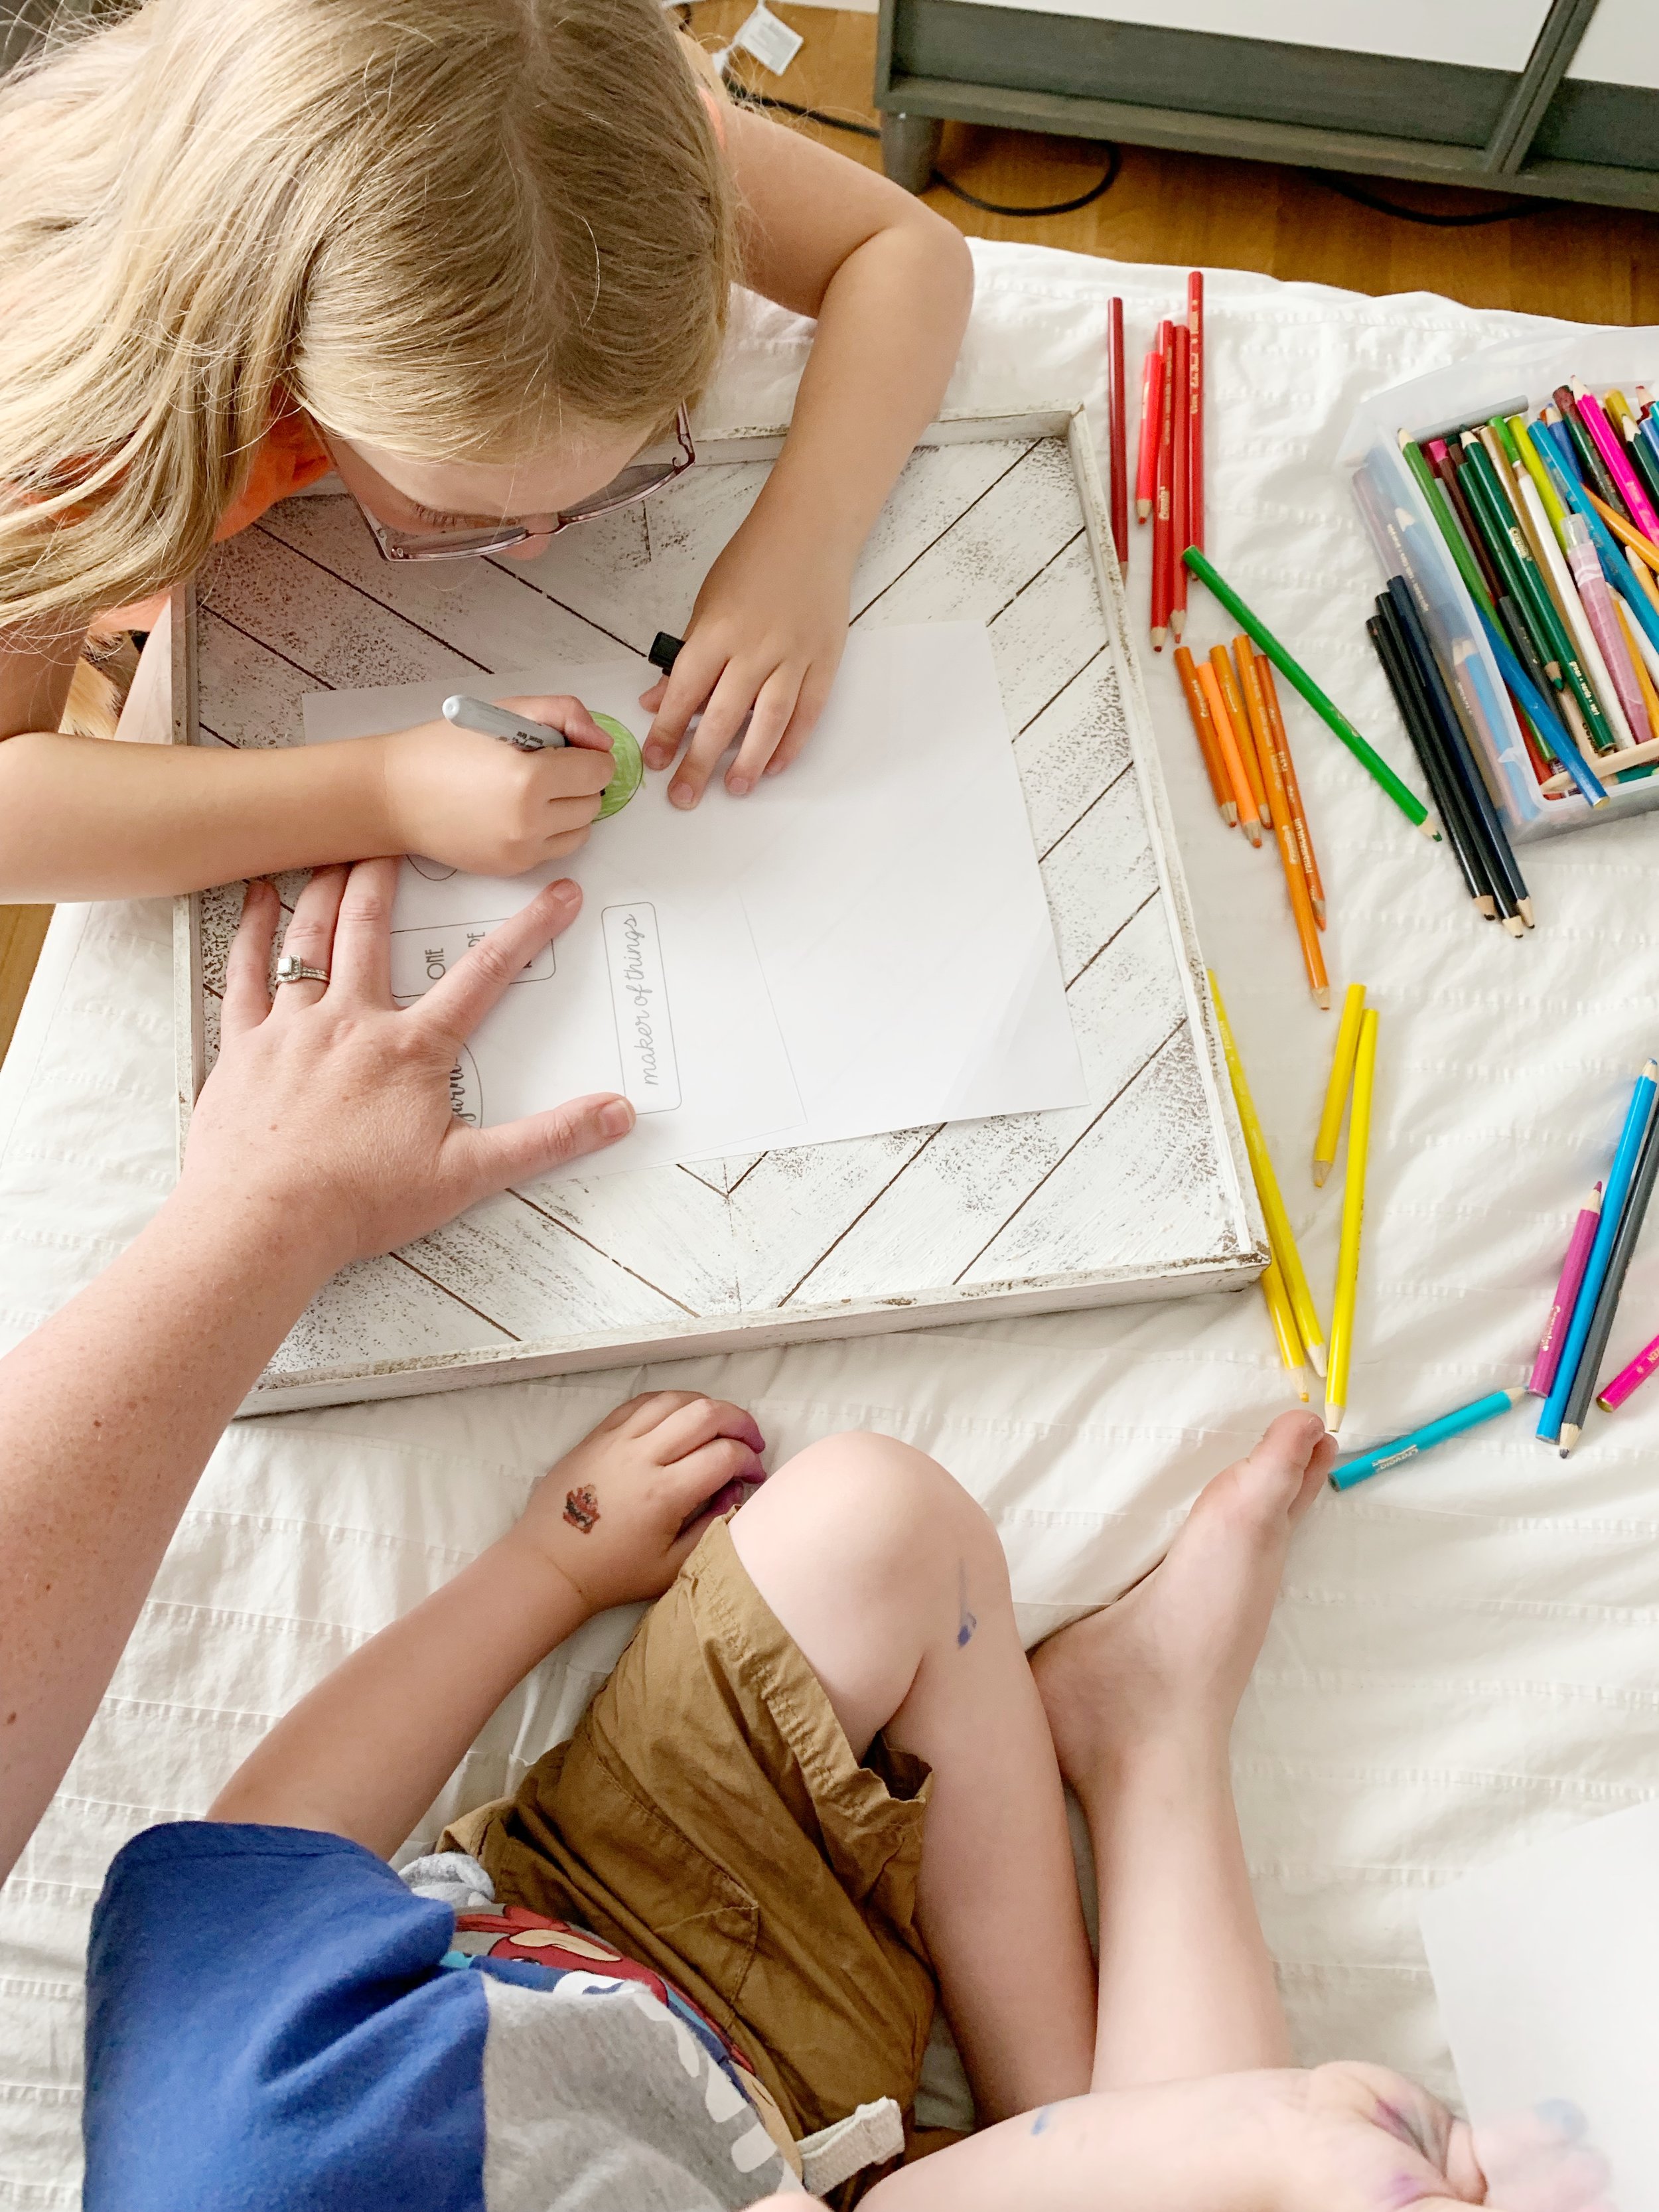
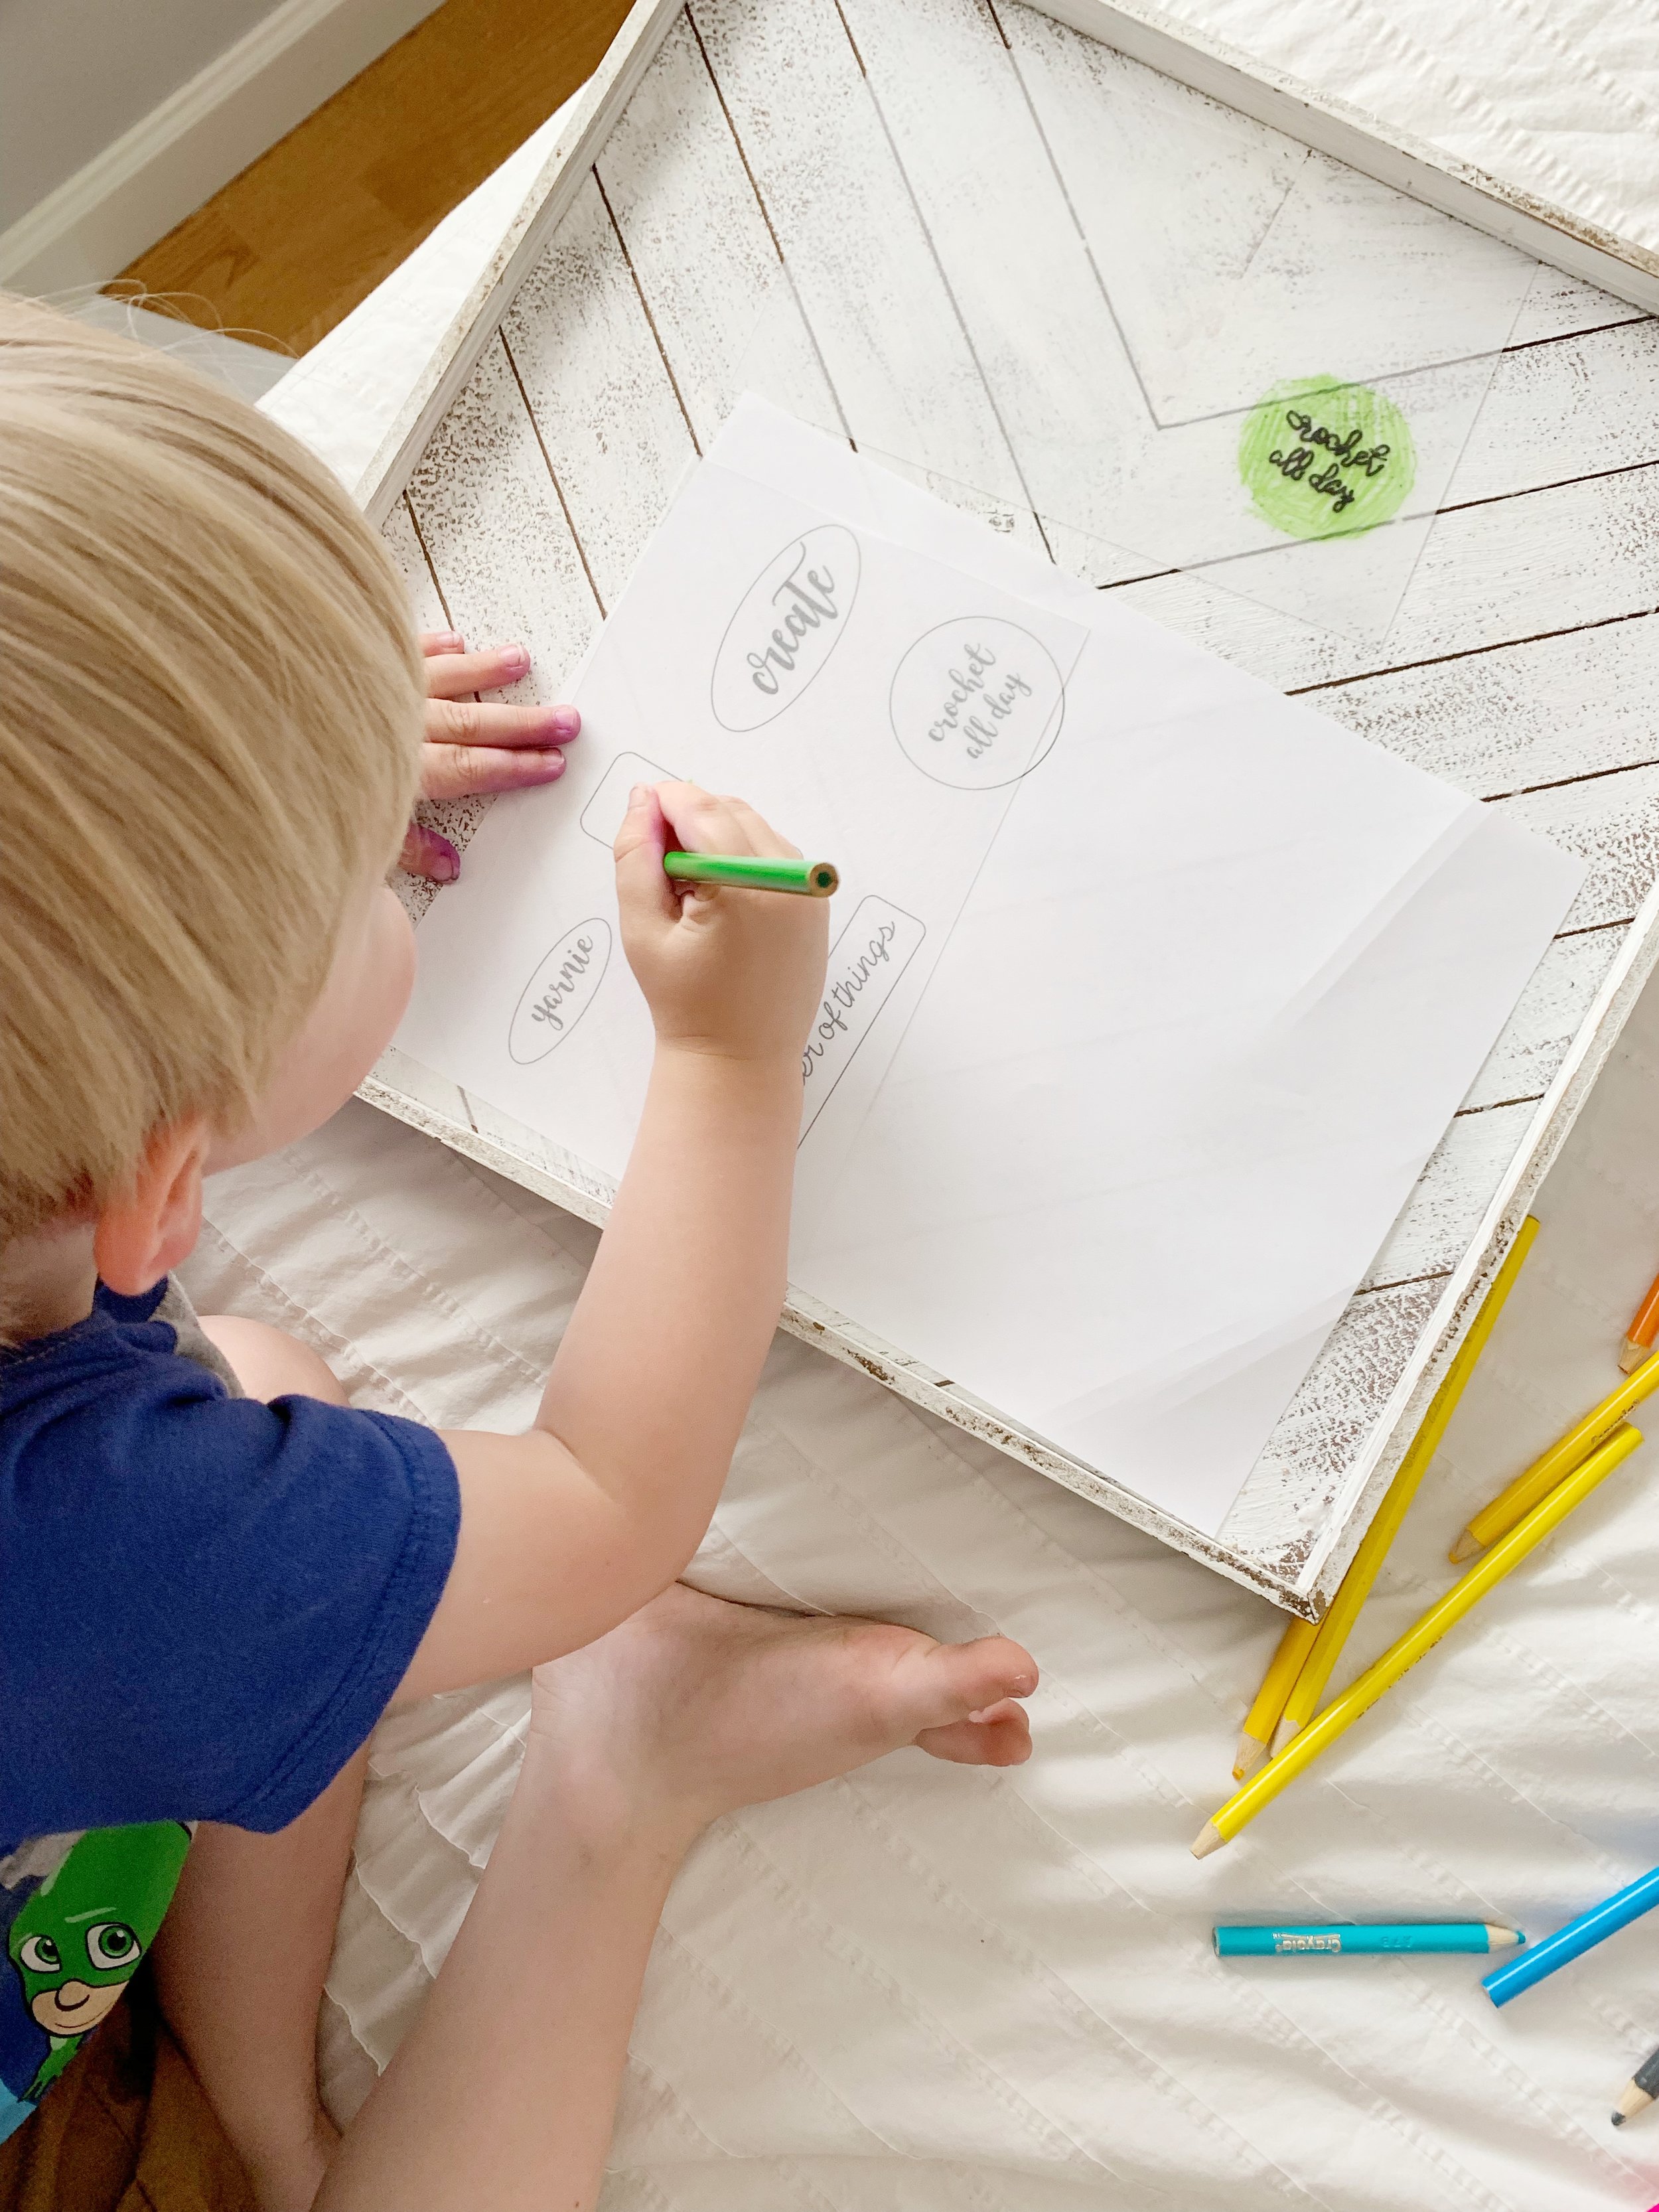
A few weeks ago while out shopping with my kids we came across a package of Shrinky Dink at Joann’s and I just had to get it. I remember making shrinky dink art as a kid and knew it would be a great summer activity to do with my kiddos. I definitely wanted to get in on the fun too so I picked up some jump rings and lobster claws and voila! Shrinky Dink stitch markers were born!

I love that I was able to have fun with my children while also creating something useful. When my kids saw what I was making they decided they wanted to make some too. It gave me the idea of using some of their original drawings for stitch markers too. It is so special being able to have something they created become something that I use almost everyday. These DIY stitch markers would make great gifts for the crochet and knit enthusiast in your life too.

Here’s what you’ll need to make your own DIY Shrinky Dink Stitch Markers:
permanent markers and/or colored pencils
scissors and hole punch
small pliers
cookie sheet, foil and an oven
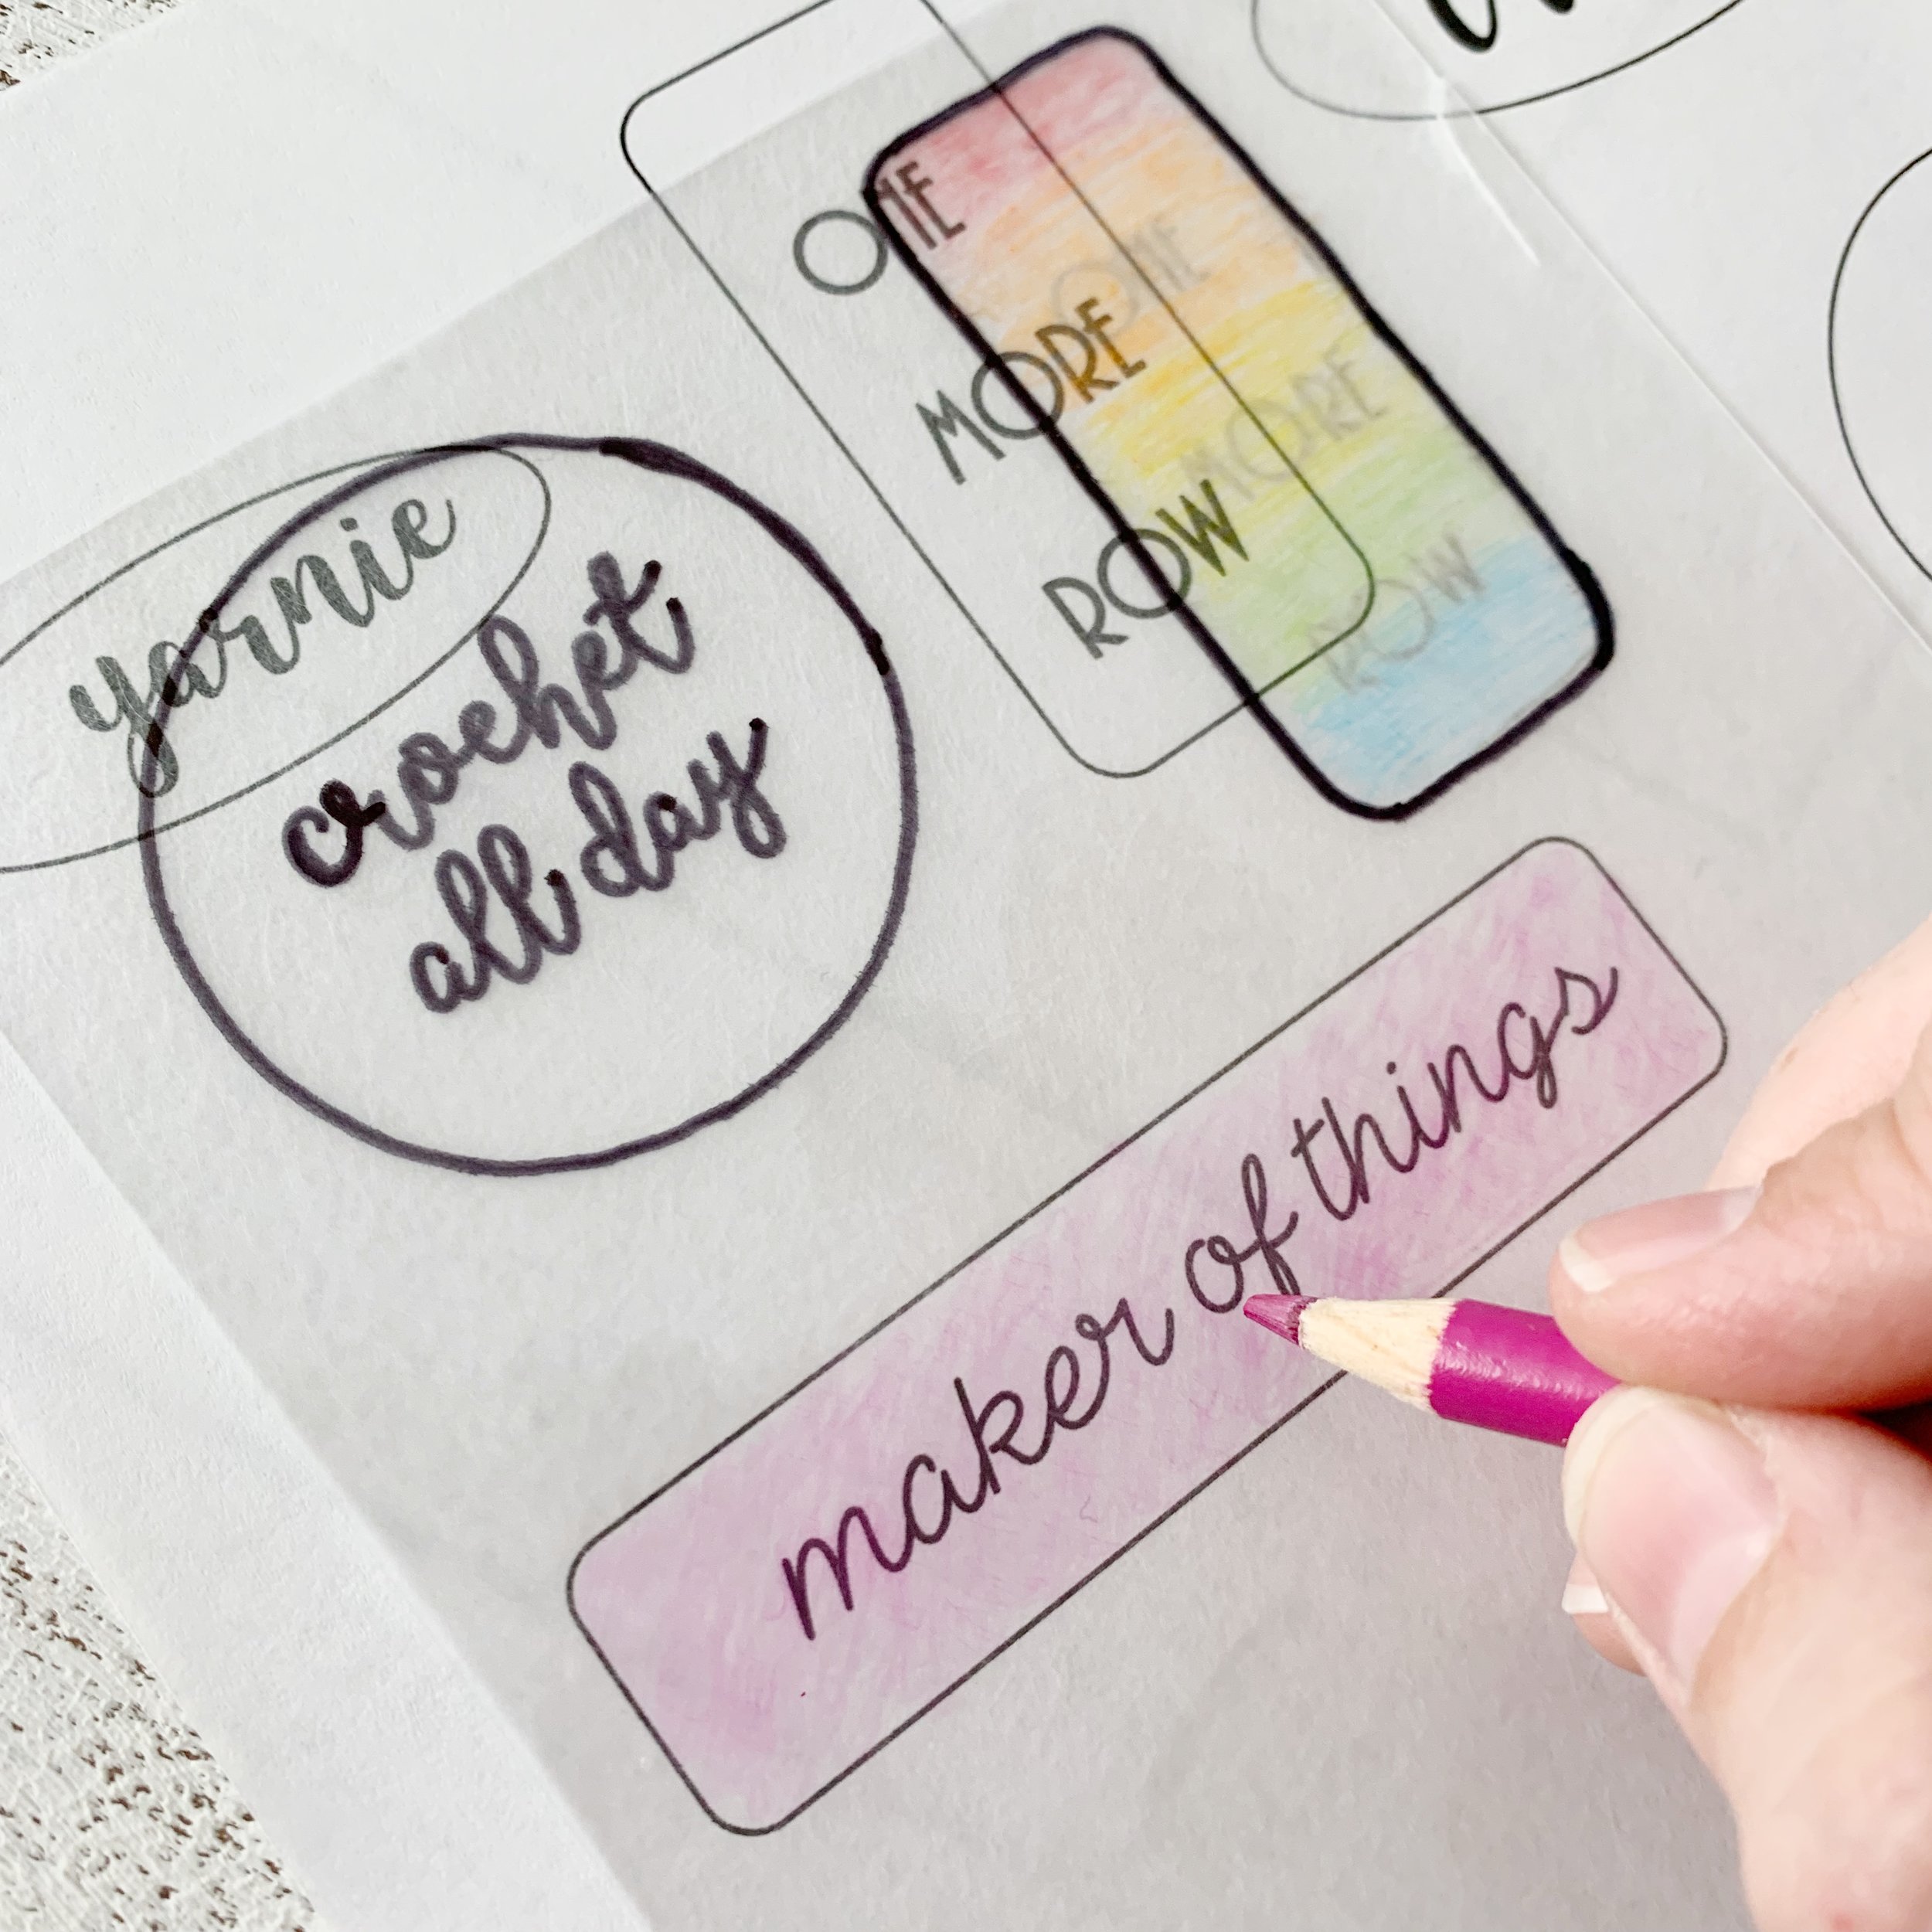
Print out the stitch marker template and grab one sheet of the Shrink Fun paper. Lay the Shrink Fun on top of the template with the rough side facing up.

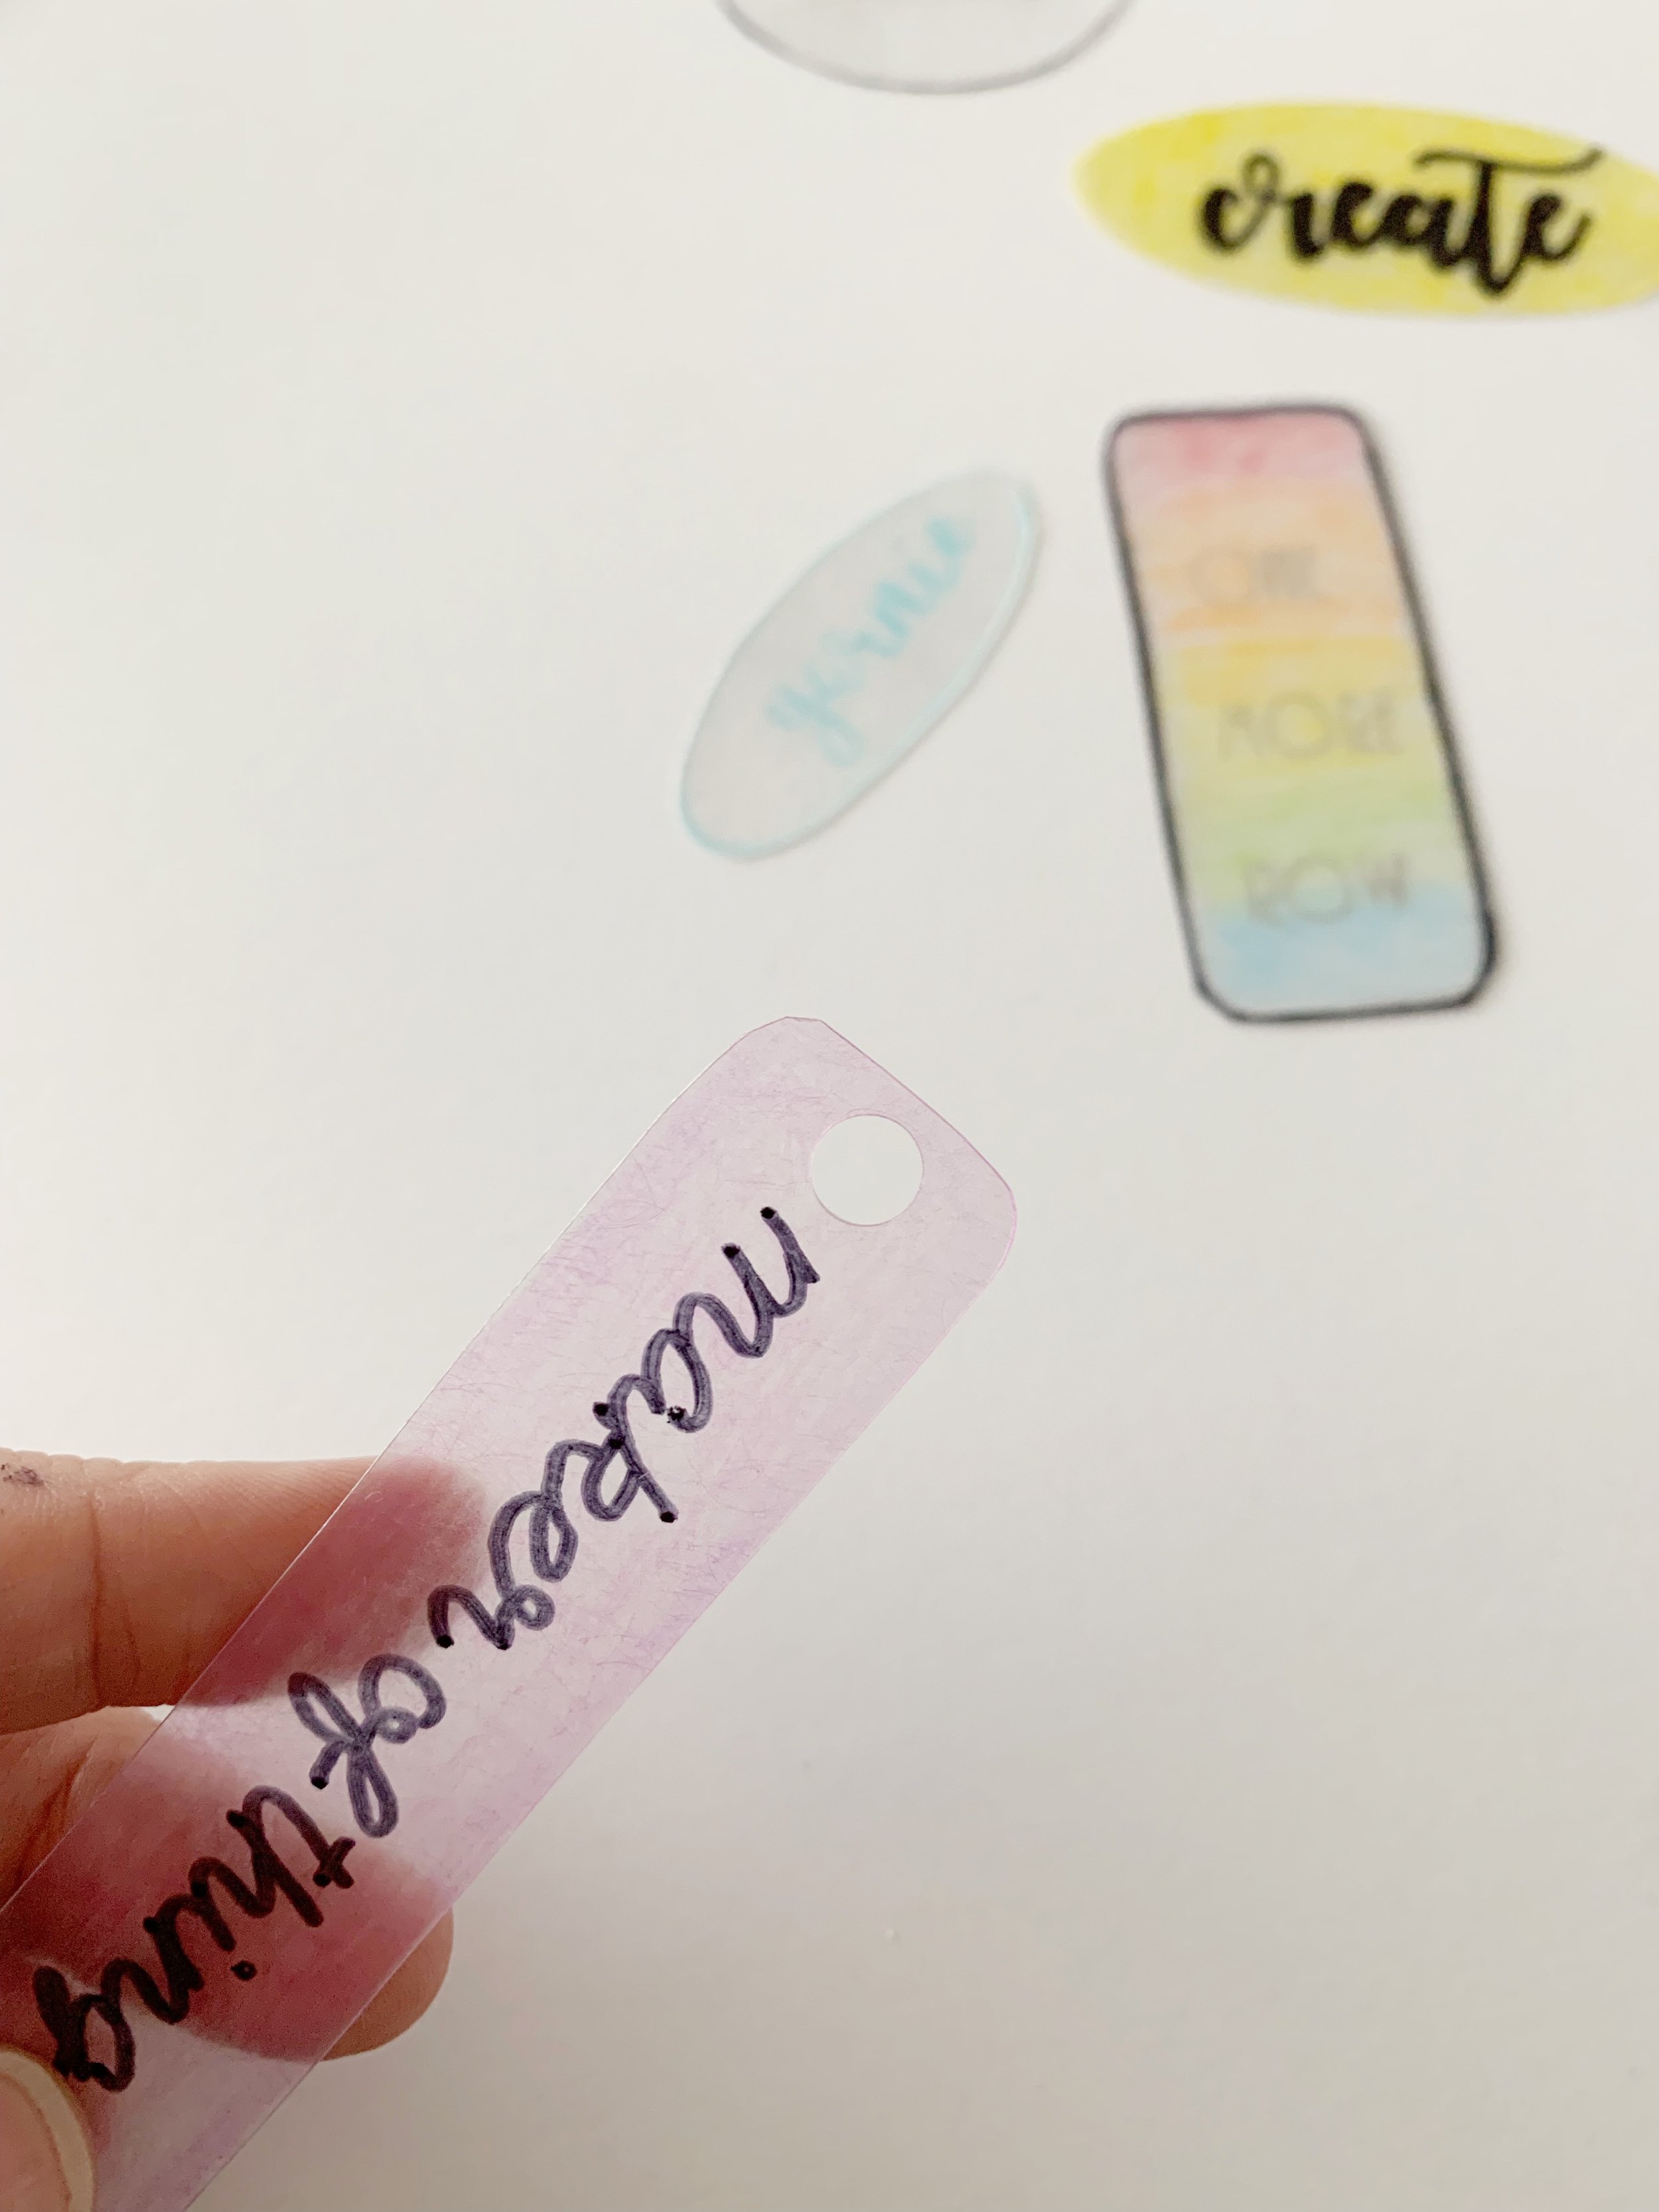
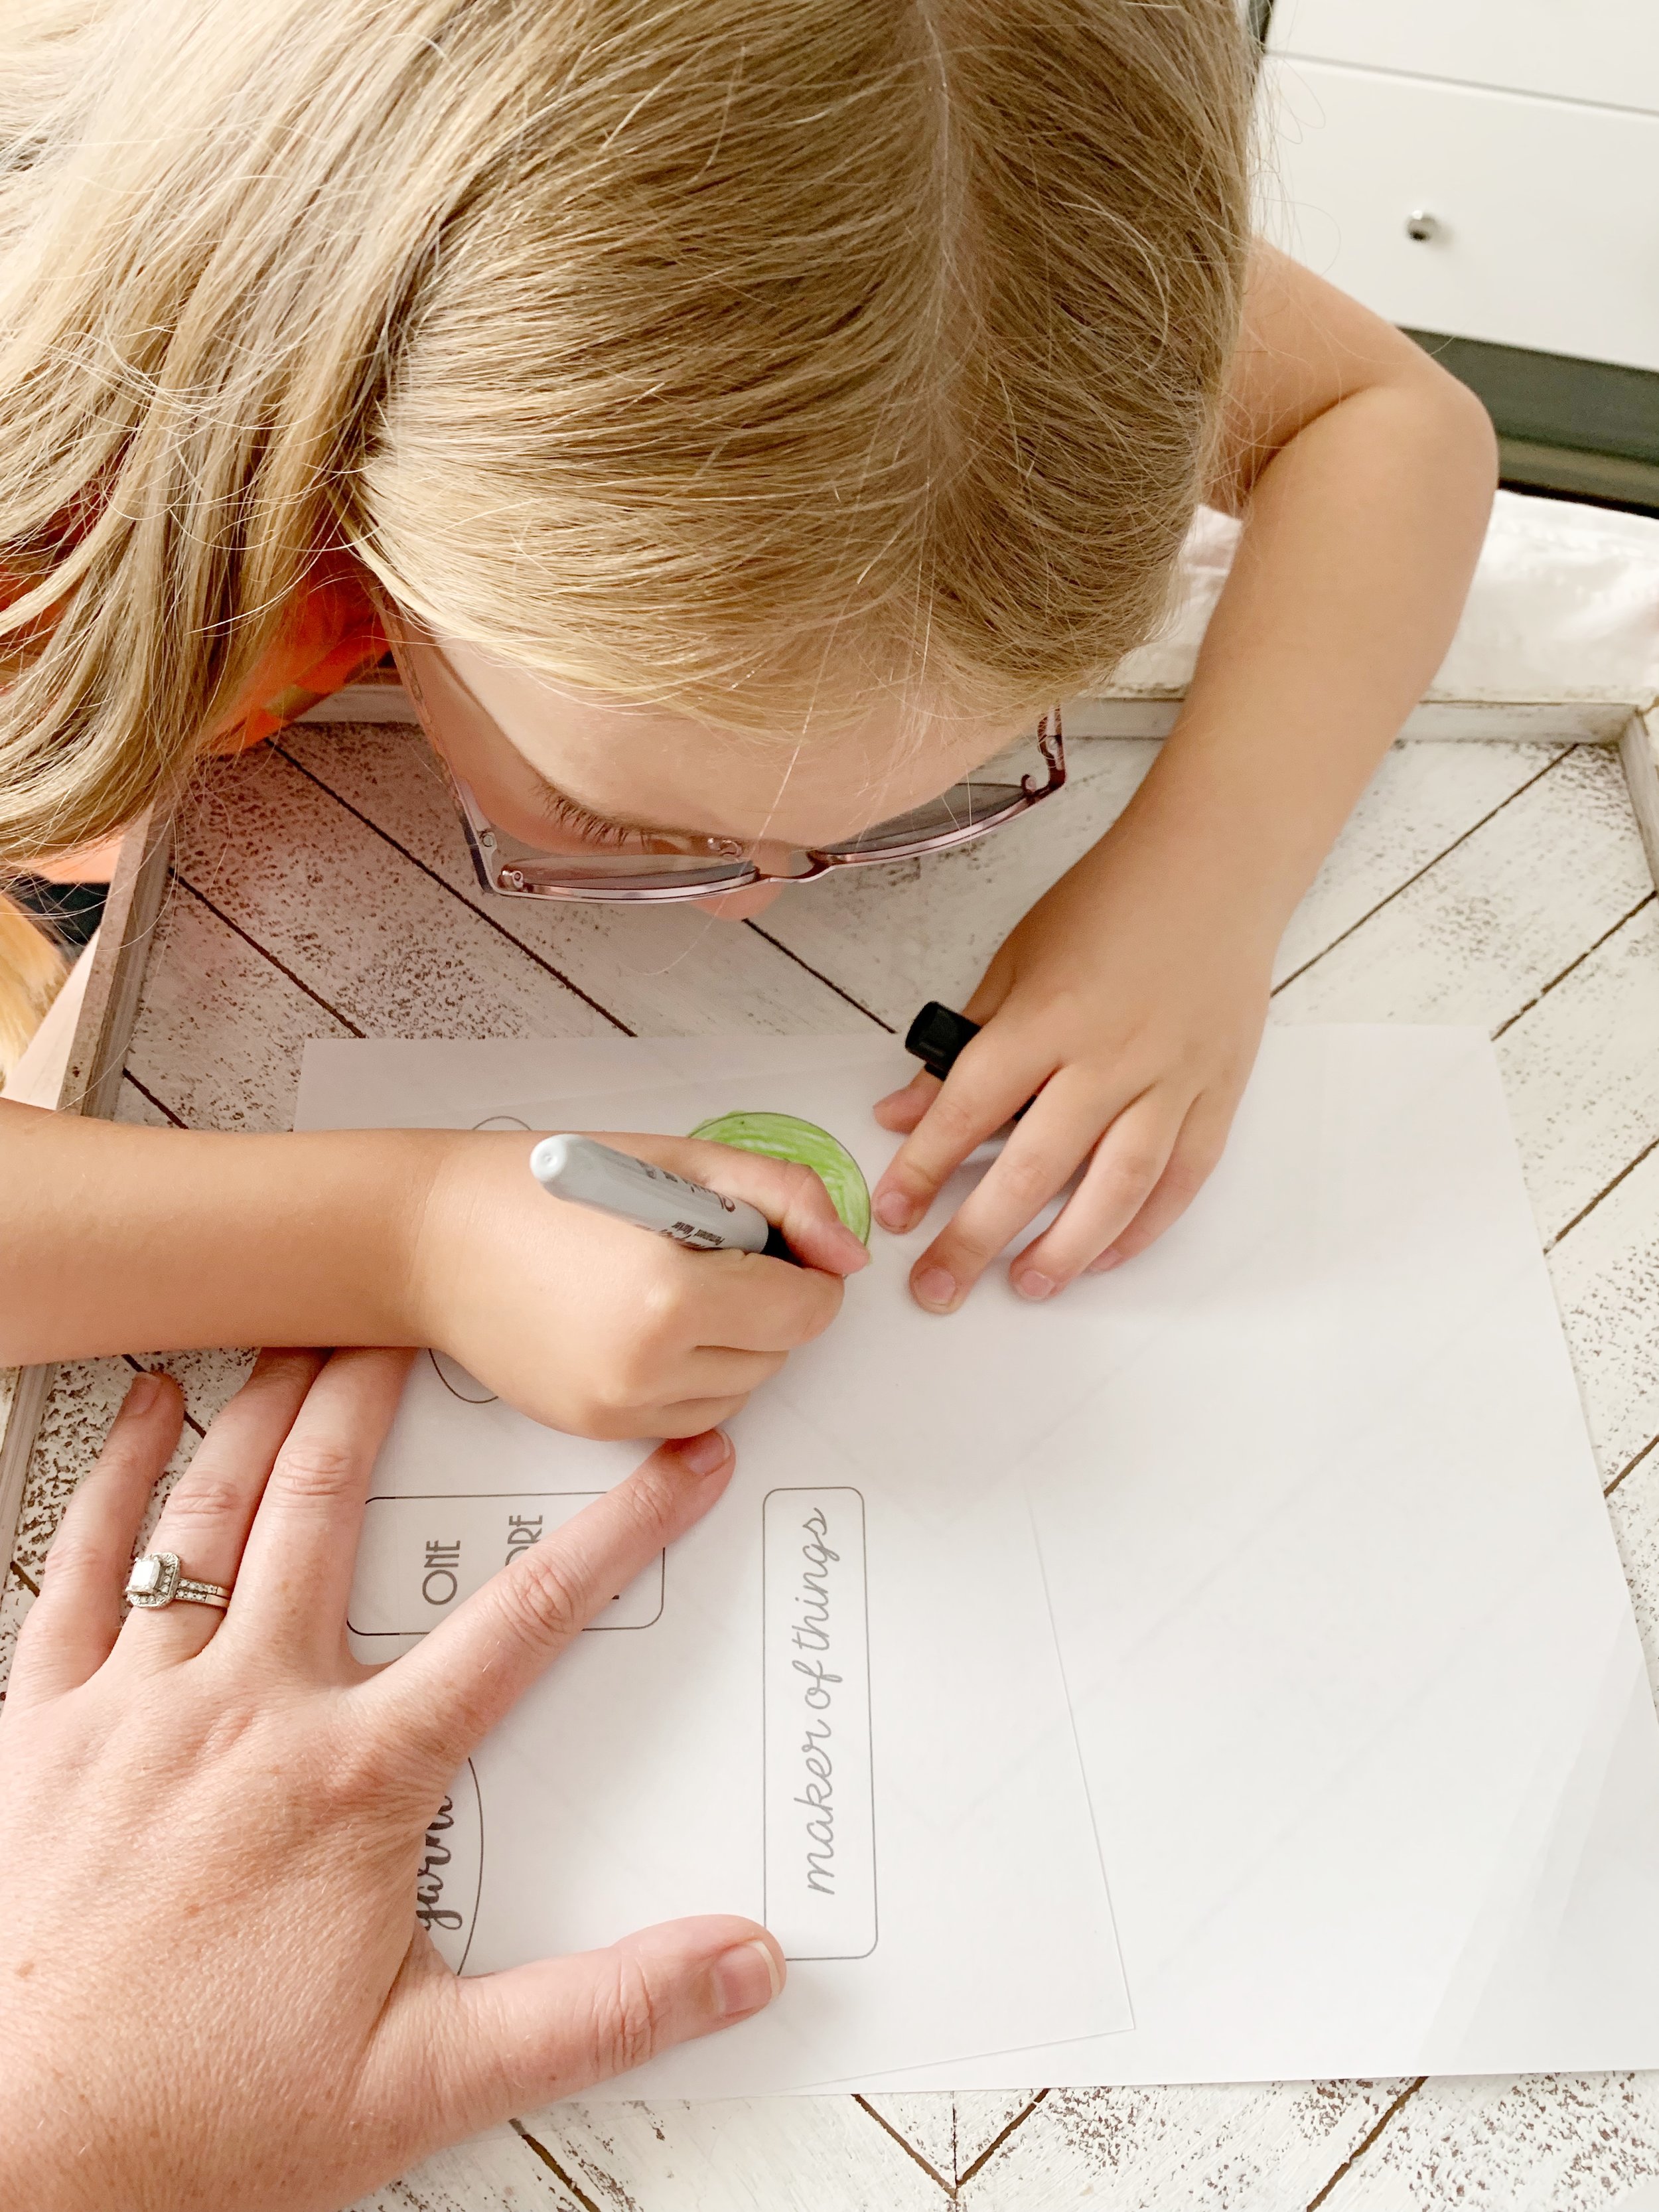
Using a permanent marker or colored pencil, trace around the design carefully.

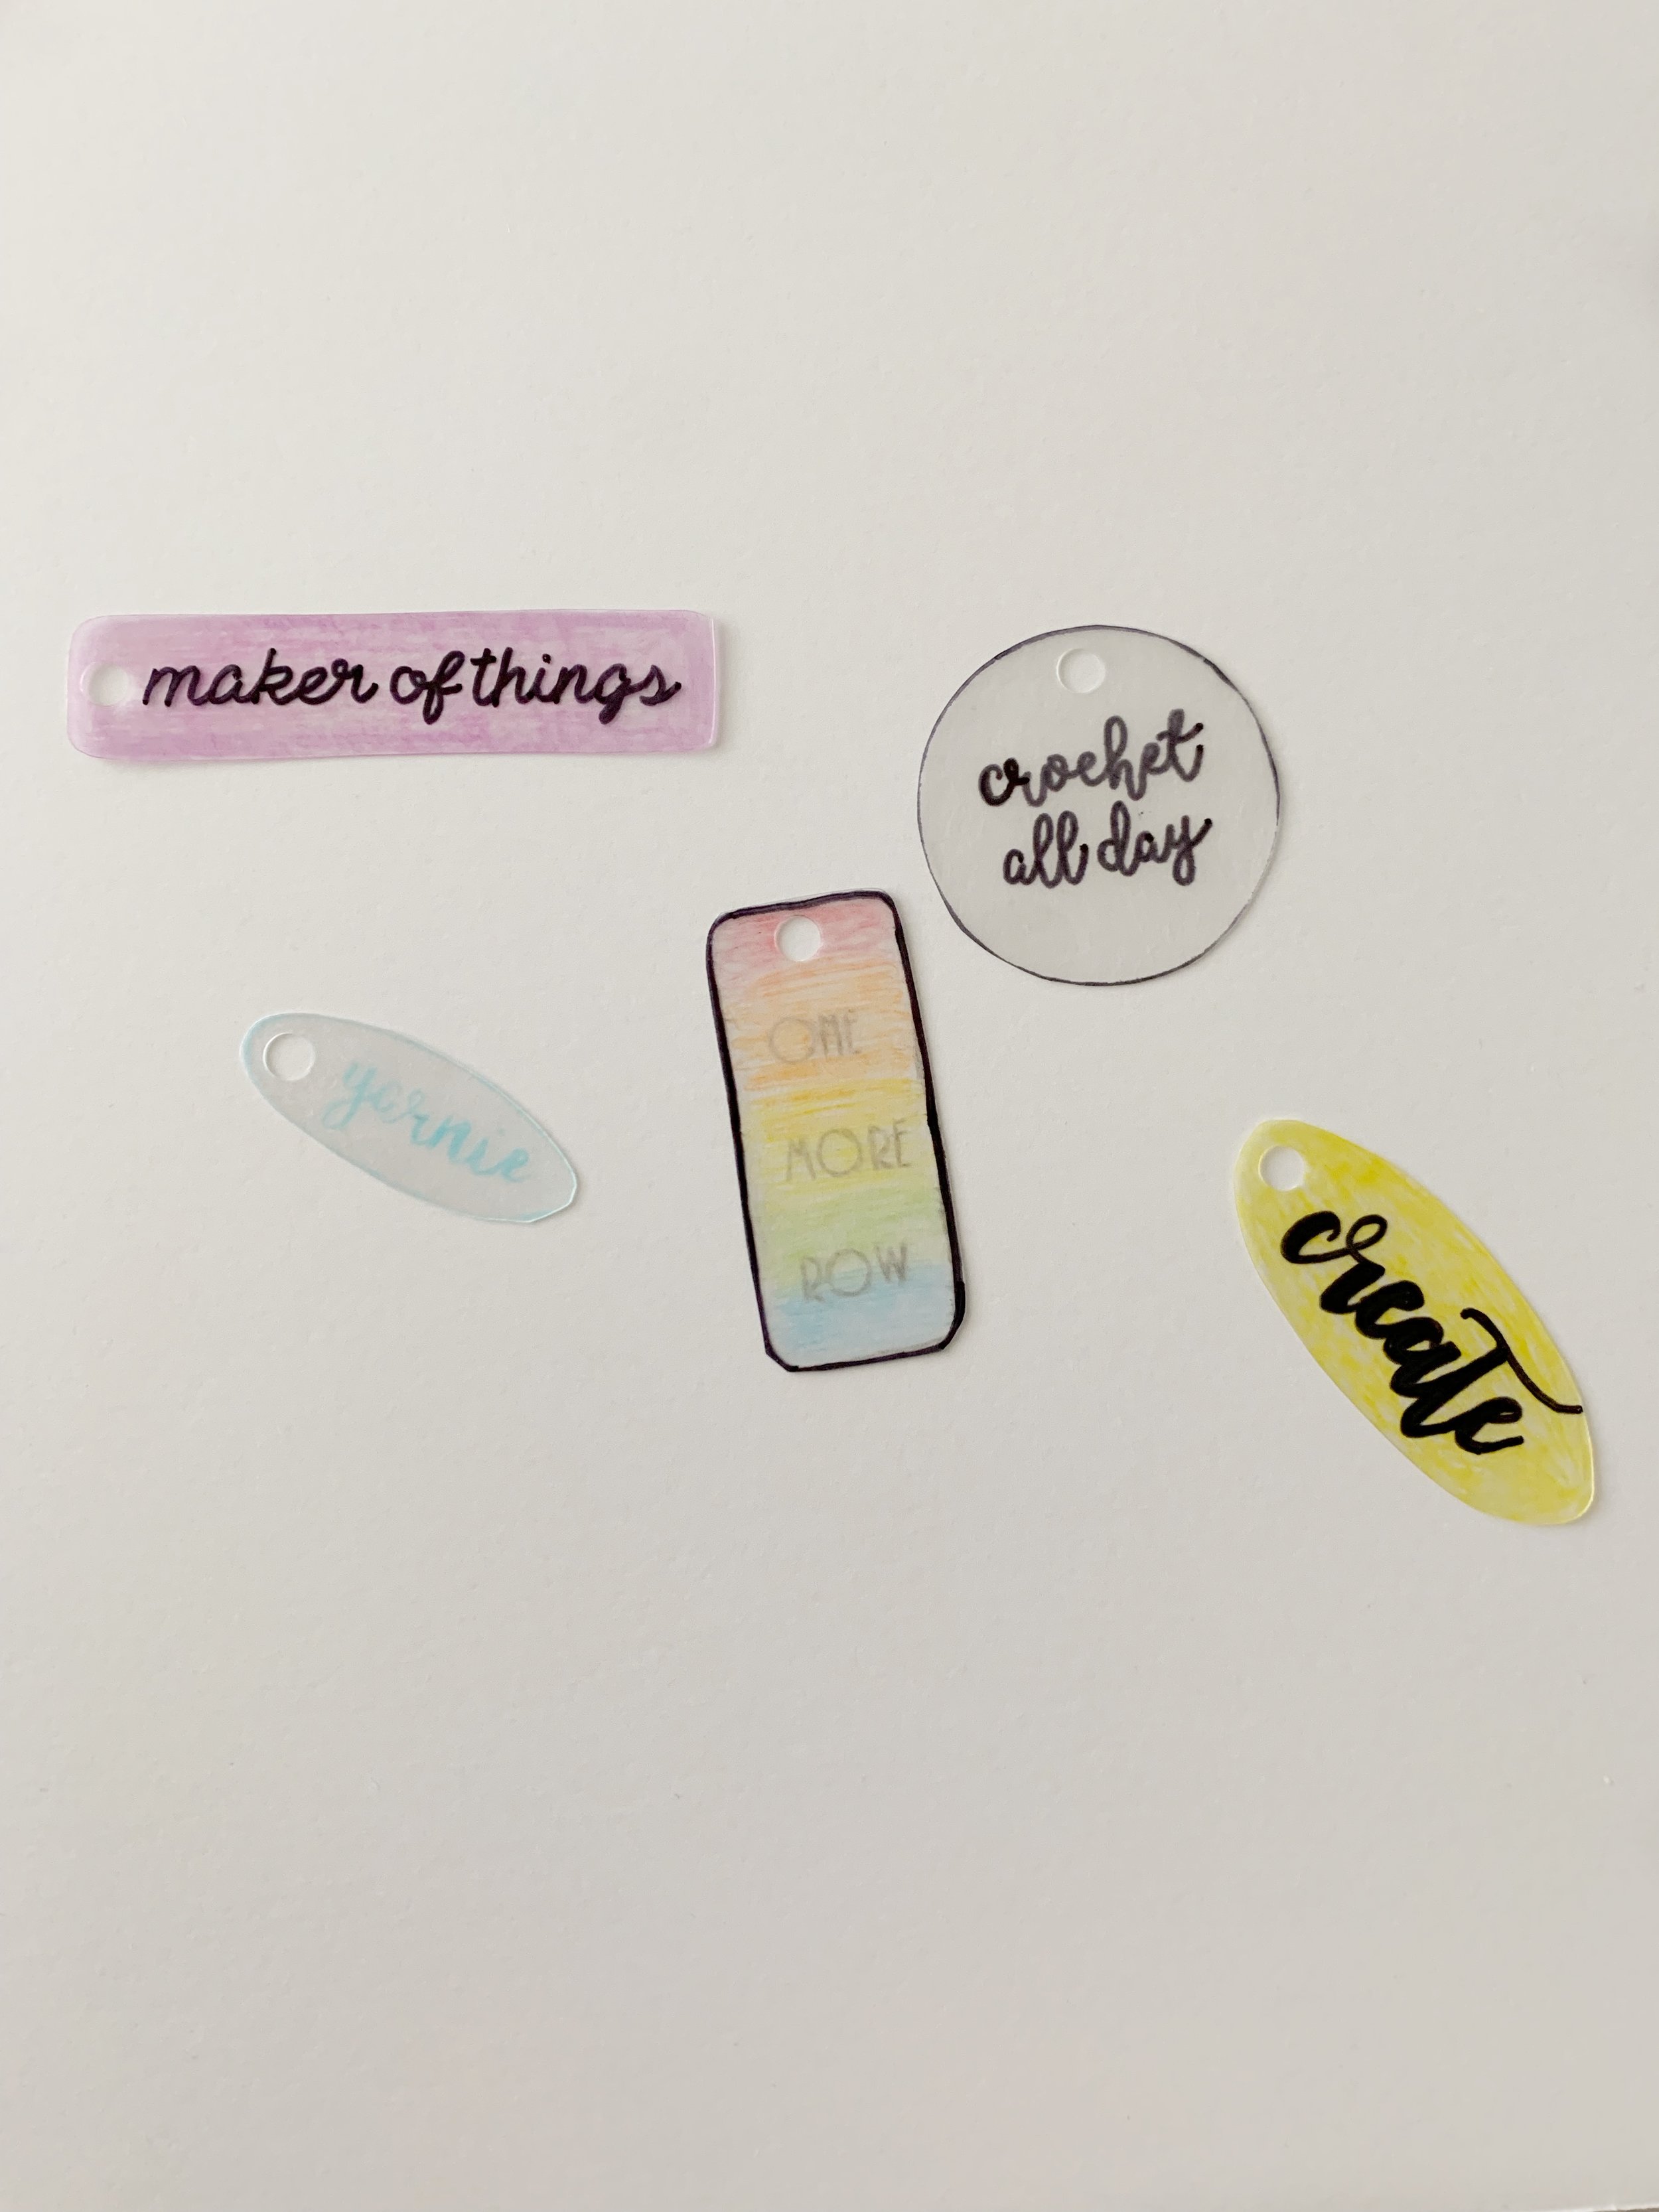
Continue to trace around as many designs as desired. Get creative by using multiple colors and shading.
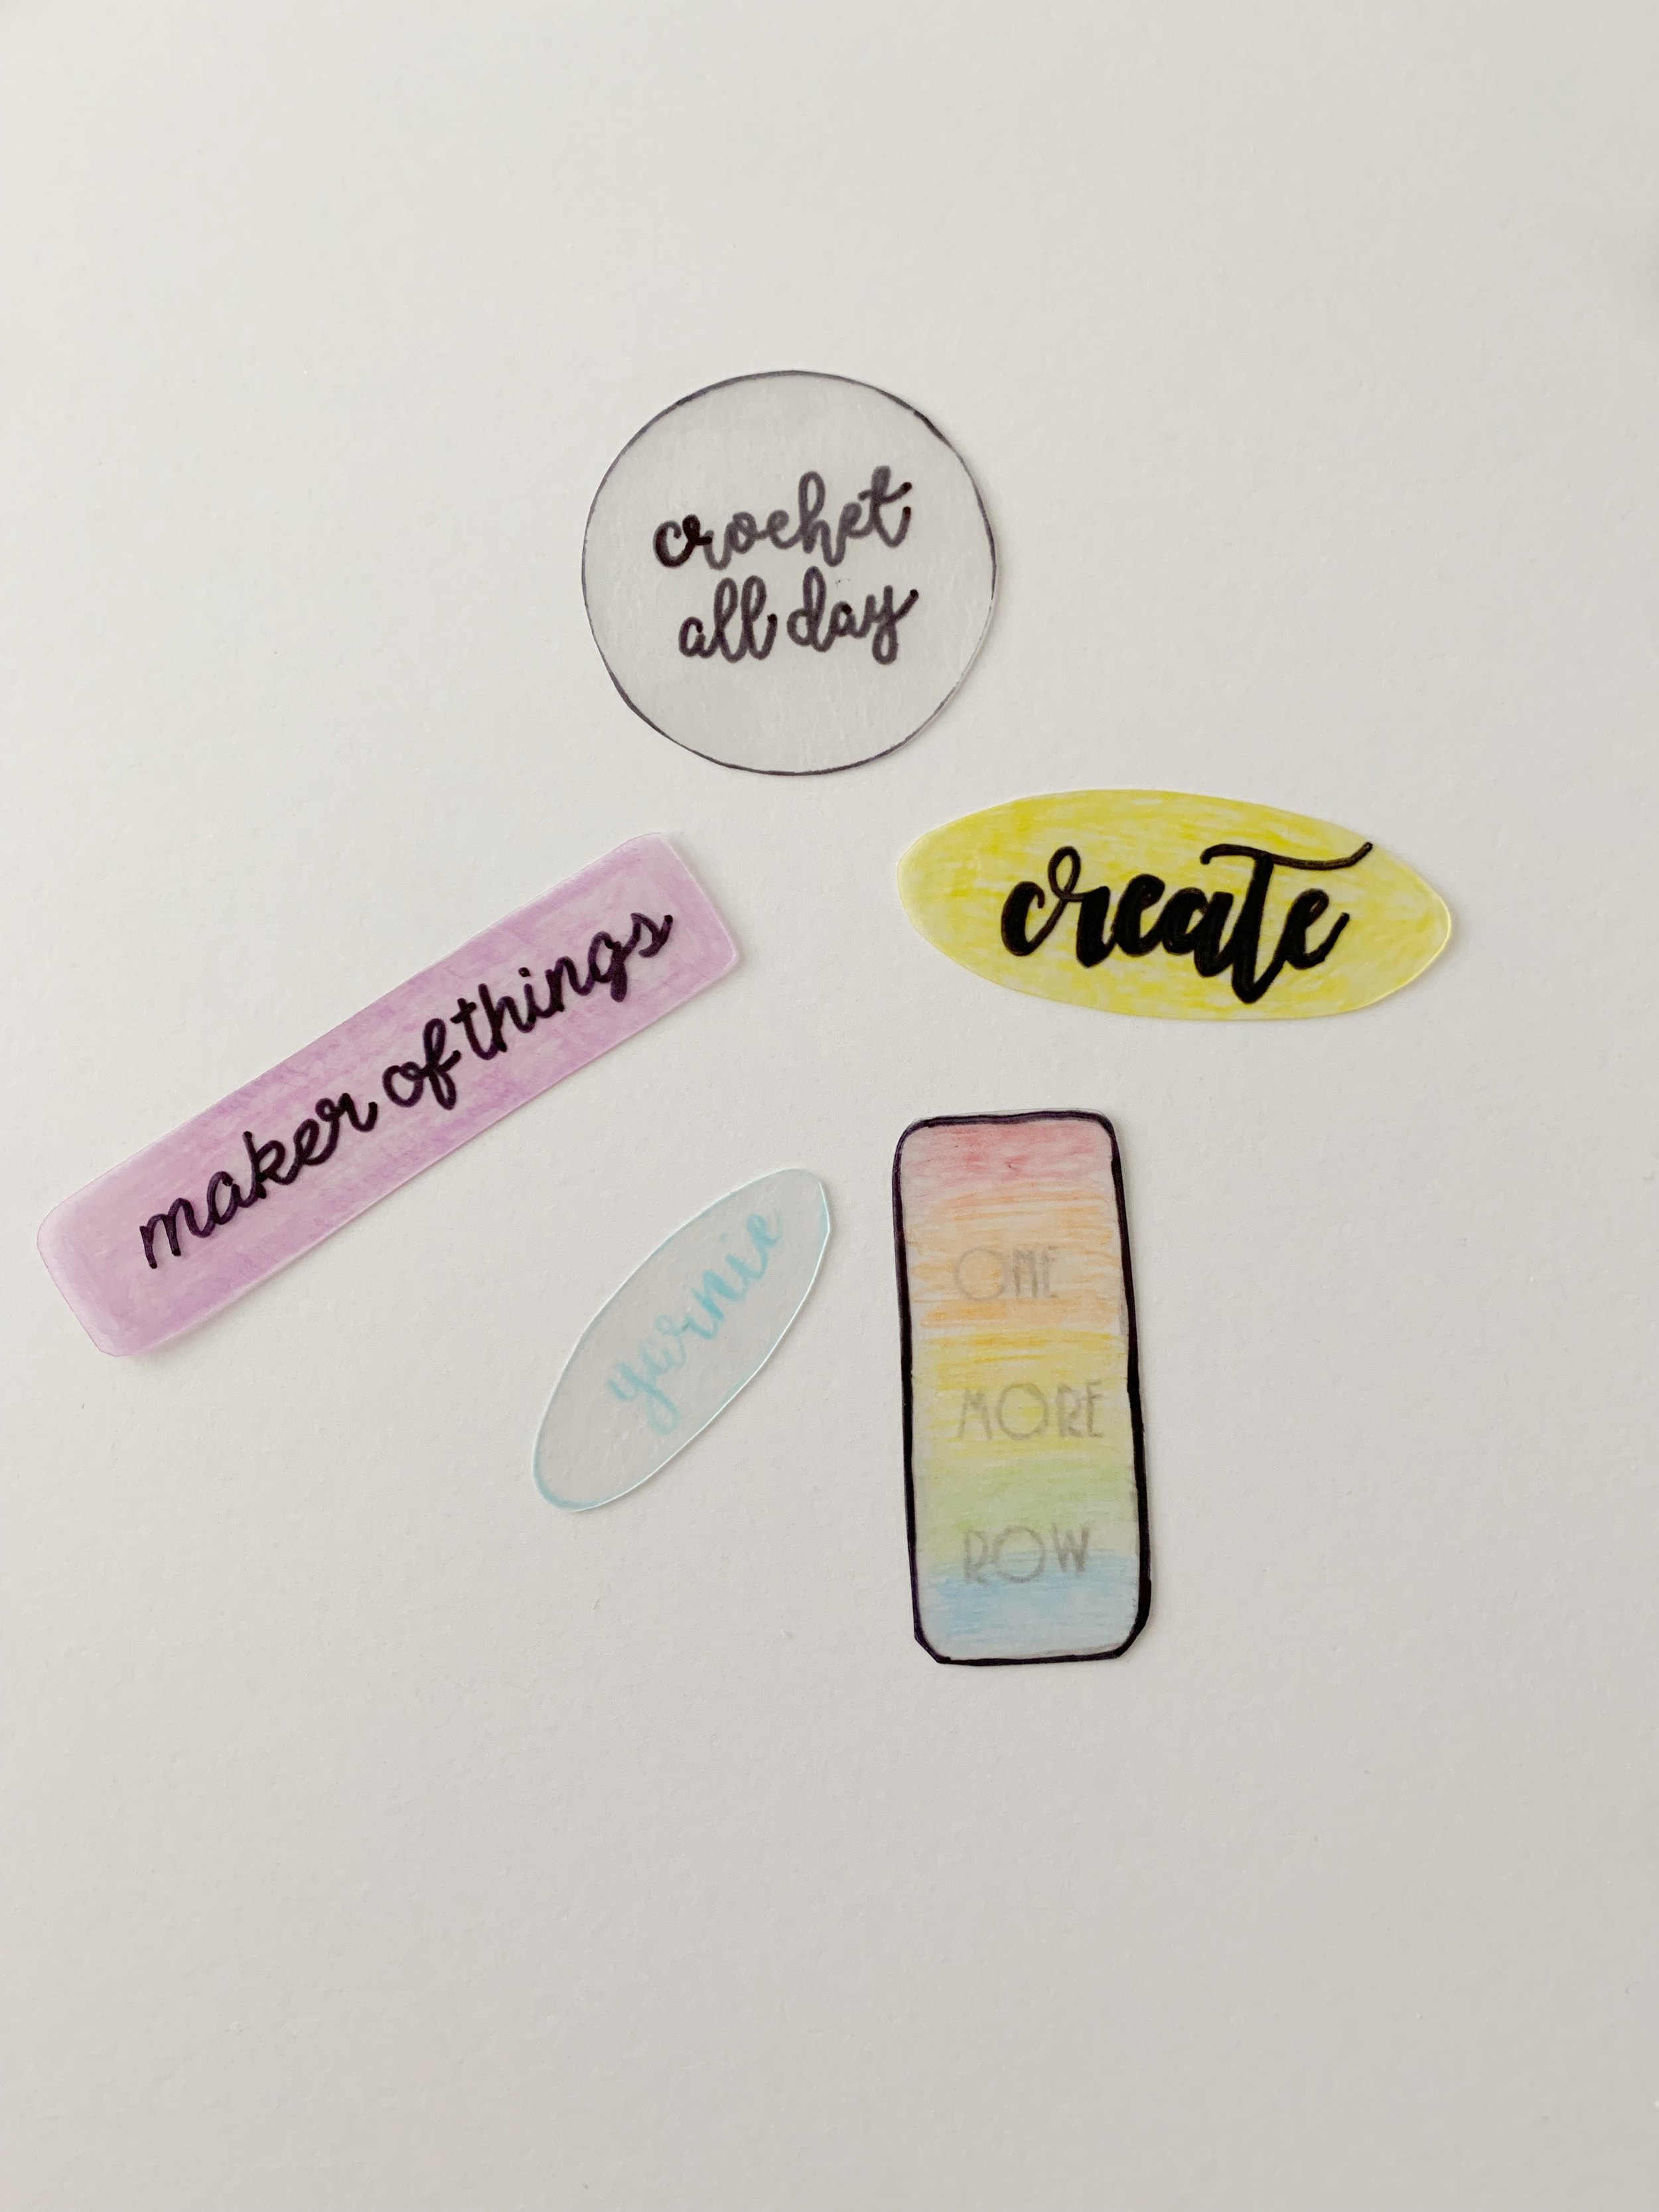
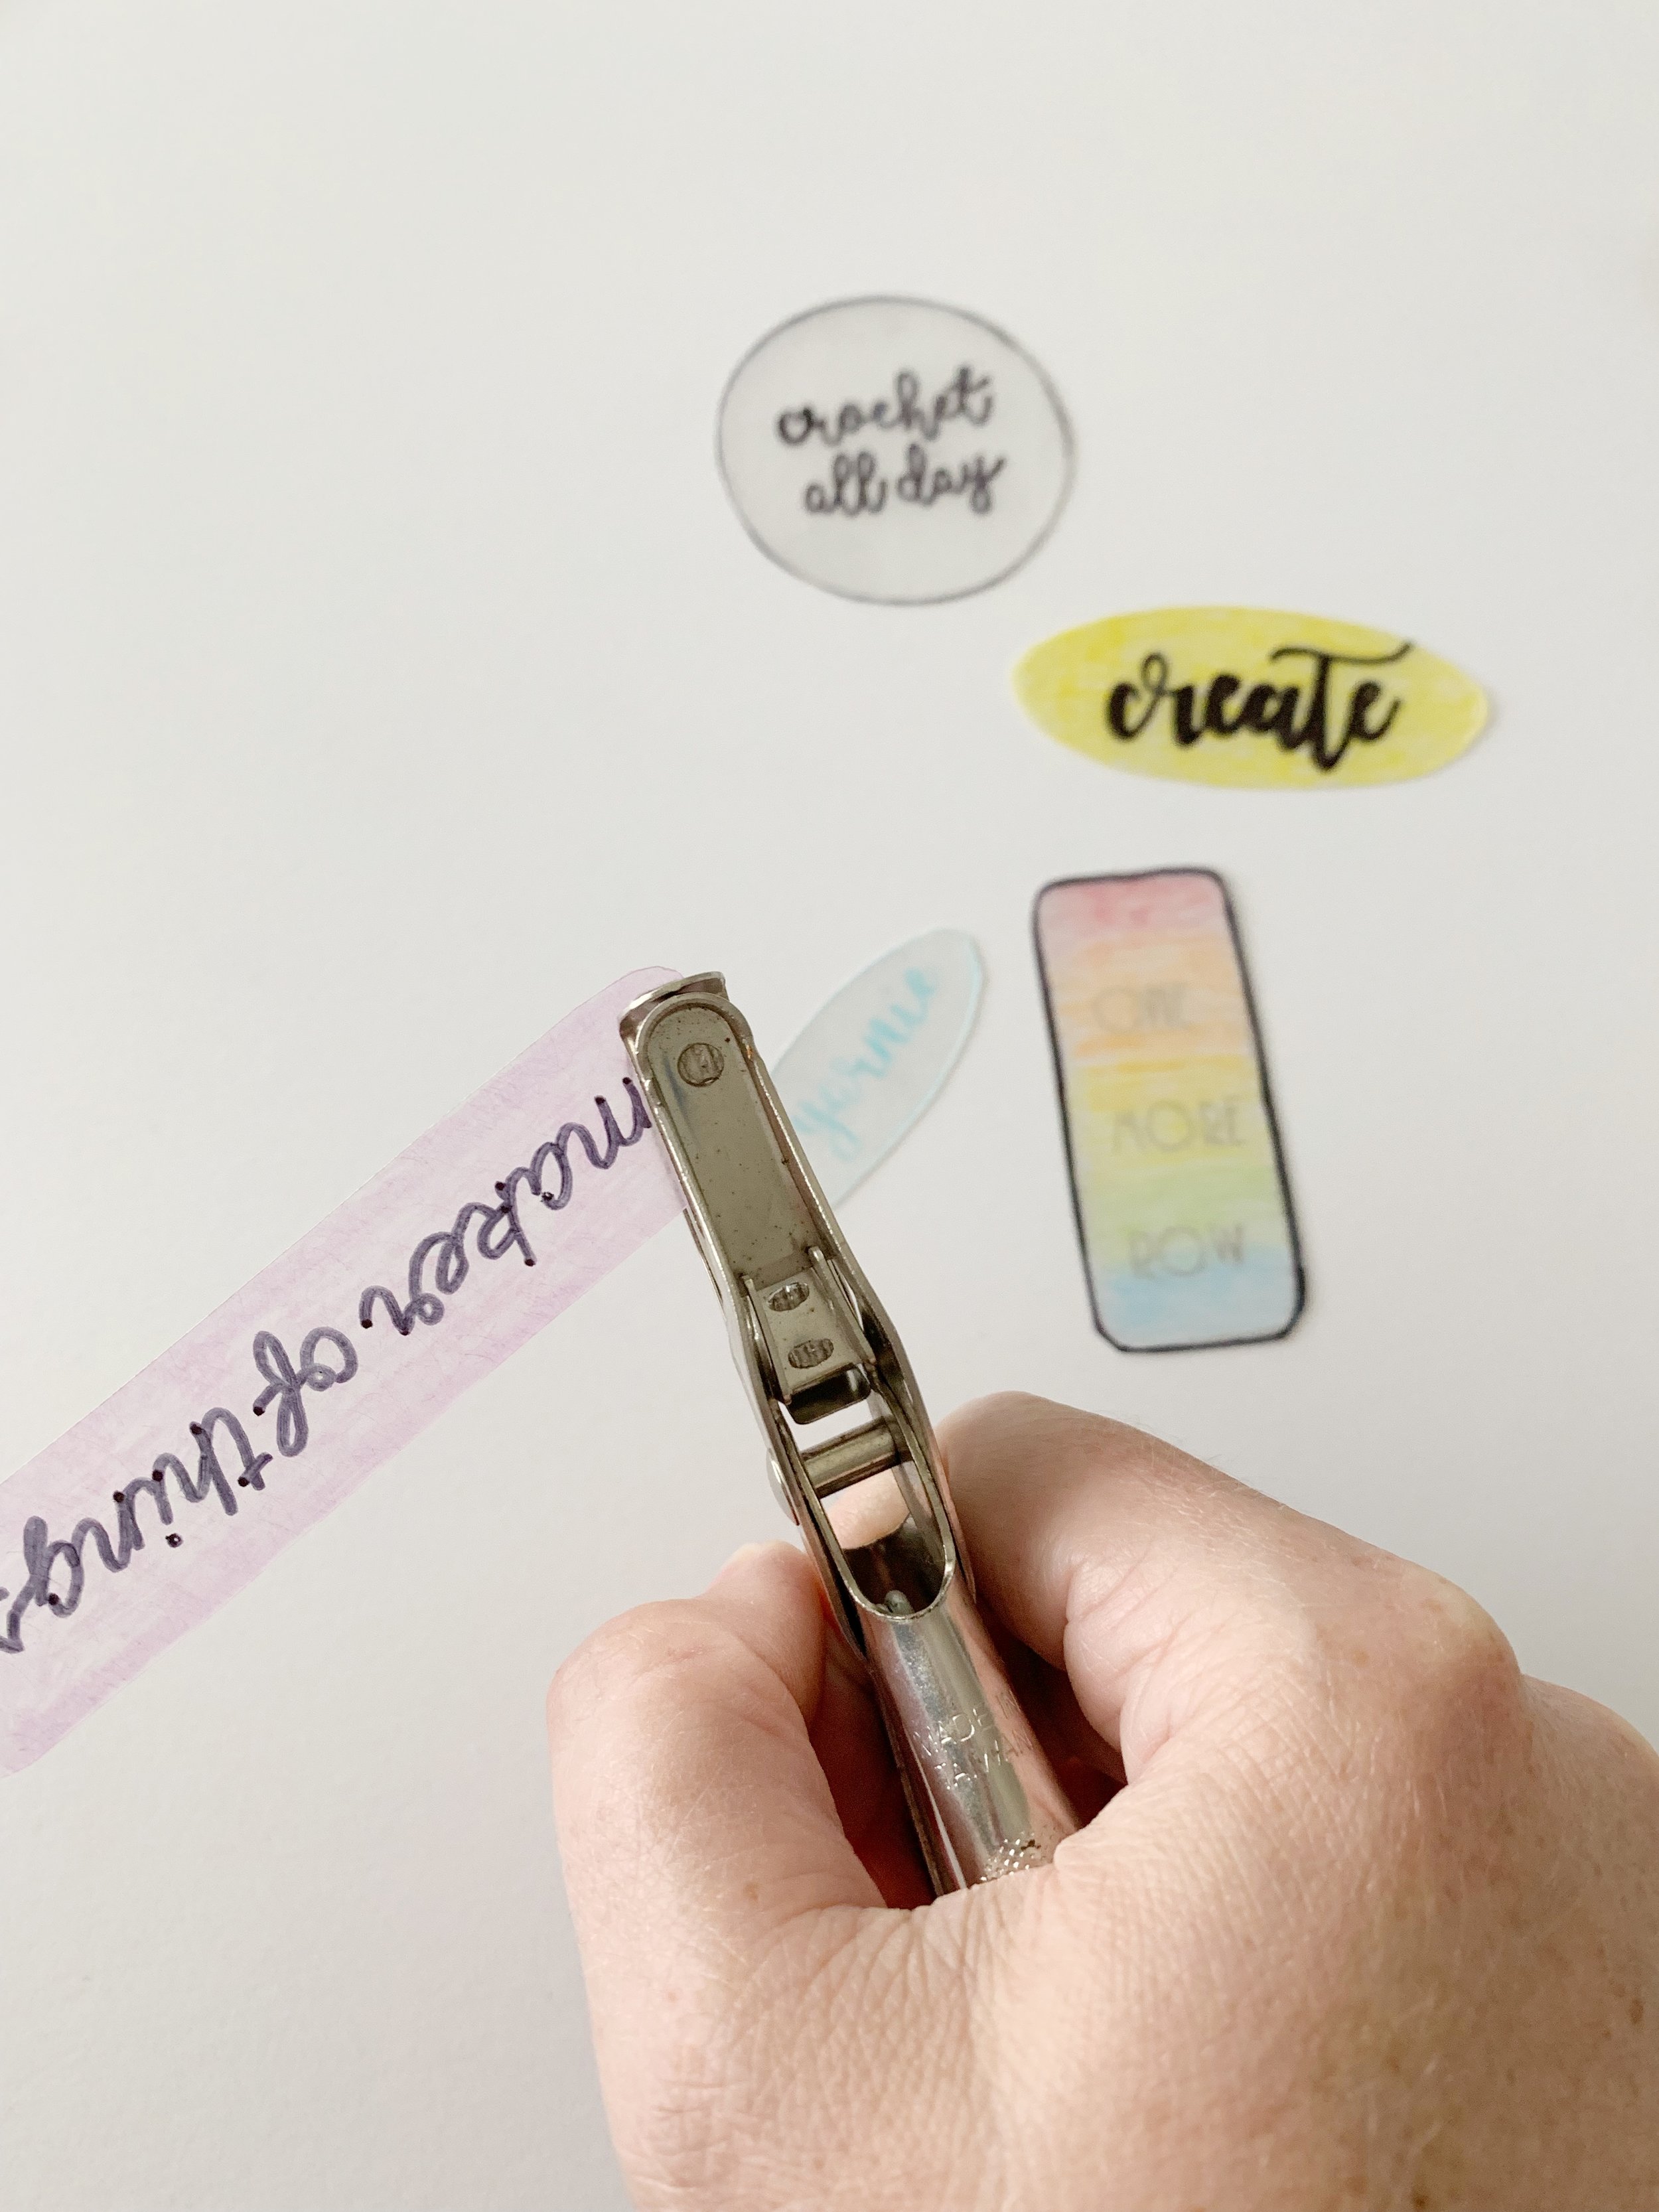
Once you are happy with your designs, cut them out using a pair of scissors. Then using a hole punch, place a hole in each one close to the top.
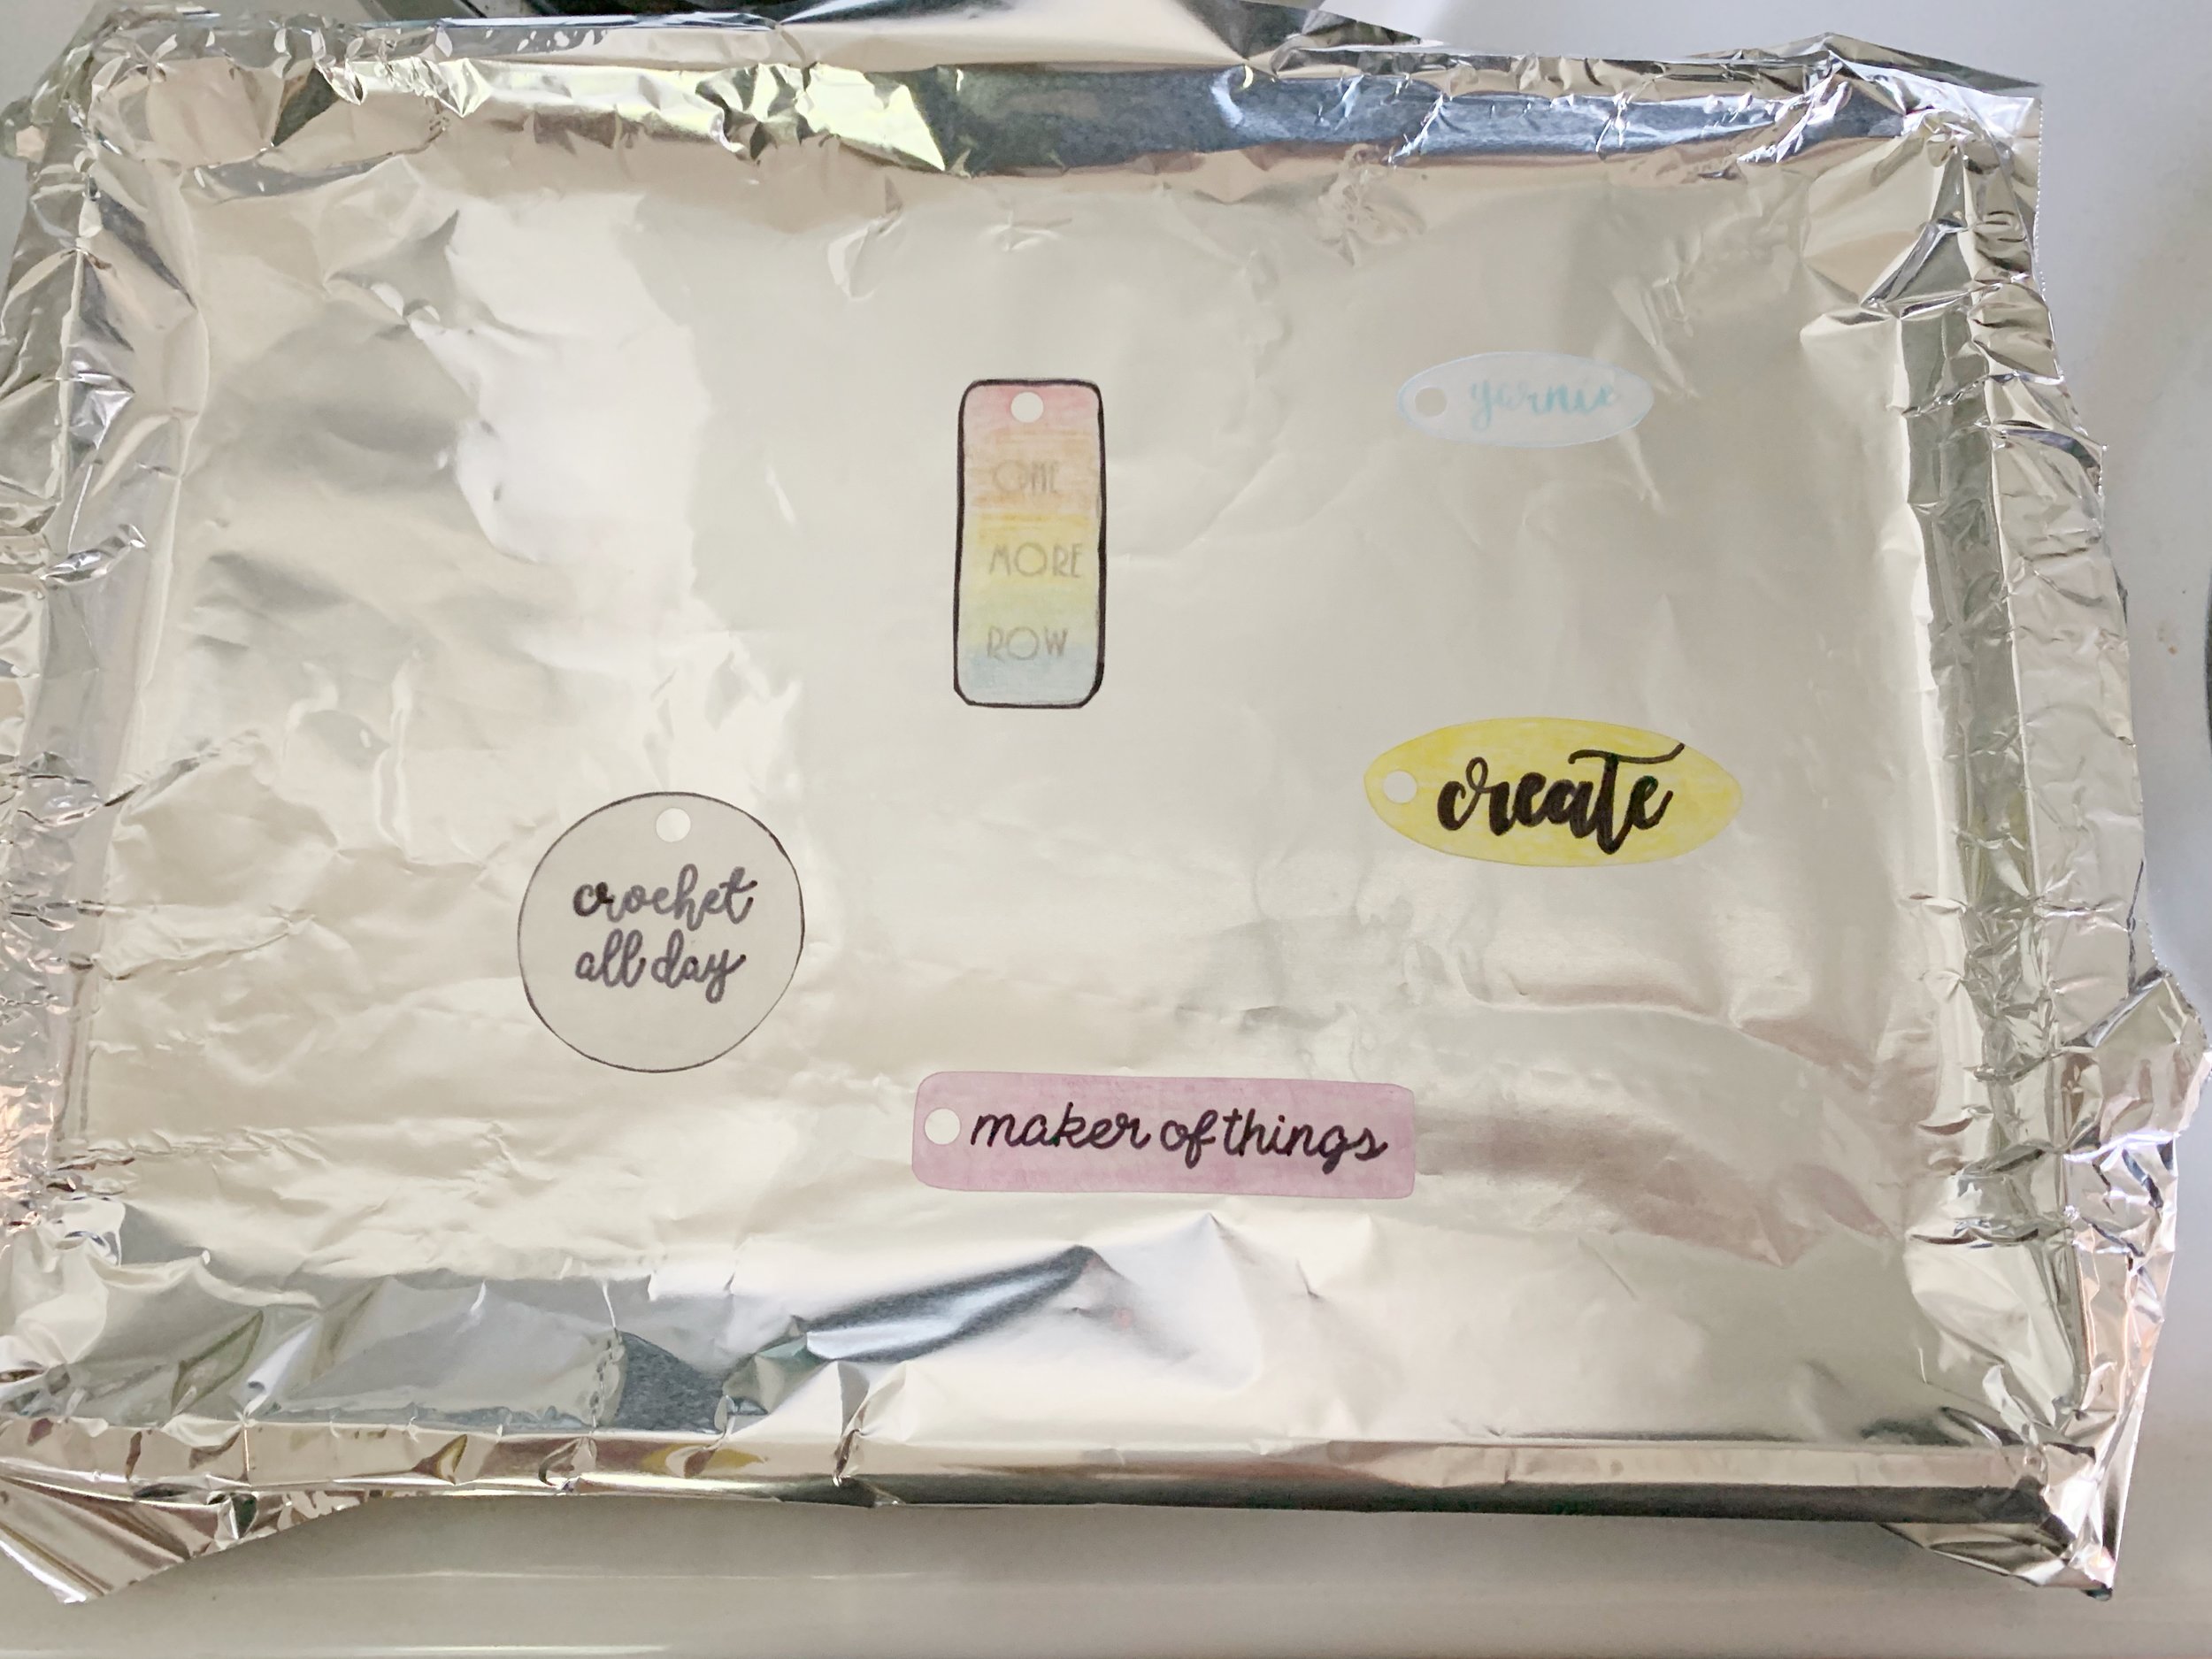
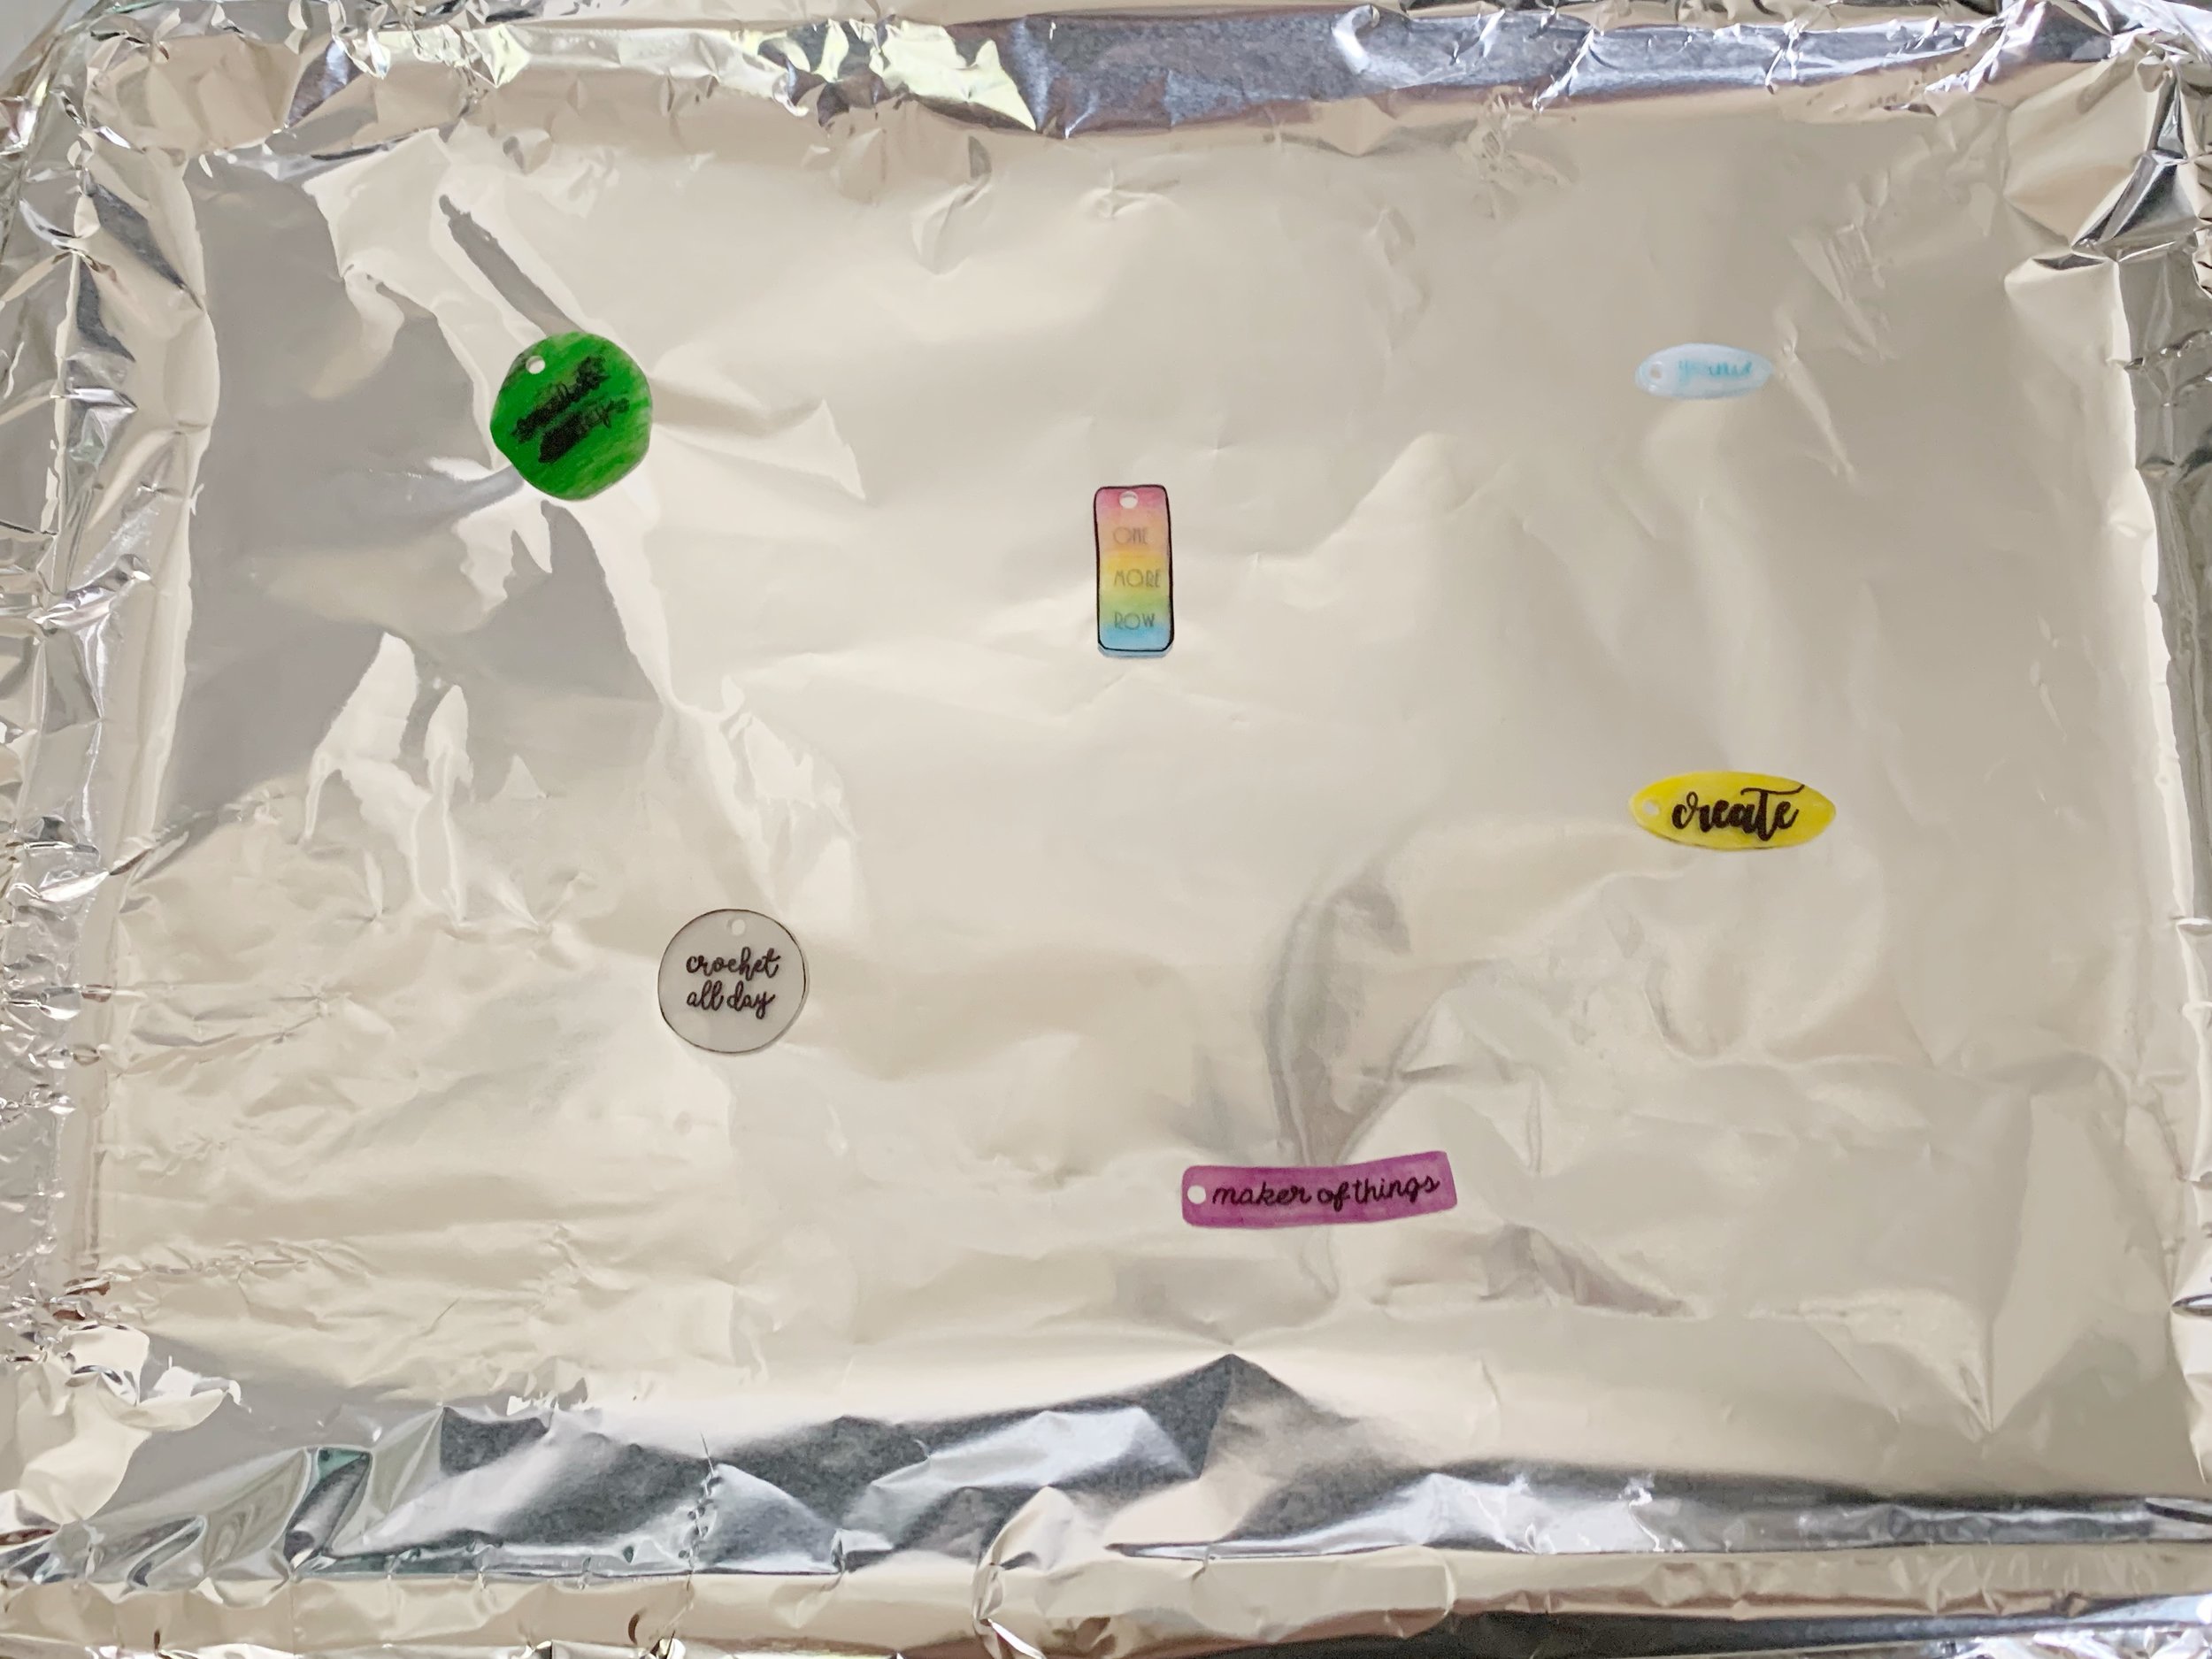
Line a small cookie sheet with foil and place your pieces on the tray with the colored side up. Make sure to leave a few inches between each piece. Bake according to package instructions. Your pieces will curl up and then lay flat. Make sure to wait to remove them until they are fully flattened (1-3 minutes).
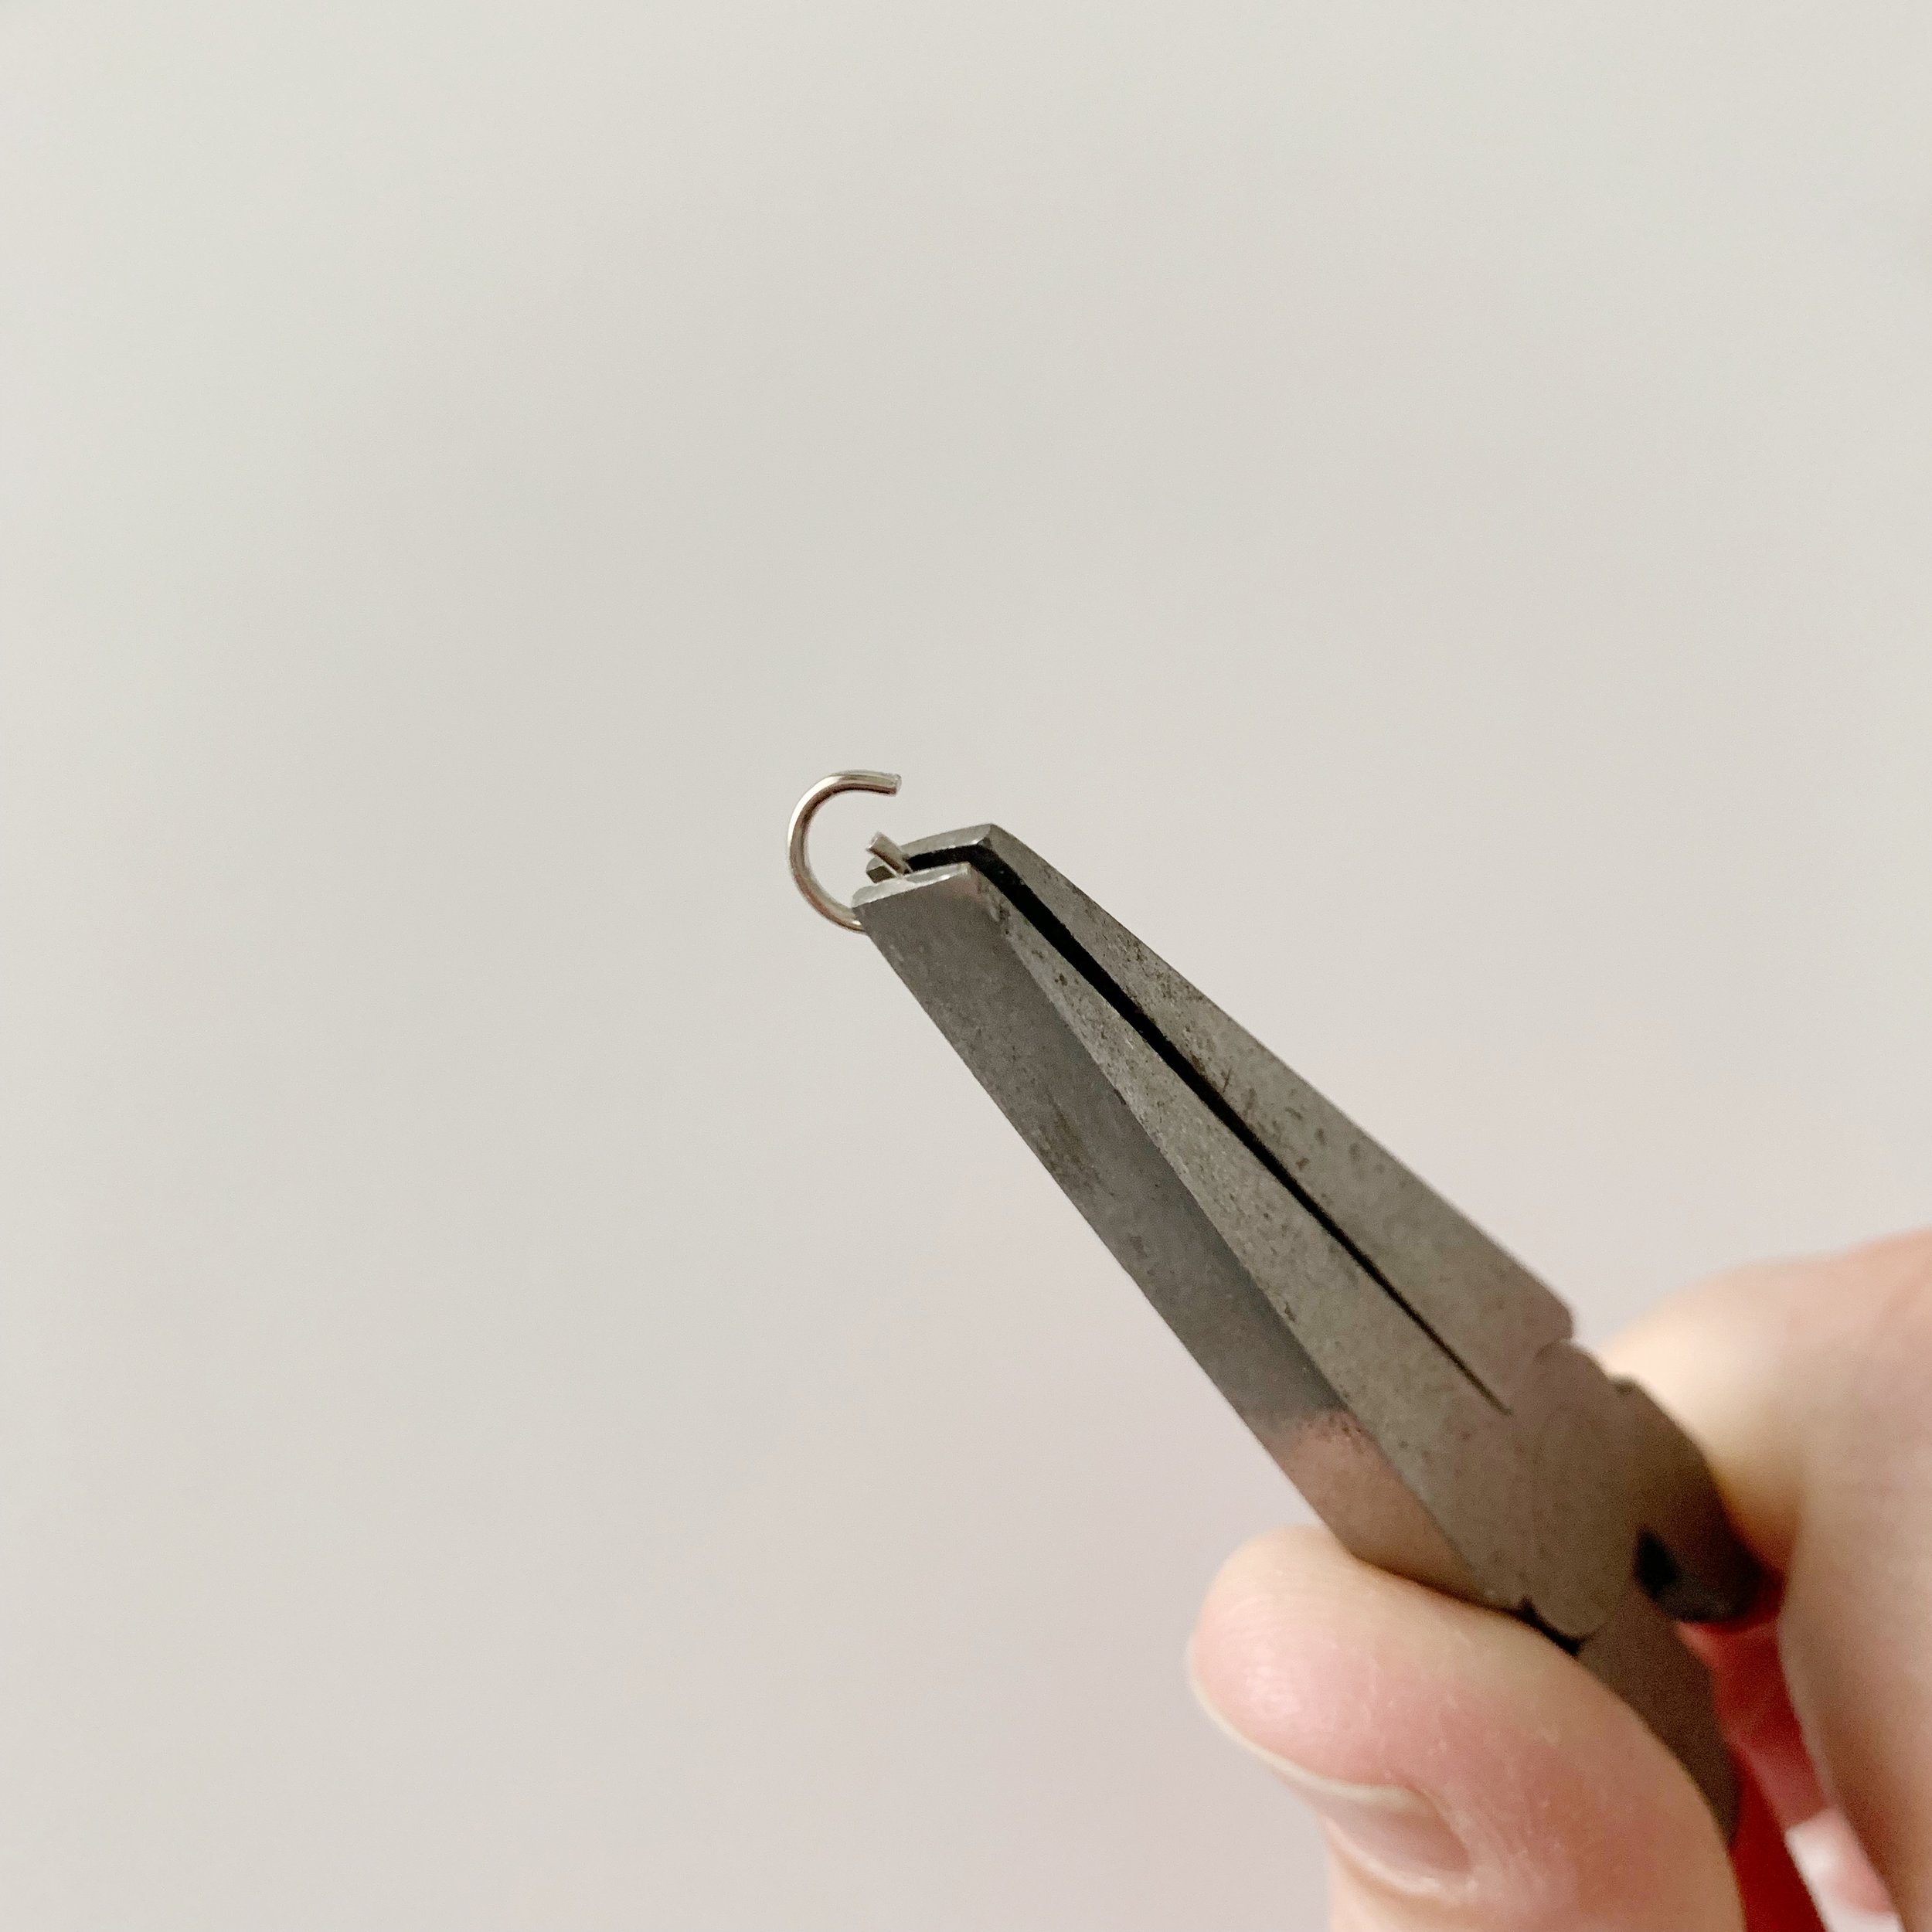
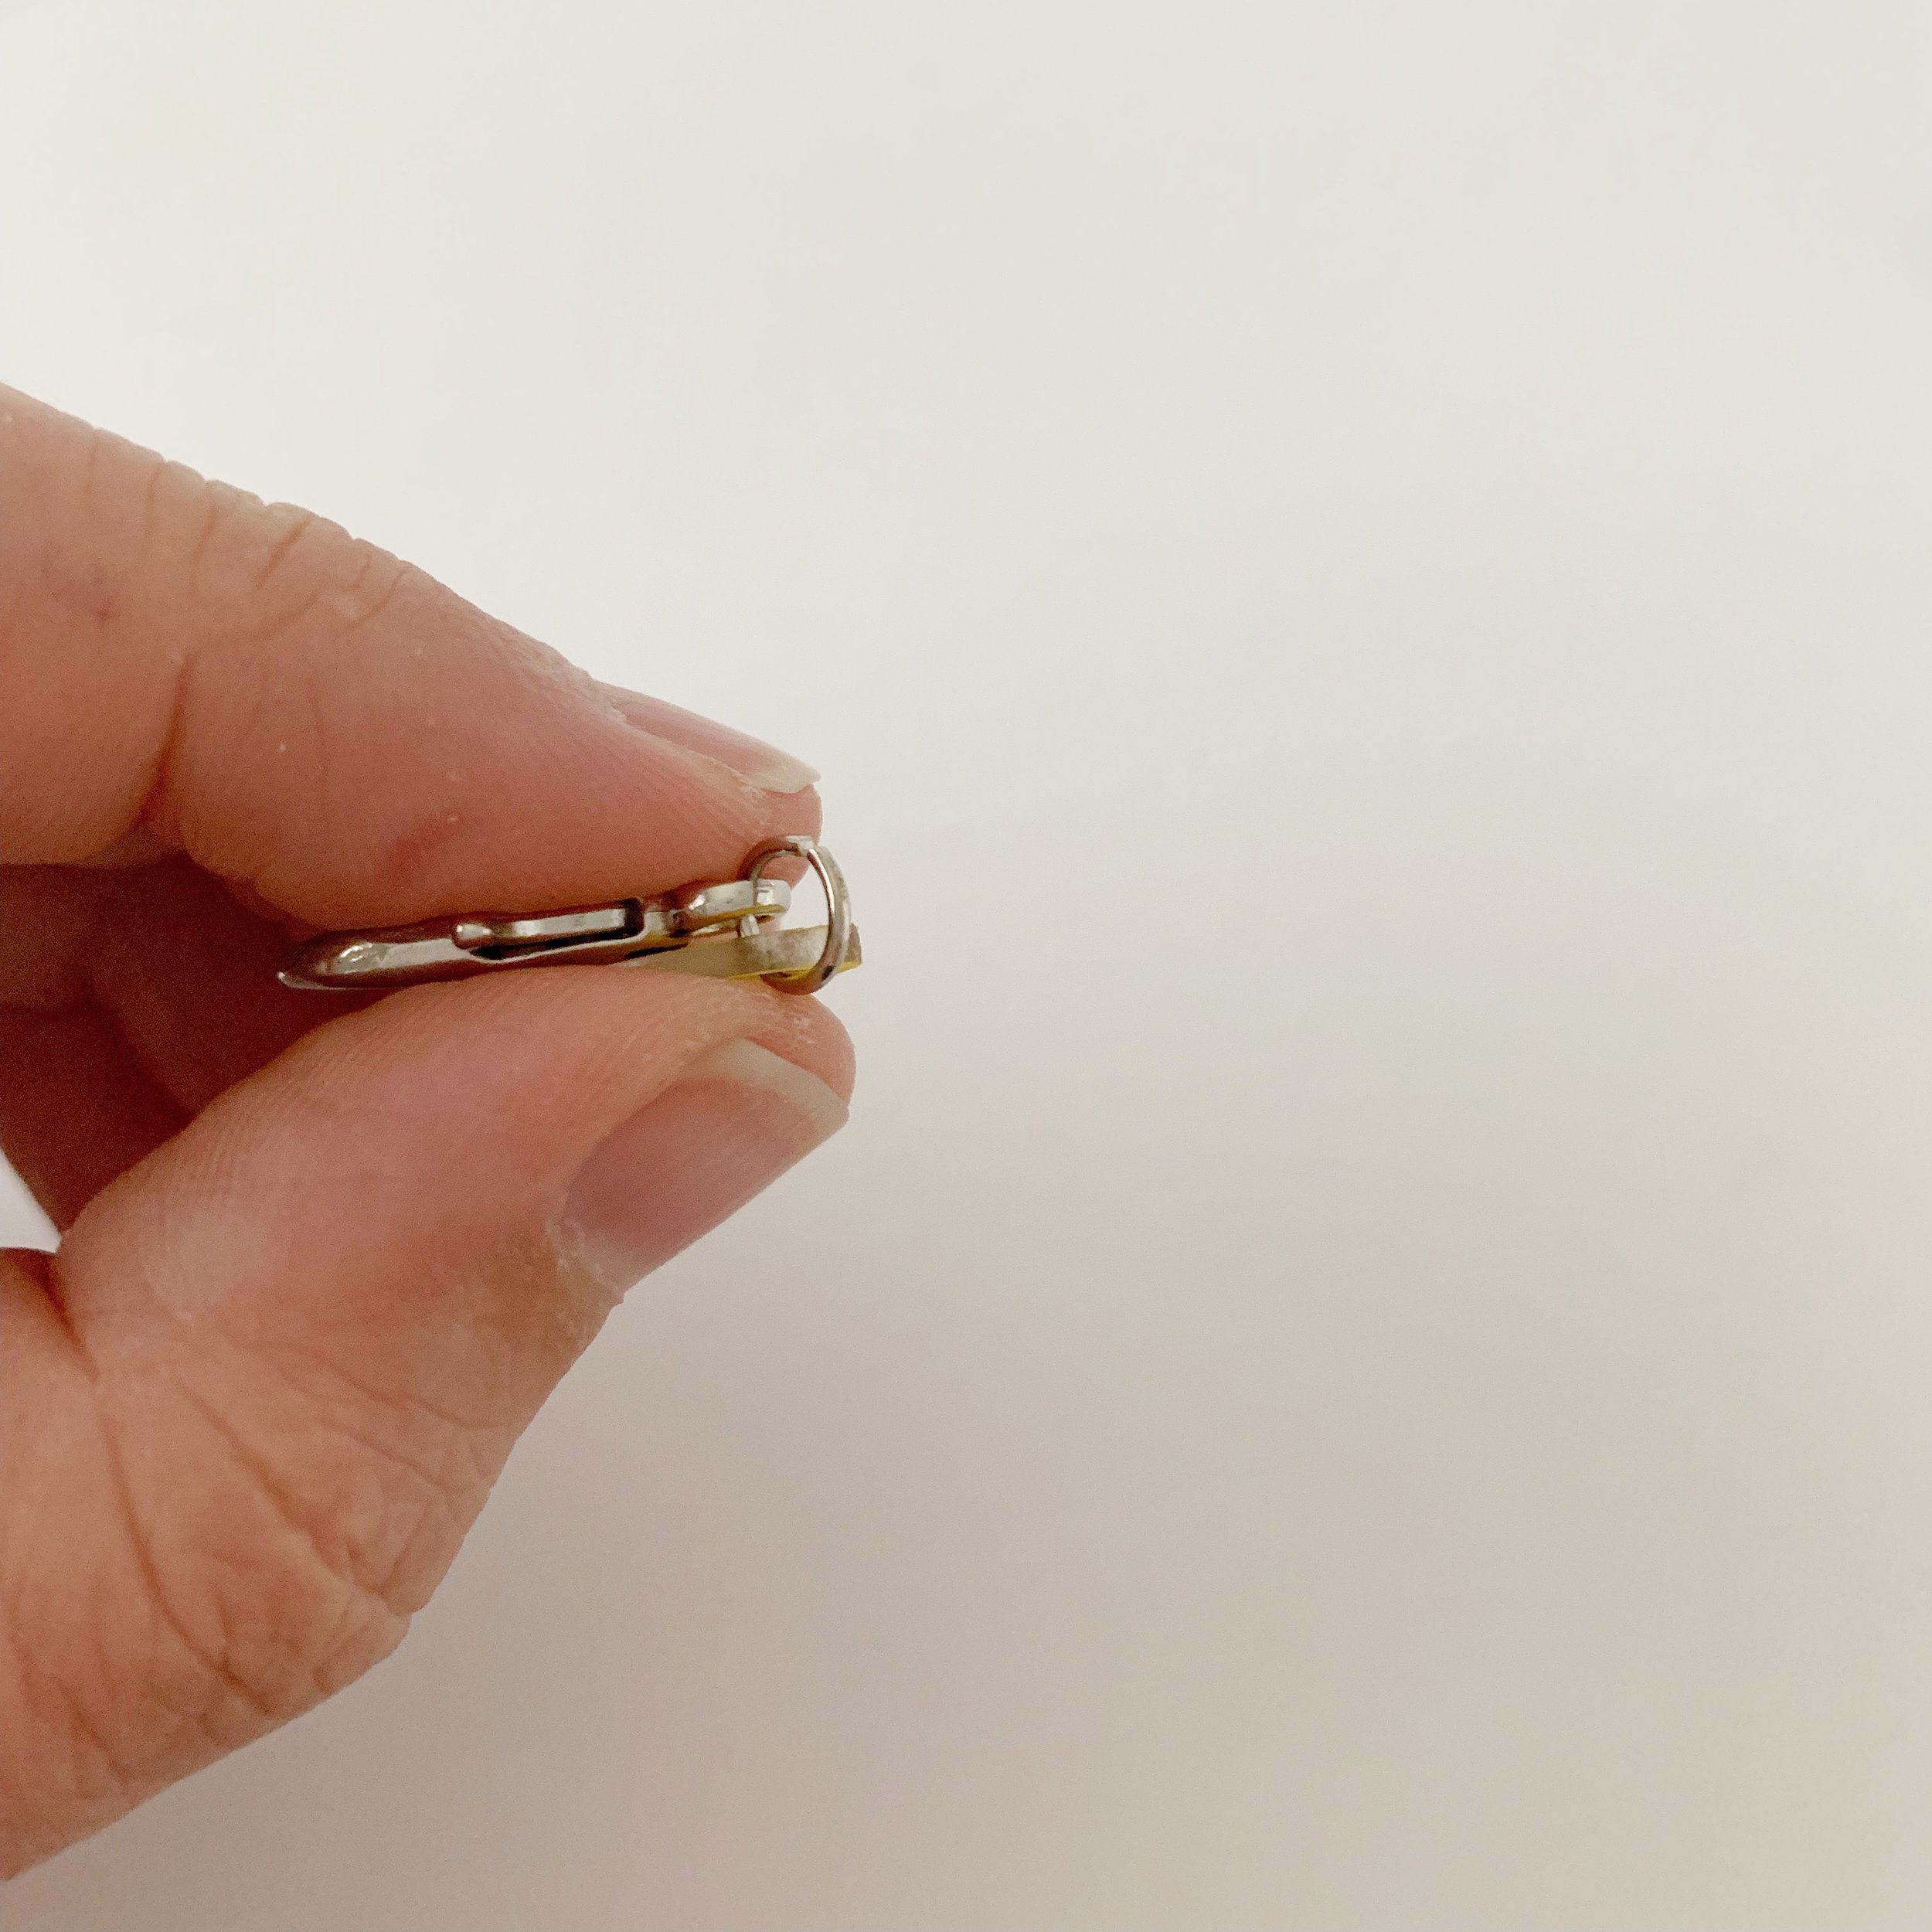
Let your pieces cool for at least ten minutes. Then gather your jump rings, lobster clasps and pliers.

Open a jump ring using the pliers. Place a shrinky dink piece and a lobster clasp on the jump ring. Close the jump ring securely and you’re done!

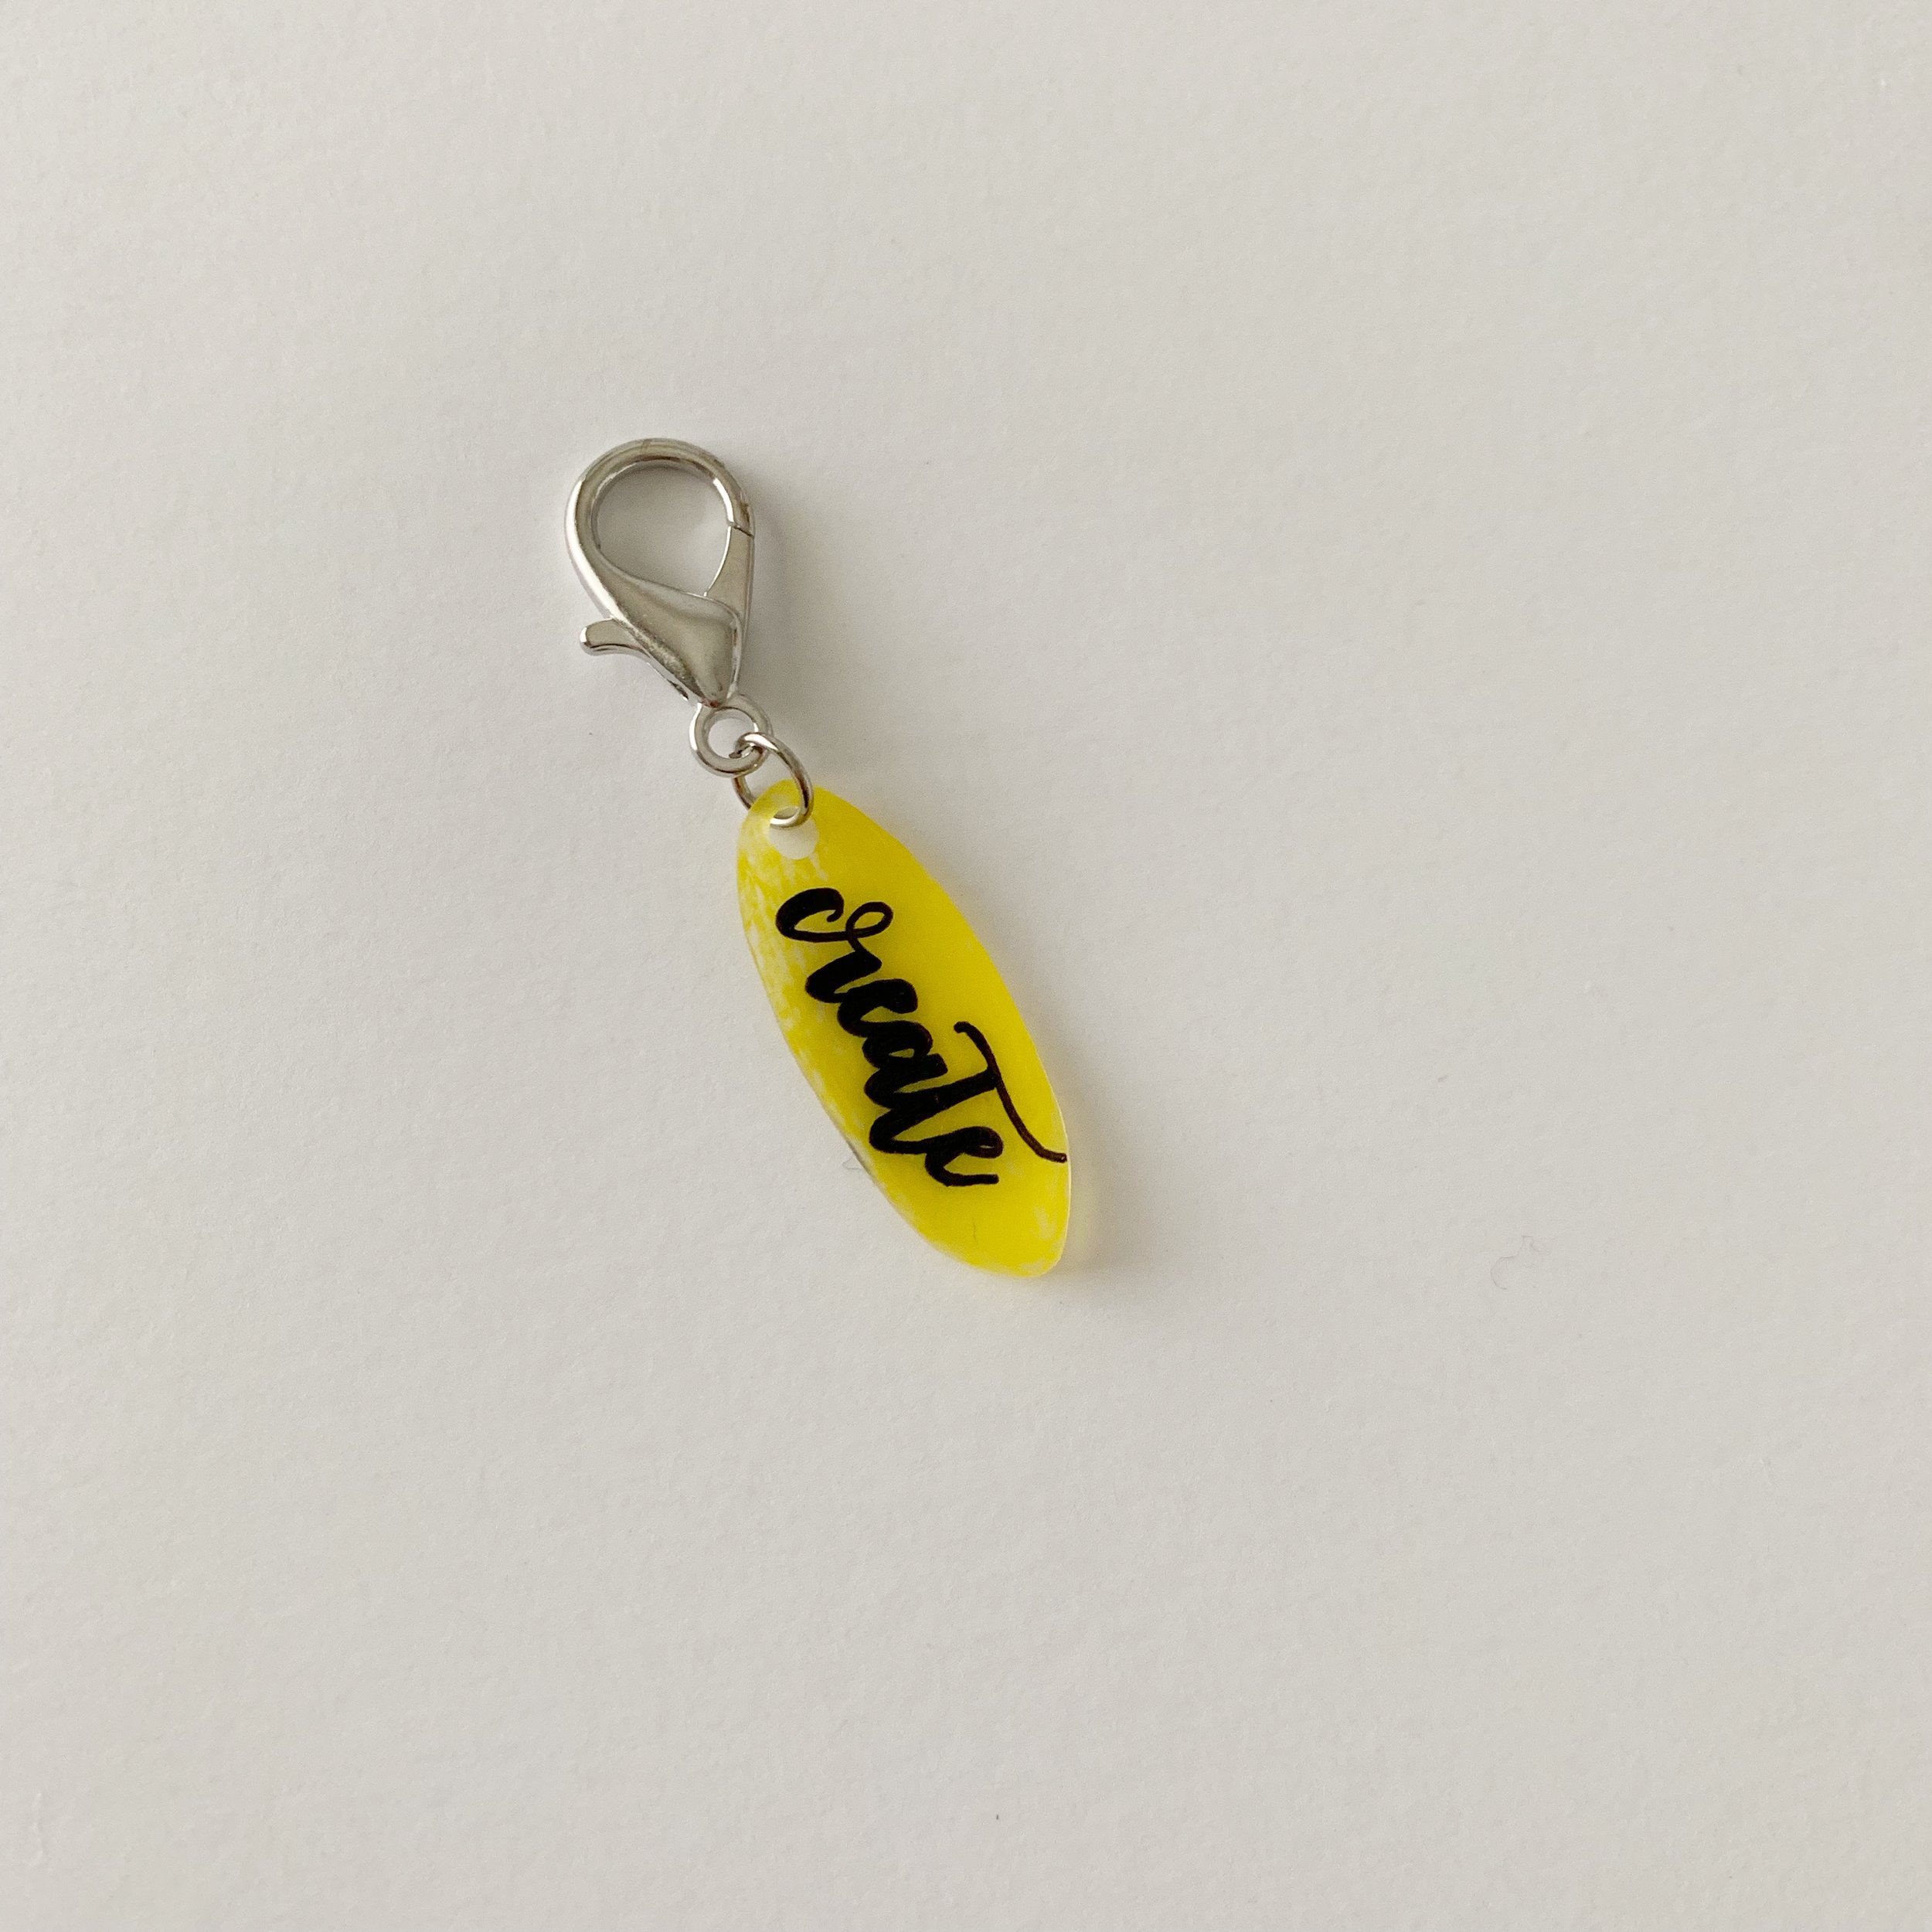
My kids and I had so much fun creating these cute little stitch markers.
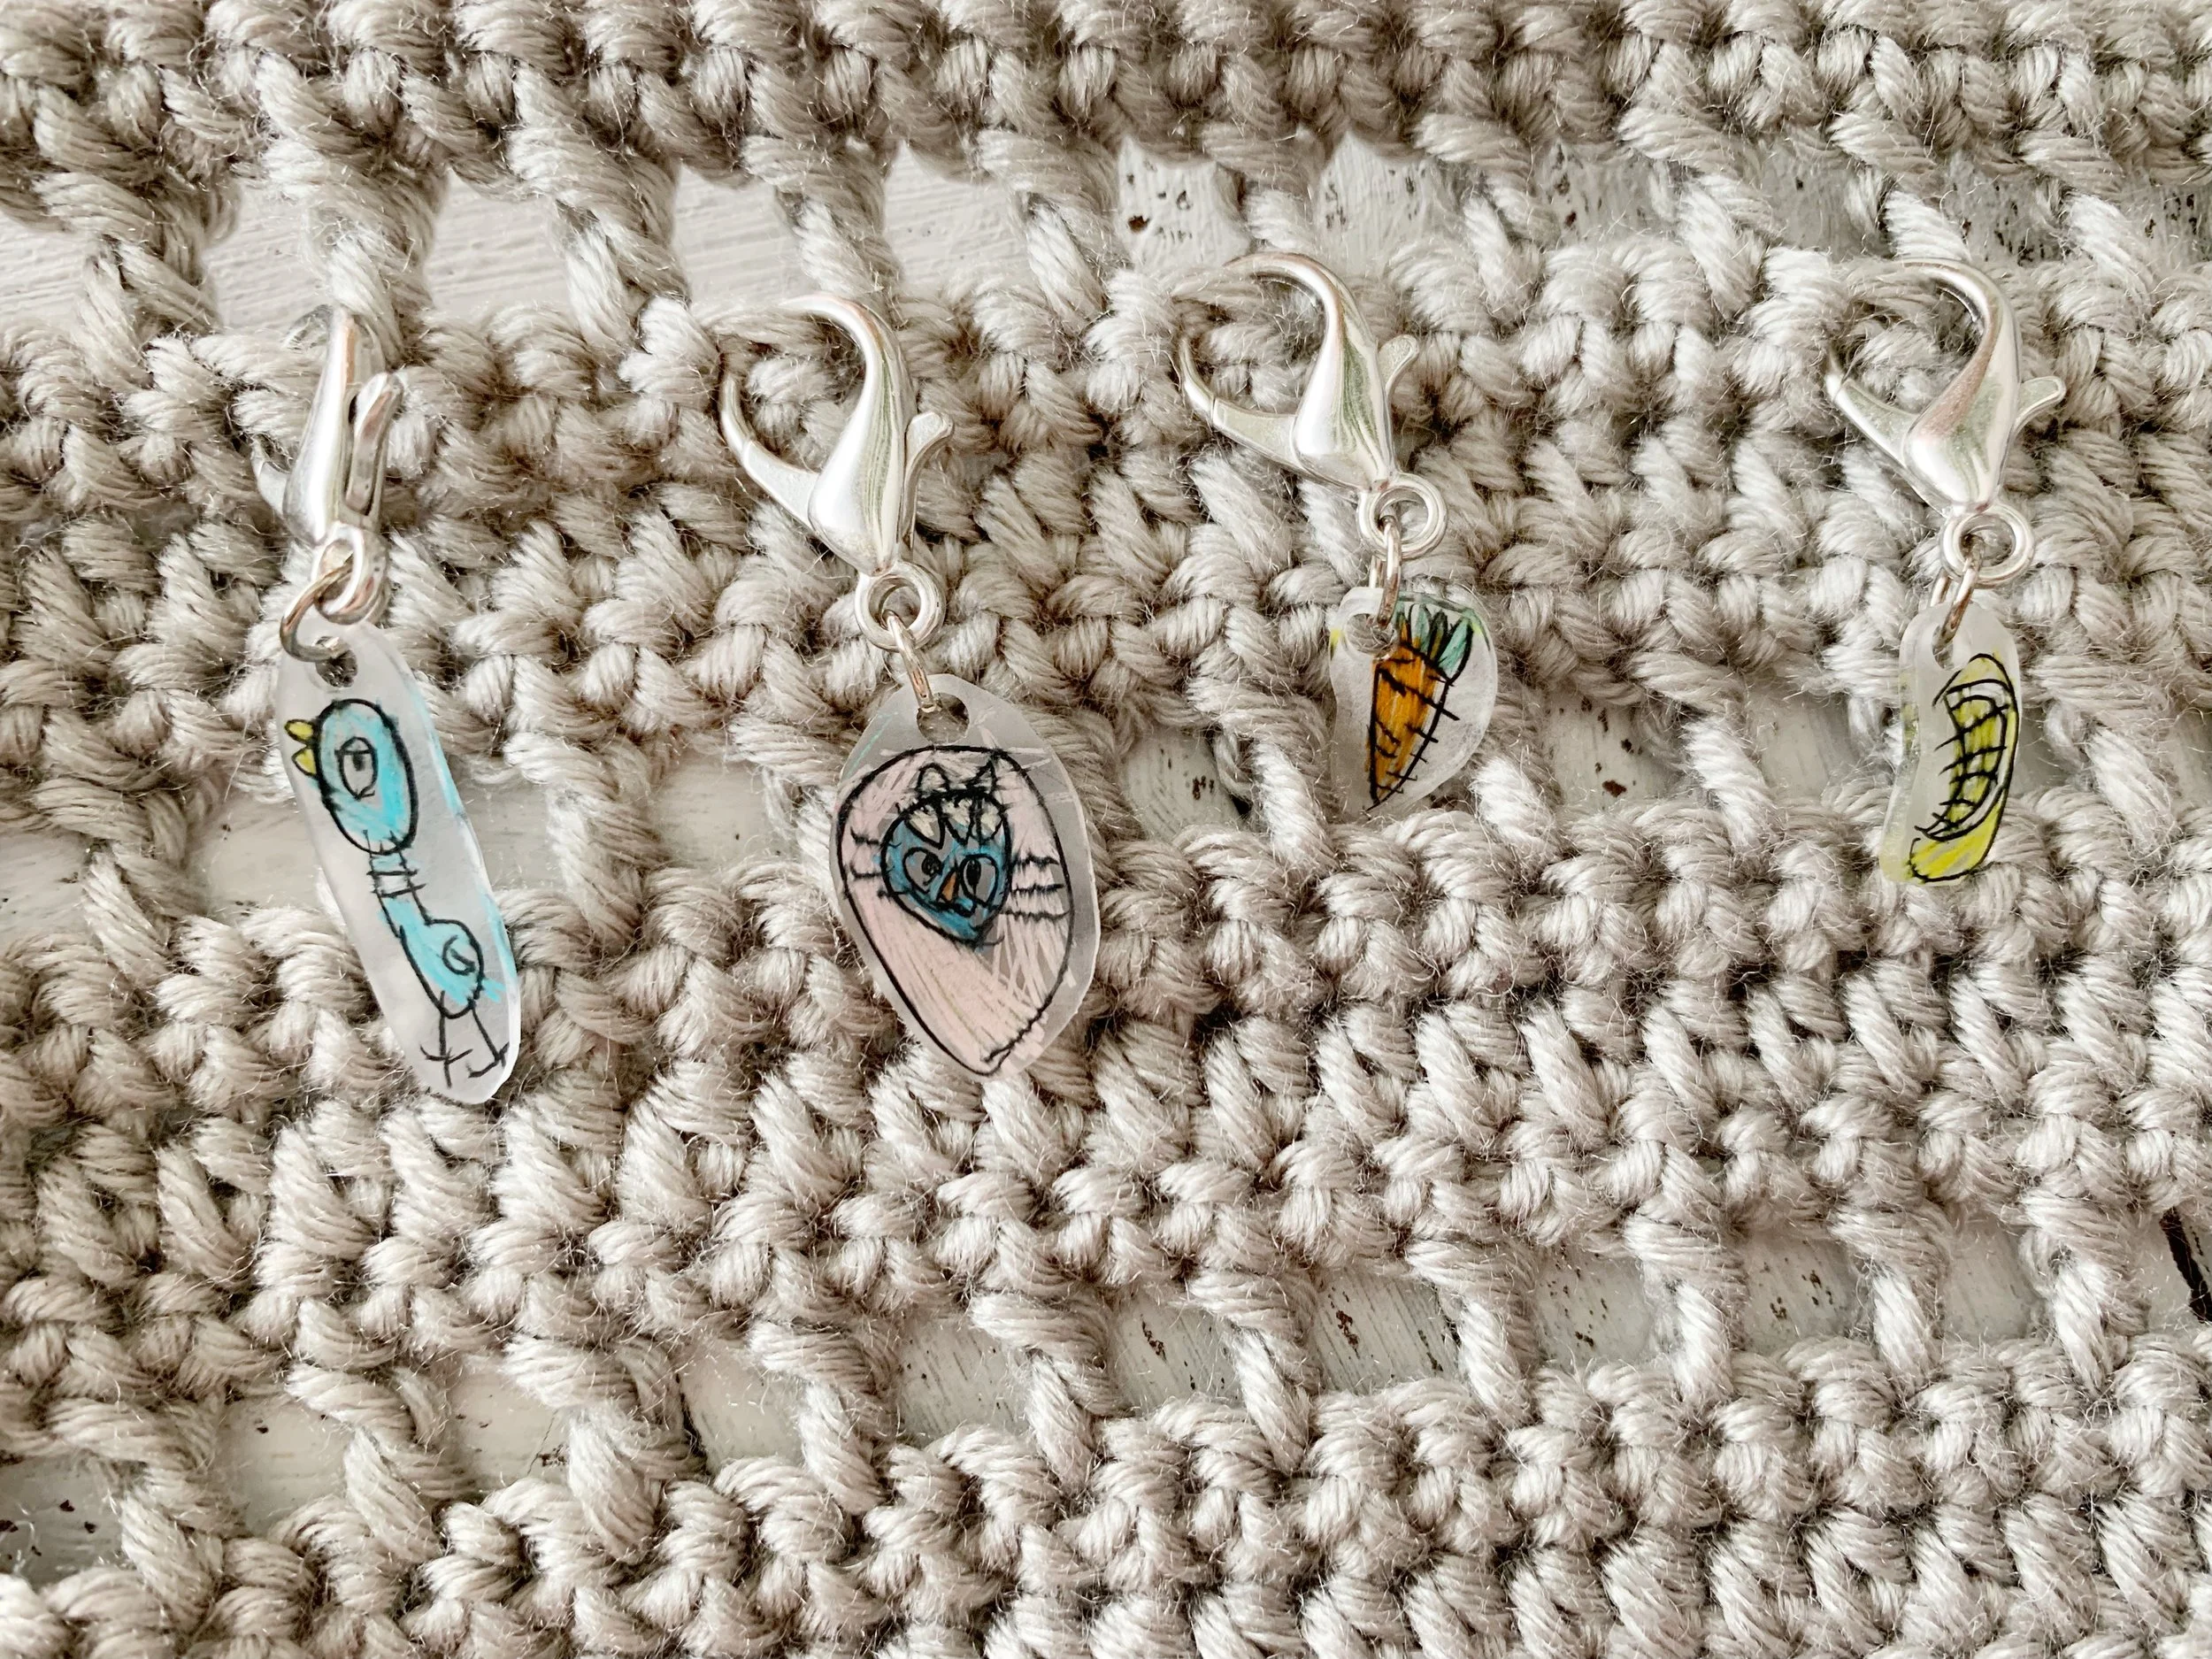
My kid’s drawings turned into stitch markers.

I hope you enjoyed this tutorial for DIY Shrinky Dink stitch markers. I loved creating mine and even made a few free hand hanks of yarn too. If you make some I’d love to see them! Use #meghanmakesdo and tag me @meghanmakesdo in your photos.
Happy Shrinking!
Meghan