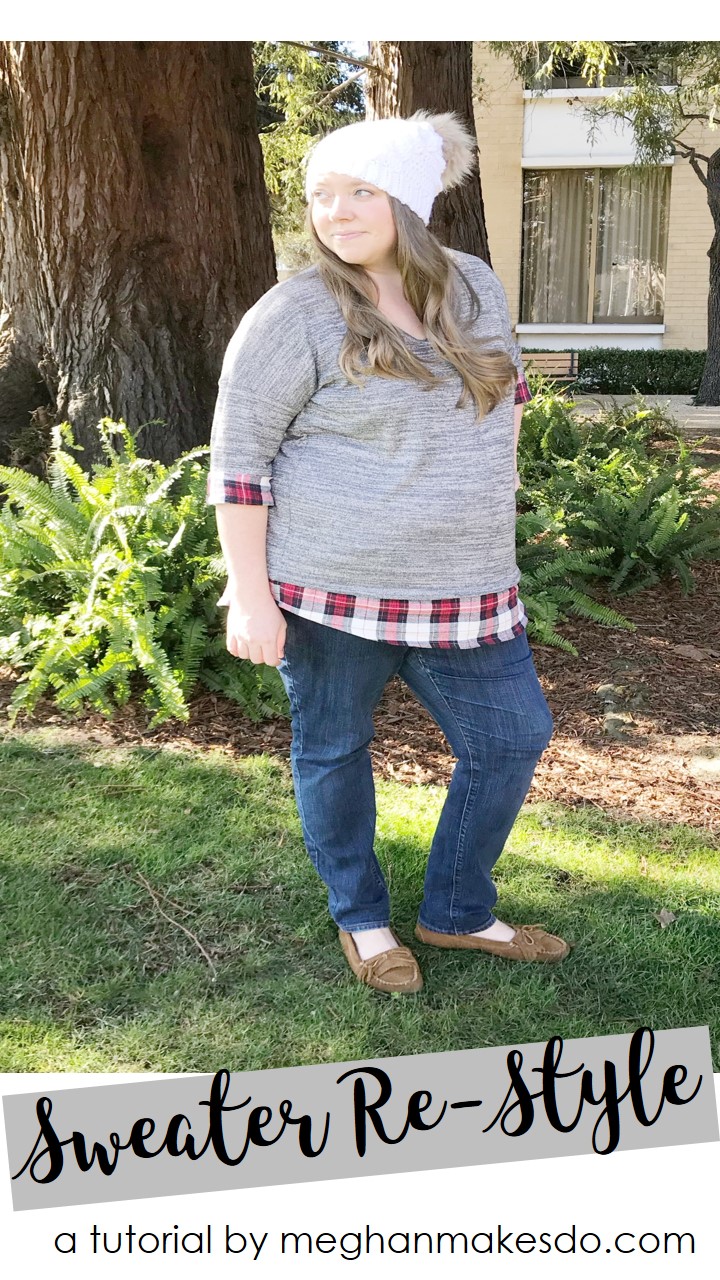
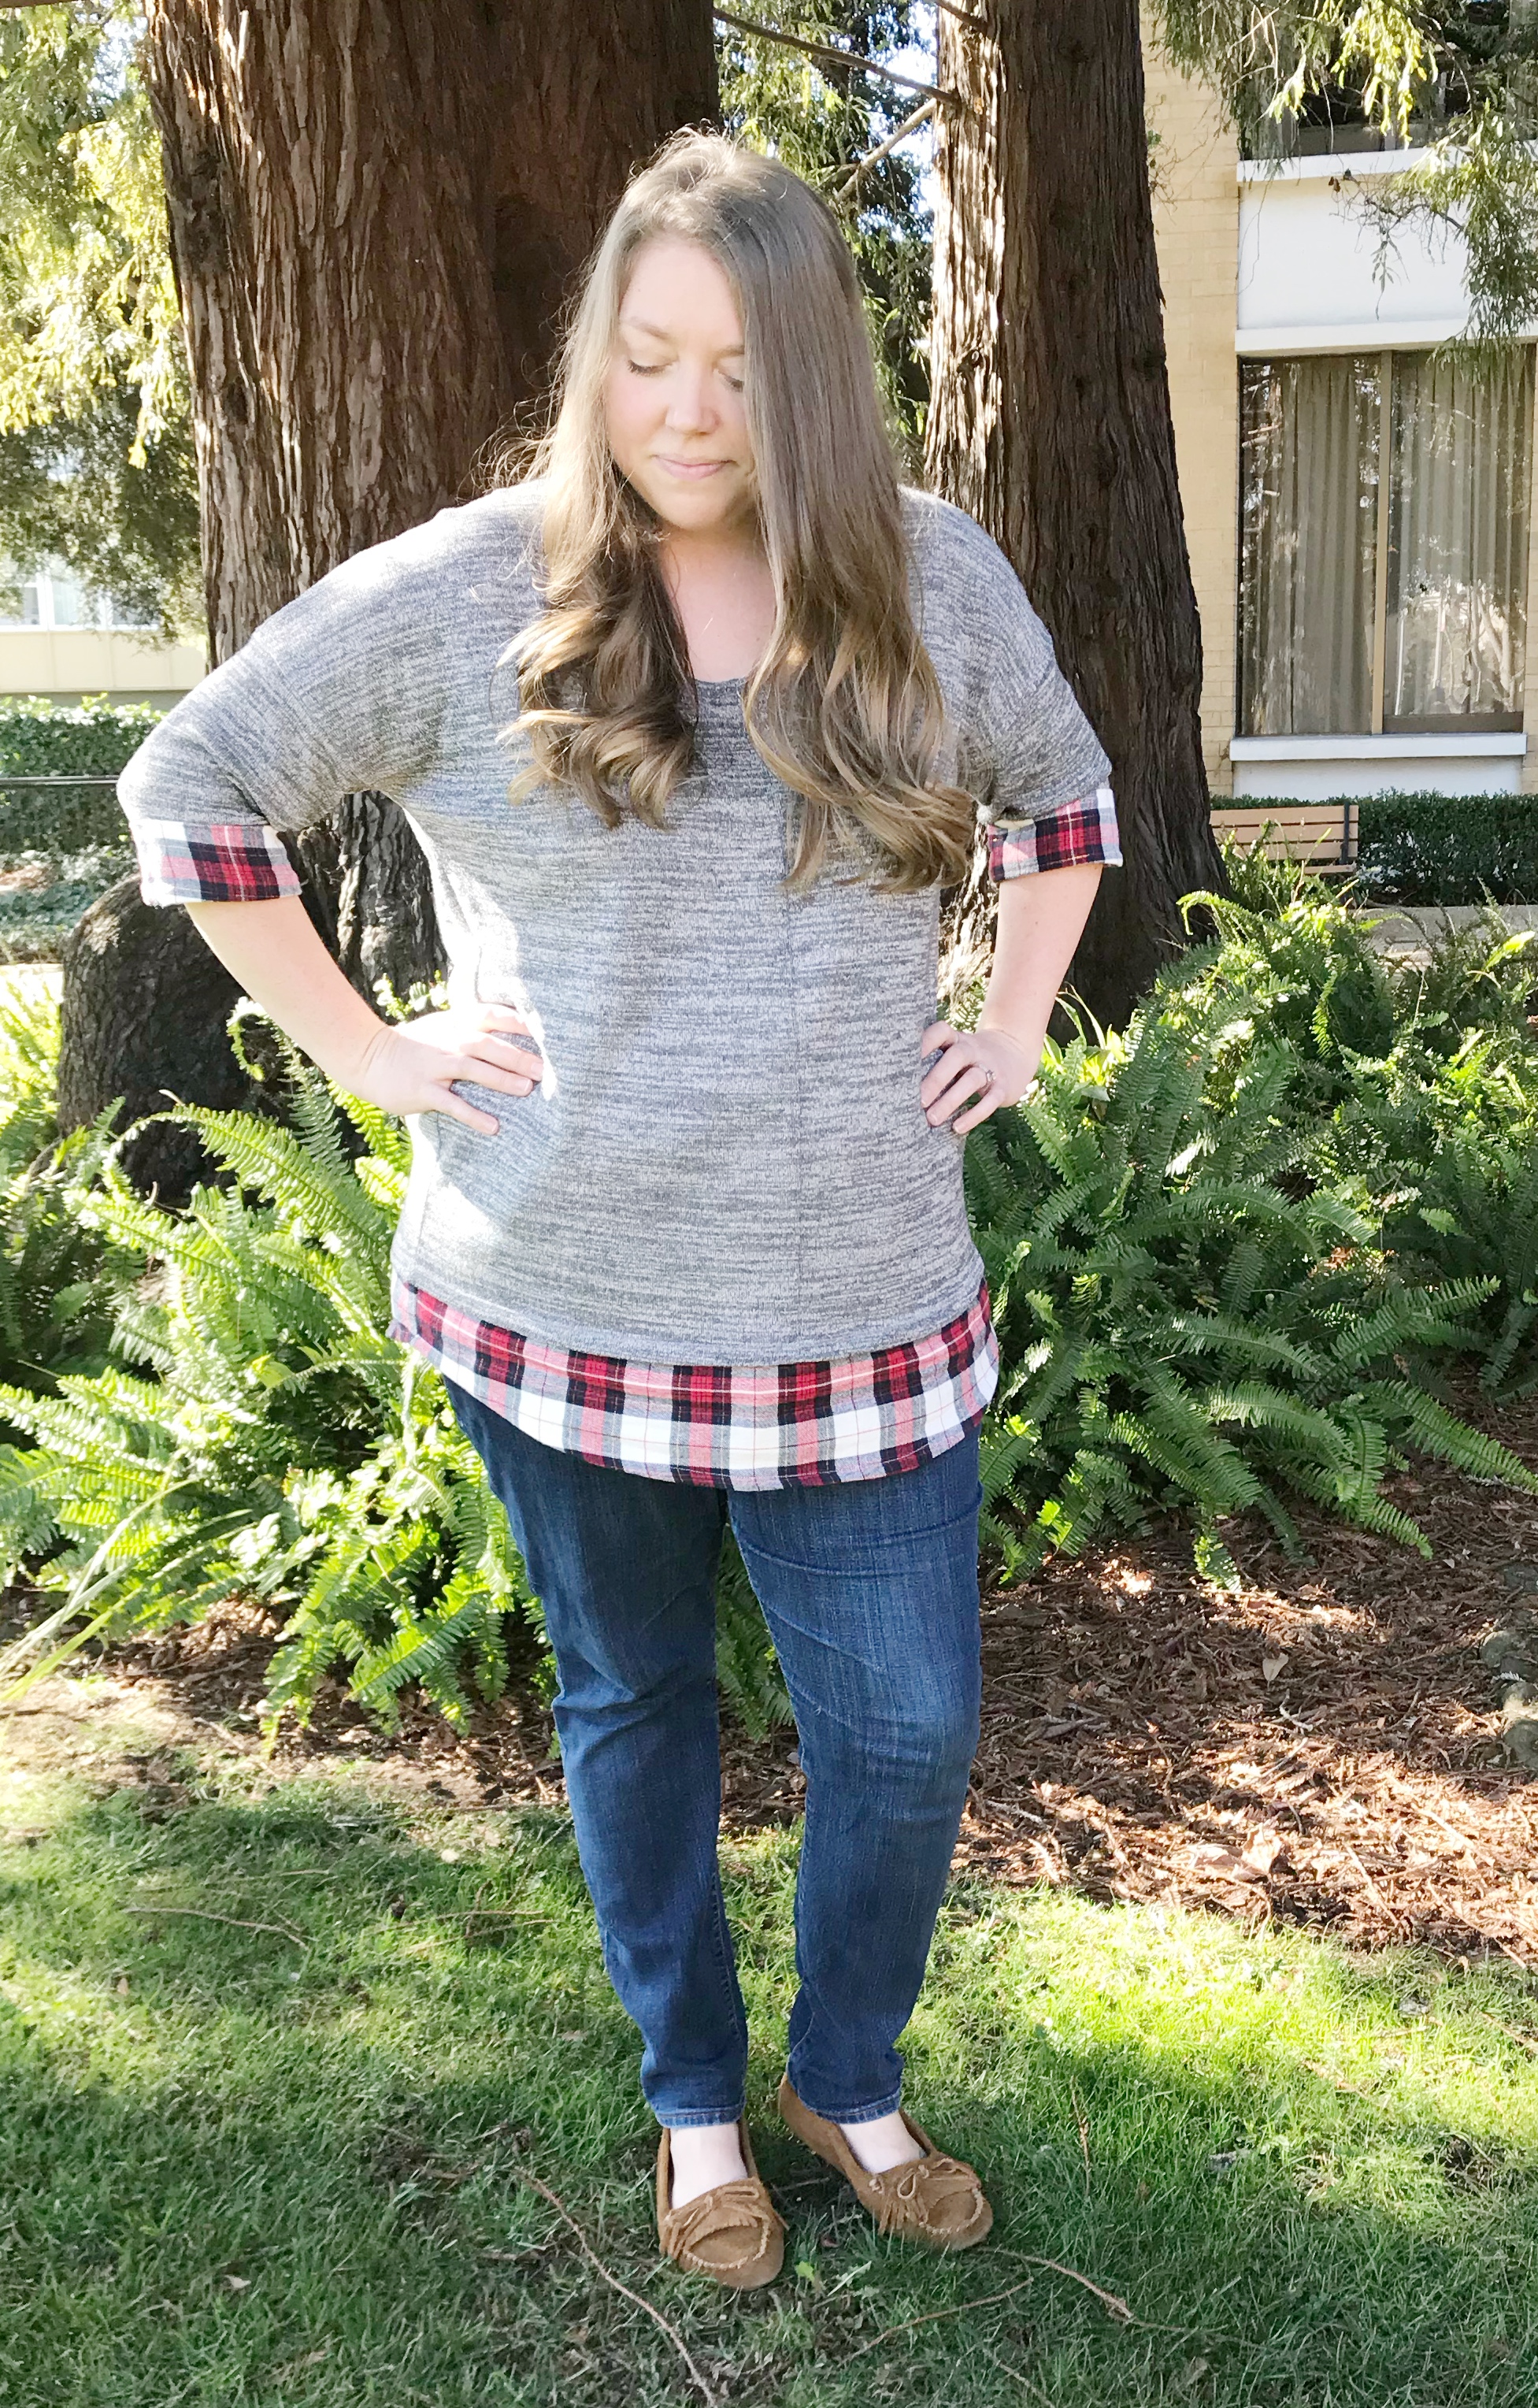
DIY Sweater Re-Style
Today I want to share with you an easy way to update an old sweater. While sorting through my clothes I came across a light weight sweater that I haven't worn in forever. The color is one of my favorites and I love that it is light weight enough for the spring or fall. I wasn't loving the hem length (too short) or the sleeve length (too long). Instead of putting it in the donate pile I decided to re-style it a bit with some extra plaid fabric I had on hand, and I'm so glad I did.
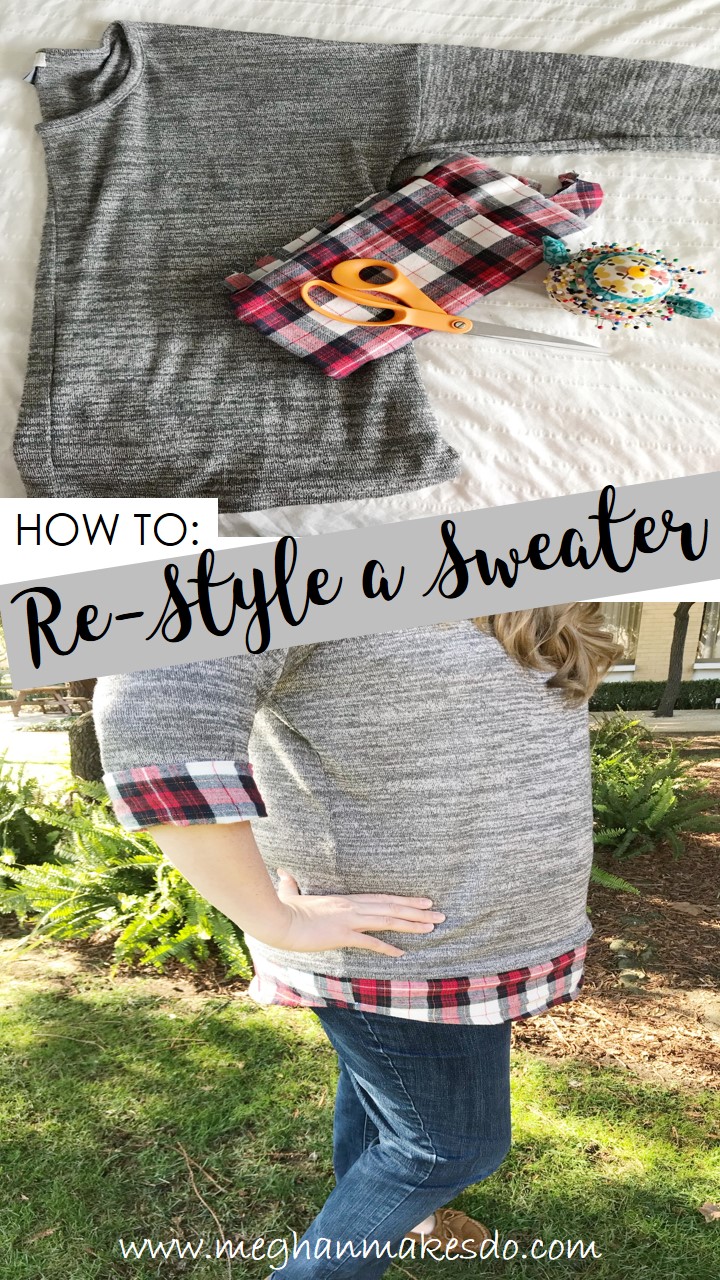
I'll walk you through how I went from this:

To this:
Here is what you will need:

an old sweater
1/2 yard of plaid flannel or similar weight fabric
tape measure
scissors
pins
tailor's chalk or pen
sewing machine
serger (optional)
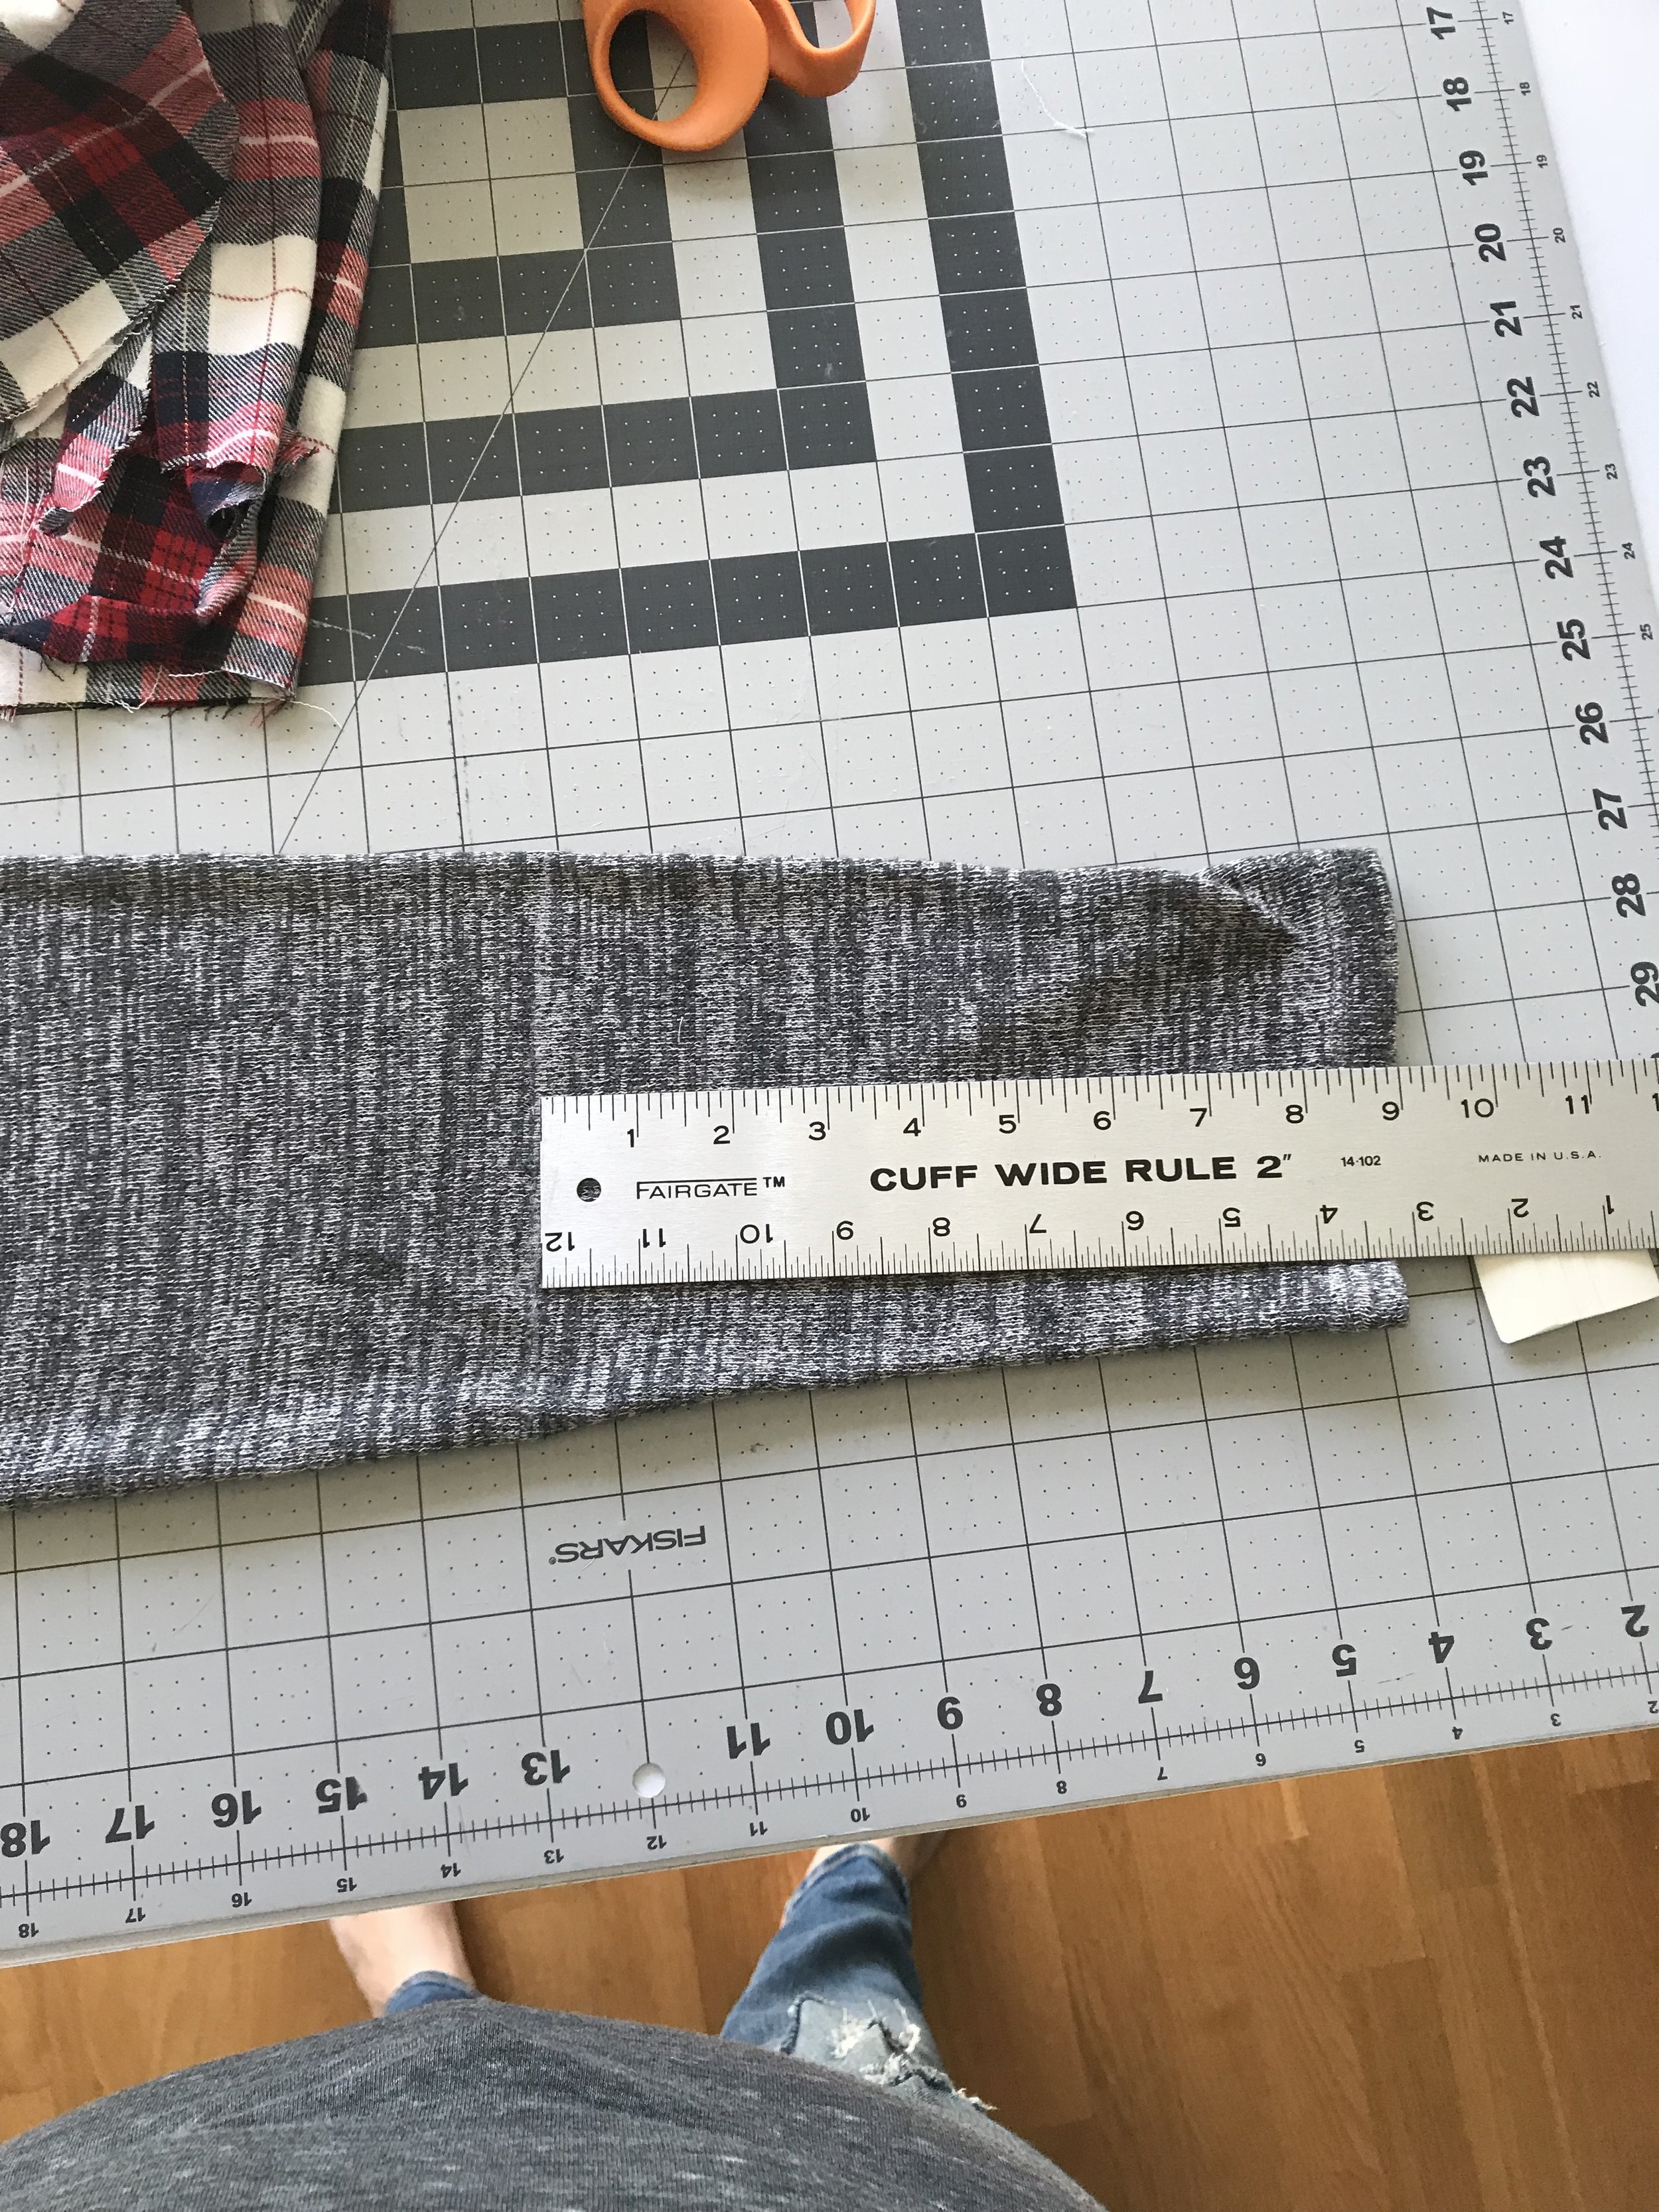
First lay out your sweater and measure across the bottom.

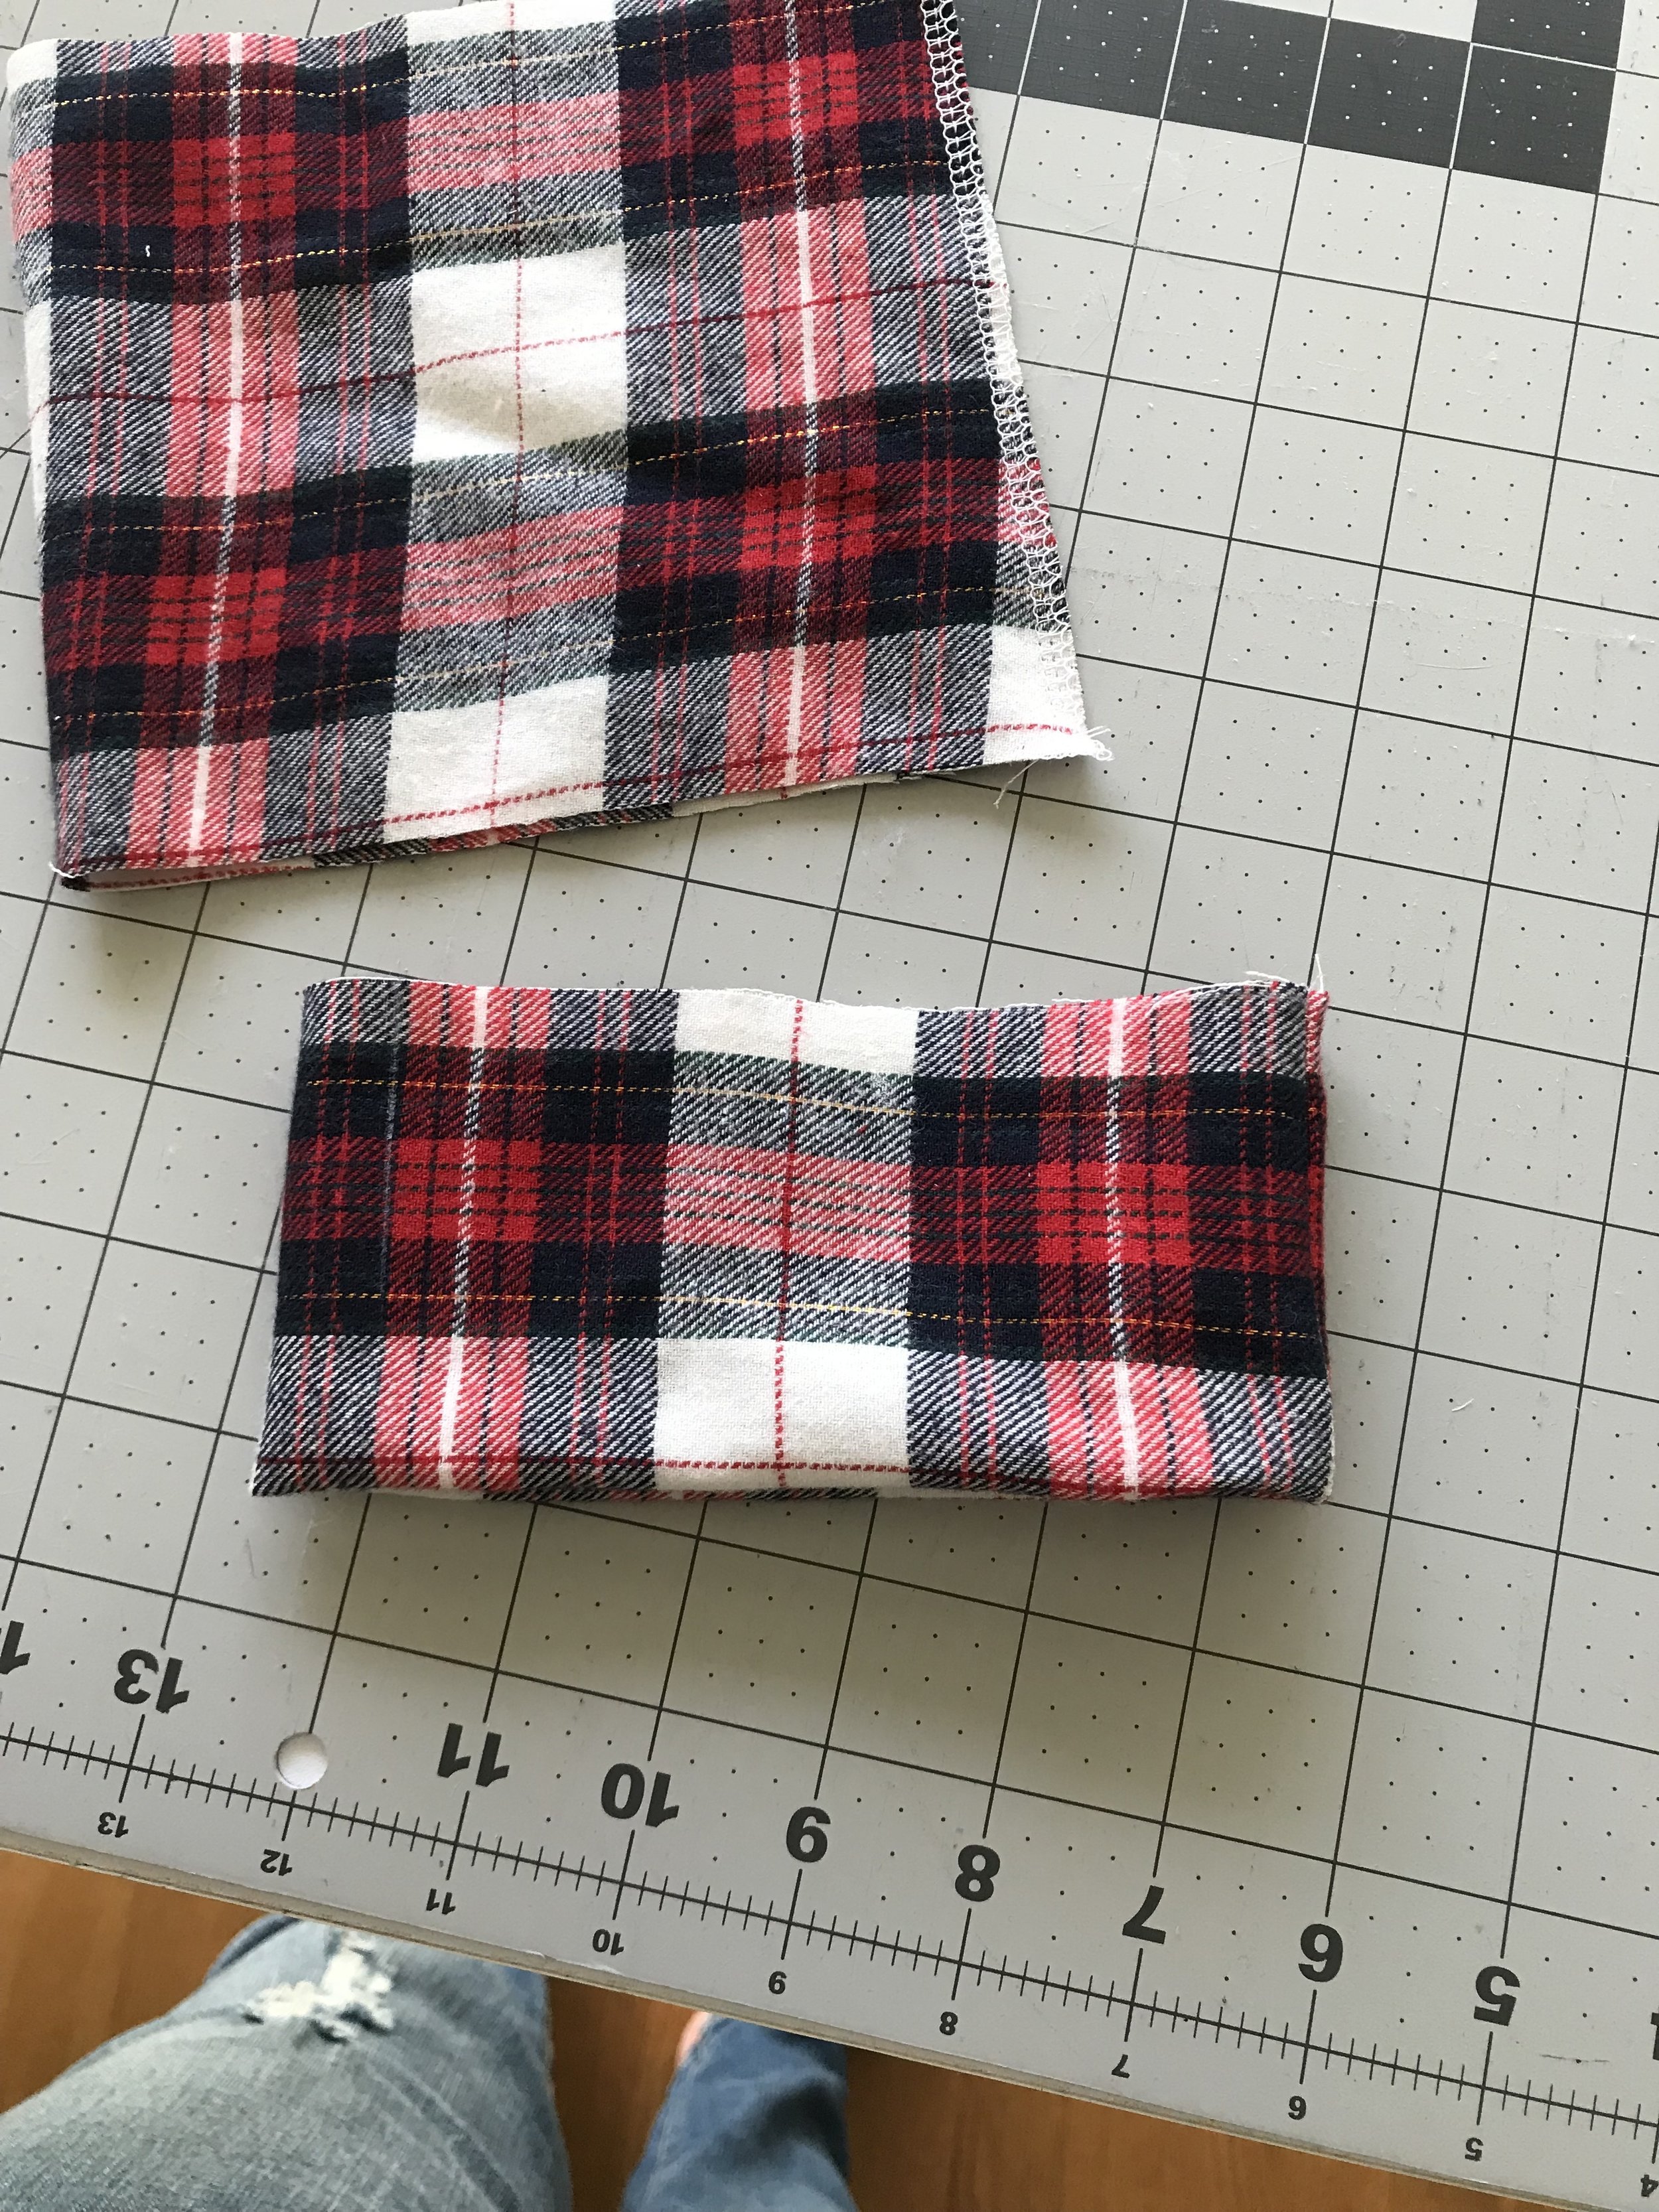
Then mark two rectangular pieces on your plaid fabric that are the width of your sweater plus 2" by 6 inches. For example my sweater was 27 inches across so I made two rectangles that were 29"X6." Feel free to adjust the height of your rectangles depending on how long you want your sweater to be. I like the look of longer tunic like shirts and 6 inches was plenty of length.

To create a curved hem you can either free hand or use one of these specialty rulers for marking hems. I started in the center of my rectangles (fabric folded in half so start on the fold) and then drew a curved shape down to the side. You can also just leave it straight across too.

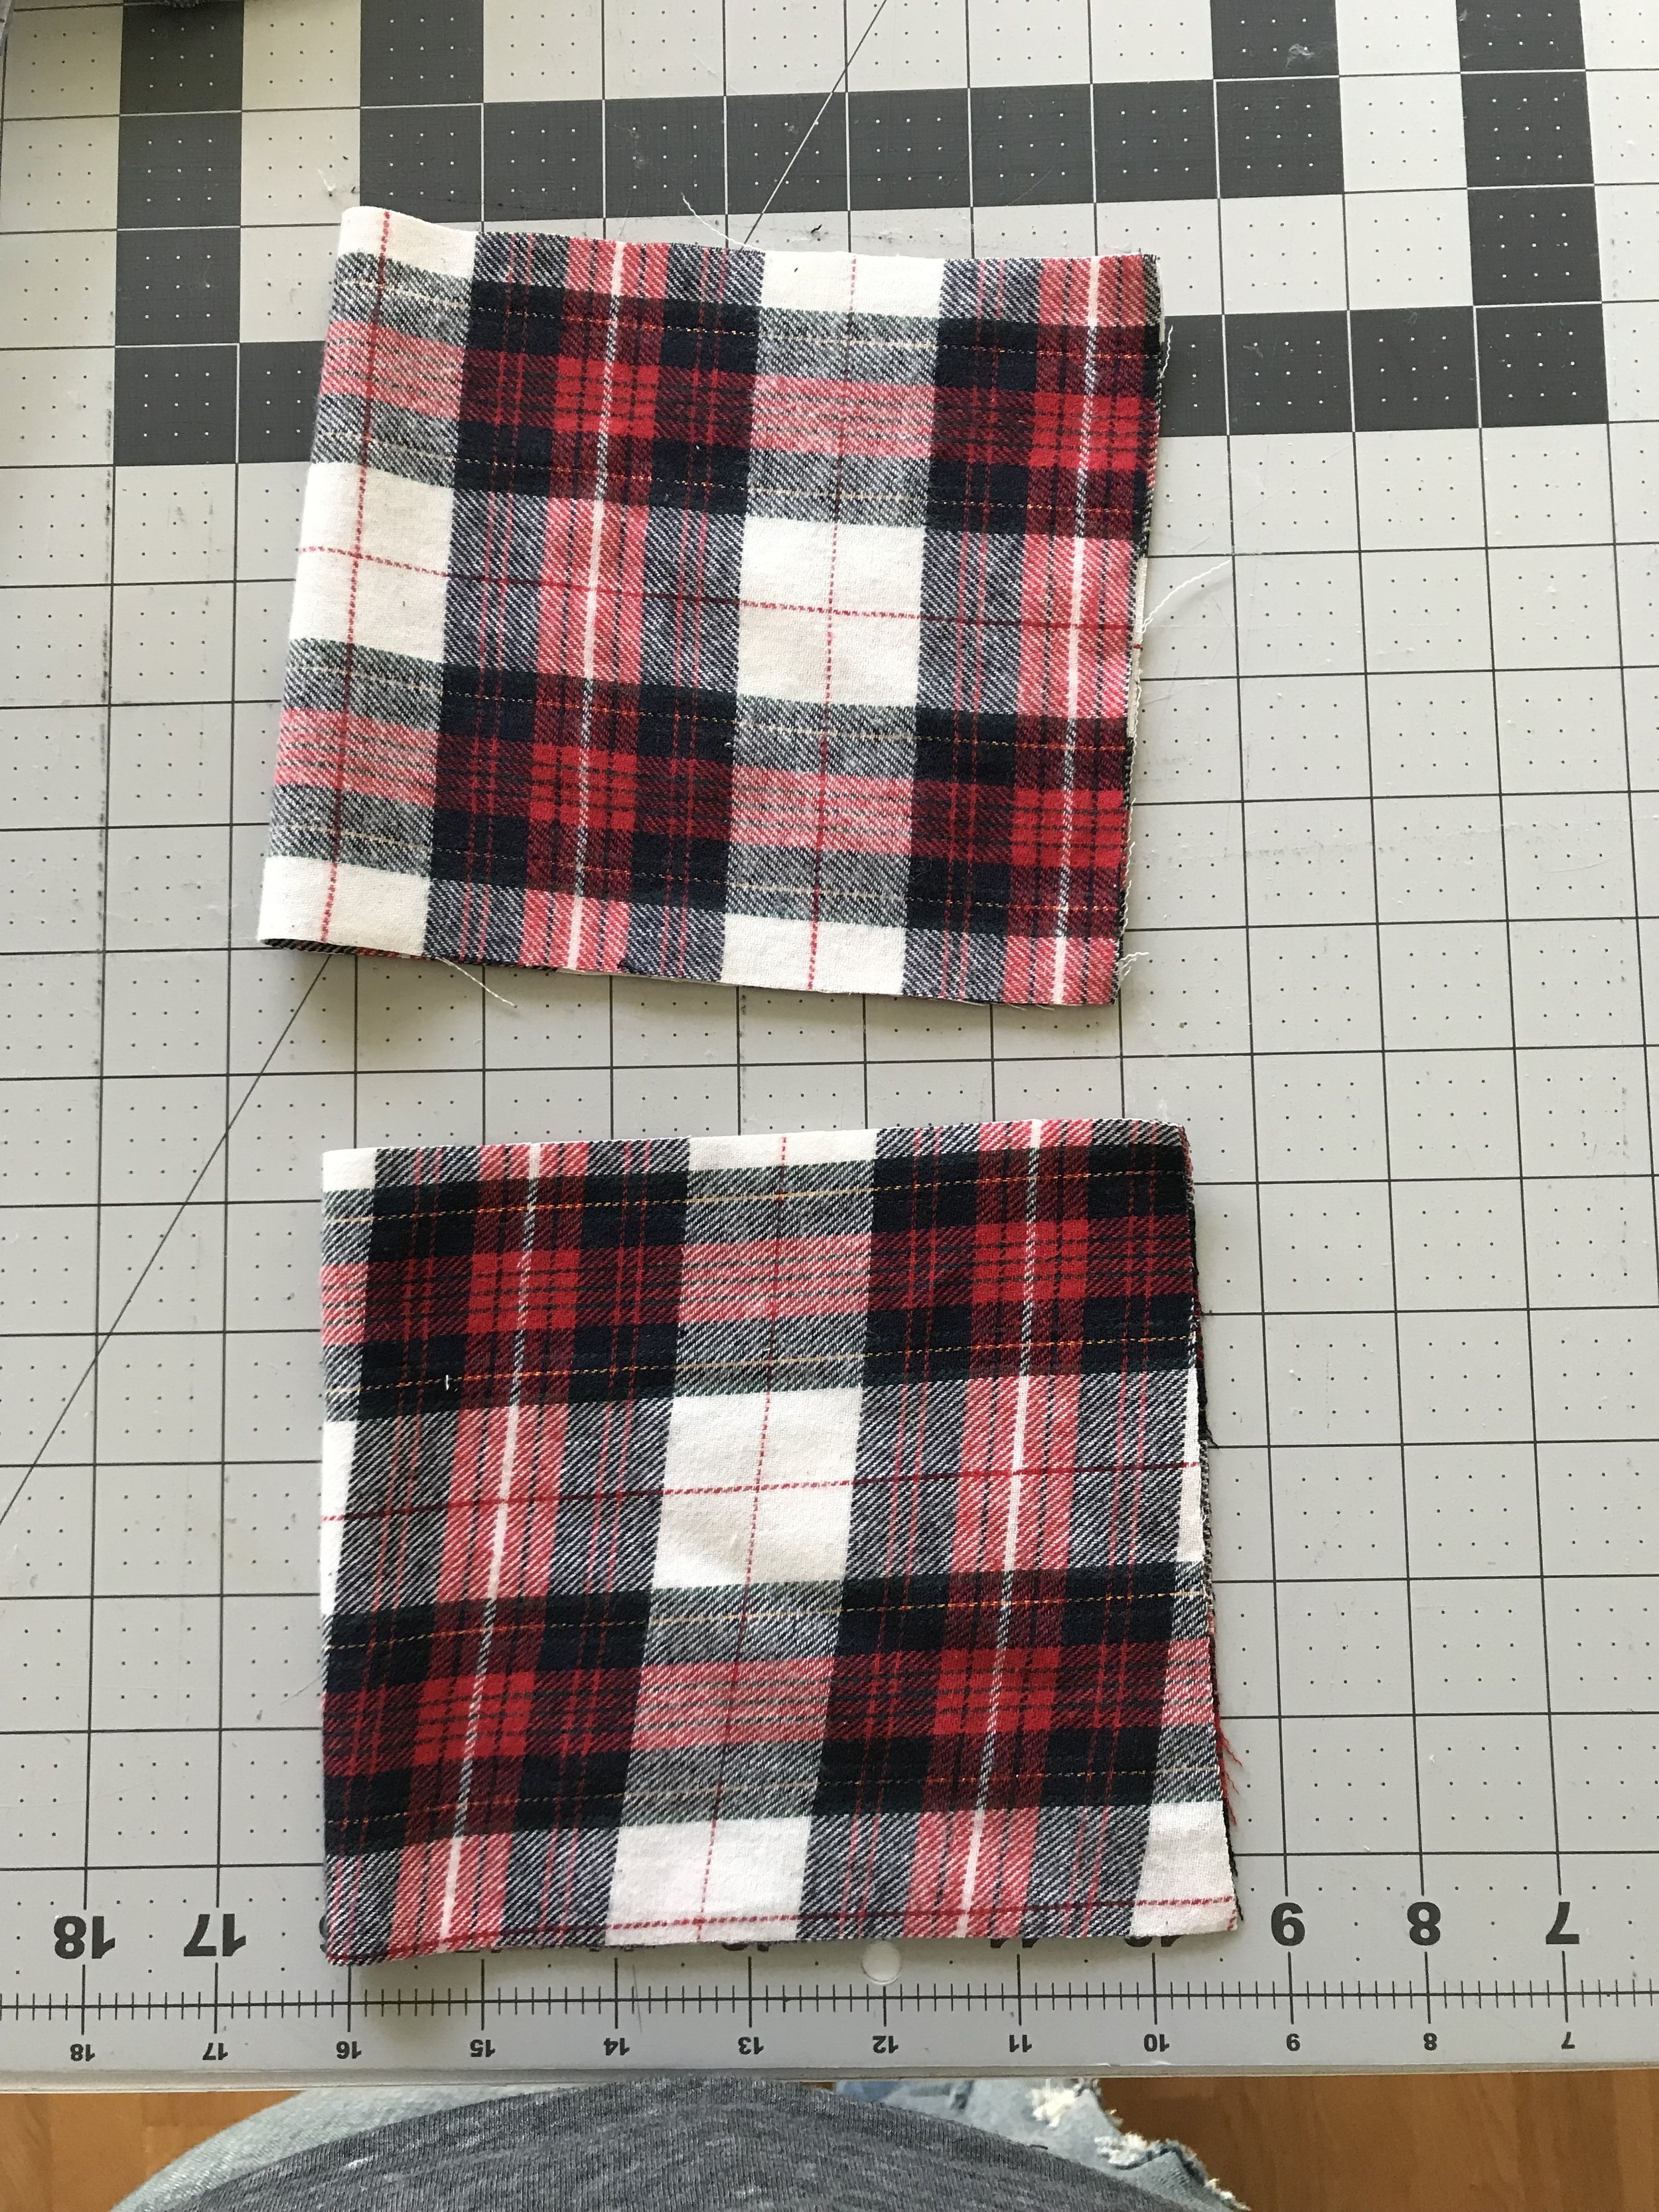
When you are happy with the way your pieces look, cut them out.
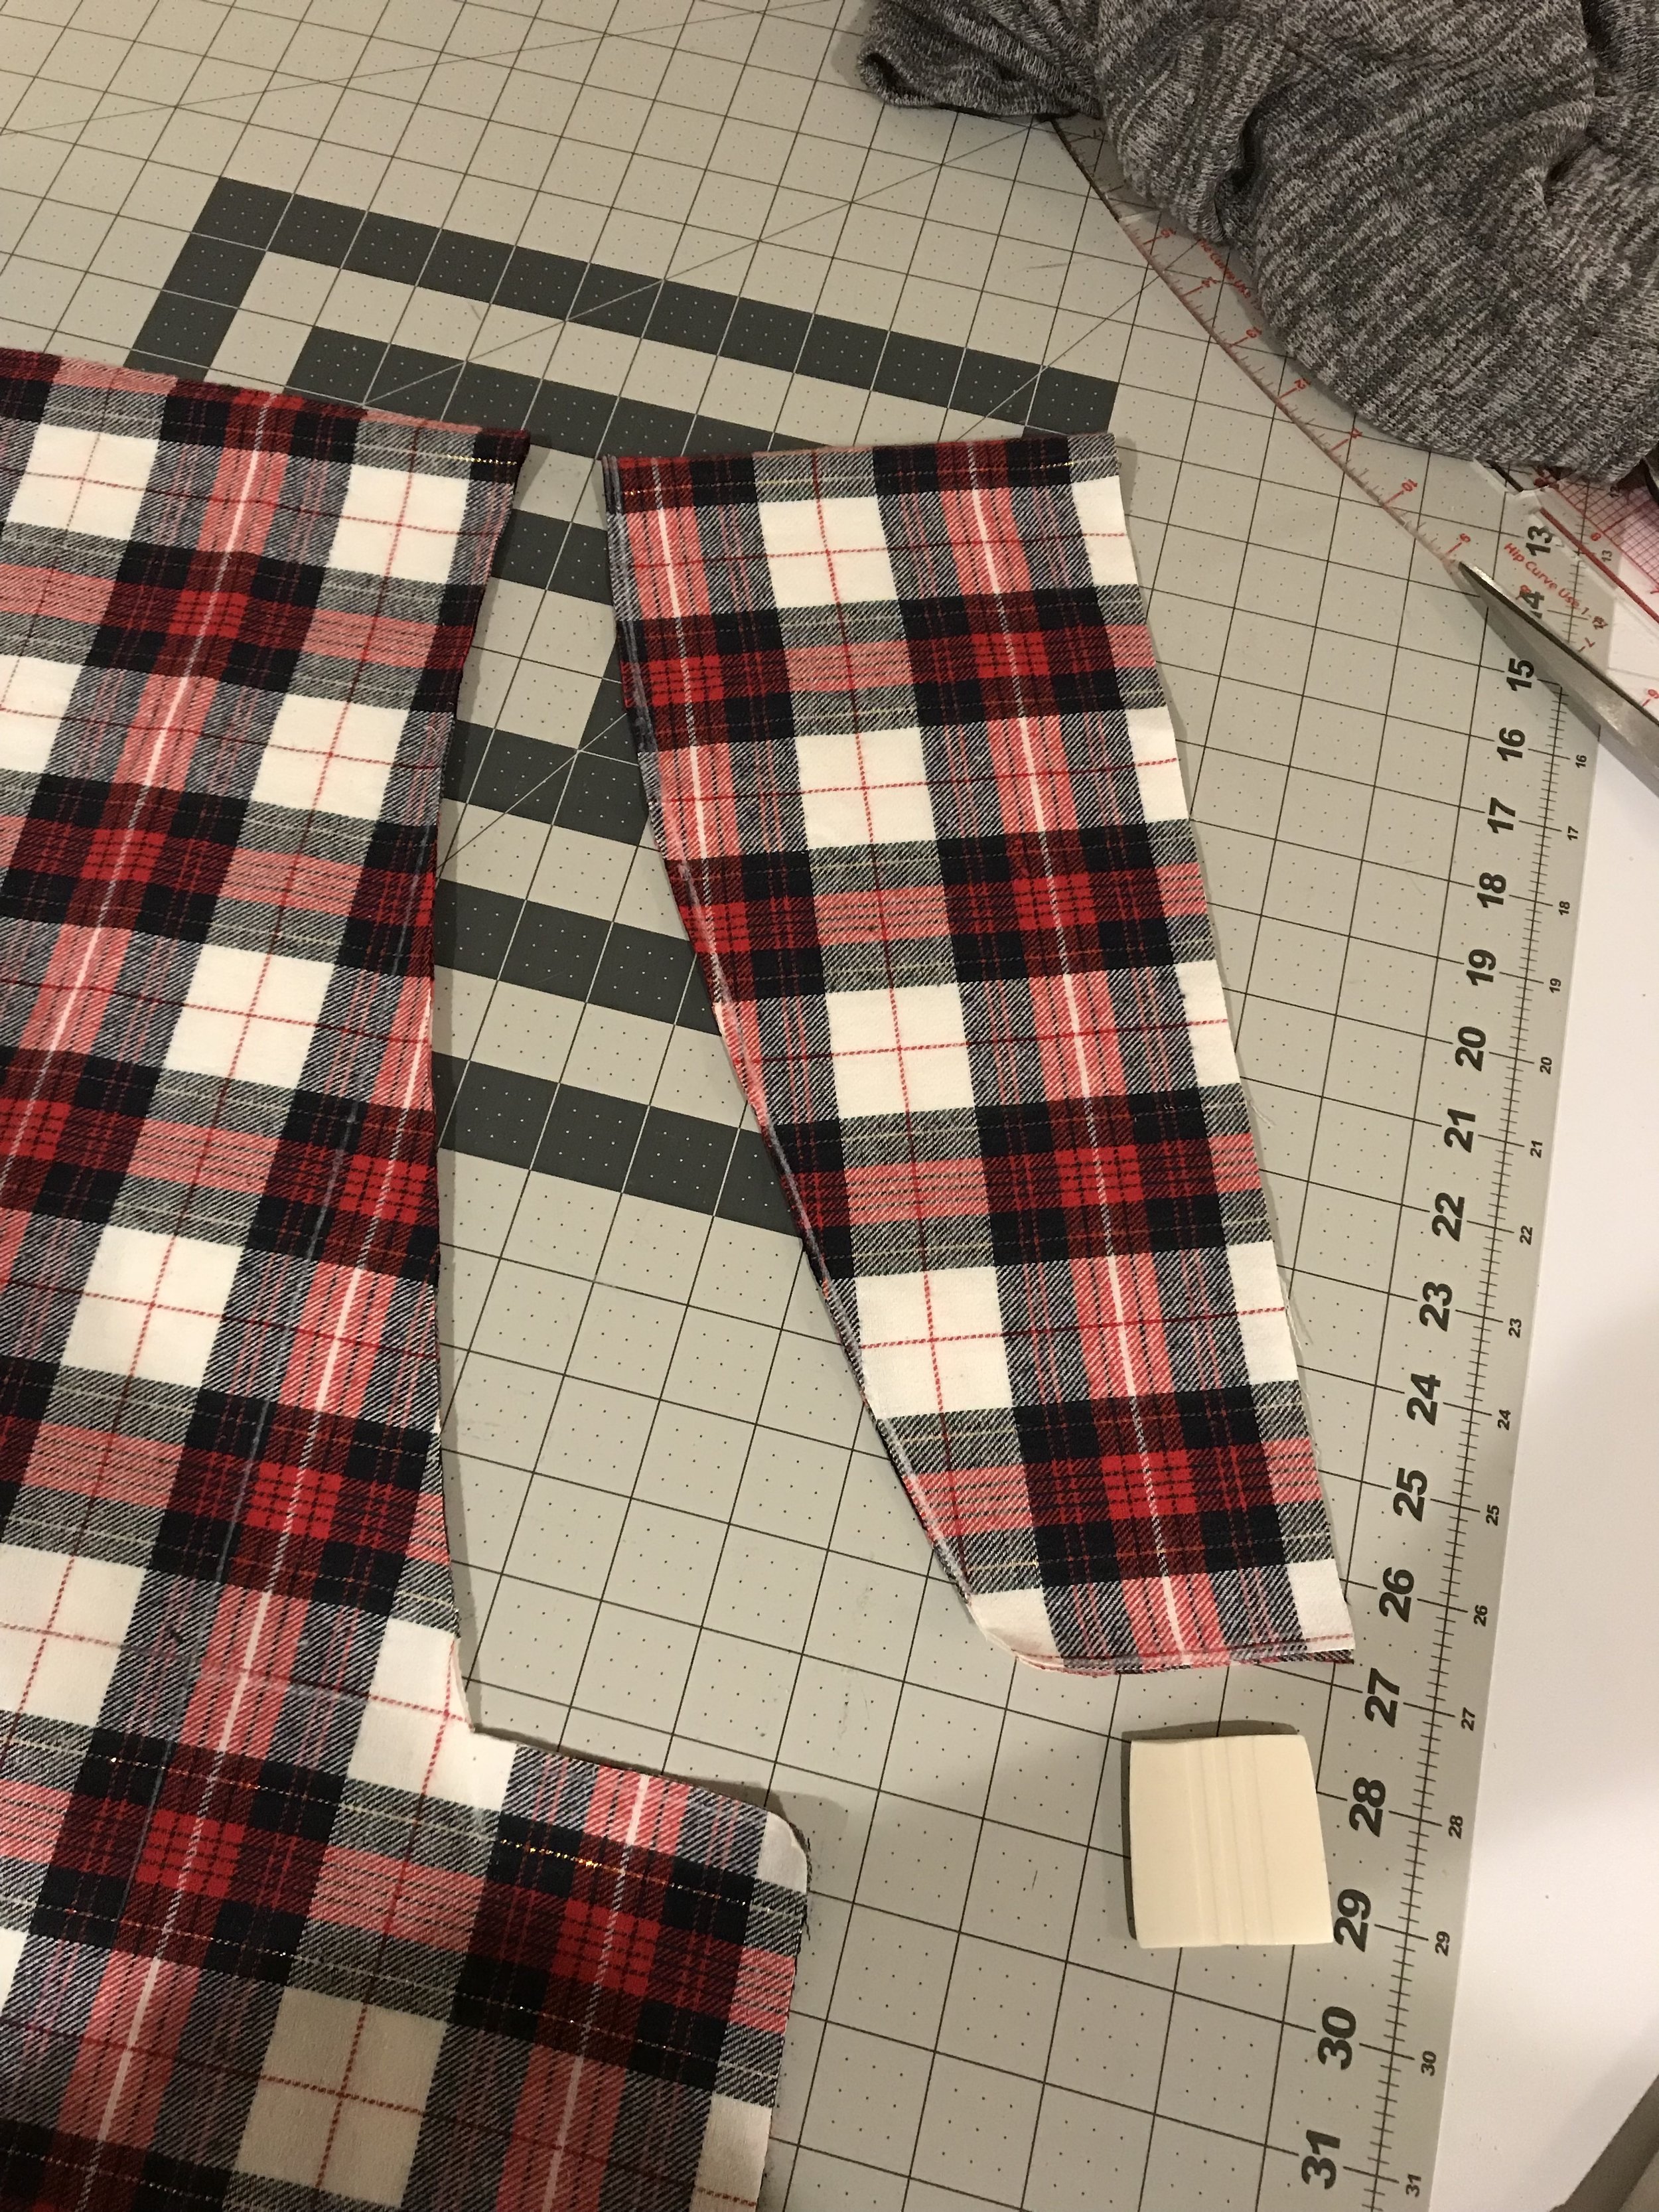

Serge or zigzag stitch across the top of each piece you just cut out. This will give you a nice clean edge for attaching to the sweater and will prevent it from fraying.

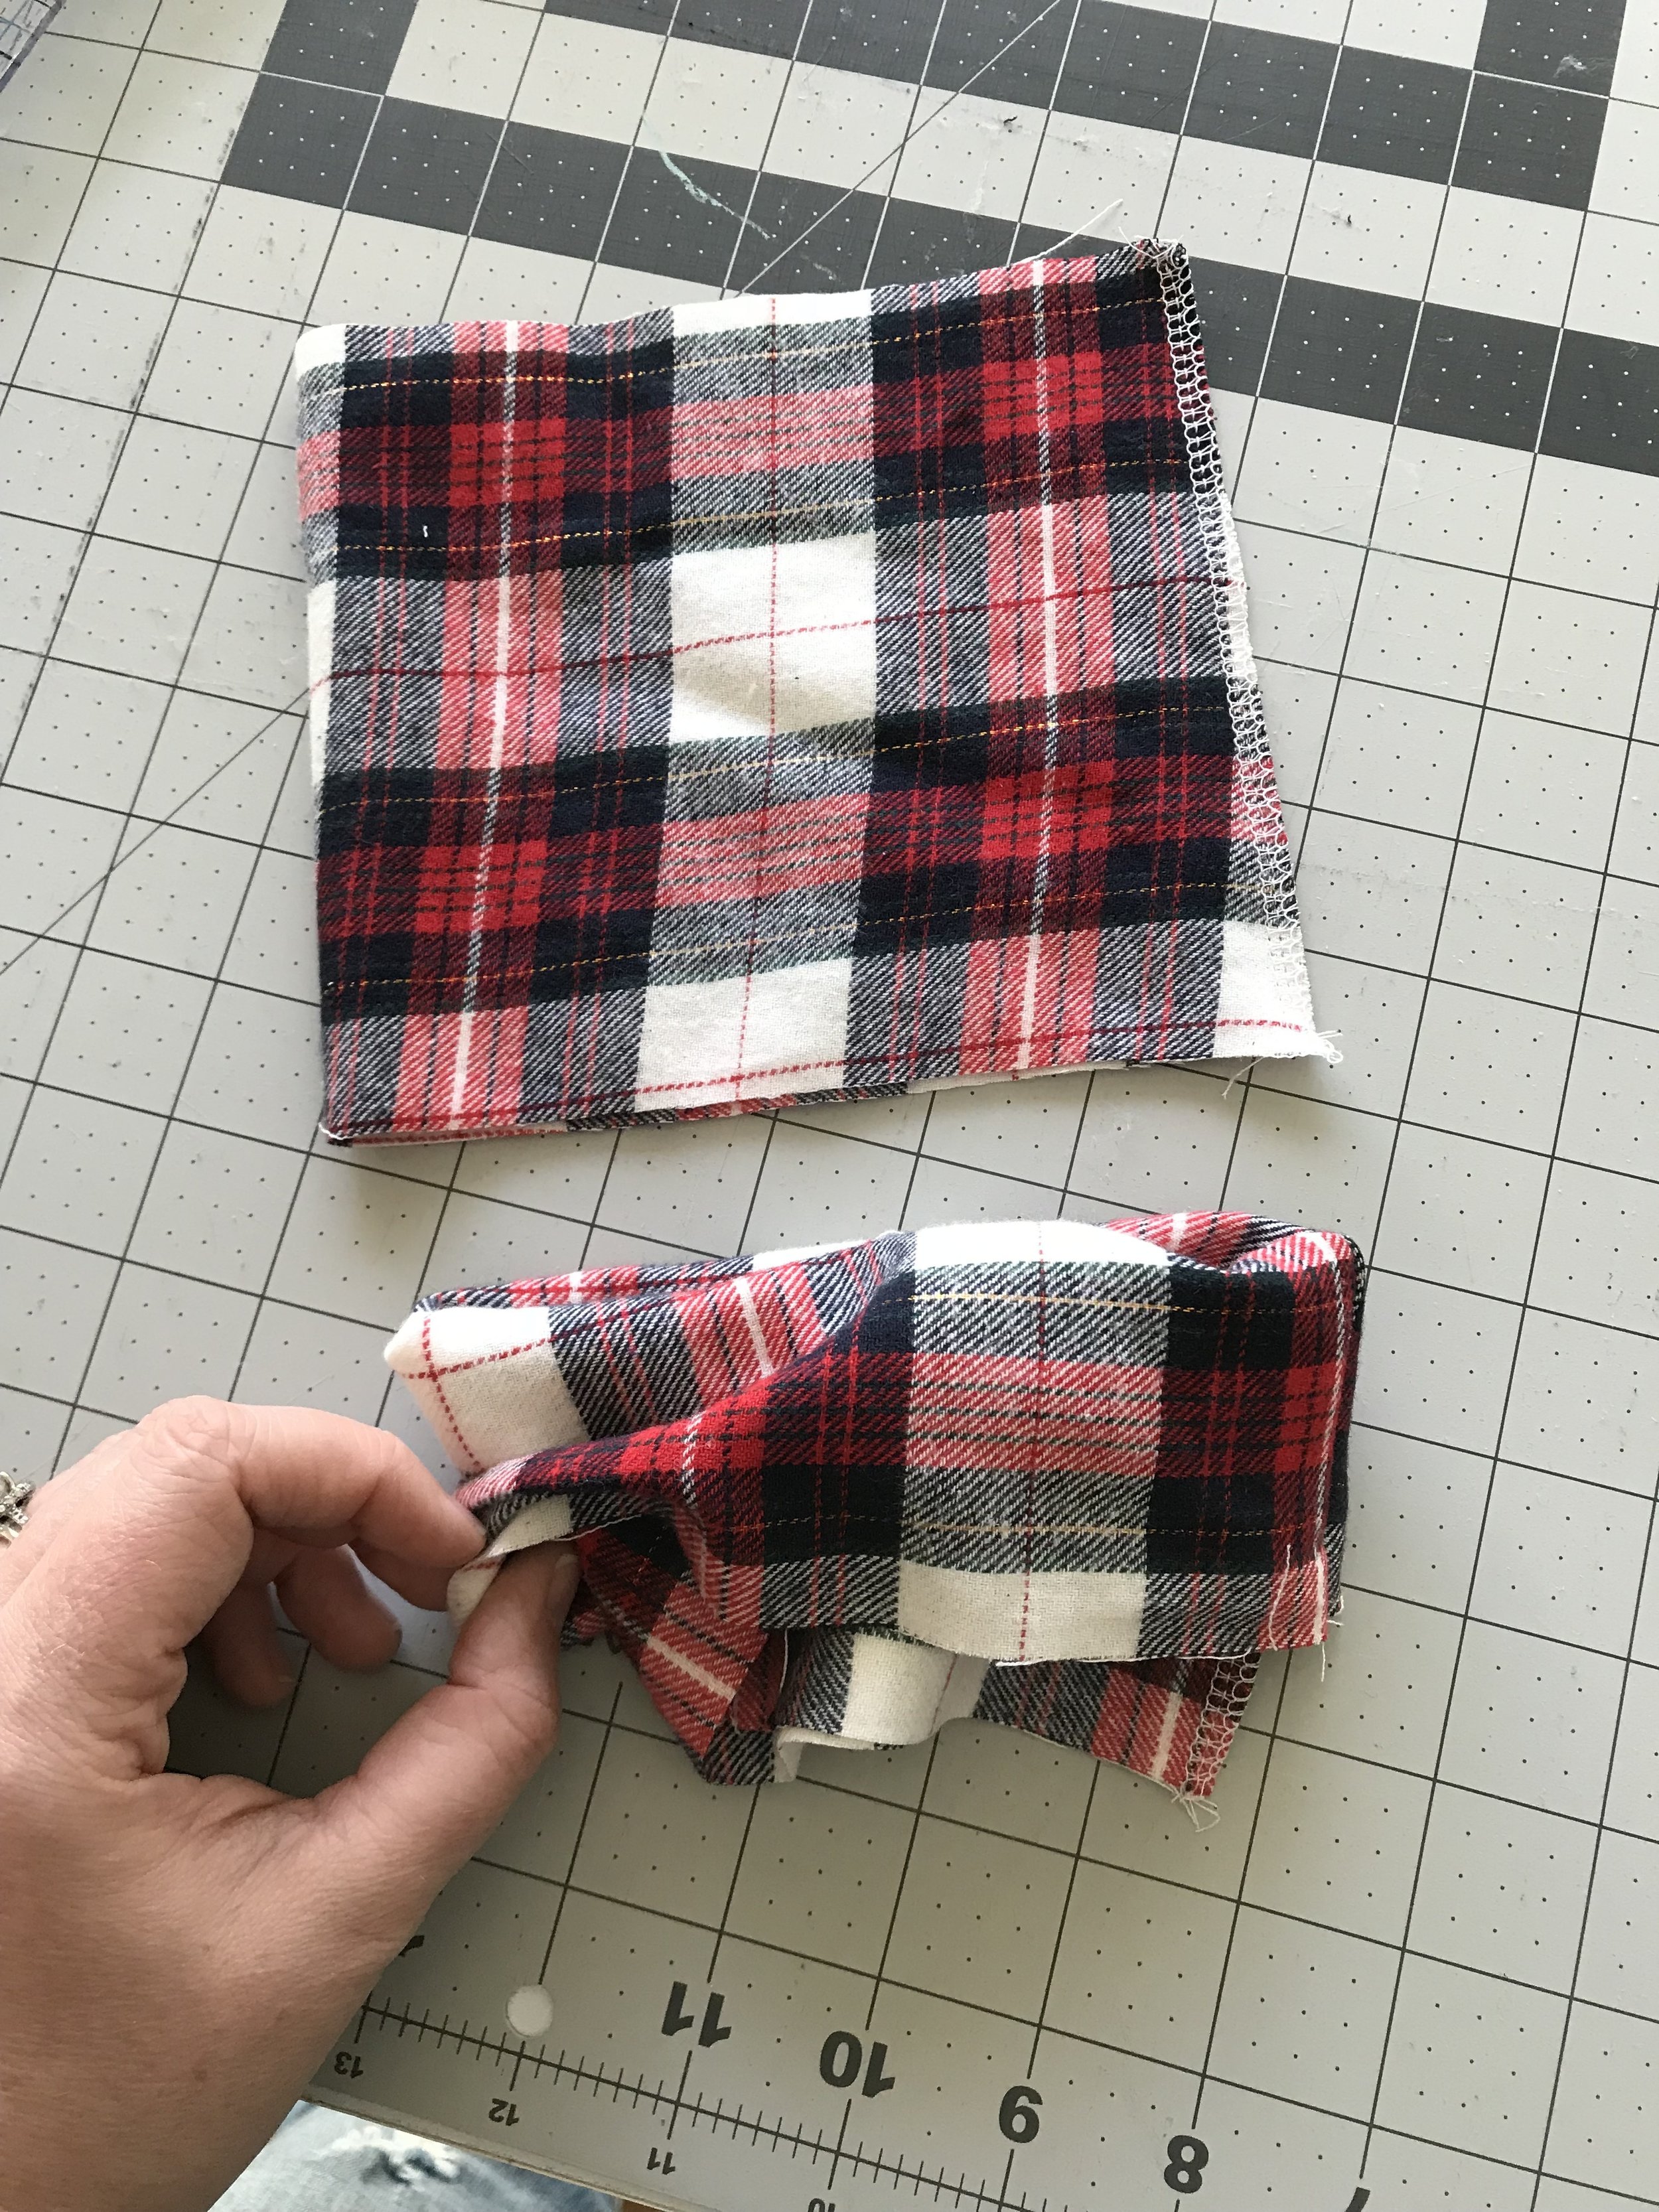
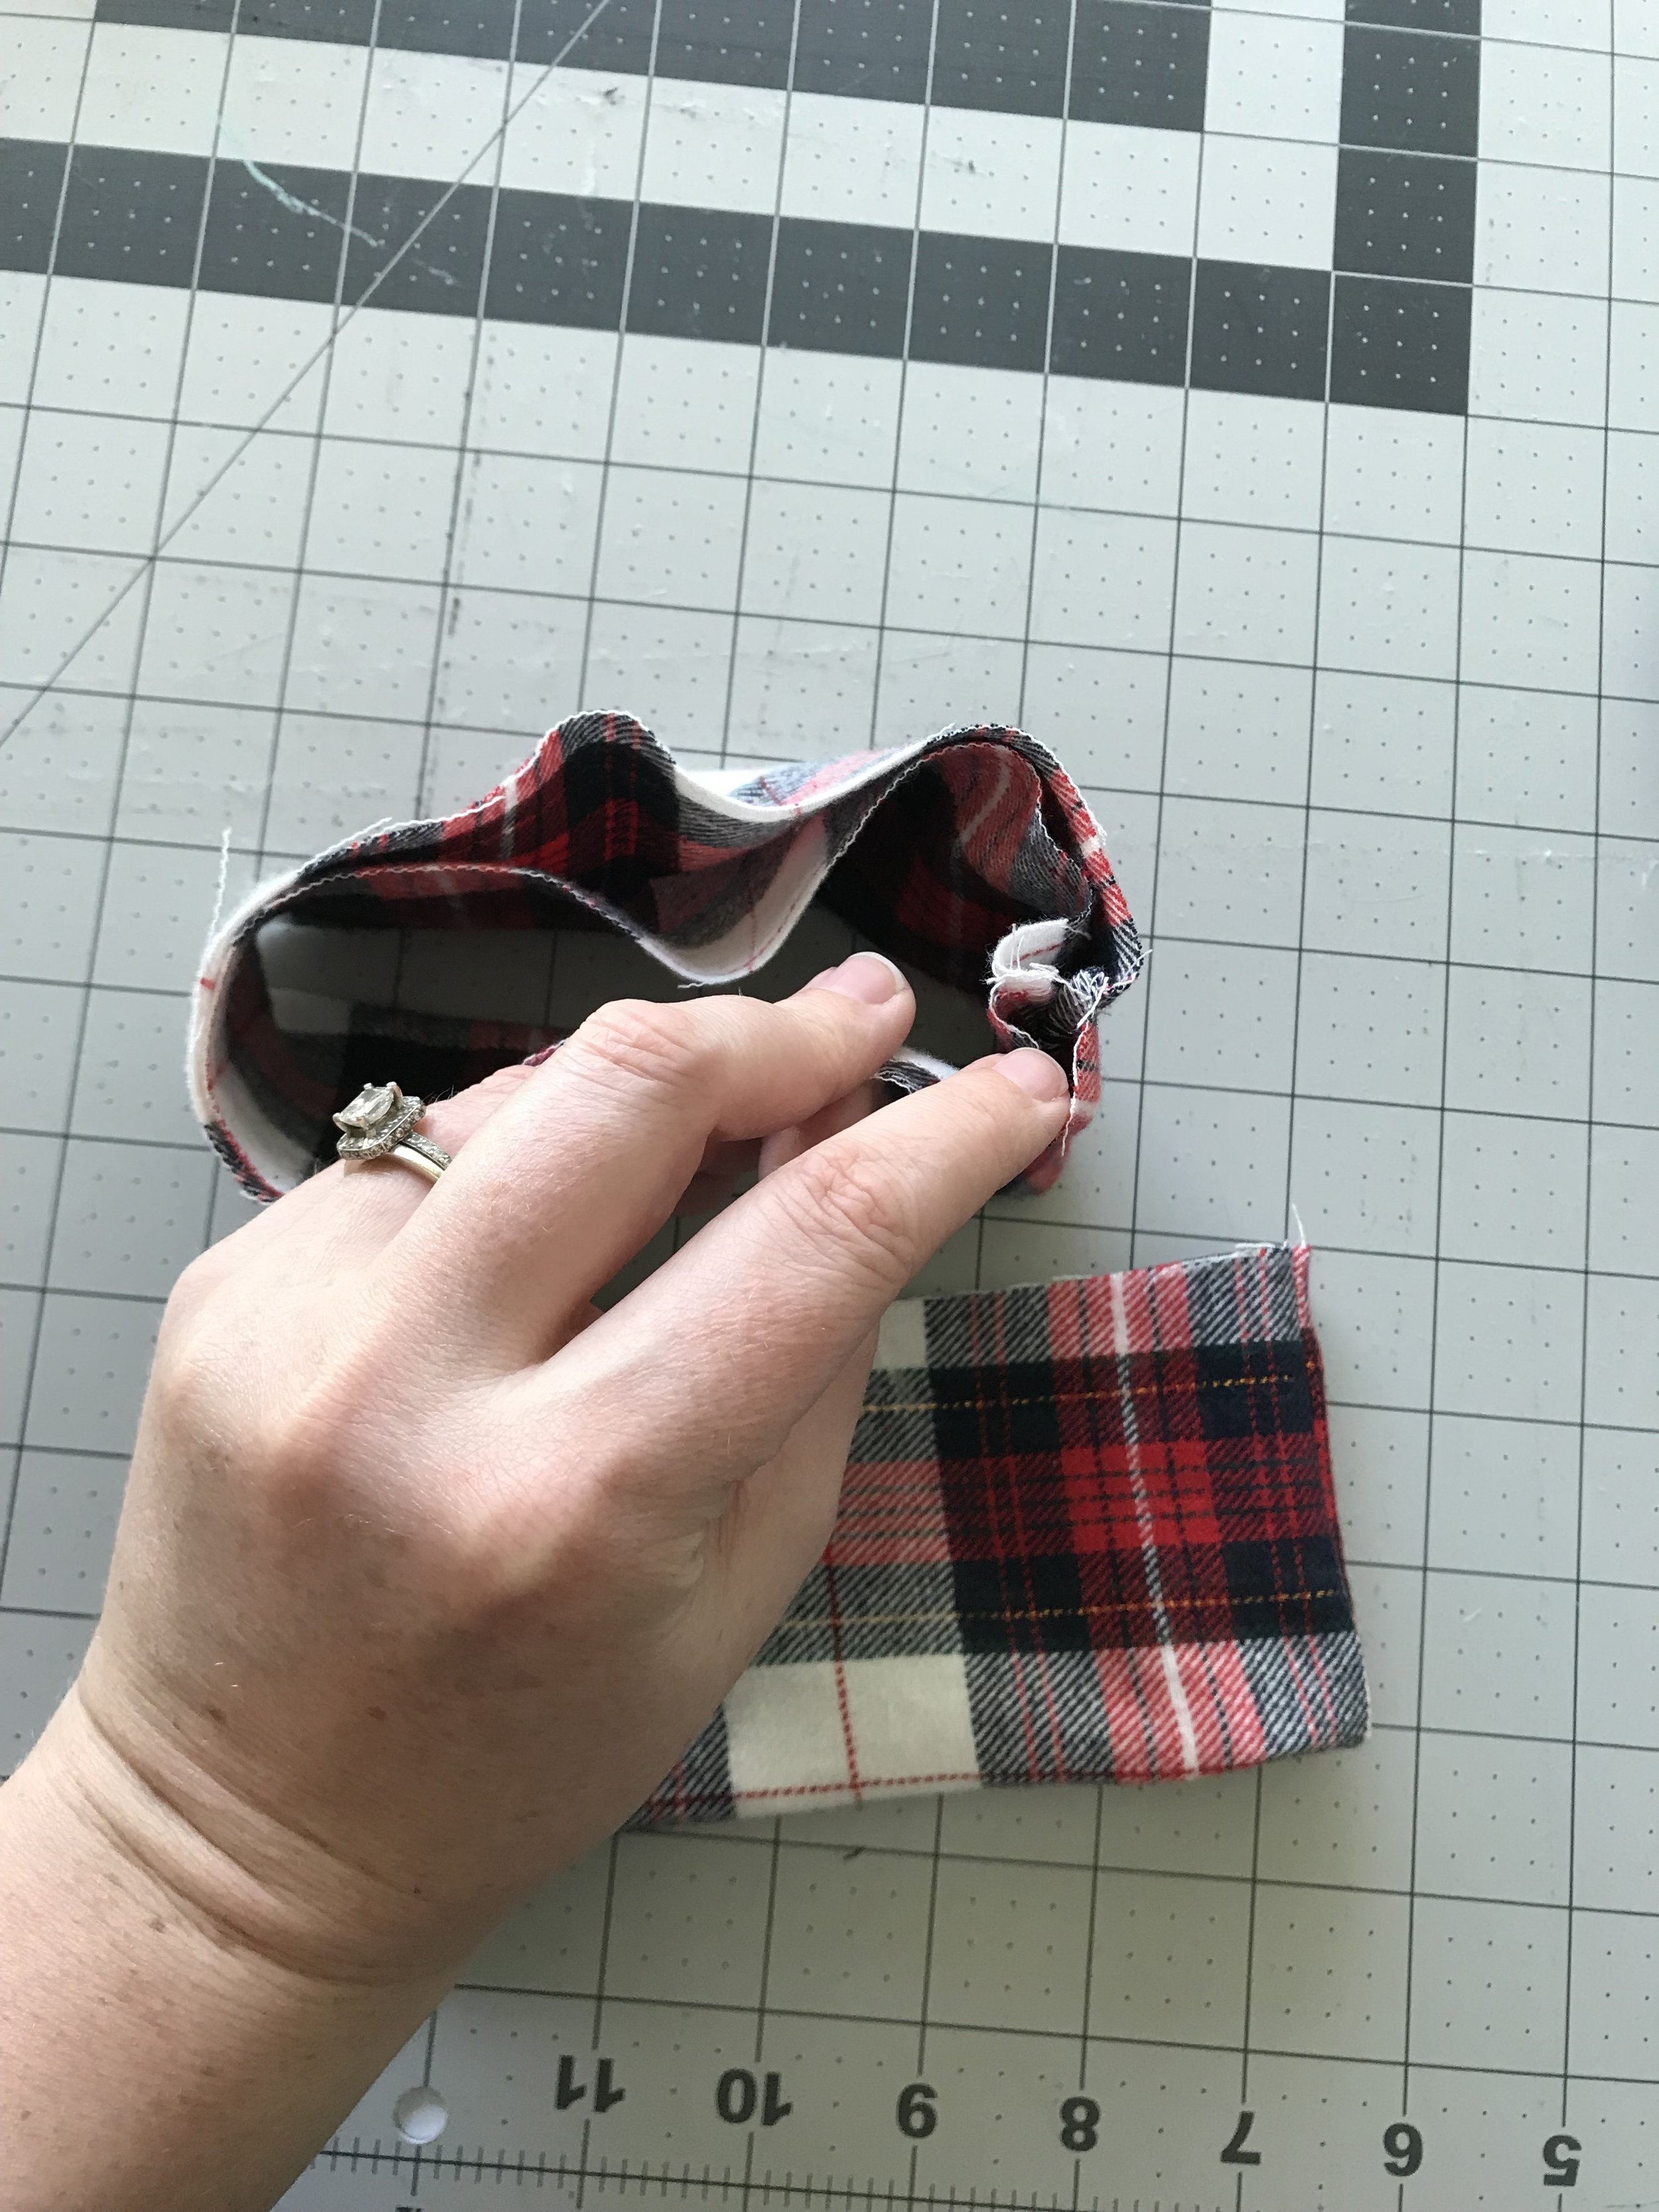
Lay both pieces on top of each other, right sides together and sew down each short side so it equals the same width as the bottom of your sweater. I used about a 1" seam allowance.

Serge or zigzag stitch the sides and trim any excess fabric.
Then carefully pin the plaid fabric to the bottom inside of the sweater, making sure the side seams align. You will need to make sure that they top edge of the plaid fabric is slightly over the stitching of the hem of your sweater.
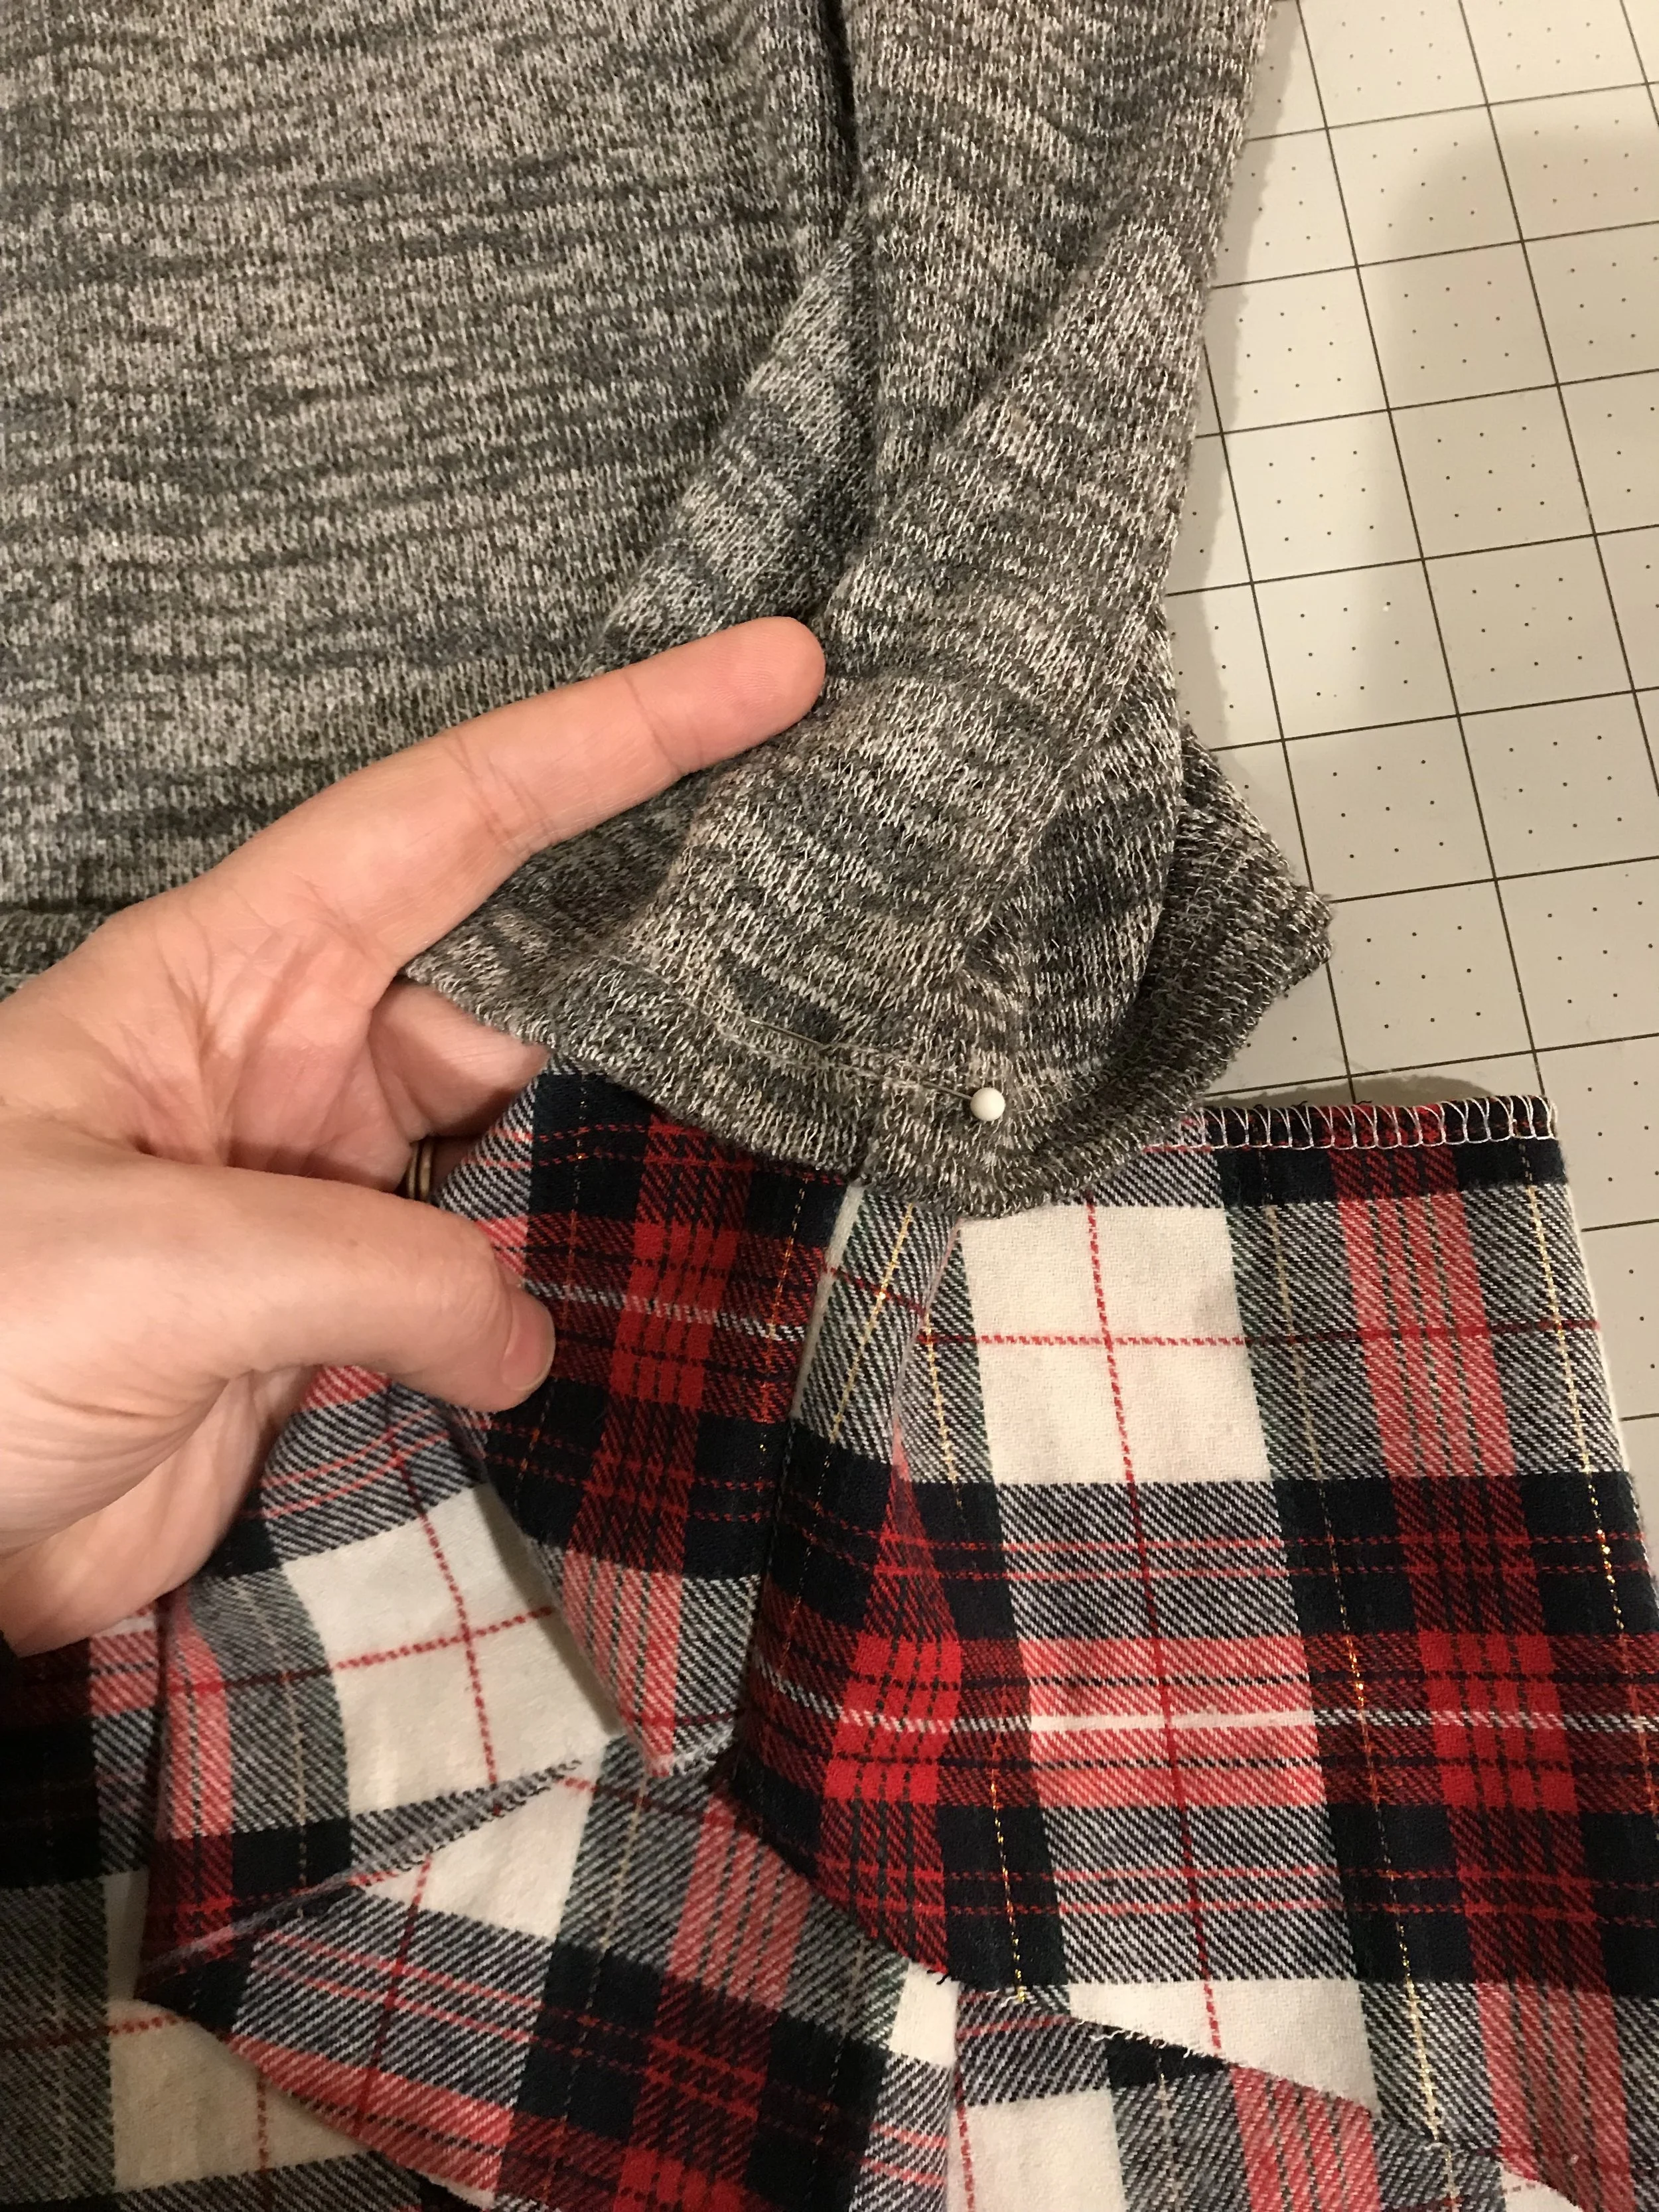
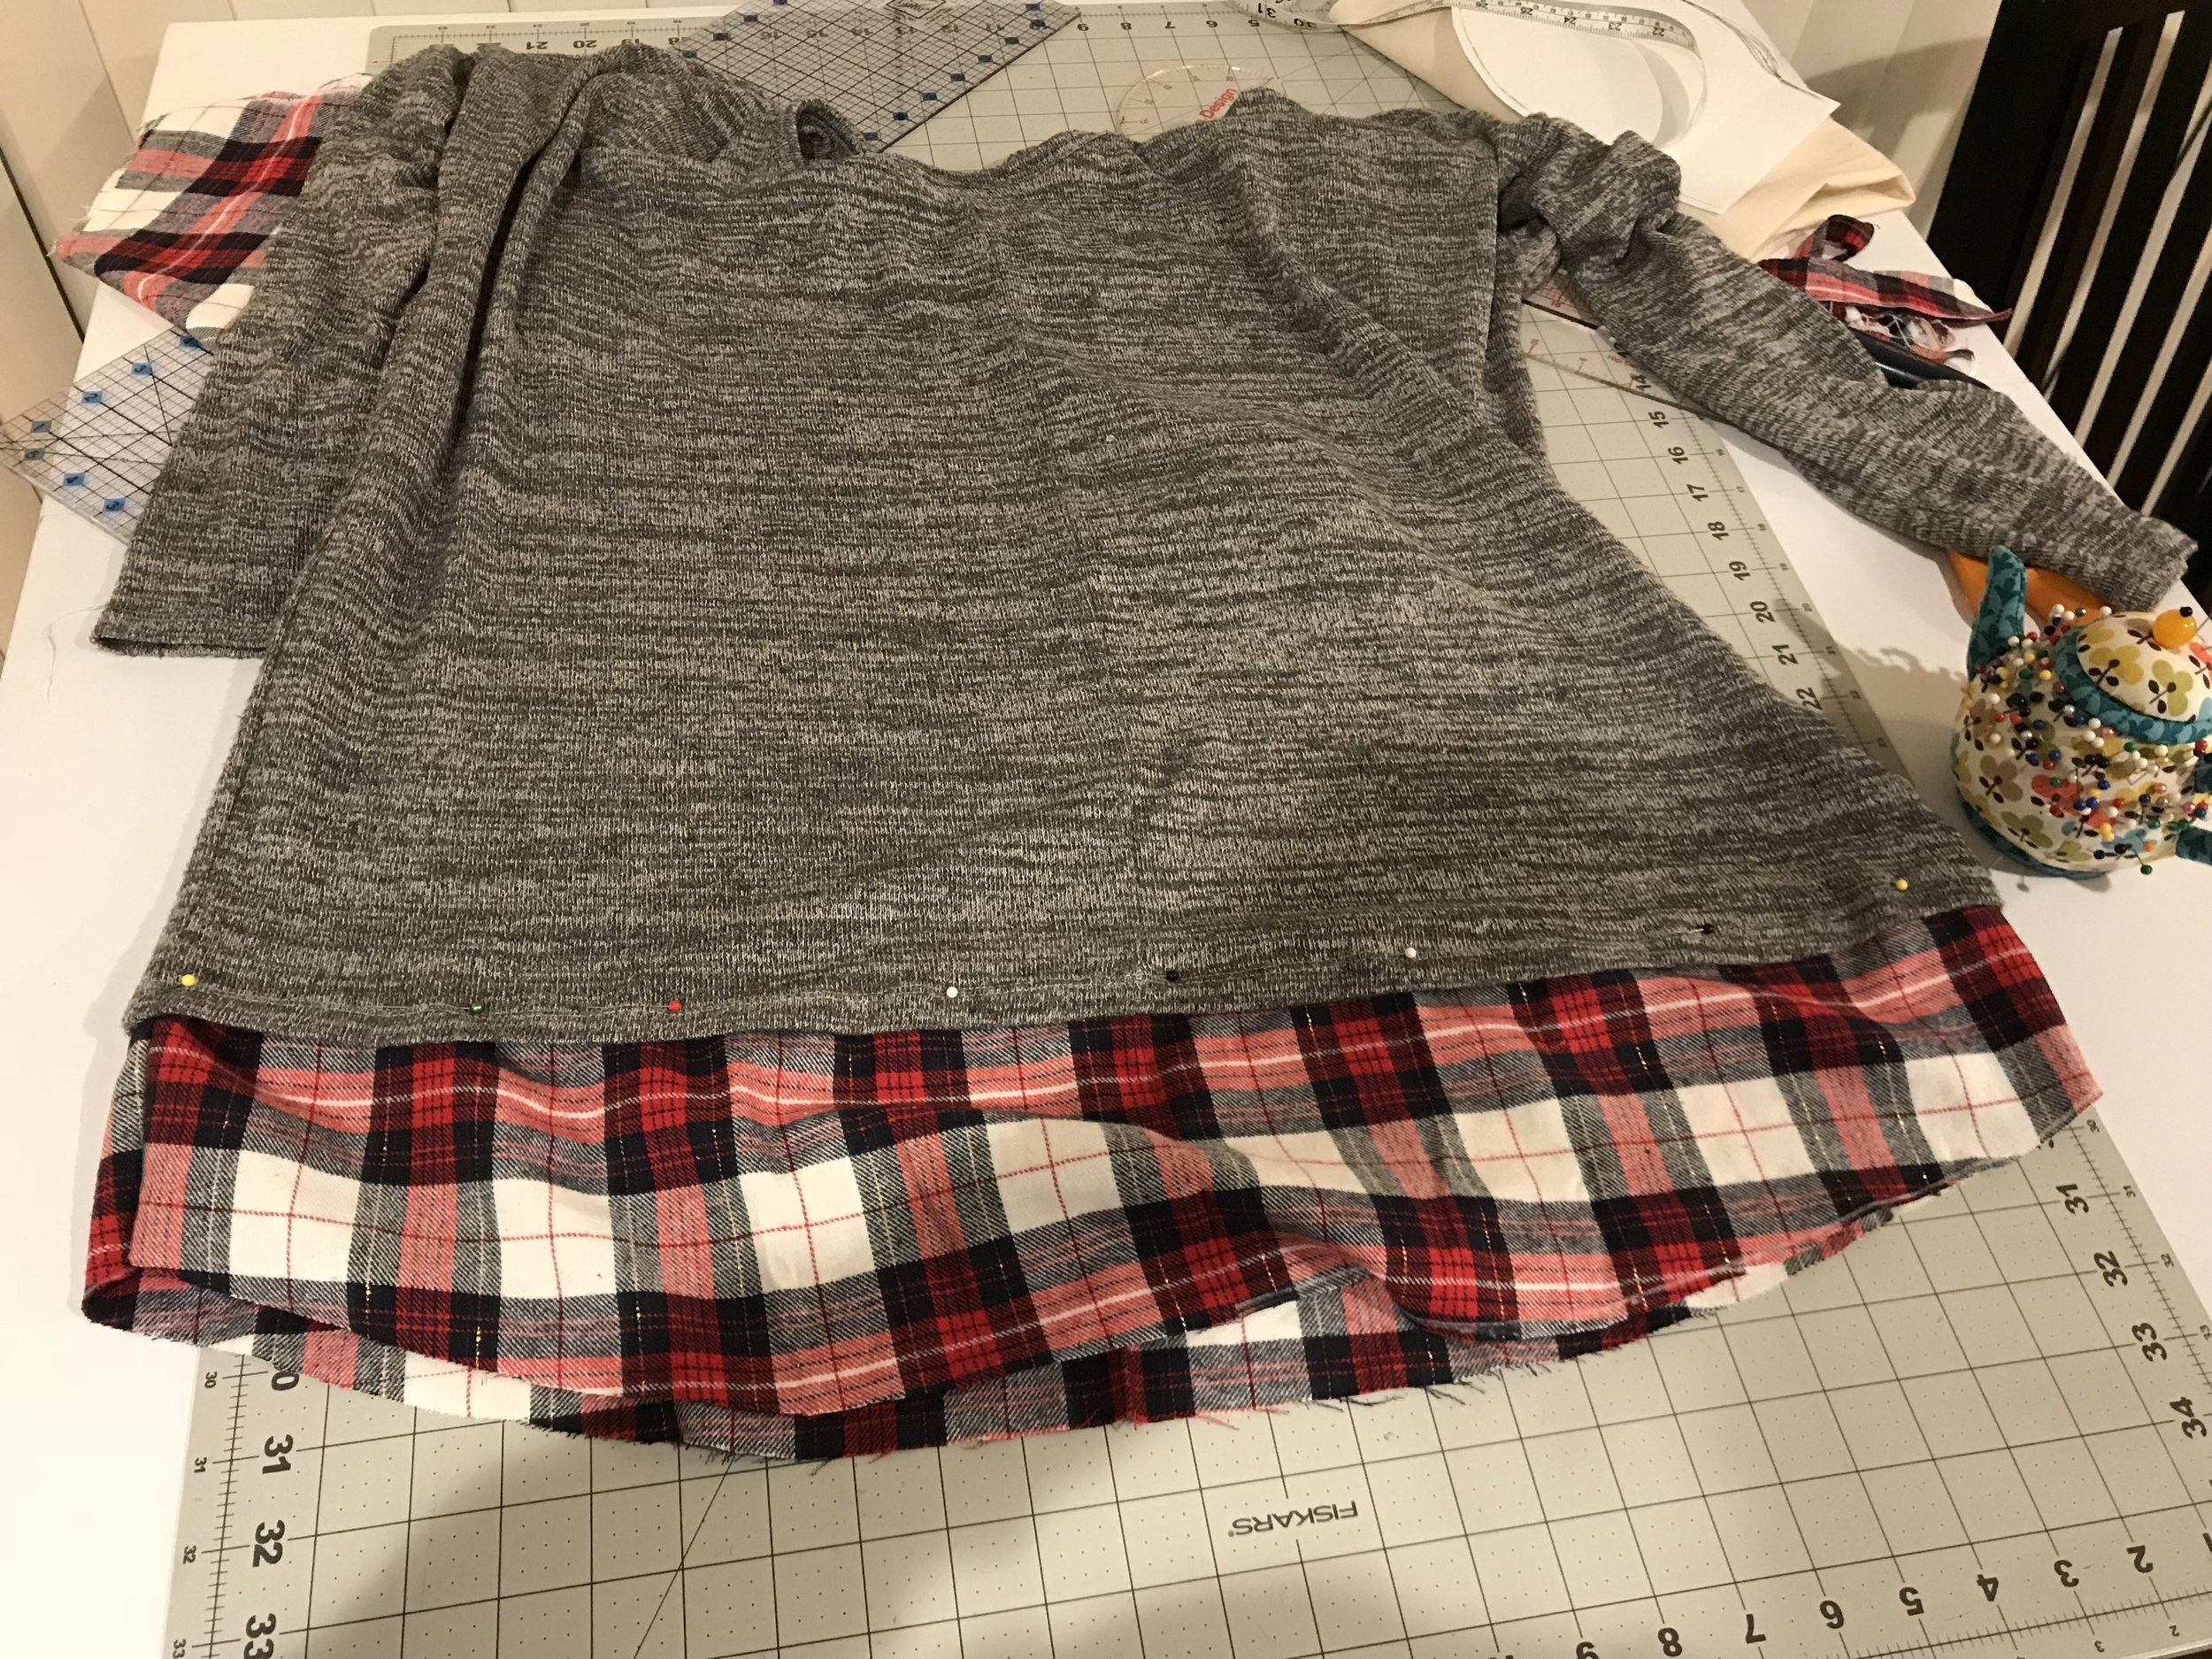
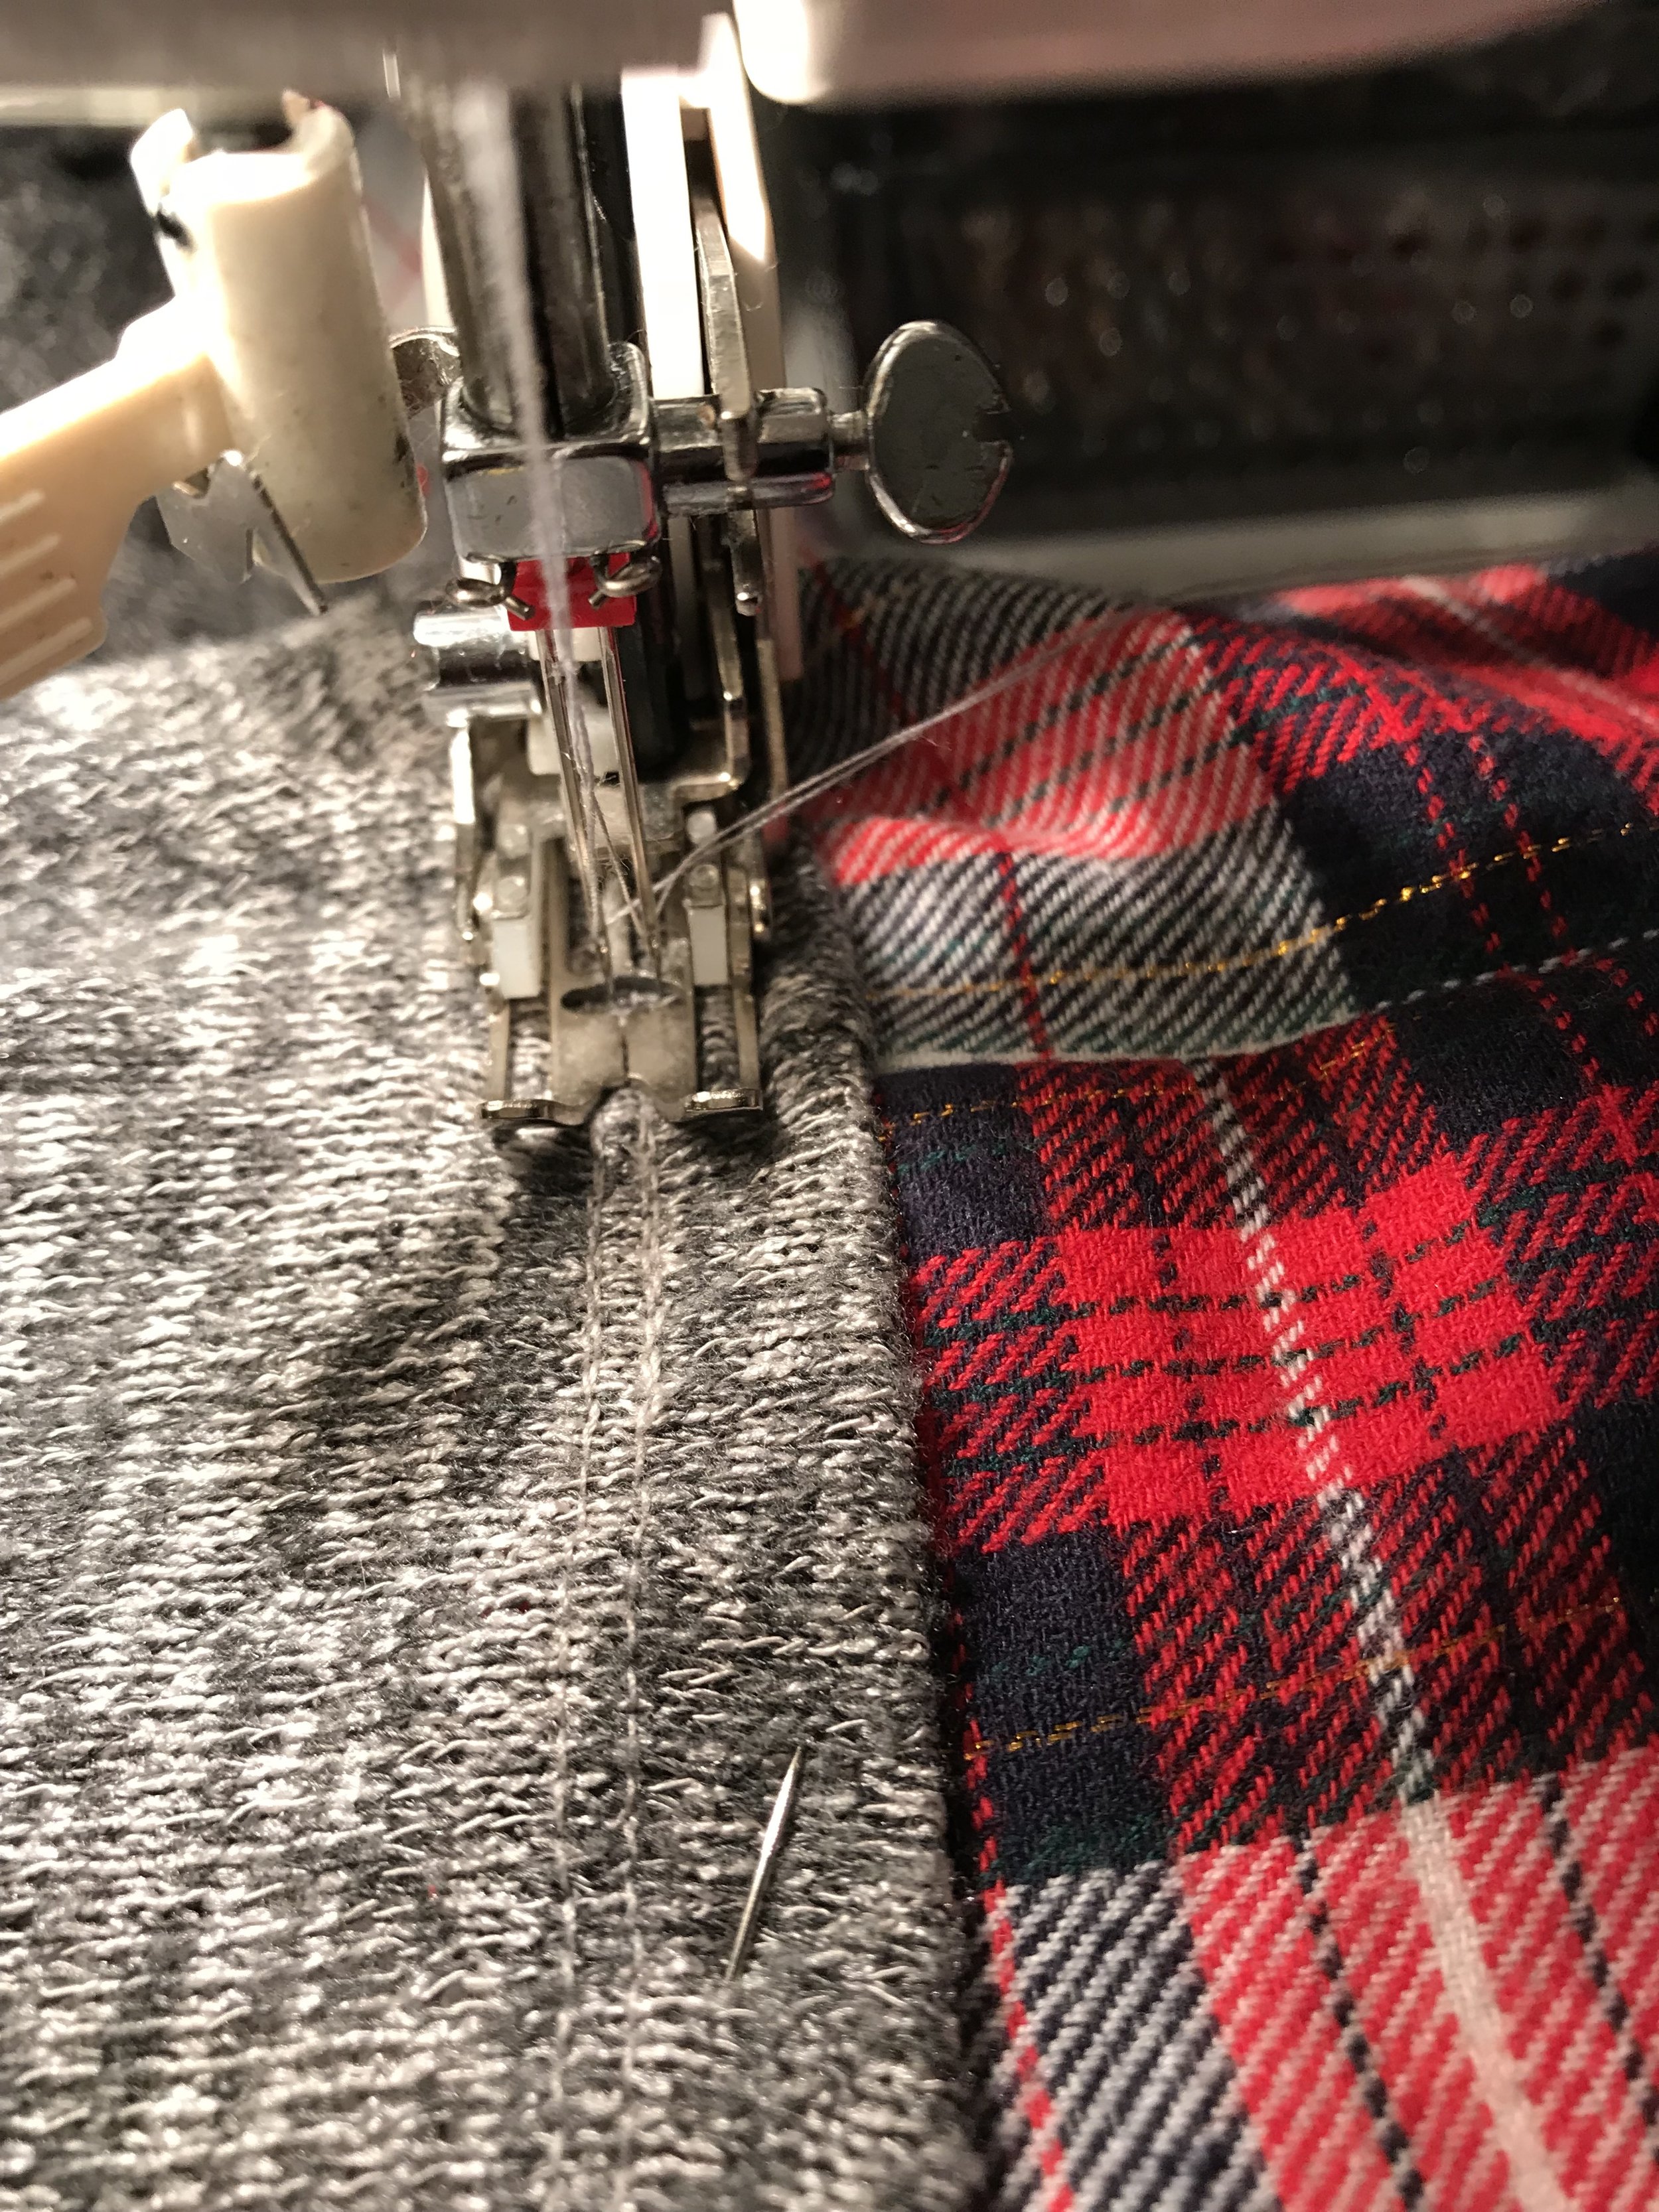
Sew the sweater to the plaid fabric by carefully sewing on top of the original hem stitching on the sweater. I used a double needle, but you can also use a stretch stitch or zigzag stitch.

Next you will need to hem the bottom of the plaid fabric. I did a basic 1 inch rolled hem. A rolled hem is when you fold the edge up twice and sew along the folded edge.
Now it is time to work on the arms. Try on your sweater and mark with a pin or chalk where you want your sleeves to end. I choose 3/4 length sleeves and took about 9 inches off each arm.
Cut off the sleeves where you made your mark.

Measure across the width of your sleeves to determine how wide a piece of plaid you will need to cut.
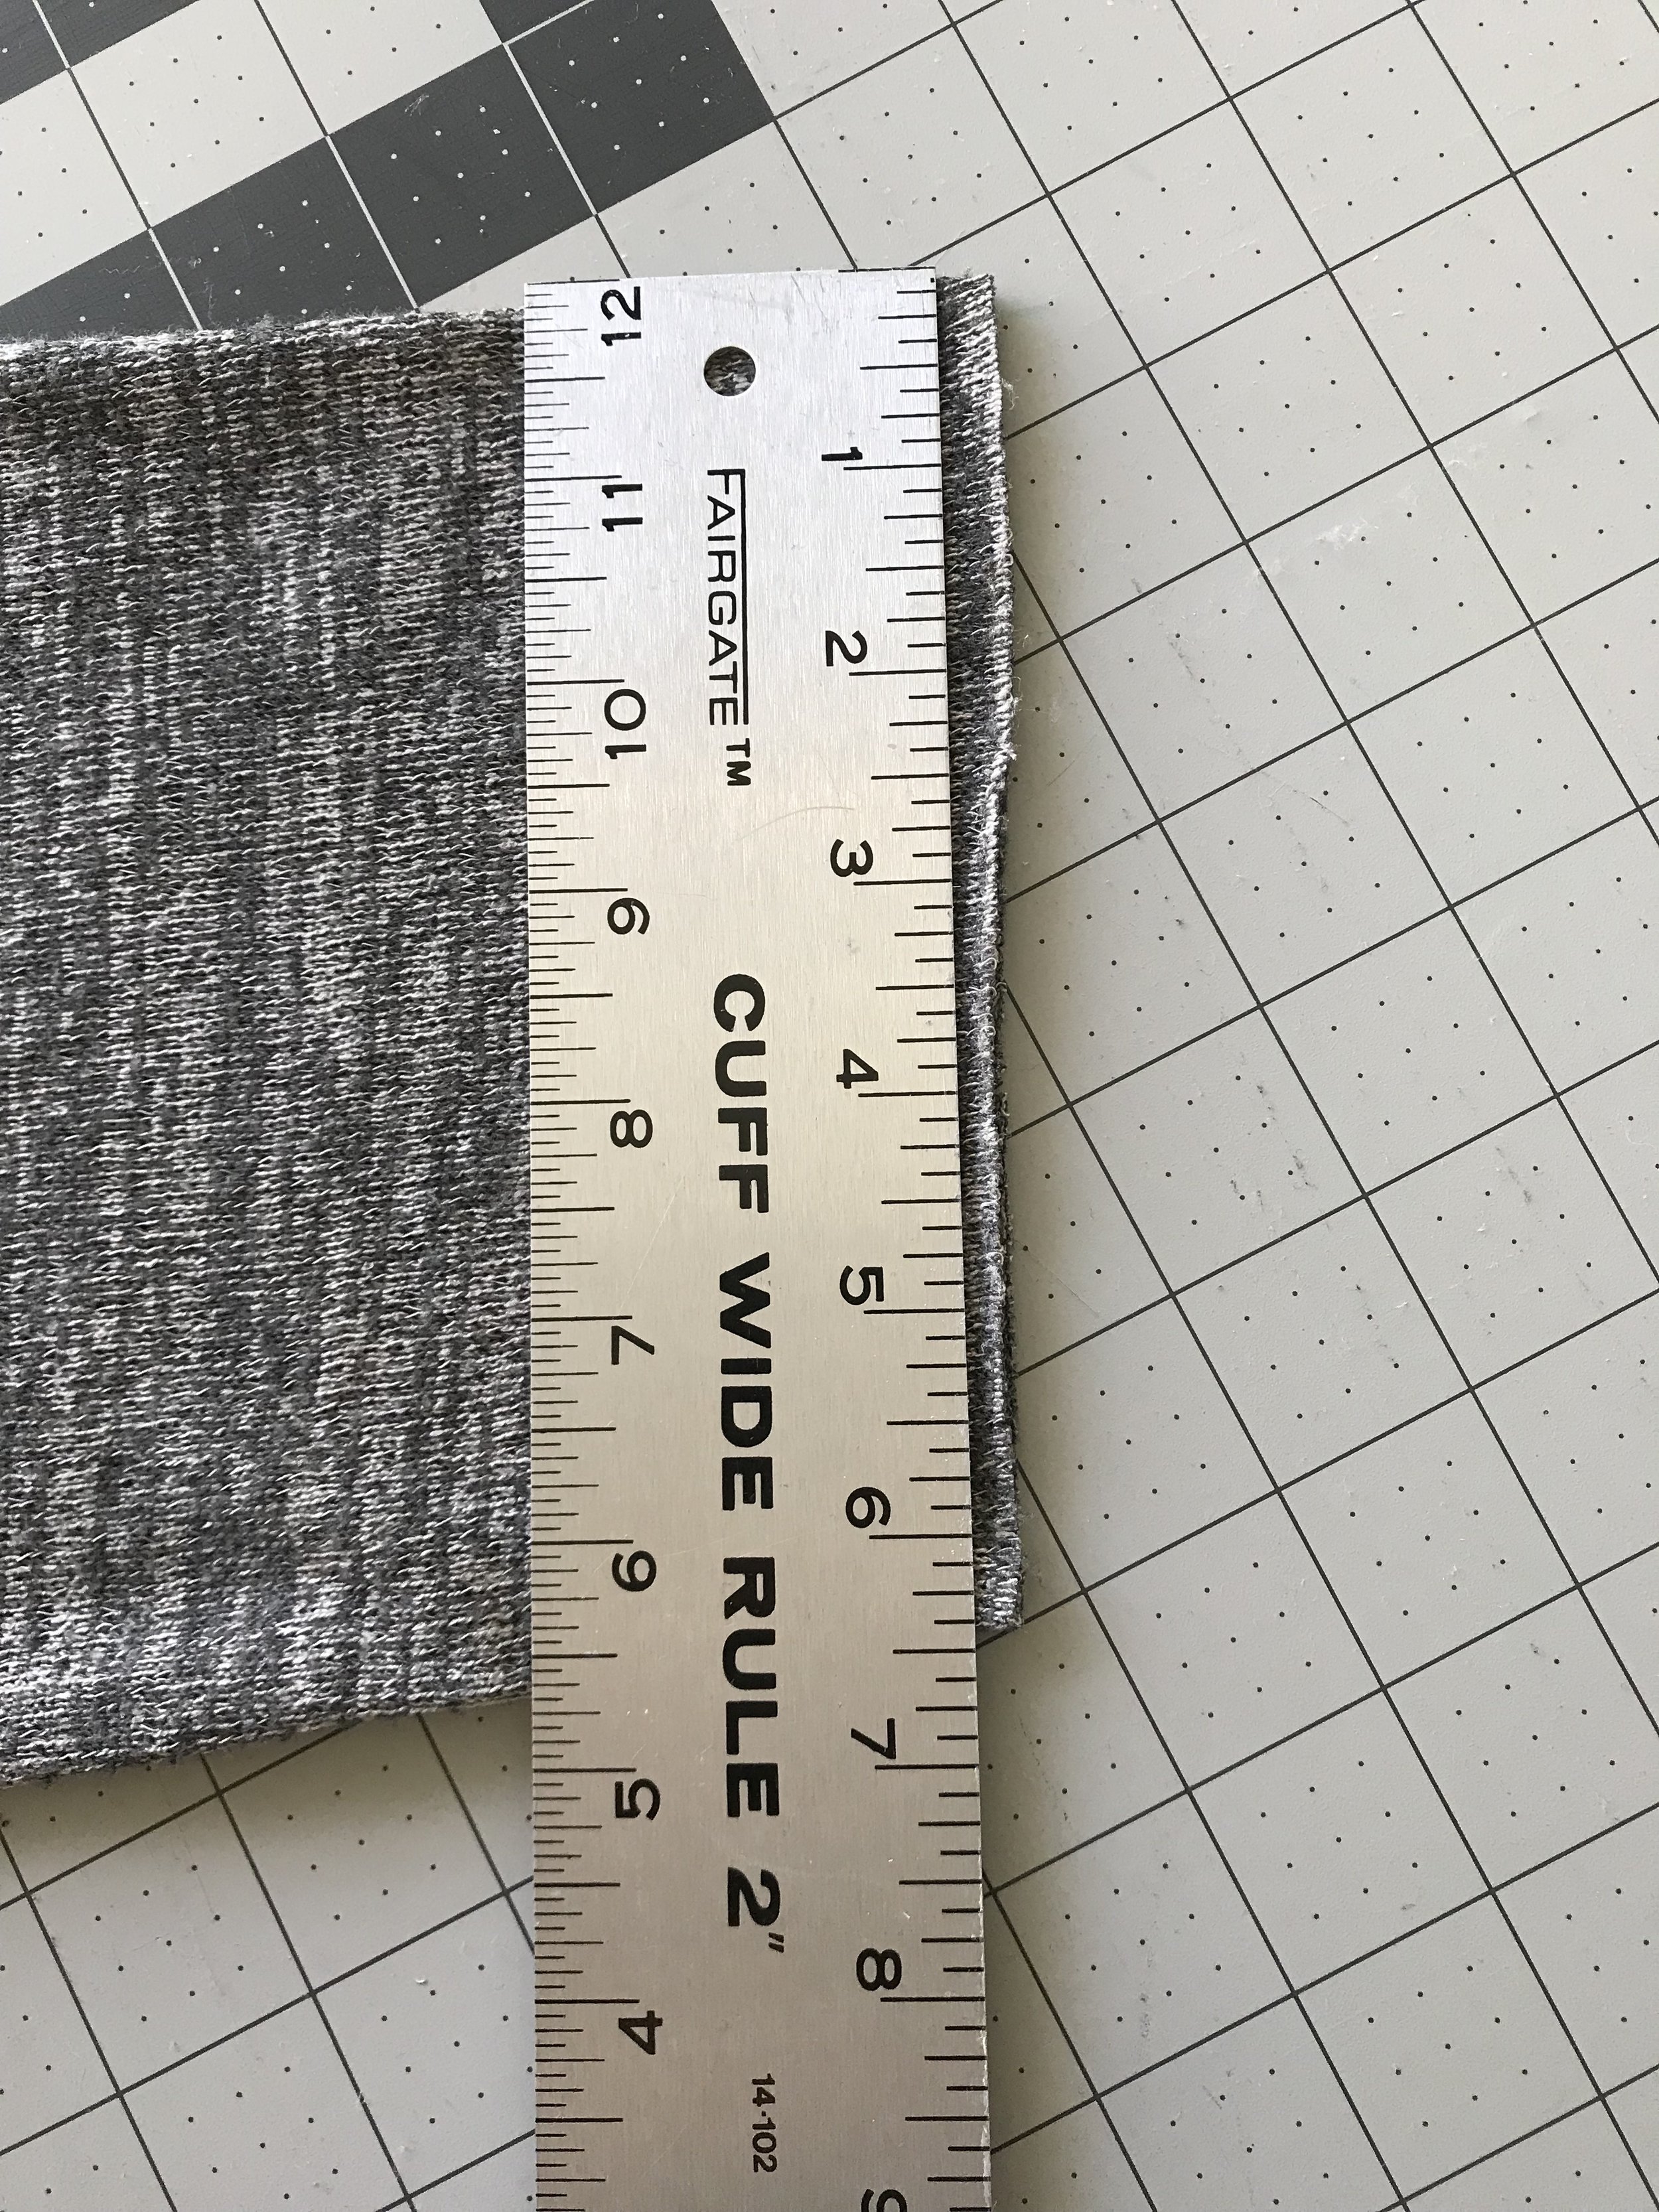
Double your measurement to find the width you will need to cut from the plaid fabric. I wanted my sleeve cuffs to be about 3 inches high so I made my rectangles 6" high. For example my sleeve width was 6.5" so I cut out two rectangles that were 13.5"X6". Add about .5" to the width for seam allowance.

Fold the rectangles in half so the short ends are together. Sew or serge along the edge of each one. Then fold them in half so the long edges are touching and the raw short edge is inside. This will create a nice folded edge for the cuff.
Next you will attach the cuffs to the sweater sleeves. Turn your sweater inside out. Slip the plaid cuff onto the sleeve so the raw edges and the seams are aligned. The folded edge of the cuff will be facing the shoulder.
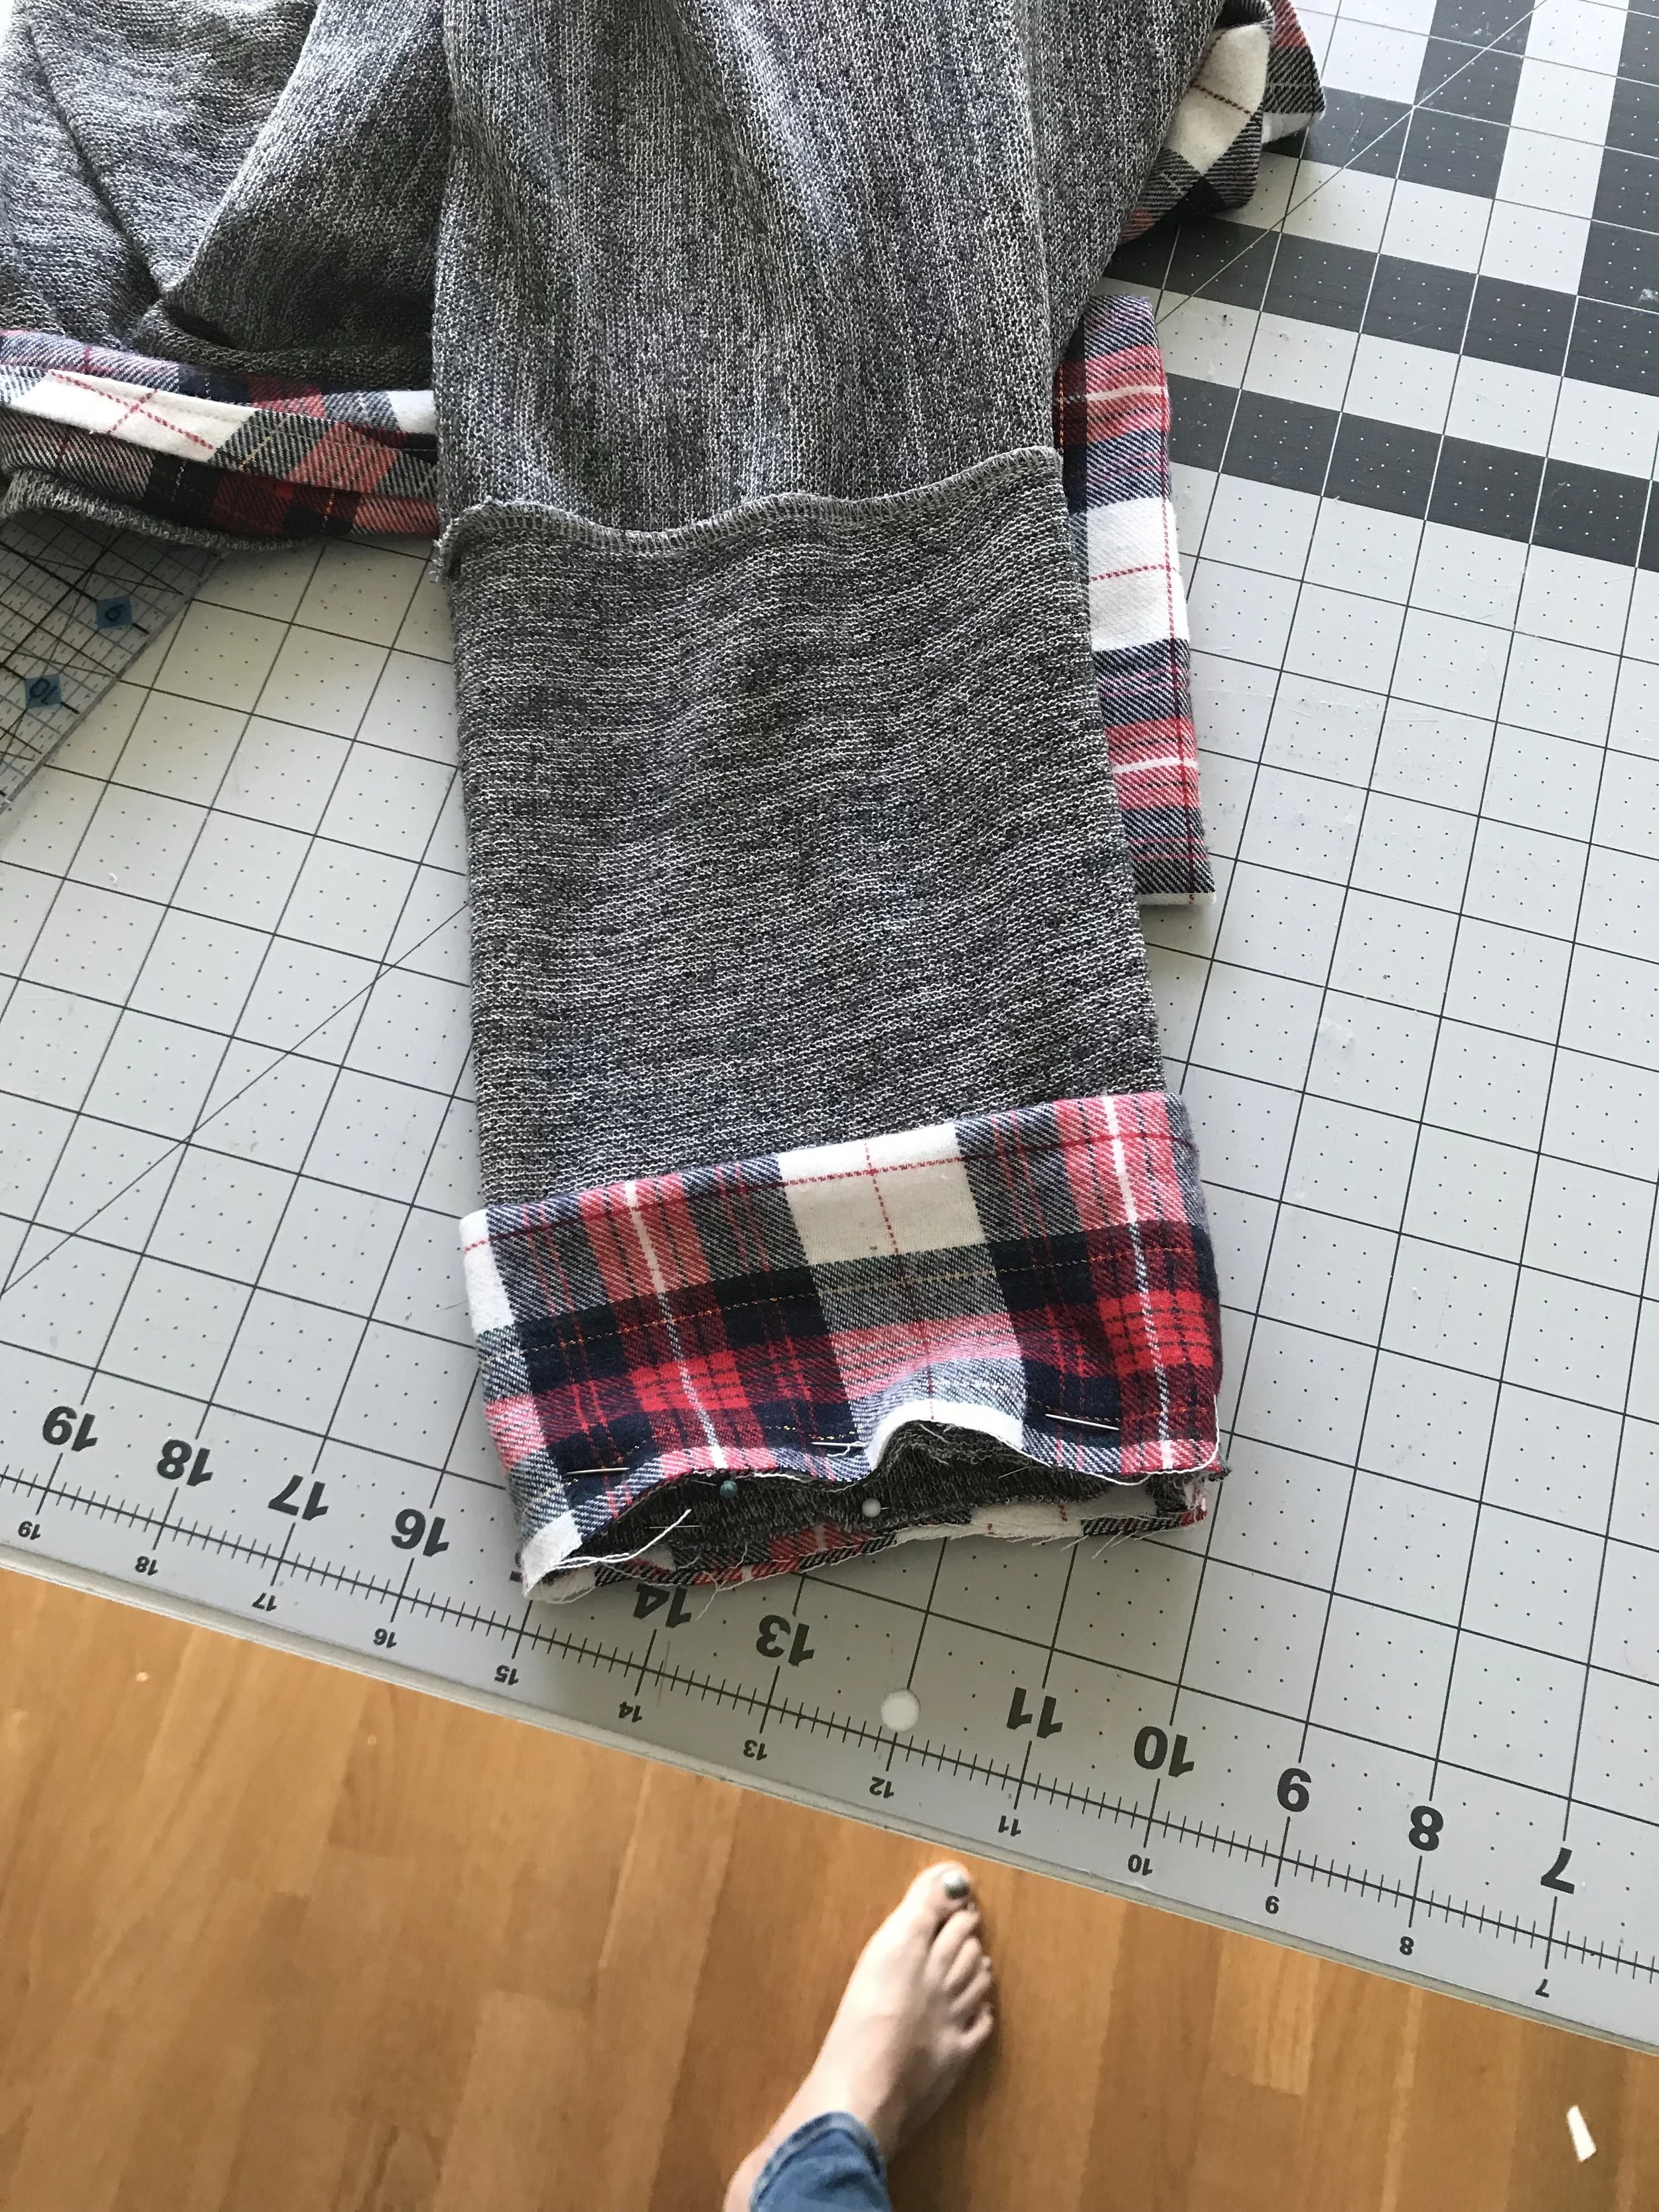
Pin the cuff in place and then sew or serge around the edge to attach.

Turn your sweater right side out and pull the cuff down. The seam will be showing.

Fold the cuff up so the seam raw edges are hidden and the seam is along the bottom of the sleeve.

Tack the cuff in place along the side seam.

Attach the second cuff to the other sleeve and you are done!

I hope you found this tutorial helpful. Next time you are about to toss out an old sweater try re-styling it instead! I would love to see what you create. Tag me on social media @meghanmakesdo or use #meghanmakesdo so I can see.