DIY Vendor's Apron
This post contains affiliate links. If you make a purchase through a link I may earn a small commission. This helps me keep providing free patterns and tutorials.
Market season is just getting started and it’s the perfect time to make yourself a brand new Vendor’s Apron! This was the first year I decided to use one at my markets and it was a game changer. It was so much easier for my customer’s to check out since I had everything right at my fingertips. It also helped me feel more secure since all the money and equipment was attached to me. Today I’m going to share the quick tutorial on how you can make your own Vendor’s Apron.

What you’ll need:
3/4 yard of exterior fabric (I used a black twill from Hobby Lobby)
1/4 yard of fabric for interior pocket (I used a simple quilting cotton from Joann’s)
(2) 1 inch D-rings
1/4 yard of fusible fleece
sewing machine and zipper foot
thread
scissors
ruler, rotary cutter and mat
pencil
Exacto knife
Start by cutting out all of your pieces.
From Exterior Fabric Cut:
13”X12” for front pockets
(2) 12”X10.5” pieces for front and back main
(2) 4” strips the entire width of the fabric for the strap
From Quilting Cotton:
9.5”X12” piece for interior zip pocket
From Fusible Fleece:
6”X12” piece for front pockets
12”X10.5” piece for front main
Assembly:
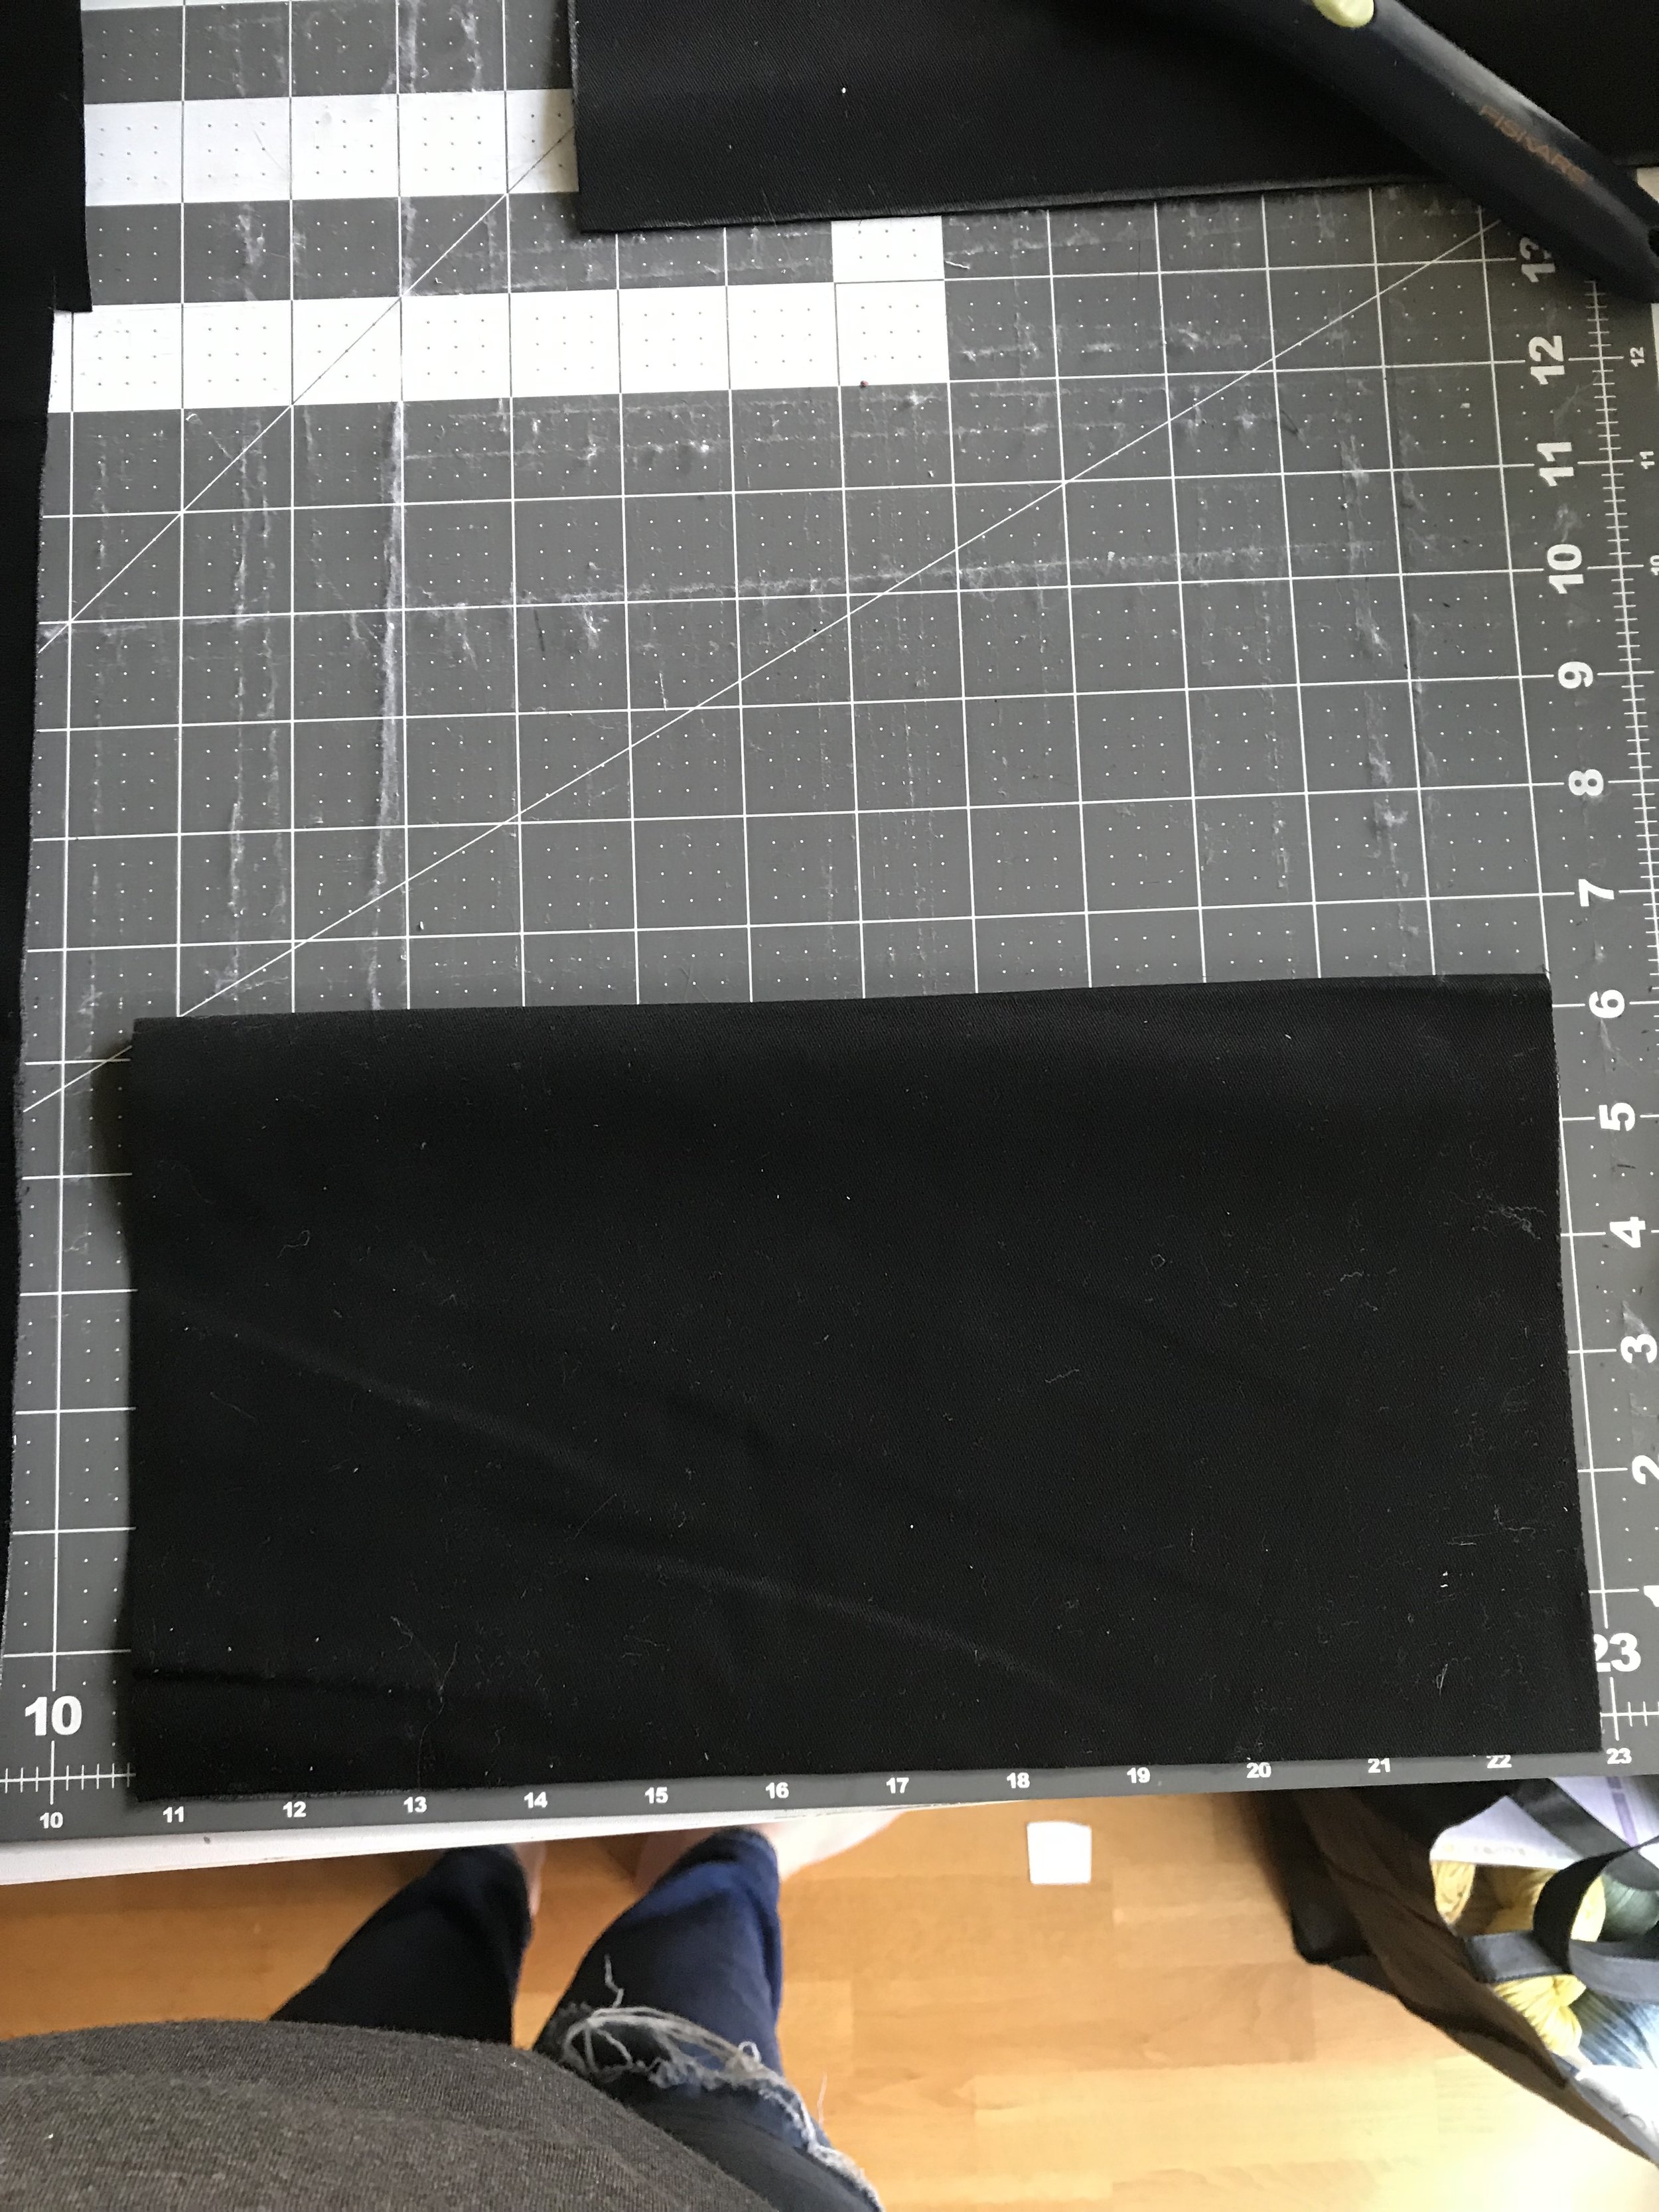
Fold front pocket piece in half lining up the 12” sides at the bottom.
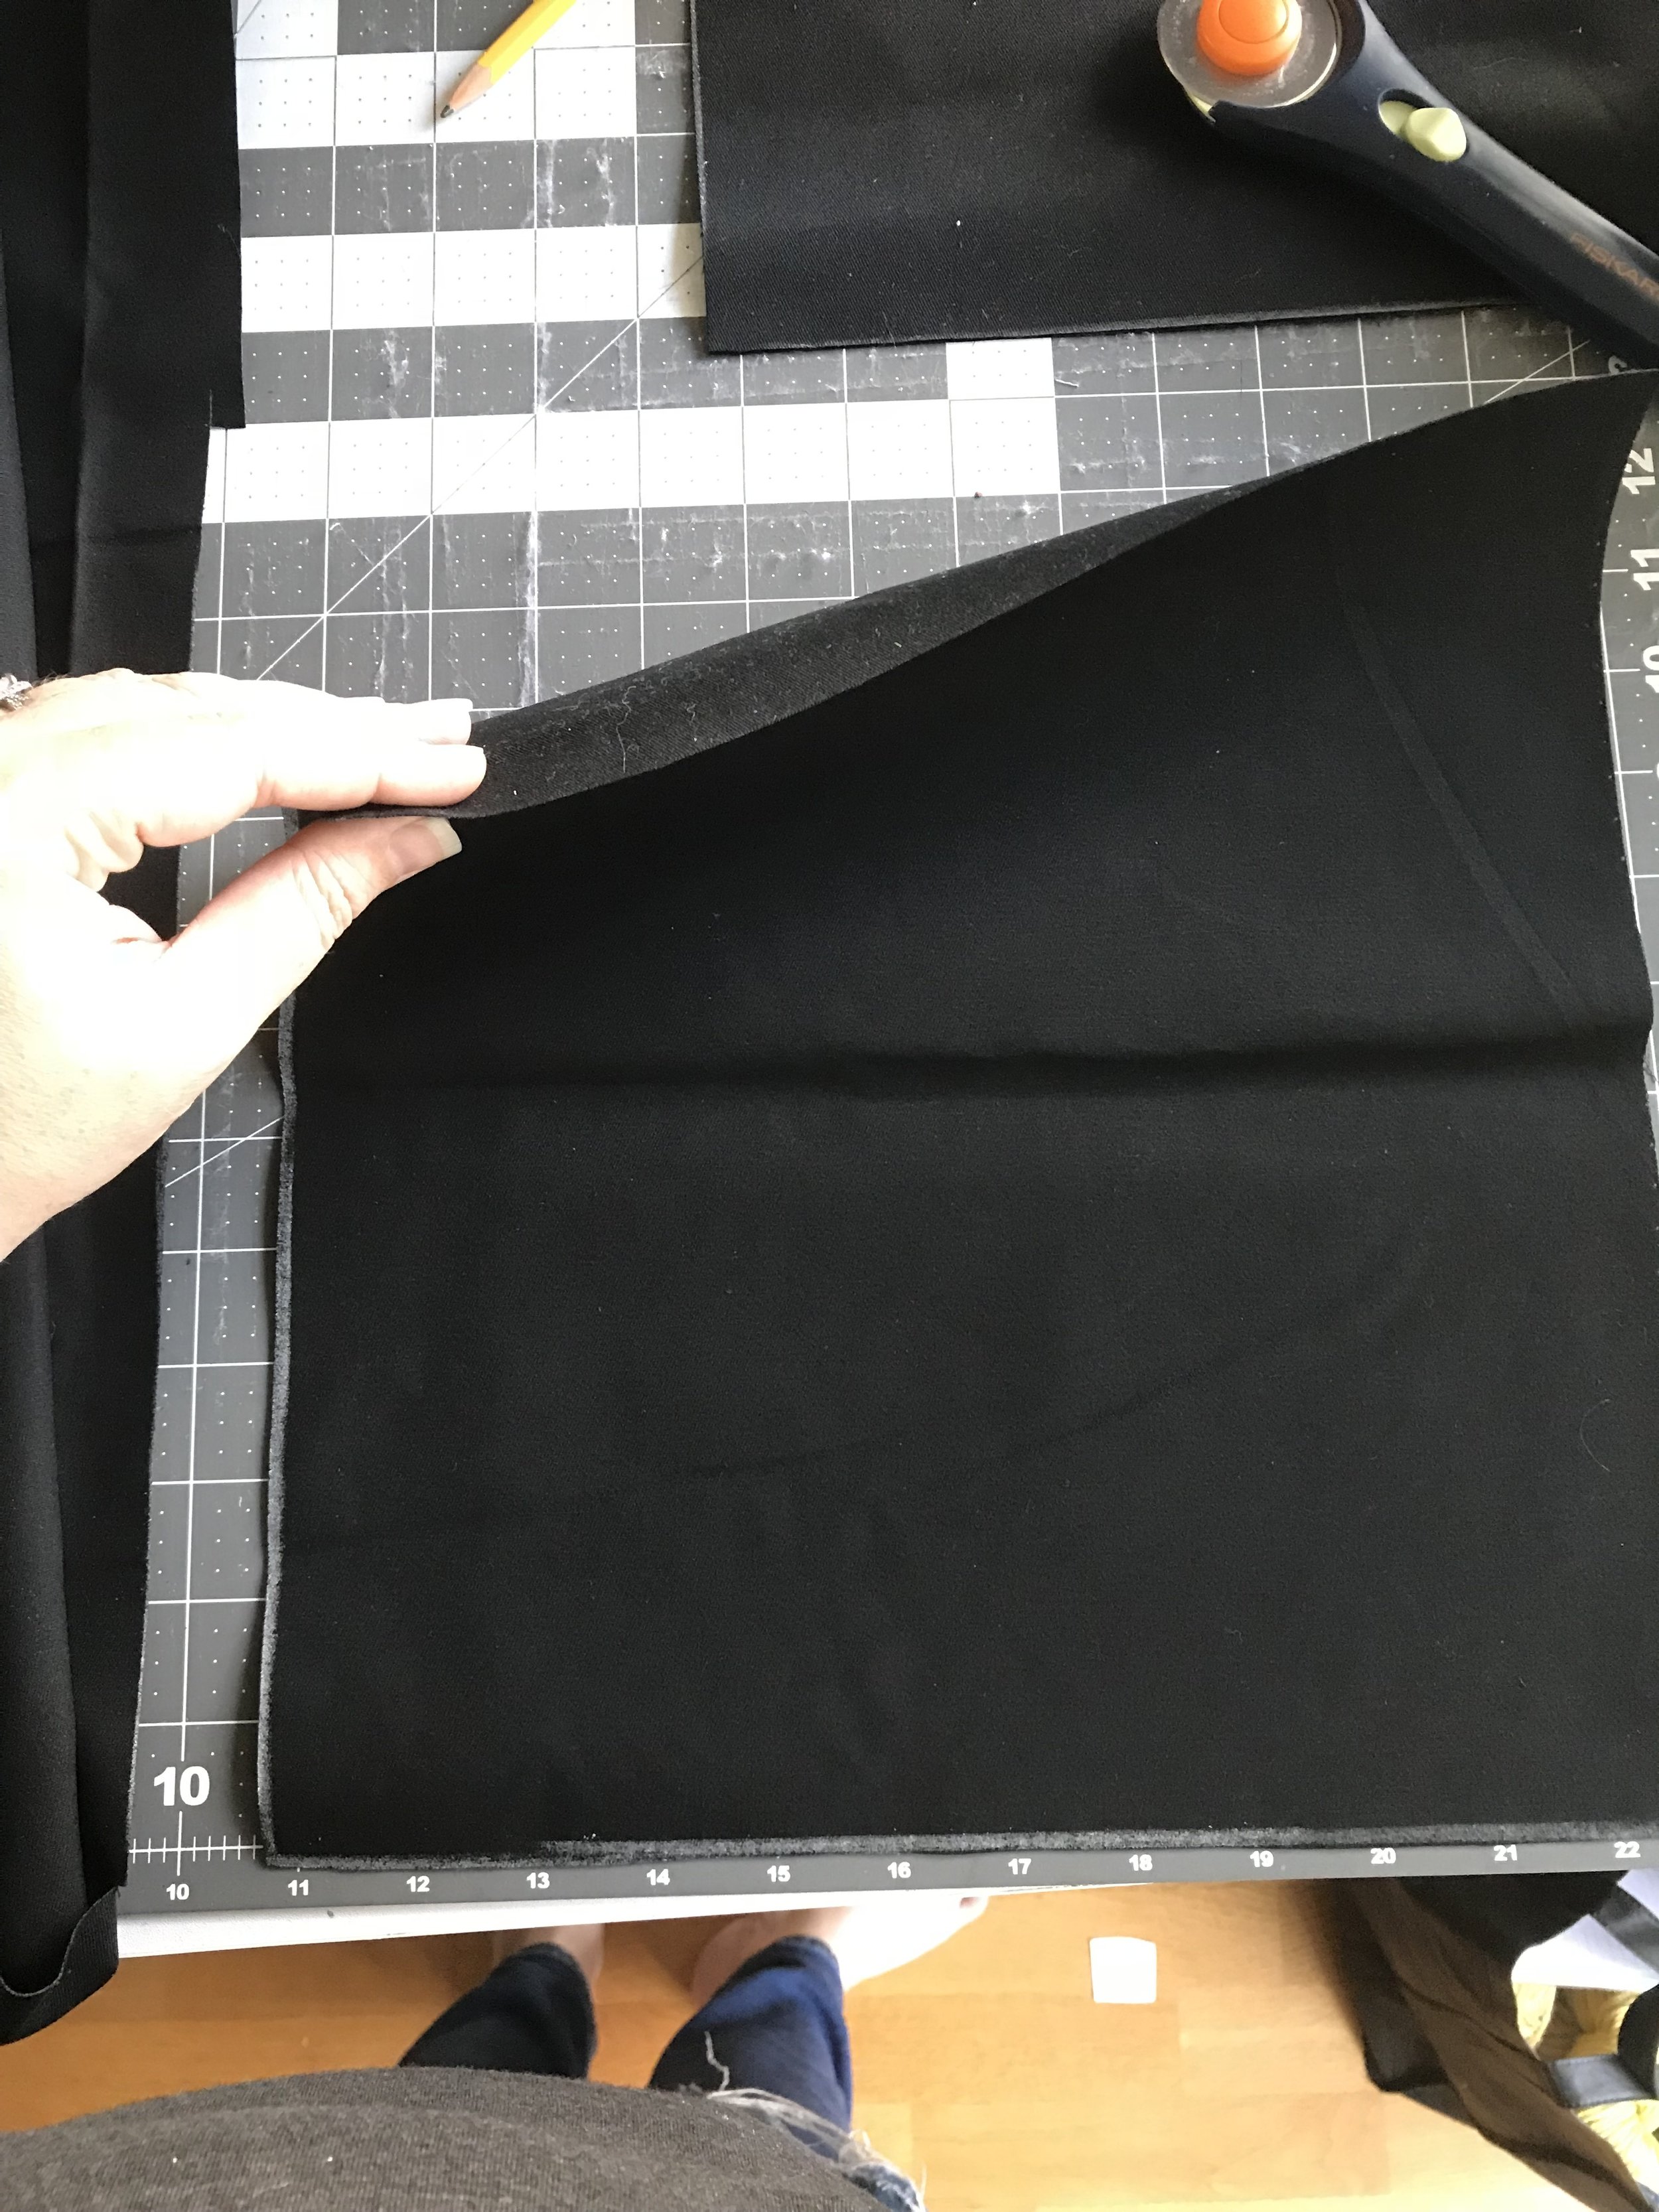
Place fusible fleece piece (6X12) inside the pocket and fuse to one side.
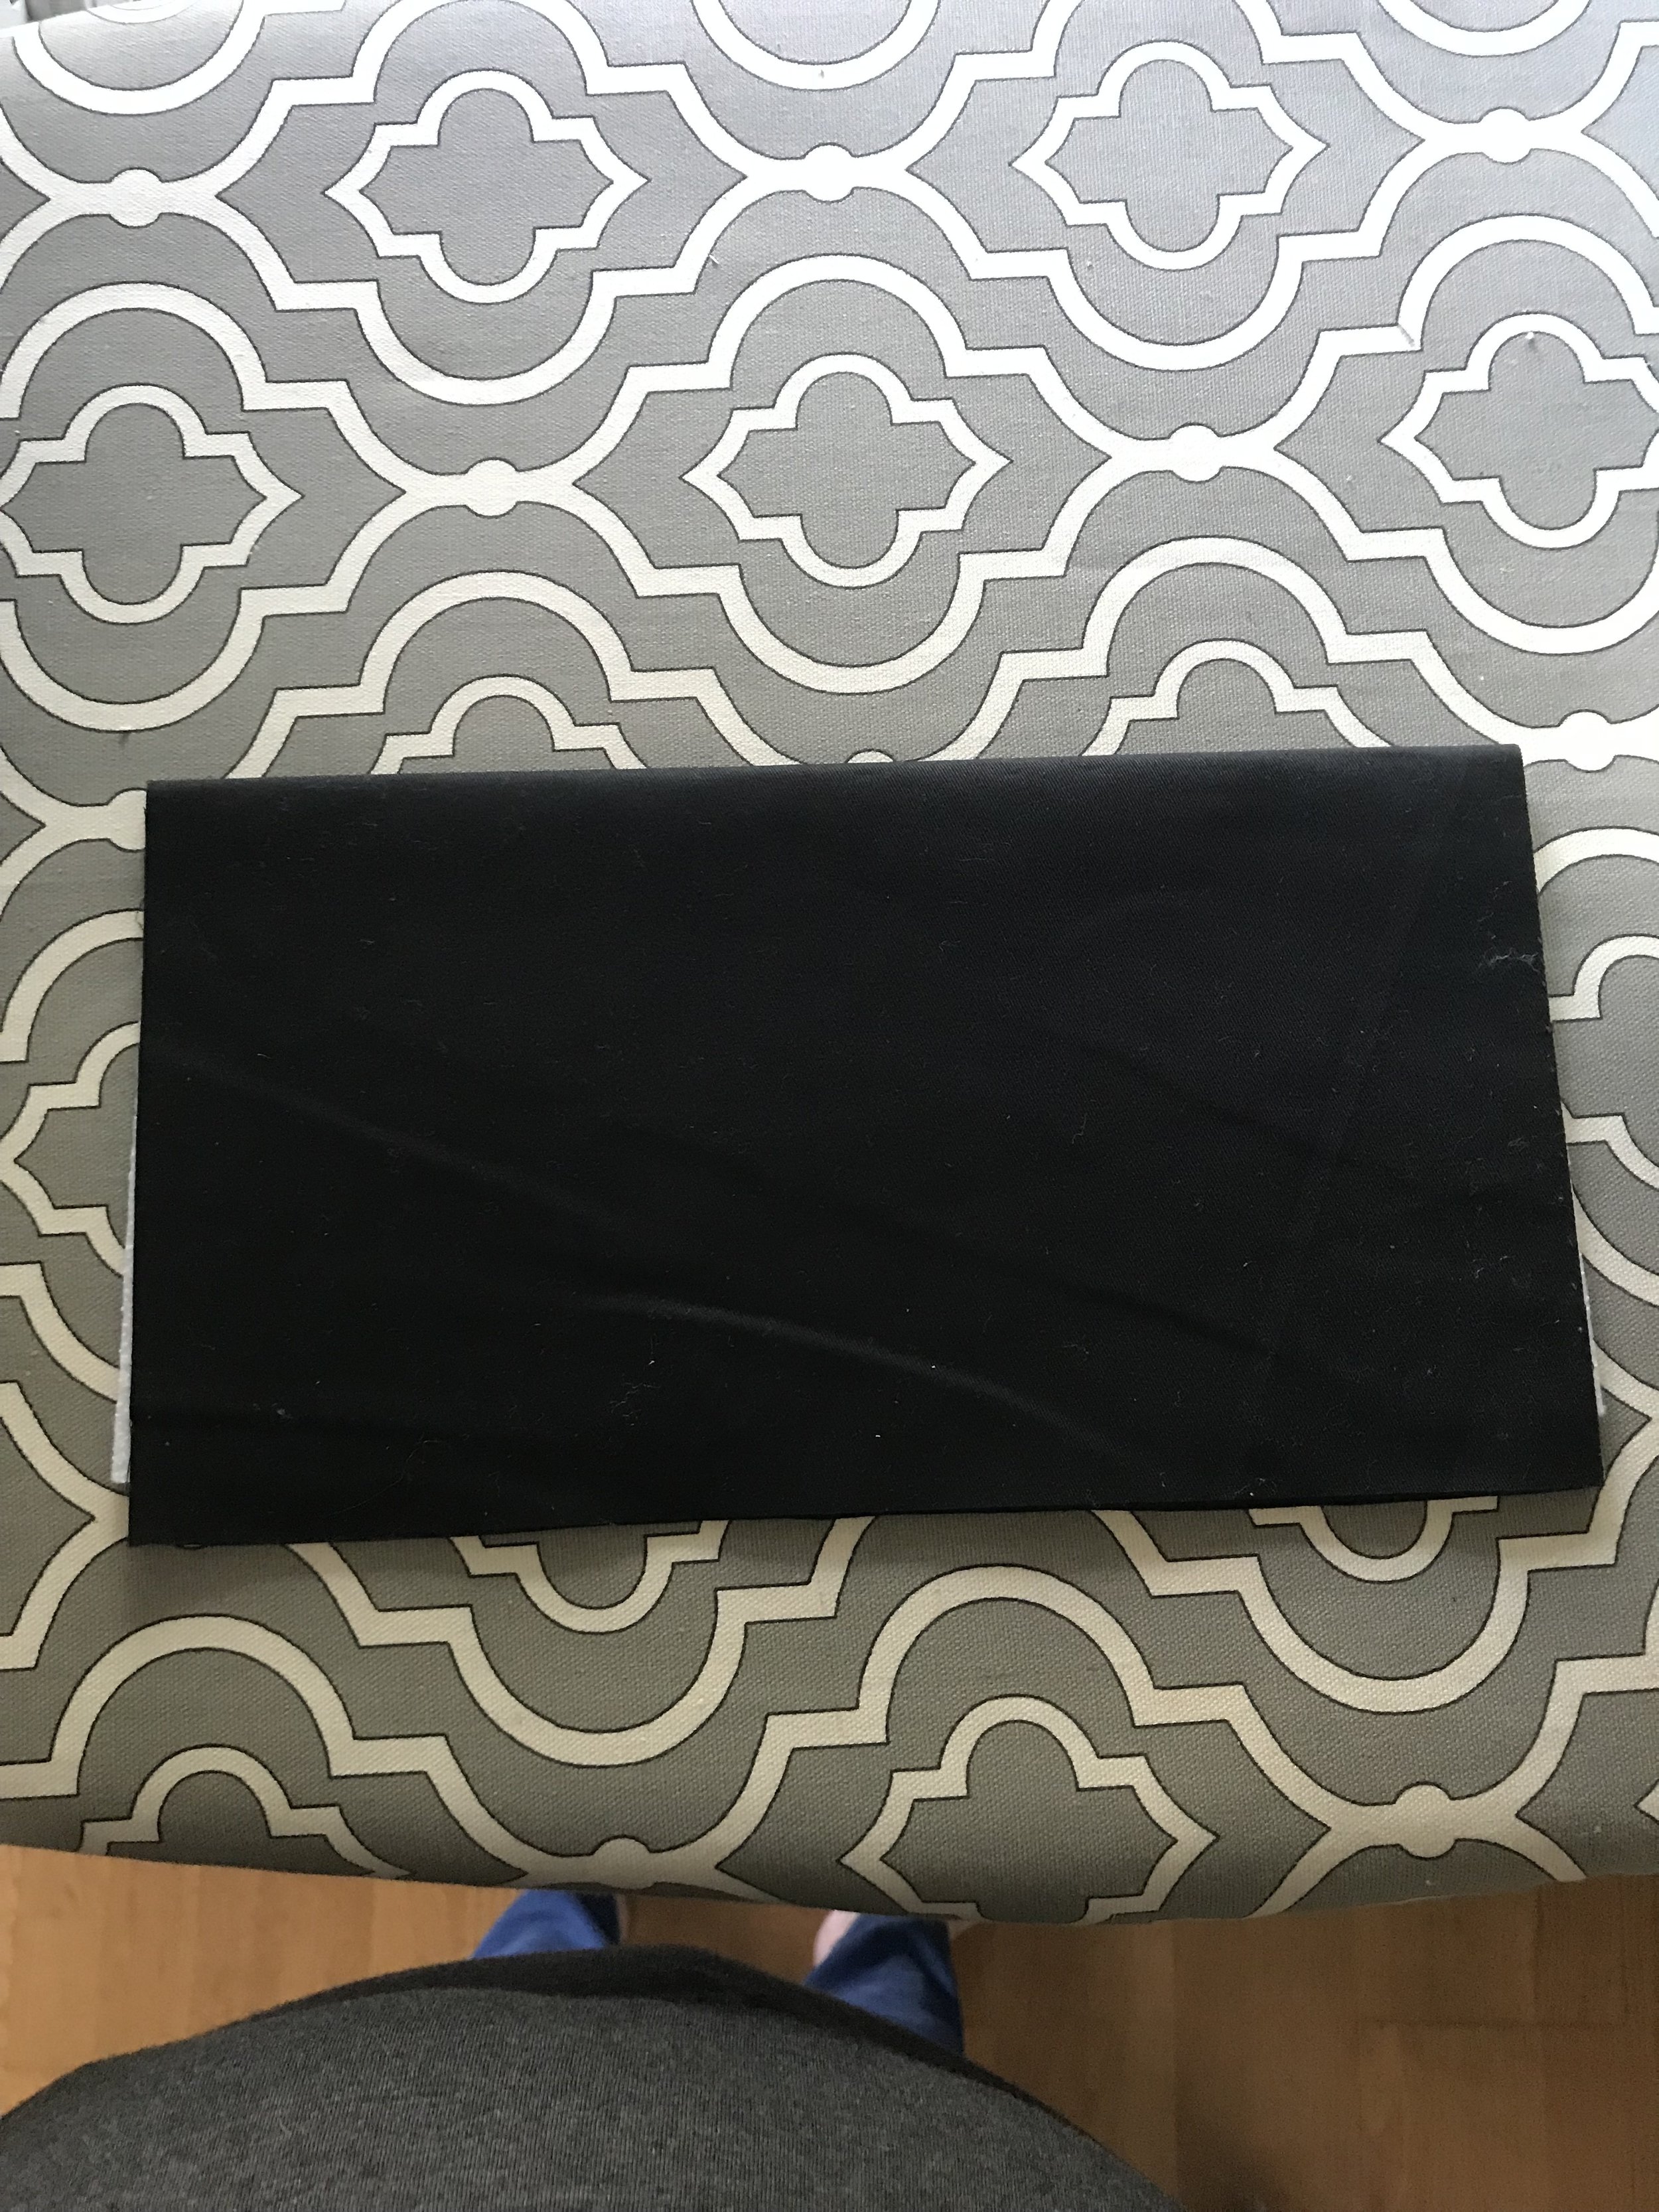
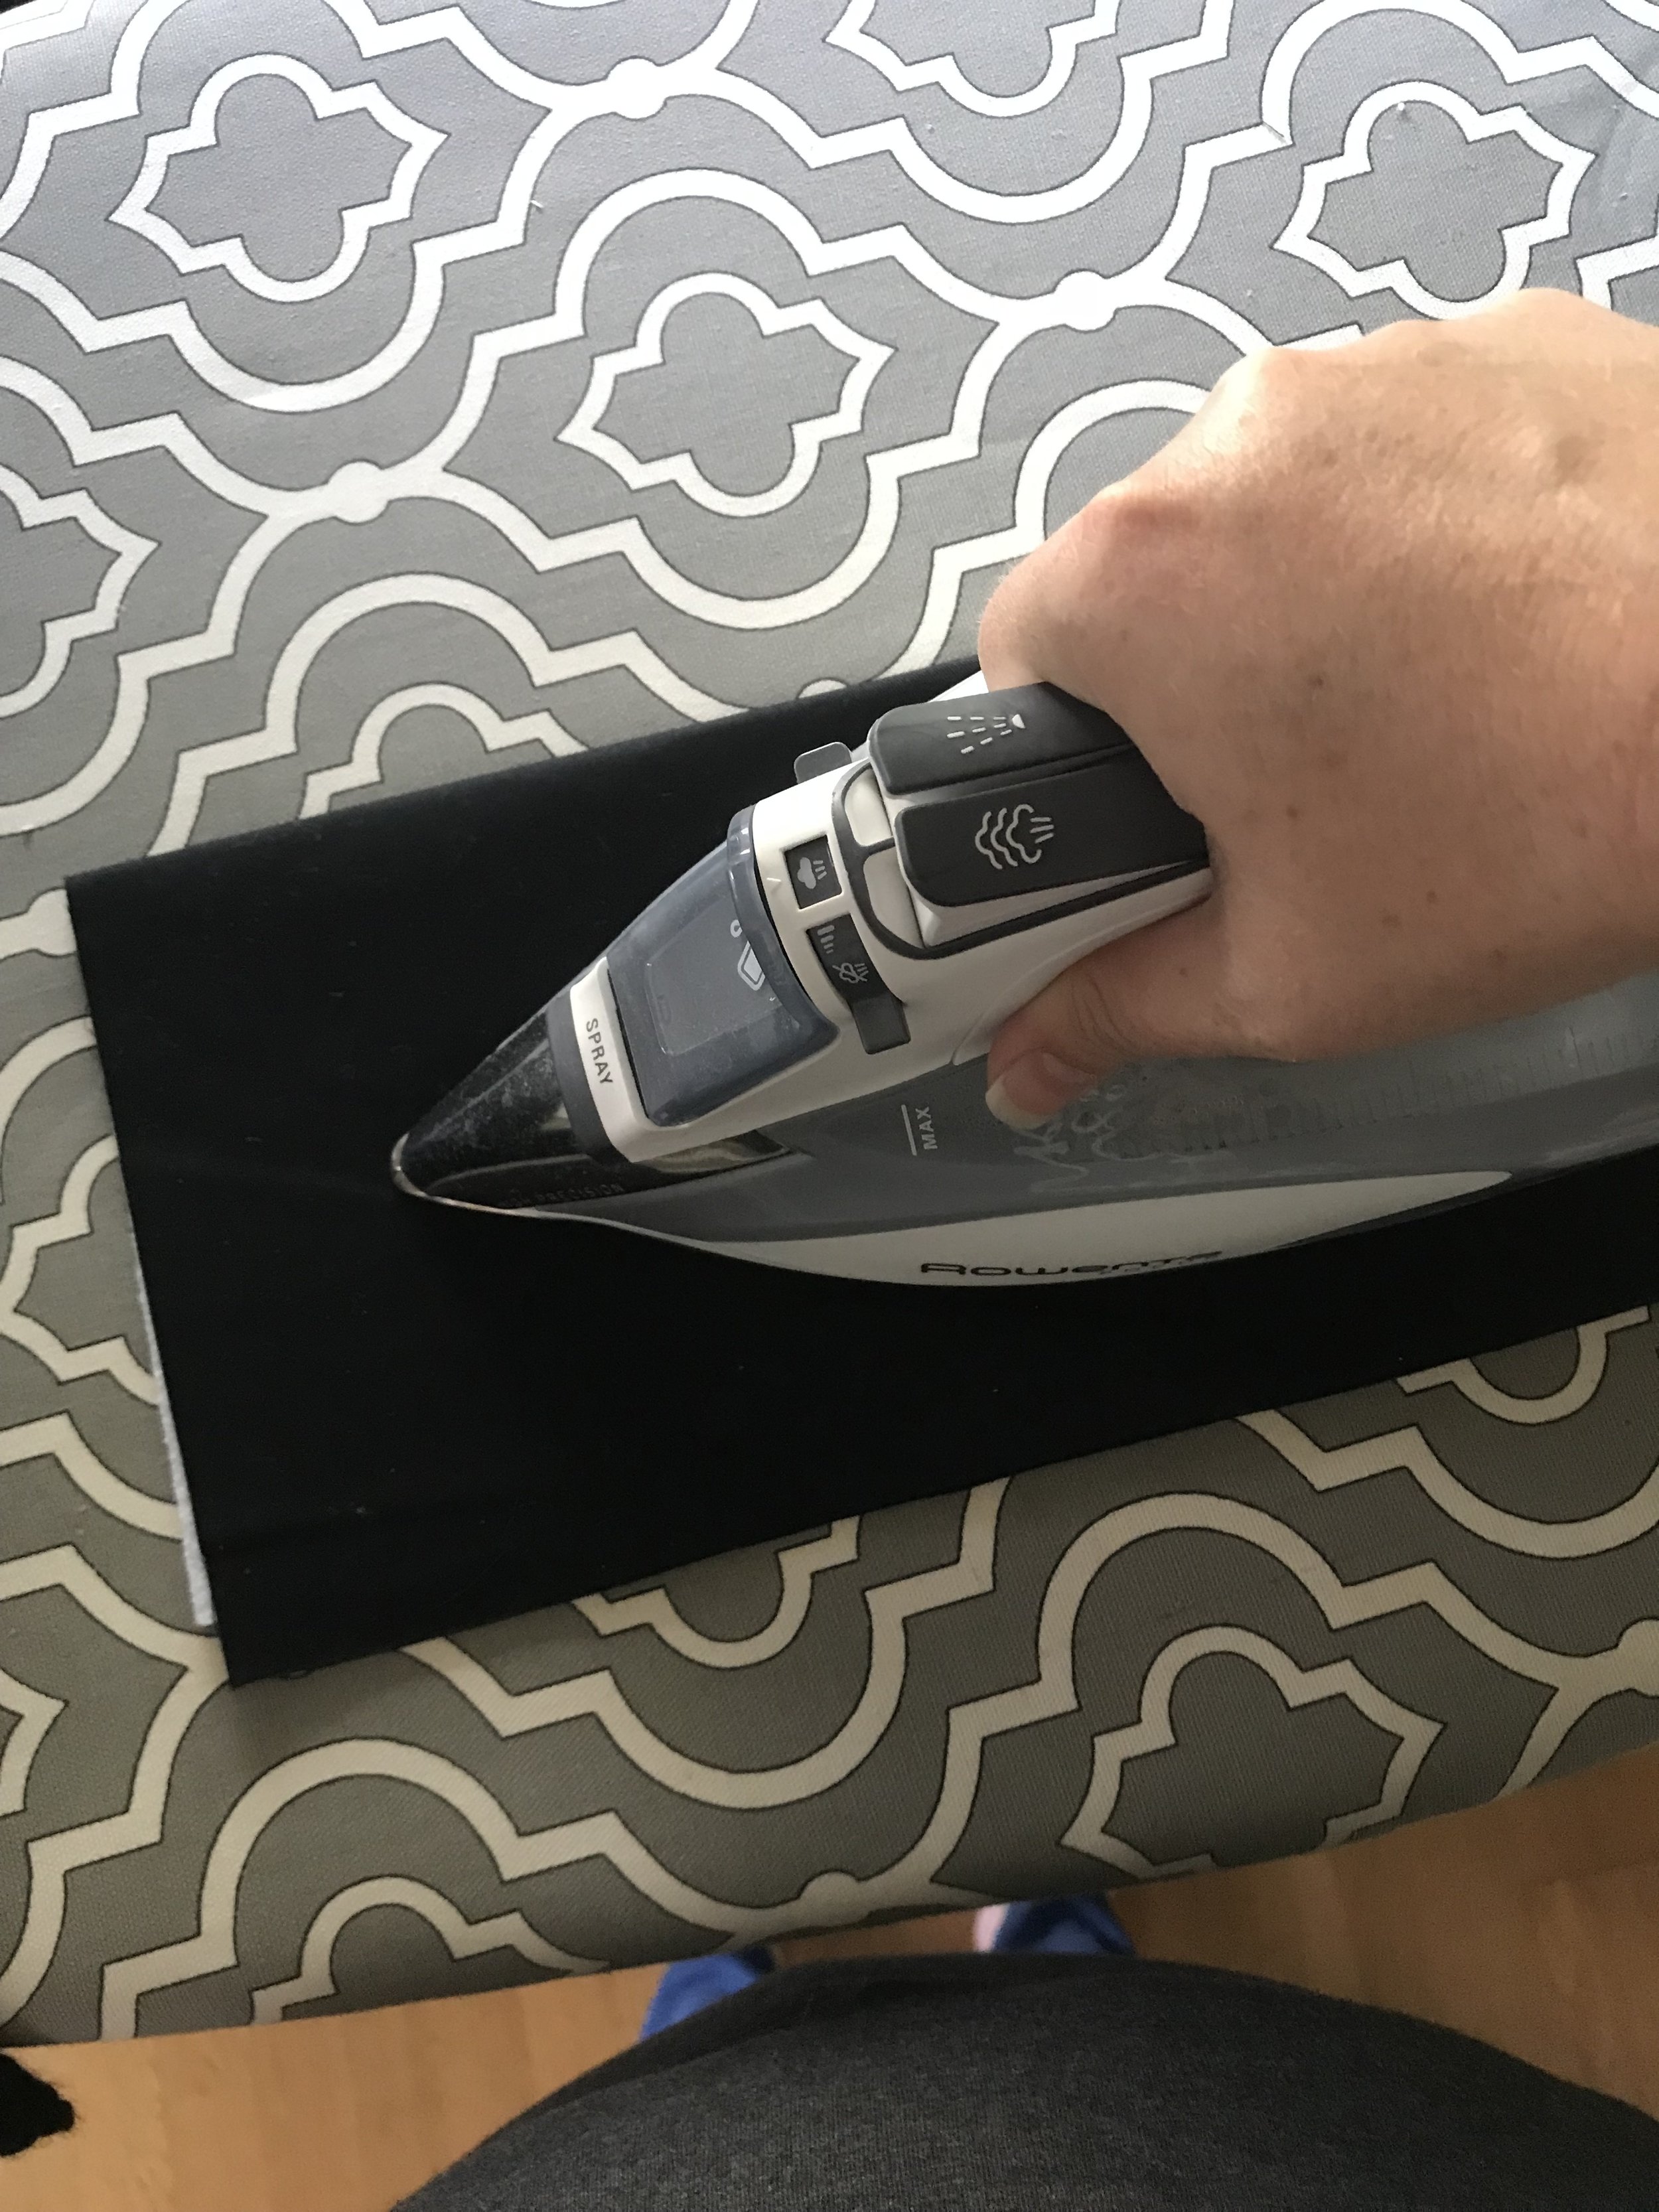
Top stitch along the top about 1/8” from the fold and set aside.

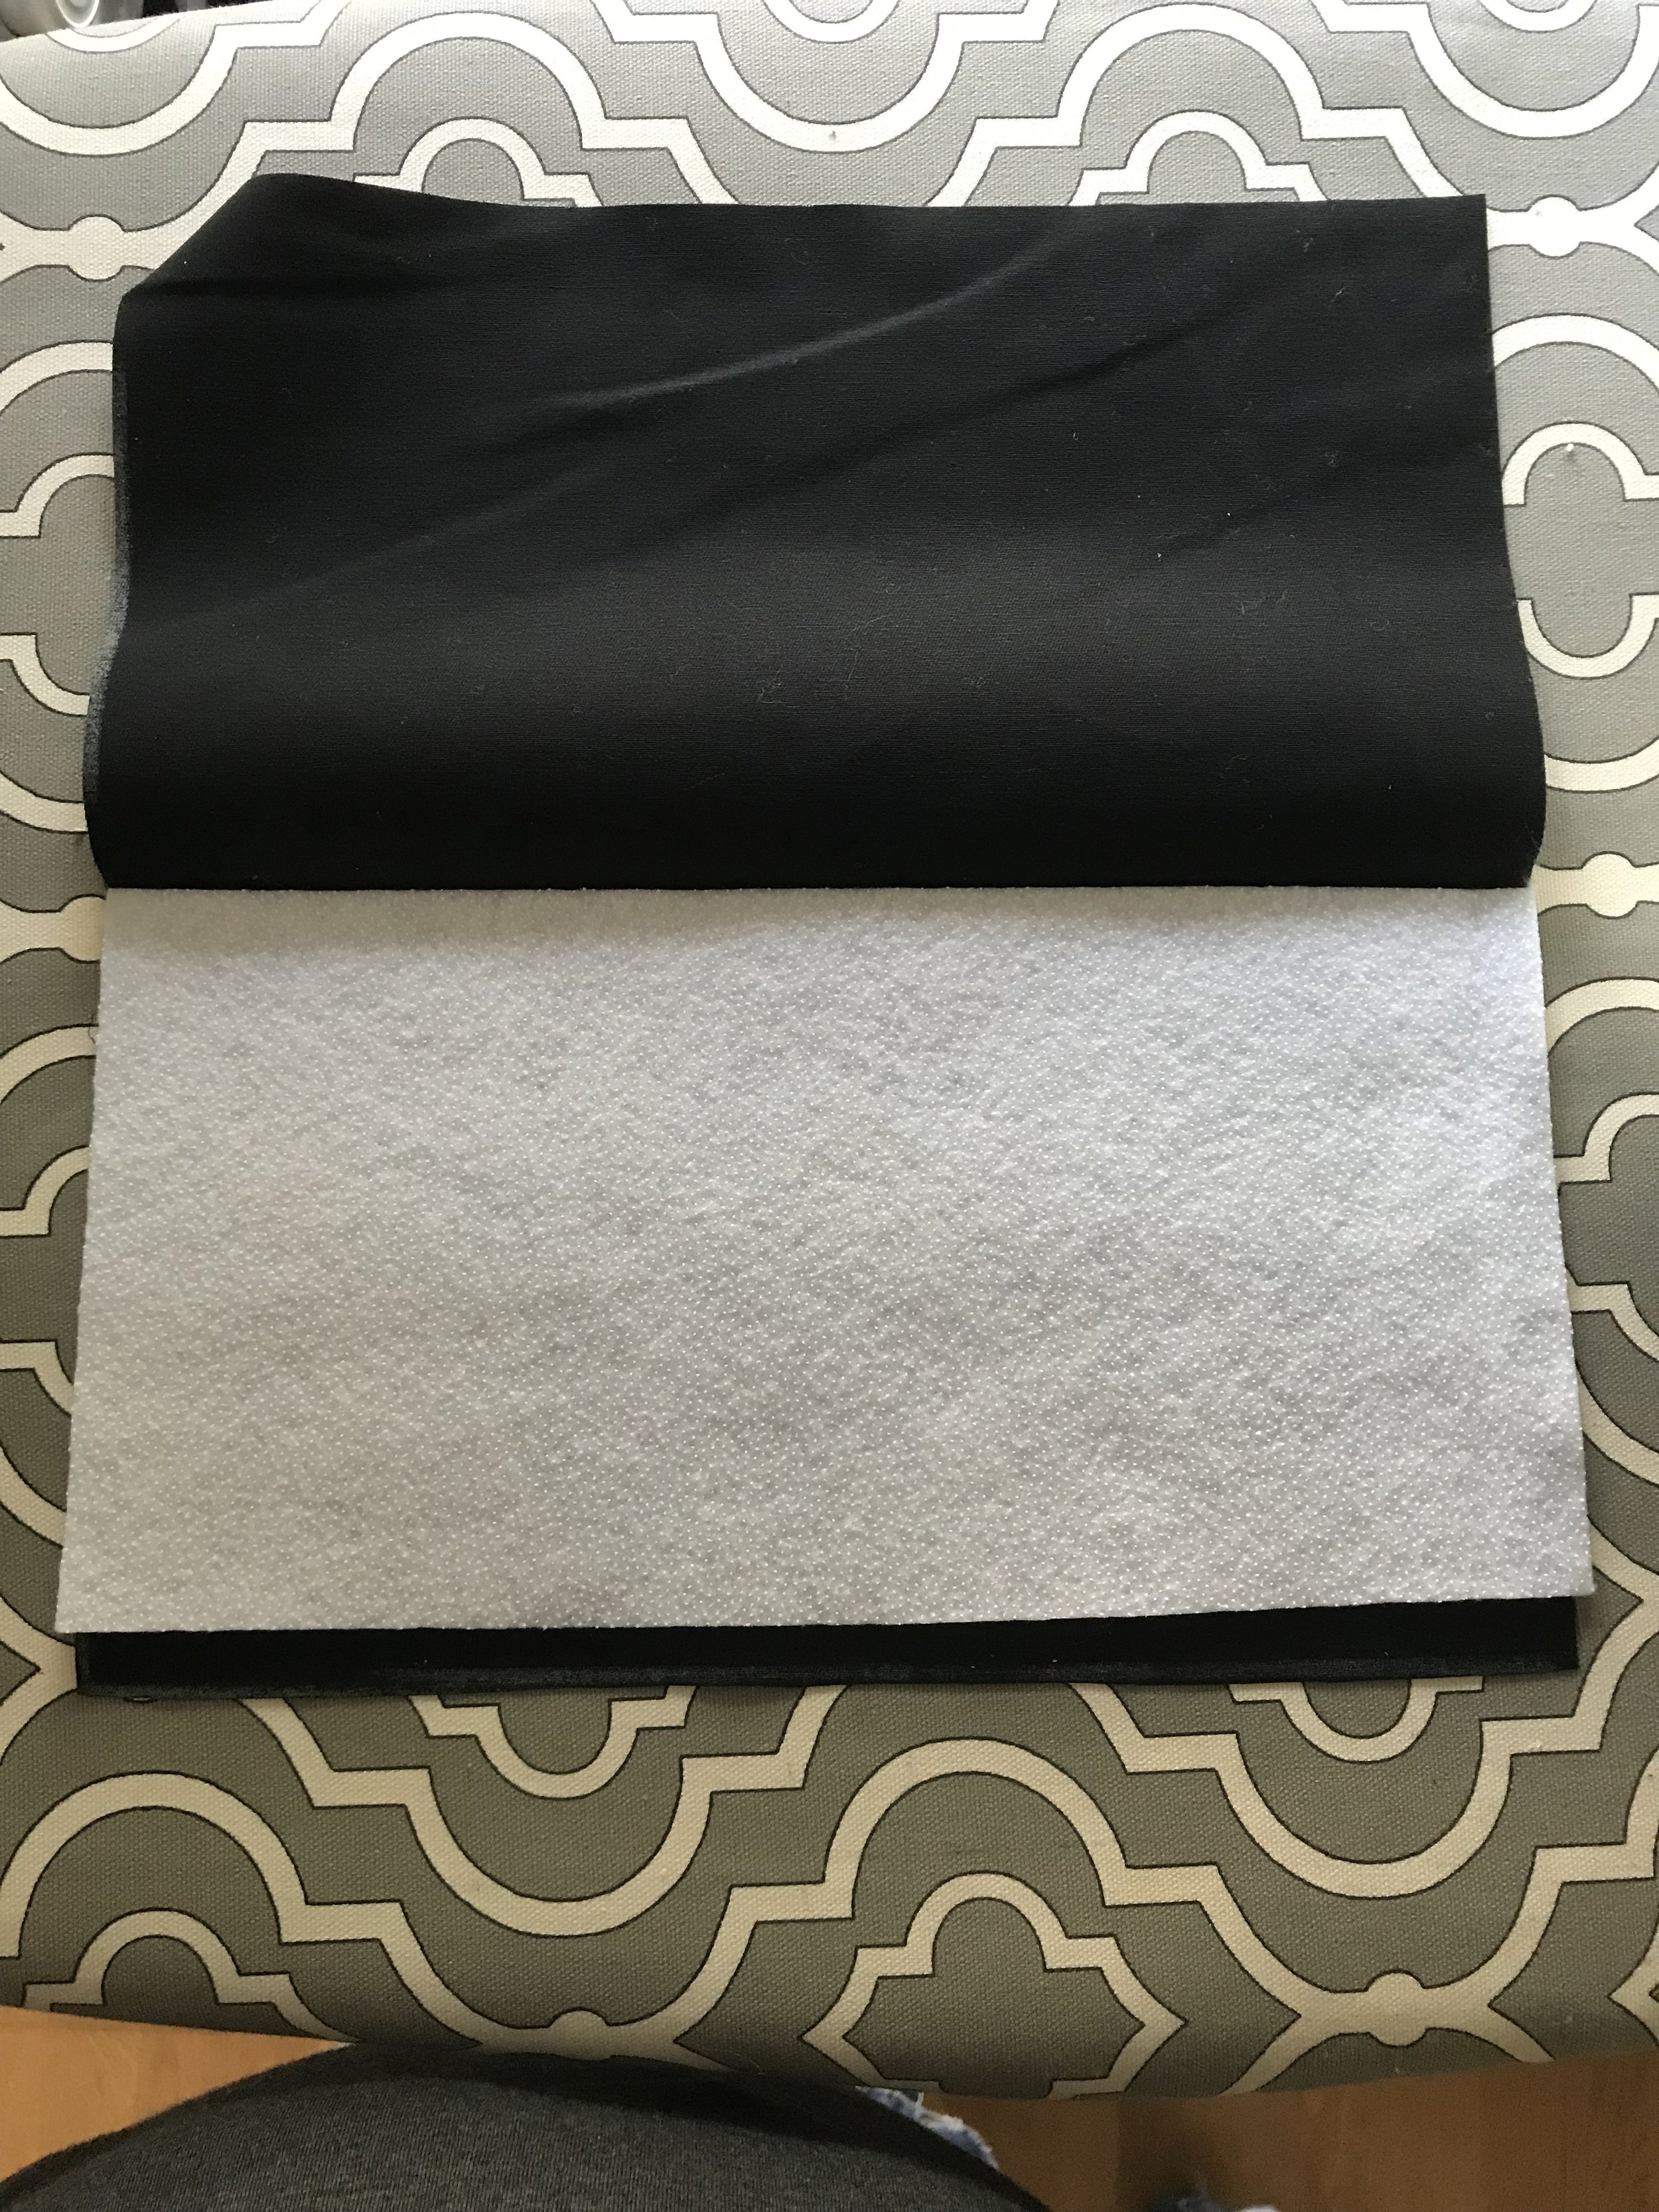
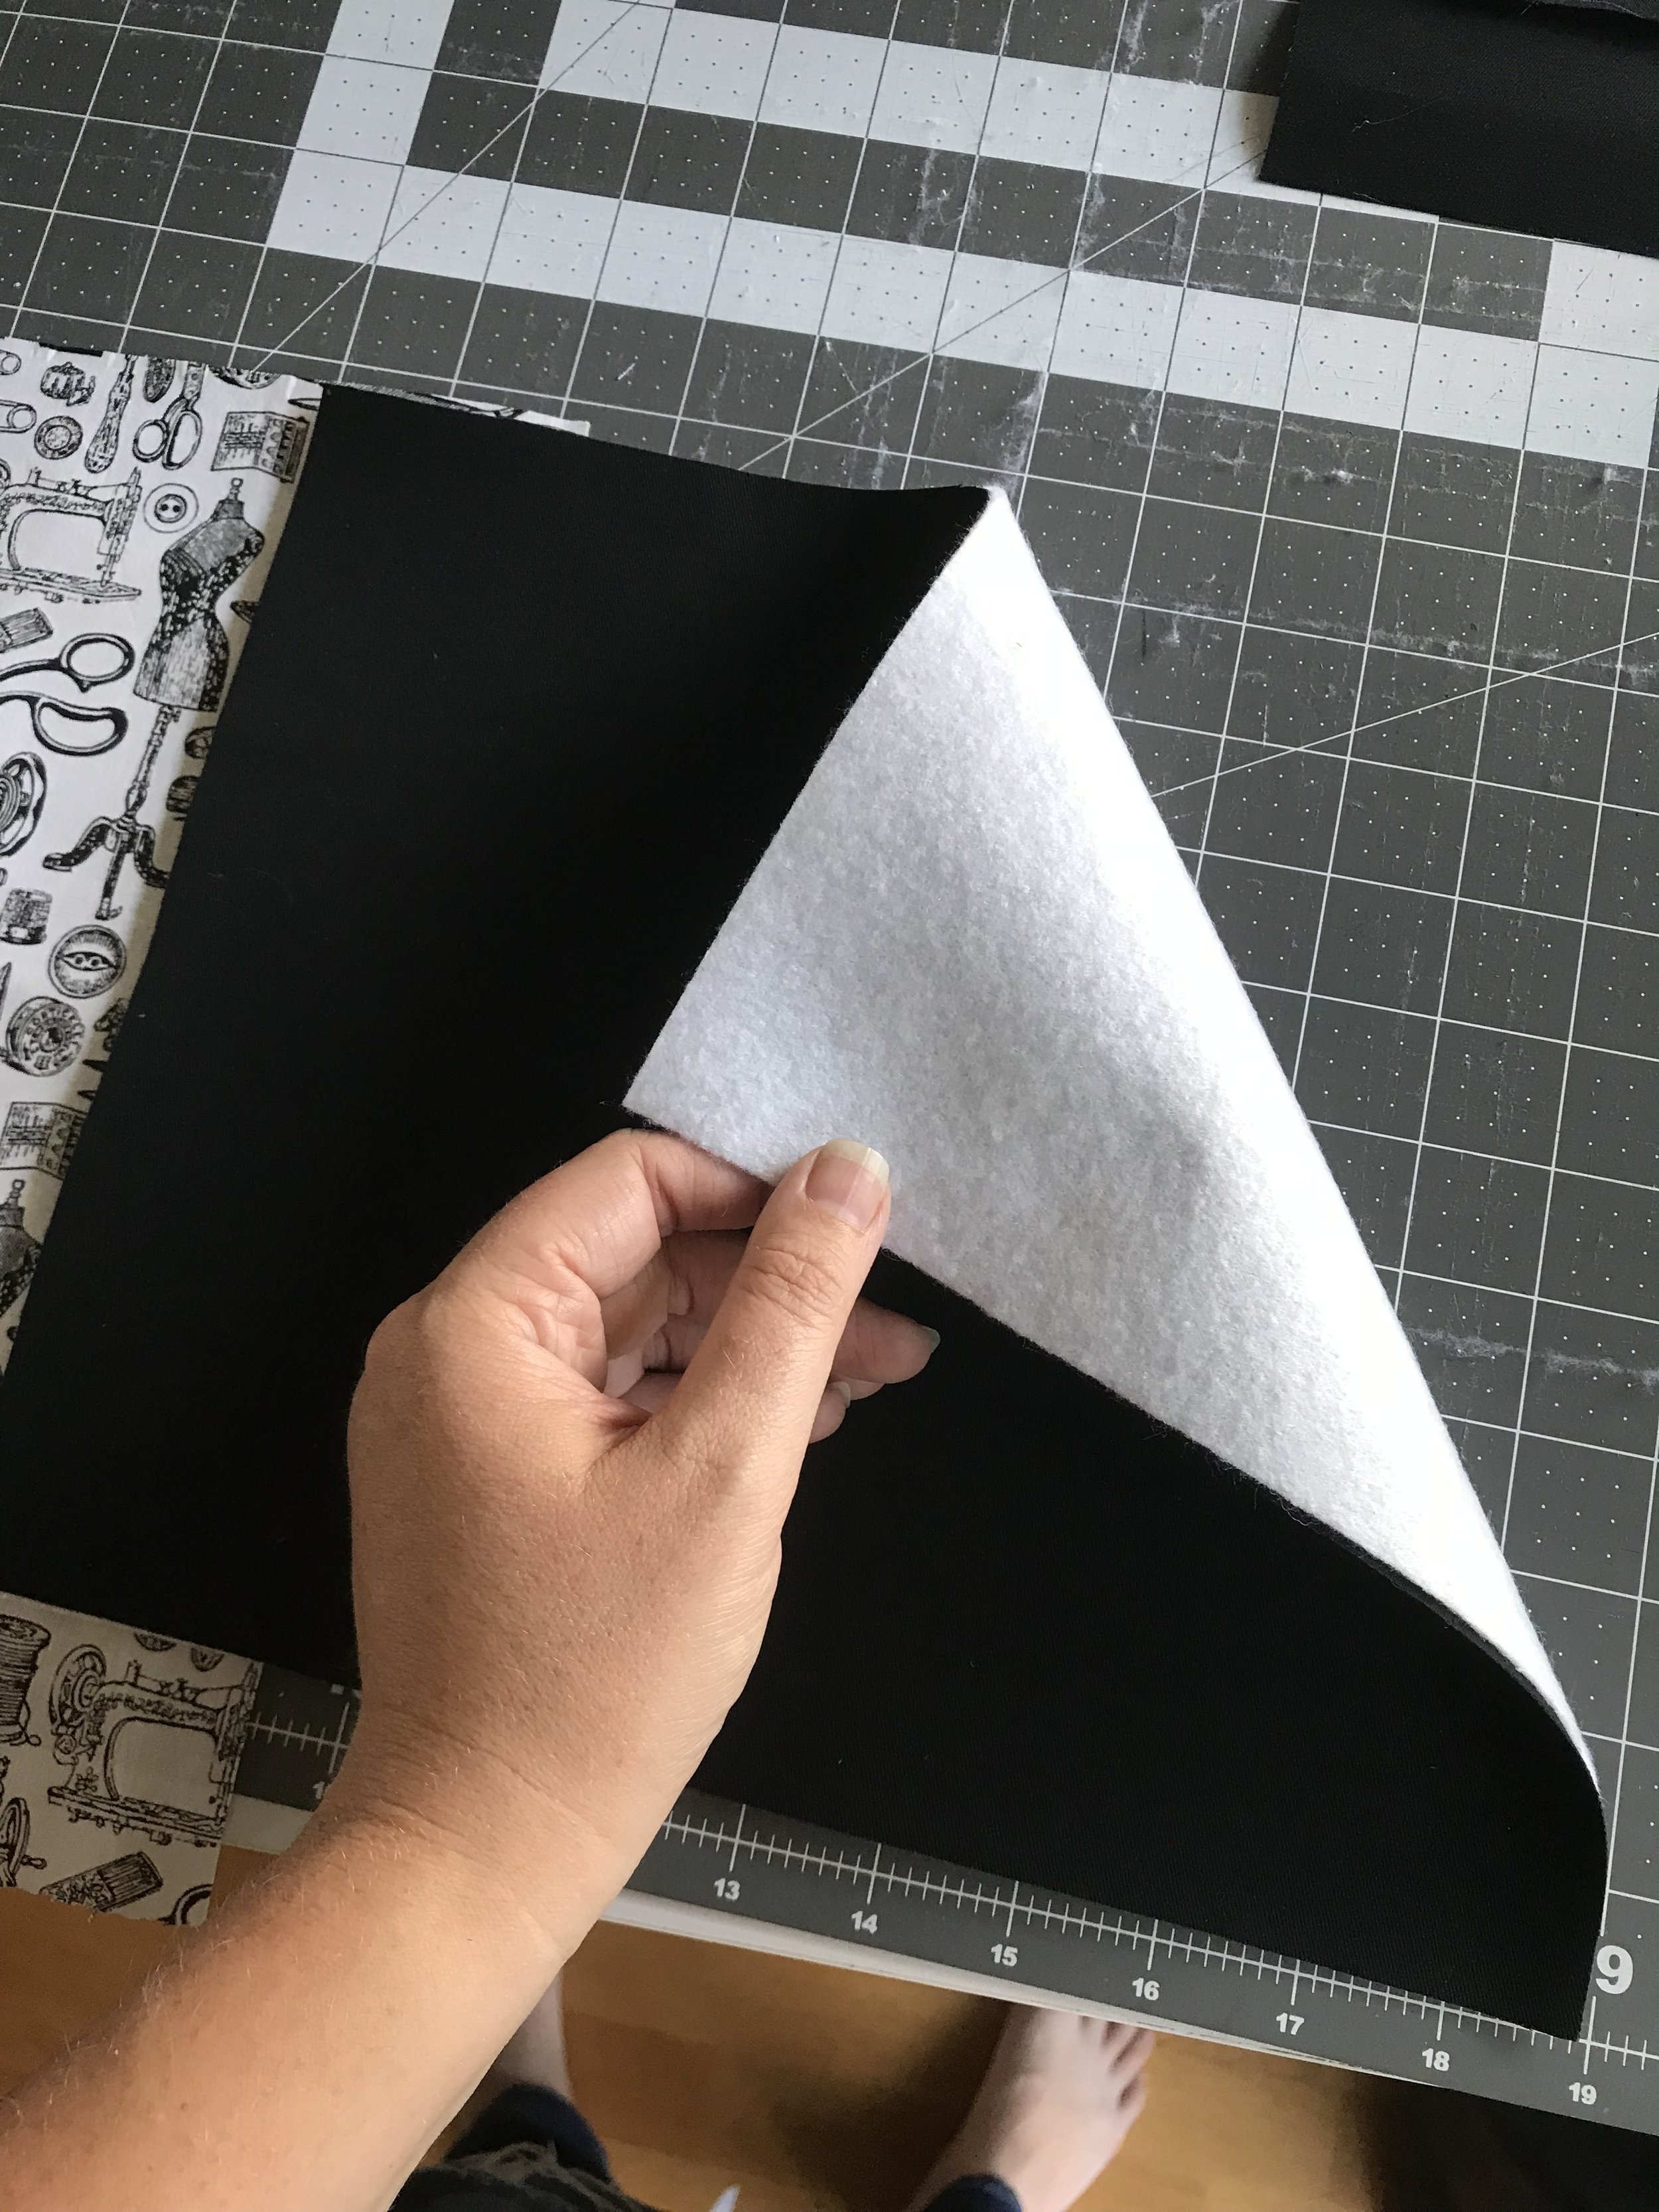
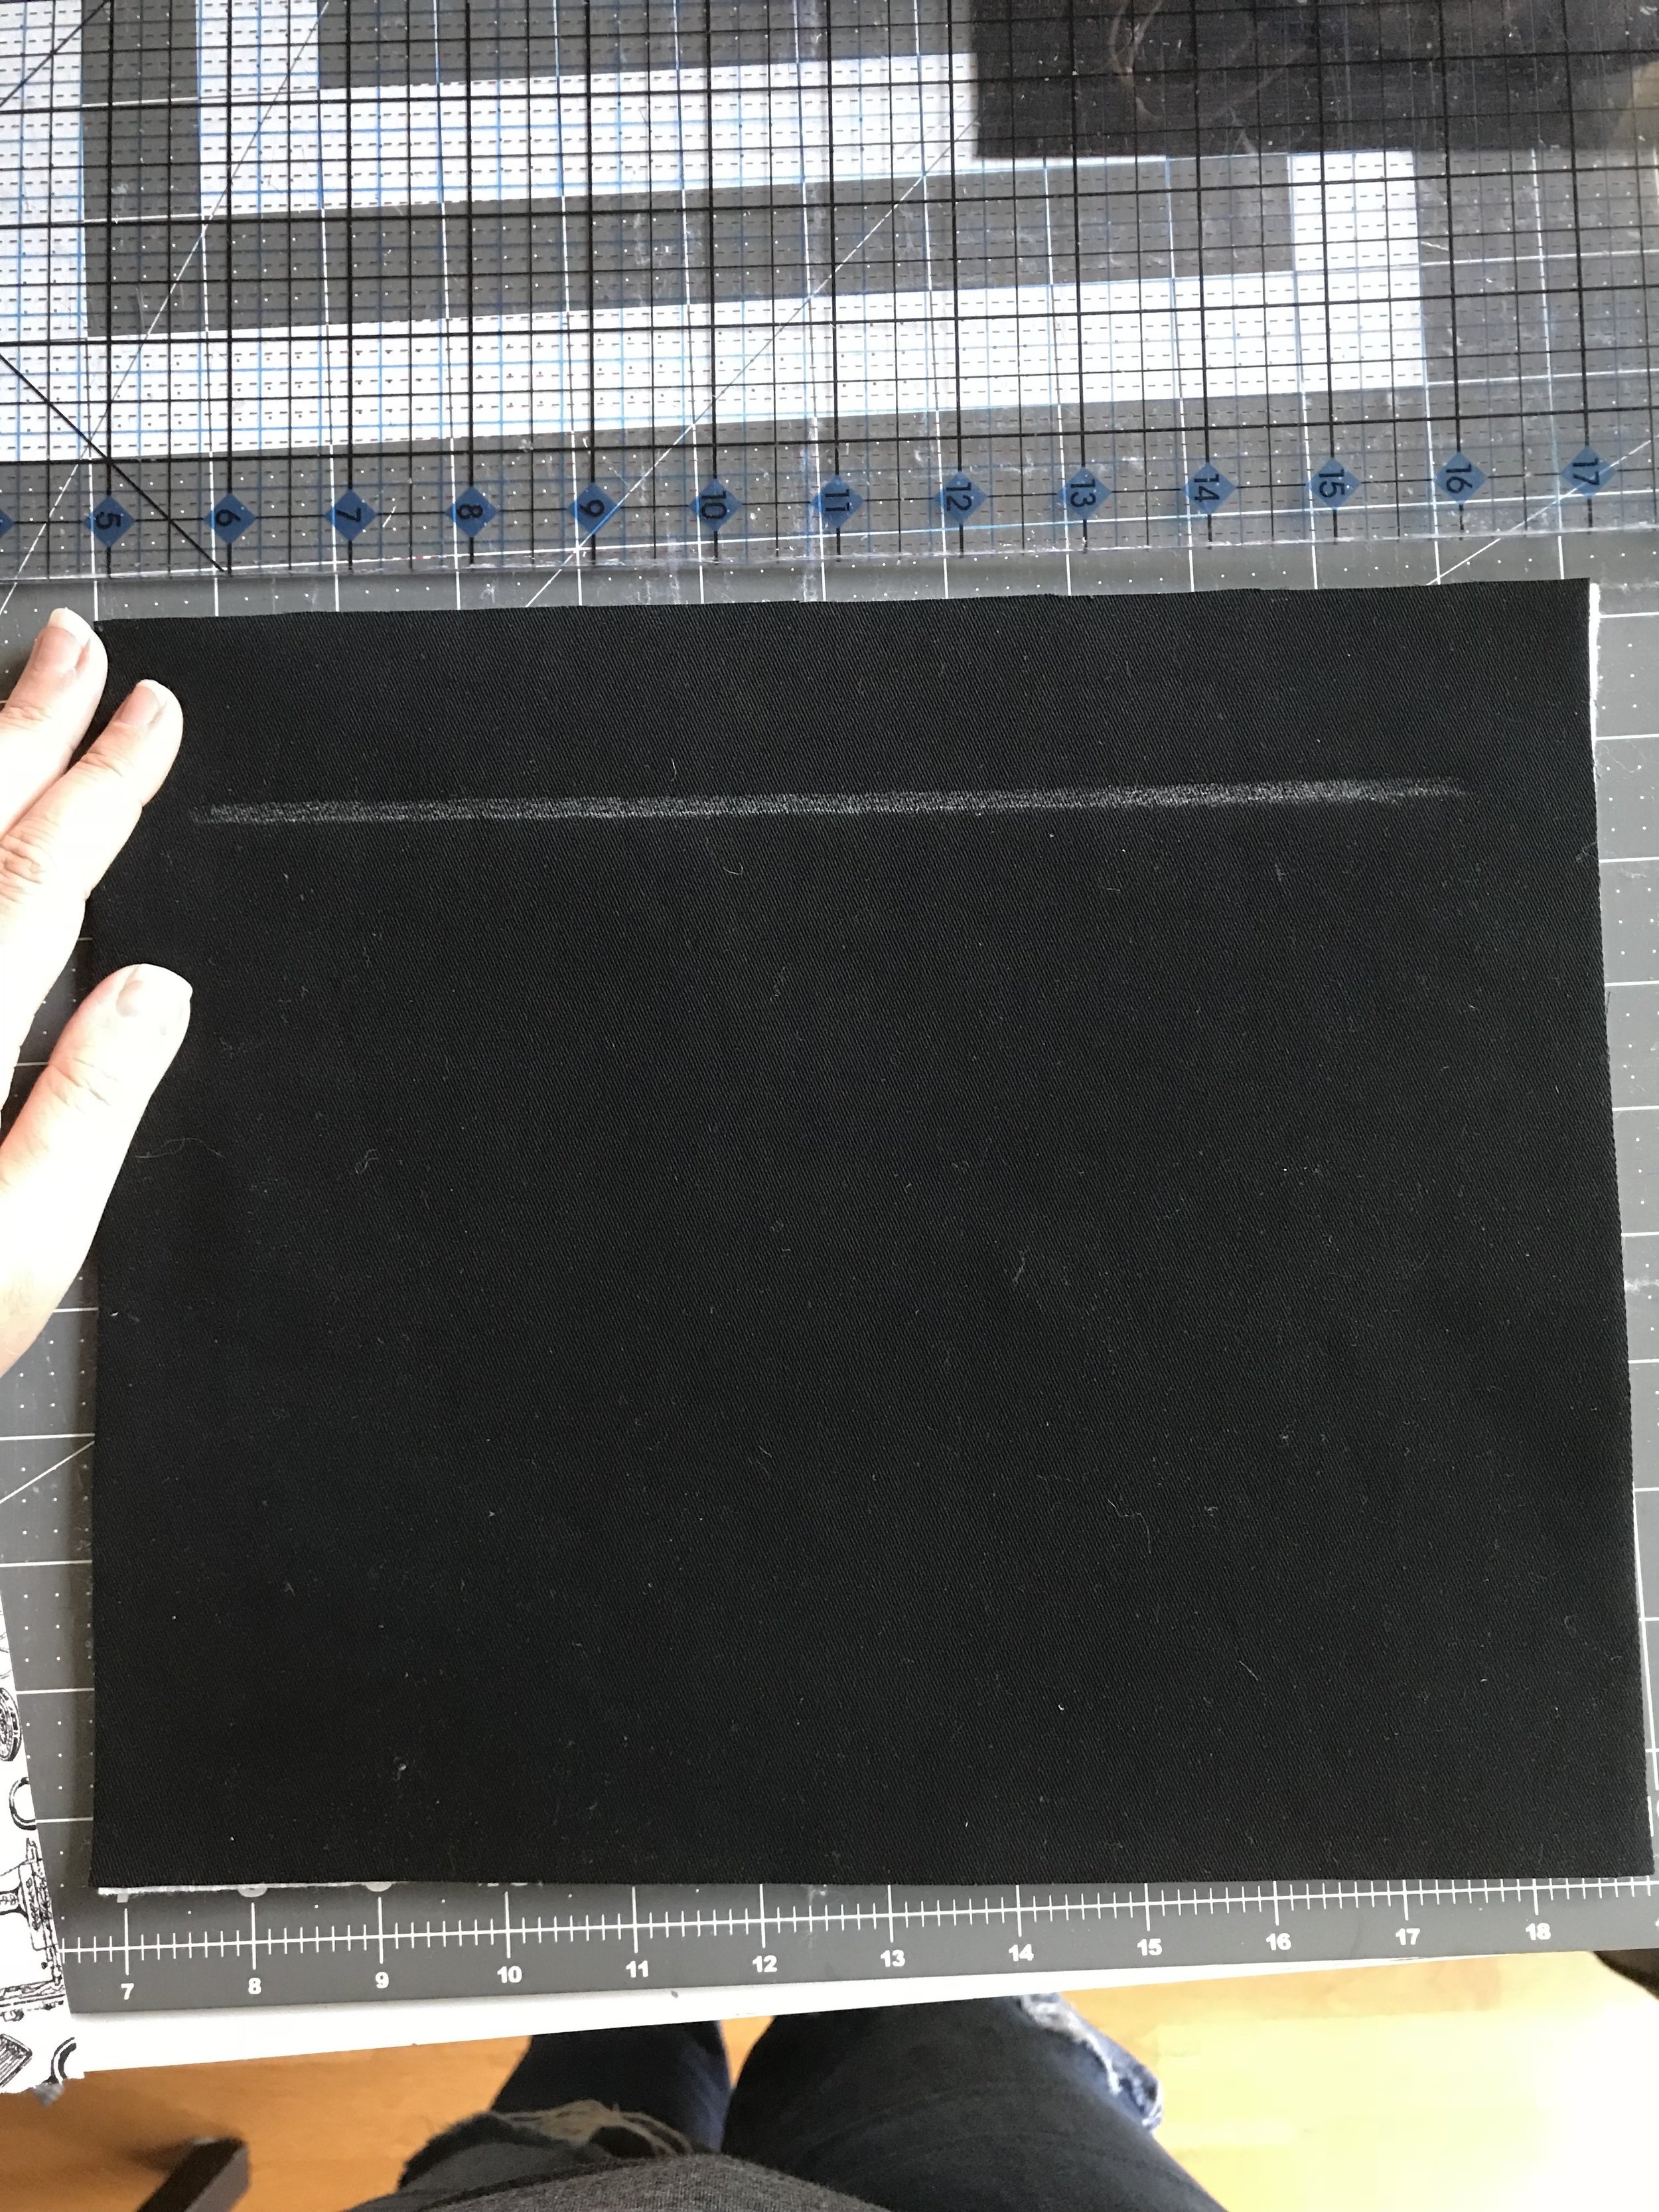
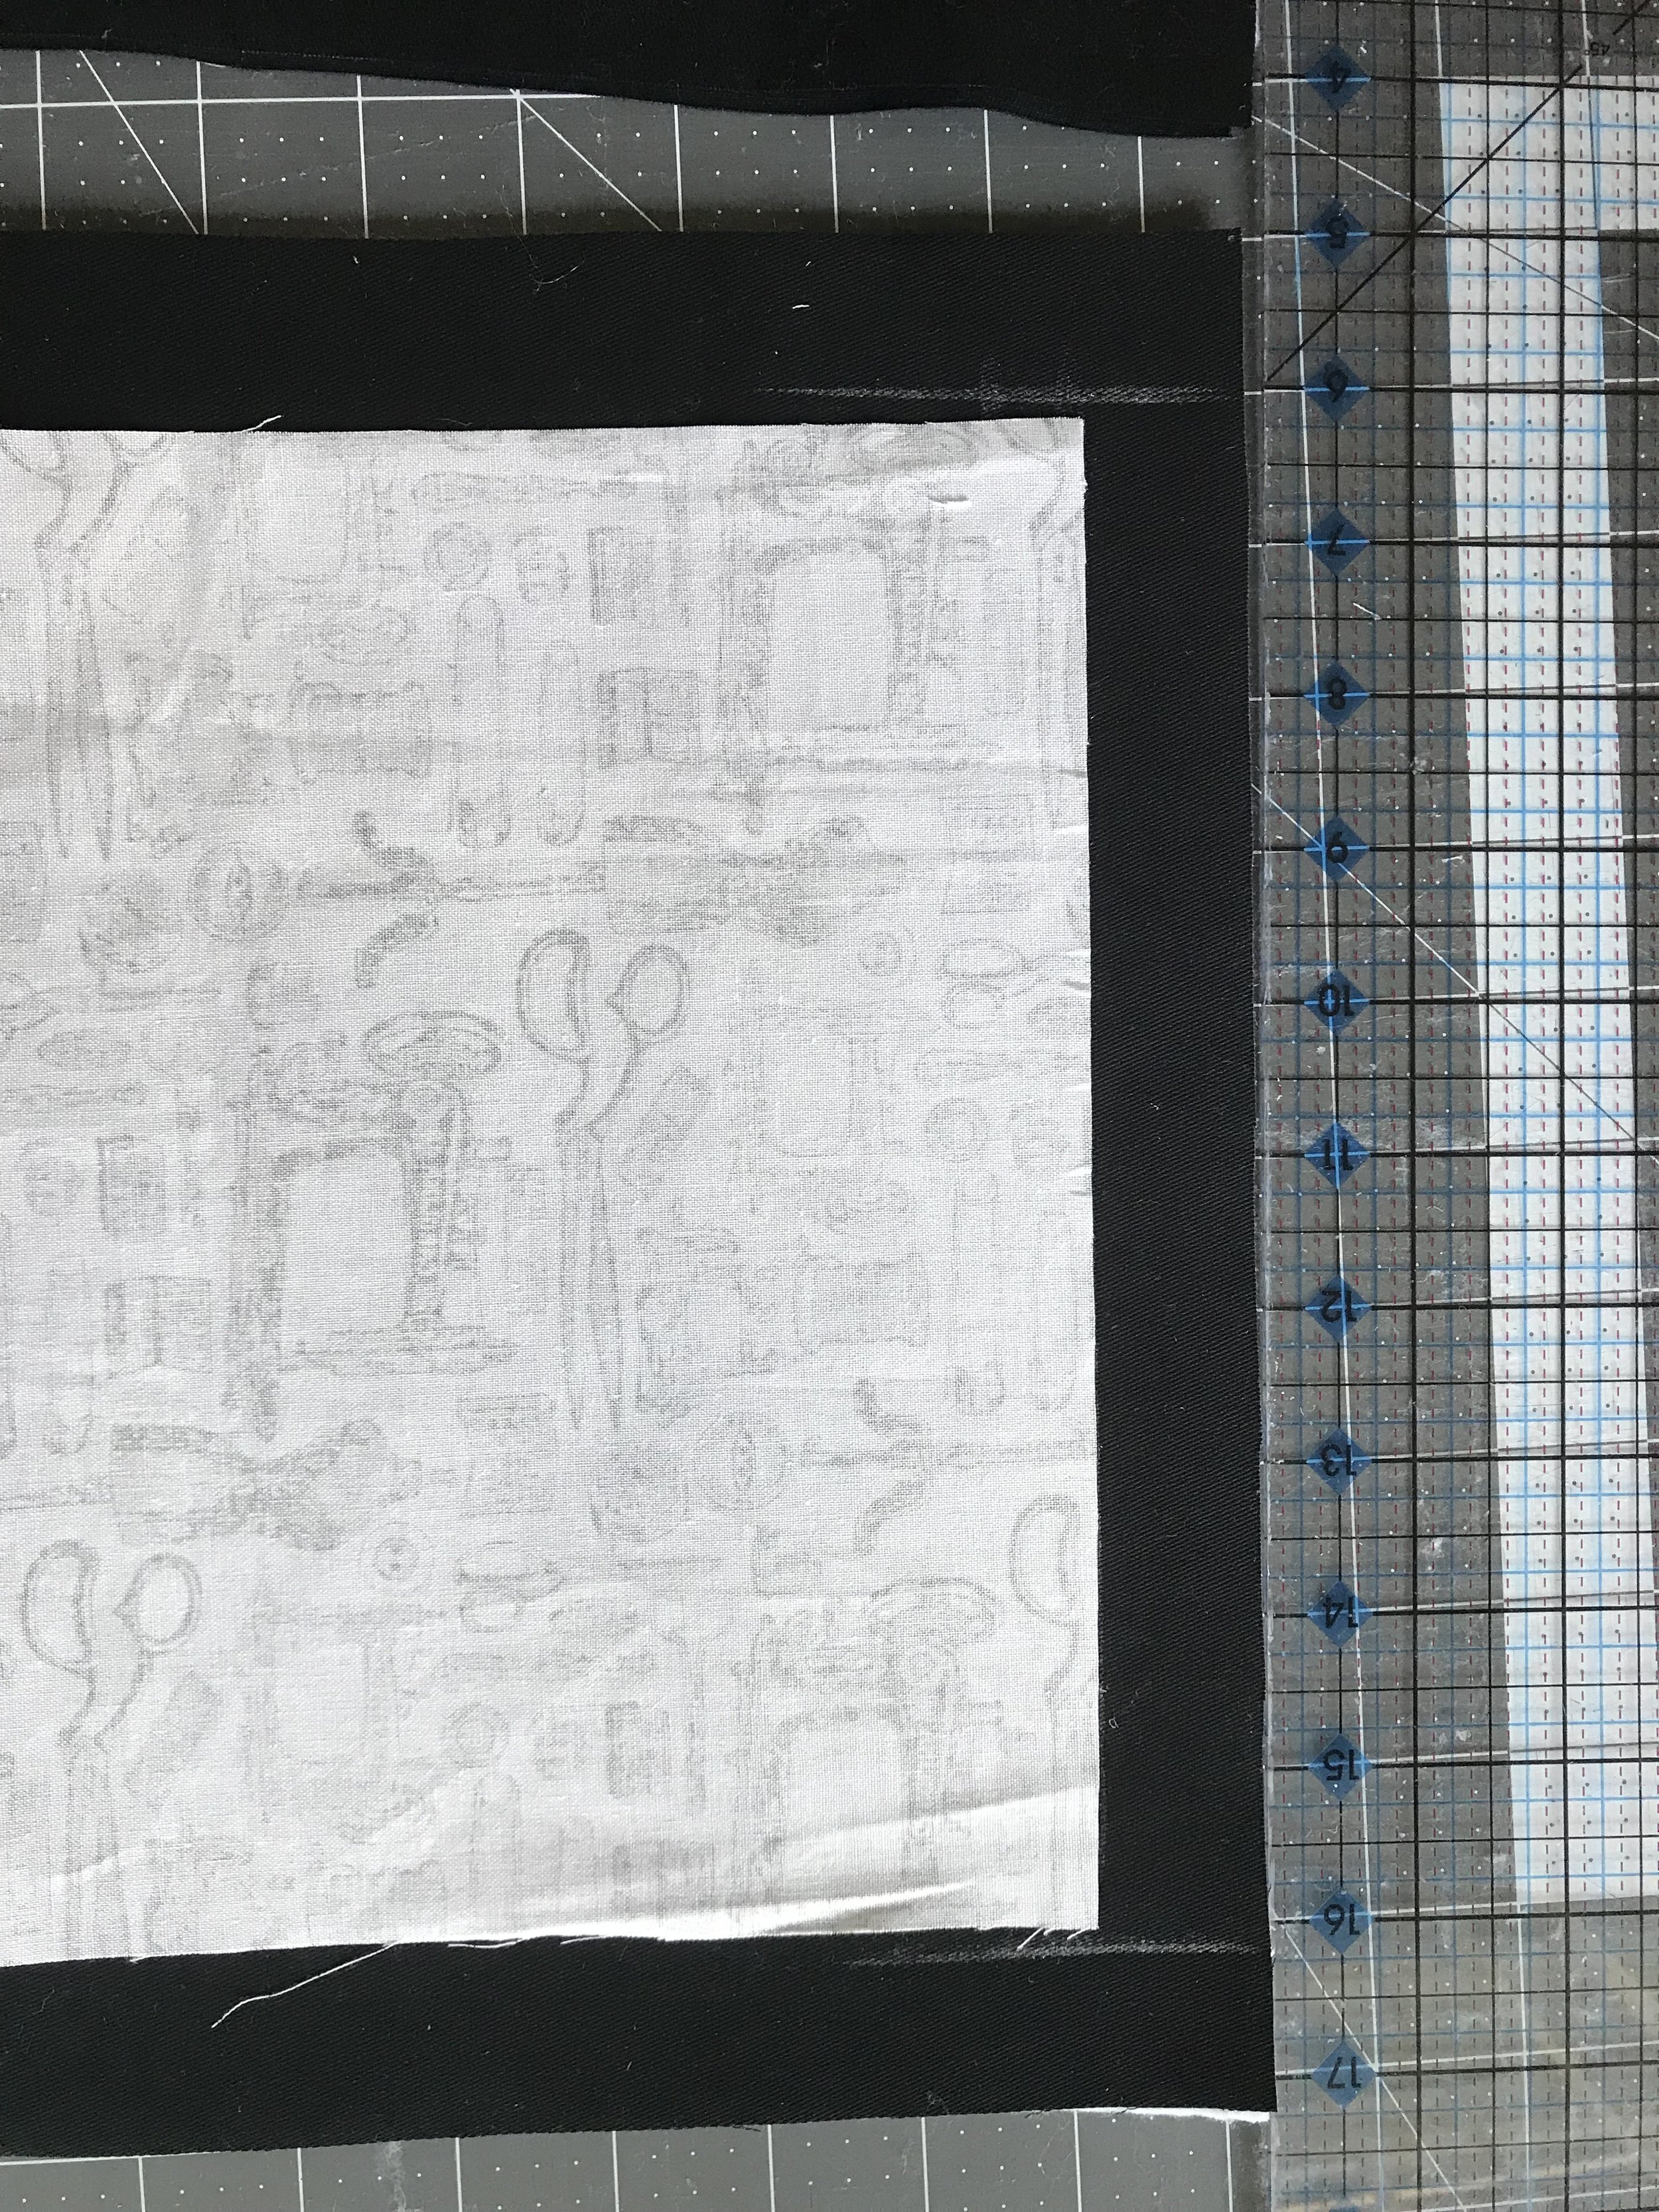
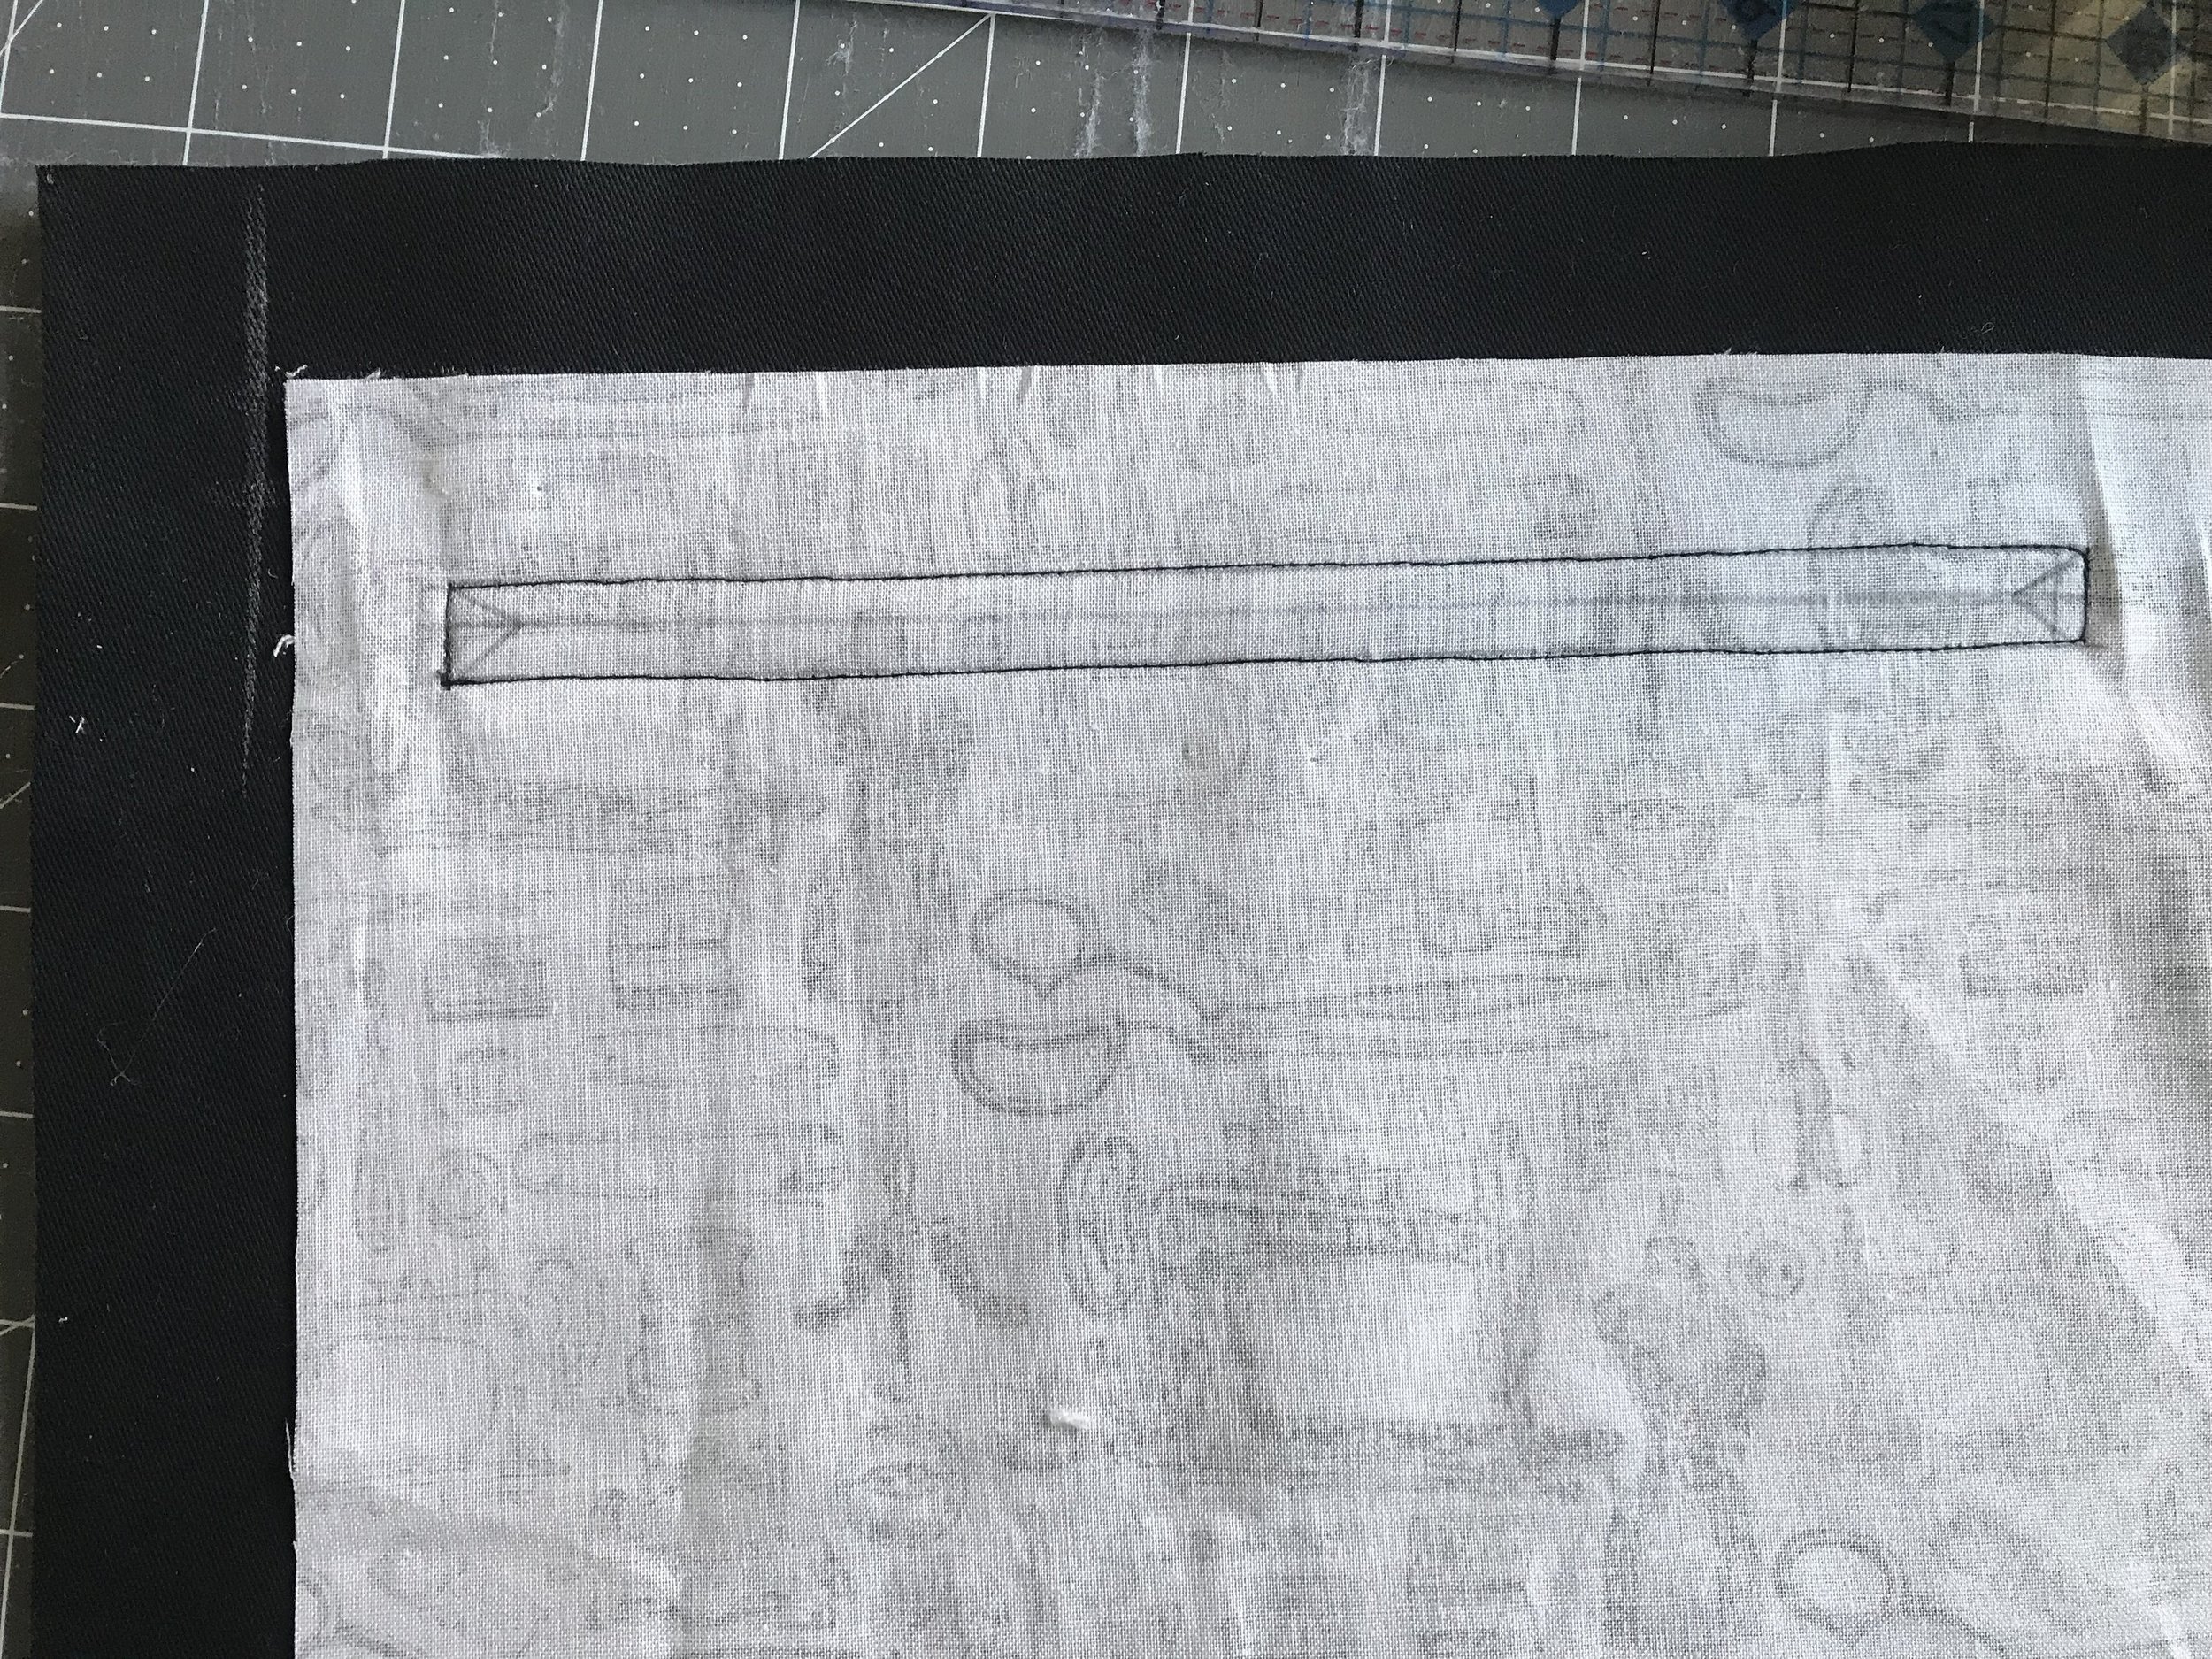
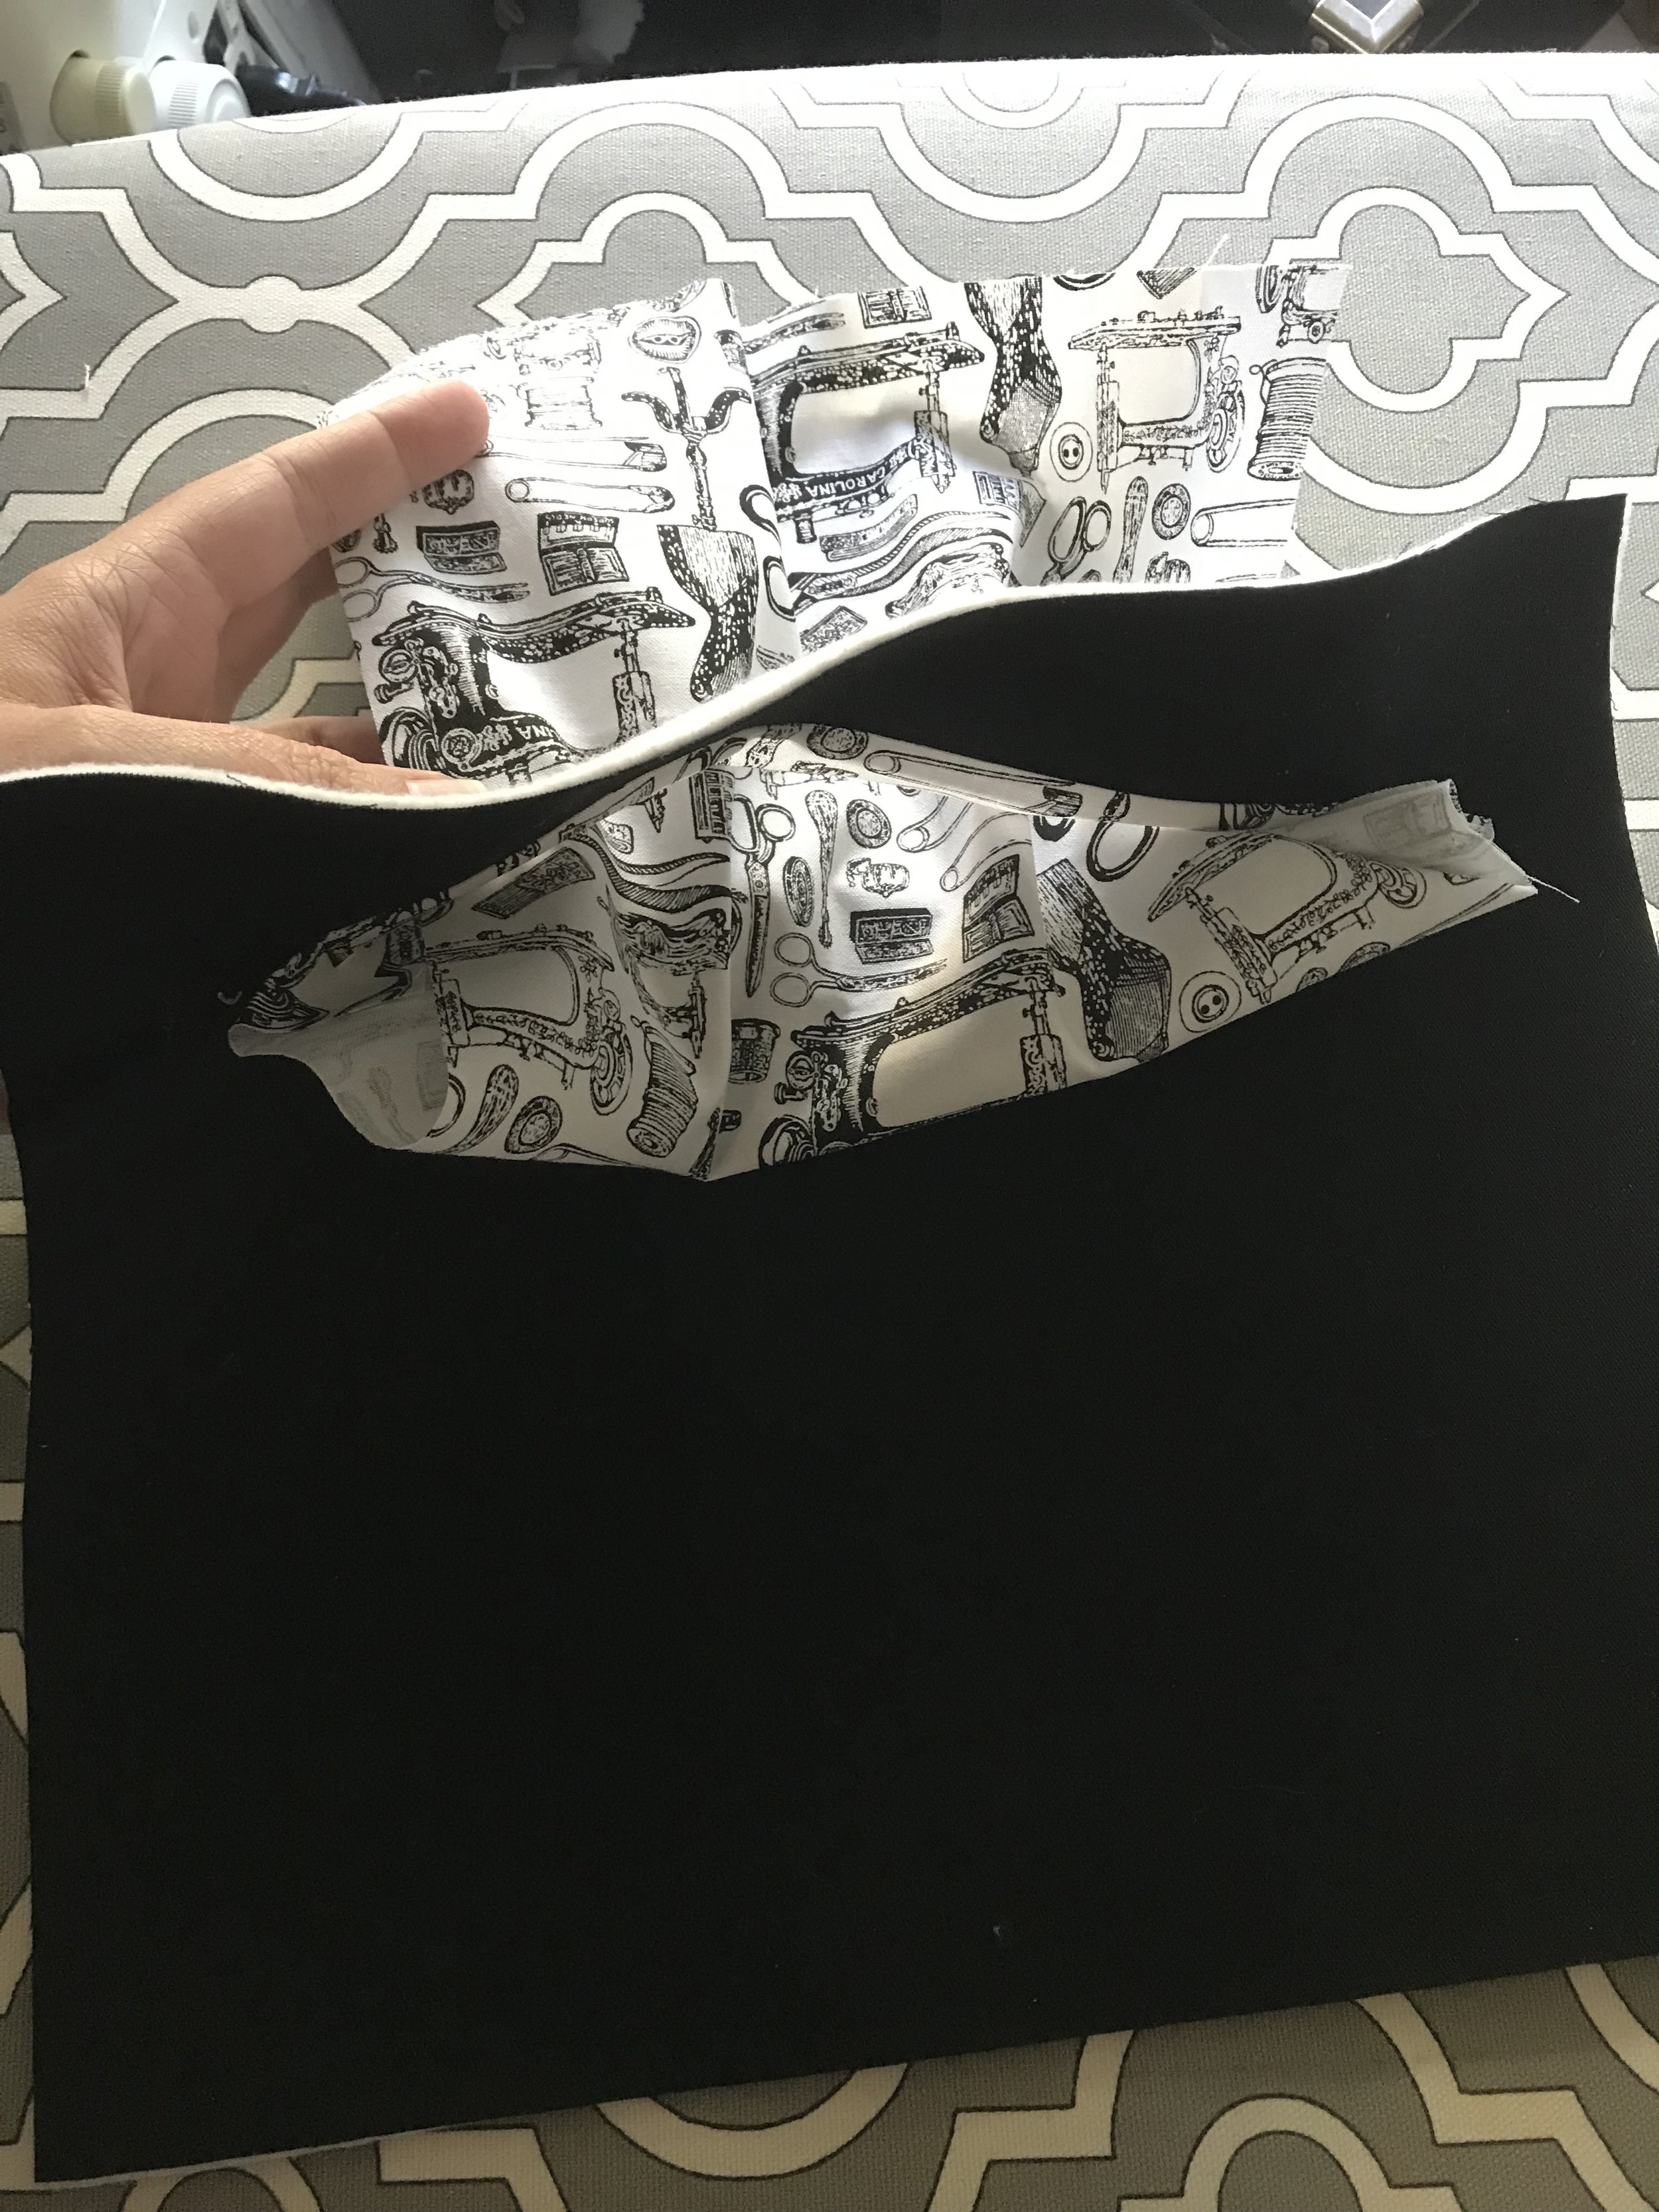
Fuse the second piece of fusible fleece (10.5”X12”) to the back of one of the main exterior panels. With tailor’s chalk make a line about 1” down from the top of the 12” side of the main exterior piece. Then lay your interior pocket piece (9.5” side) face down along the top of that line.
Using a pencil and a clear plastic ruler, mark lines 1”, 1.25” and 1.5” from the top of the interior pocket piece.
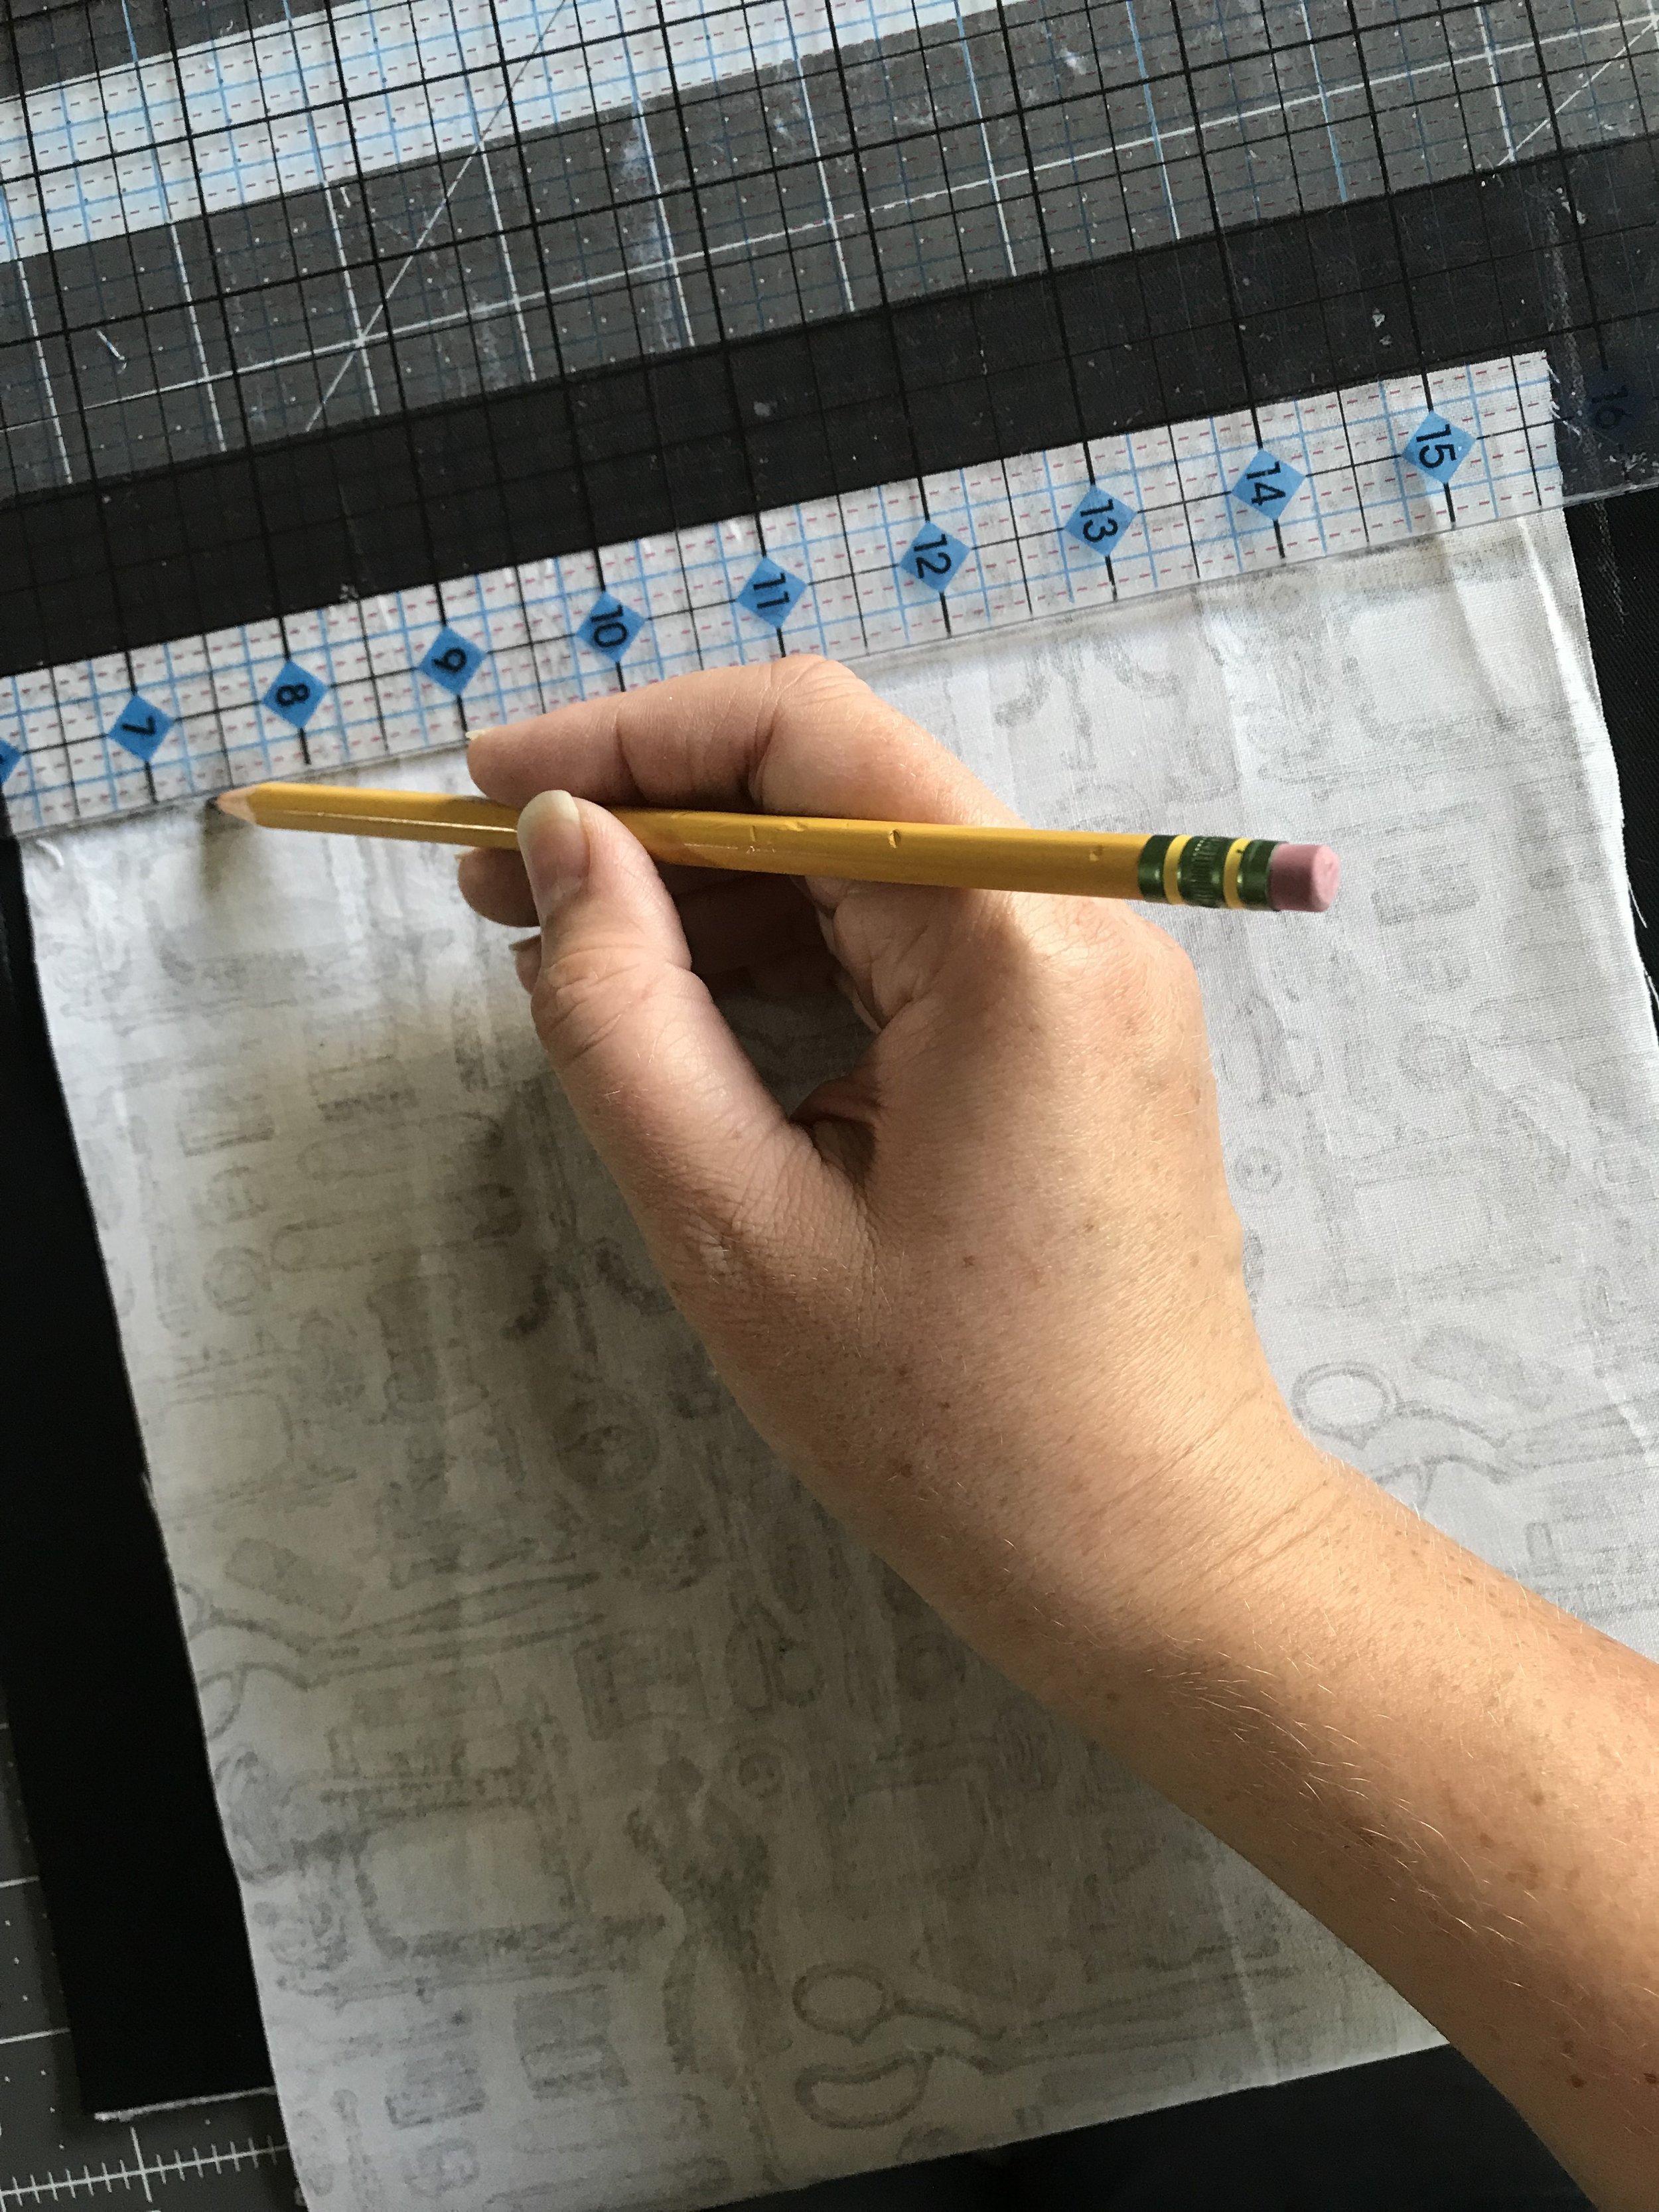
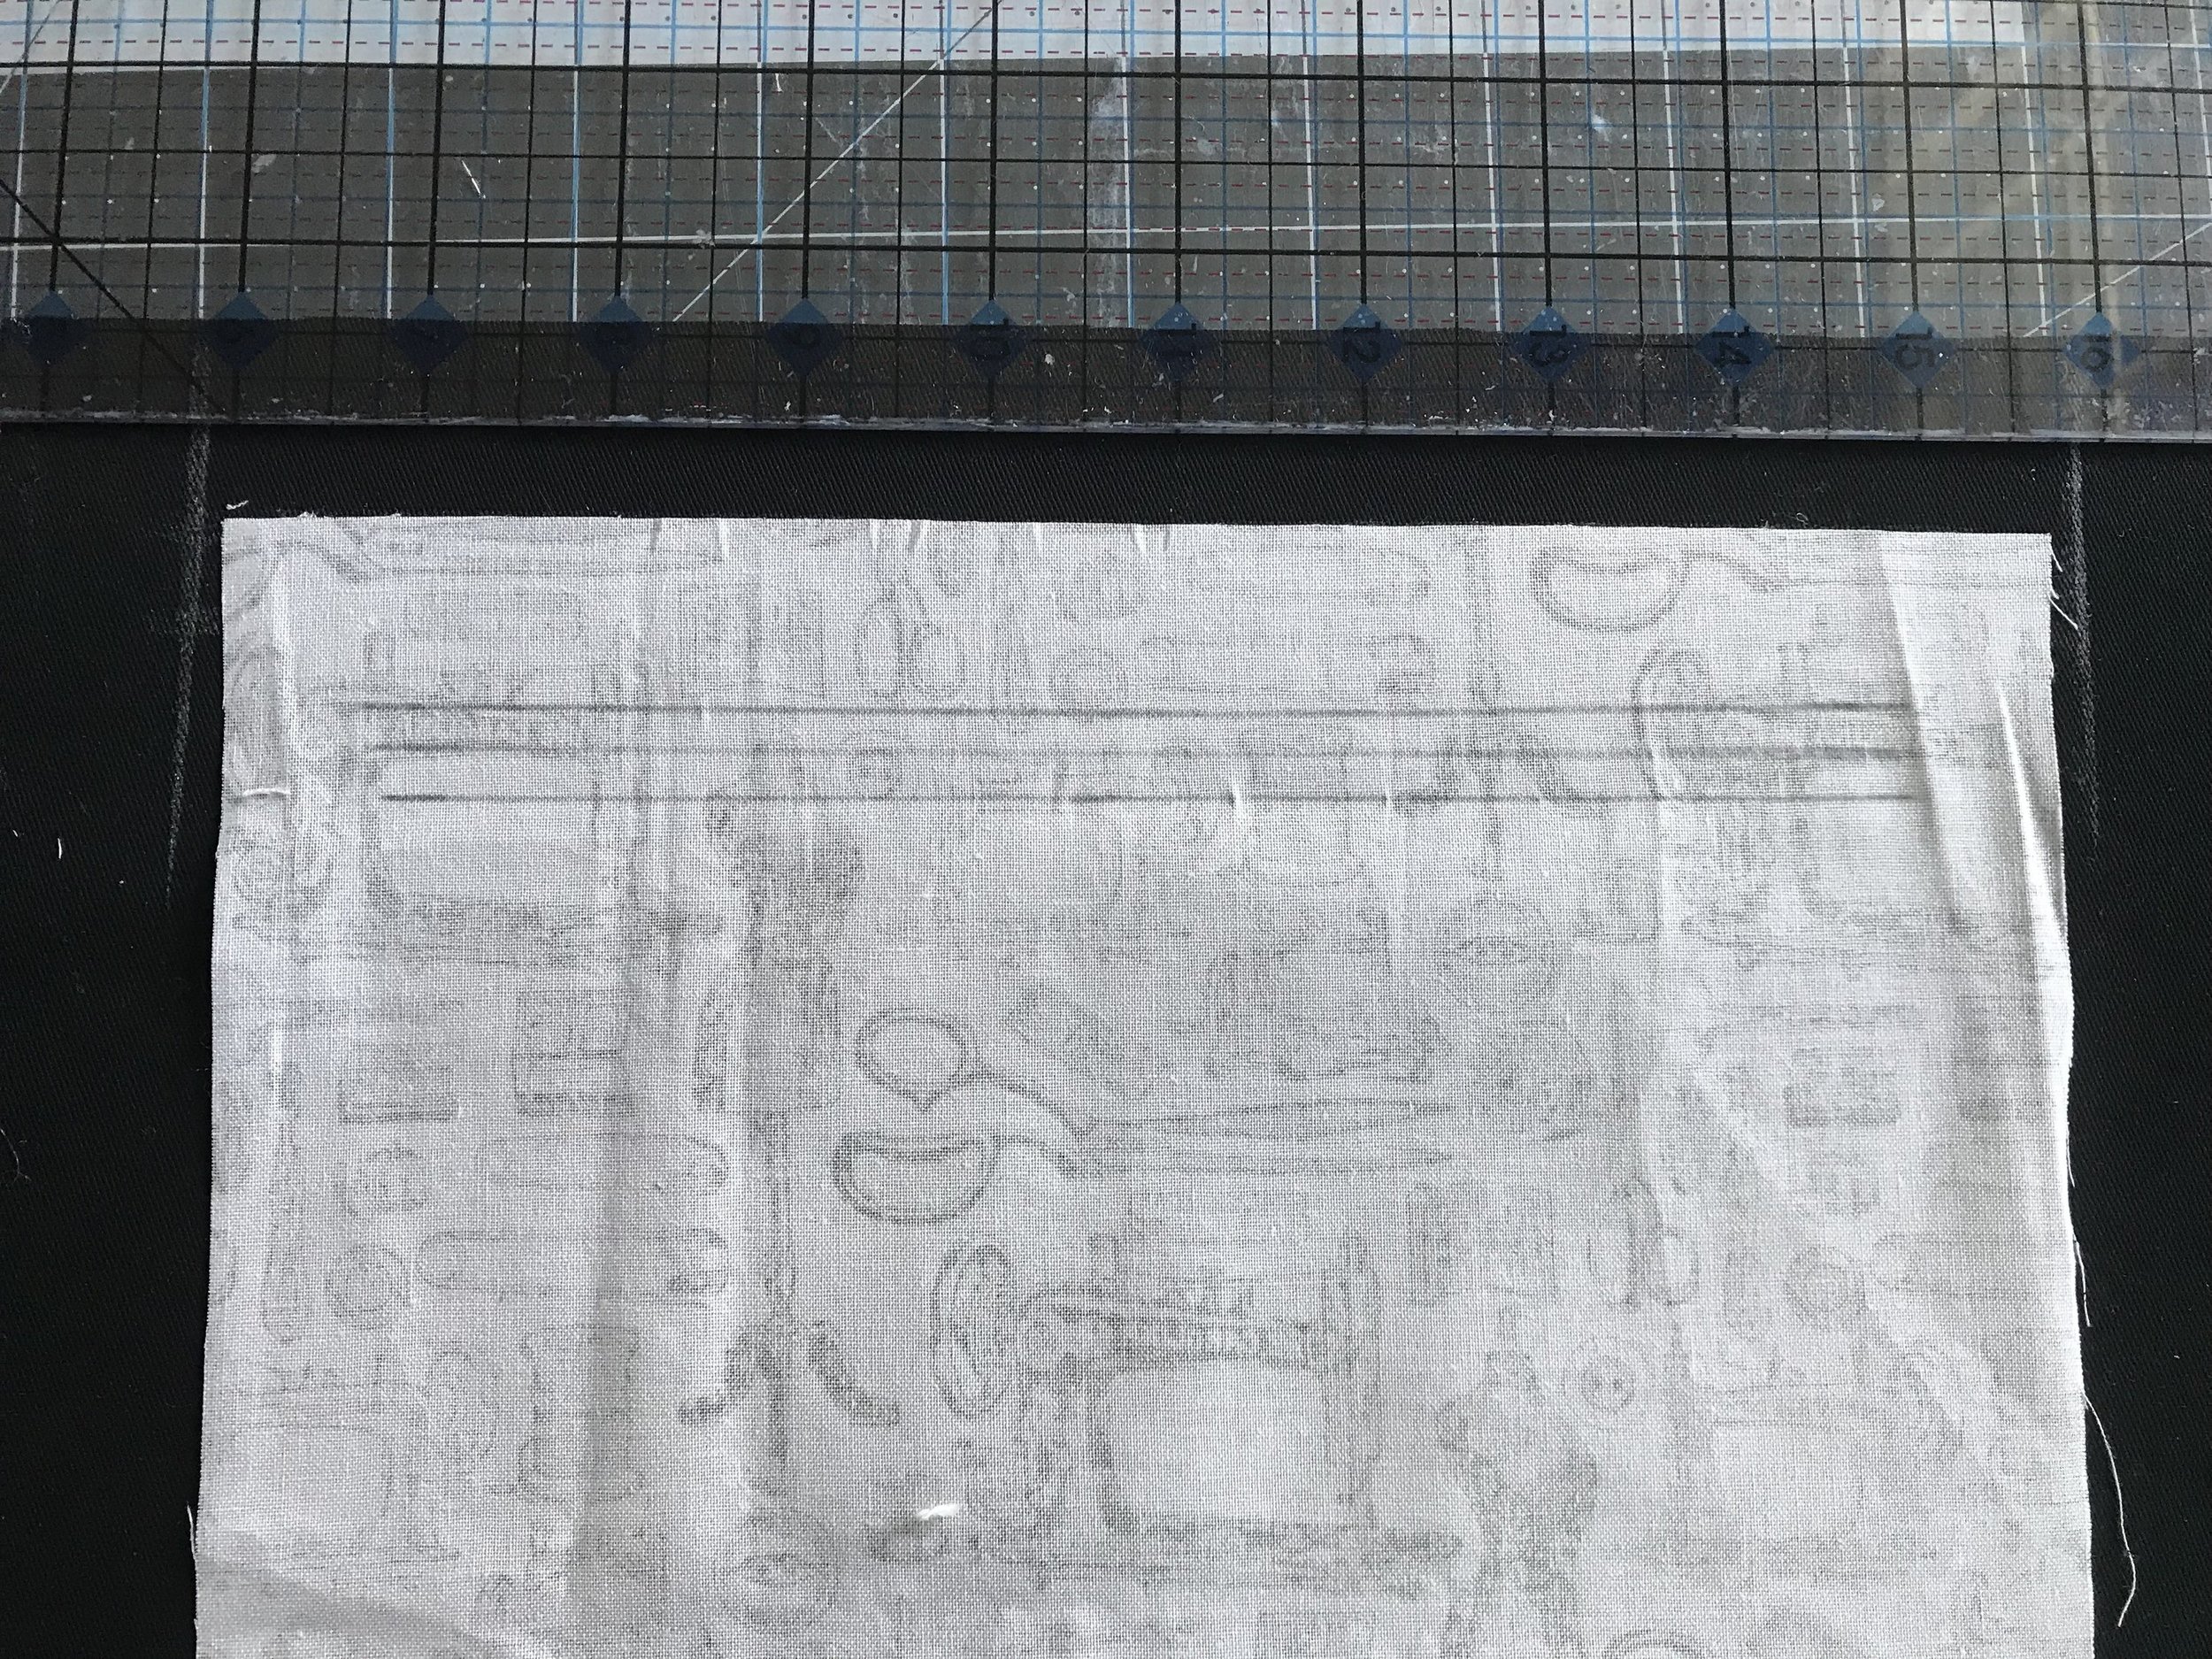

Make lines vertically along each end of the lines so that they are about 8.25” long and centered in the pocket piece. You will now have a long rectangle with a line in the middle.
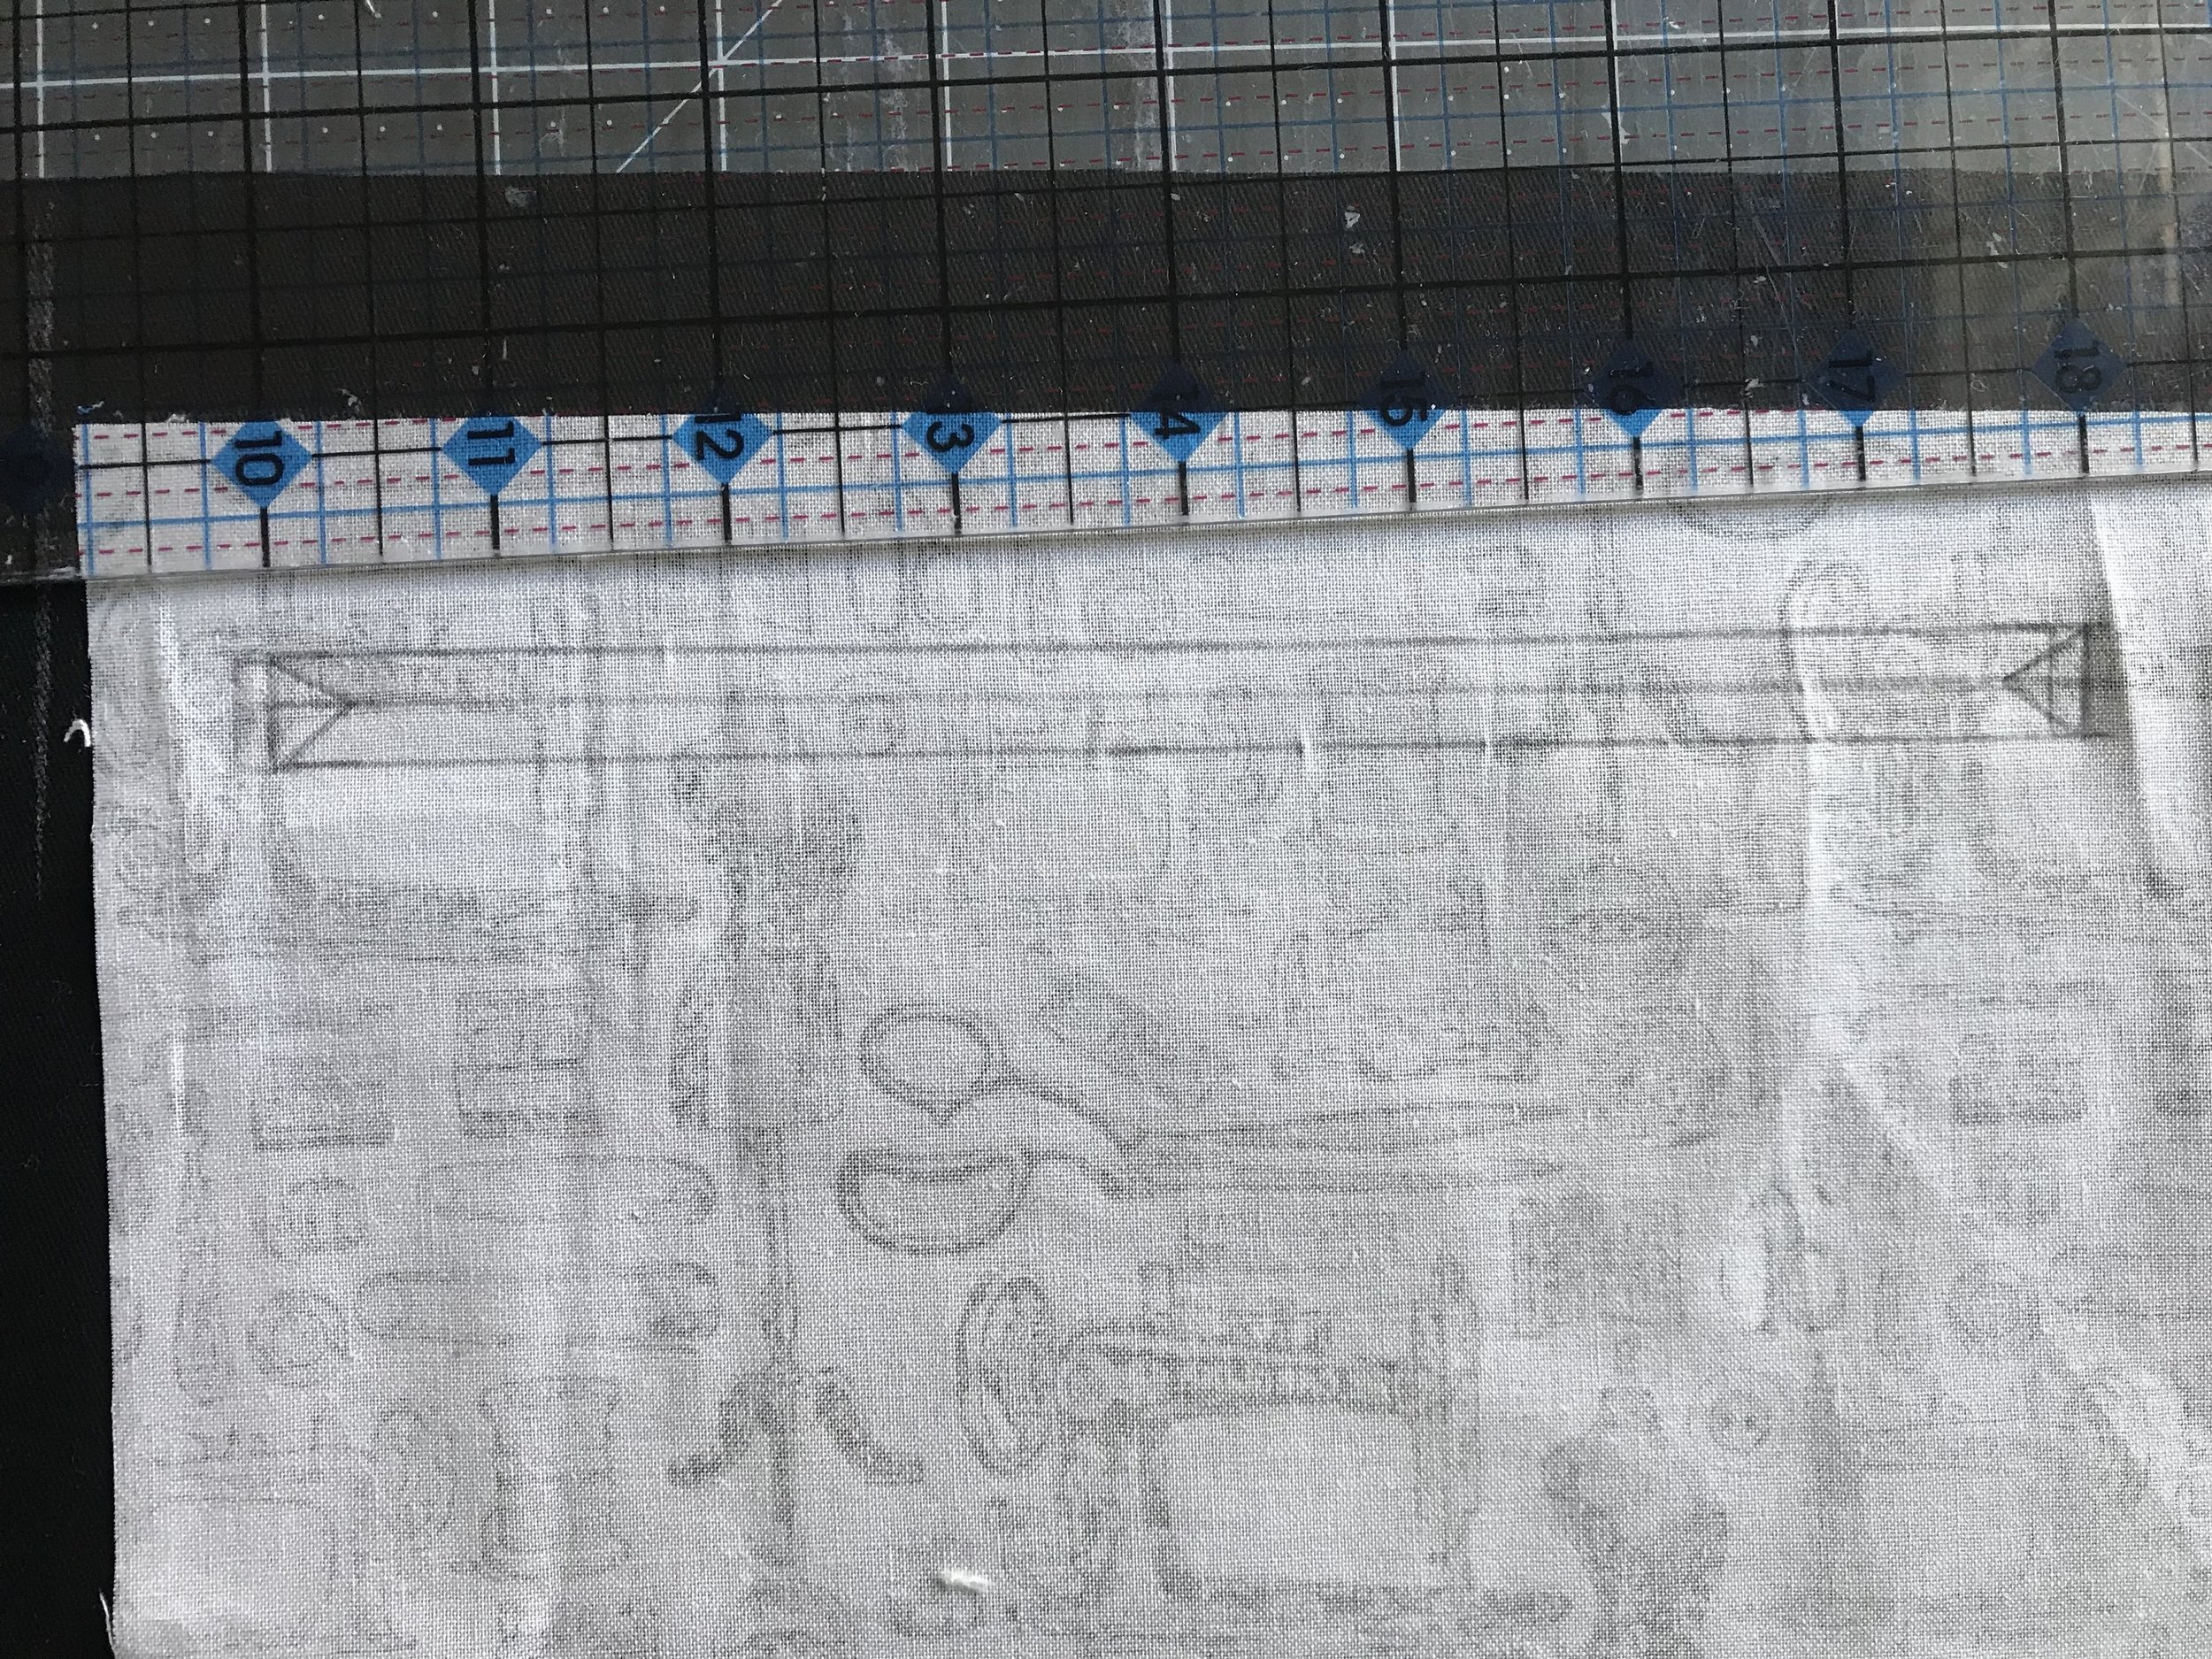
Mark lines from the corners of the rectangle to the center line on each side.
Pin the pocket piece in place and sew around the rectangle on all sides.

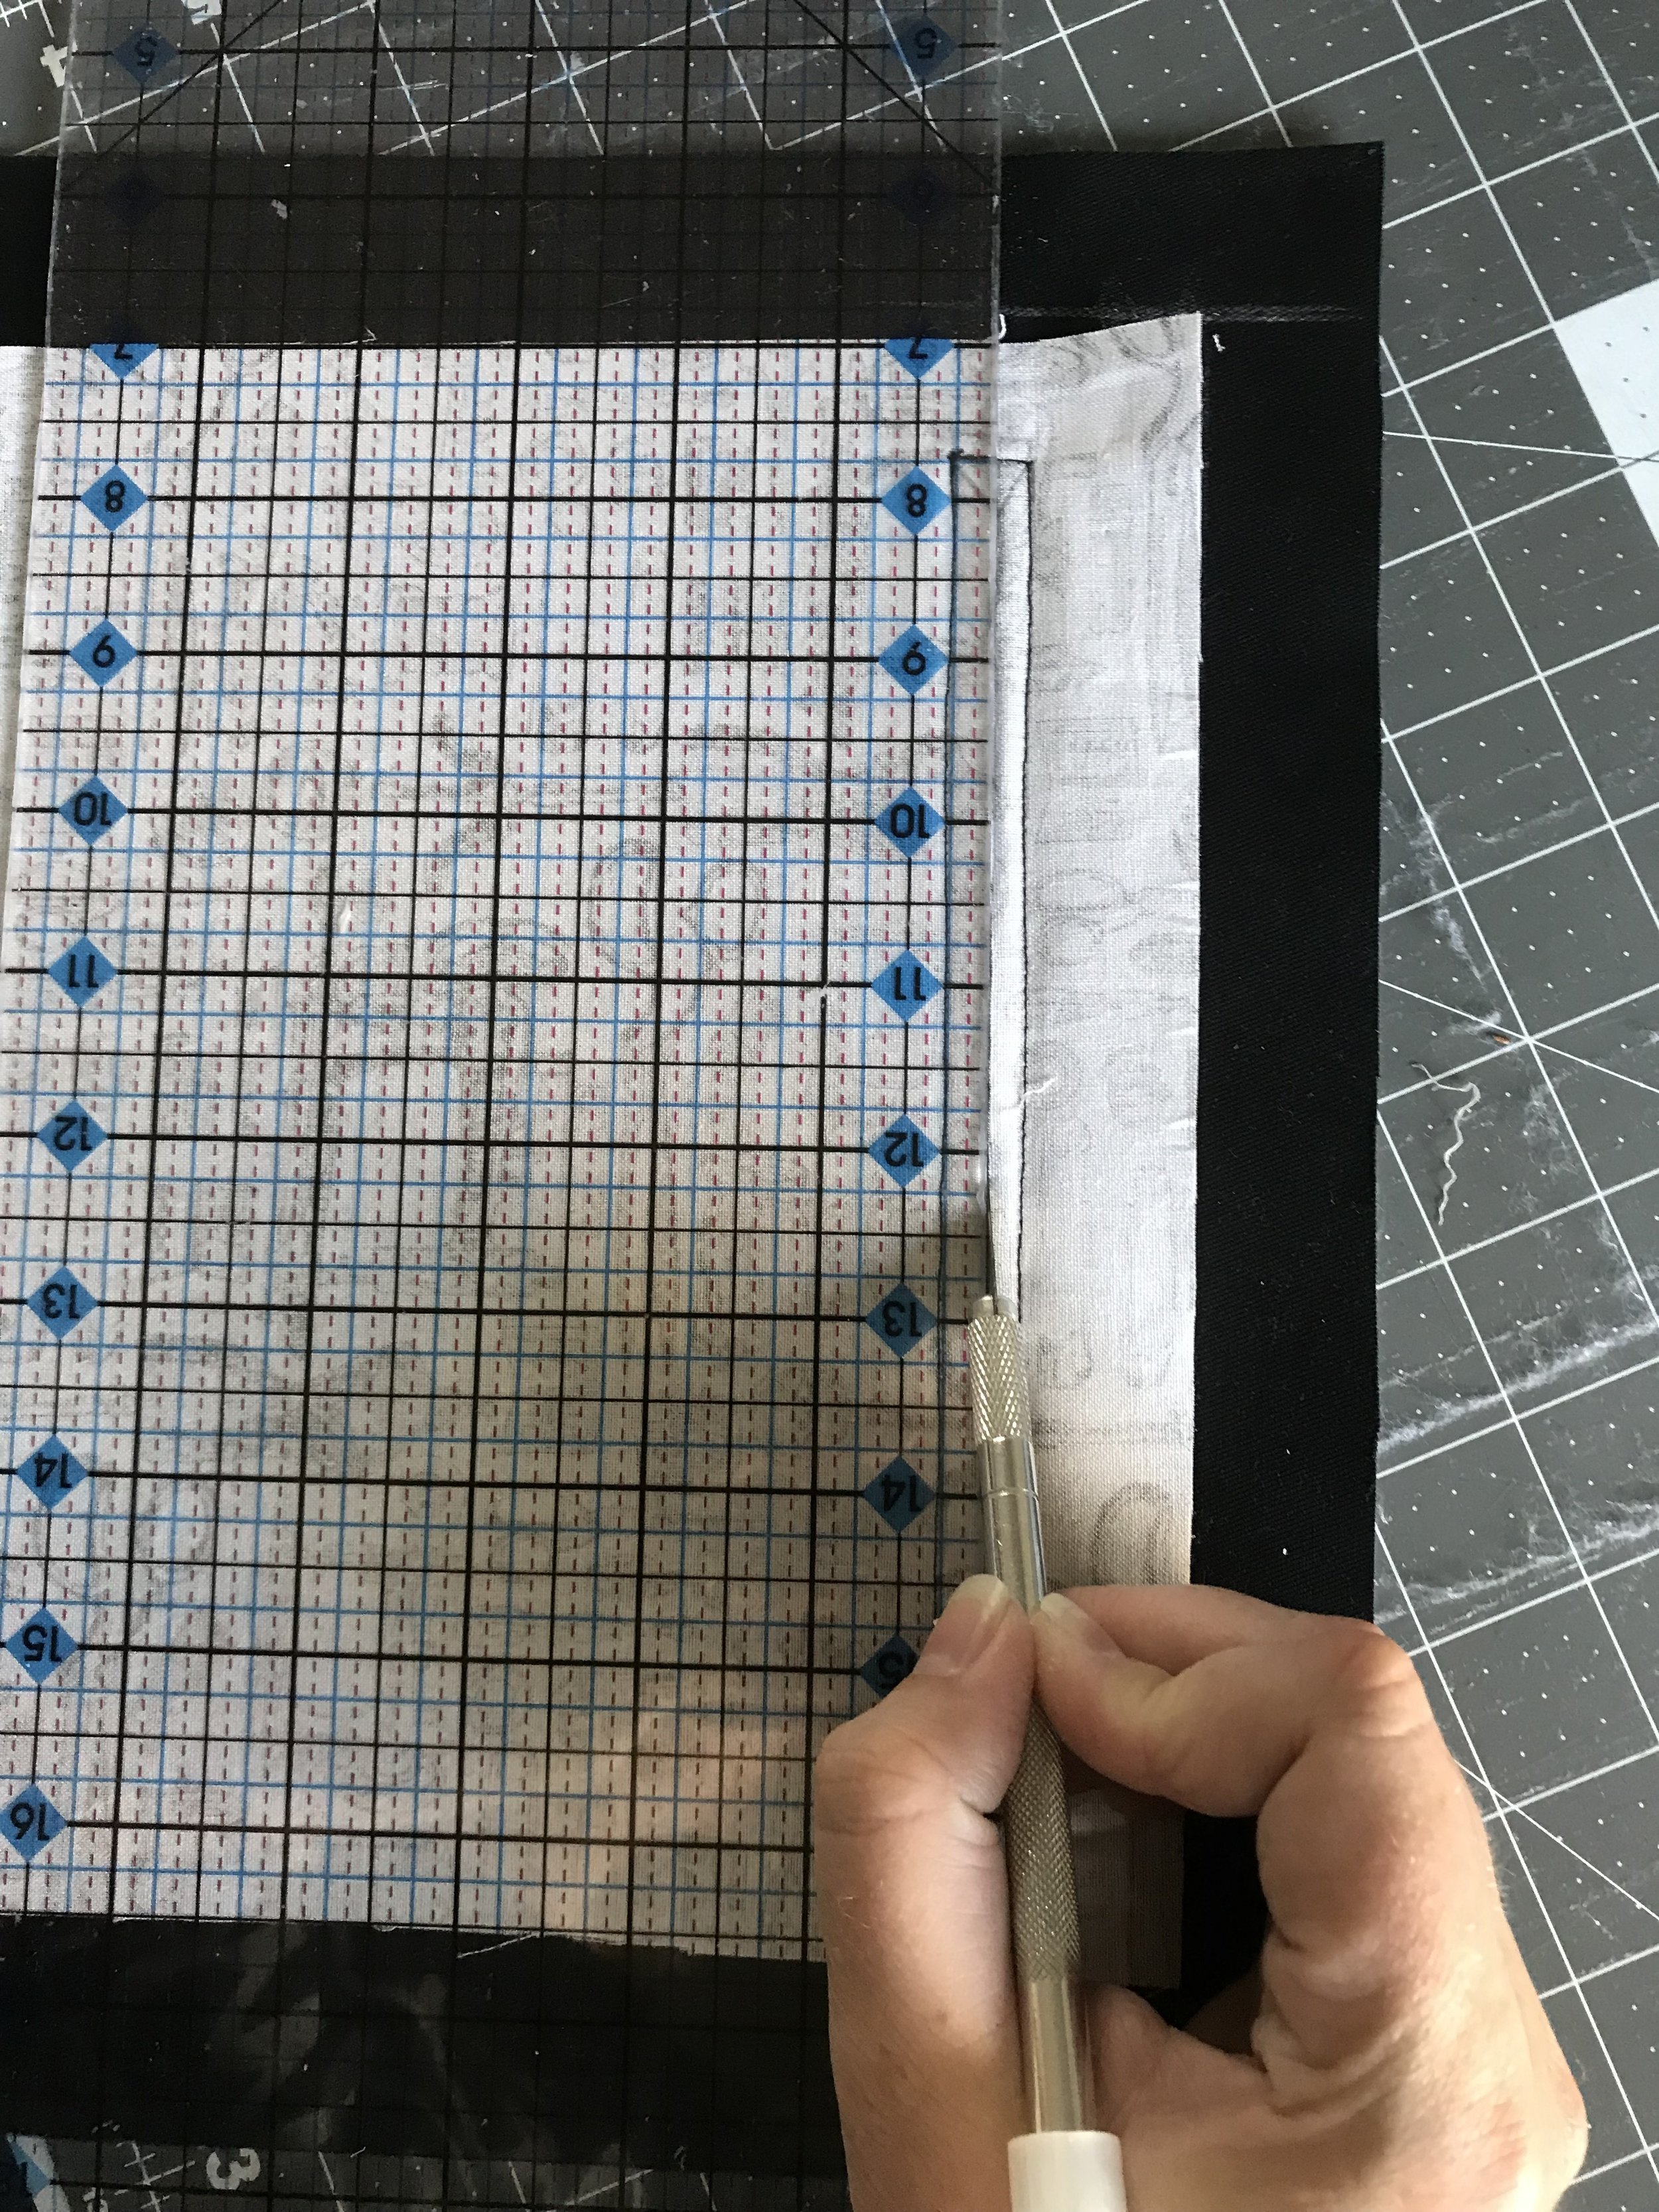
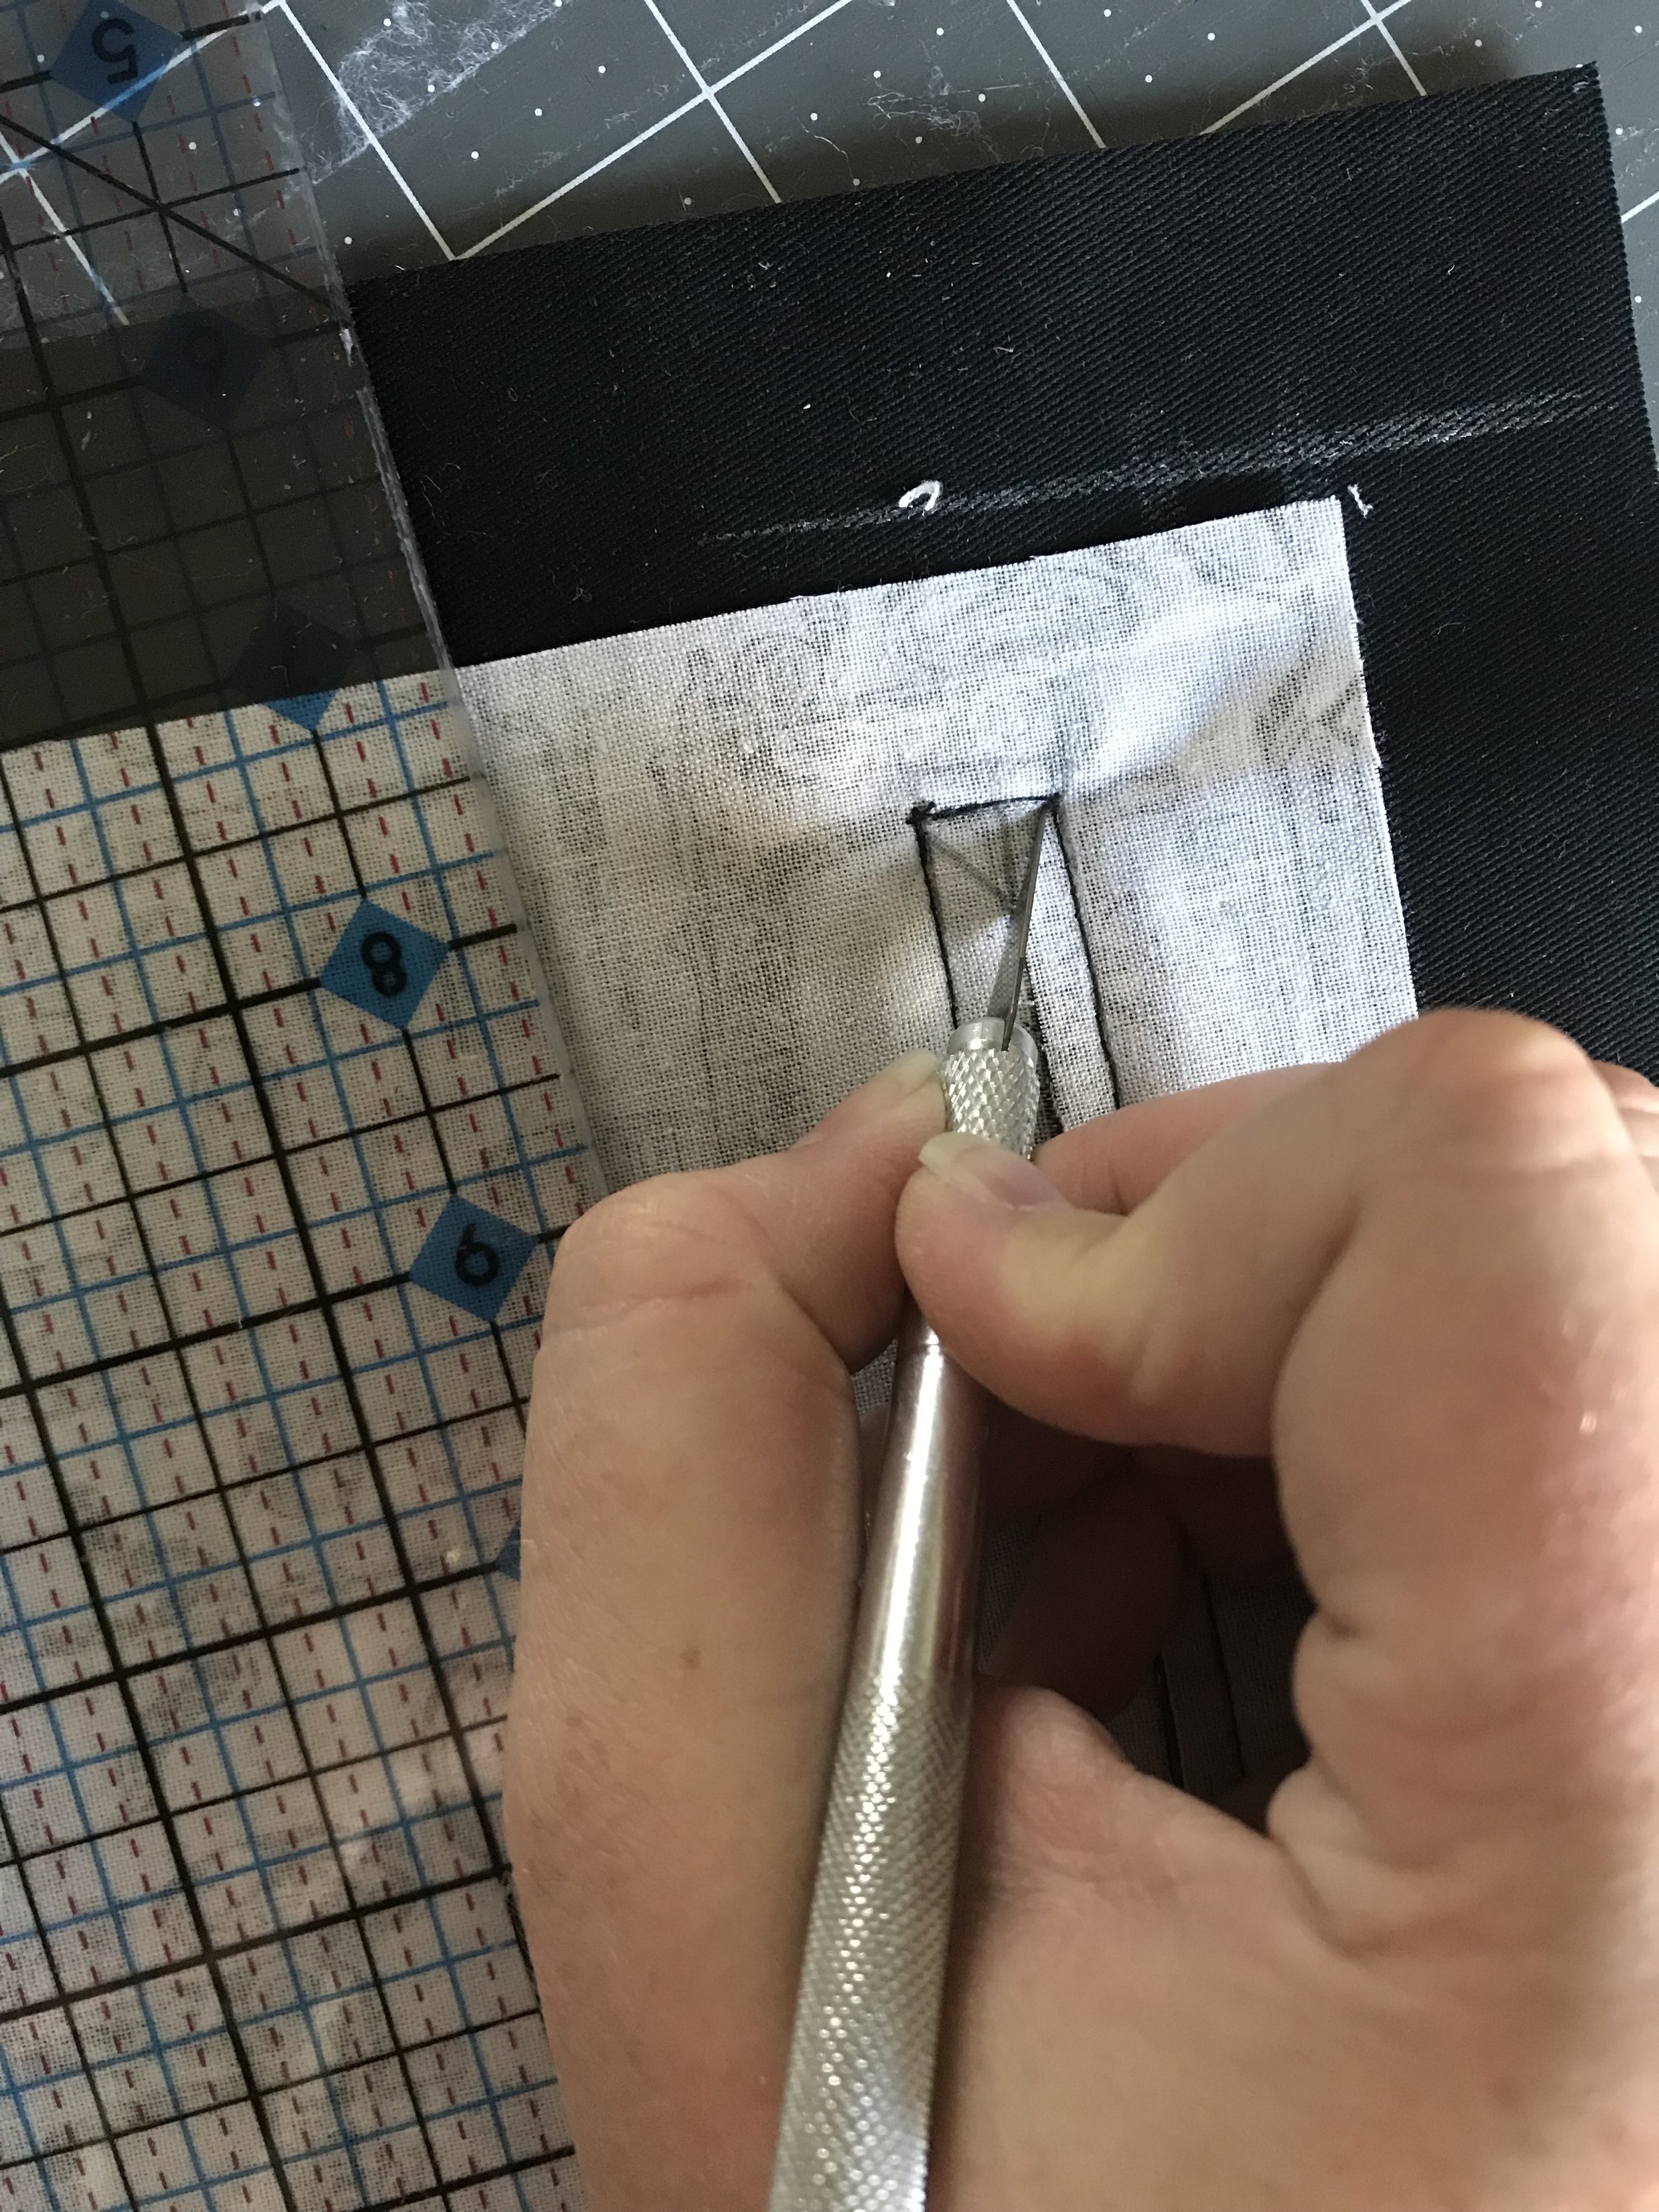
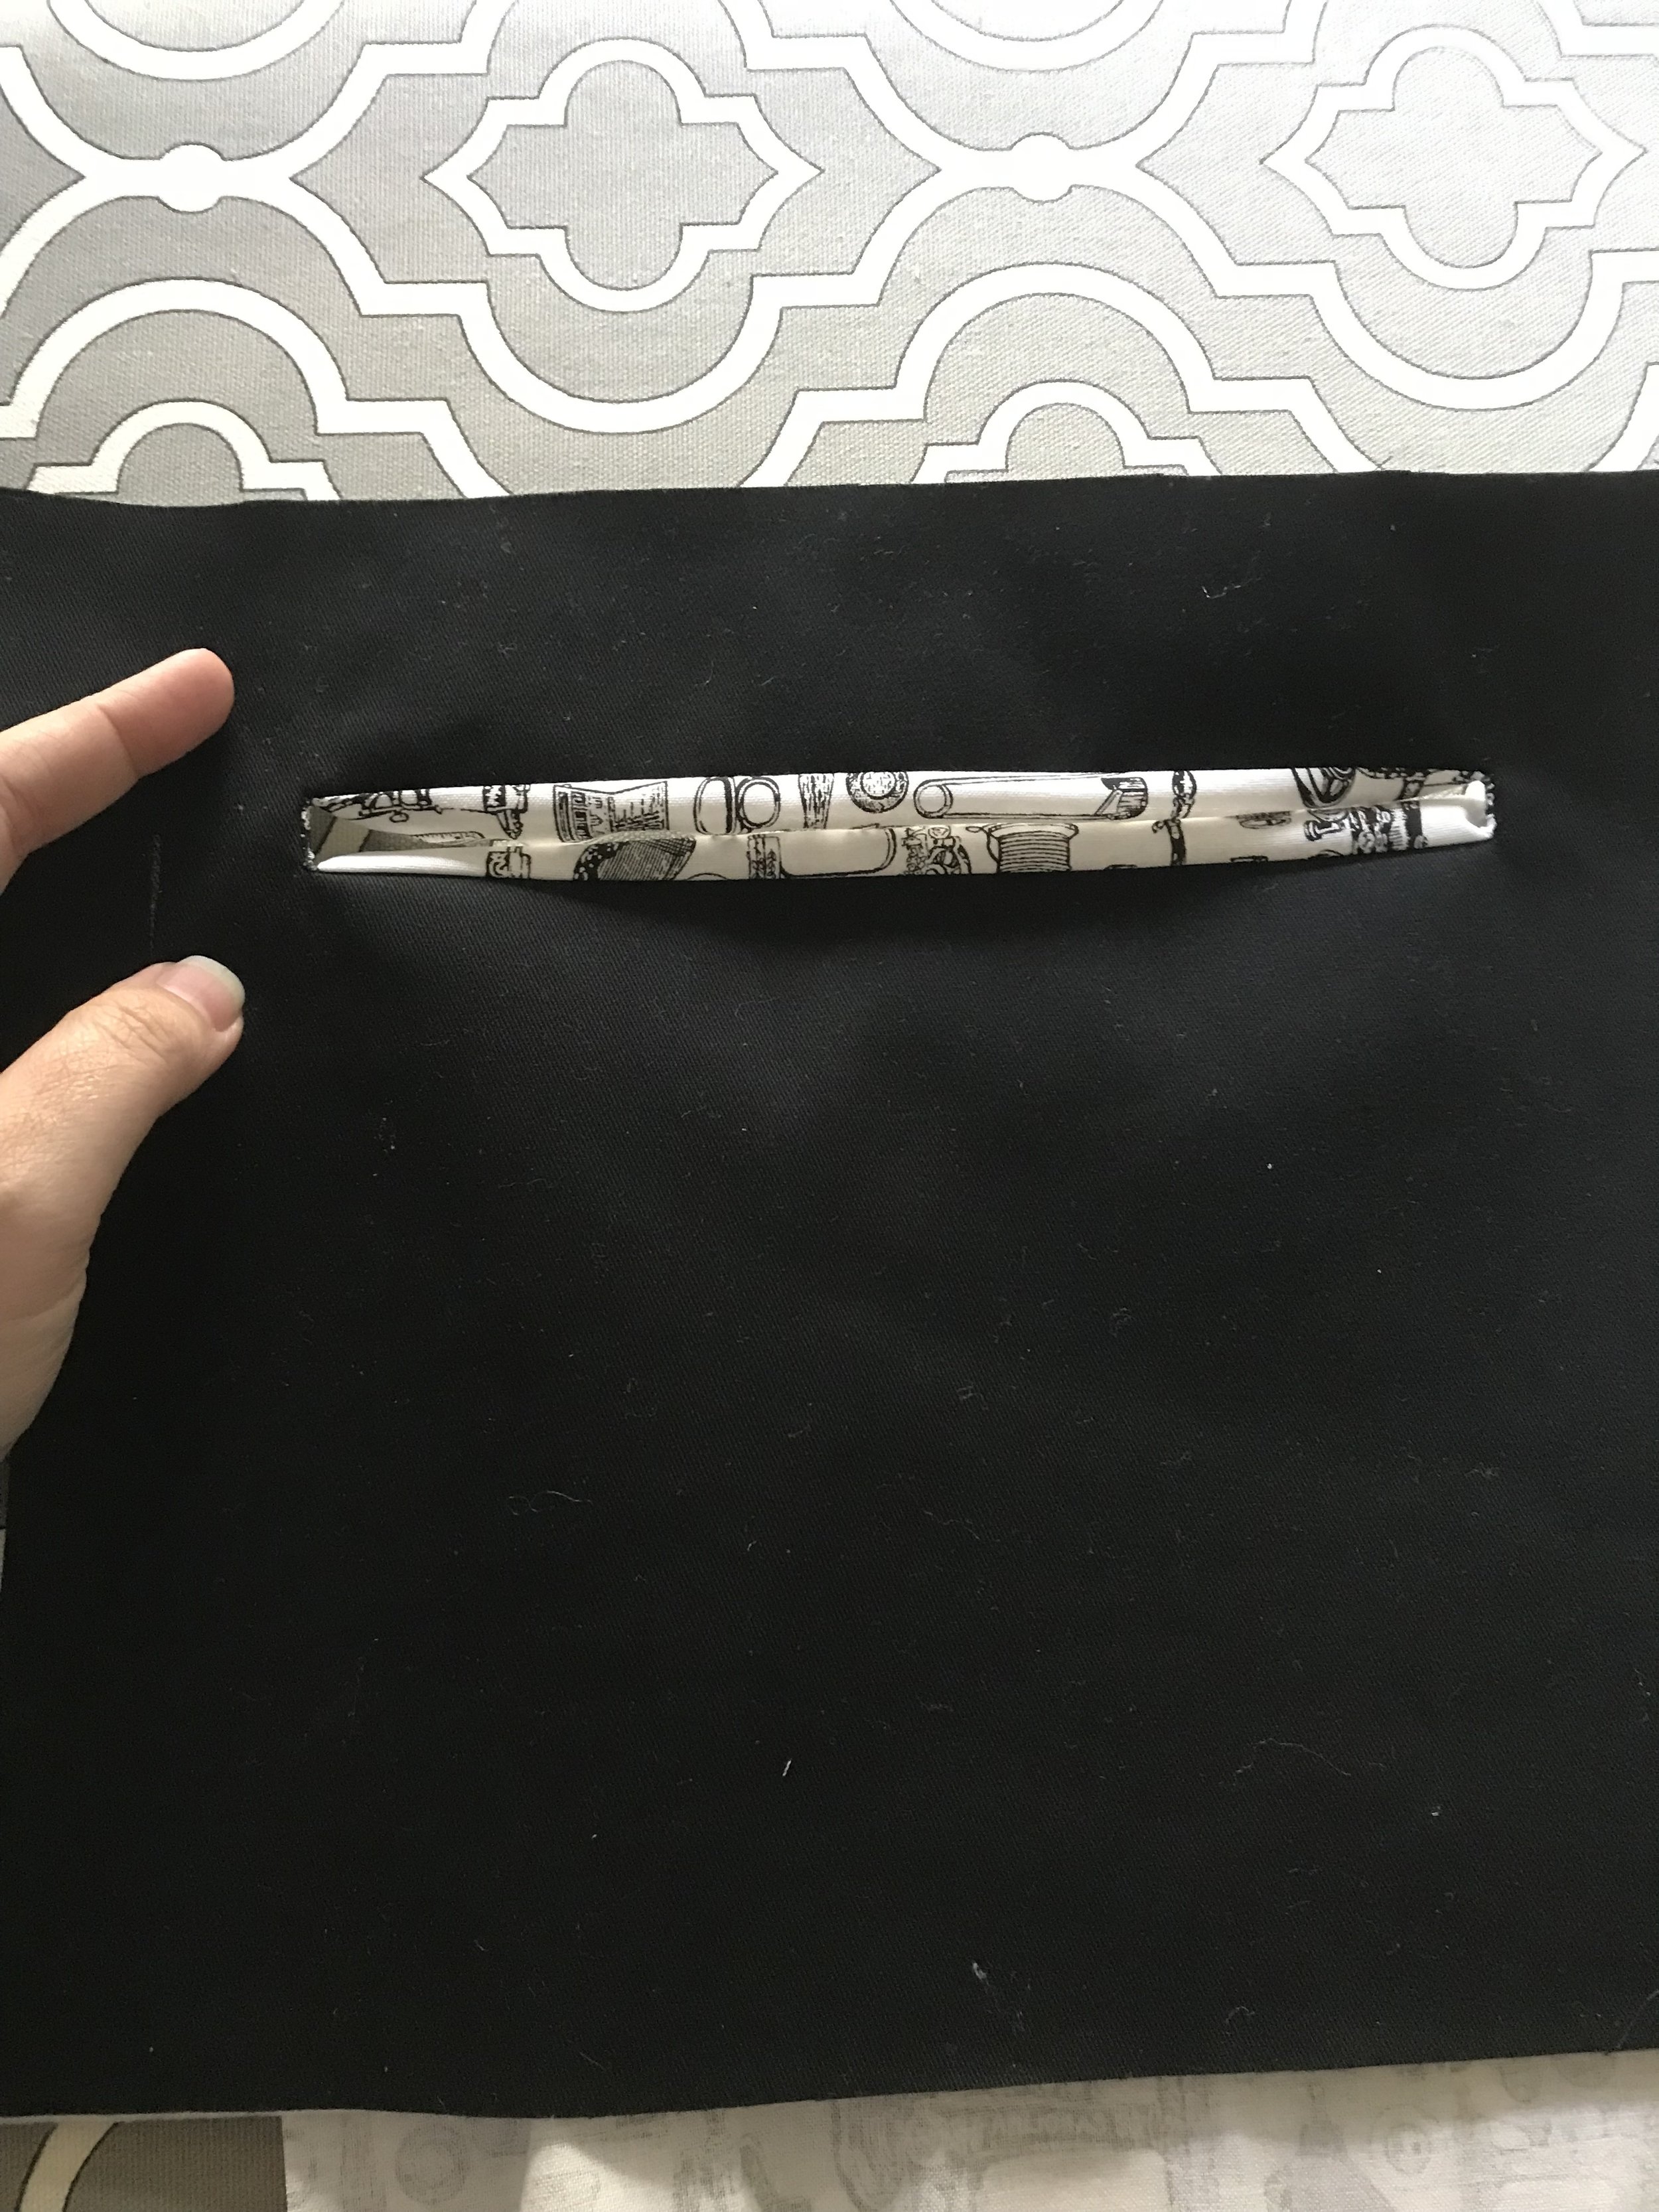
Using a ruler and an Exacto knife. Cut the middle line inside the rectangle between the two points created from the lines drawn from the corners. Then carefully cut along those lines too. This will create the opening for the zippered pocket.
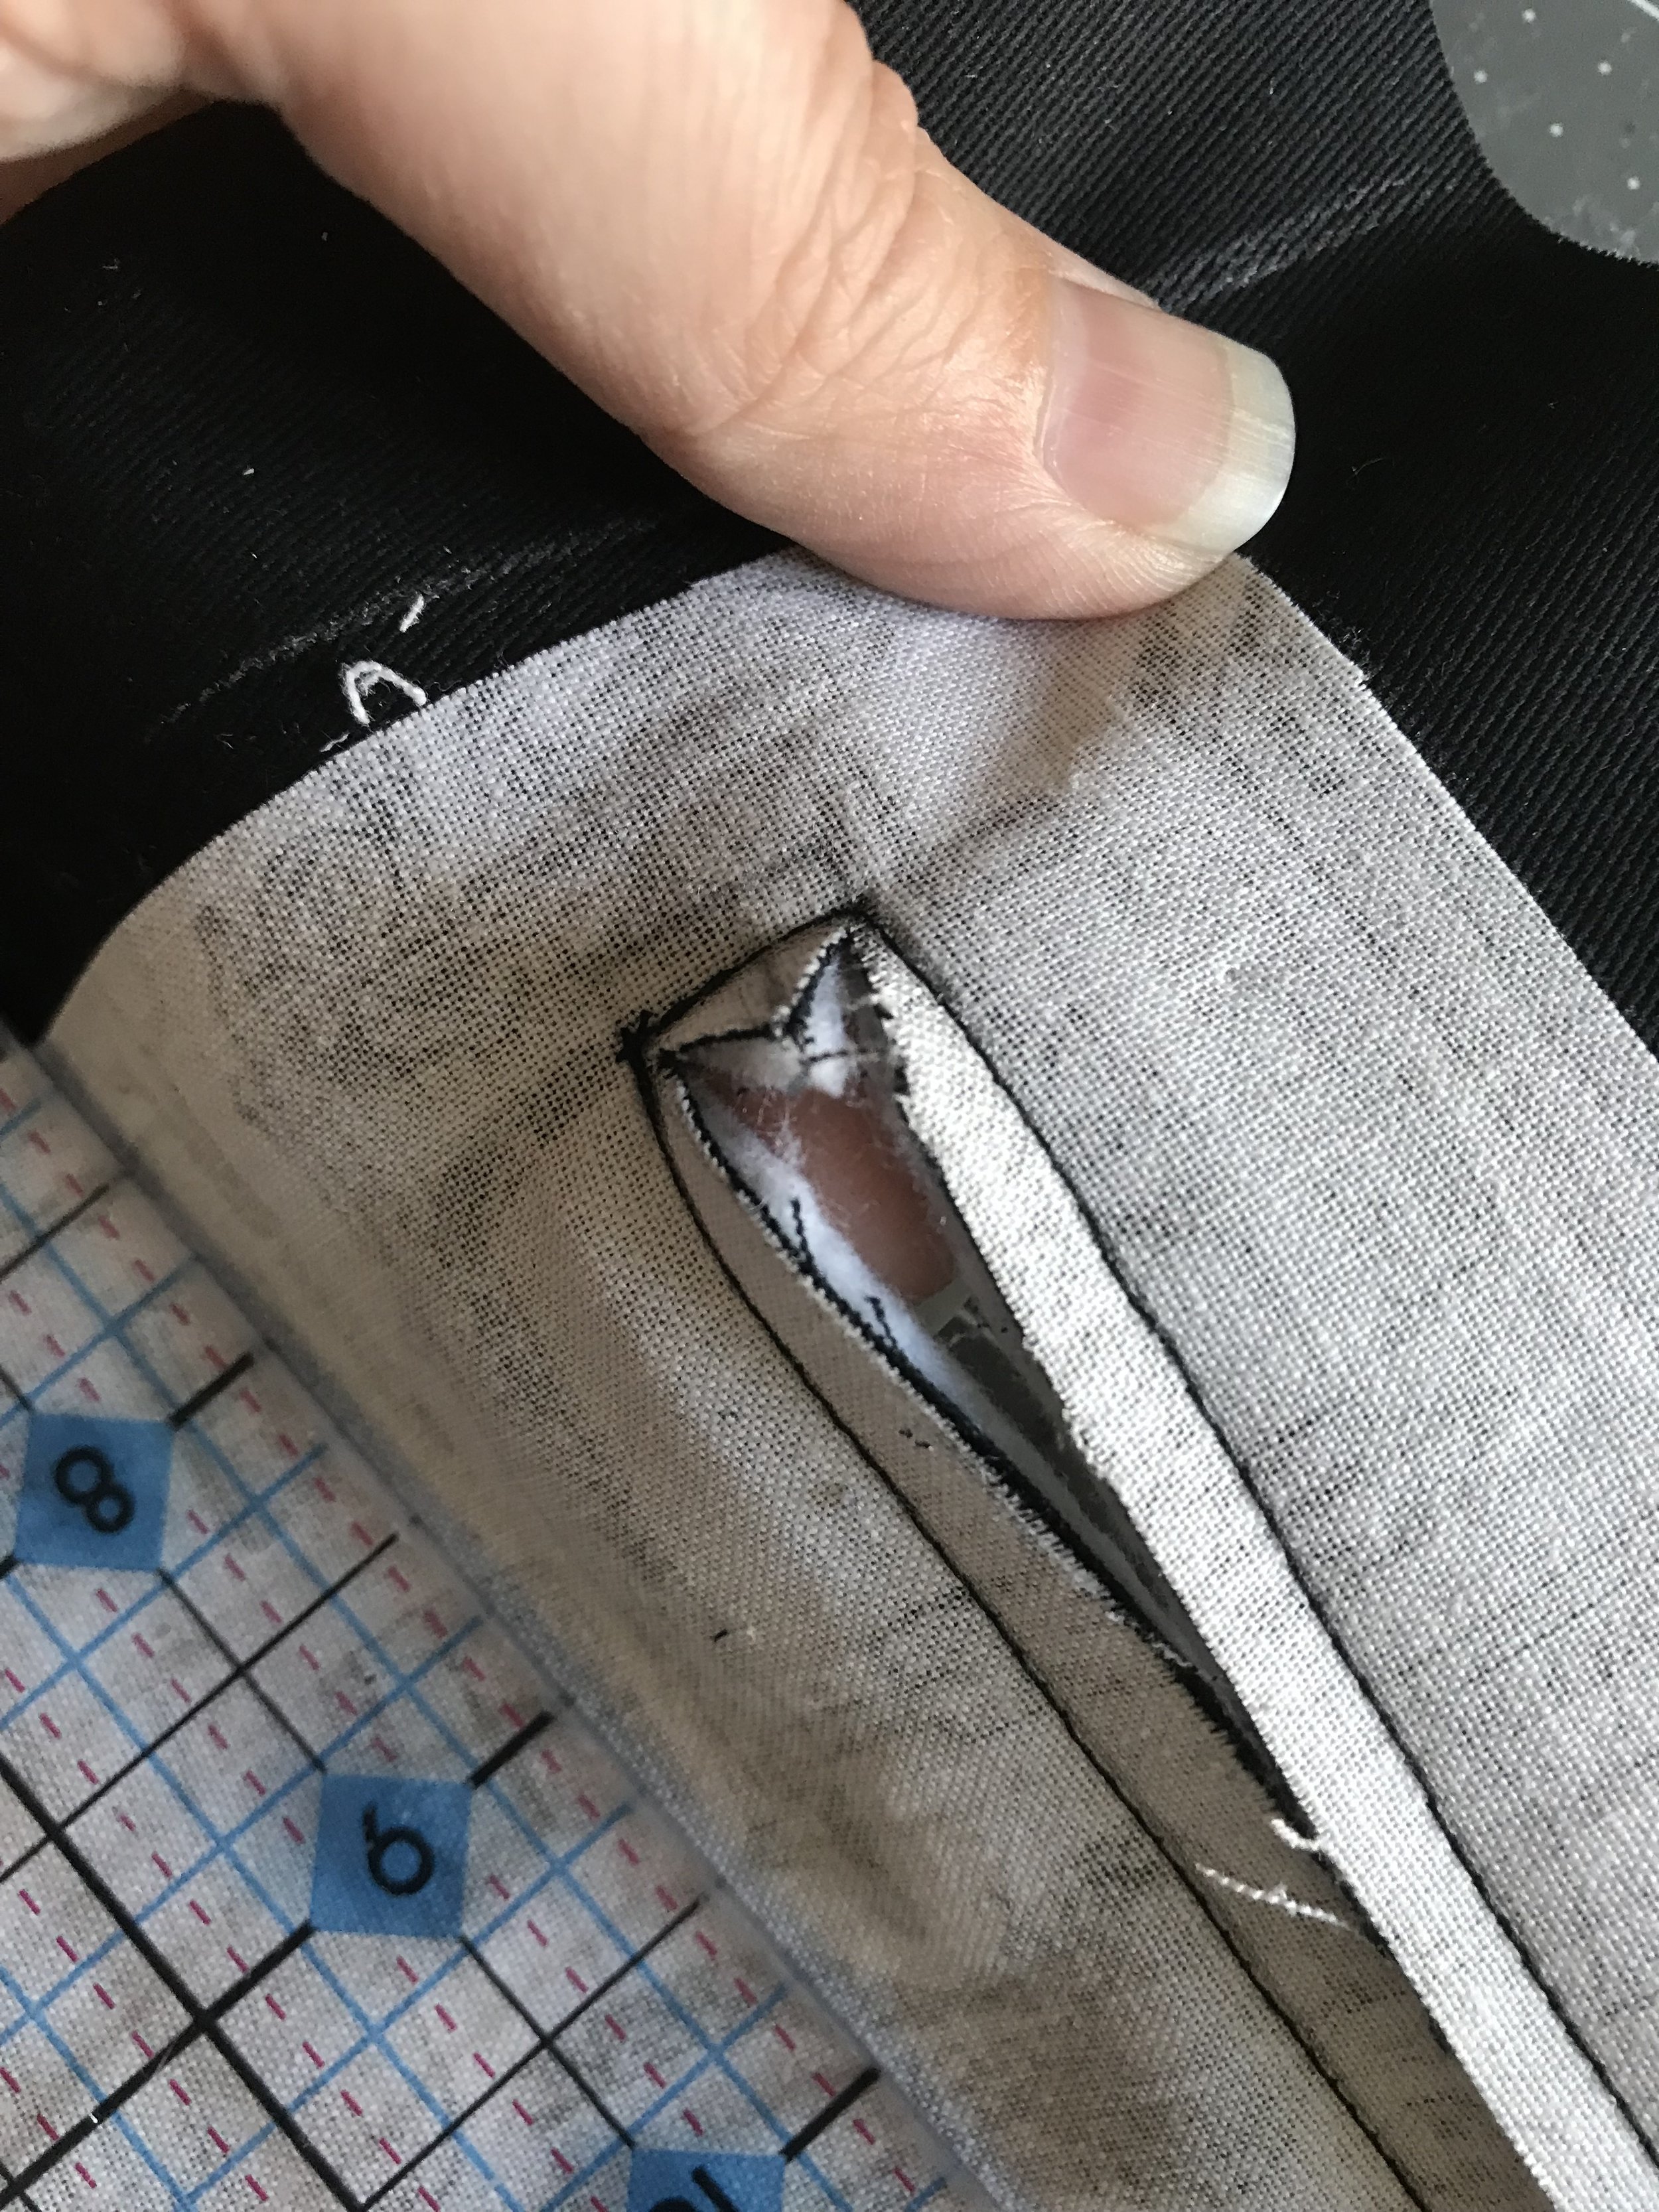
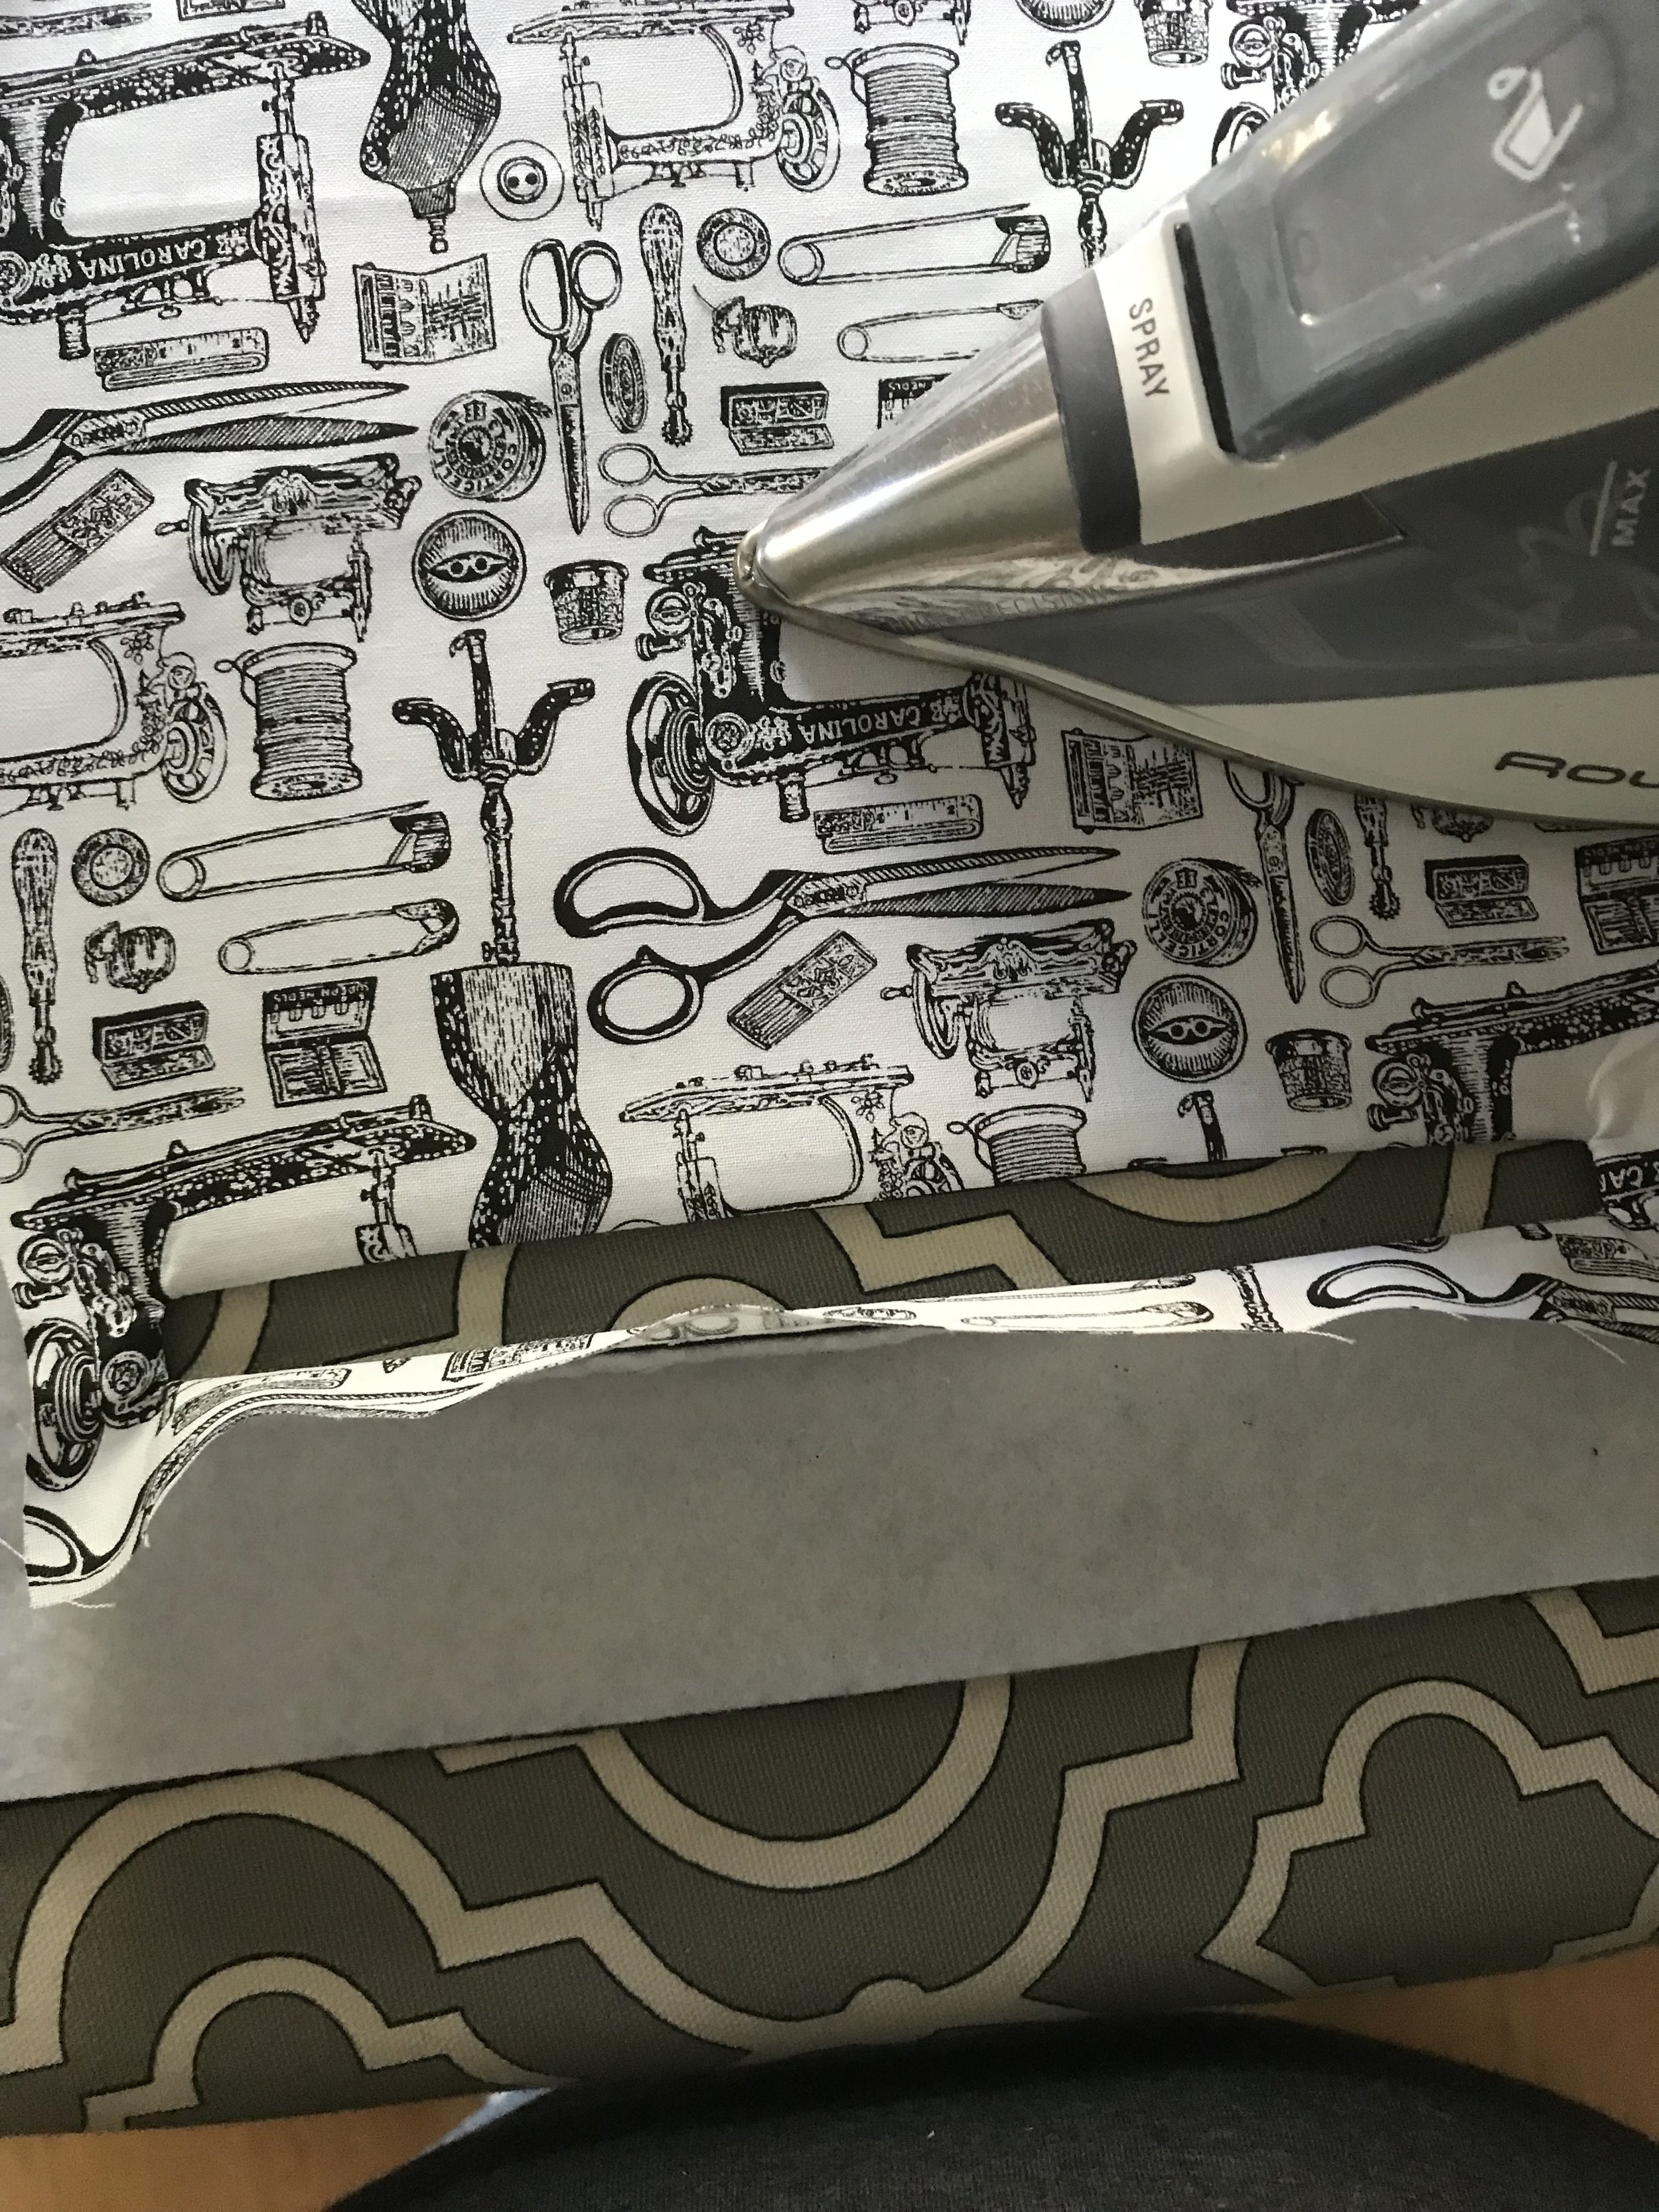
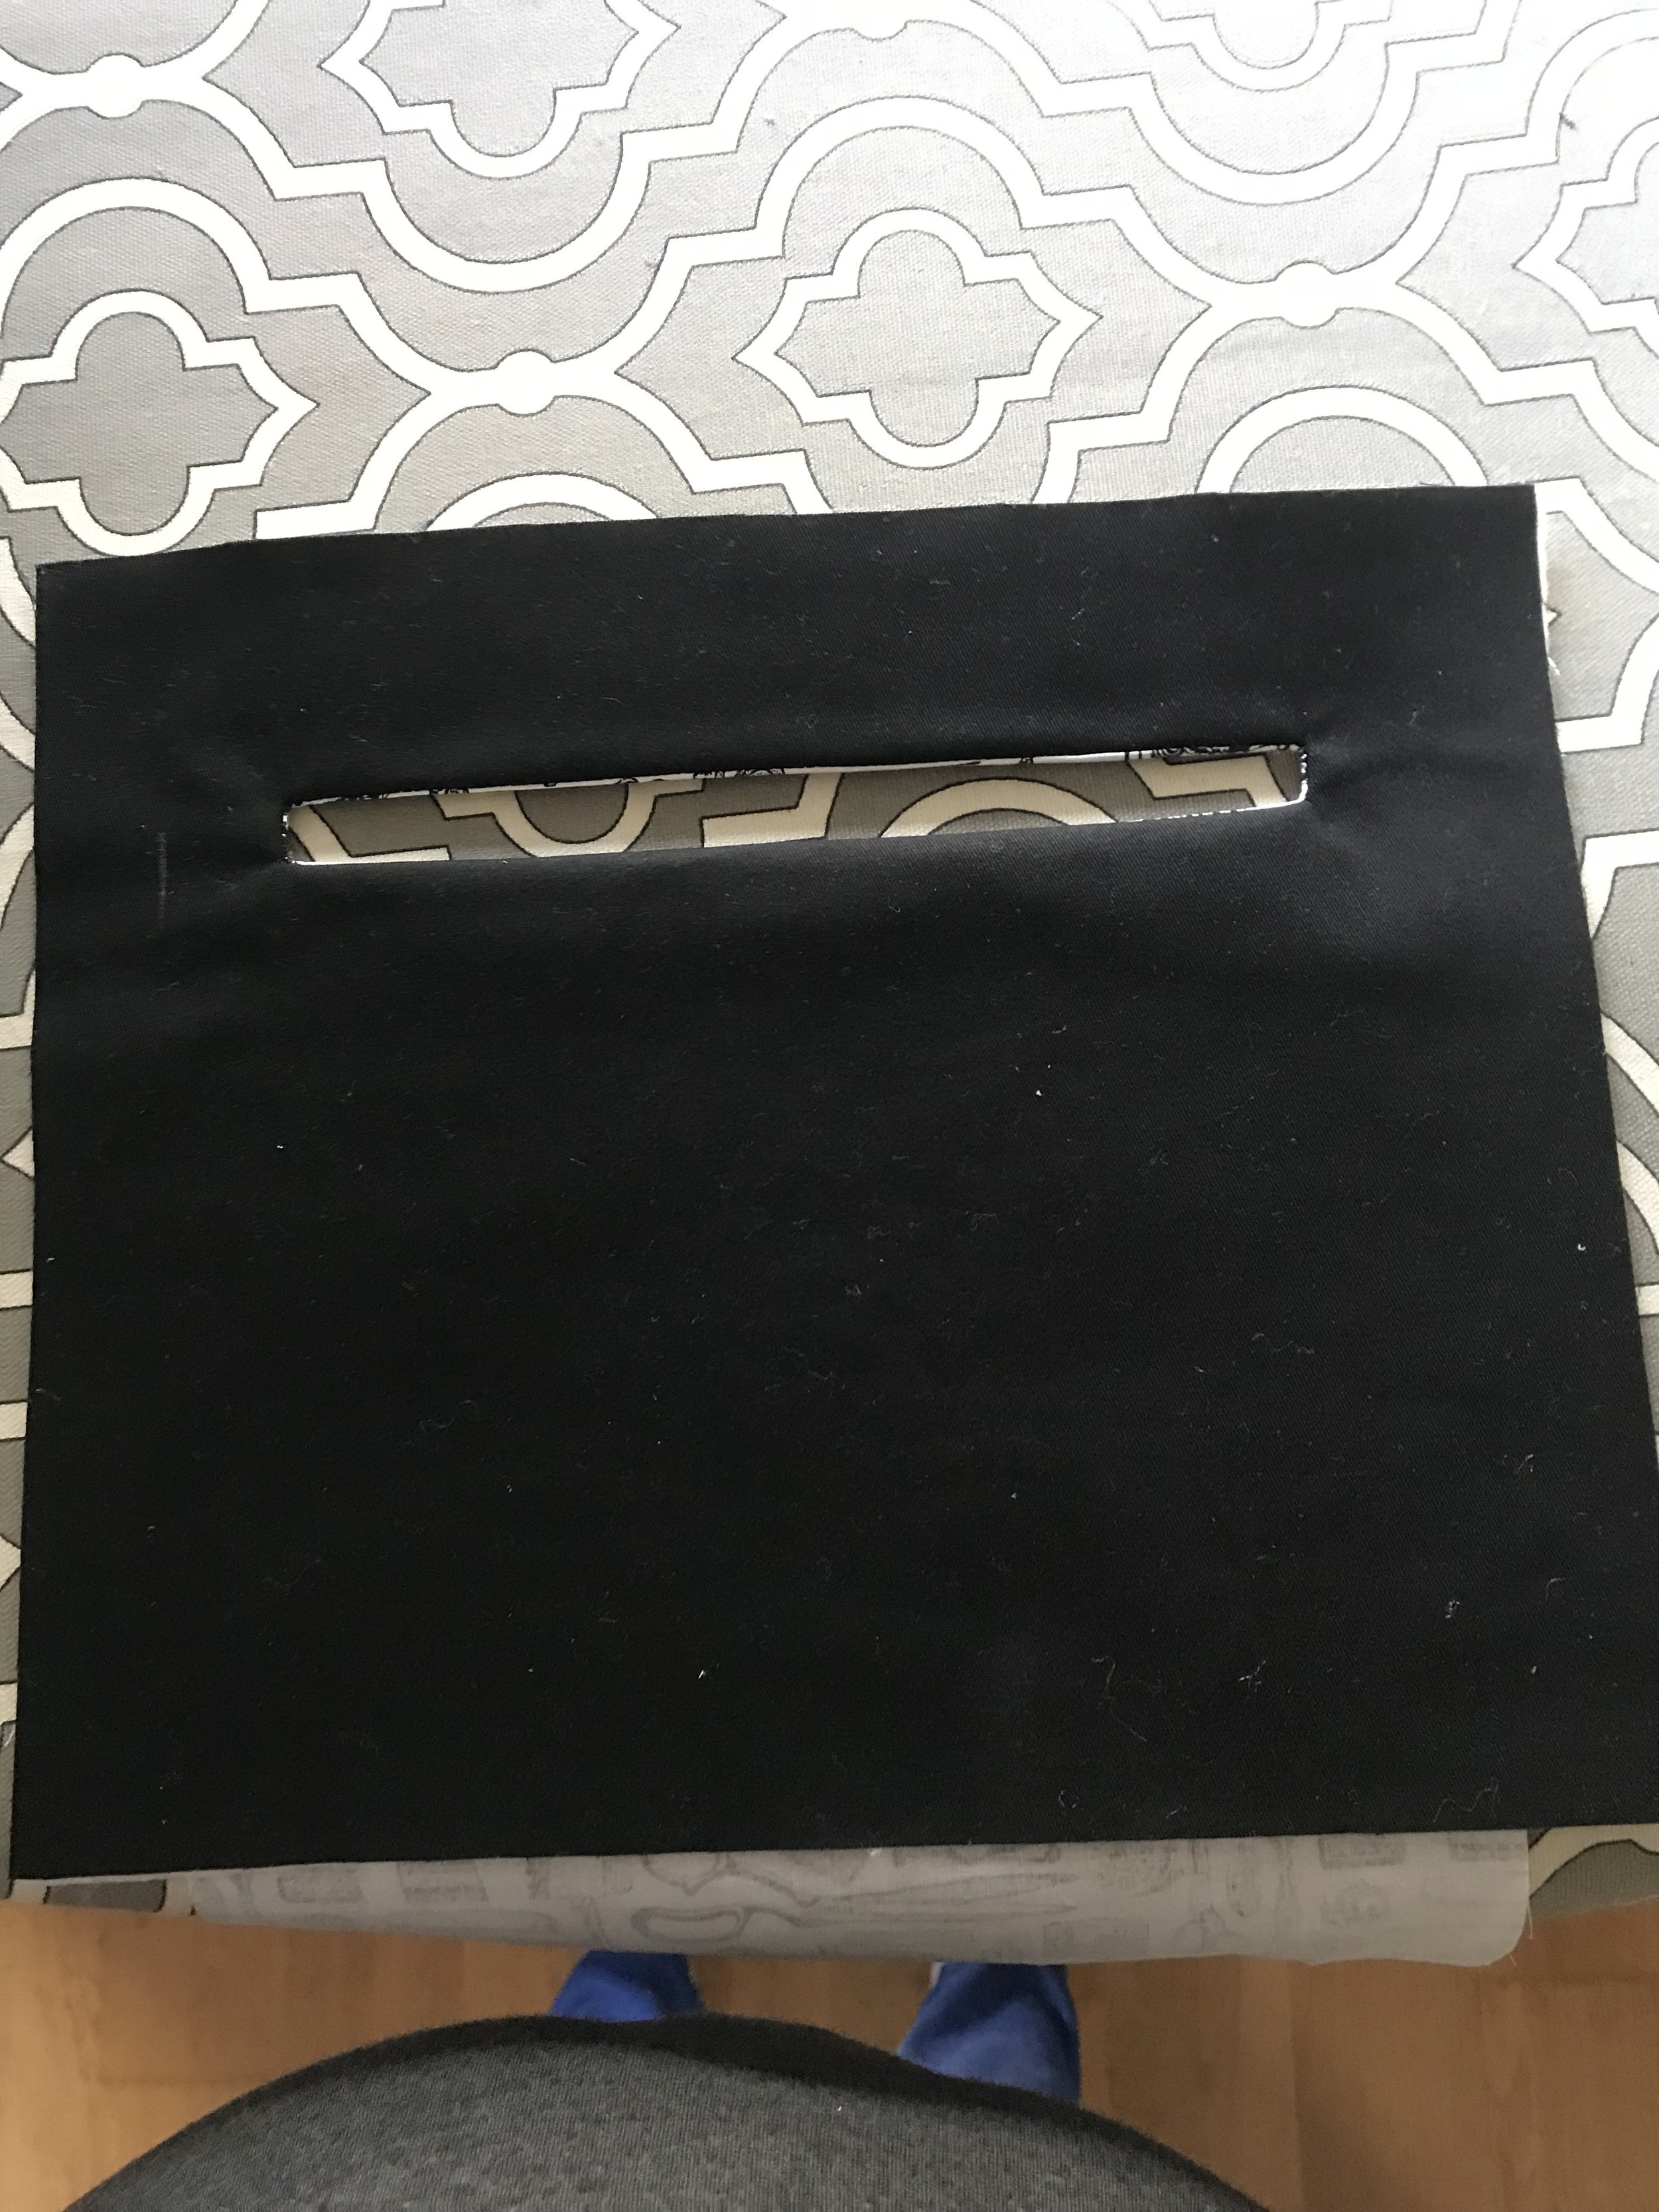
Push the pocket lining through the hole you’ve just created and press flat with an iron.
Now you will be attaching the zipper to the opening you just created. Sew the ends of the zipper together. This will help keep it in place. Lay the zipper under the opening and pin in place. With a zipper foot, sew all around the opening making sure to catch the zipper.


Flip the panel over and bring the bottom of the interior pocket piece up to the top so the 9.5” sides are right sides together. Sew along the top and both sides, enclosing the zipper and forming the pocket.


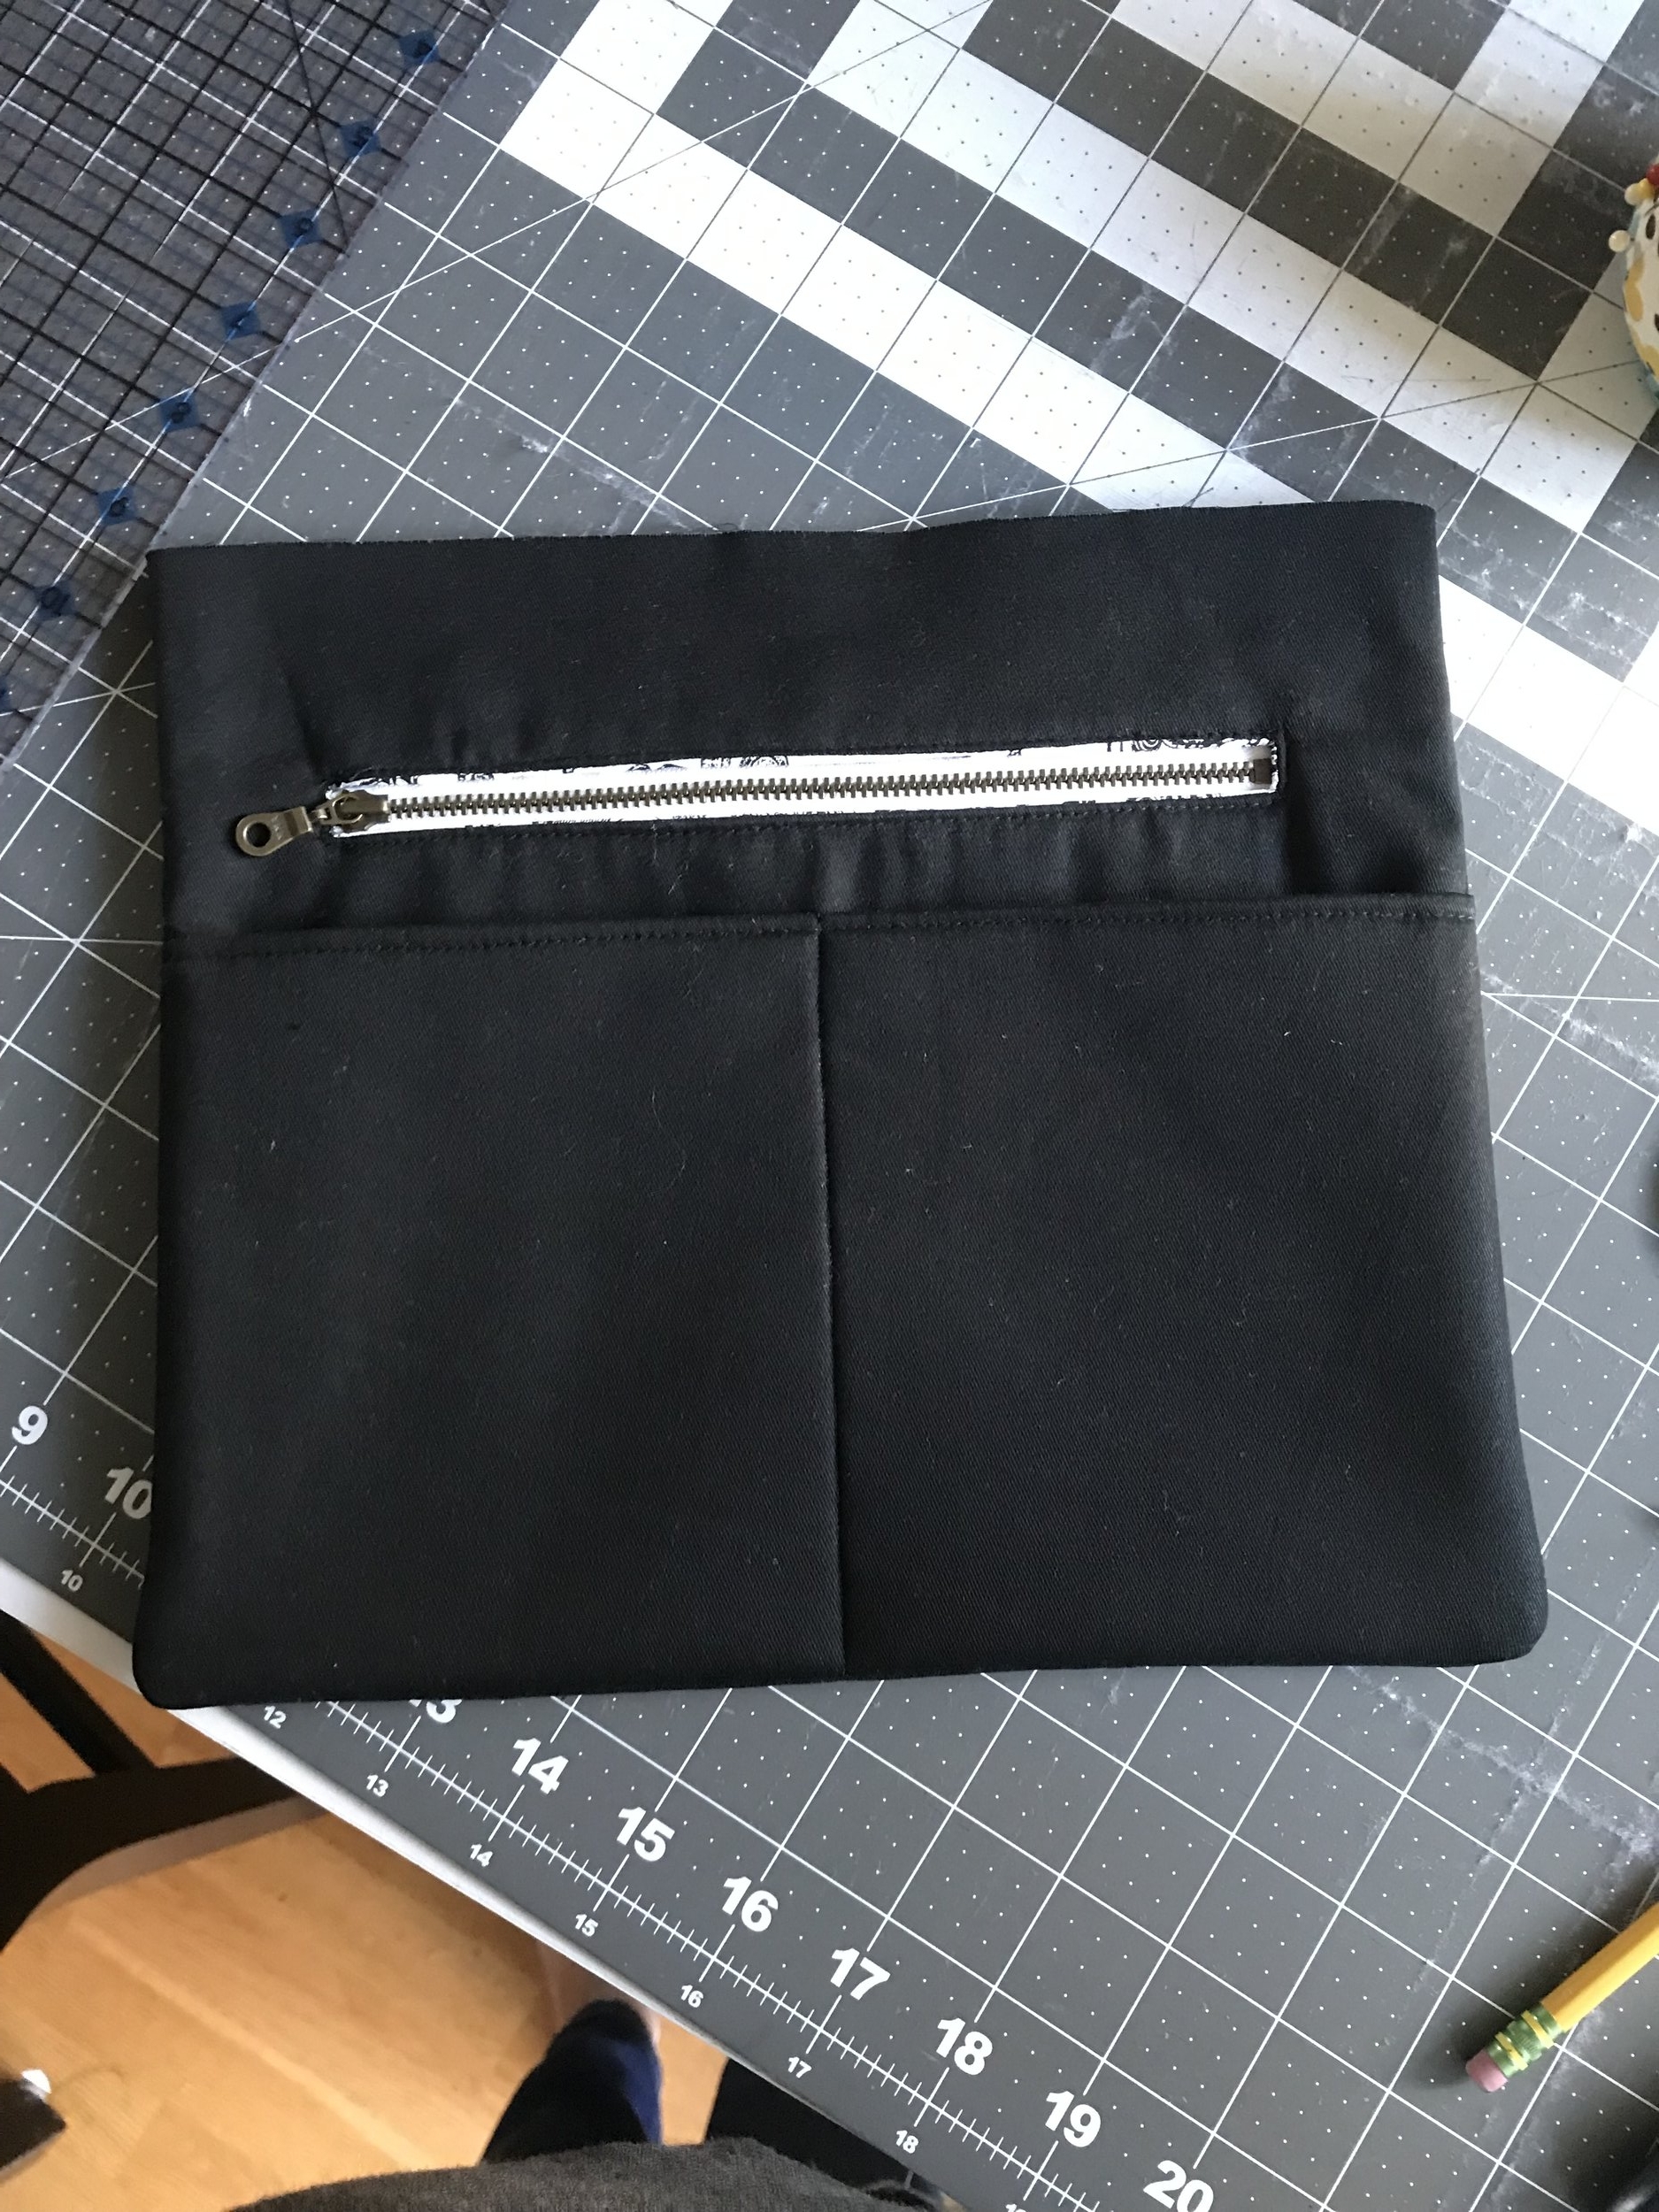
Lay your finished front exterior panel down. Then lay the front pocket piece on top lining up the bottom edges. Mark a line down the center of the pocket piece with tailor’s chalk and pin pocket in place. Sew through all layers along the center to create two slip pockets, making sure to keep the interior zippered pocket lining out of the way.


Then take the second exterior piece and lay down on top of the front panel. Sew along both sides and the bottom, leaving the top open.


Clip the bottom corners and turn right side out.

Set the finished apron aside.
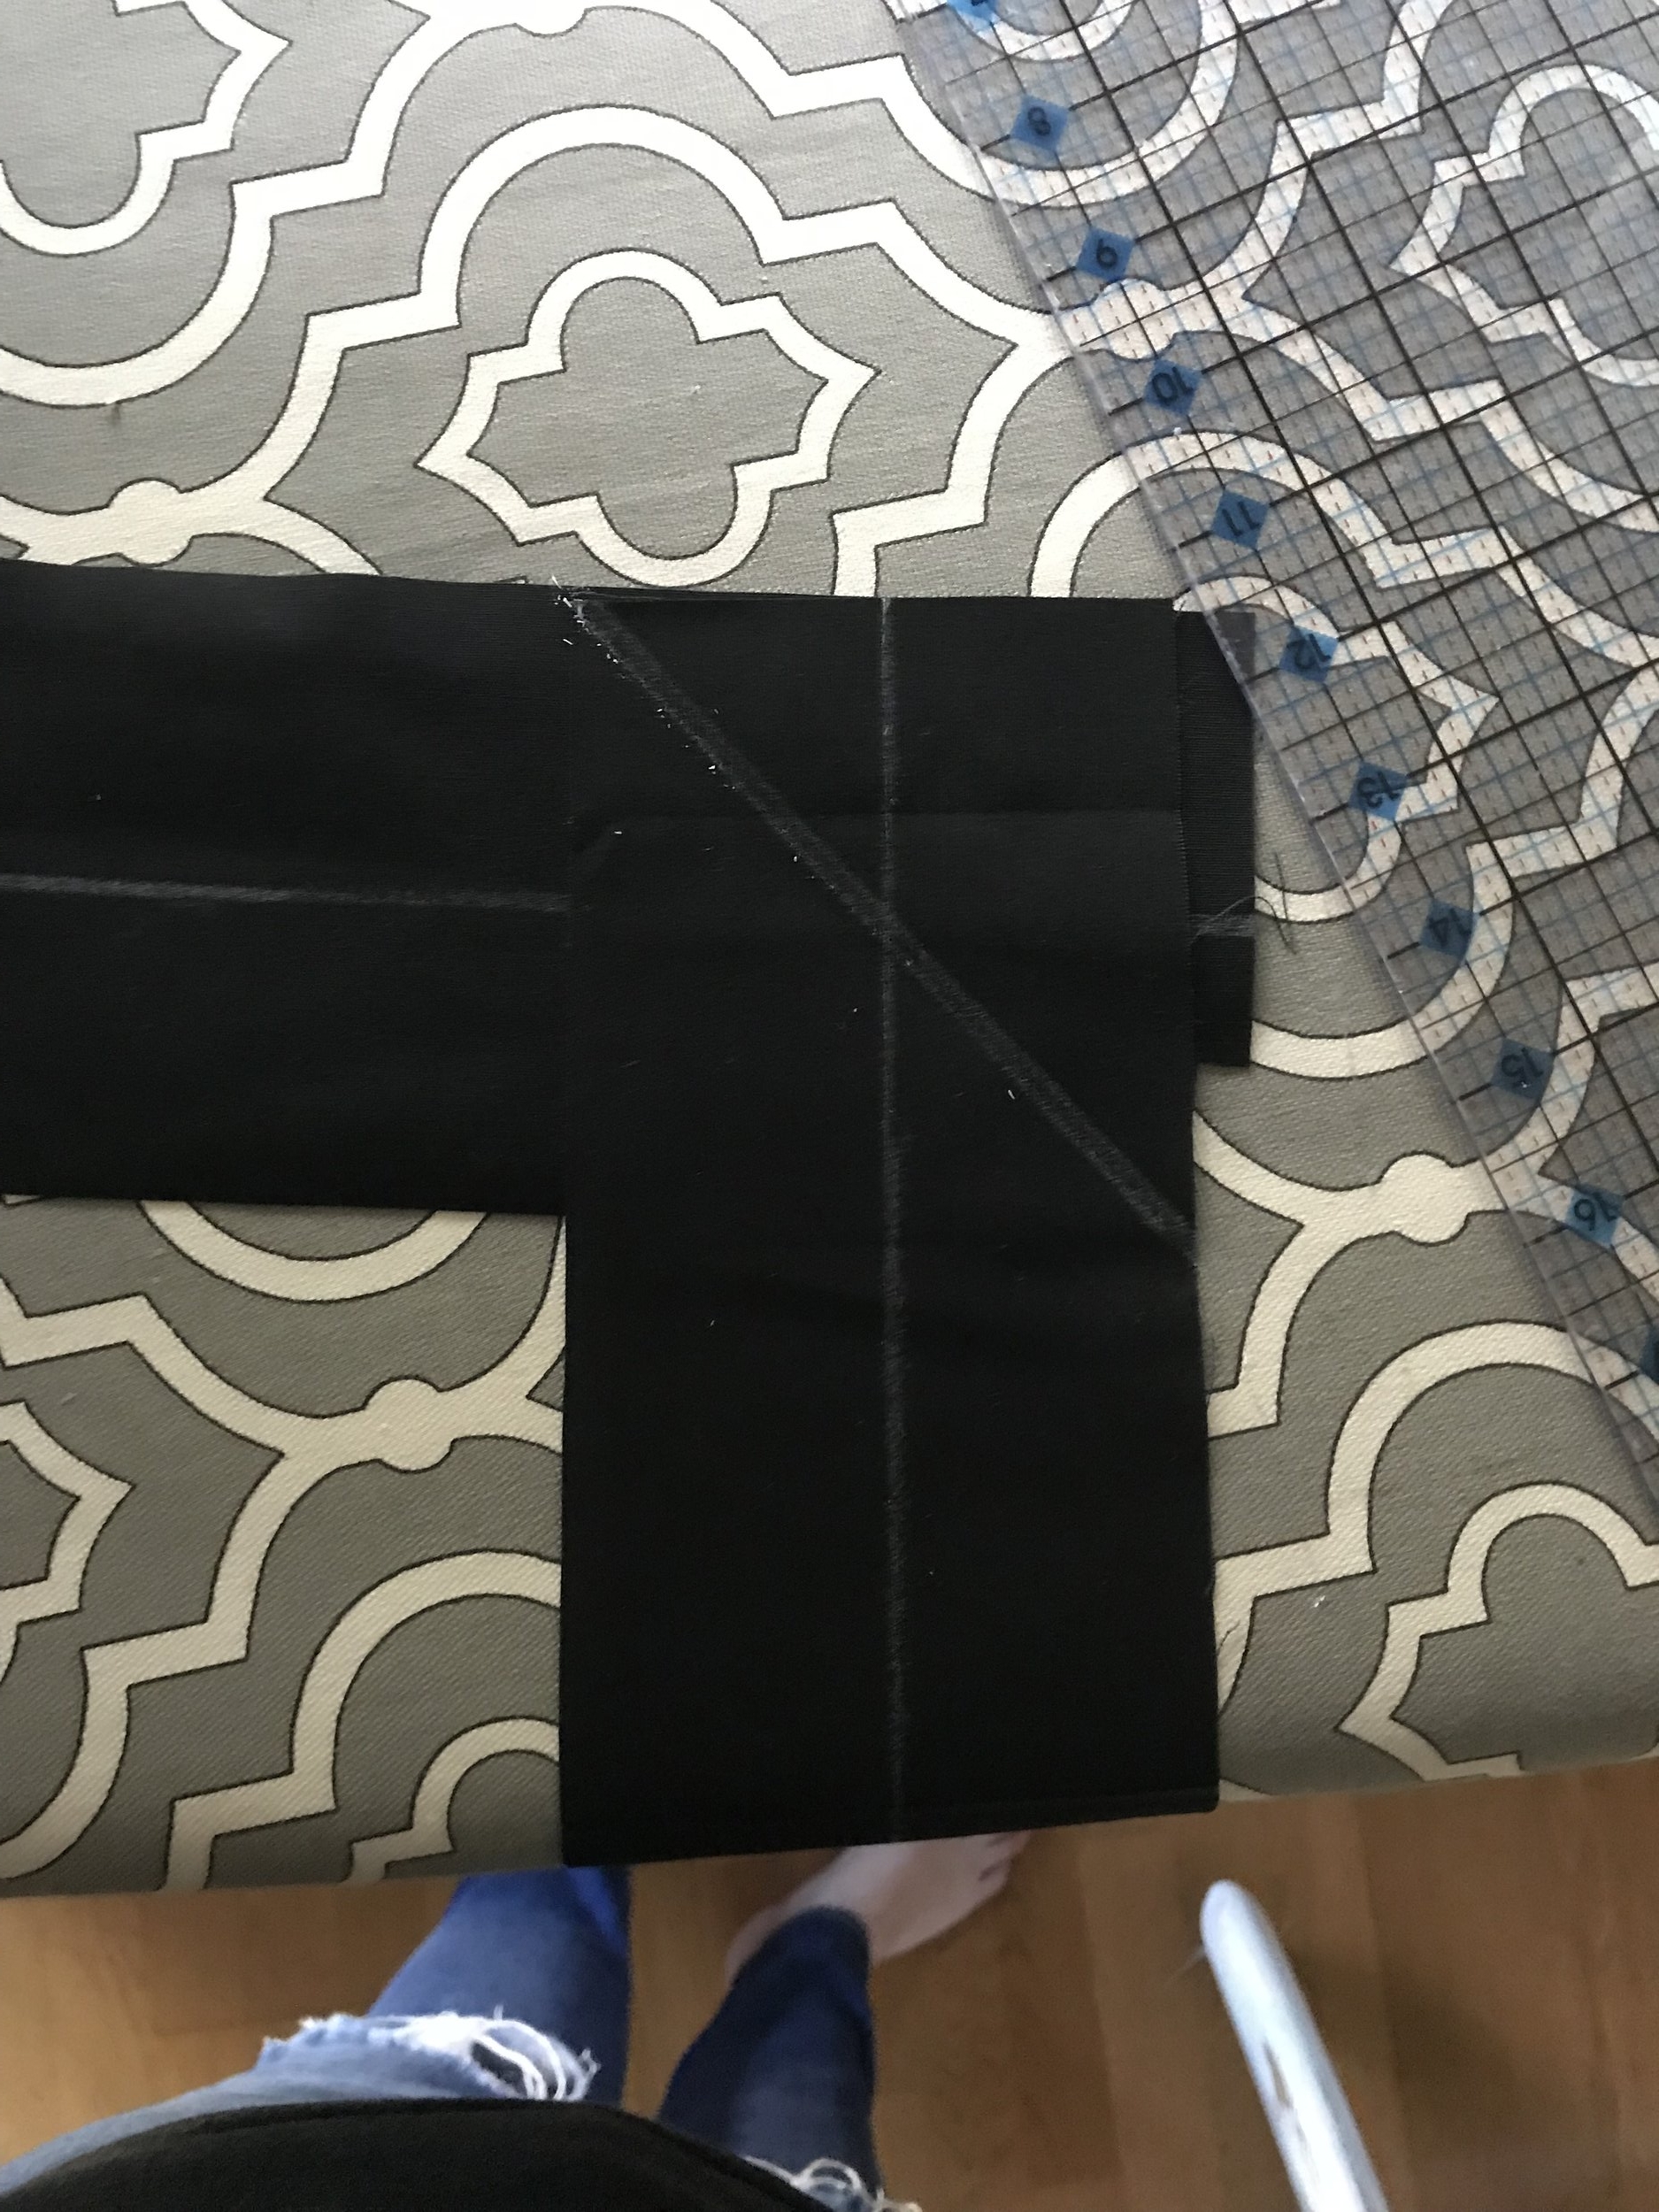
To make the strap, attach both 4” strips together by laying them on top of each other perpendicularly with right sides facing. Then sew diagonally from the top left to the bottom right. Trim the excess and press open.

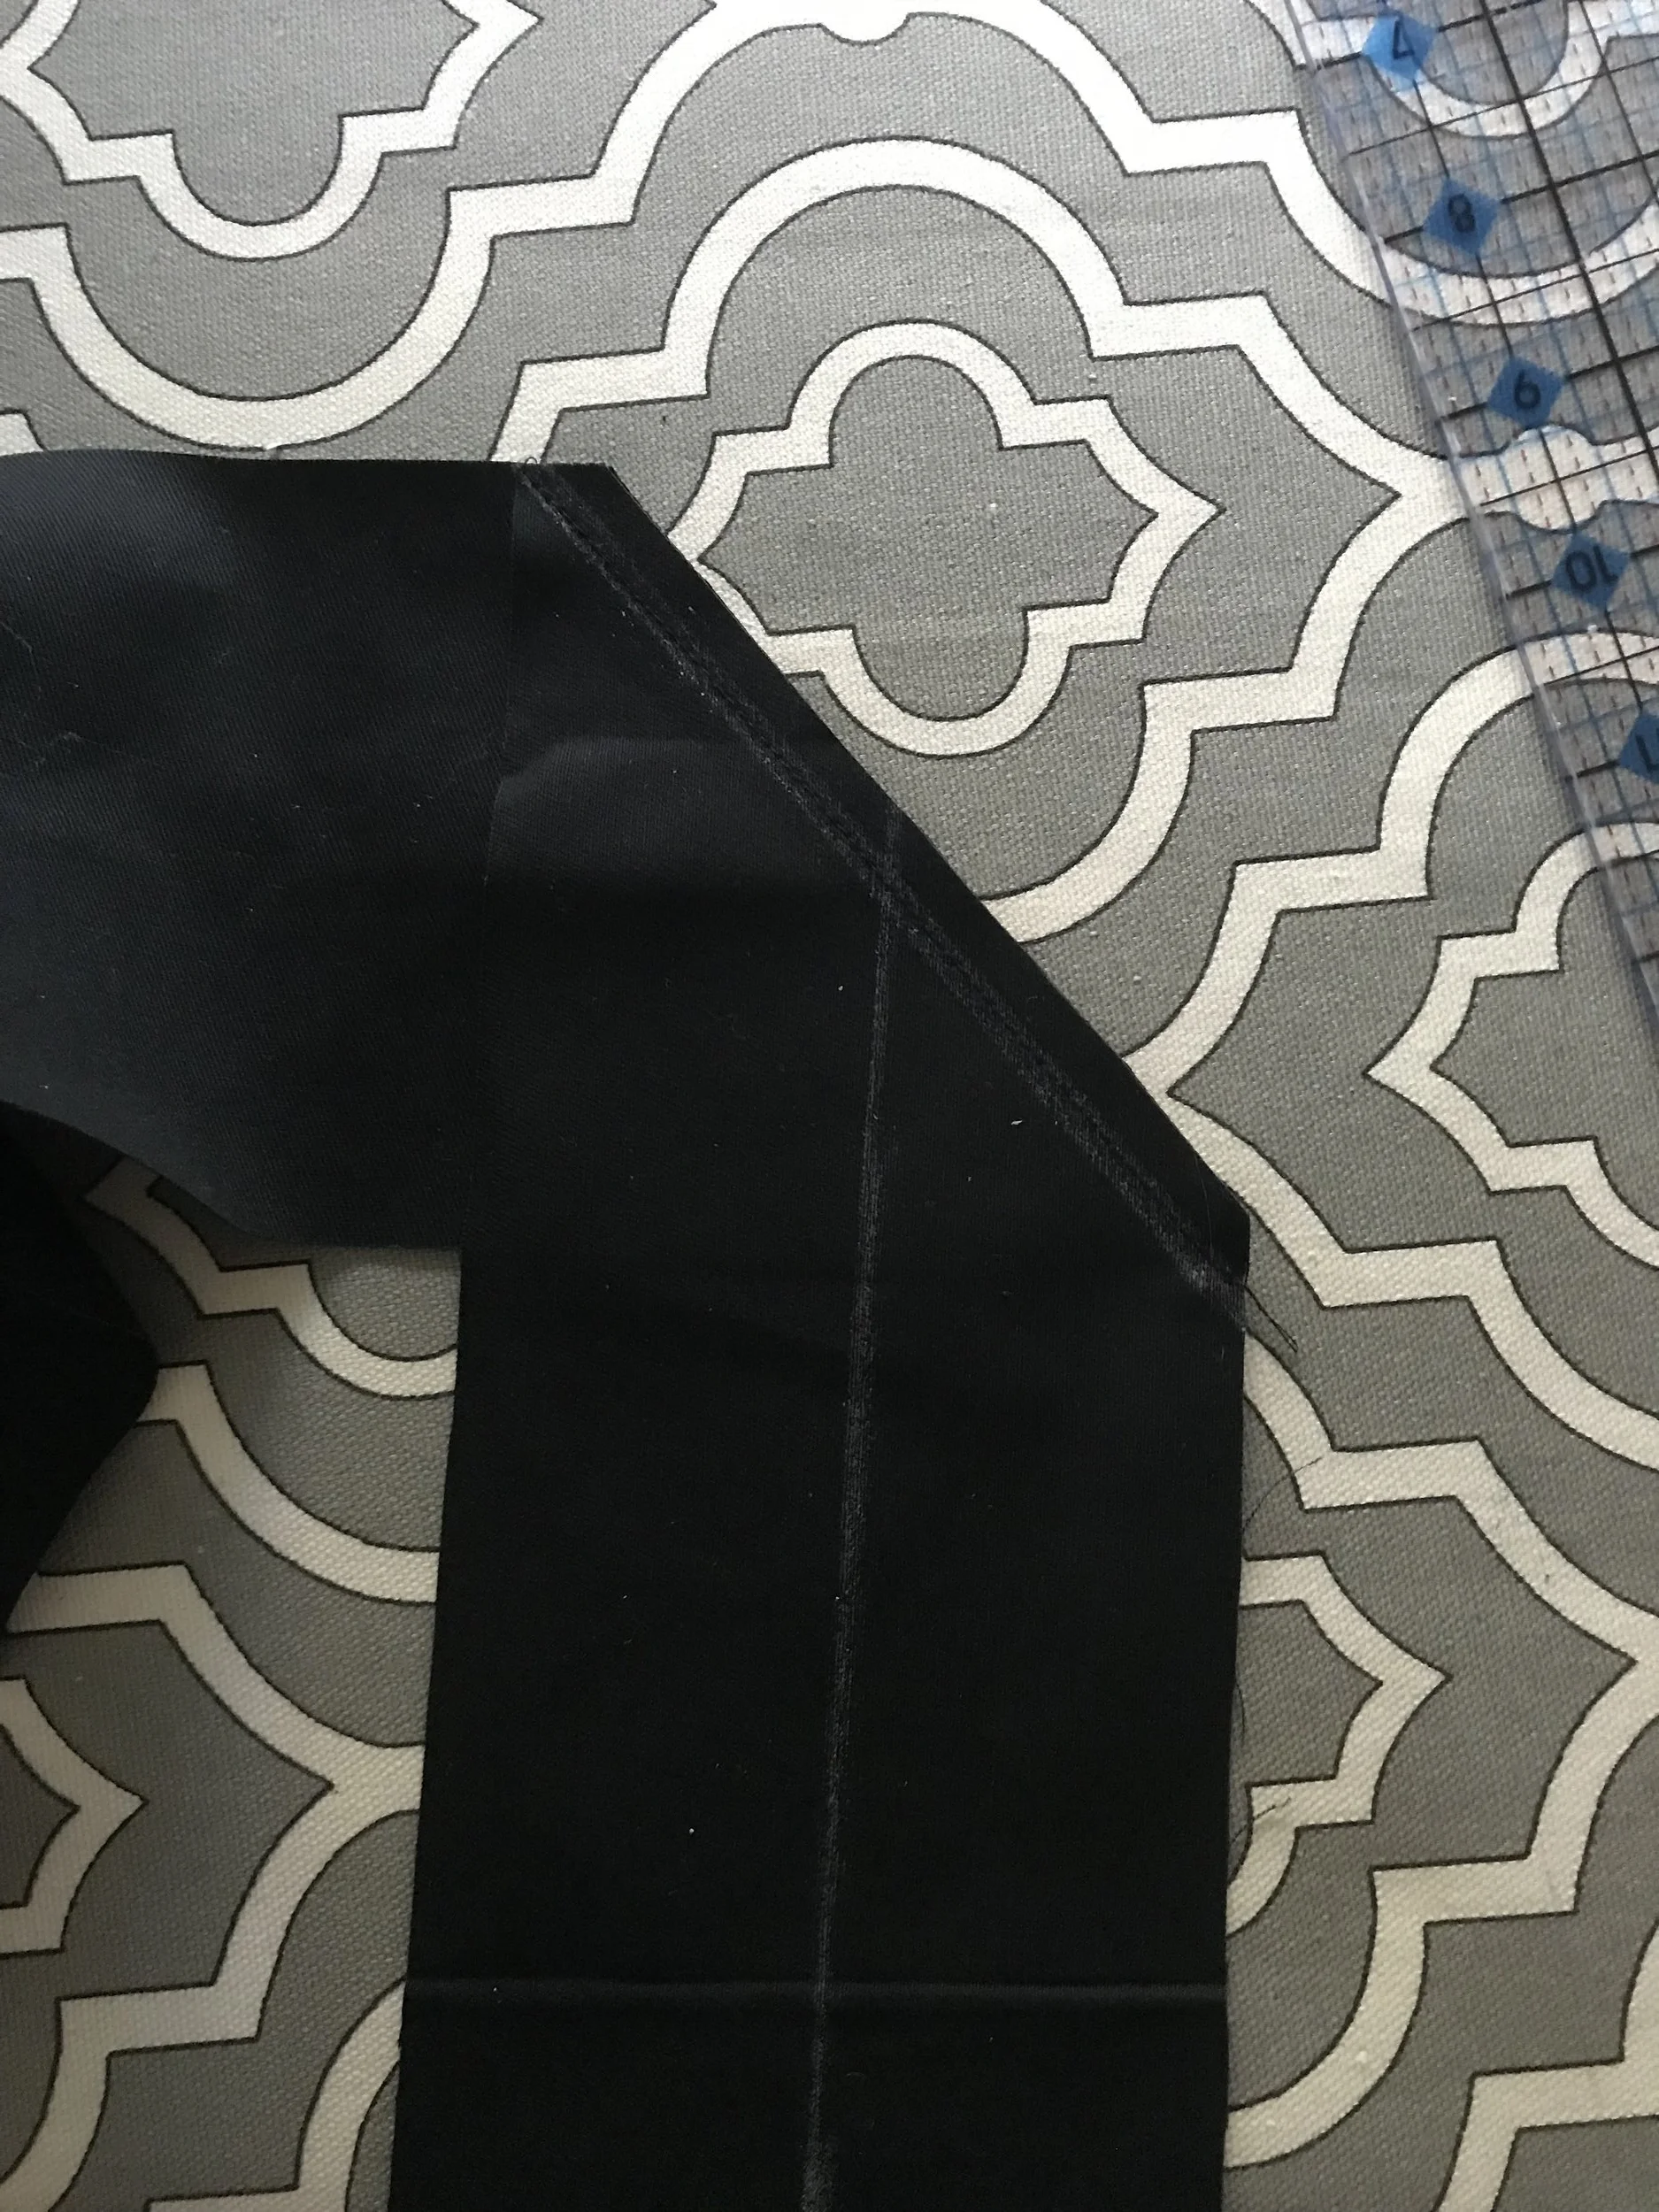

Mark the center of the strap with tailor’s chalk. Then fold each side into the center and press. Fold in half again and press. Your strap will end up 1” wide.


Open the strap and lay the finished apron piece down so the raw edges are inside the strap. Leave about 8-10” on one side of the strap.
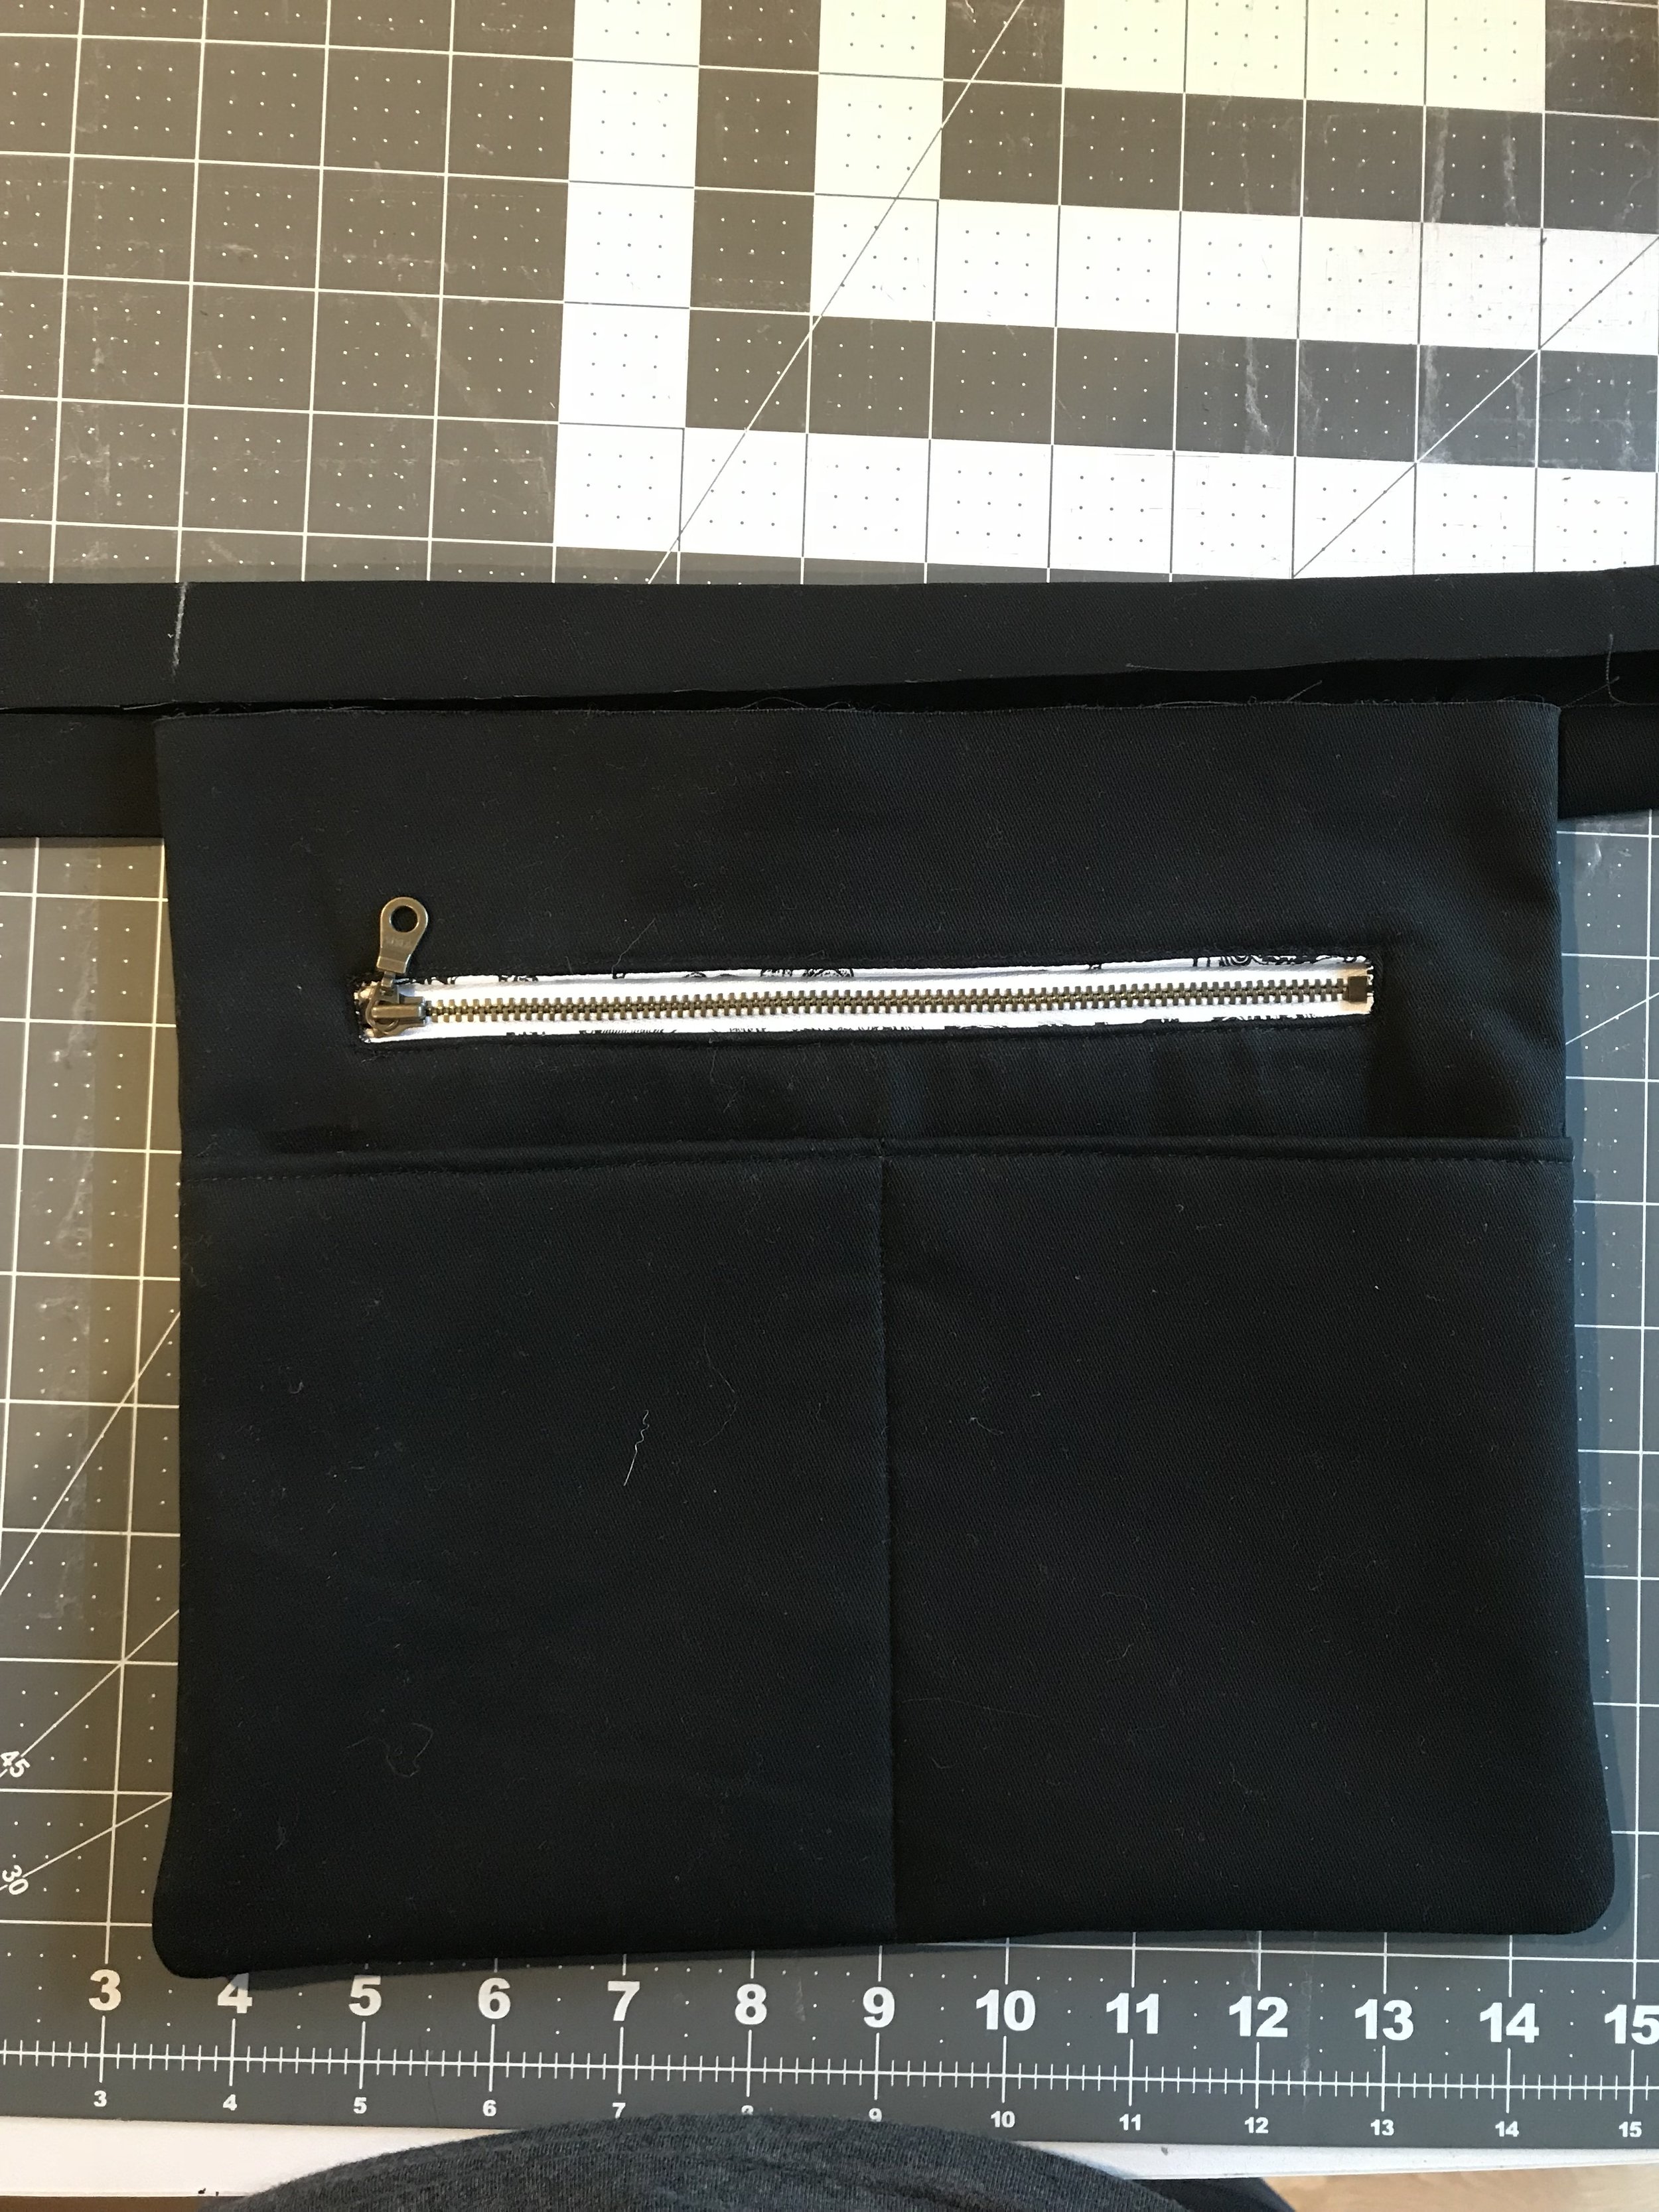

Pin in place. Fold the short ends of the straps down about a half inch and then refold so there is a nice clean edge. Pin in place and then sew along the entire length of the strap making sure to catch each side when sewing the apron in place.

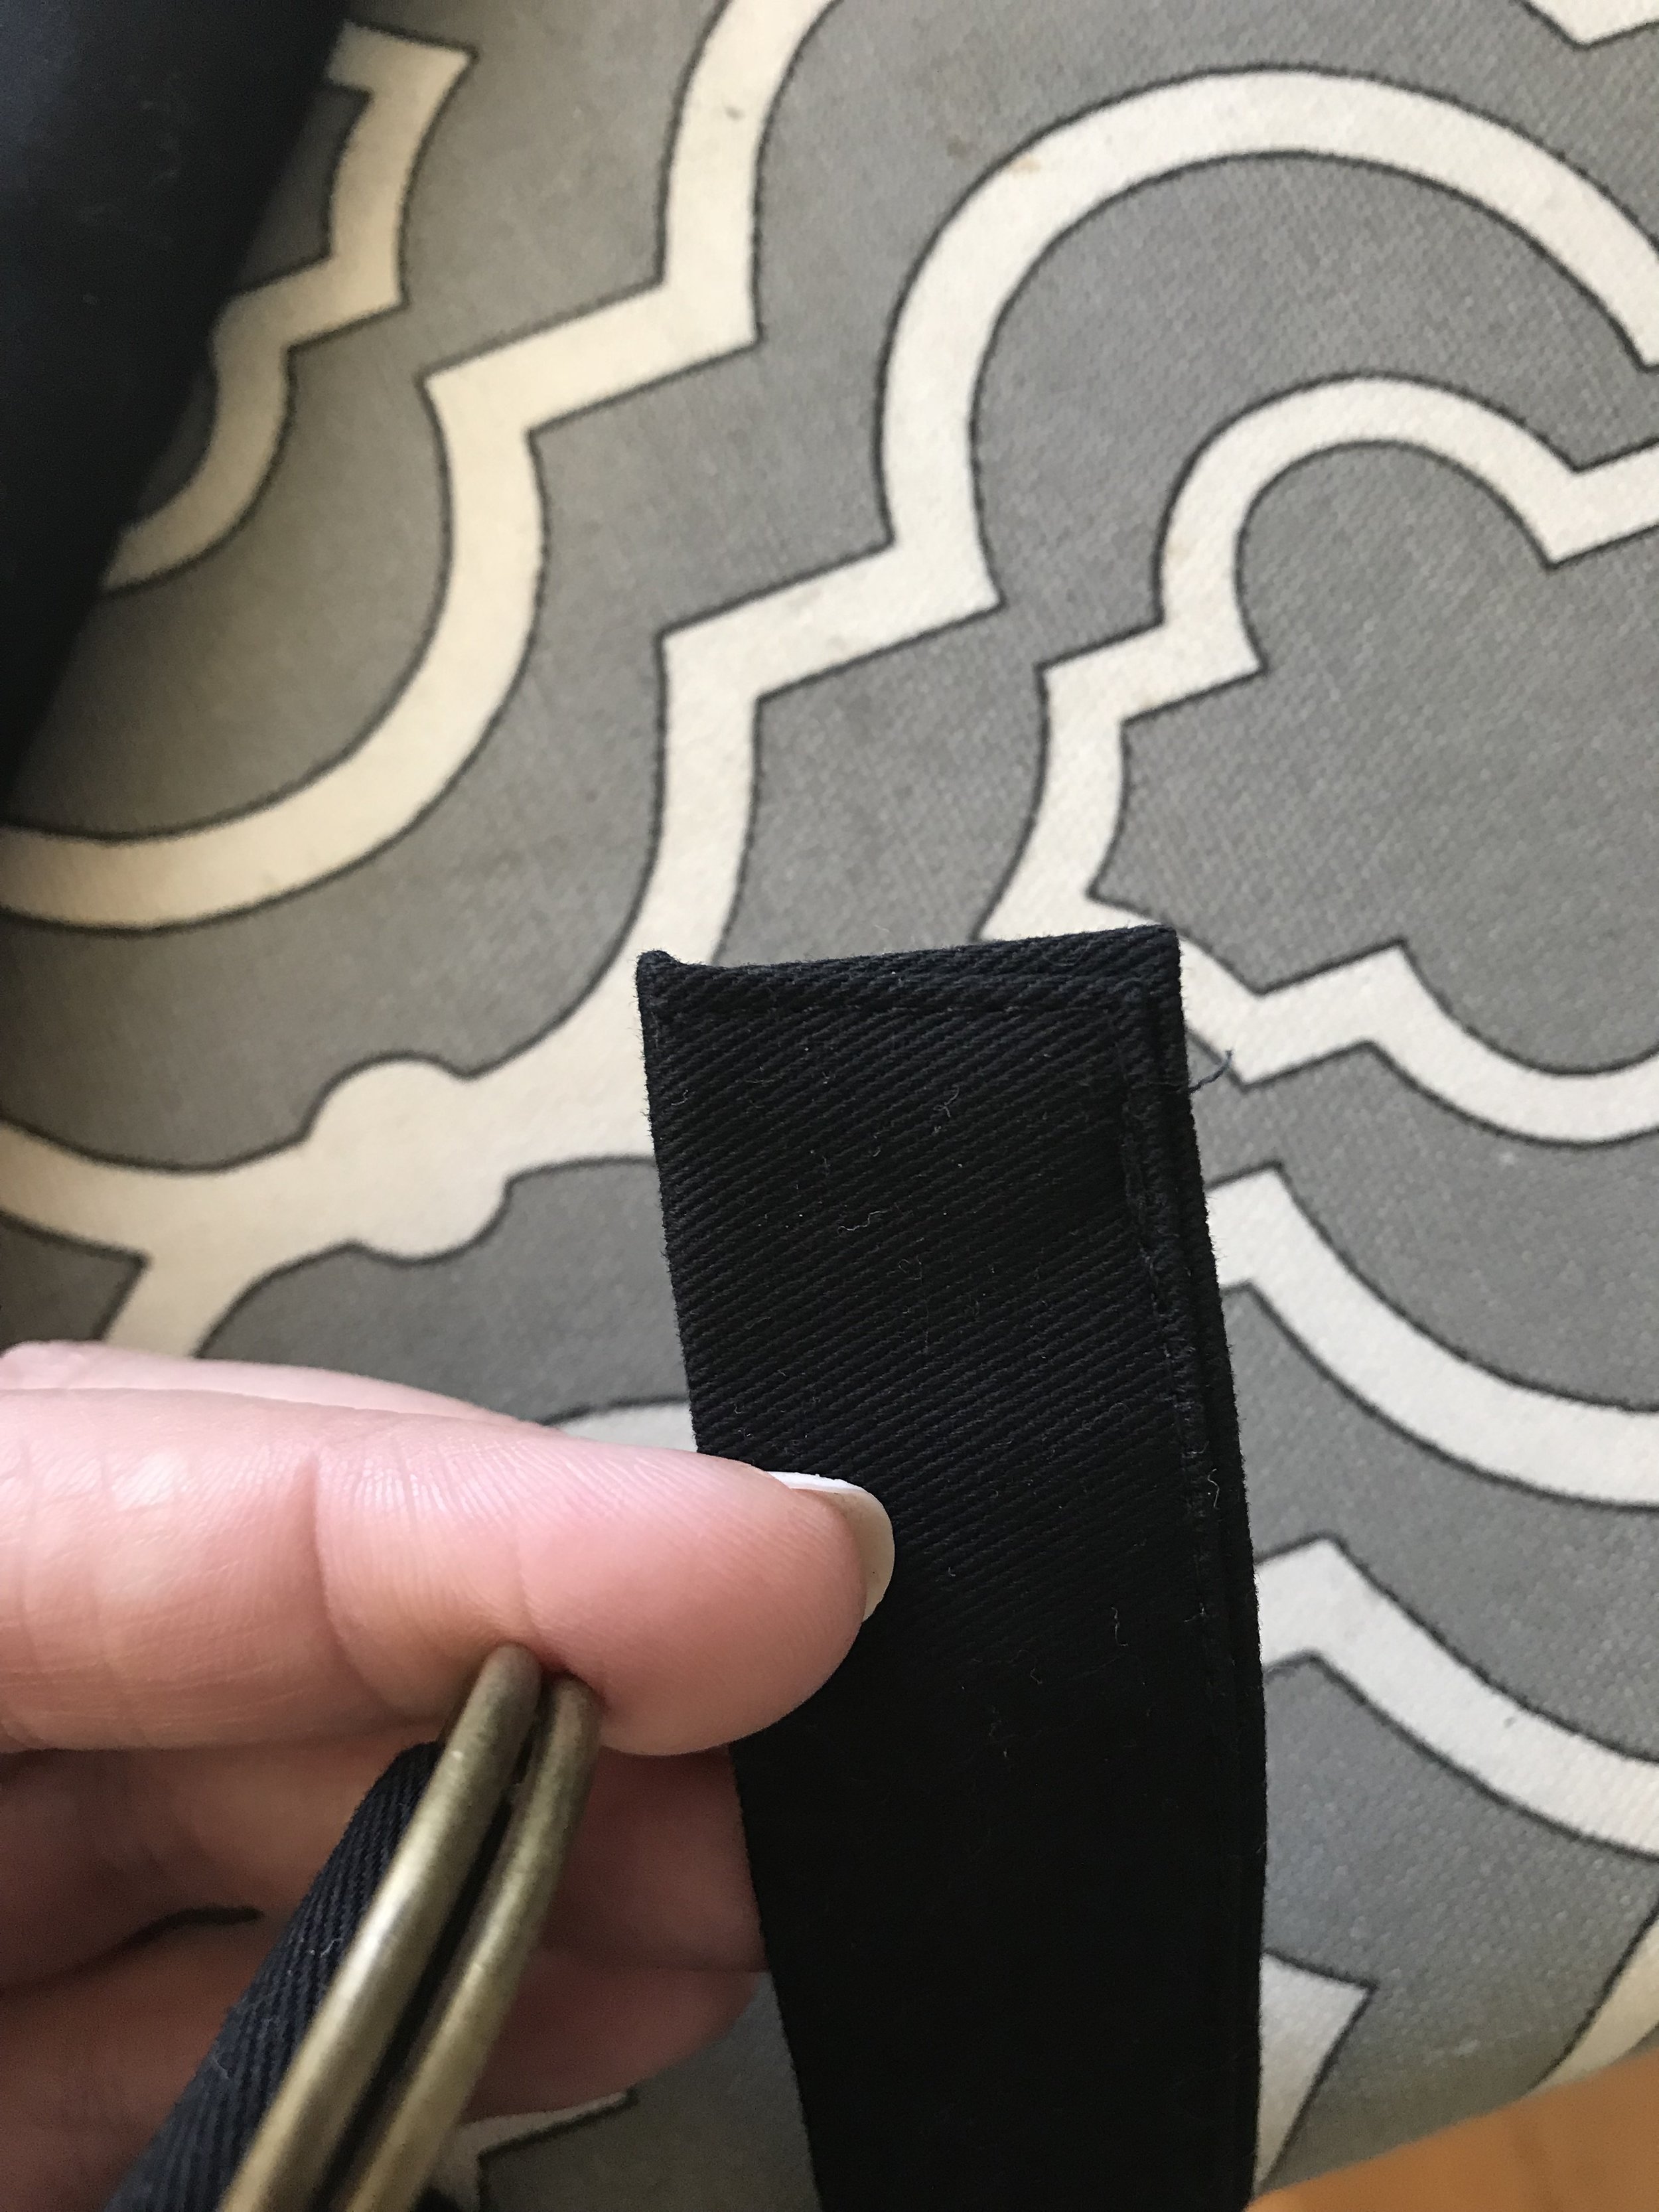
On the shortest end of the strap slide both D-rings in place. Fold over the edge of the strap and stitch in place making a box with an X inside. Sew the long end of the strap closed.


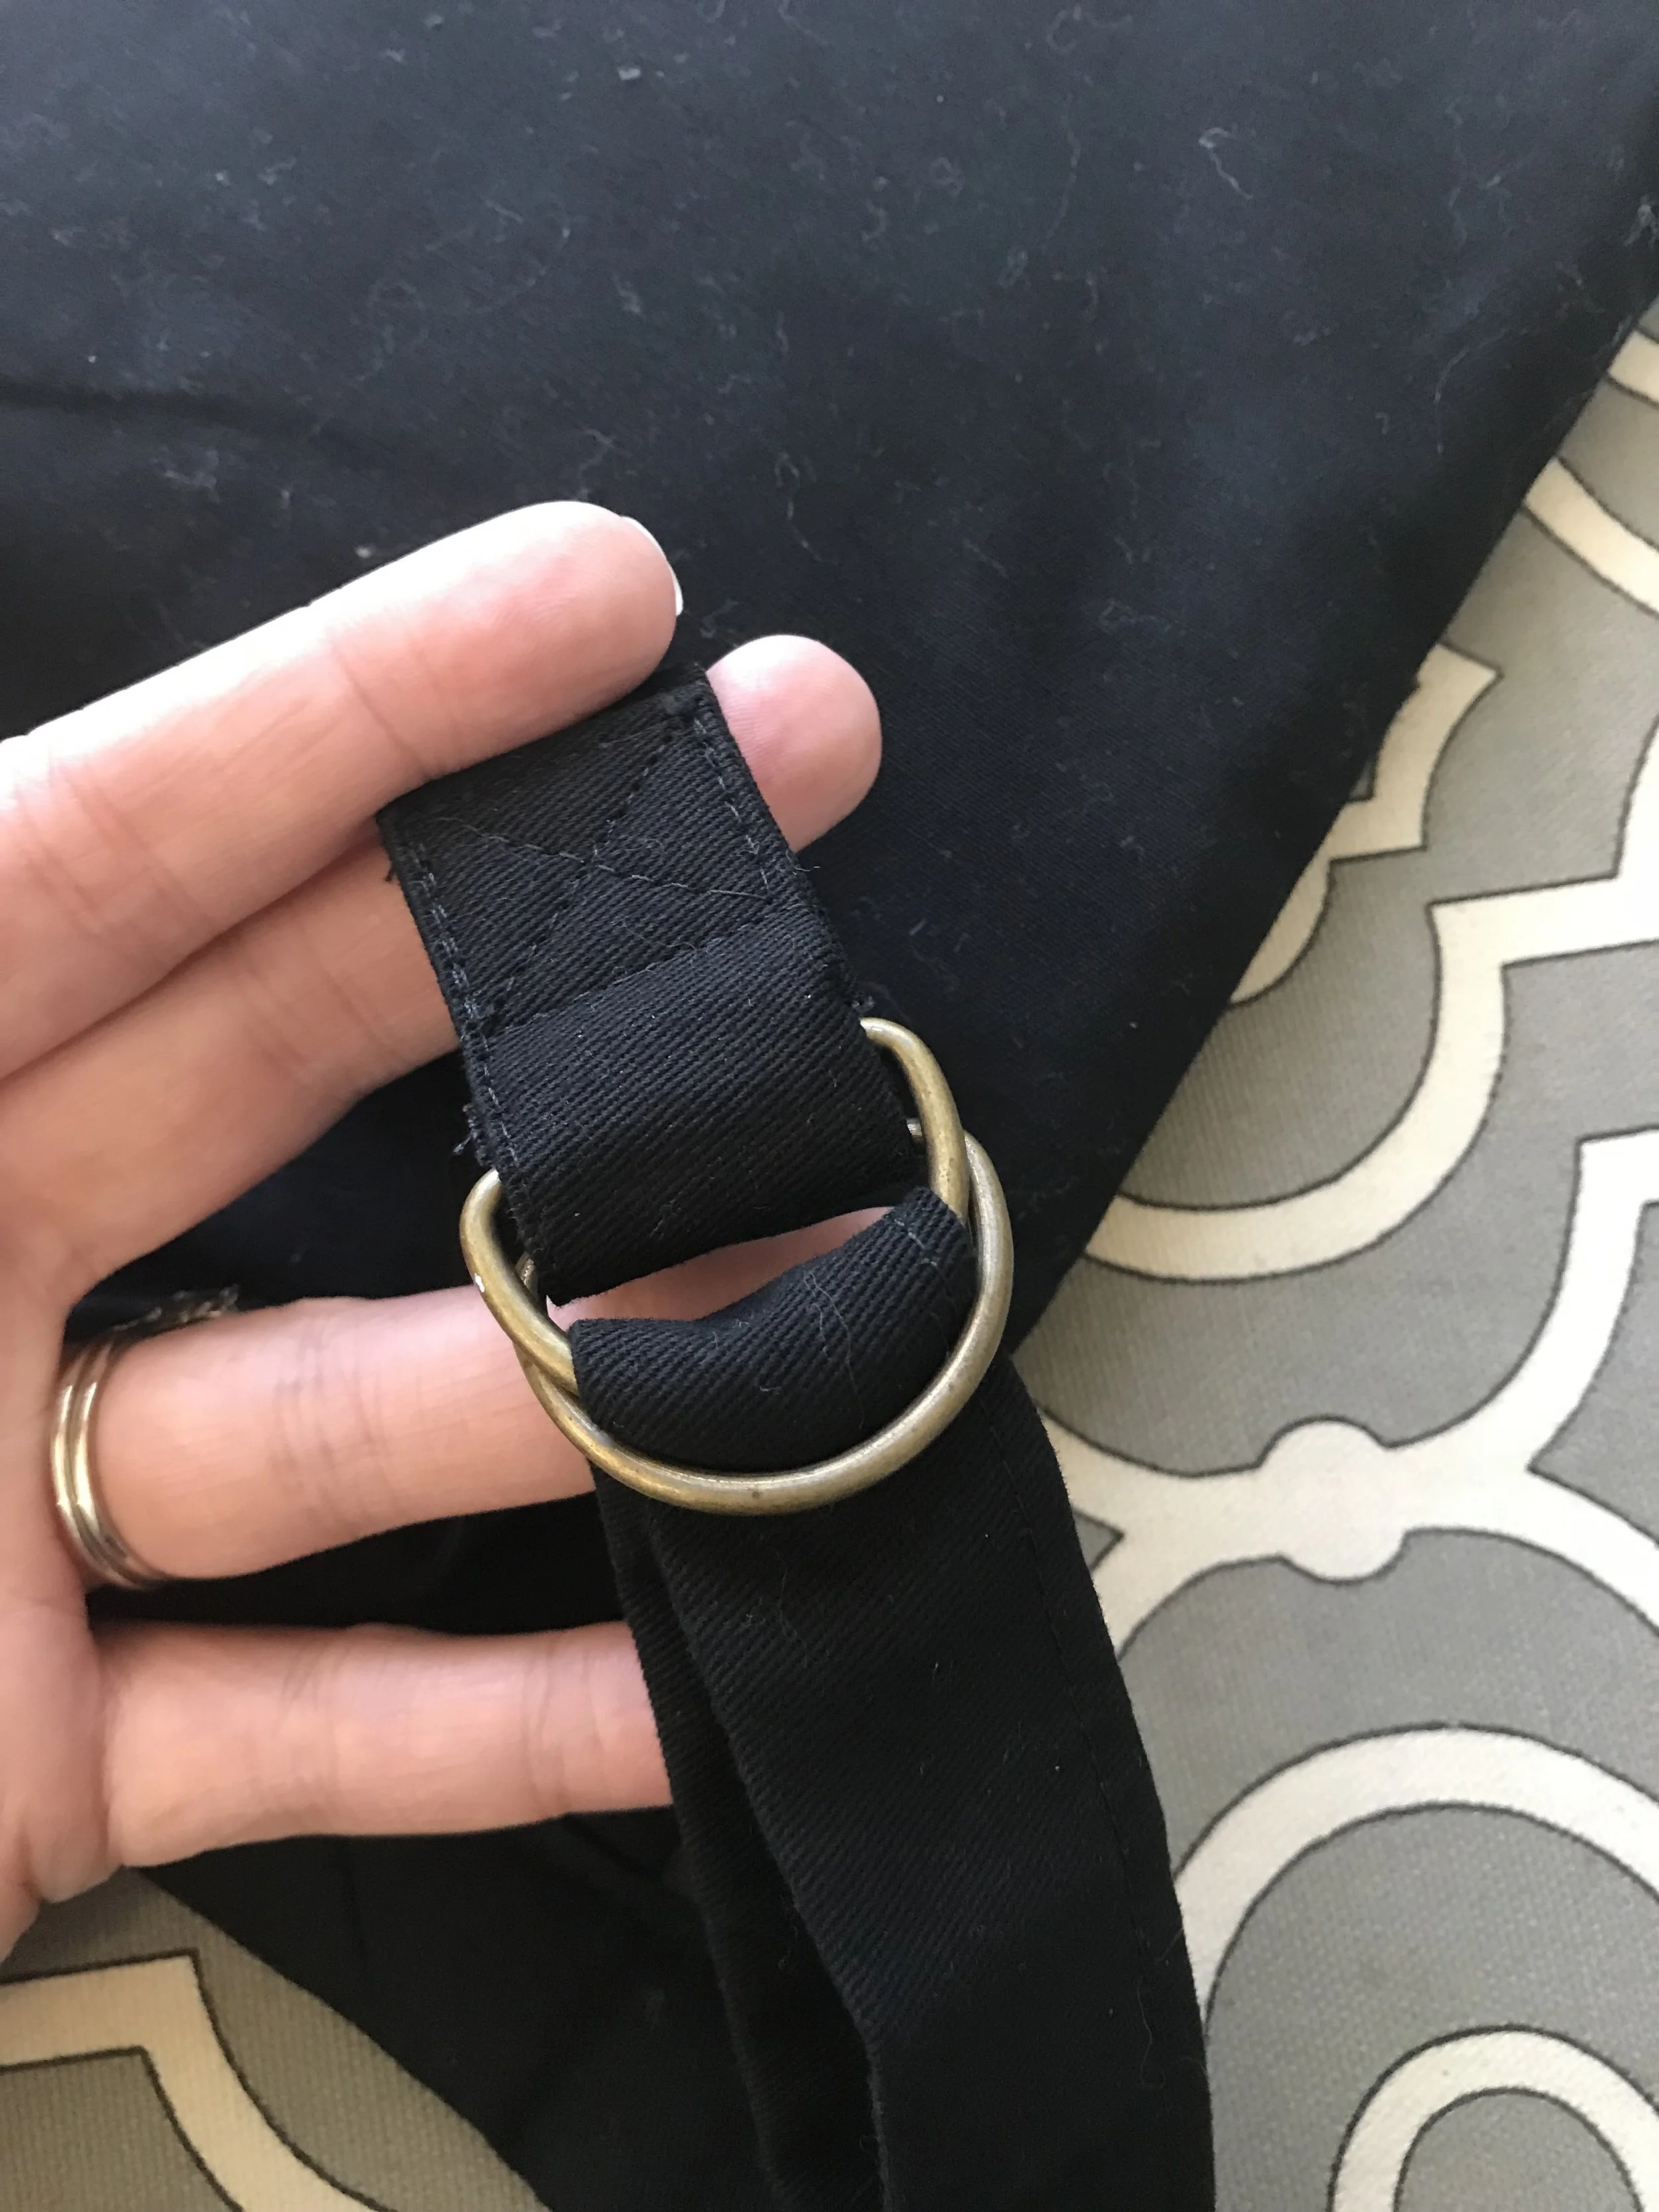
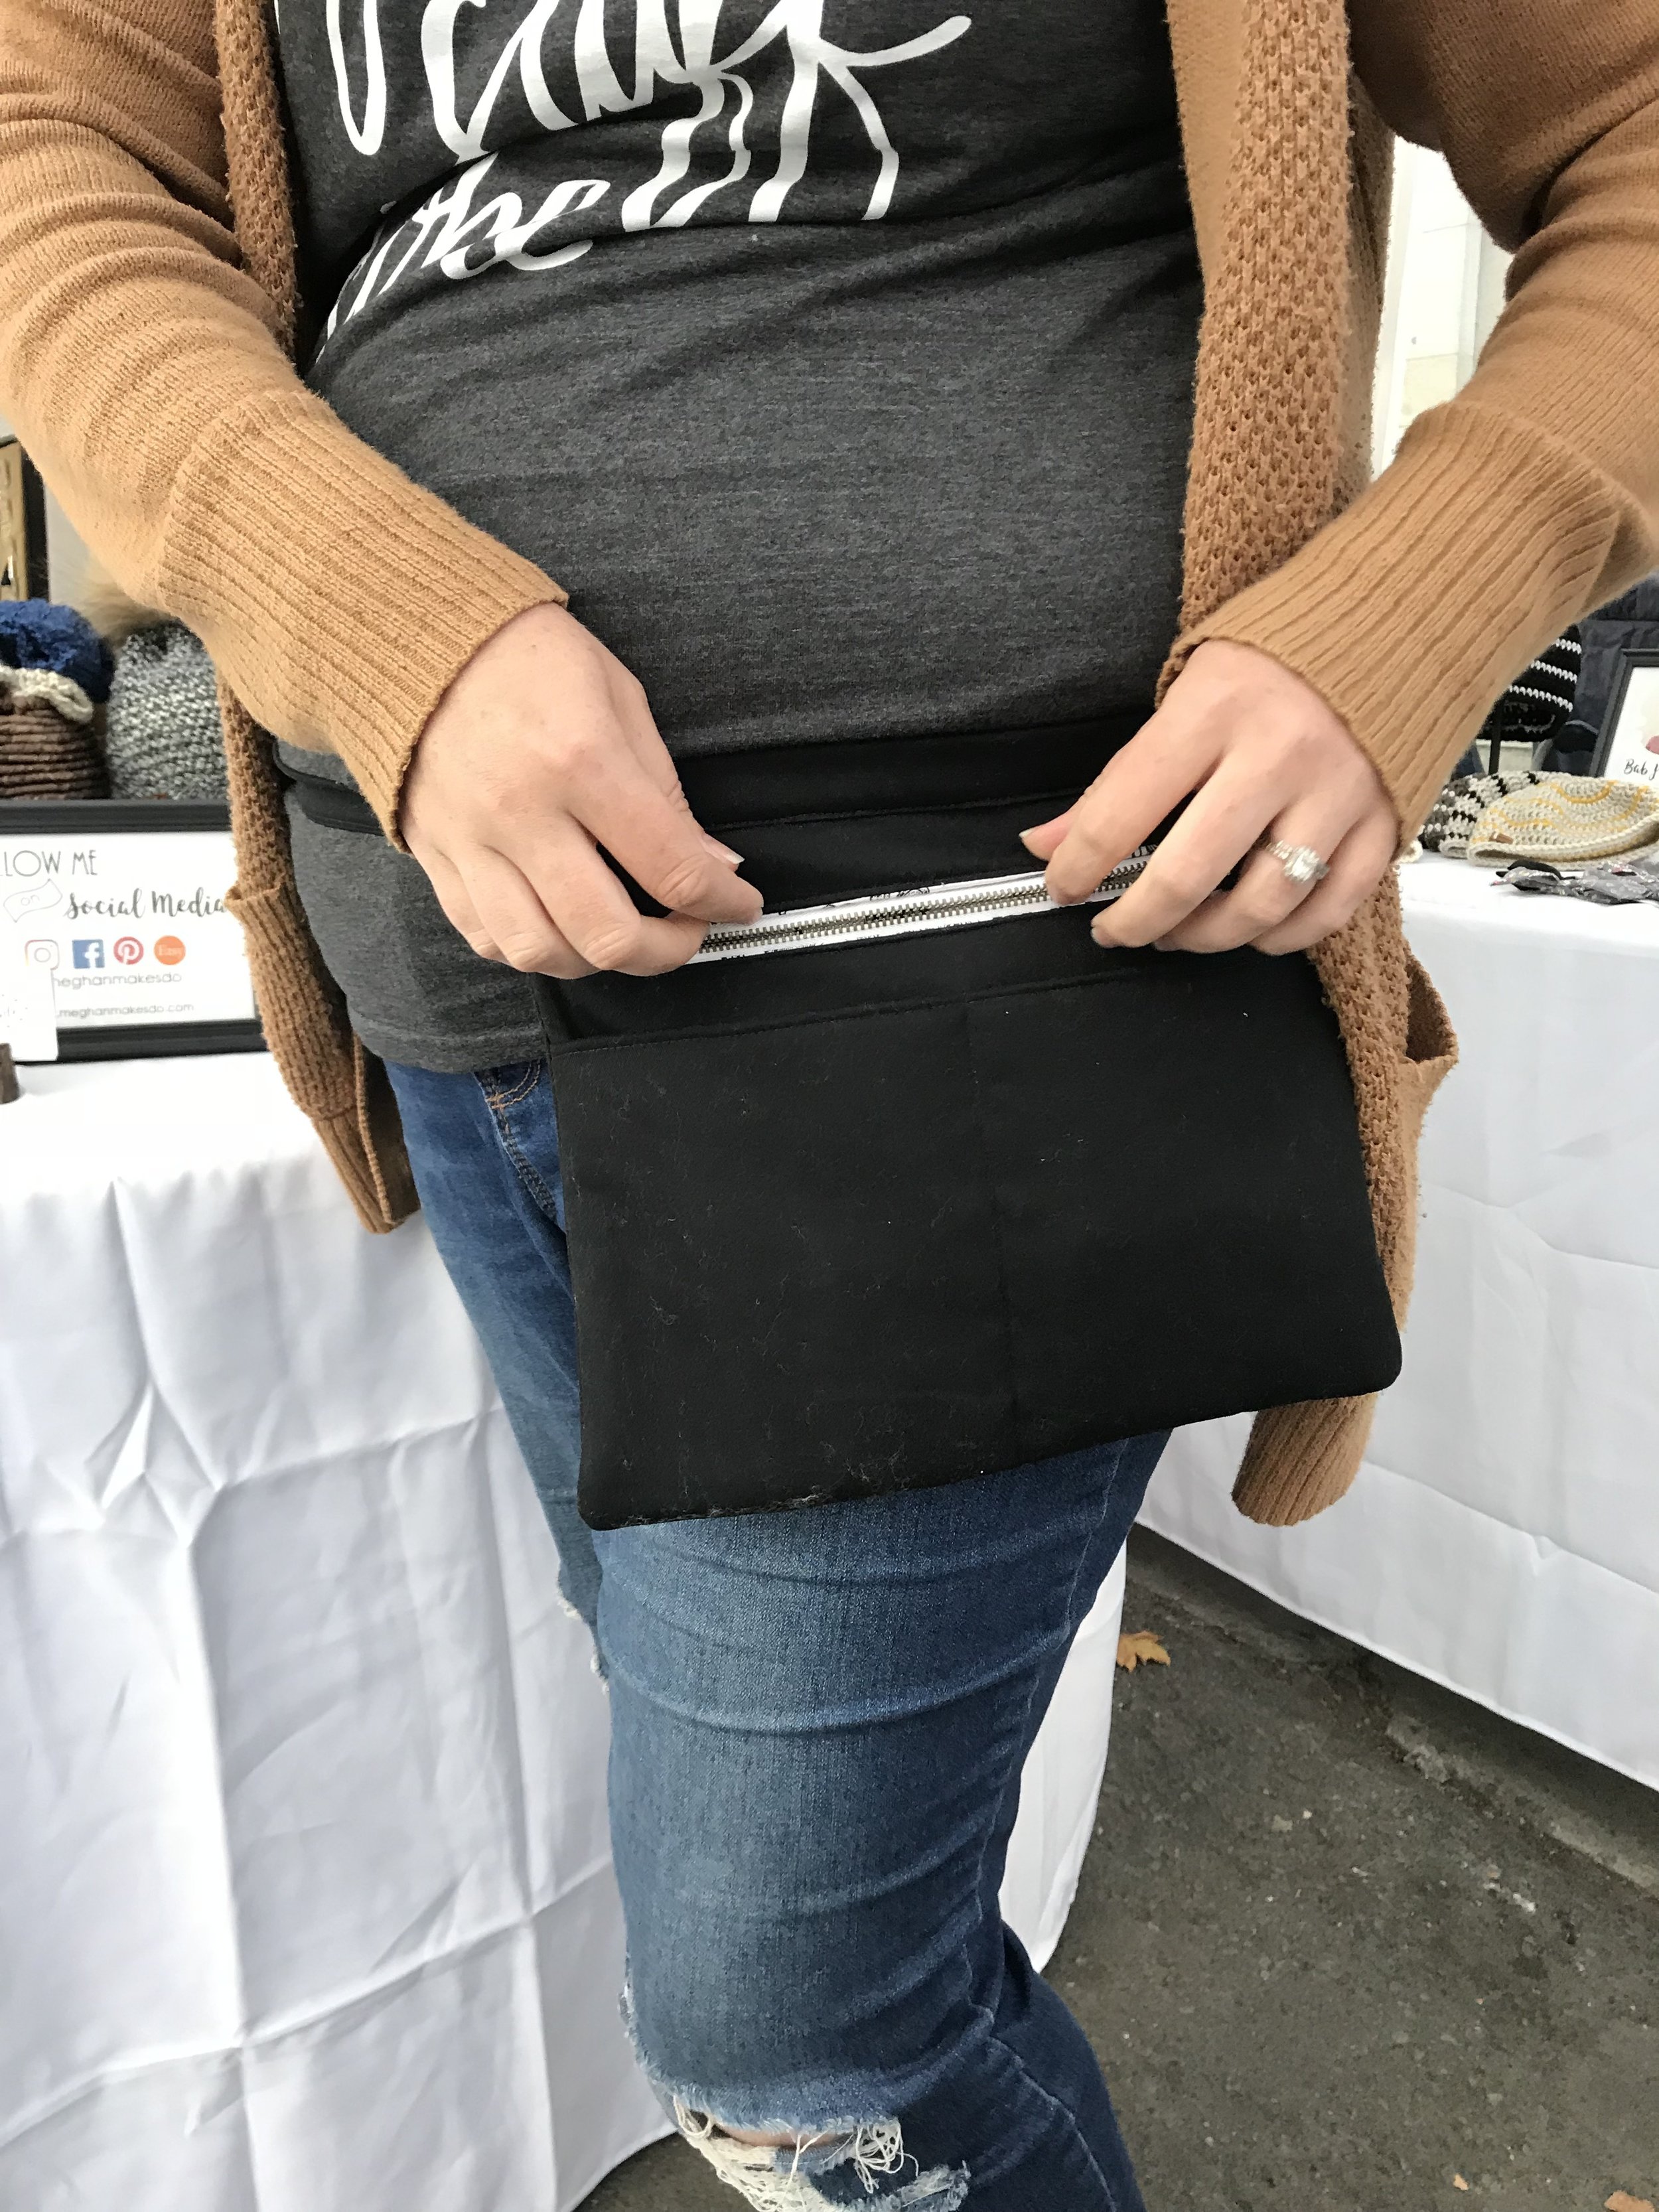
To wear your new apron, wrap it around your waist, insert the long end of the strap thru both d-rings. Then separate the d-rings a bit and loop the long end back over the first d-ring and under the second one. Pull tight and you are all set!


Now you have a perfect vendor’s apron! The apron will hold all your cash in the zippered pocket and your phone and credit card reader in the front pockets. There is also plenty of room for a small notebook, pen or calculator if needed.
I hope you love your new vendor’s apron. If you would rather have one made for you make sure you head over to my shop to order yours today. If you have any questions or need help along the way just let me know. I’d love to see your finished vendor’s aprons in action! Tag me @meghanmakesdo on social media or use the hashtag #meghanmakesdo so I can see.
Happy Sewing!
Meghan