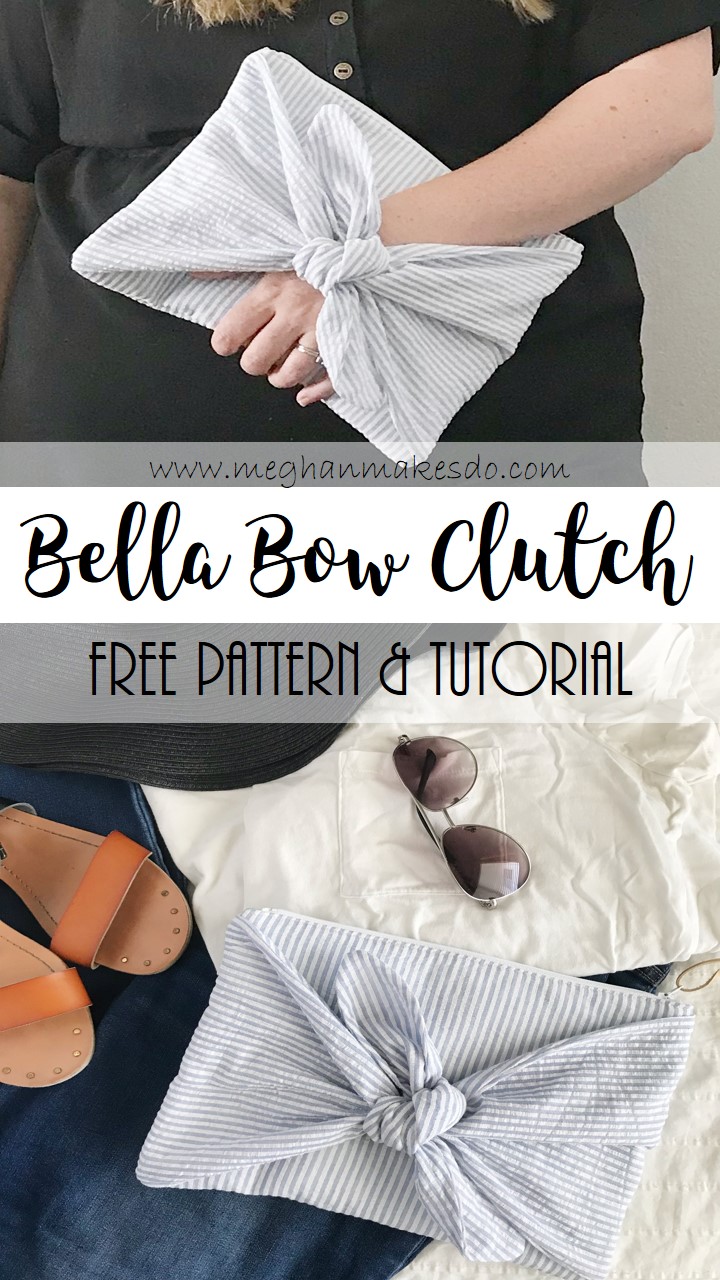
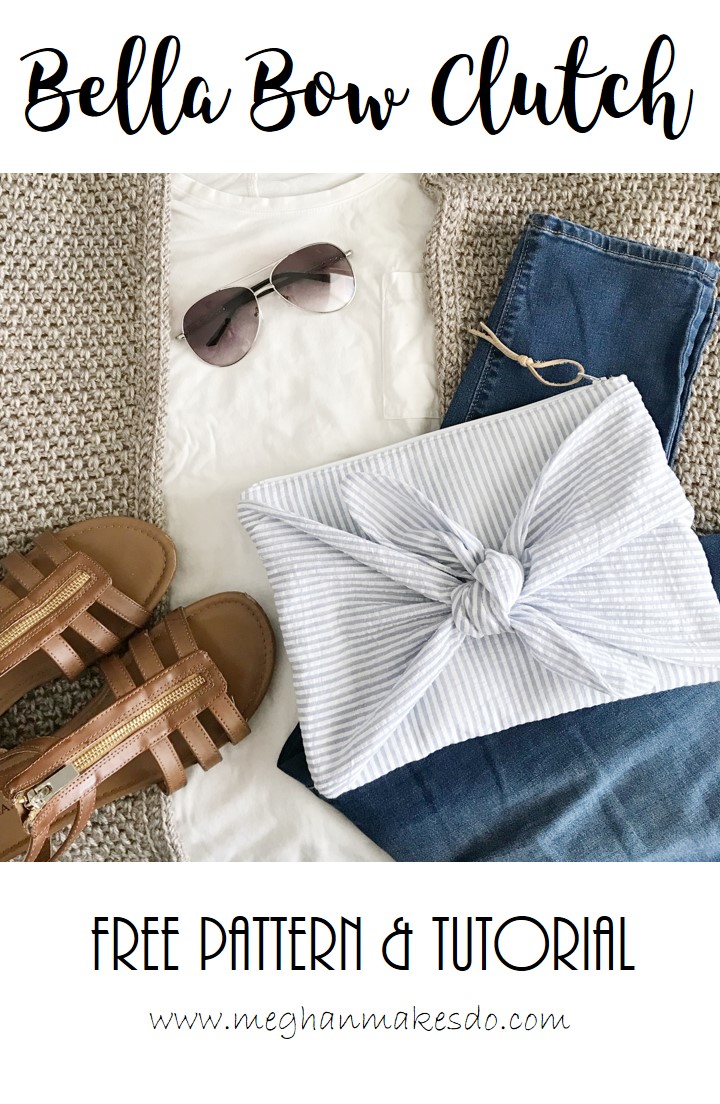
The Bella Bow Clutch-Free Pattern & Tutorial
If you haven't heard I was selected to be an ambassador for Cotton Cuts for the month of May! Cotton Cuts is an amazing company that gives back to the community by using some of the profits of their subscription boxes to help find jobs for those with disabilities. As an ambassador I received a free Modern Maker Box for the month and was able to create whatever I wanted with the fabric inside. When I received my box of fabric I was so excited to see three yards from the Santa Fe collection by Sarah Watts for Cotton & Steel. I especially loved the black fabric with gold moons on it.

After using up the first yard to make some animal pouches I knew I wanted to do something really special with the black fabric too. I've made some bow pouches before and knew that a bow clutch would be super cute, but I wanted to make them a bit different this time. I wanted a design that was a little bit vintage but with modern touch to it. I kept picturing a 50's housewife with a bandanna tied around her head with the knot in the front and decided to try using that same kind of knot in my pouch design. I'm absolutely in love with how it turned out and I'm so excited to share the pattern with you today! As always you can find a printable Ad-Free PDF in my shop or on Etsy. Otherwise keep scrolling to get the full tutorial.
Here's what you will need to make your own Bella Bow Clutch:
3/4 yard of quilting cotton or other light weight material for exterior
1/3 yard of quilting cotton for lining
1/3 yard of fusible fleece or stabilizer (I used Pellon TP971)
10" or 11" zipper
sewing machine & thread to match
cutting tools (rotary cutter, cutting mat, ruler & scissors)
White tailor's chalk or other marking device
safety pins & straight pins
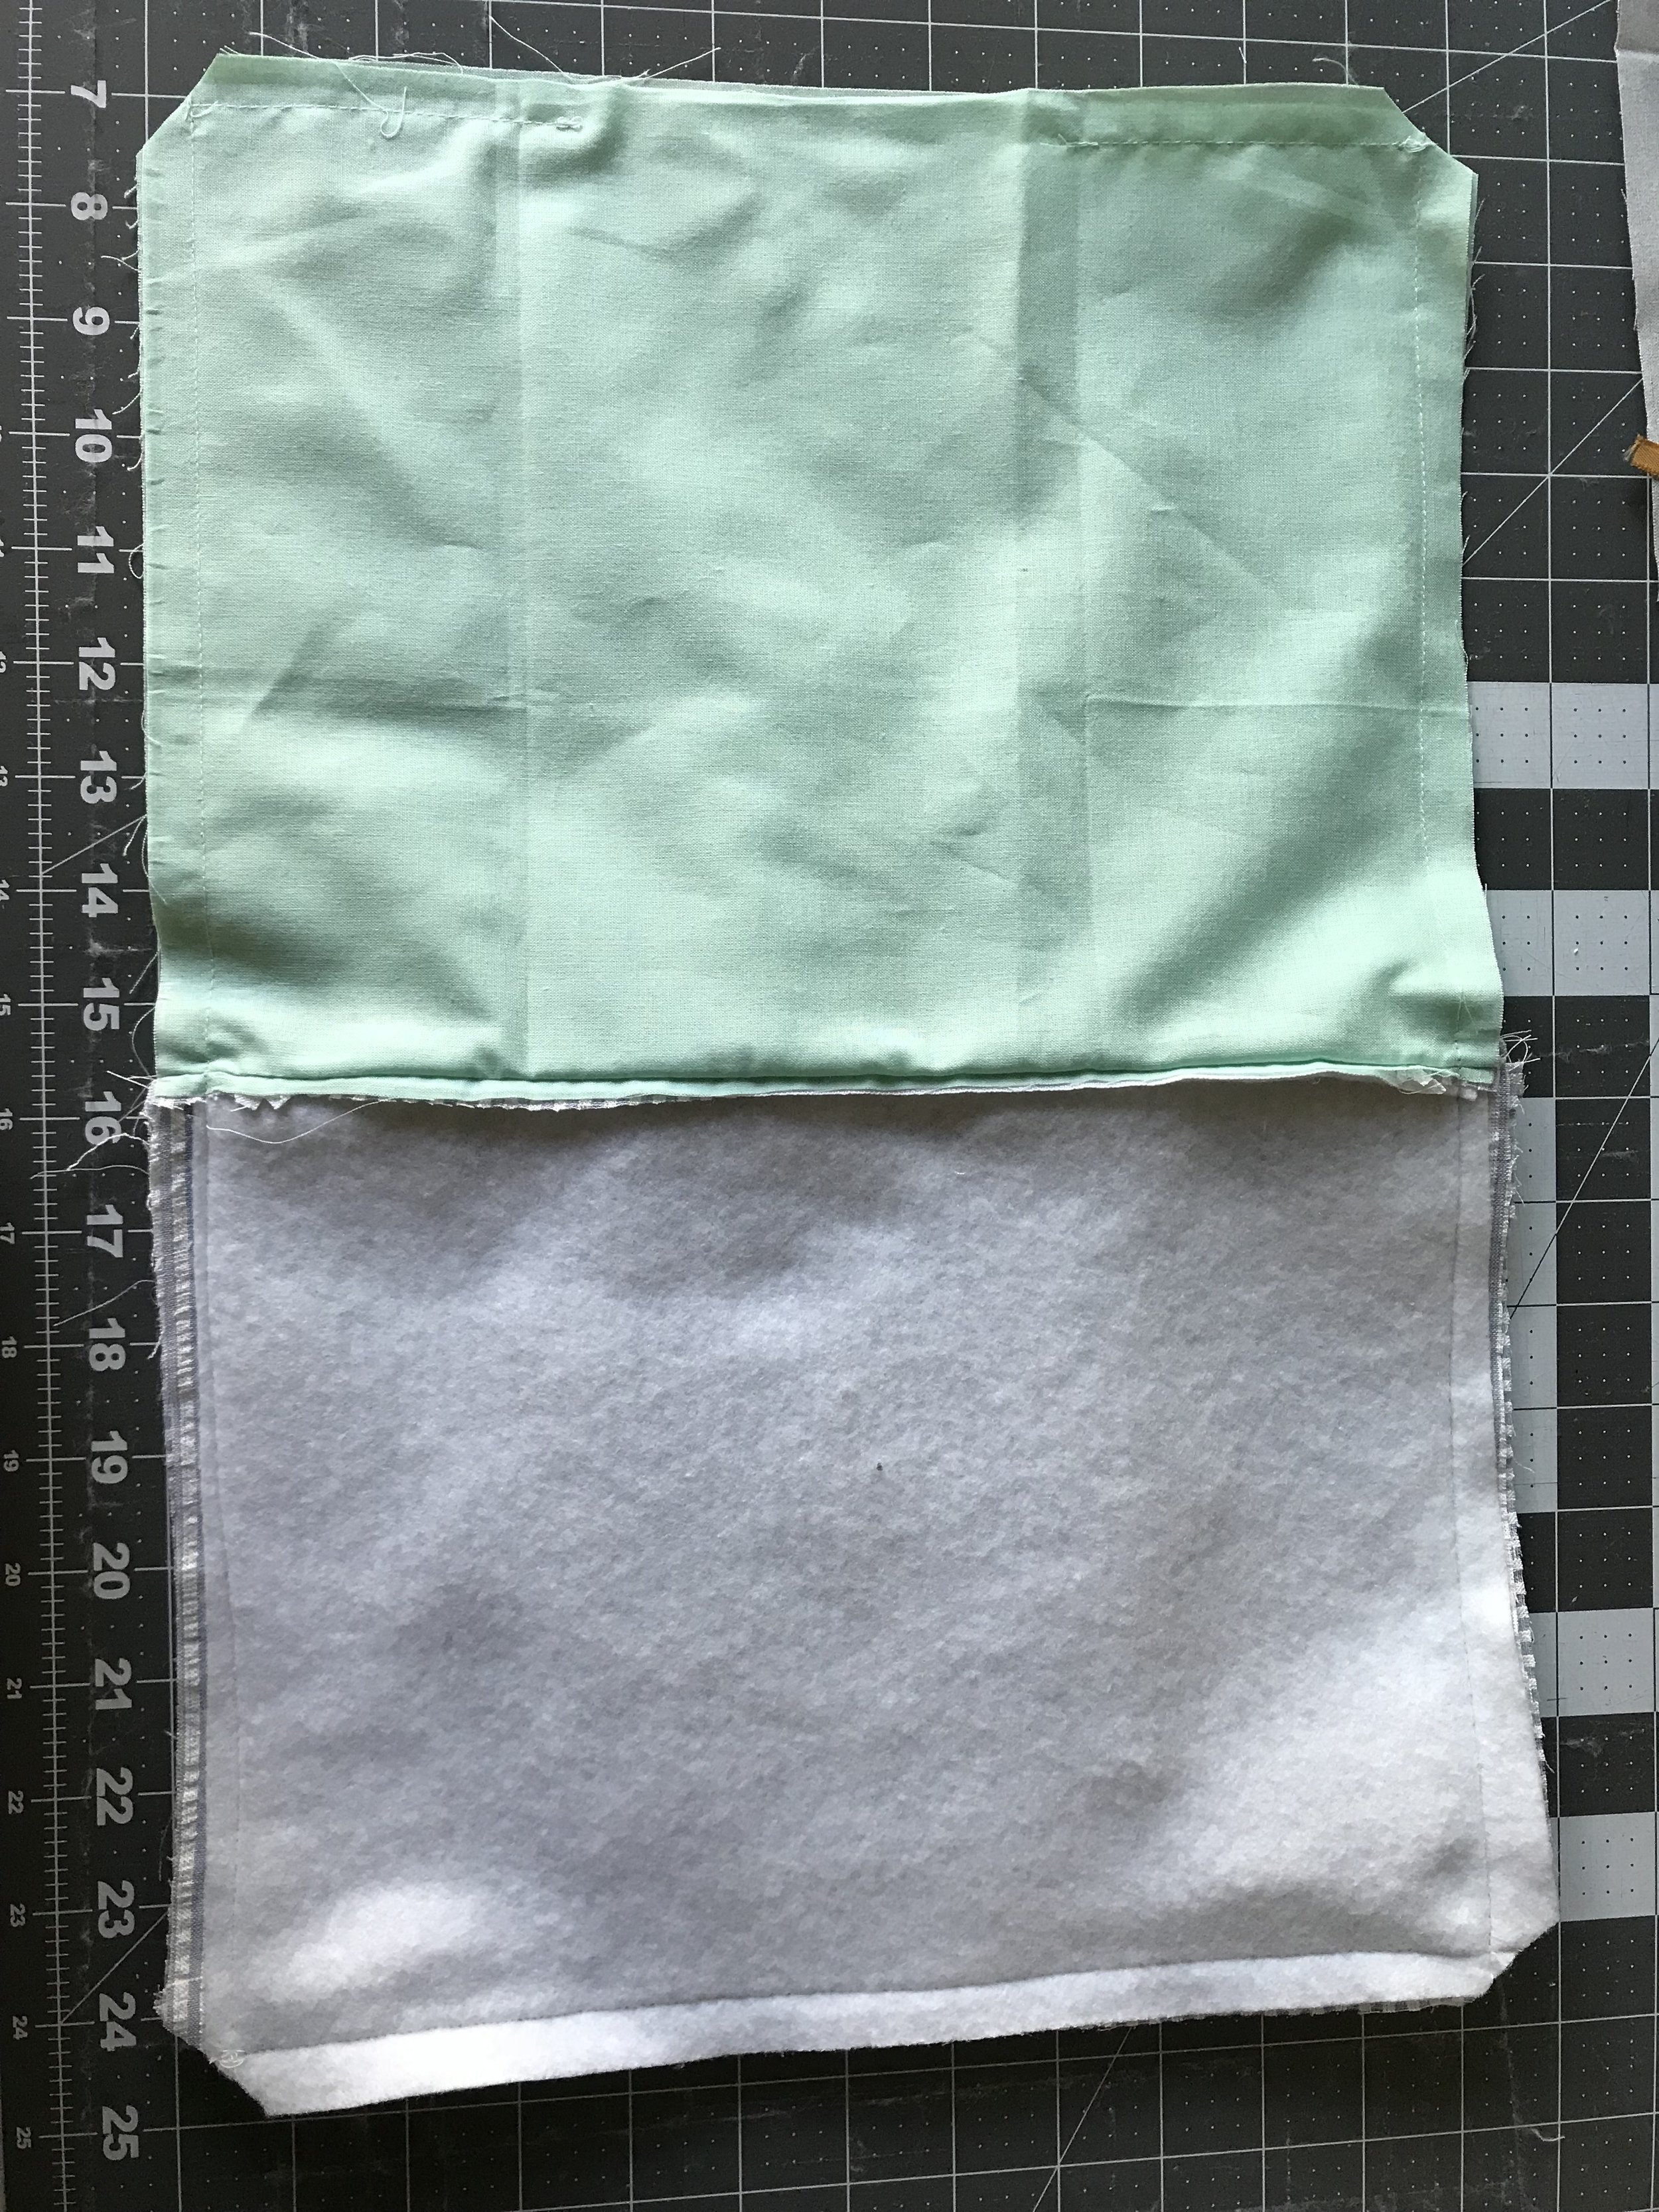
Start by cutting two 9" X 12" pieces from your exterior fabric, lining fabric and fusible fleece.

Then cut out four bow template pieces from the exterior fabric.

Fuse the fleece to the backs of the exterior pieces and set those aside.

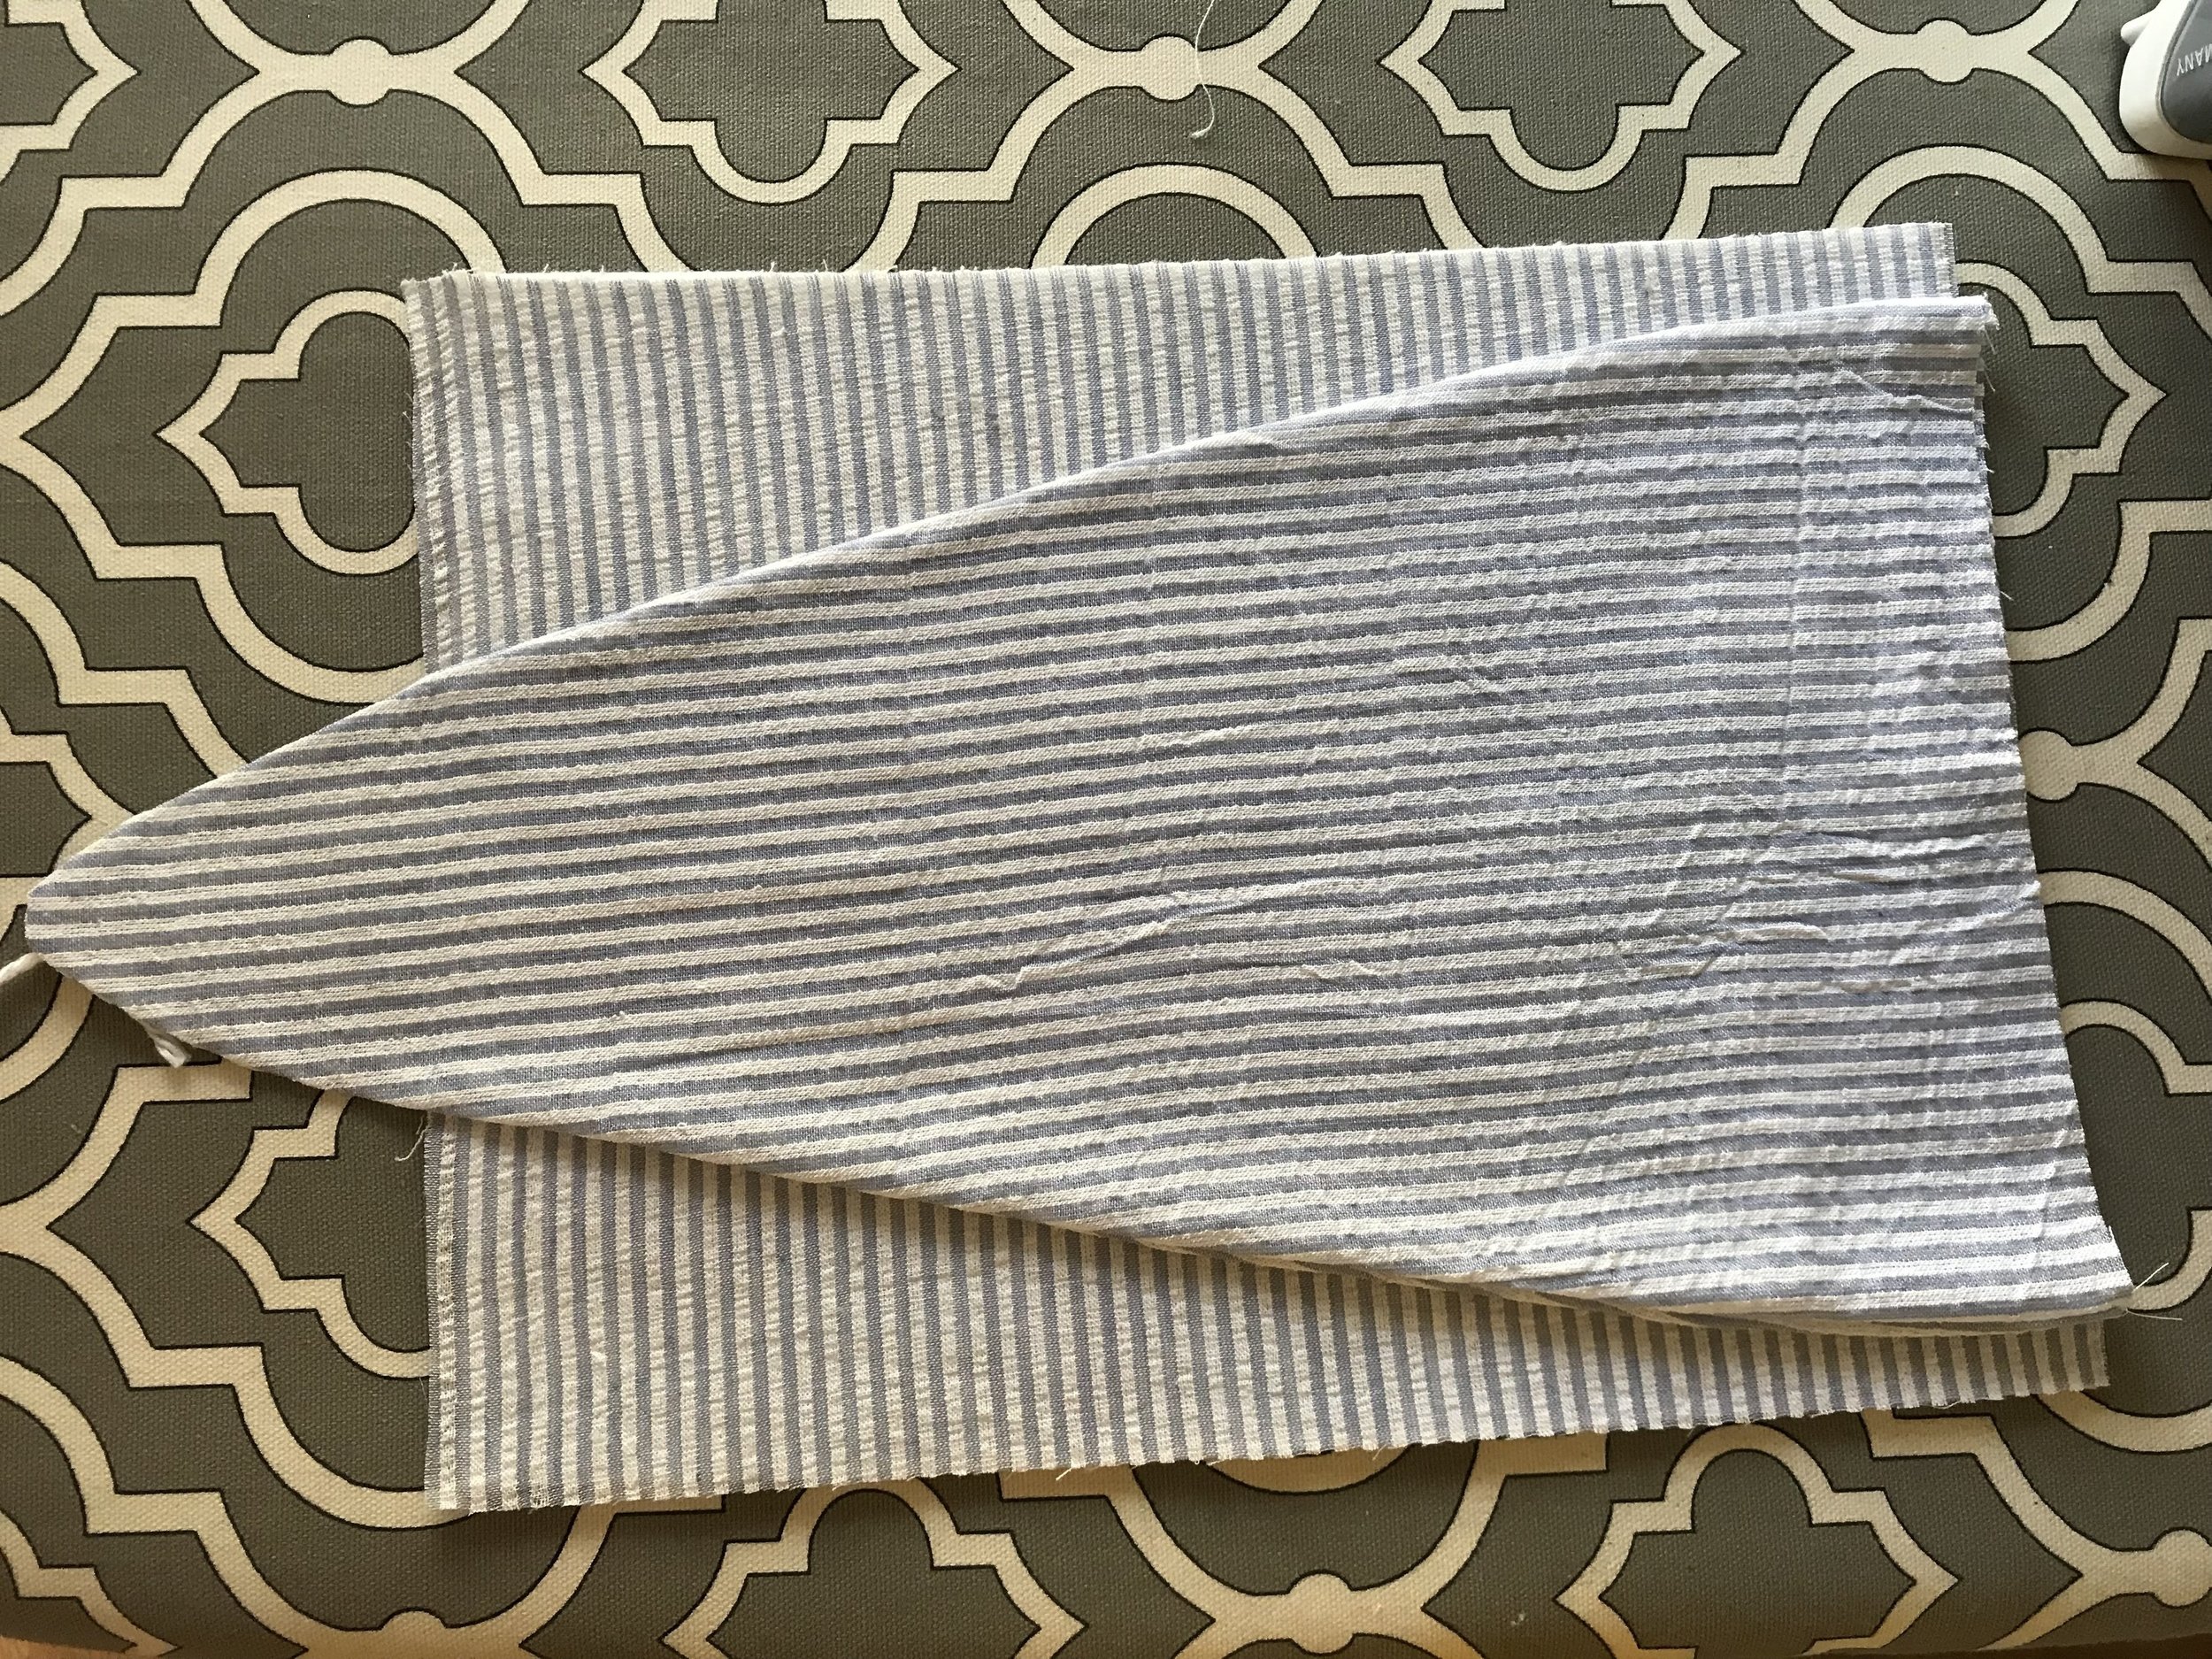
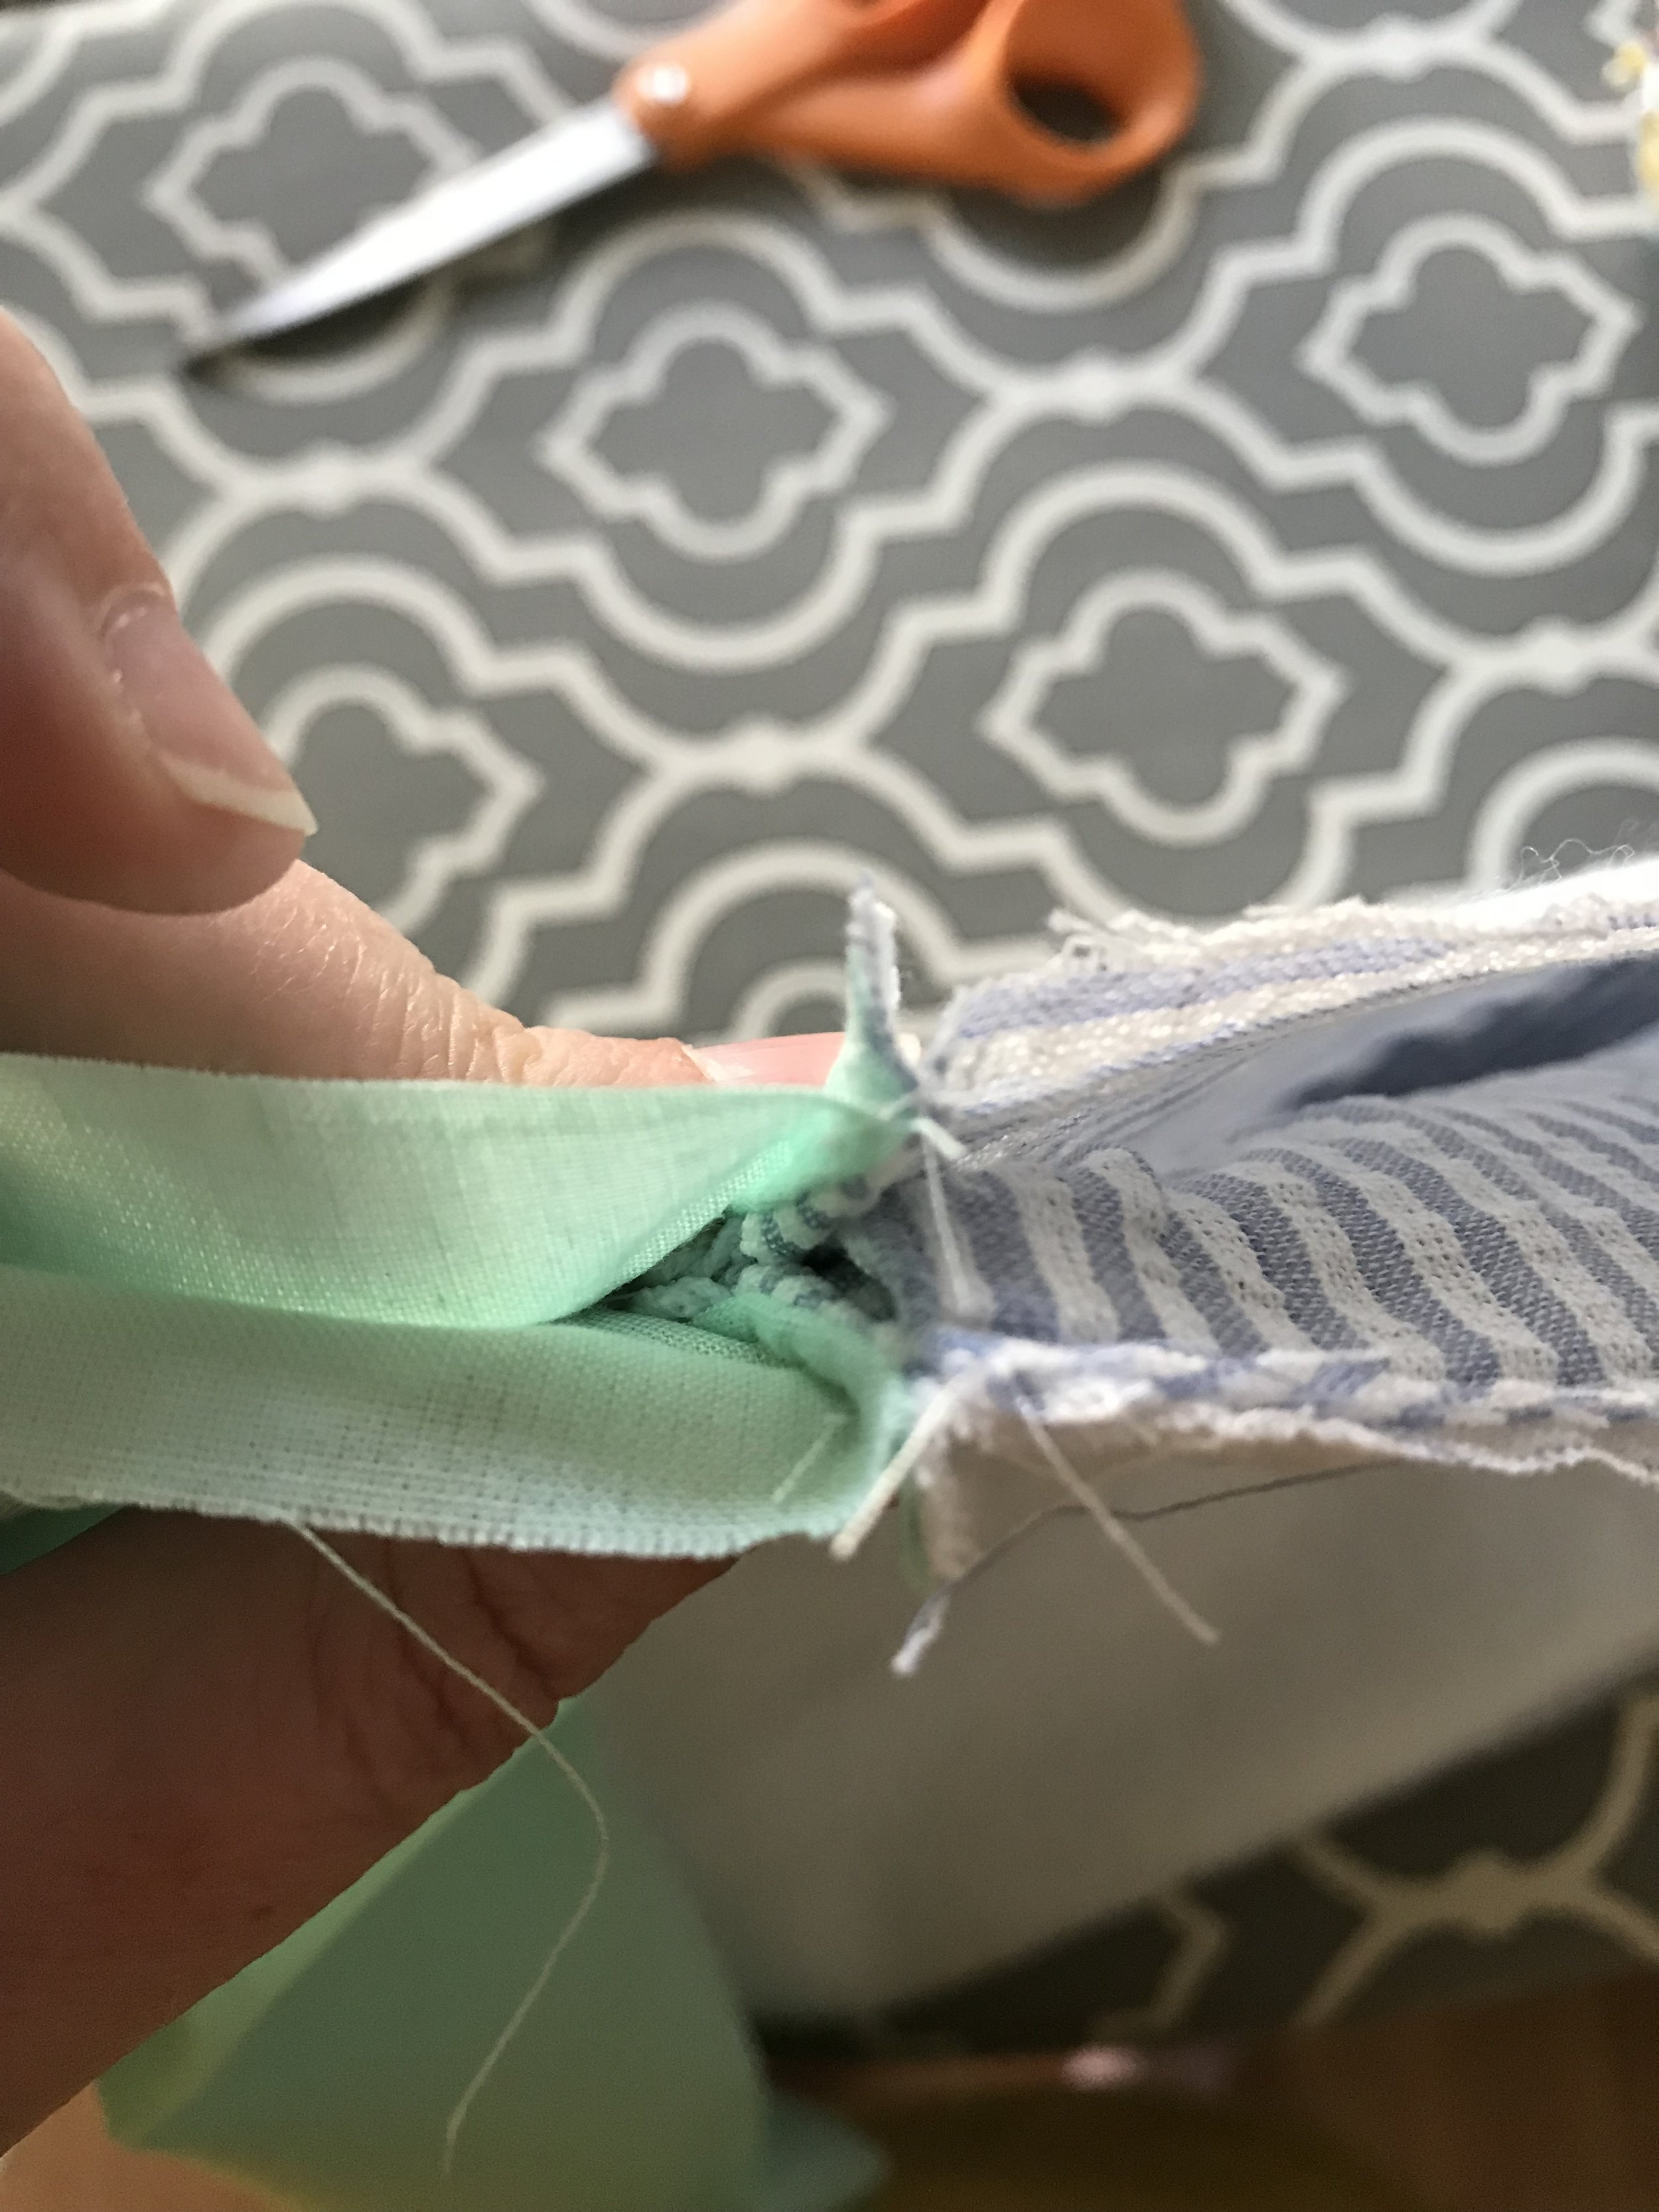
To make the bow you will need to create two ties from the bow pieces you cut. With right sides together, sew around both sets of bow pieces leaving the short ends open using a 3/8 inch seam allowance.
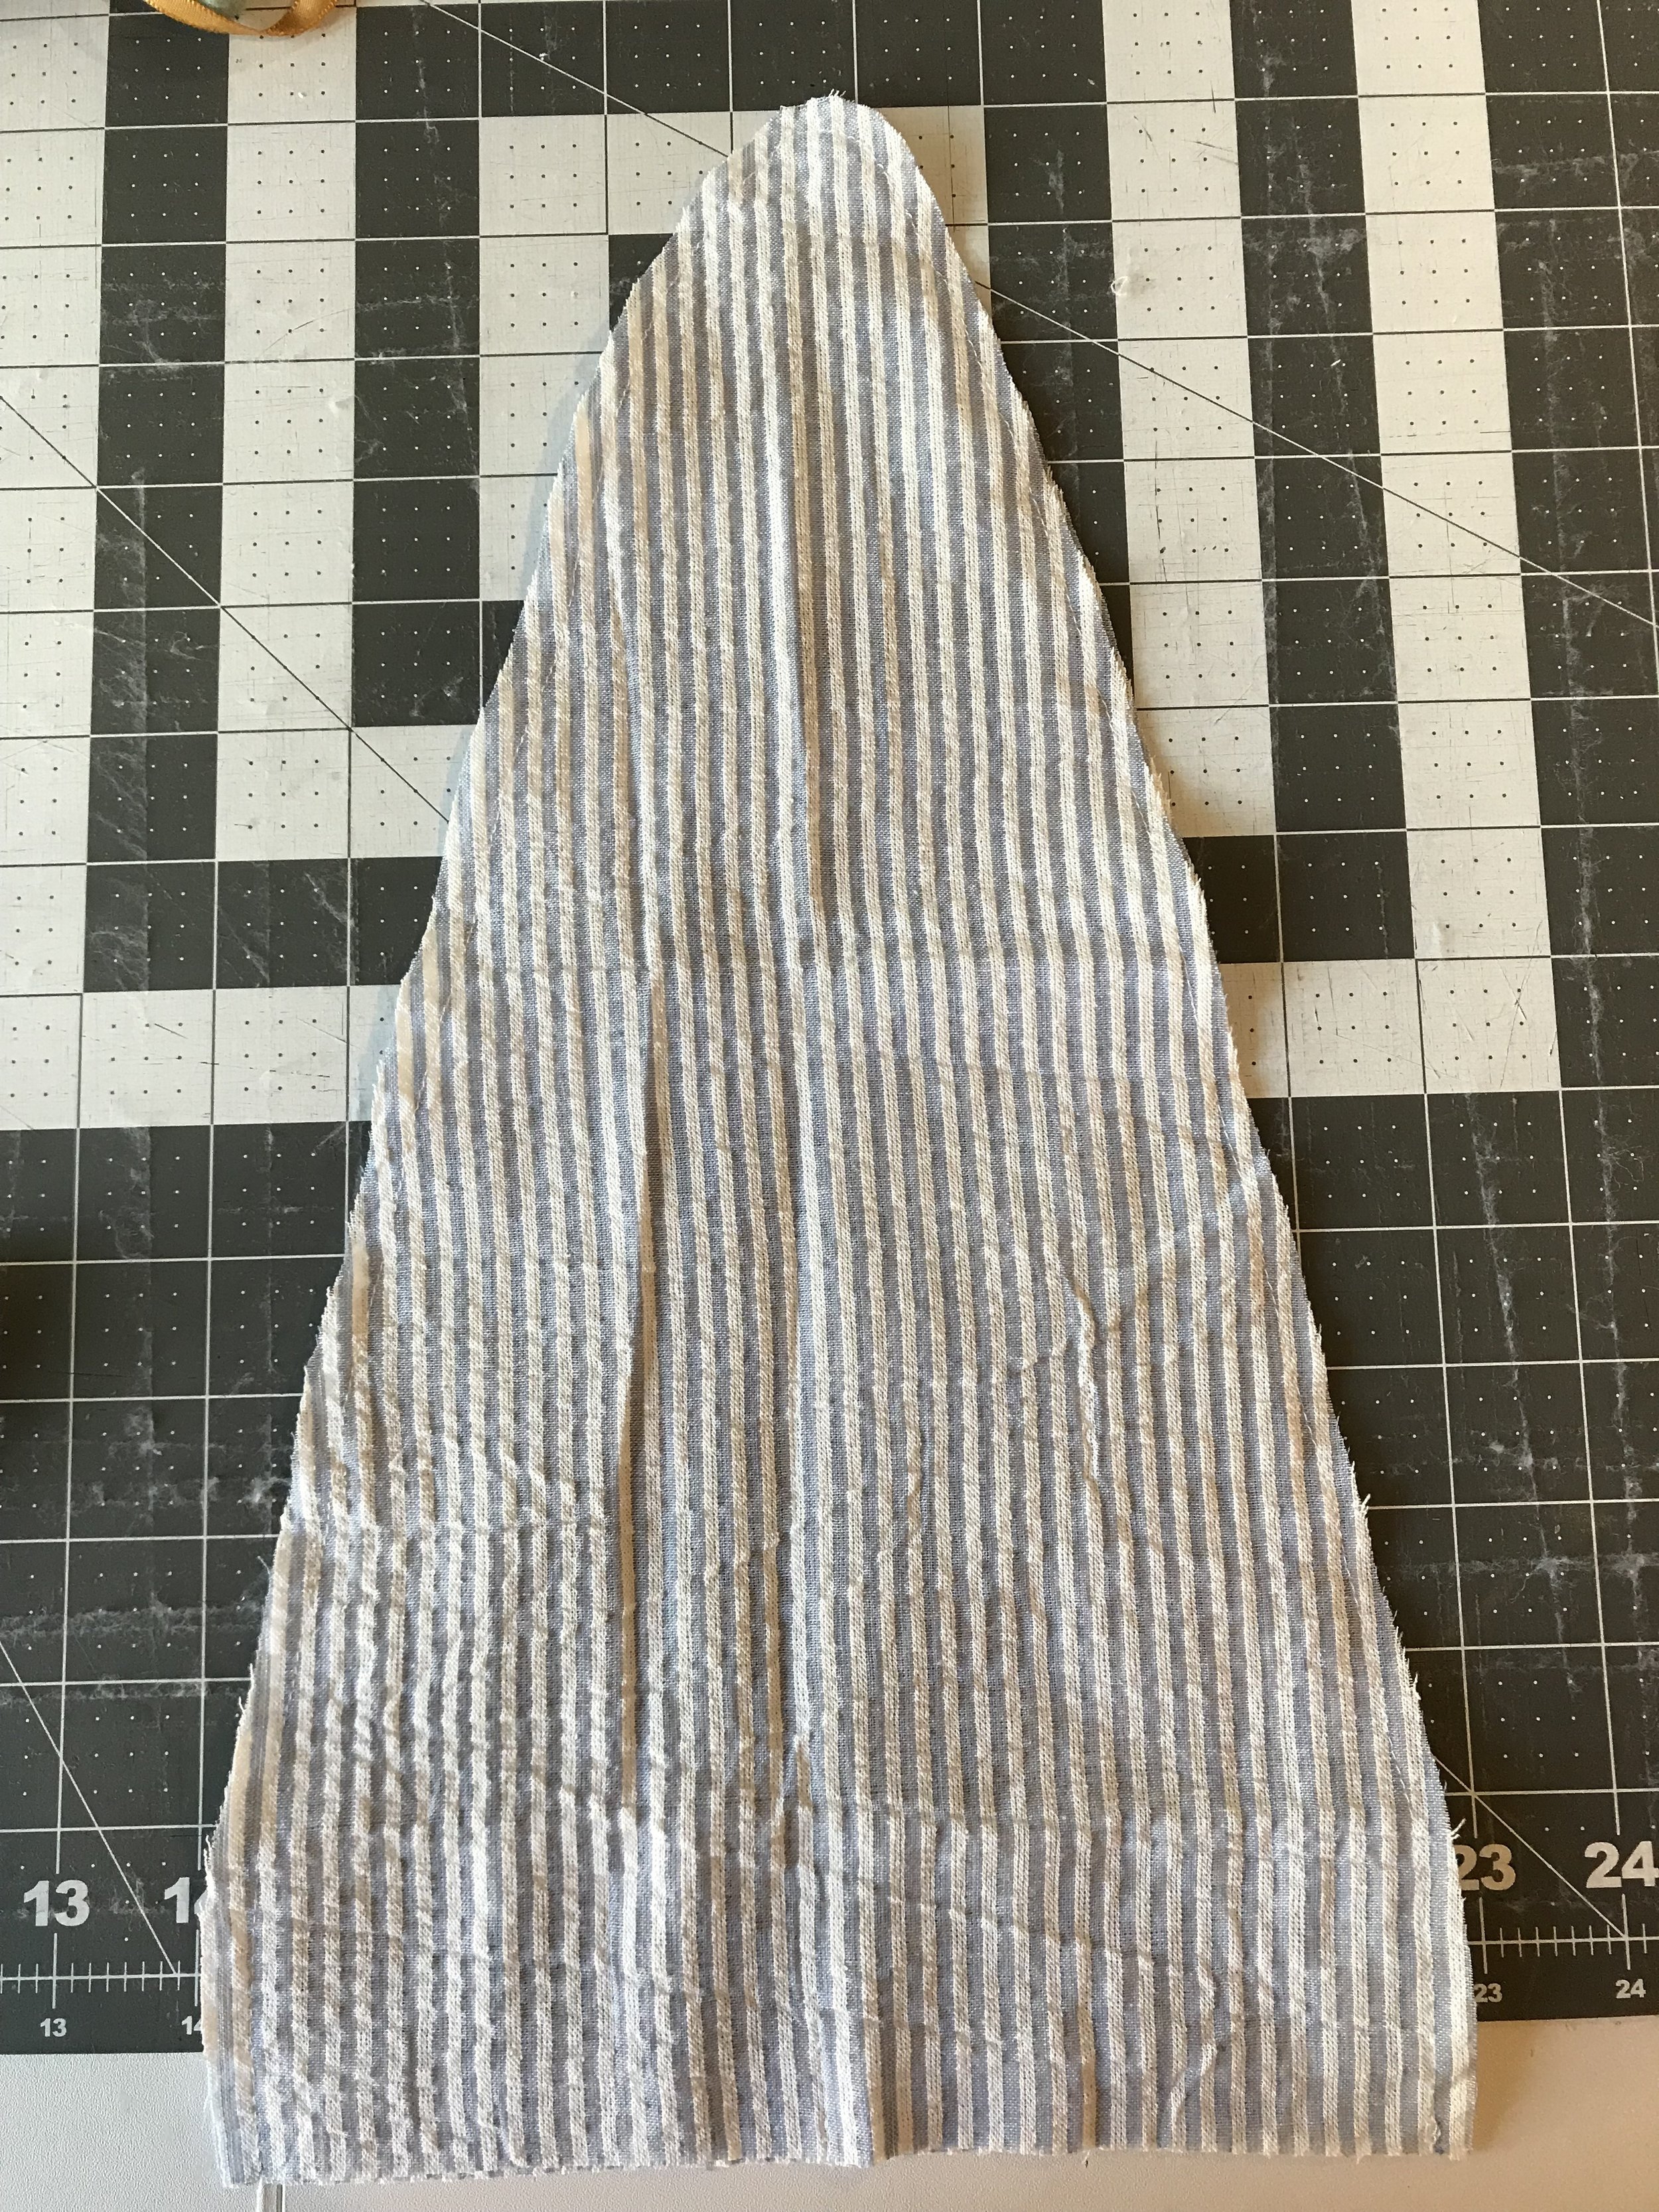
Cut notches out all around the rounded ends, then turn right side out and press.


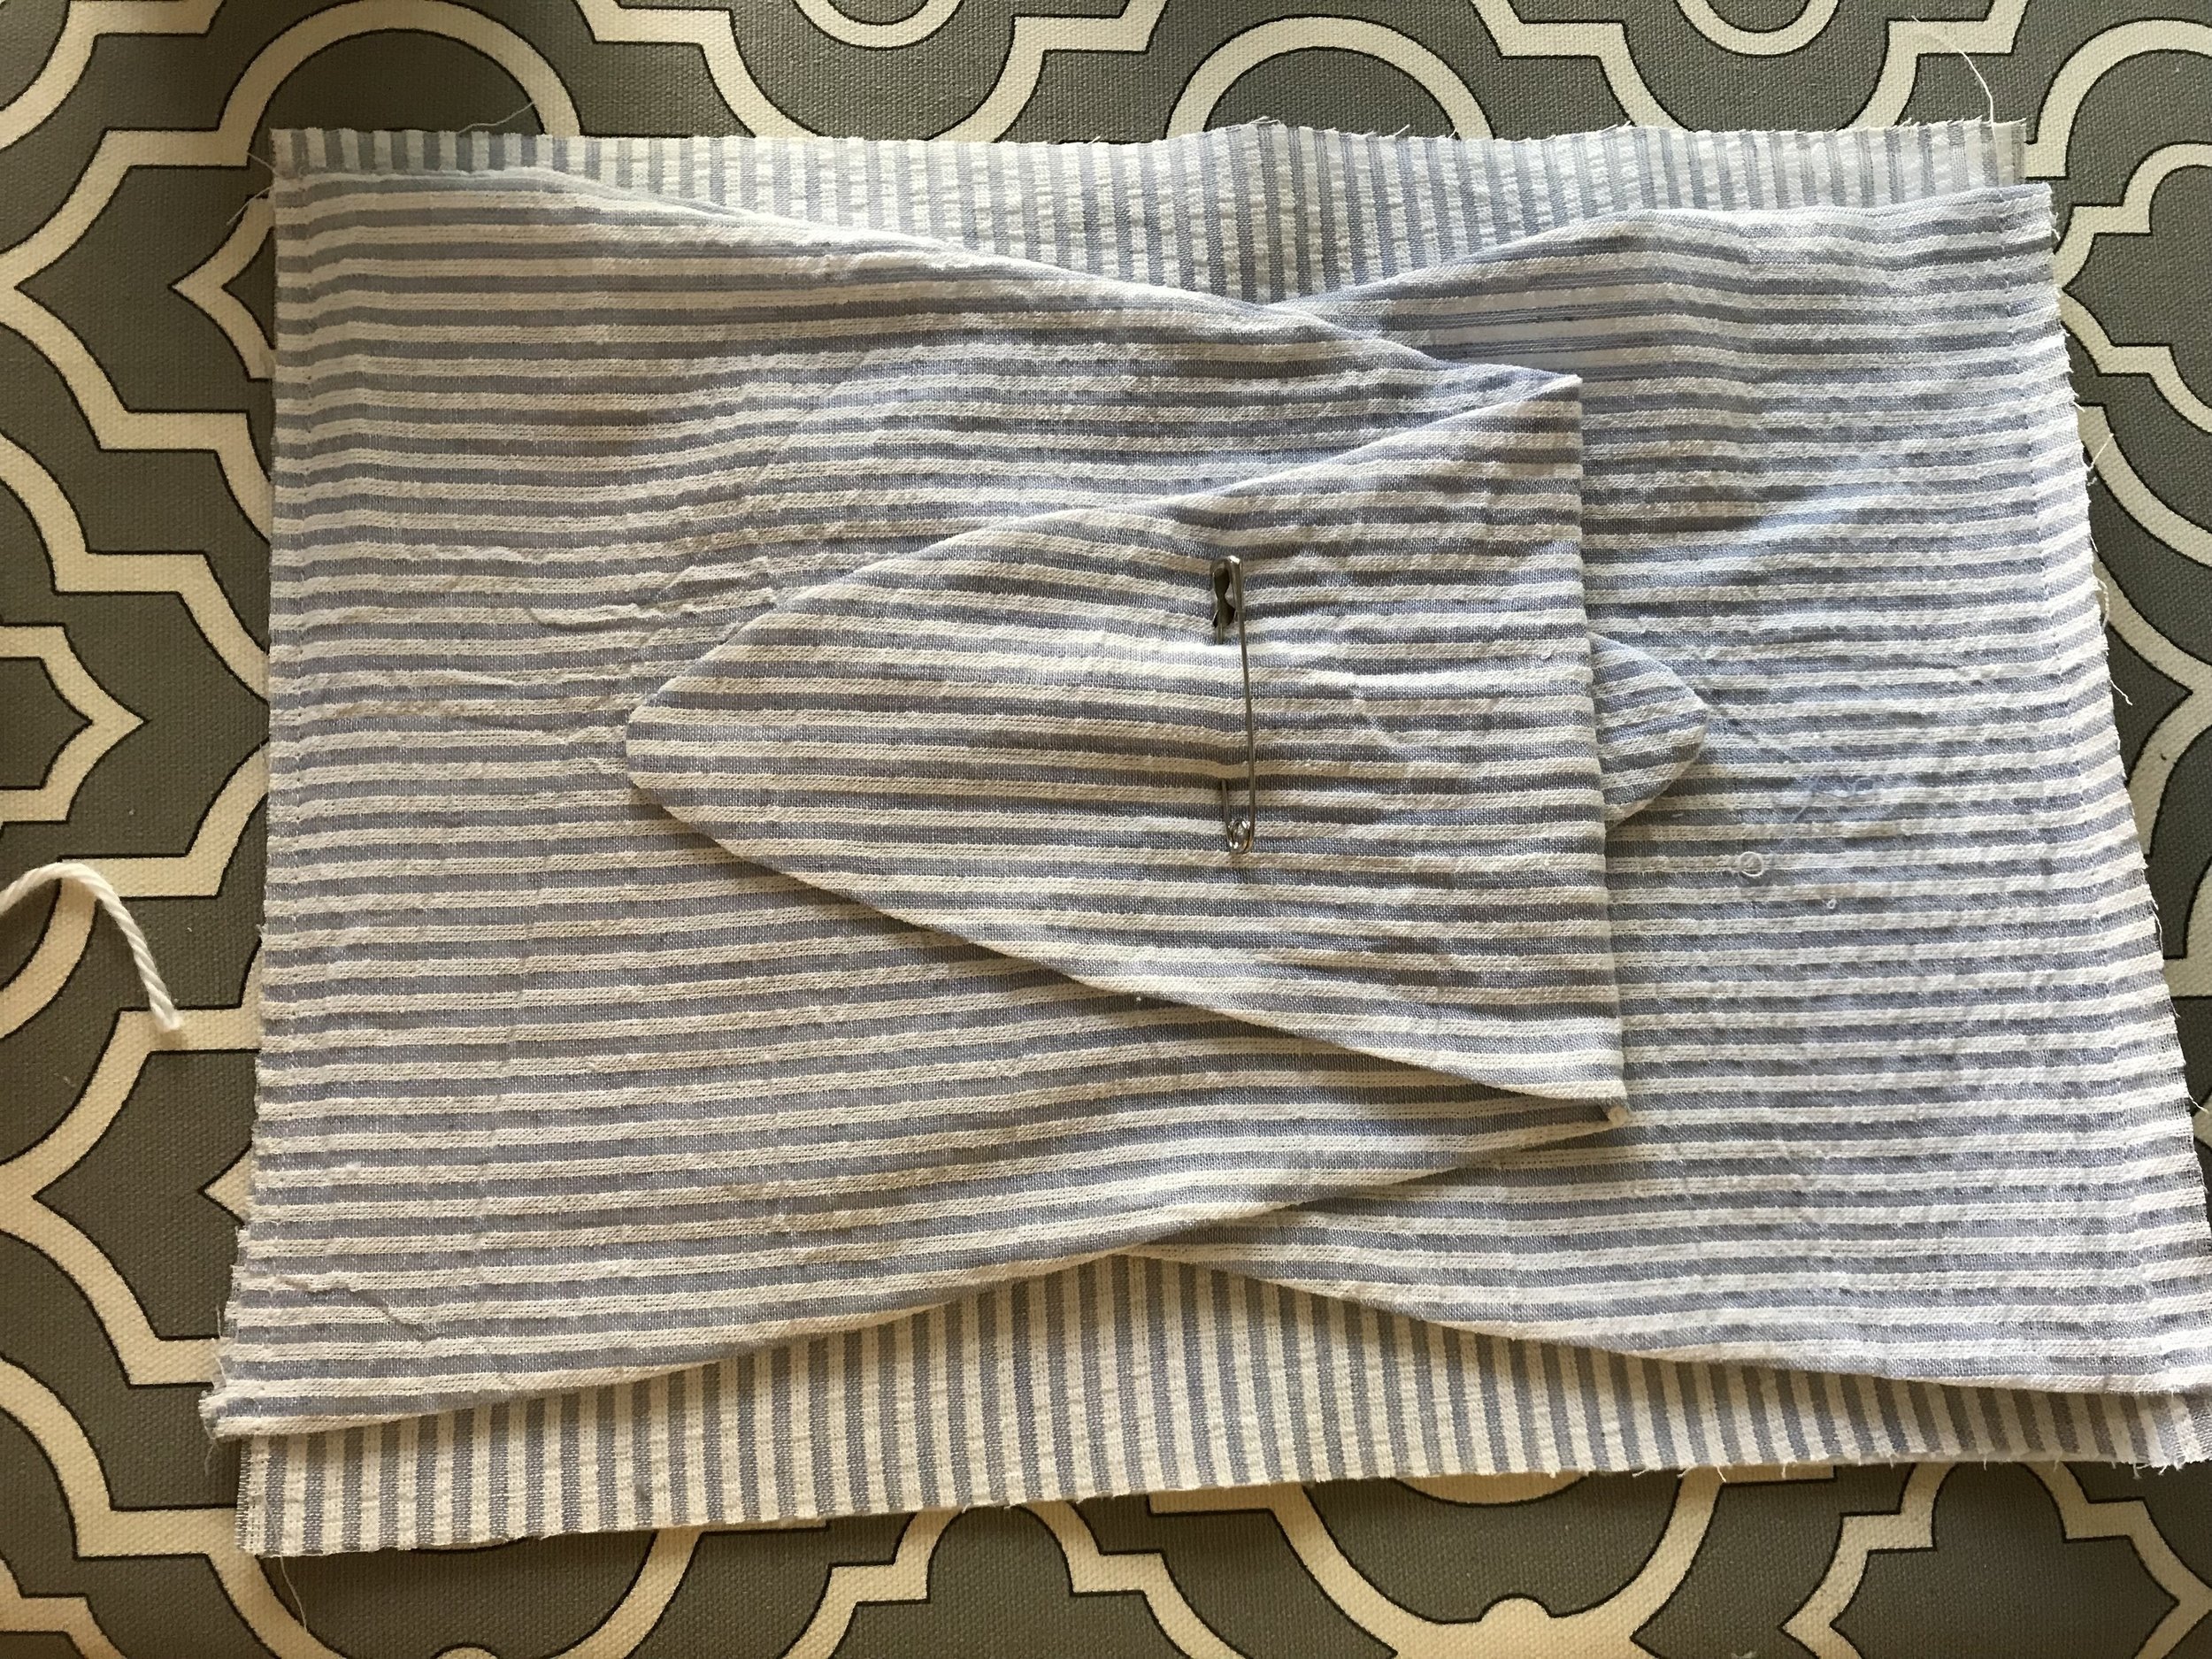
Lay one bow piece along the right edge of one of the exterior pieces, lining up the open edge of the bow piece and the 9" edge of the exterior piece. Leave at least a 1/2" of space from the top of the exterior piece to make attaching the zipper easier.
Sew along the edge using a 1/4" seam allowance. Then fold the bow piece over so it's out of the way.

Attach the second piece along the opposite edge, same as the first.

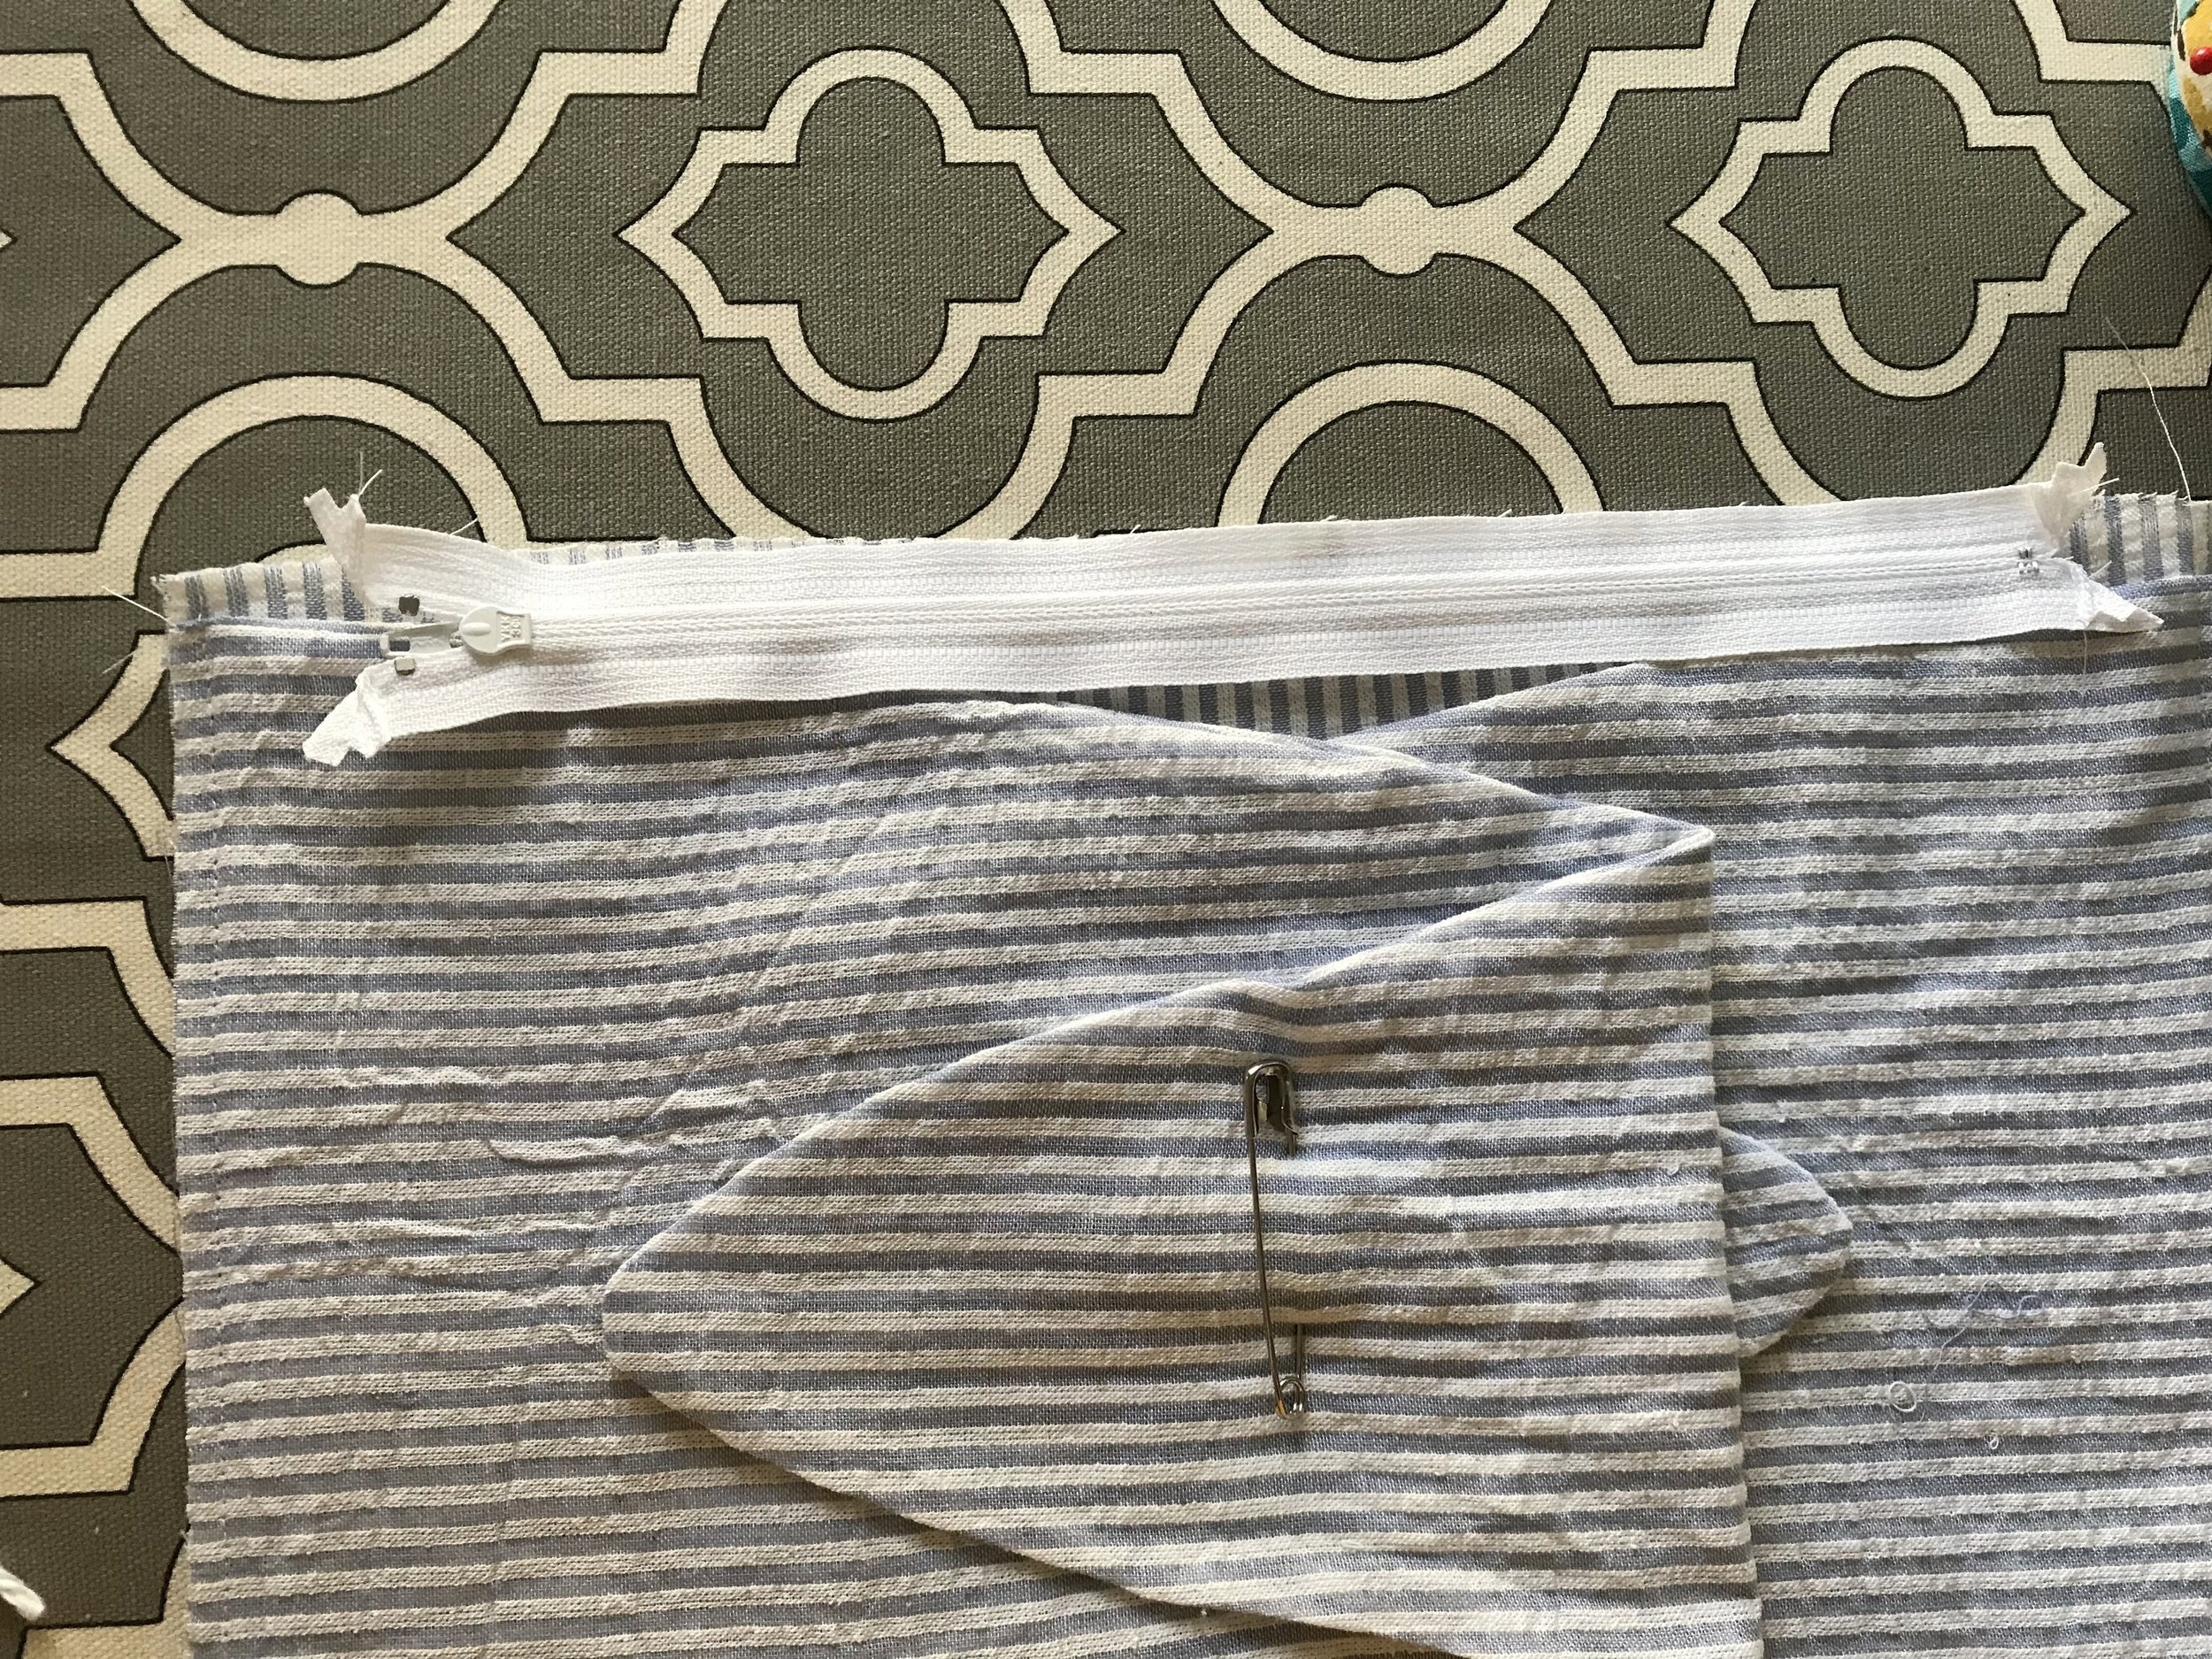
Once both pieces are sewn on, fold the ends into the center and pin with a large safety pin to keep them out of the way while attaching the zipper.
To attach the zipper, first you will want to tack the ends of the zipper back toward the wrong side at a 45 degree angle.


Lay the zipper face down onto the right side of the front exterior piece. The zipper won't reach to both ends so make sure you have it centered.
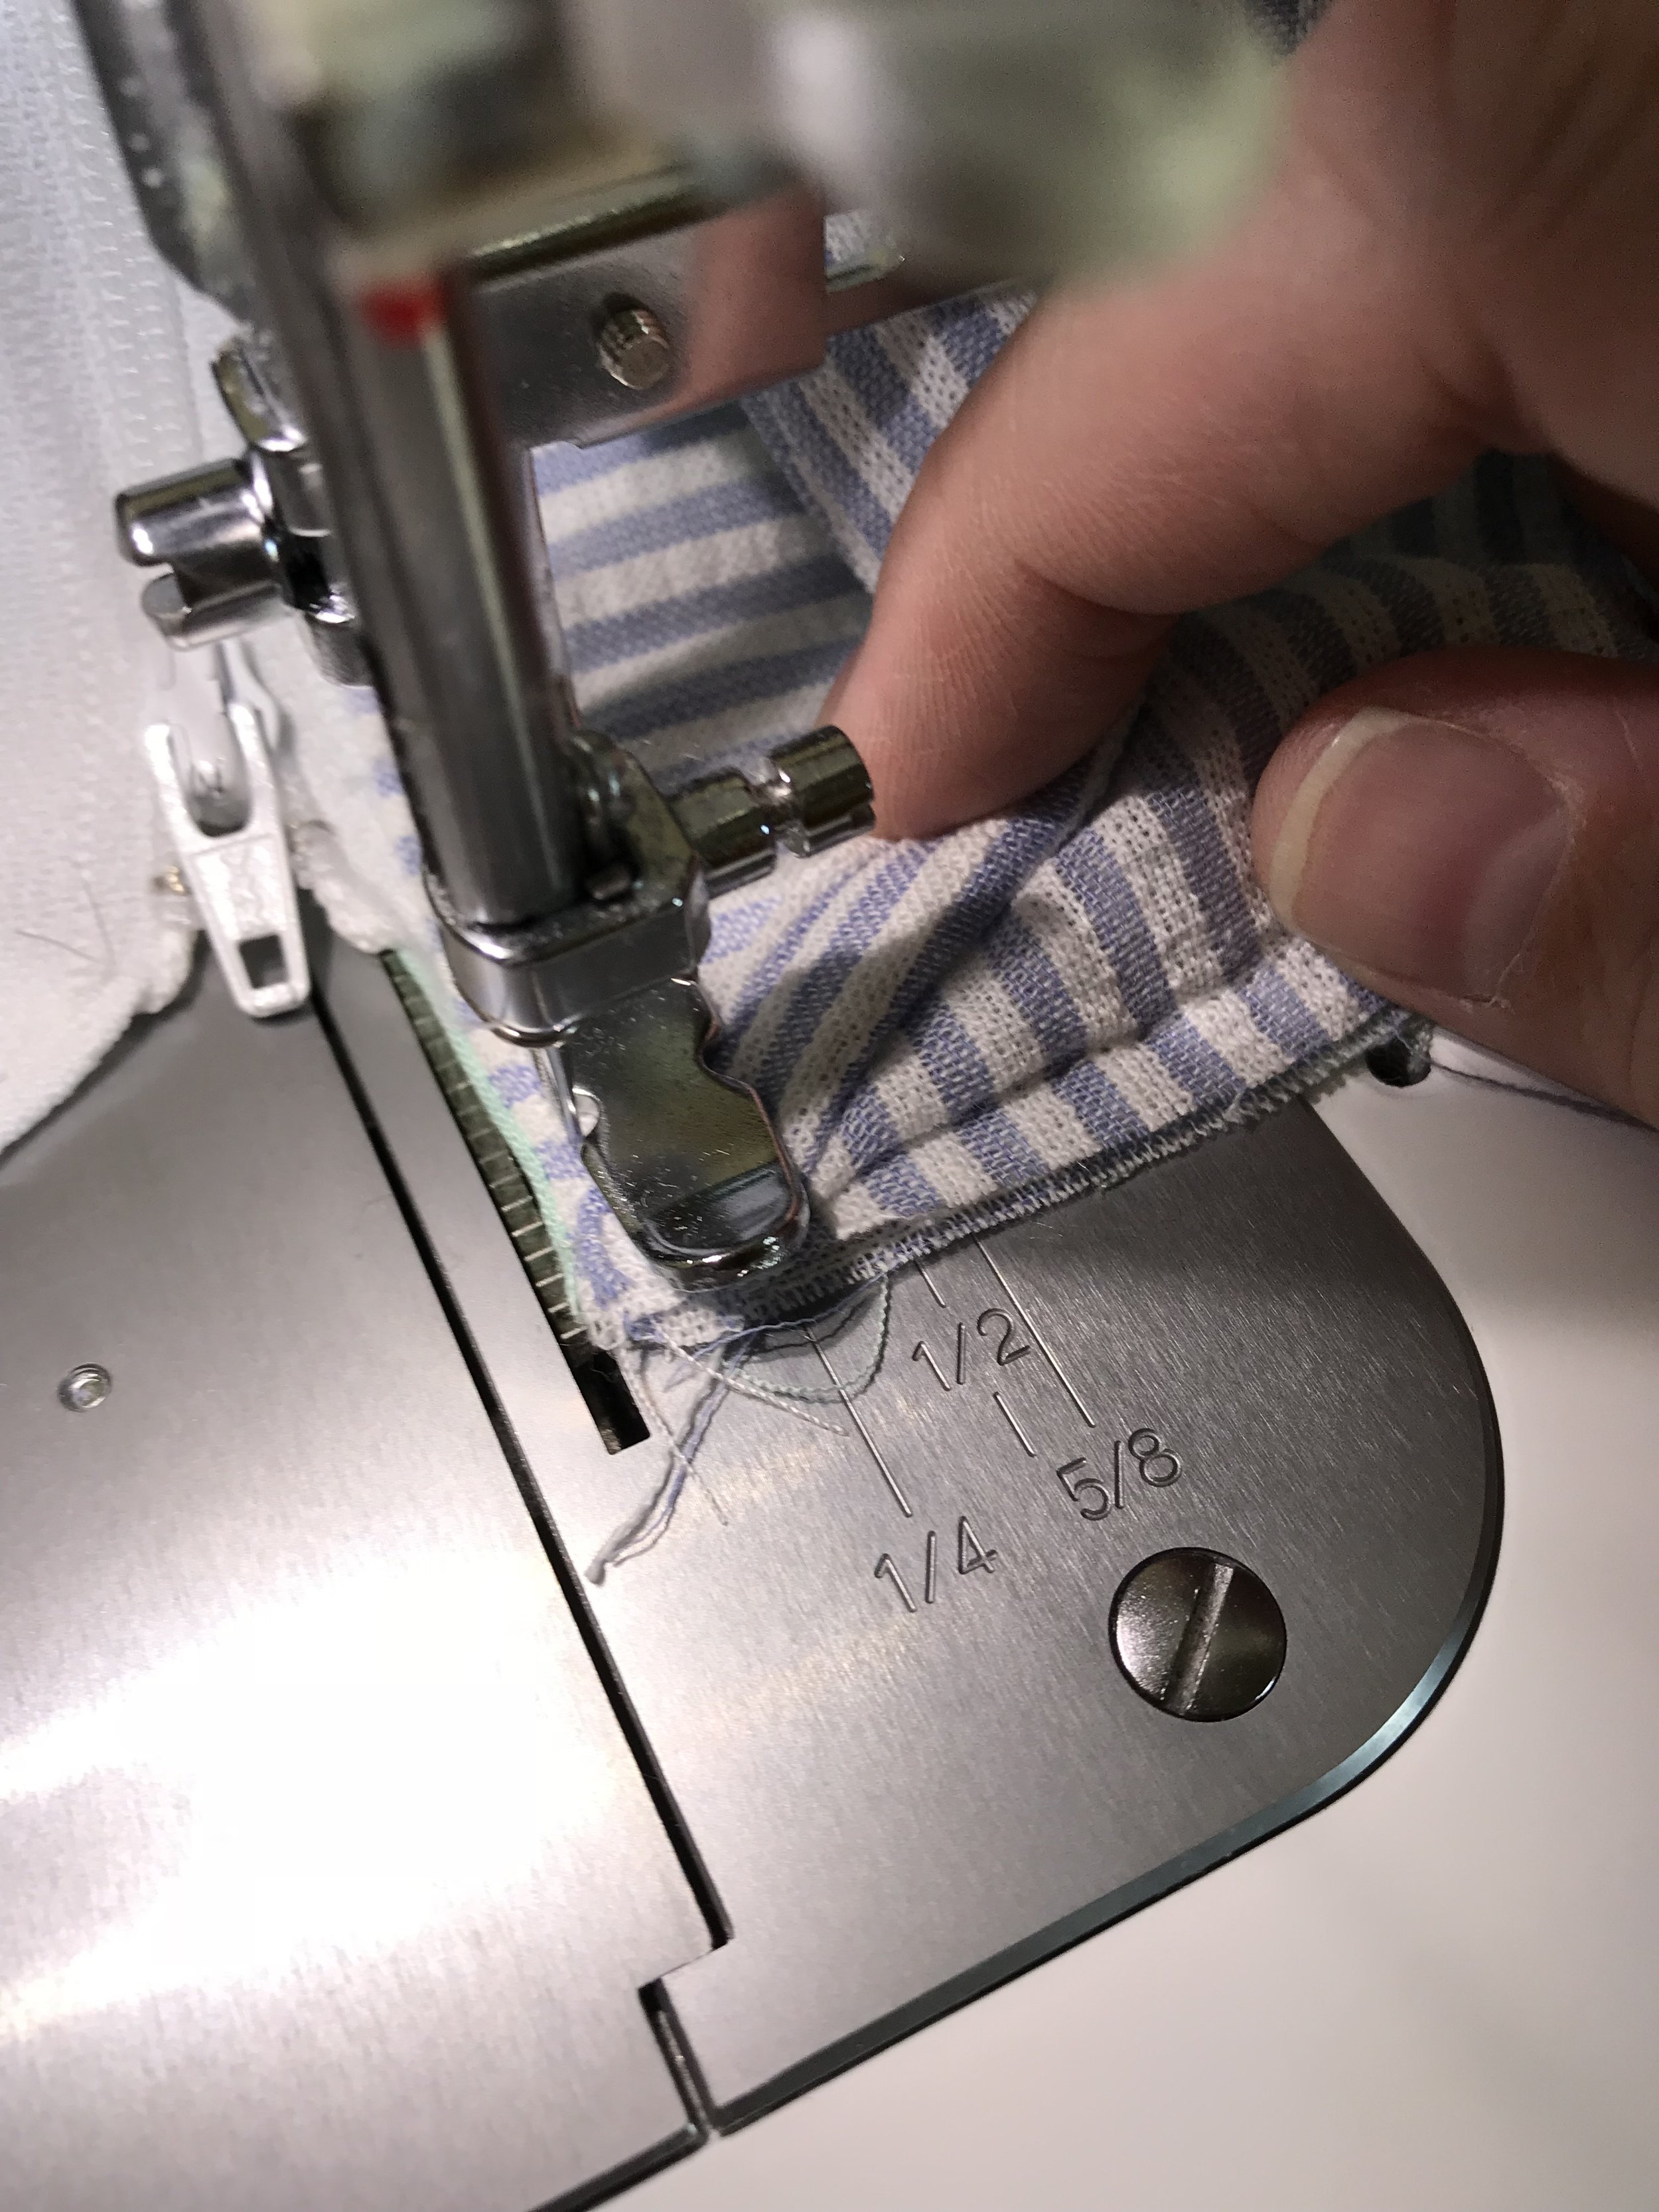
Then lay one of the lining pieces right side down on top of the zipper and exterior panel.

Pin in place and sew along the edge using a zipper foot. Then fold wrong sides together and press along the edge by the zipper.


Top stitch along the edge using the zipper foot. Make sure to pull the bow piece out of the way when you get to the ends.

Do the same thing for the other side of the zipper. Make sure the zipper is facing down and the exterior and lining pieces are facing each other with right sides together.

Open up the zipper almost to the end.

Open up the panels so that the exterior and lining pieces are facing each other with right sides together.
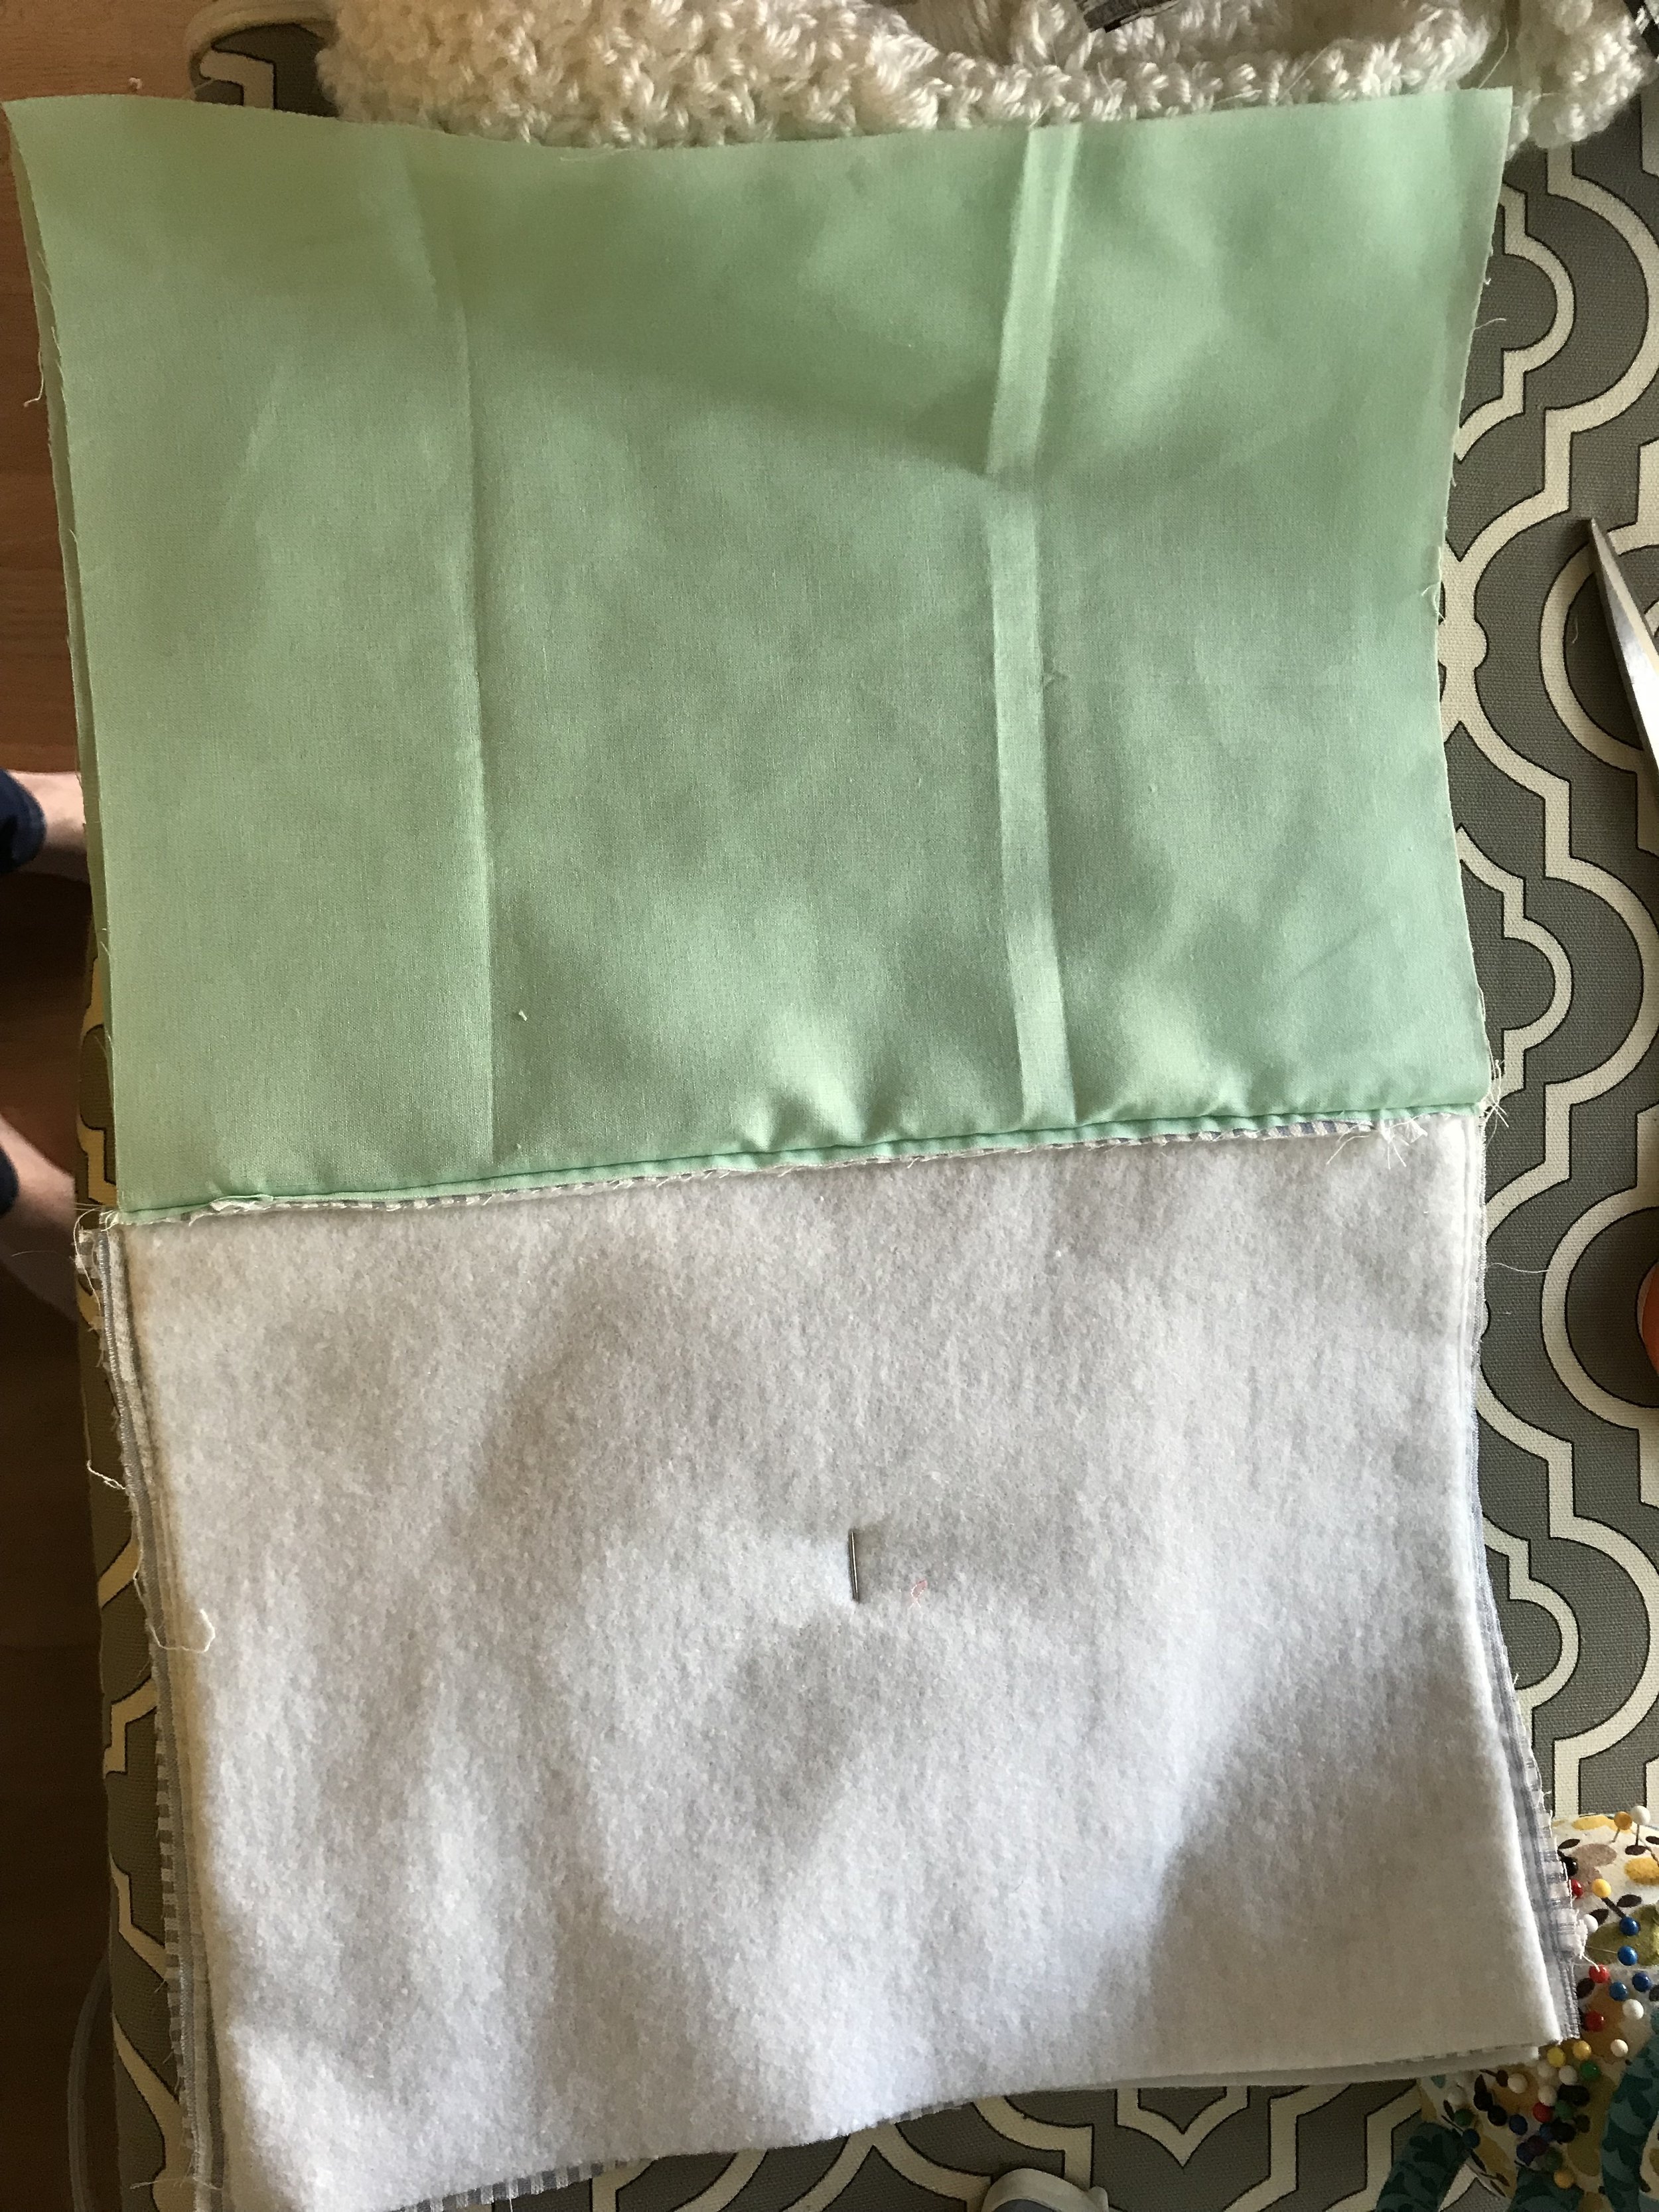
Make sure to linen up the ends of the zippers and pin in place if needed. Then sew all the way around the outside edges, leaving a small opening at the bottom of the lining. Use a 1/2 inch seam allowance. Clip all four corners.


Turn clutch right side out through the opening in the lining making sure to push all corners out as much as possible. Sew lining closed using a machine or by hand. Push lining back inside pouch and zip closed.


Tie bow pieces together. Make sure you pull them tight enough so that the top and bottom edges don't sag, but not too tight that the clutch starts to bend.


Once you have the bow how you like it, you're done! Now go enjoy your new bow clutch. It's perfect for a night out or for walking around town with just the essentials.