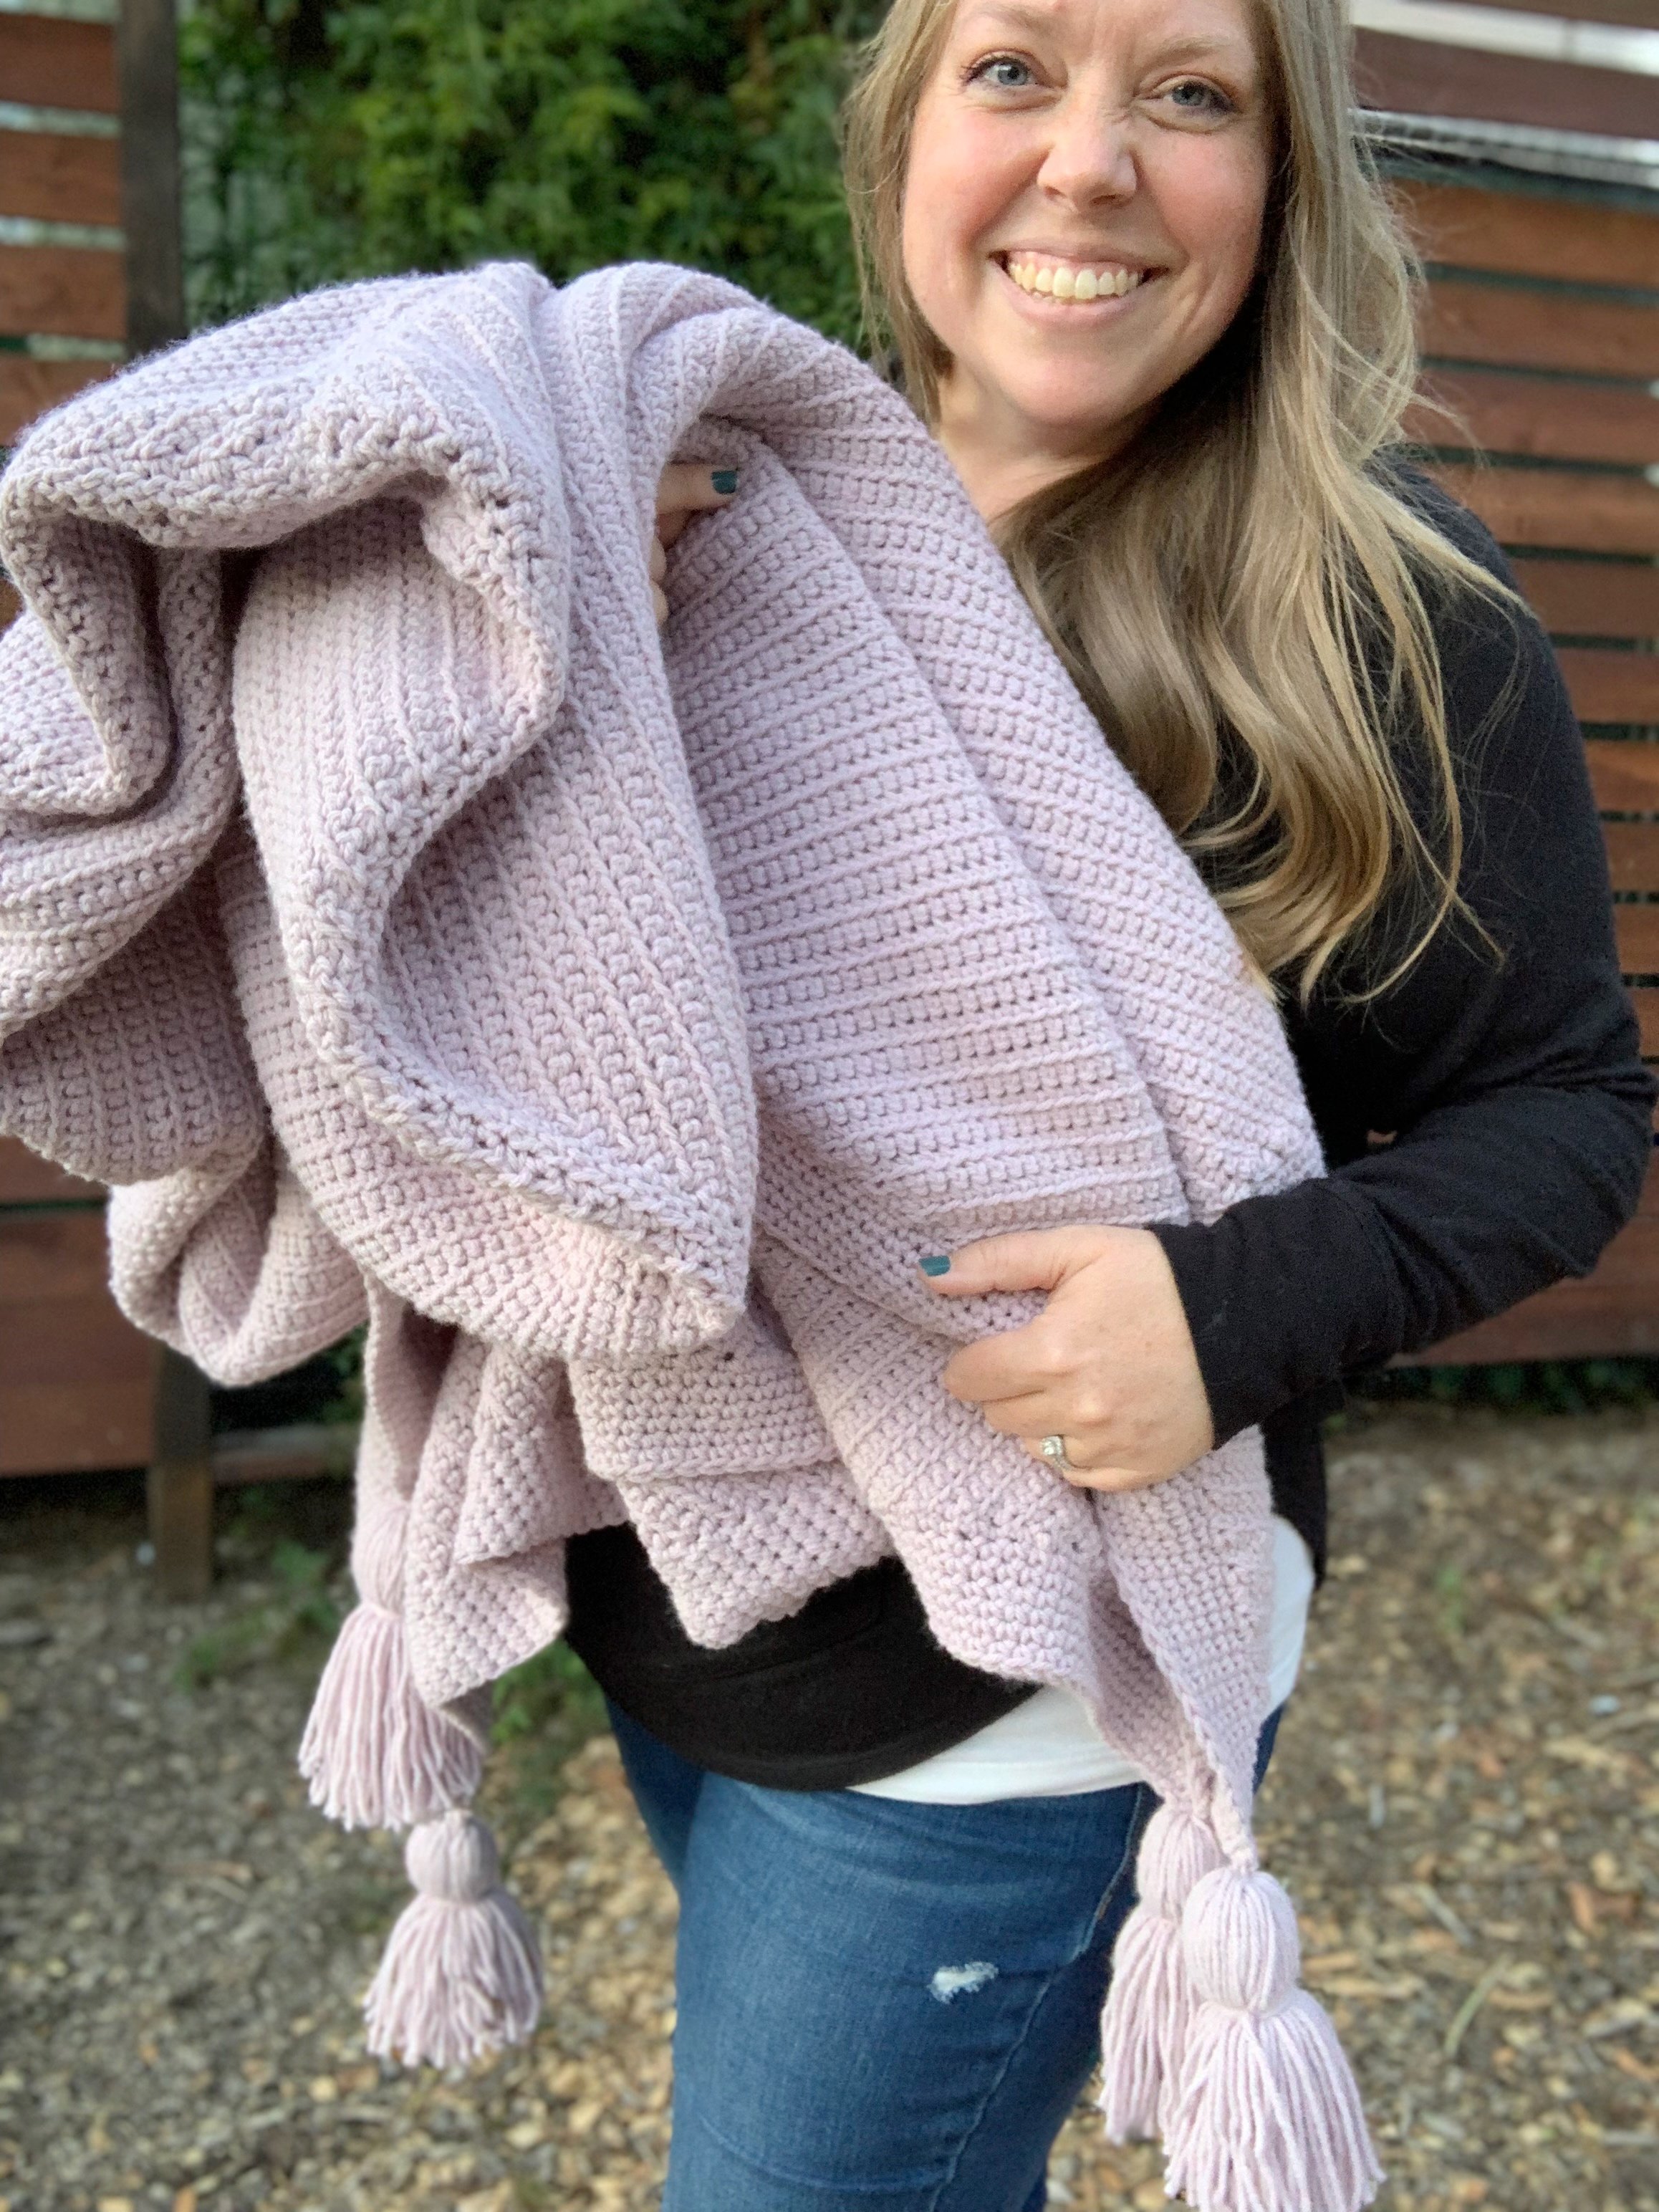
The Hattie Blanket-Free Crochet Pattern
Get ready to create the biggest blanket ever! This gorgeous crochet blanket is made using simple crochet stitches on the bias so you can sit back and just enjoy the process without too much thinking. Find the free pattern below, a digital PDF pattern in my shop or grab the complete kit from Lion Brand Yarn.
Ever since finishing up The Harlan Blanket knitting pattern, I’ve been wanting to get a crochet version made too. I love mindless projects and knew a crochet one was just what I was craving. The Hattie is constructed the same way as the Harlan- four large panels made on the bias and then seamed together. The Hattie also features a border and four jumbo tassels.
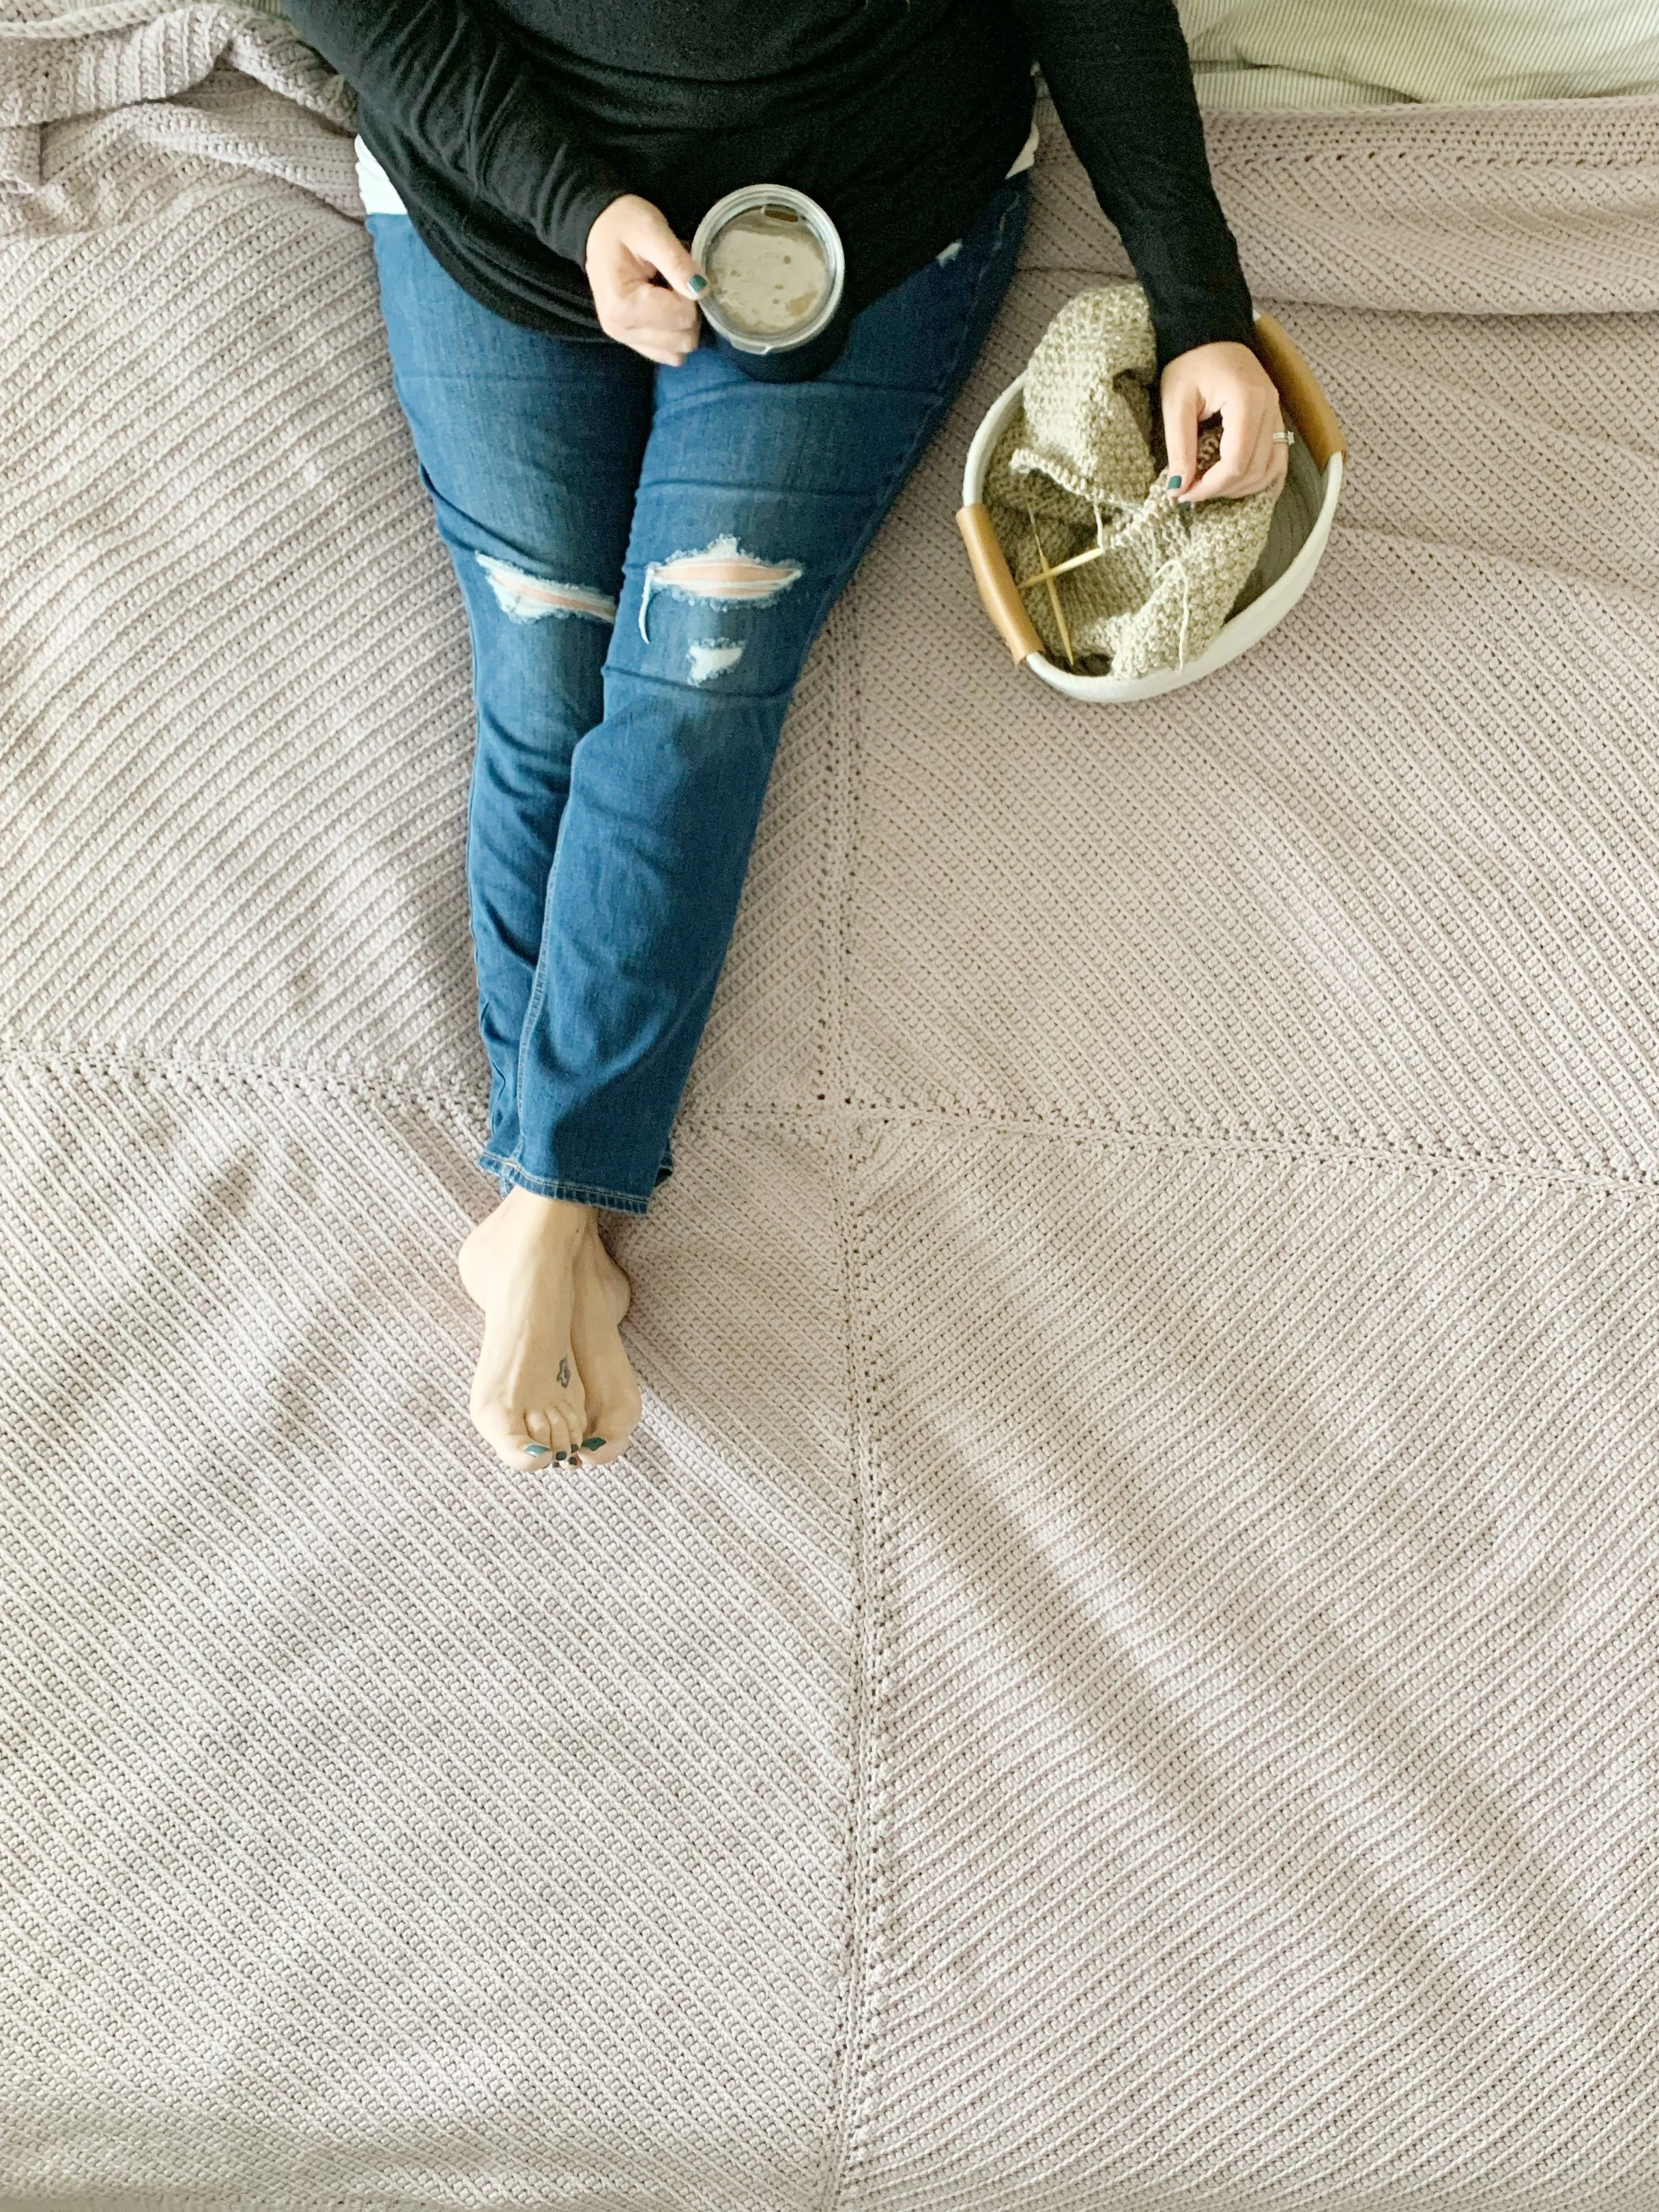
Hattie ended up being the largest blanket I’ve ever made and I’m not even mad about it. You can easily adjust the size by decreasing the number of rows in each panel if you’d like a smaller version. Big blankets are so fun though and it’s already my husband’s favorite because it is so huge!
This project is great for confident beginners. You’ll need to know how to single crochet in the front loop only, increase and decrease. I’ve included a full video tutorial so if you are newer to crochet you’ll be able to see exactly how to do each part.
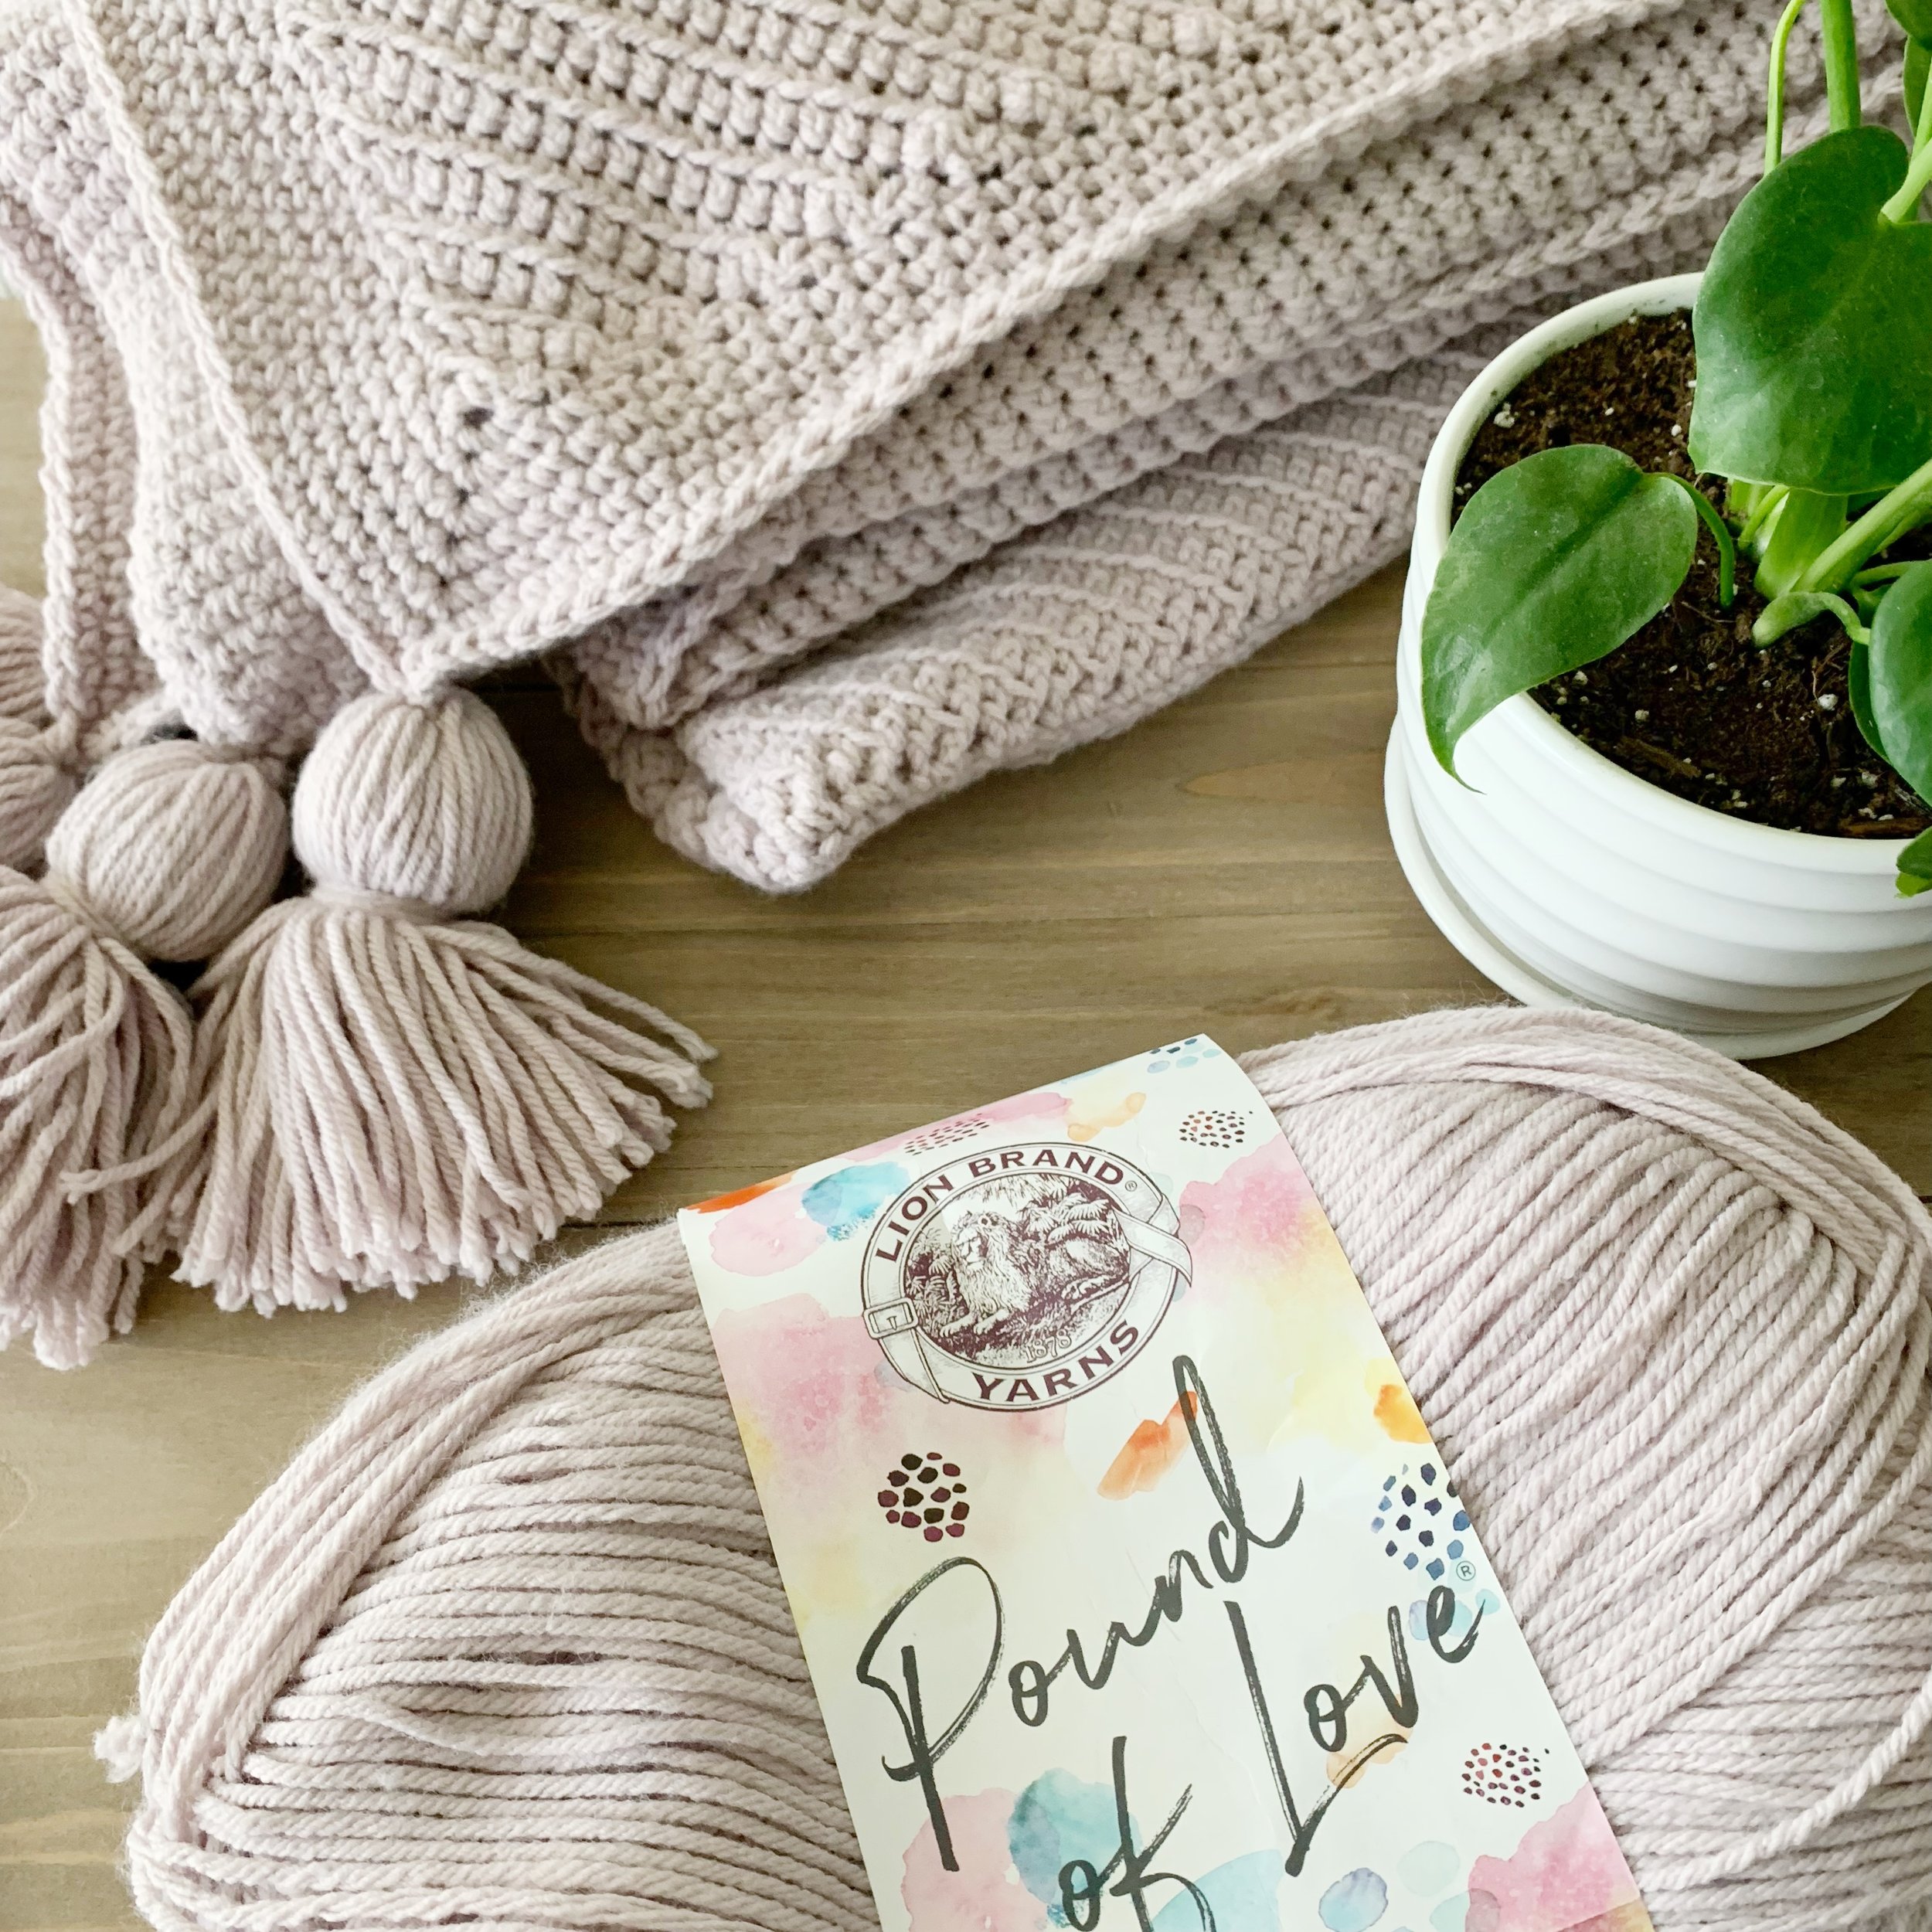
The simple lines and unique construction make this blanket the perfect modern accessory to add to your home. Grab five skeins of your favorite color of Lion Brand Pound of Love and get started today!
The Hattie Blanket Crochet Pattern
Materials:
4,580 yards (5 skeins) of Lion Brand Pound of Love in the color Quartz or similar worsted weight yarn
Tapestry needle
Scissors
Tassel maker or 4-5” tall piece of cardboard
Abbreviations:
ch(s)- chain(s)
st(s)- stitch(es)
sc- single crochet
sc2tog- single crochet two together
FLO- front loop only
Notes:
1.Pattern is worked in four panels. The panels are then seamed together
2.Each panel is made in single crochet FLO on the bias. You’ll start with a increase section where you will work an increase at the beginning and end of each row. Then a straight section where you will increase on one side decrease on the other. You will then finish with a decrease section where you will decrease at the beginning and end of each row. A border and tassels are added to complete the blanket.
Gauge:
14 sts and 12 rows in sc FLO = 4” square.
Size: one size
Finished blanket will measure approx. 72” X 81”
Video Tutorial:
Pattern:
Bias Panel: (make four)
Ch 2
Increase section
Row 1: 2sc in 2nd ch from hook, ch 1, turn. (2)
Row 2: 2sc in each st across, ch 1, turn. (4)
Rows 3-75: 2sc in 1st st, sc across until 1 st remains, 2sc in last st, ch 1, turn. (last row will have 150 sts)
Straight section
Row 76: sc2tog, sc across until 1 st remains, 2sc in last st, ch 1, turn. (150)
Row 77: 2sc in 1st st, sc across until 2 sts remain, sc2tog, ch 1, turn. (150)
Rows 78-87: repeat Rows 76 & 77
(12 rows total)
Decrease section
Rows 88-160: sc2tog, sc across until 2 sts remain, sc2tog, ch 1, turn. (last row will have 4 sts)
Row 161: sc2tog twice, ch 1, turn. (2)
Row 162: sc2tog. (1)
Fasten off.
Join yarn to side of panel and ch 1.
Sc into the end of each row, work 3sc into each corner, all the way around the panel. Join to 1st st and fasten off. There will be 74 sts along each short side and 86 sts along each long side.
Repeat on all panels. Weave in all ends.
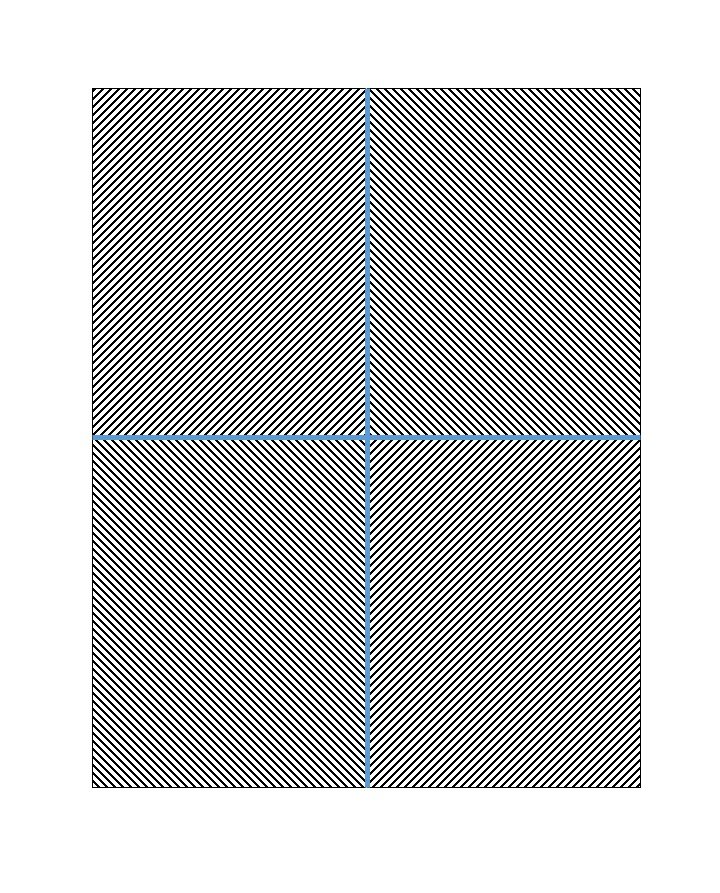
Seaming:
Lay panels together so that the sc stitches create a diamond pattern in the center of the blanket. Seam the panels together using your preferred seaming method as shown below (blue lines are seams).
Border:
Join yarn to one side of the seamed blanket.
Ch 1,
Round 1: sc in join and in each st around, working 3sc into each corner stitch, sl st to 1st st to join.
Round 2-6: ch 1, sc in each st around, working 3sc into each corner st, sl st to 1st st to join.
Fasten off and weave in all ends. Steam block if needed.
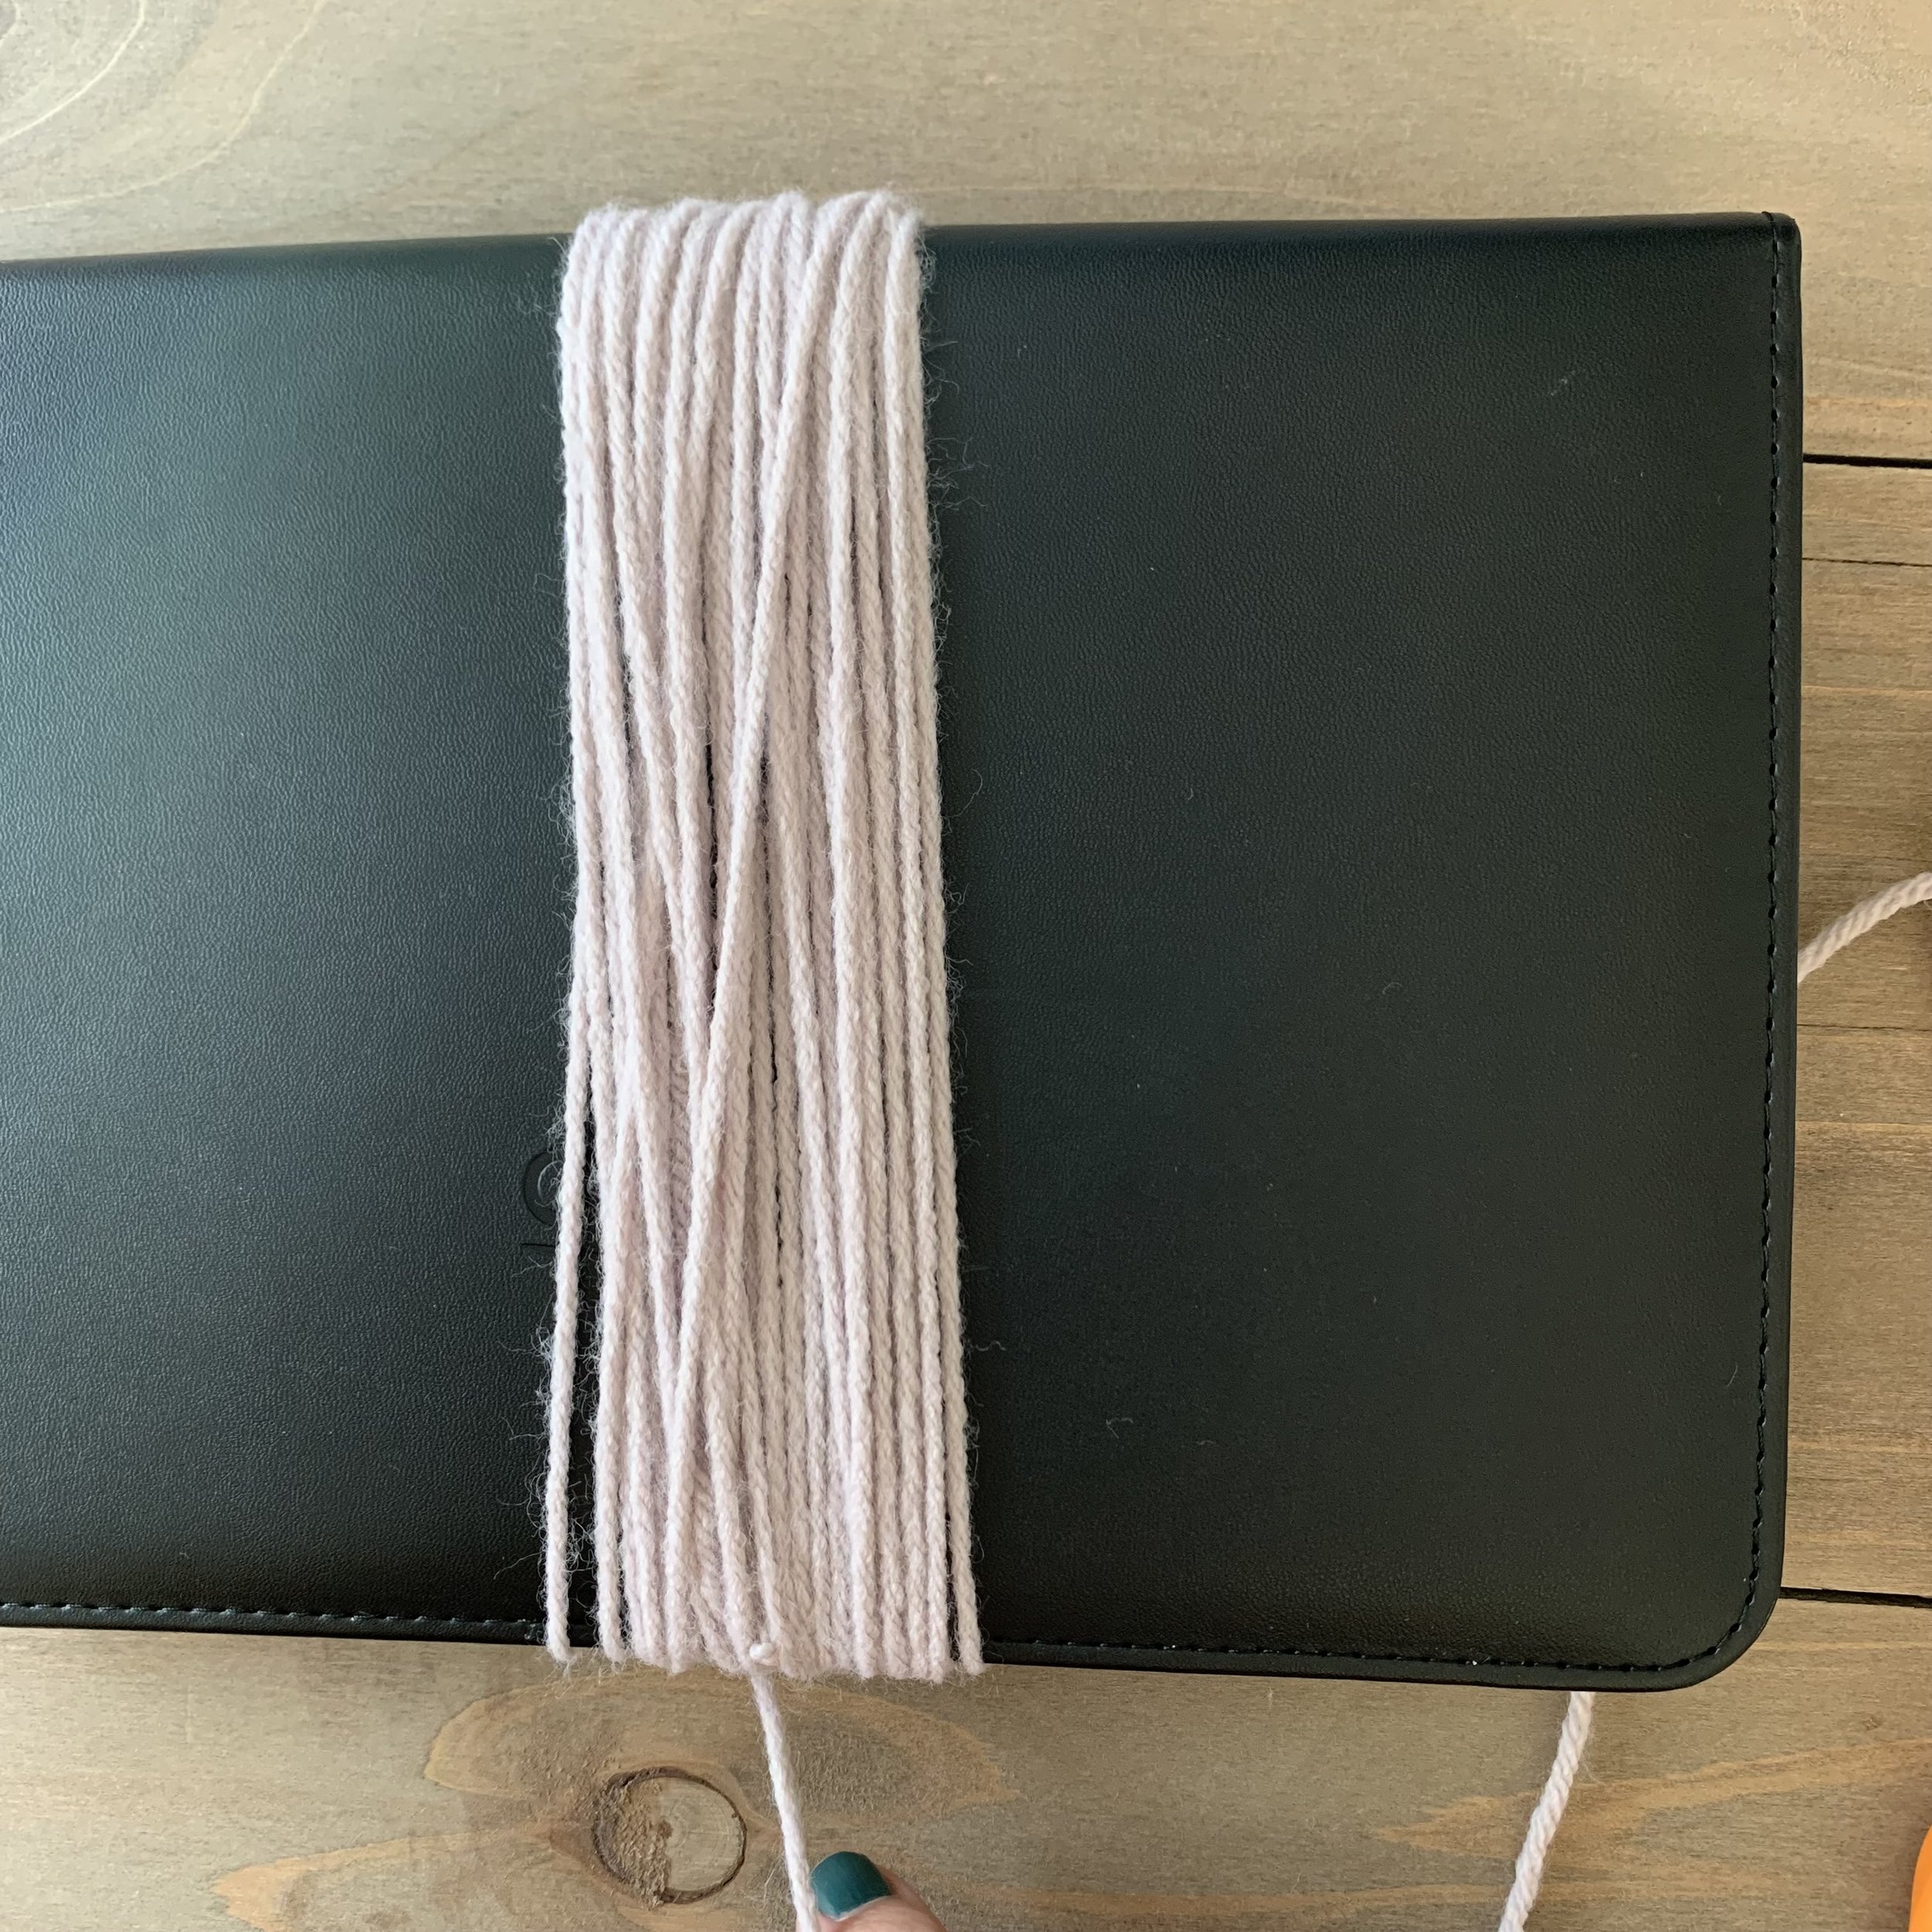
Tassels: (make four)
Using a tassel maker or 6-7” piece of cardboard make four tassels for the corners of the blanket.
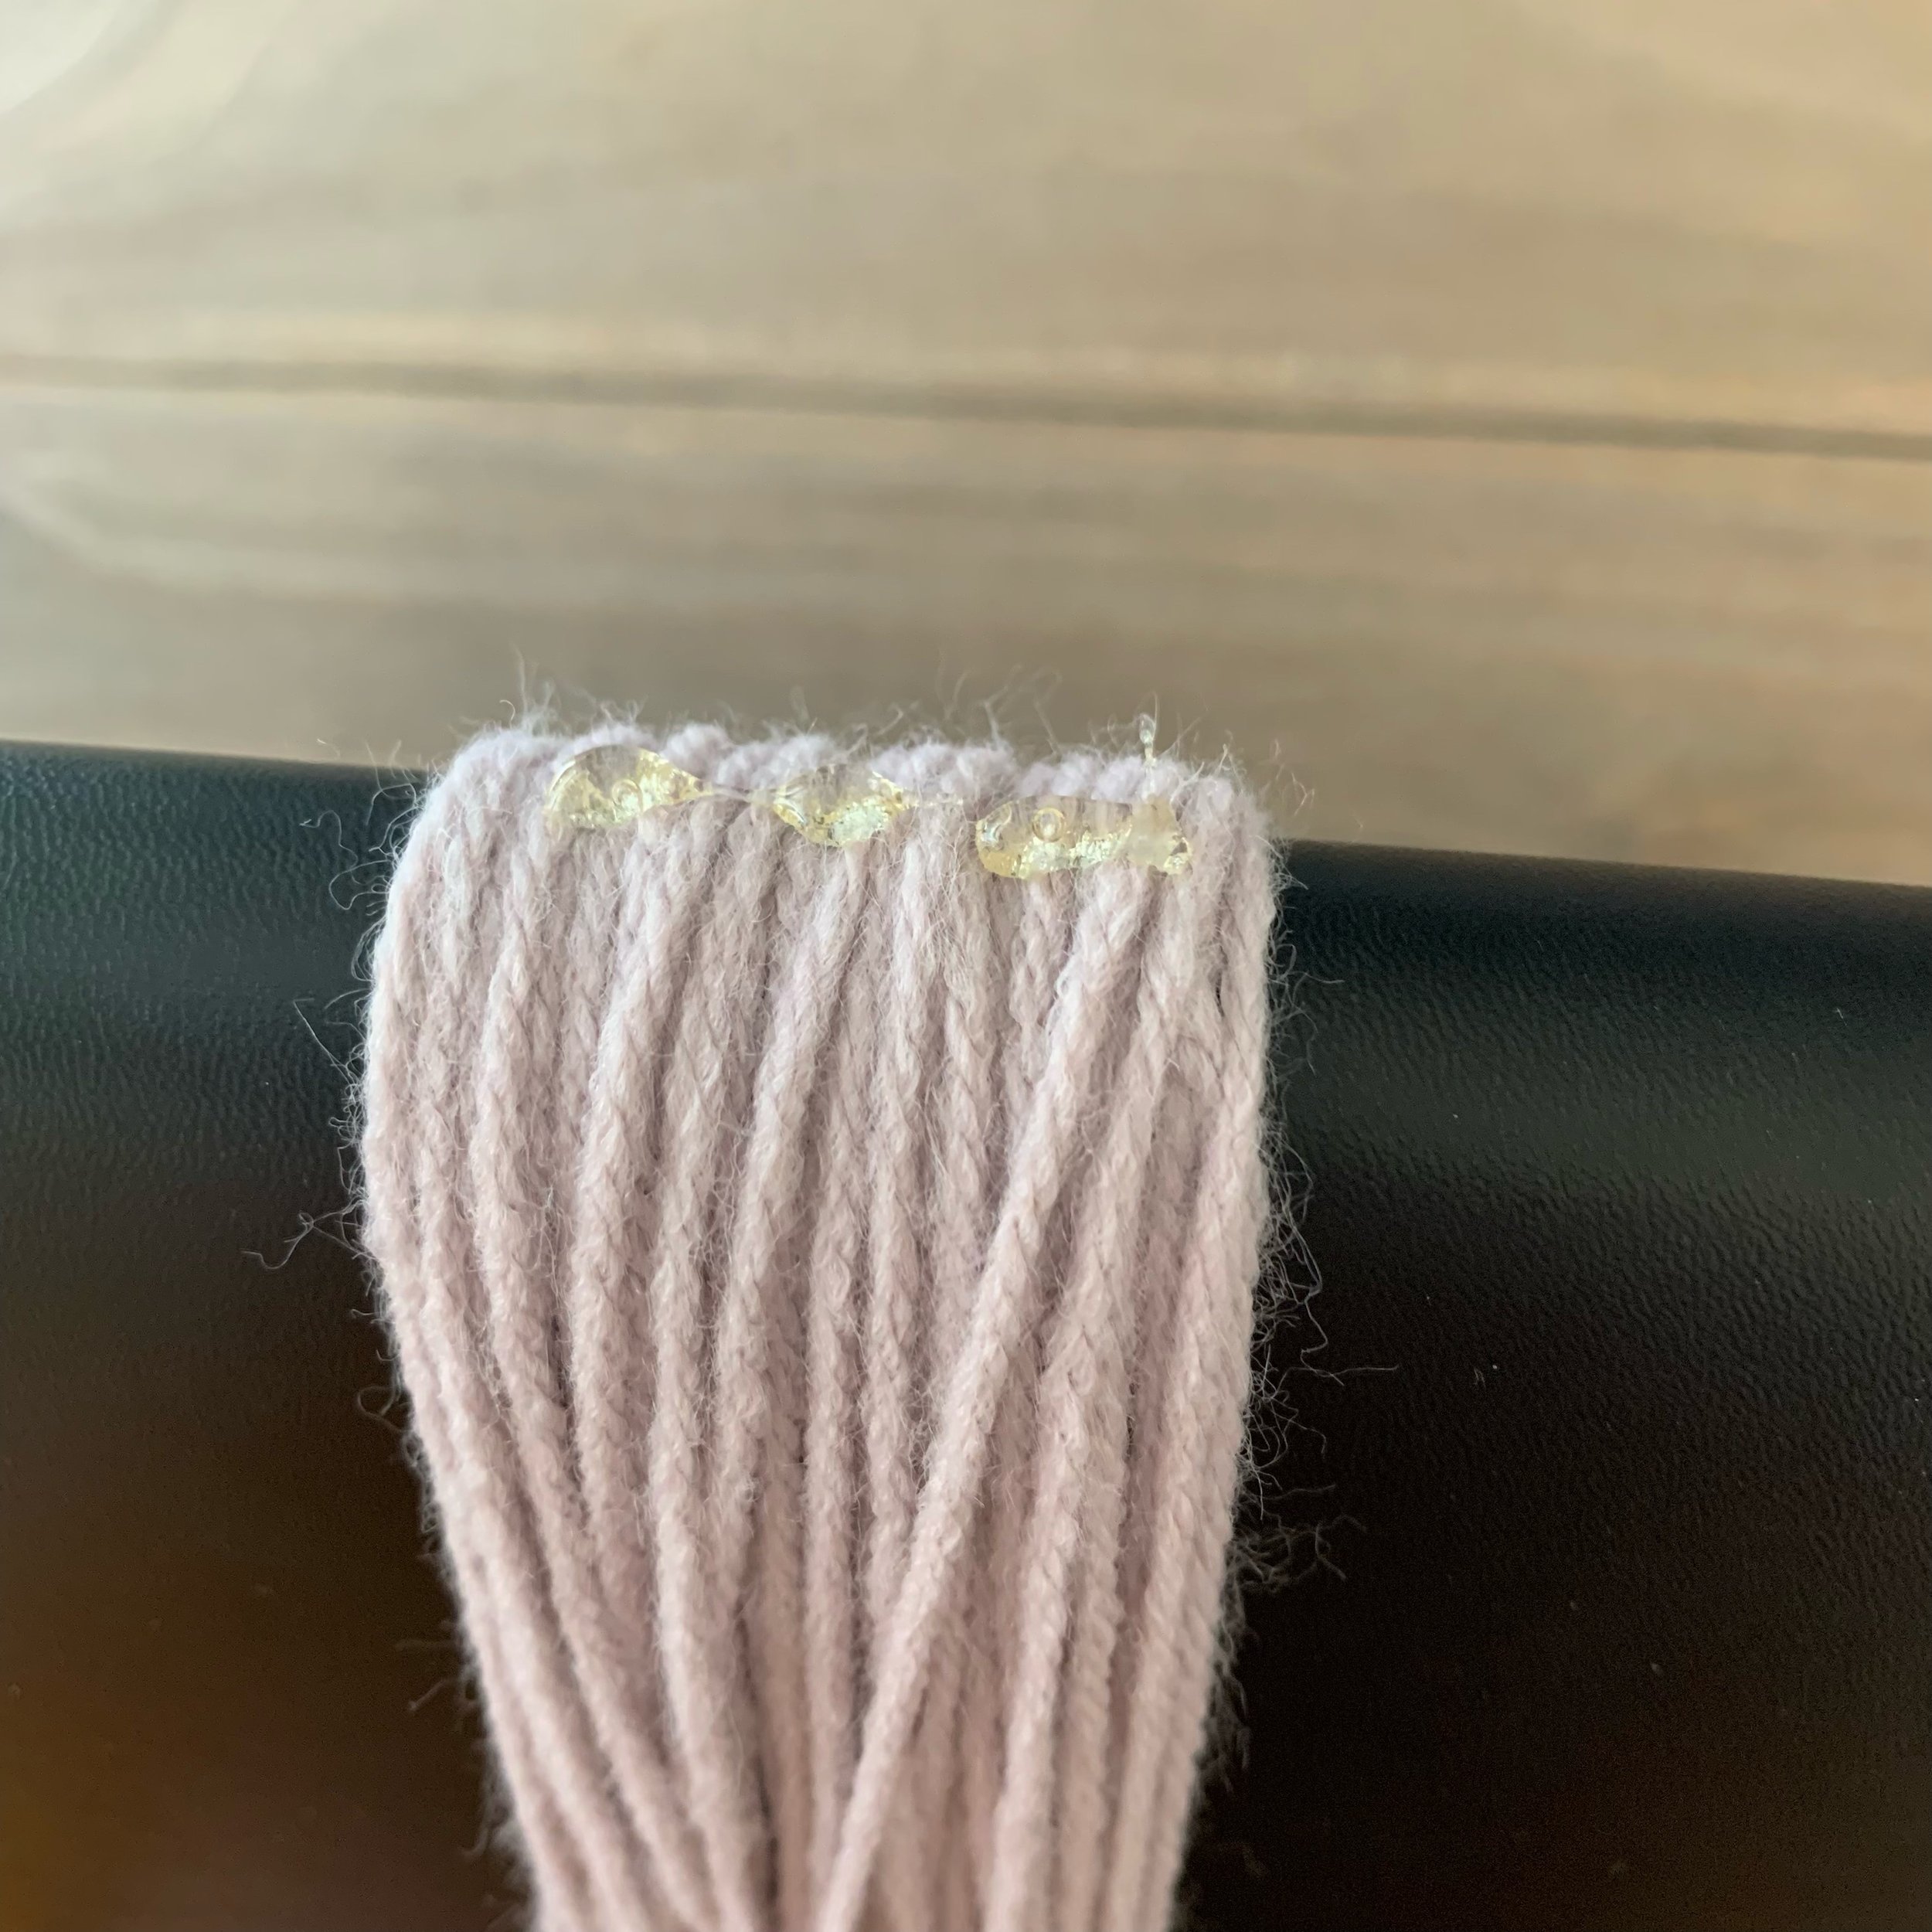
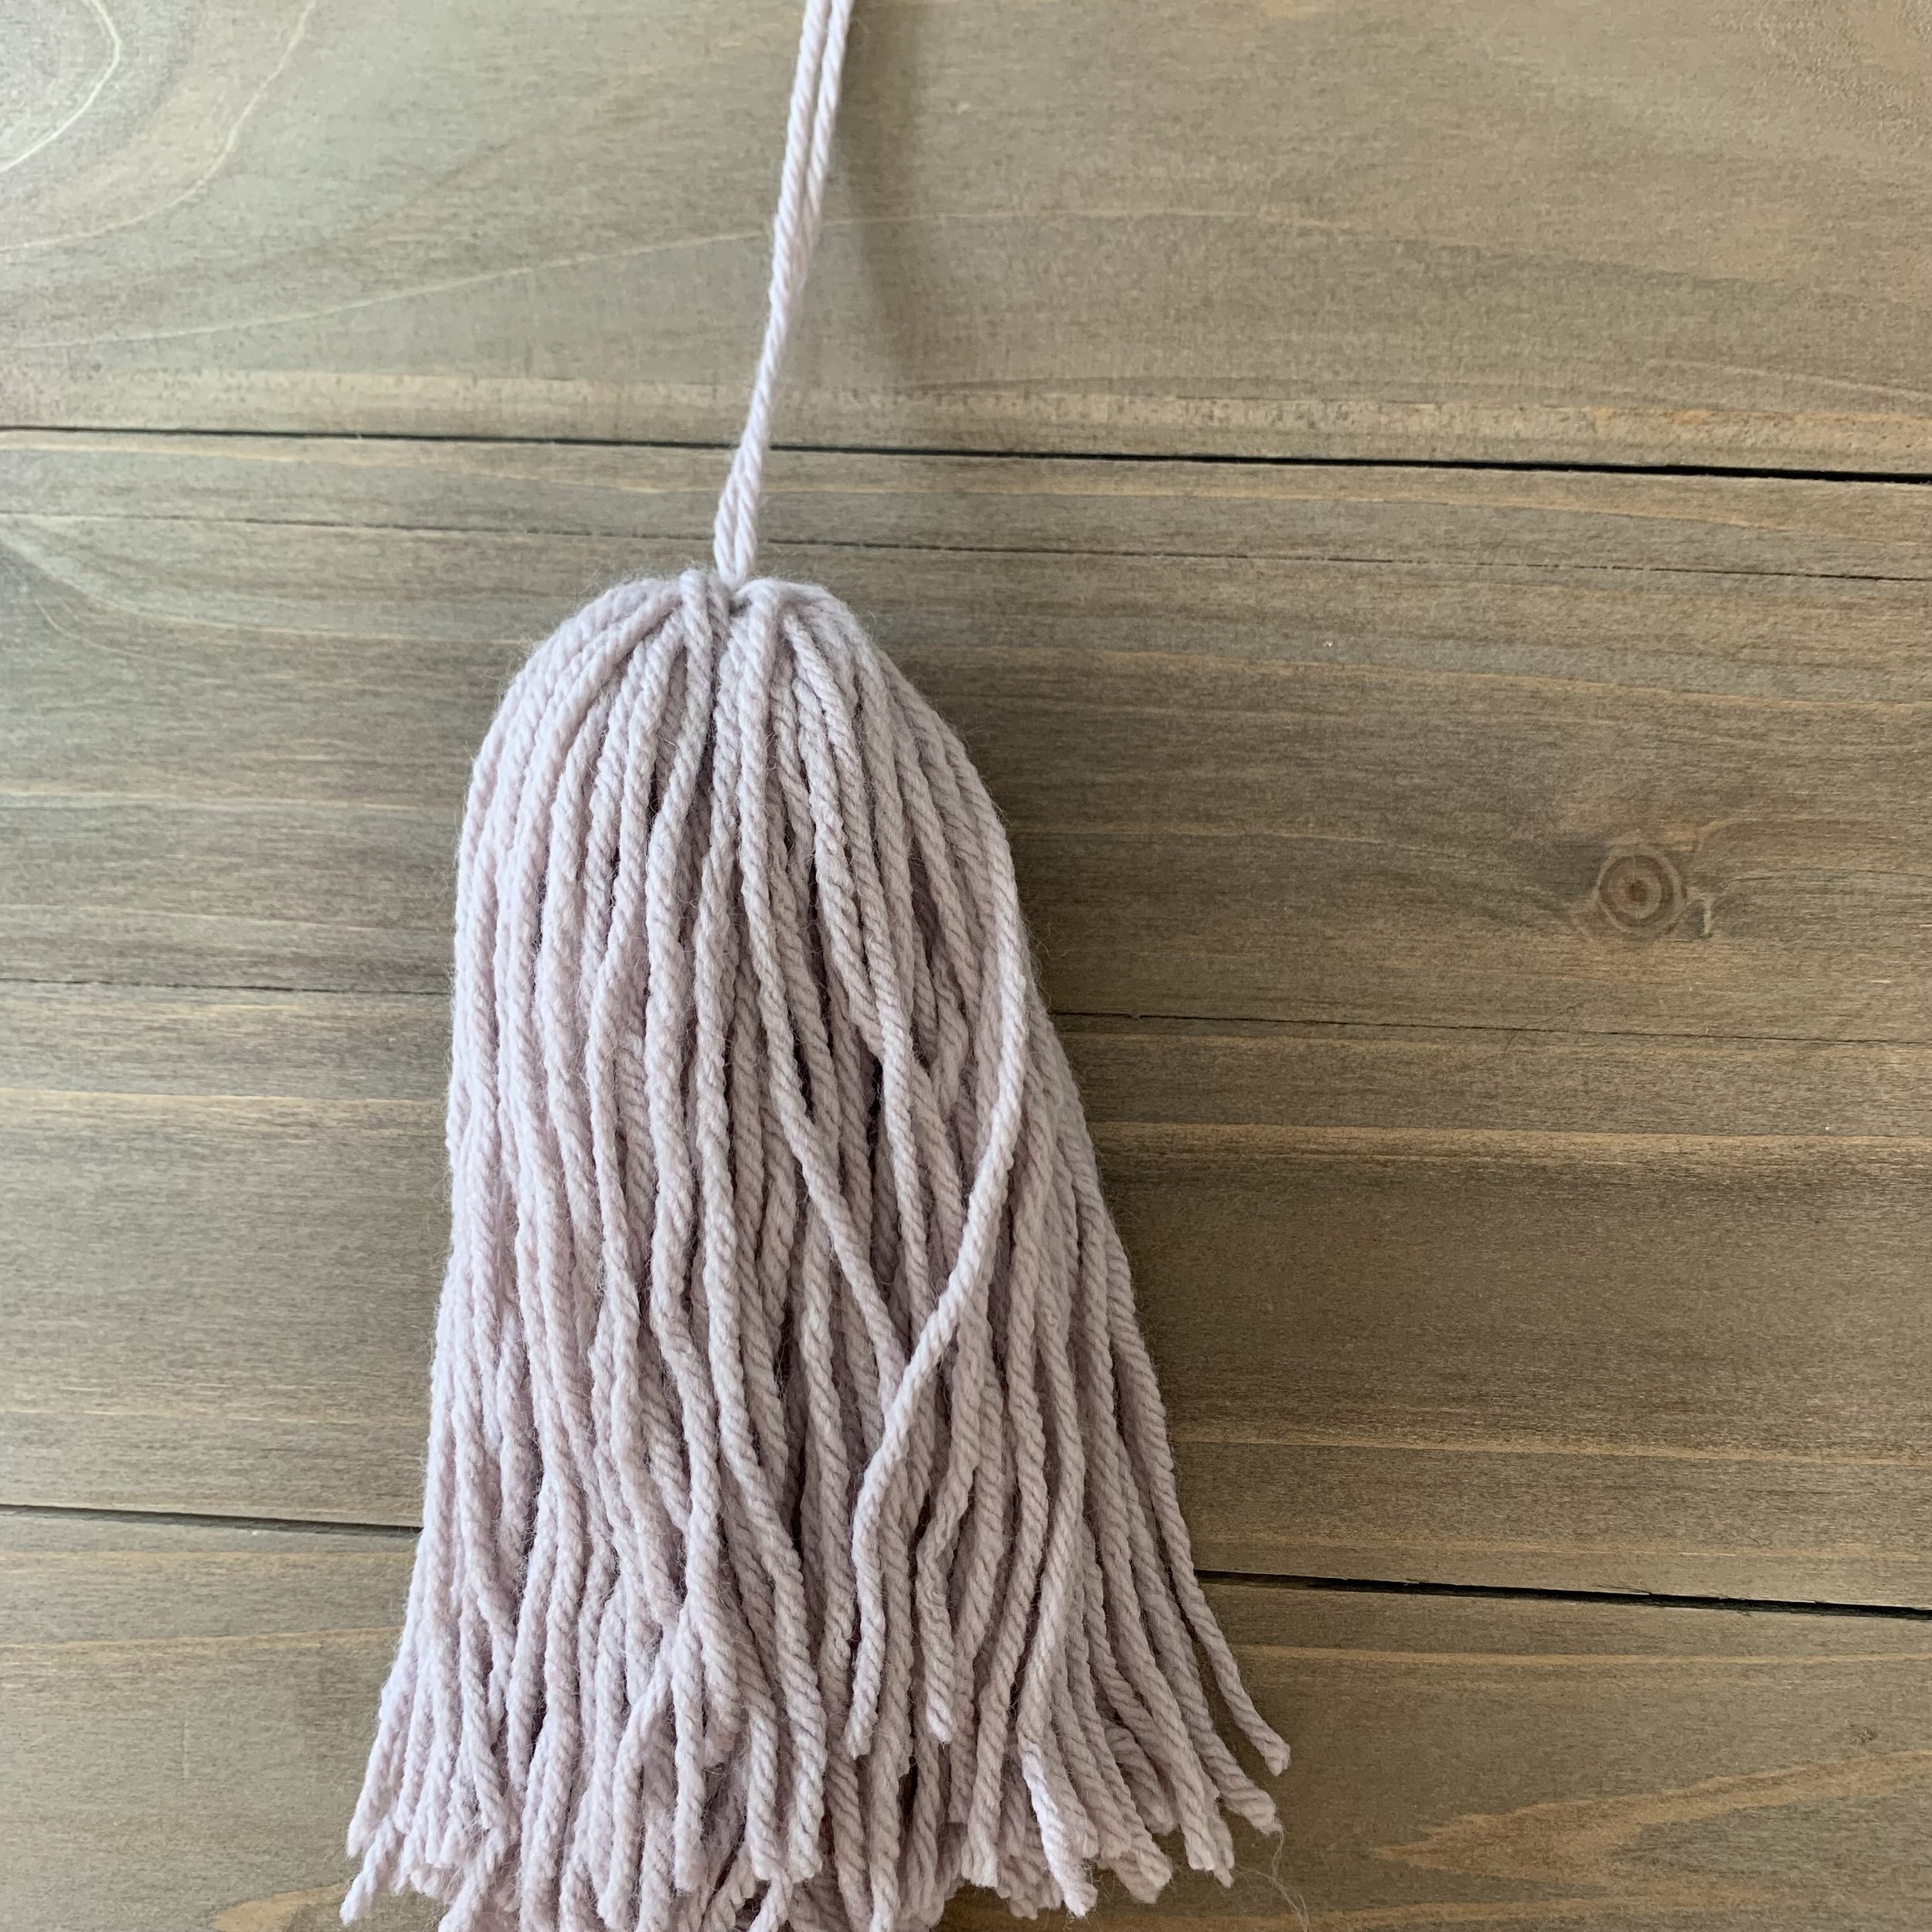
Wrap yarn around cardboard 70-100 times, then cut. Slide an 8” piece of yarn under the wrapped yarn and tie a knot. Add a few lines of hot glue as you wrap for extra security. Cut the bottom of the wrapped yarn to create the tassel.
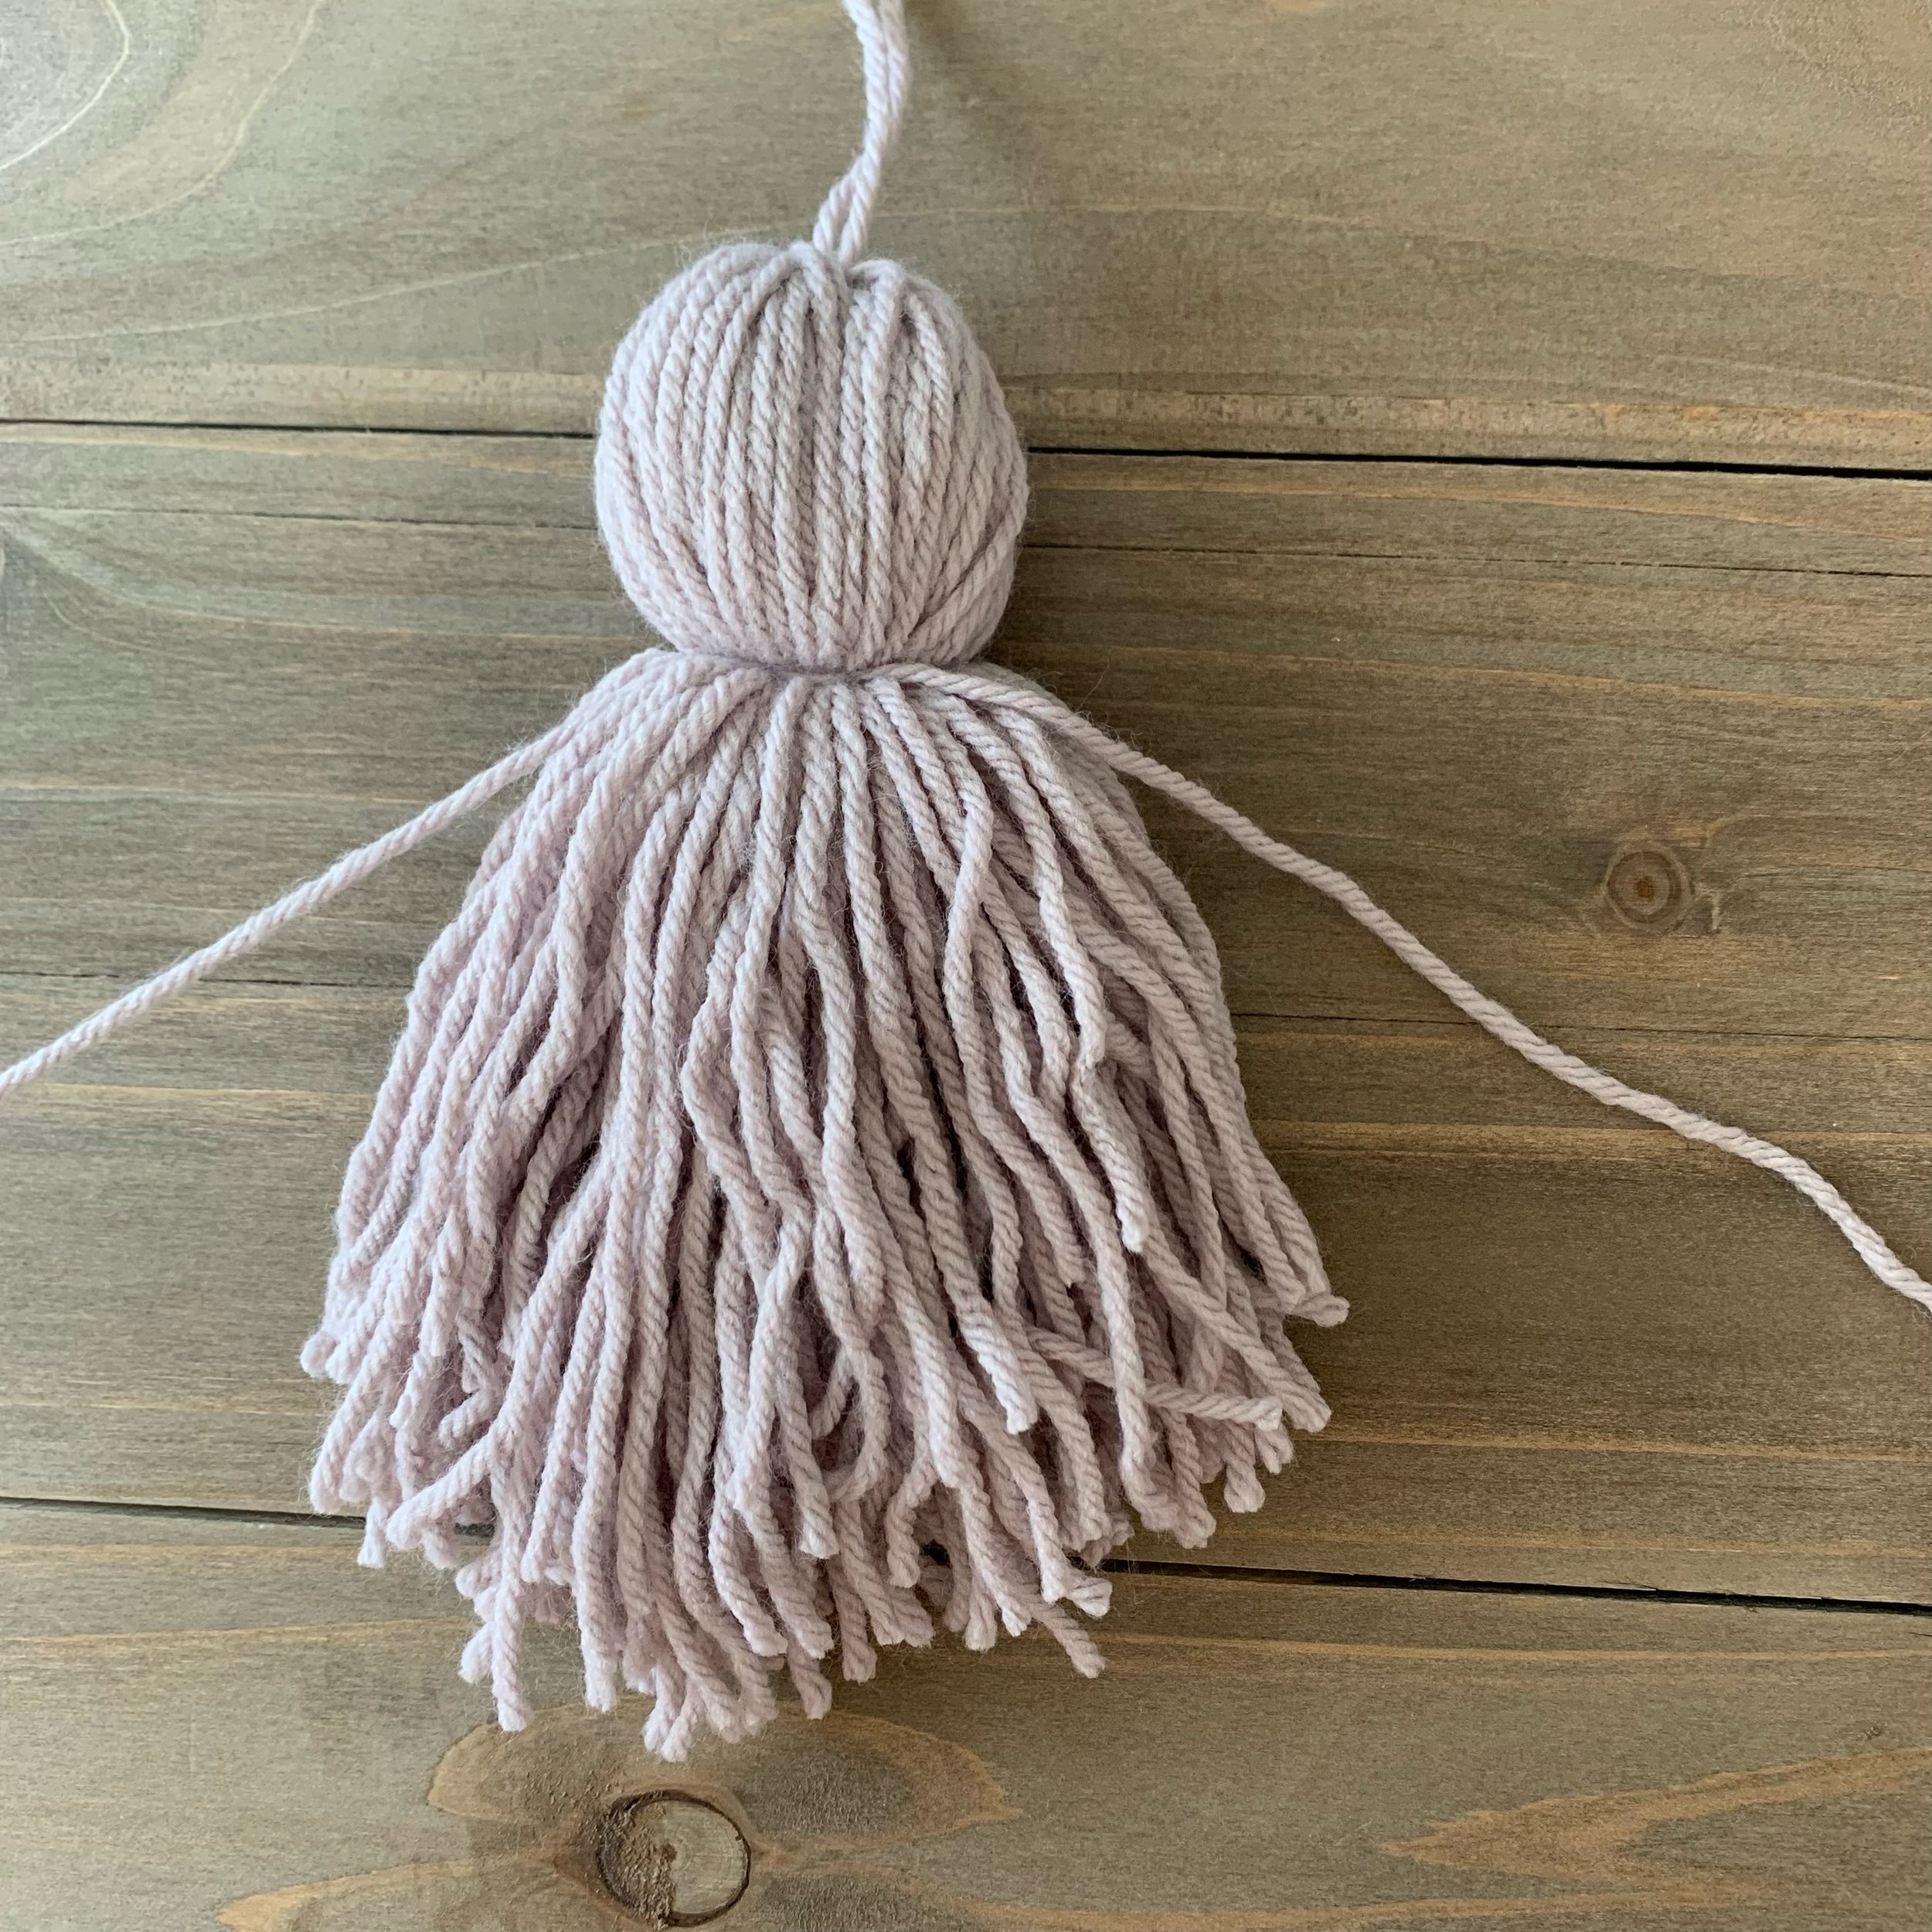
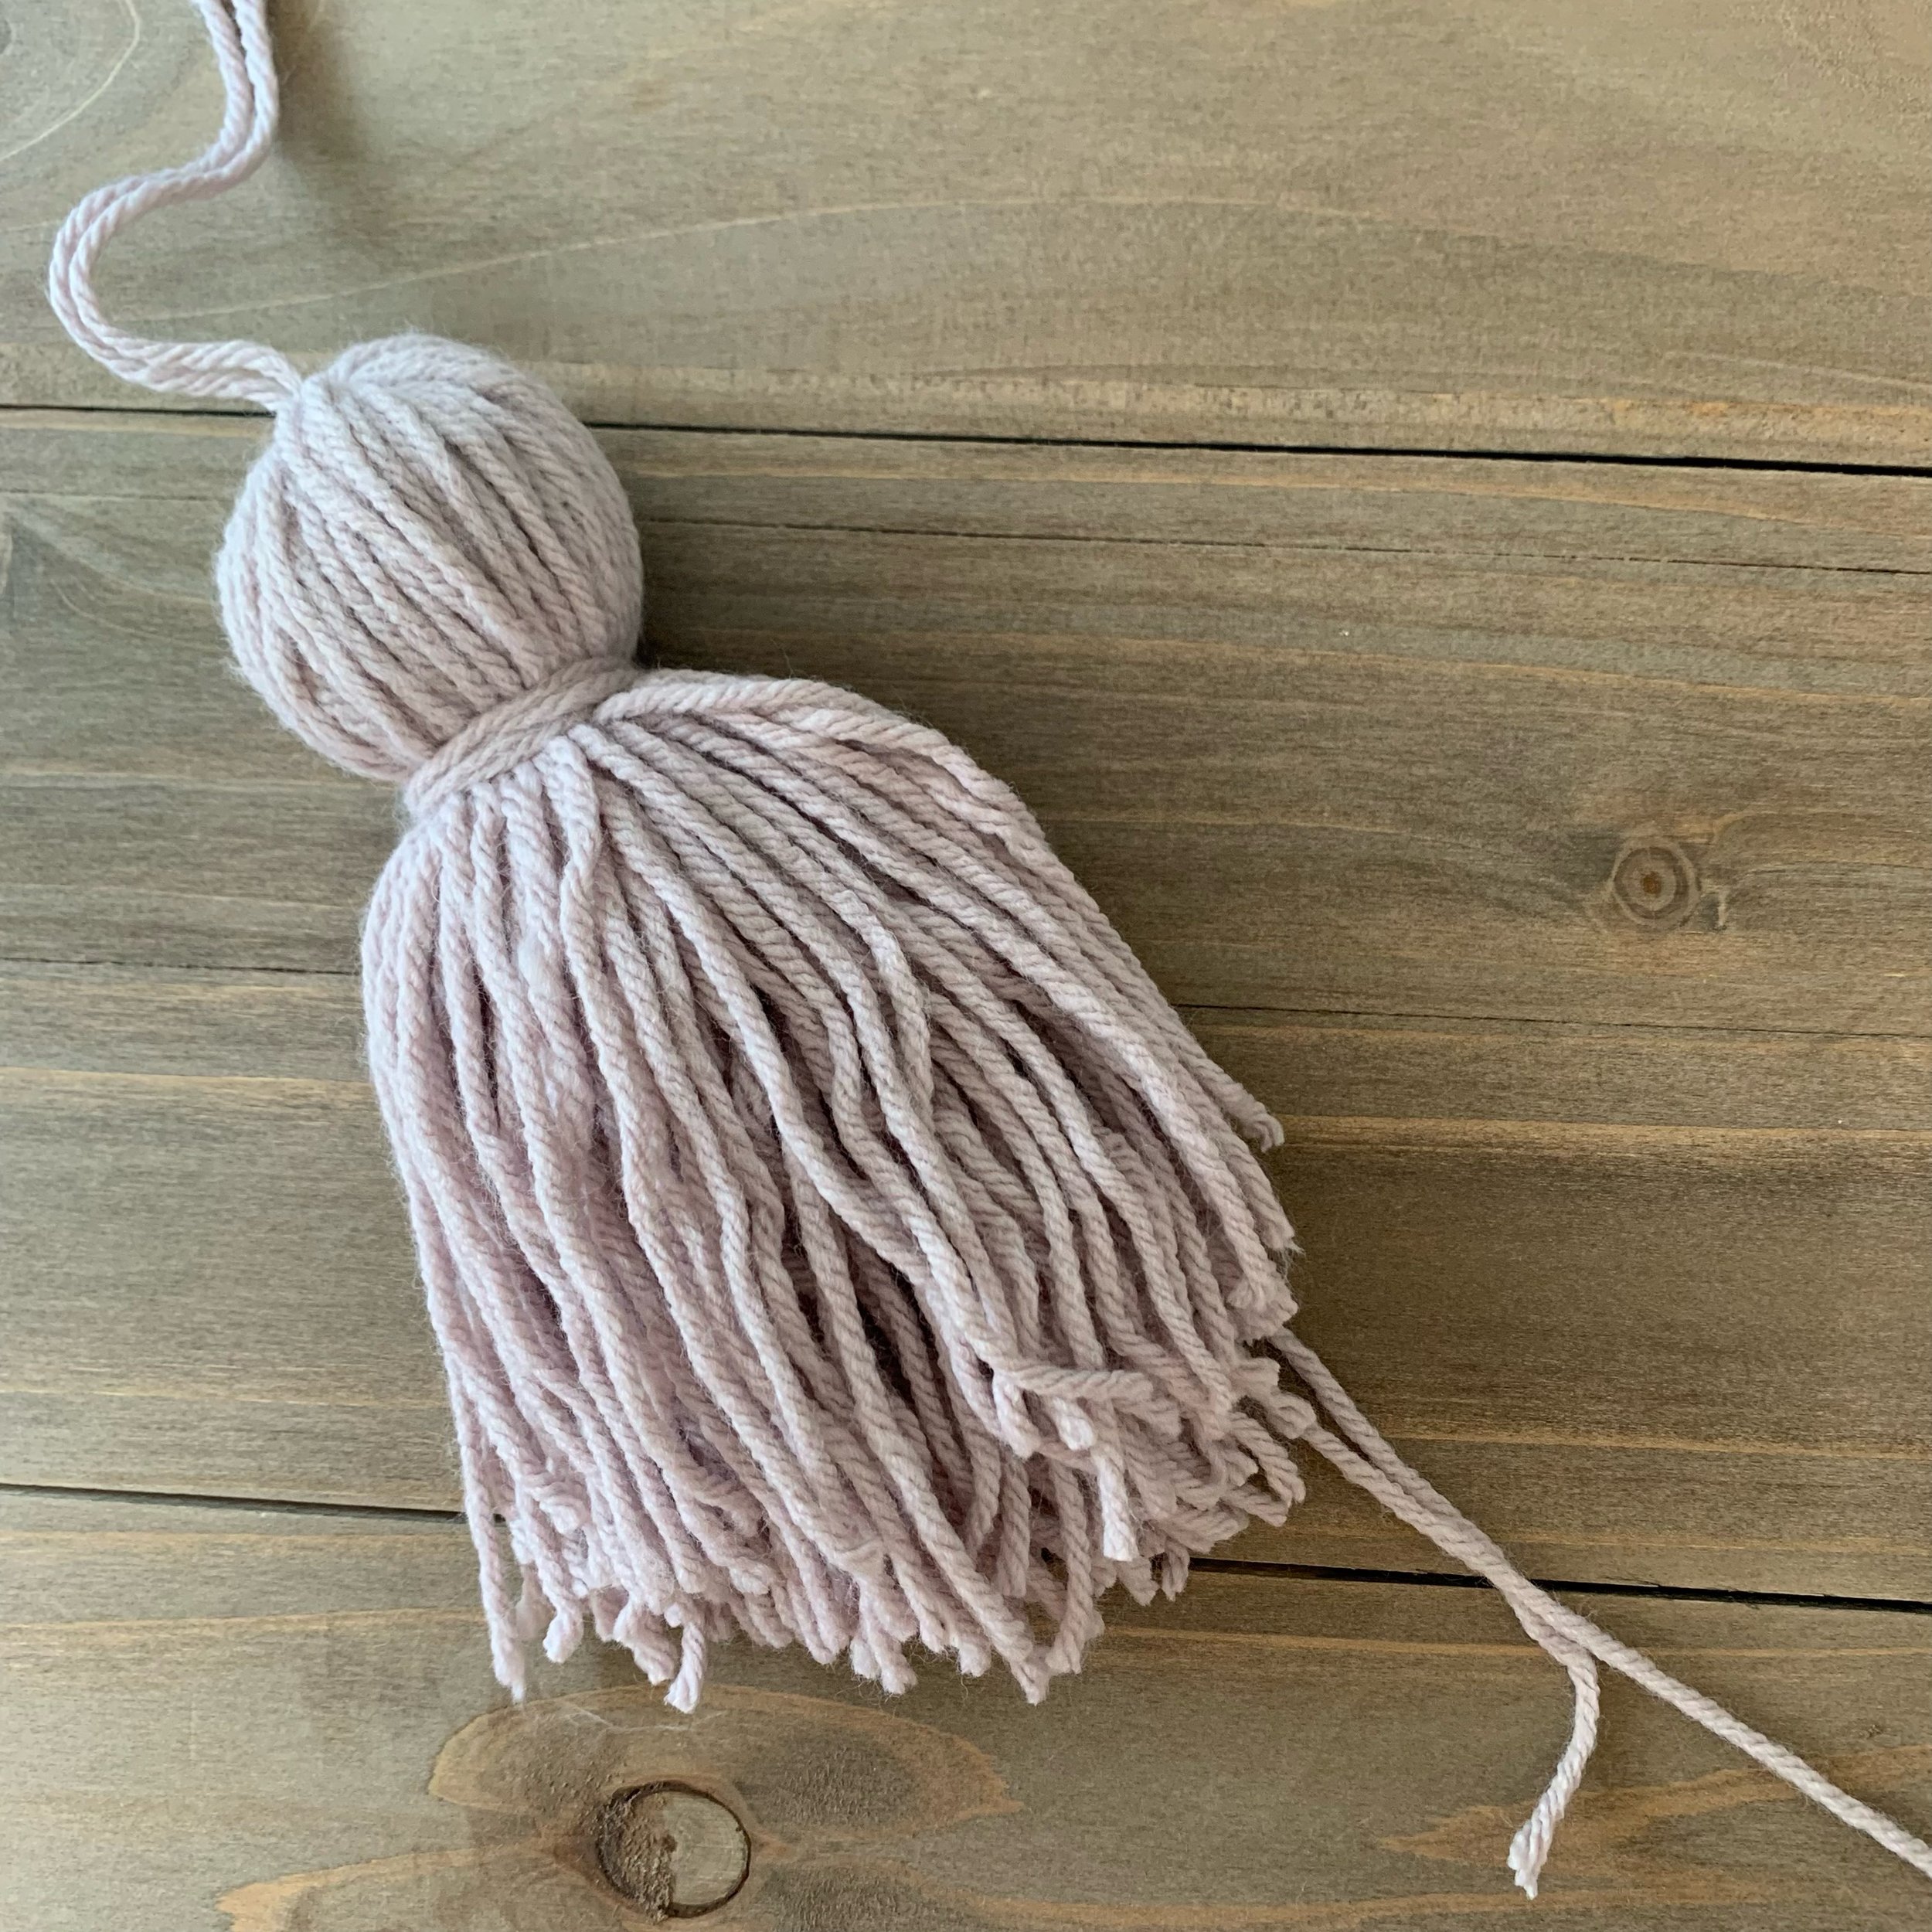
Tie a 14” piece of yarn around the tassel about 1” from the top. Lay one strand of the tied yarn down along the tassel and wrap the other end around the knot 3-4 times. Pull the end through the wrapped section to secure. Trim ends.
Tie a tassel to each corner of the blanket and then weave the ends into the blanket to secure.

I hope you love your new Hattie Blanket. If you make one, I’d love to see it. Make sure to tag me @meghanmakesdo and use #thehattieblanket on social media.
As always you can also find a print friendly PDF in my shop, Etsy or Ravelry. Or grab a complete kit with all the yarn you’ll need, in the color of your choice, as well as a digital copy of the pattern from Lion Brand Yarn.
Happy Crocheting!
Meghan