

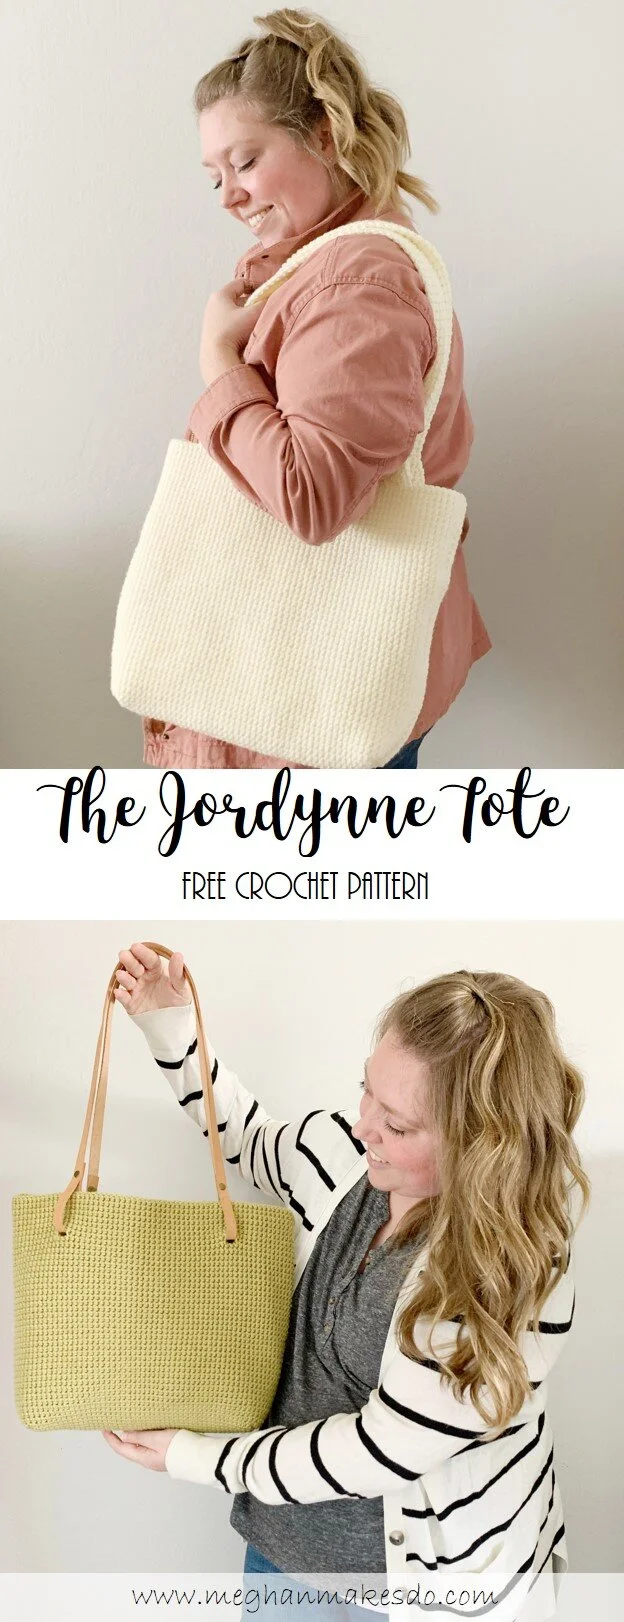
The Jordynne Tote- Free Crochet Pattern
This post contains affiliate links. If you make a purchase through one of those links I may receive a small commission. It’s an easy way to support this blog at no additional cost to you.
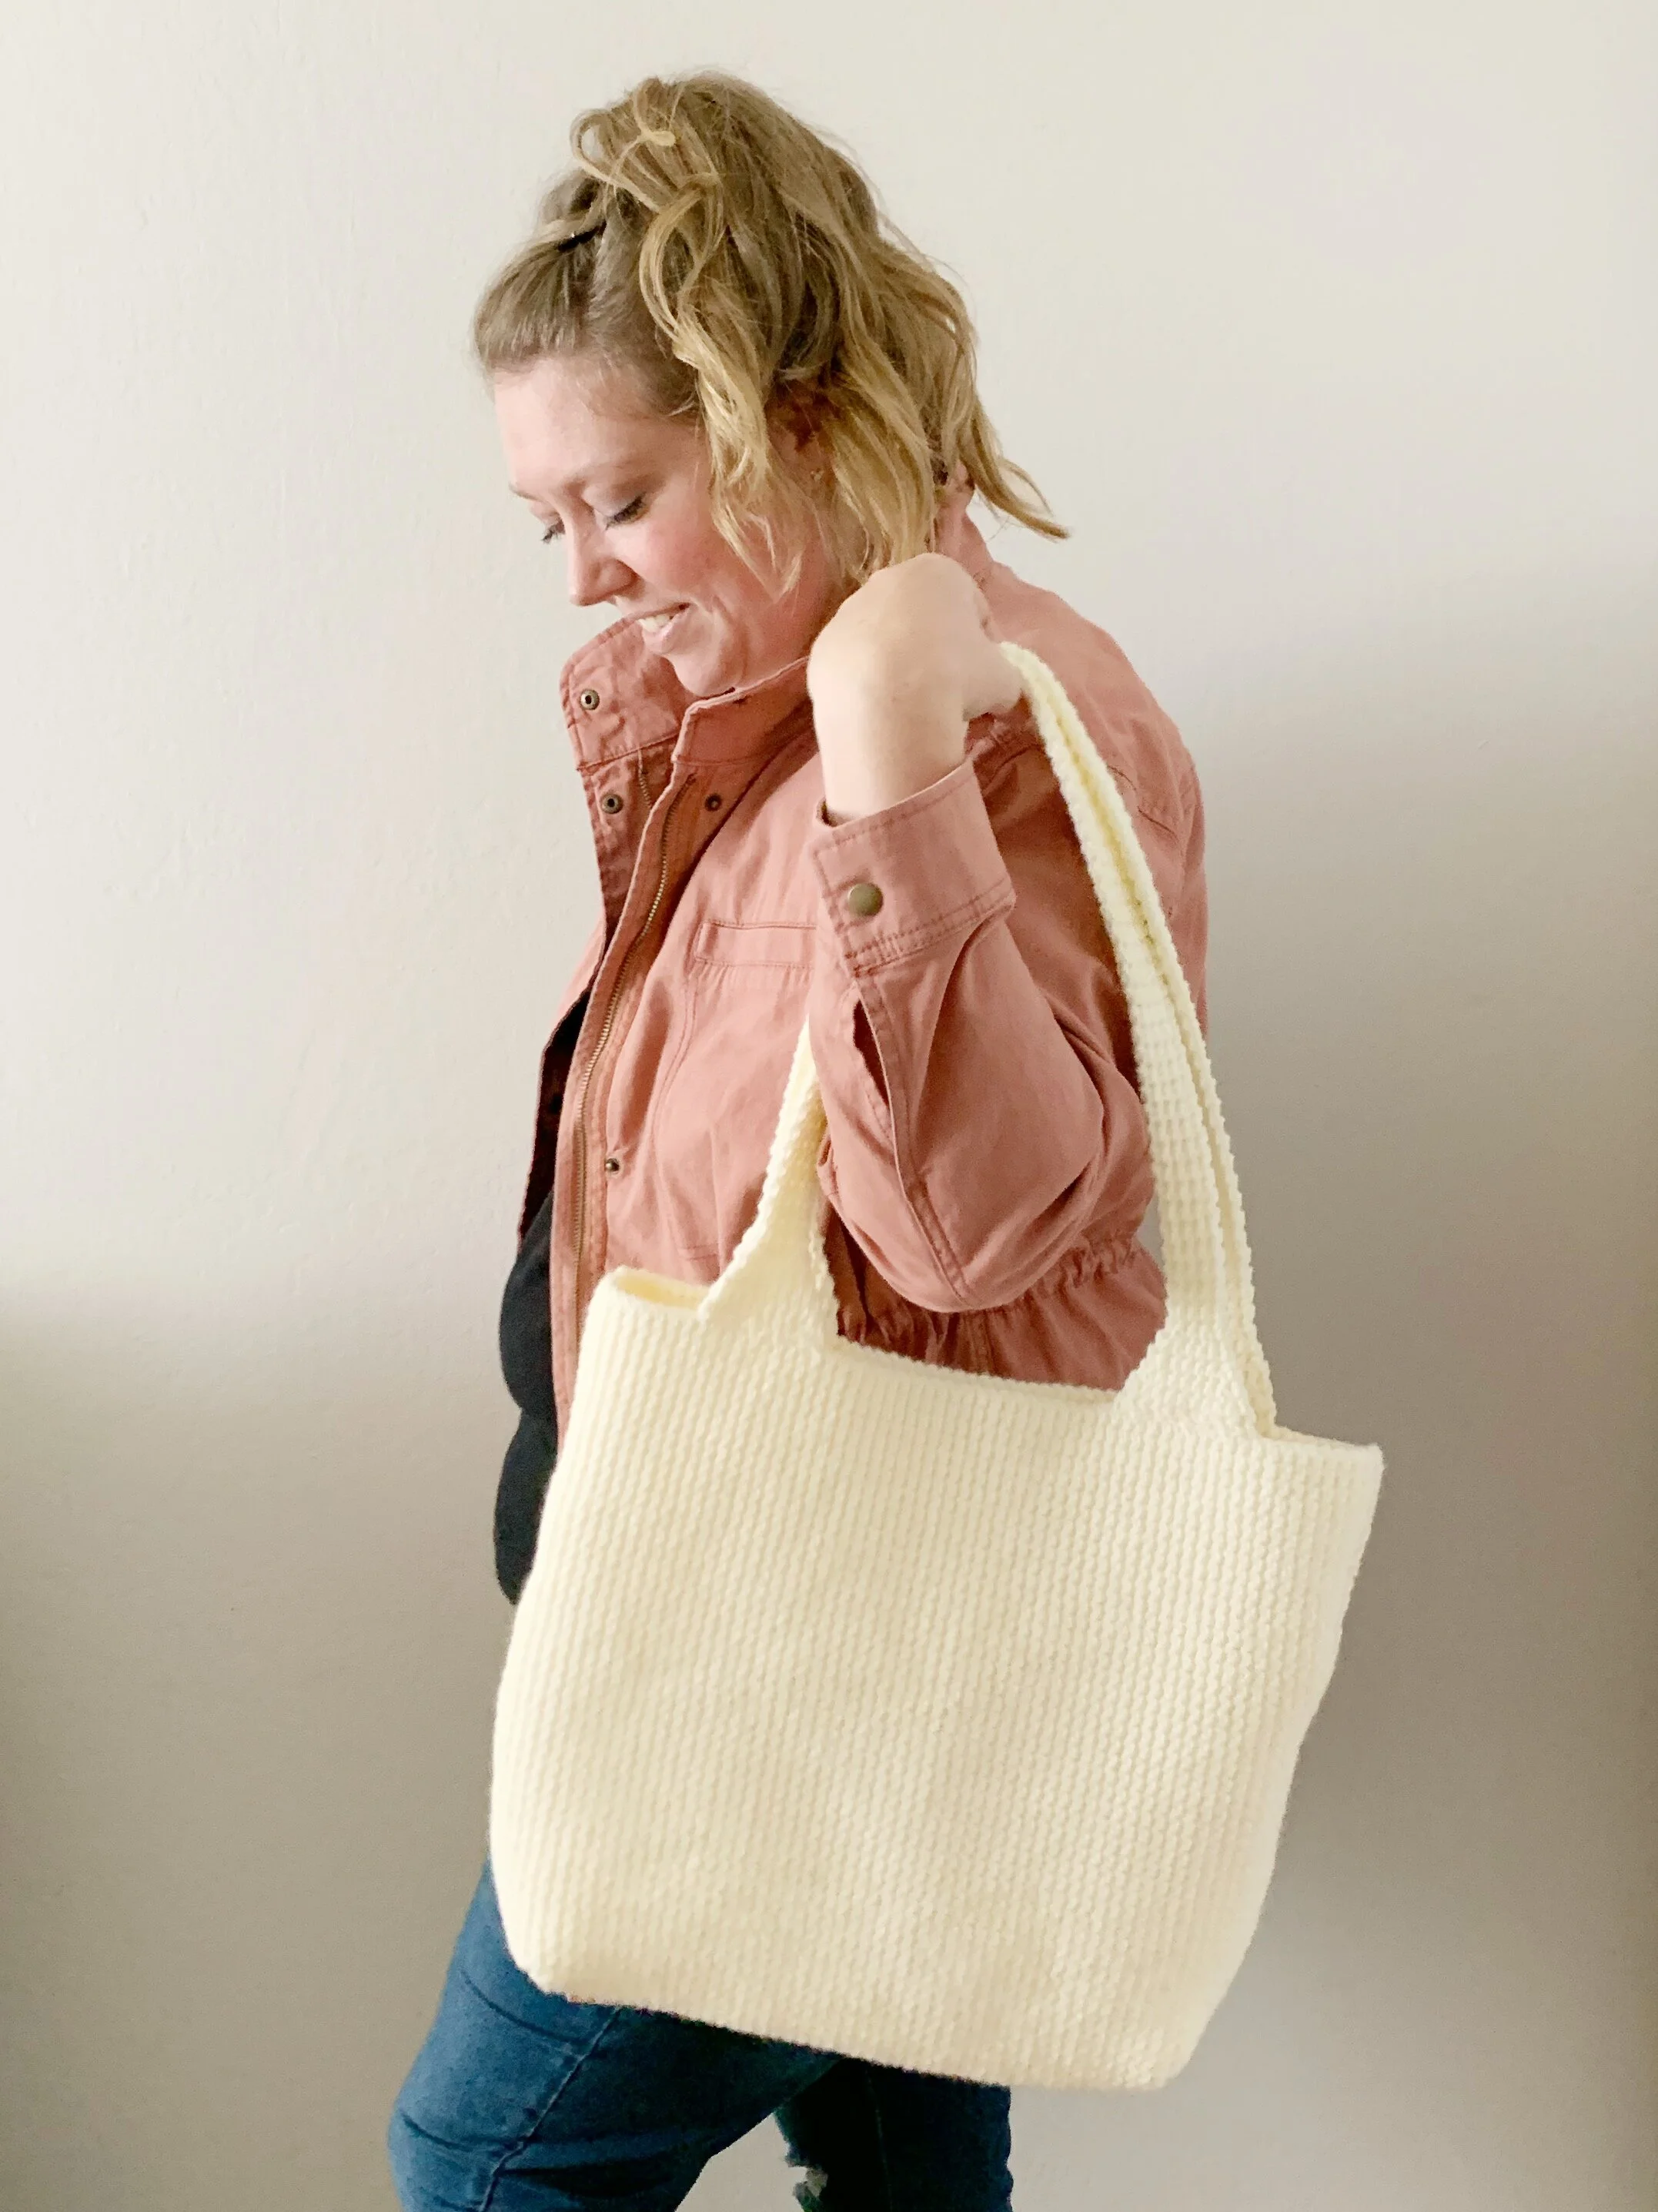
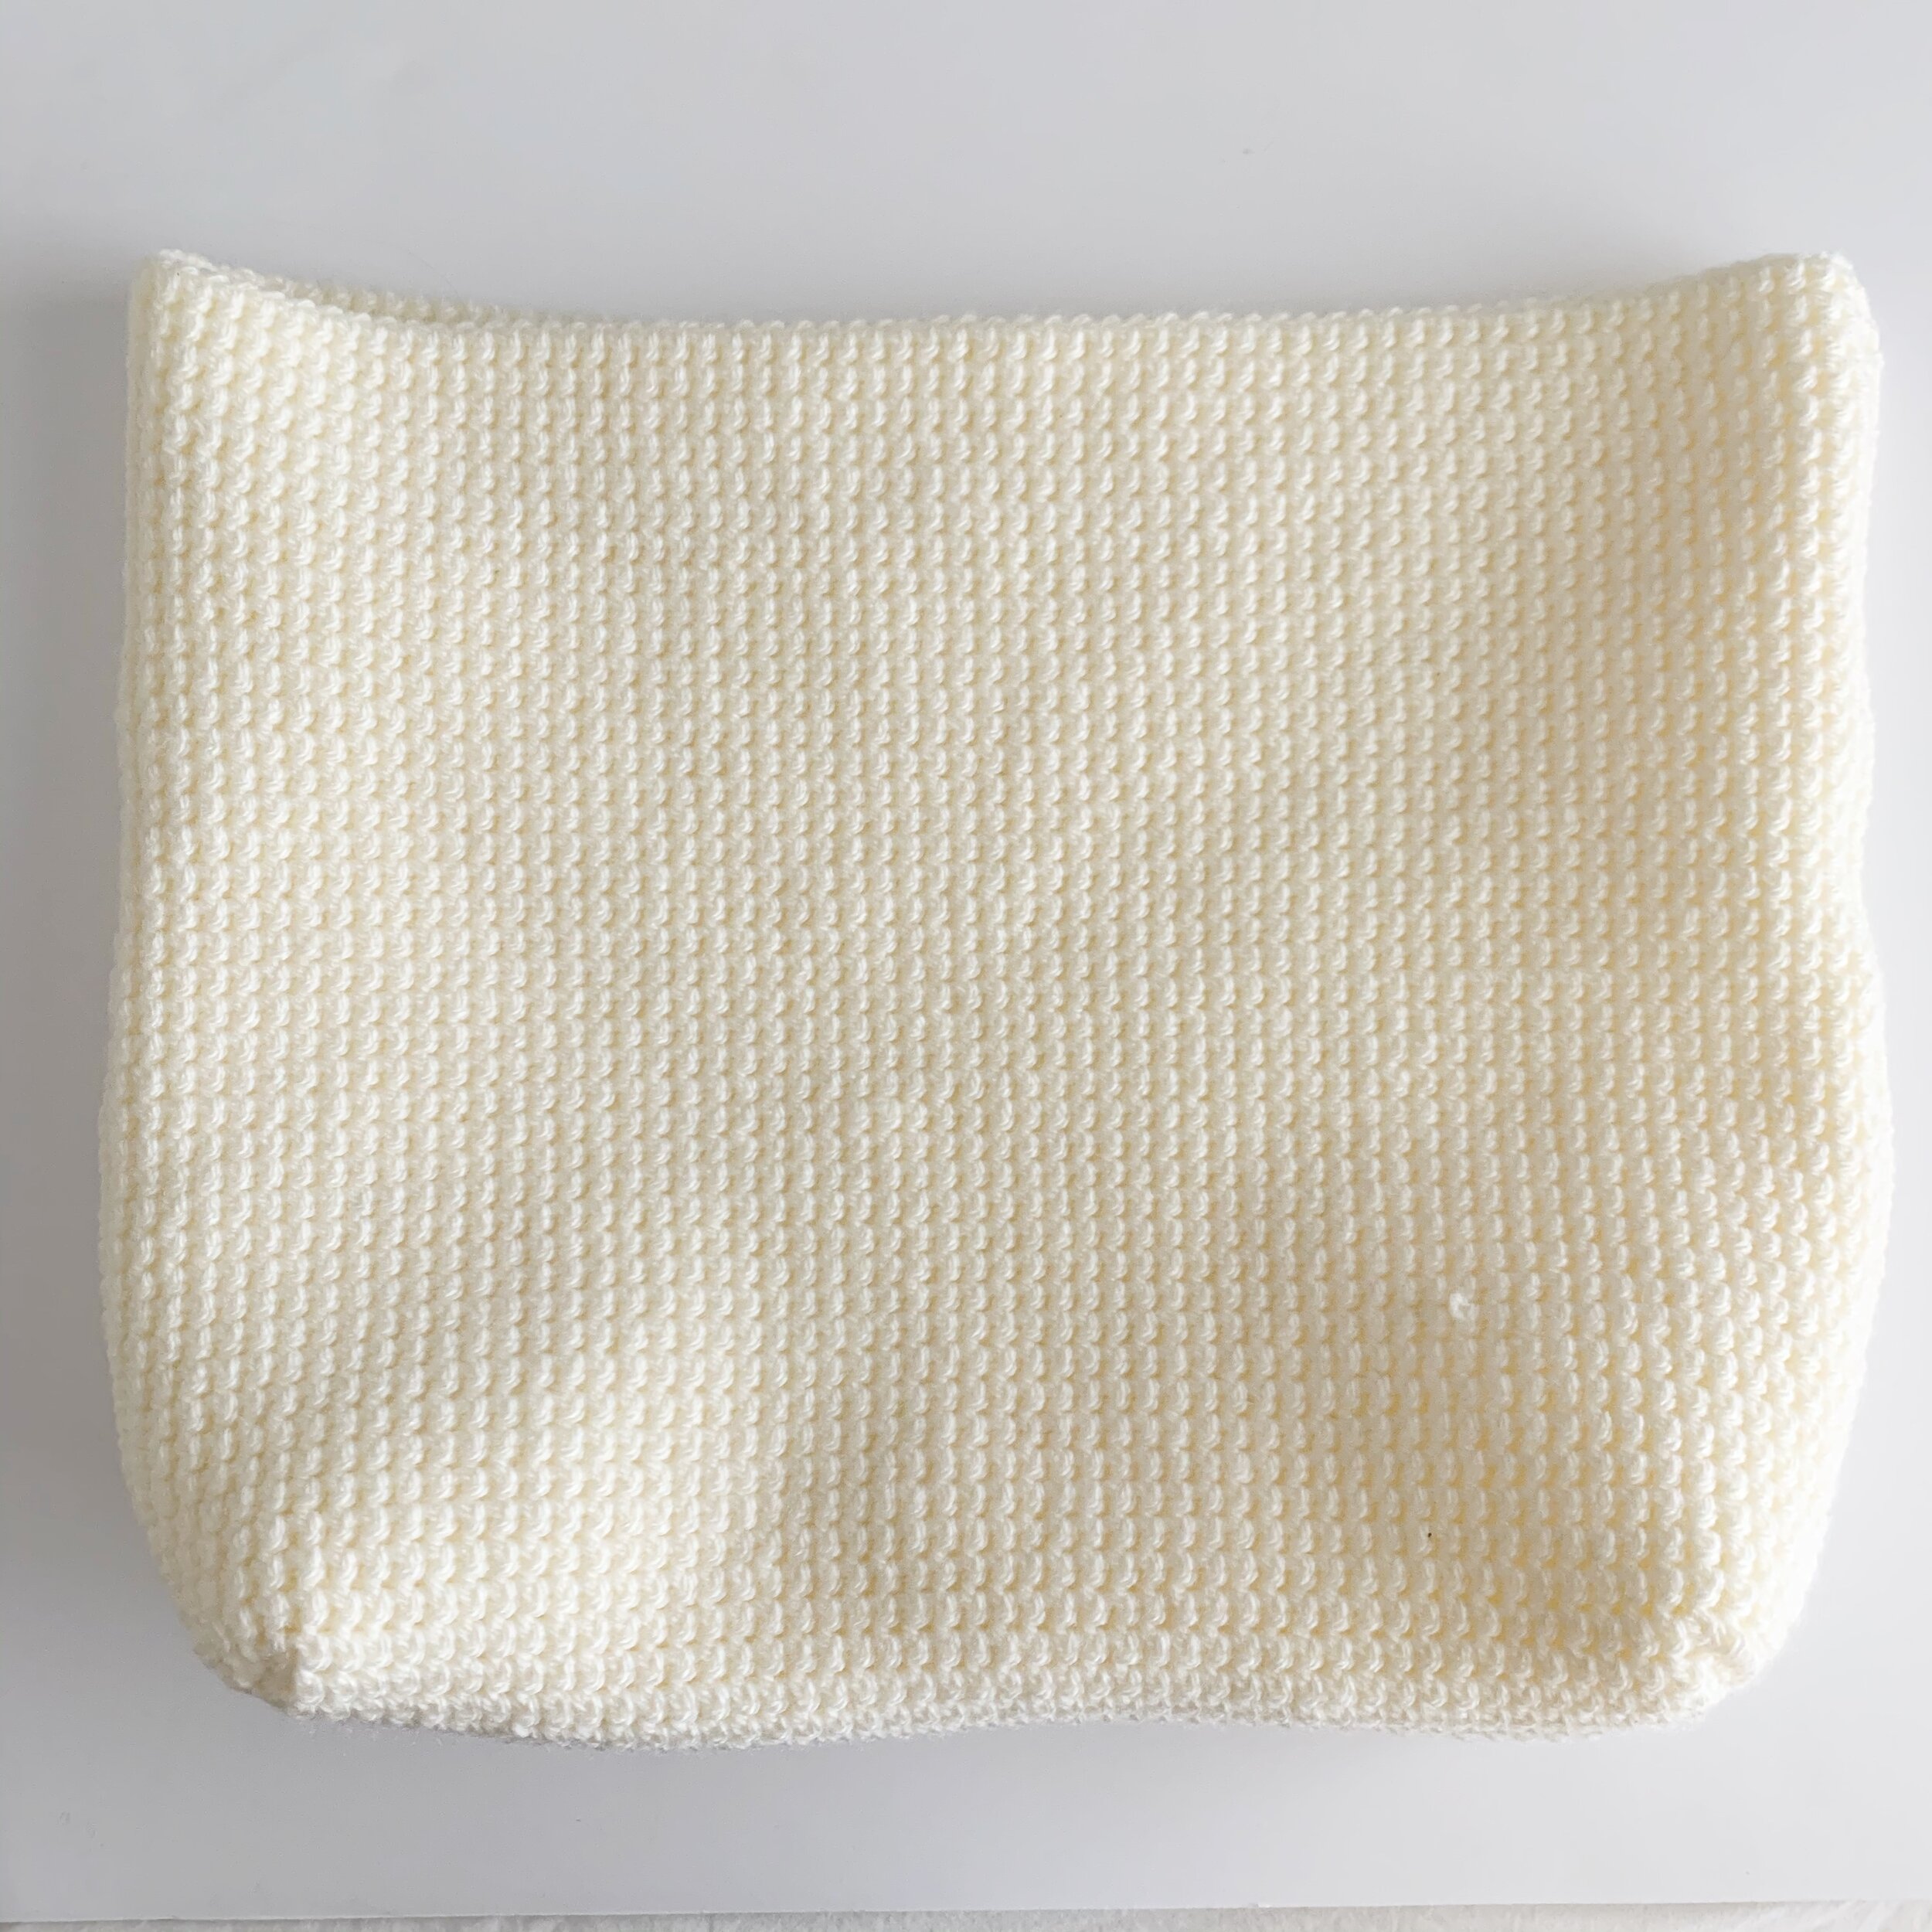
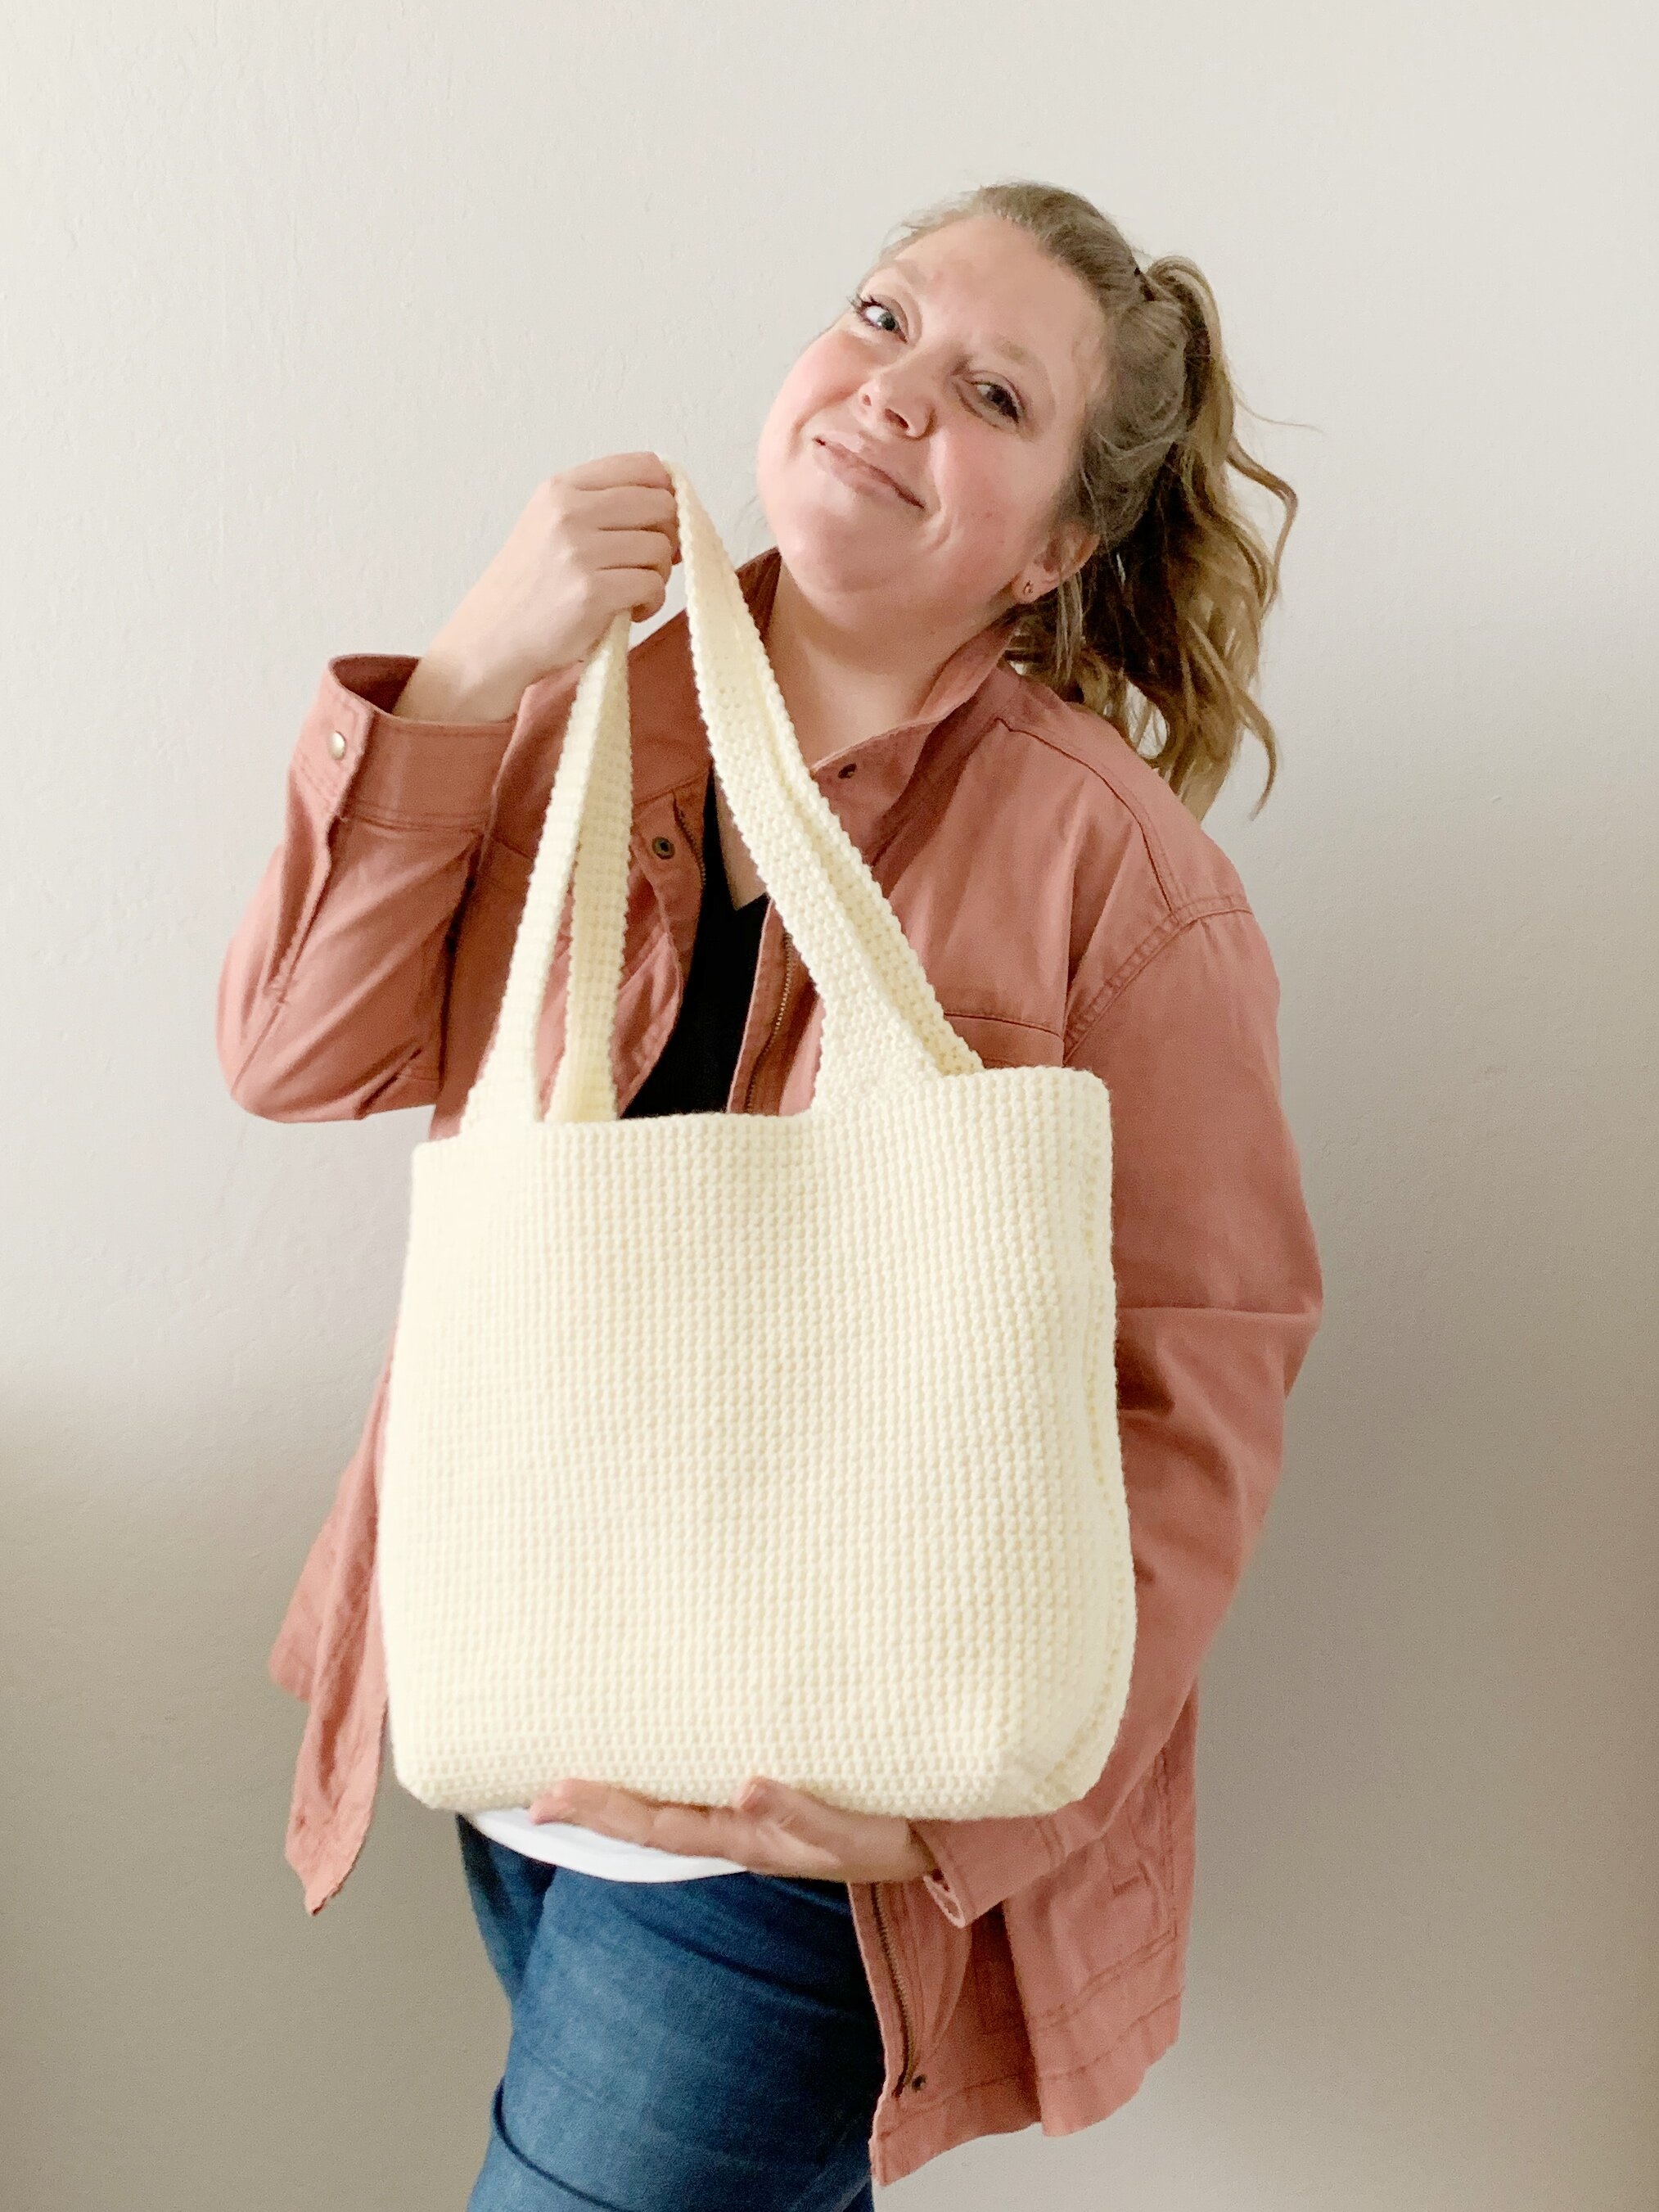
The Jordynne Tote is a stunning minimalist design. The simple stitches are easy to work up and produce a strong and sturdy tote bag. With two strap options you are sure to use this pattern again and again. Scroll down for the free pattern or grab a printable PDF in my shop.
Earlier this year I was asked to design a simple tote bag for Bluprint. I had always wanted to try the thermal stitch and knew it would make the perfect tote bag. I had waited months to get this pattern out into the world and then Bluprint closed. I figured this was the perfect time to go over my pattern again and offer a second strap option and a brand new yarn option as well.
My friends over at WeCrochet were nice enough to provide the yarn support for this project and I just love how Jordynne worked up in their Brava Worsted yarn.
So while this bag pattern has been finished for quite a bit, it’s the perfect time to add it to my collection. You can find the free pattern below with both strap options or grab a digital PDF in my shop, Etsy or Ravelry.
The Jordynne Tote Crochet Pattern
Materials:
770yards (4 skeins) of Brava Worsted in Fig
Tapestry needle
Scissors
2- 1/2” X 50” tan leather straps, leather punch and screw in rivets (for strap option 2)
Abbreviations:
ch- chain
st(s)- stitch(es)
sk- skip
sl st- slip stitch
sc- single crochet
TS- thermal stitch
TS2tog-thermal stitch 2 together
WS- wrong side
RS- right side
BLO- back loop only
Notes:
1.Pattern is made in four pieces (two sides, two straps) and then seamed together.
2.Whole pattern is worked using thermal stitch, which is a variation of single crochet. Find a detailed tutorial here.
3.Pattern includes two strap options. Note that the main panels are worked differently for each option.
Size:
Approx. 16” wide X 13” tall after assembly.
Straps are approx. 27” from end to end.
Gauge:
16 sts X 28 rows = 4” square in thermal stitch
Pattern:
Main Panels: make 2
Ch 64
Row 1: sc in 2nd ch from hook BLO and in each ch across, ch 1, turn. (63)
Start thermal stitch
Row 2: TS in each st across going through the back loop of row 1 and the unworked side of the beginning chs, ch 1, turn. (63)
Option One:
Rows 3-83: TS in each st across, ch 1, turn. (63)
Option Two:
Rows 3-16: TS in each st across, ch 1, turn. (63)
Row 17: TS in 14, ch 2, sk 2, TS 31, ch 2, sk 2, TS in last 14 sts, ch 1, turn. (63)
Row 18: TS 14, TS in BLO of 2 ch sts, TS 31, TS in BLO of 2 ch sts, TS 14, ch 1, turn. (63)
Row 19: TS 14, TS working through unworked front loops of 2 ch sts, TS 31, TS working through unworked front loops of 2 ch sts, TS 14, ch 1, turn. (63)
Rows 20-83: TS in each st across, ch 1, turn. (63)
Both Options:
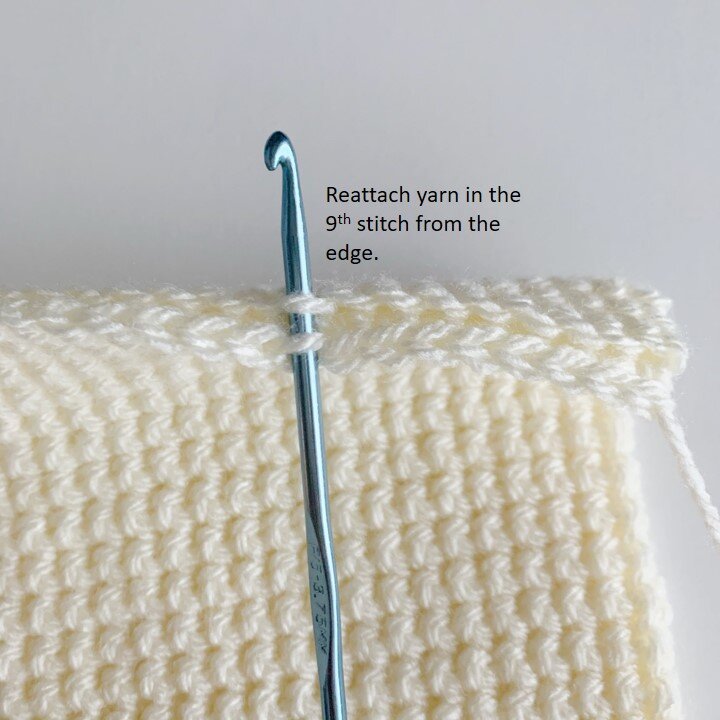
Fasten off and reattach in the 9th stitch from the edge, ch 1.
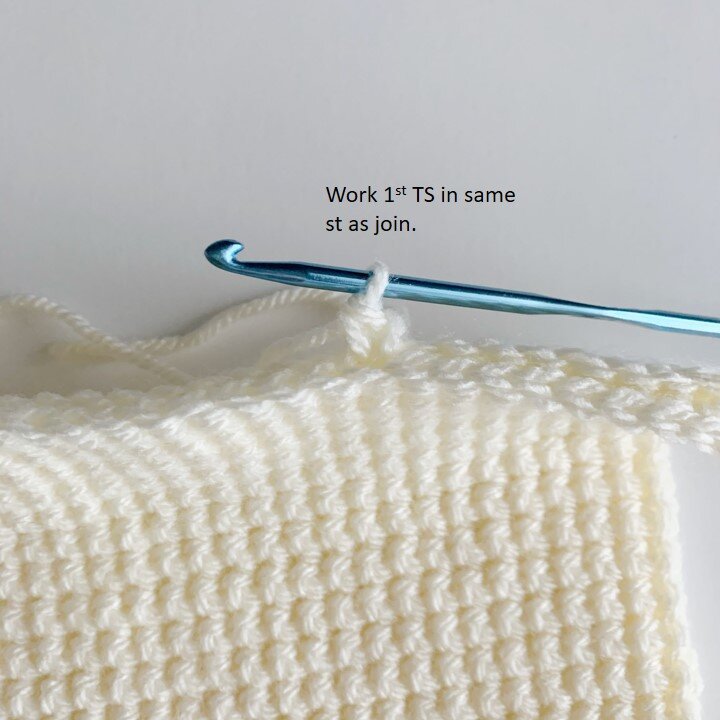
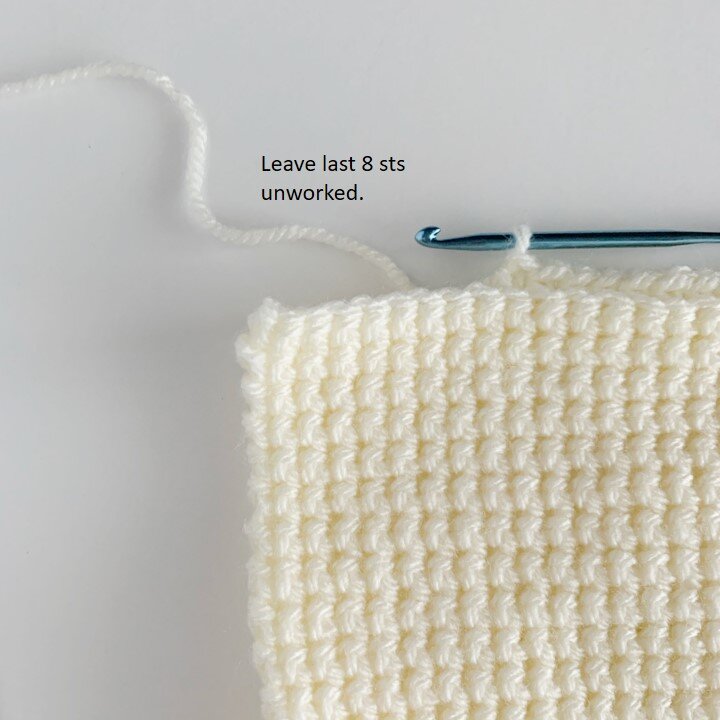
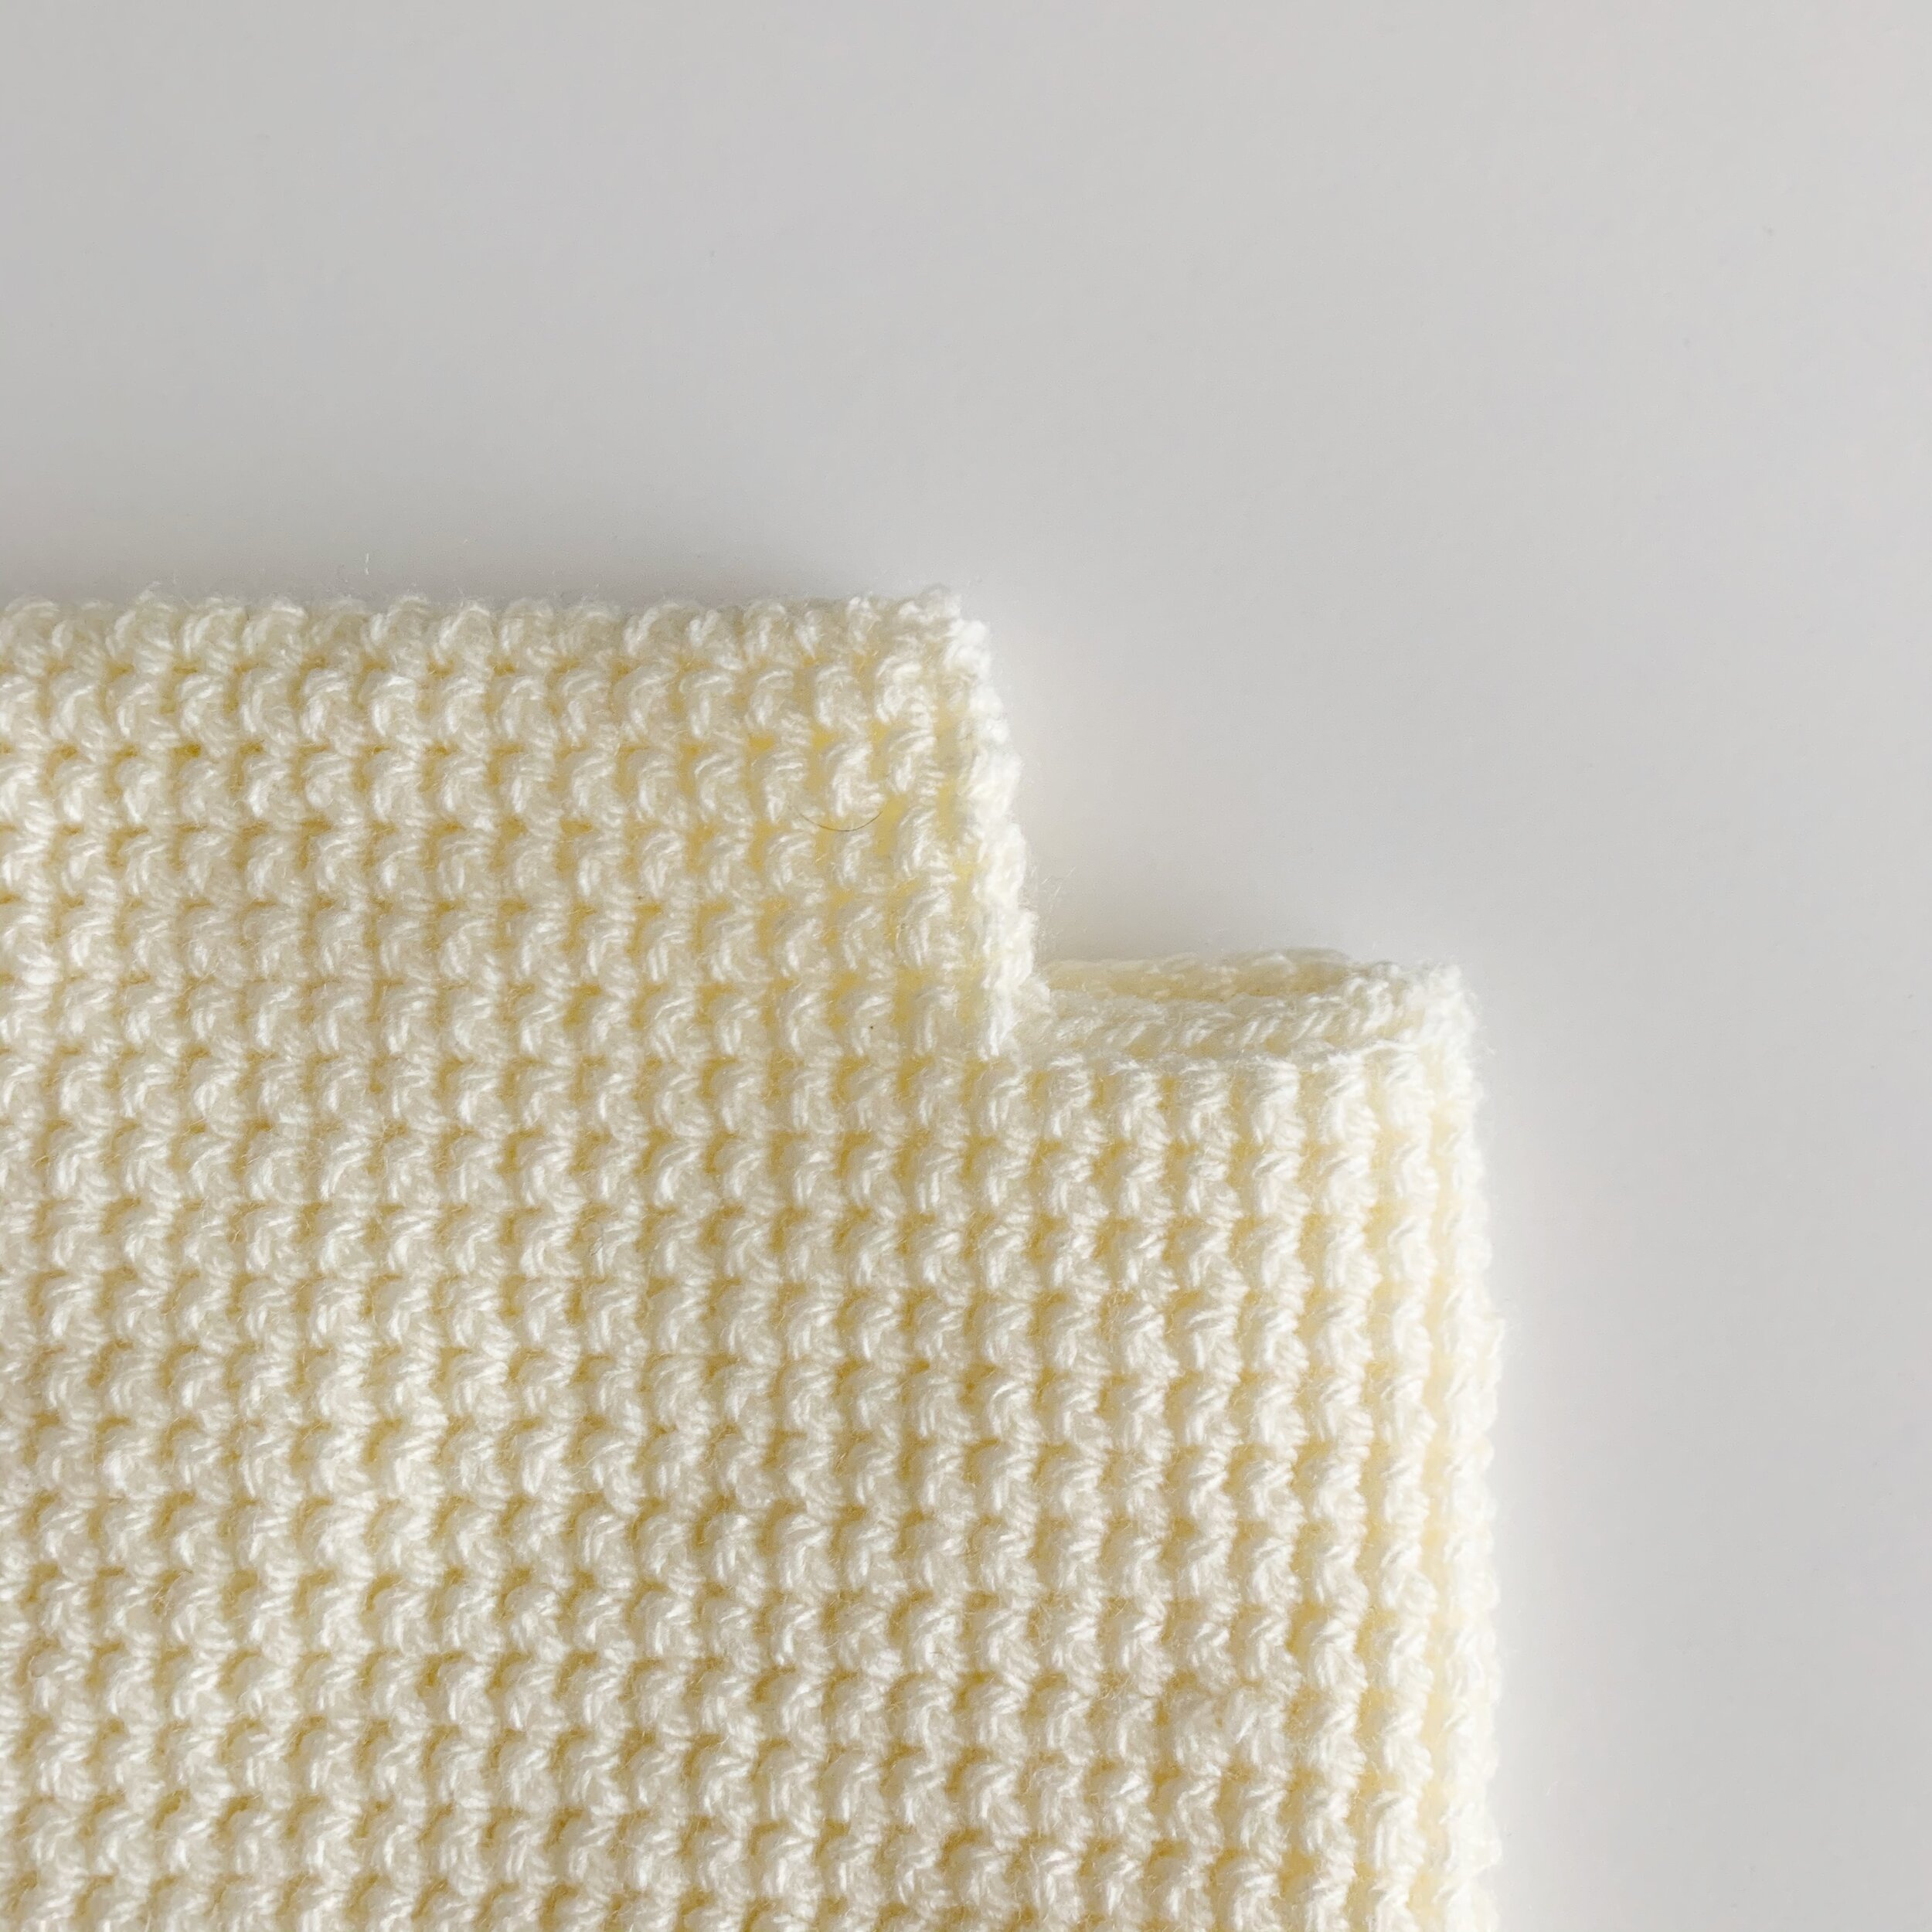
Row 84: TS in same st as join and in the next 46 sts, leaving the last 8 sts unworked, ch 1, turn. (47)
Rows 85-93: TS in each st across, ch 1, turn. (47)
Row 94: sc in each st across working through both loops of the previous row and the unworked front loop two rows below. (47)
Fasten off and weave in ends.
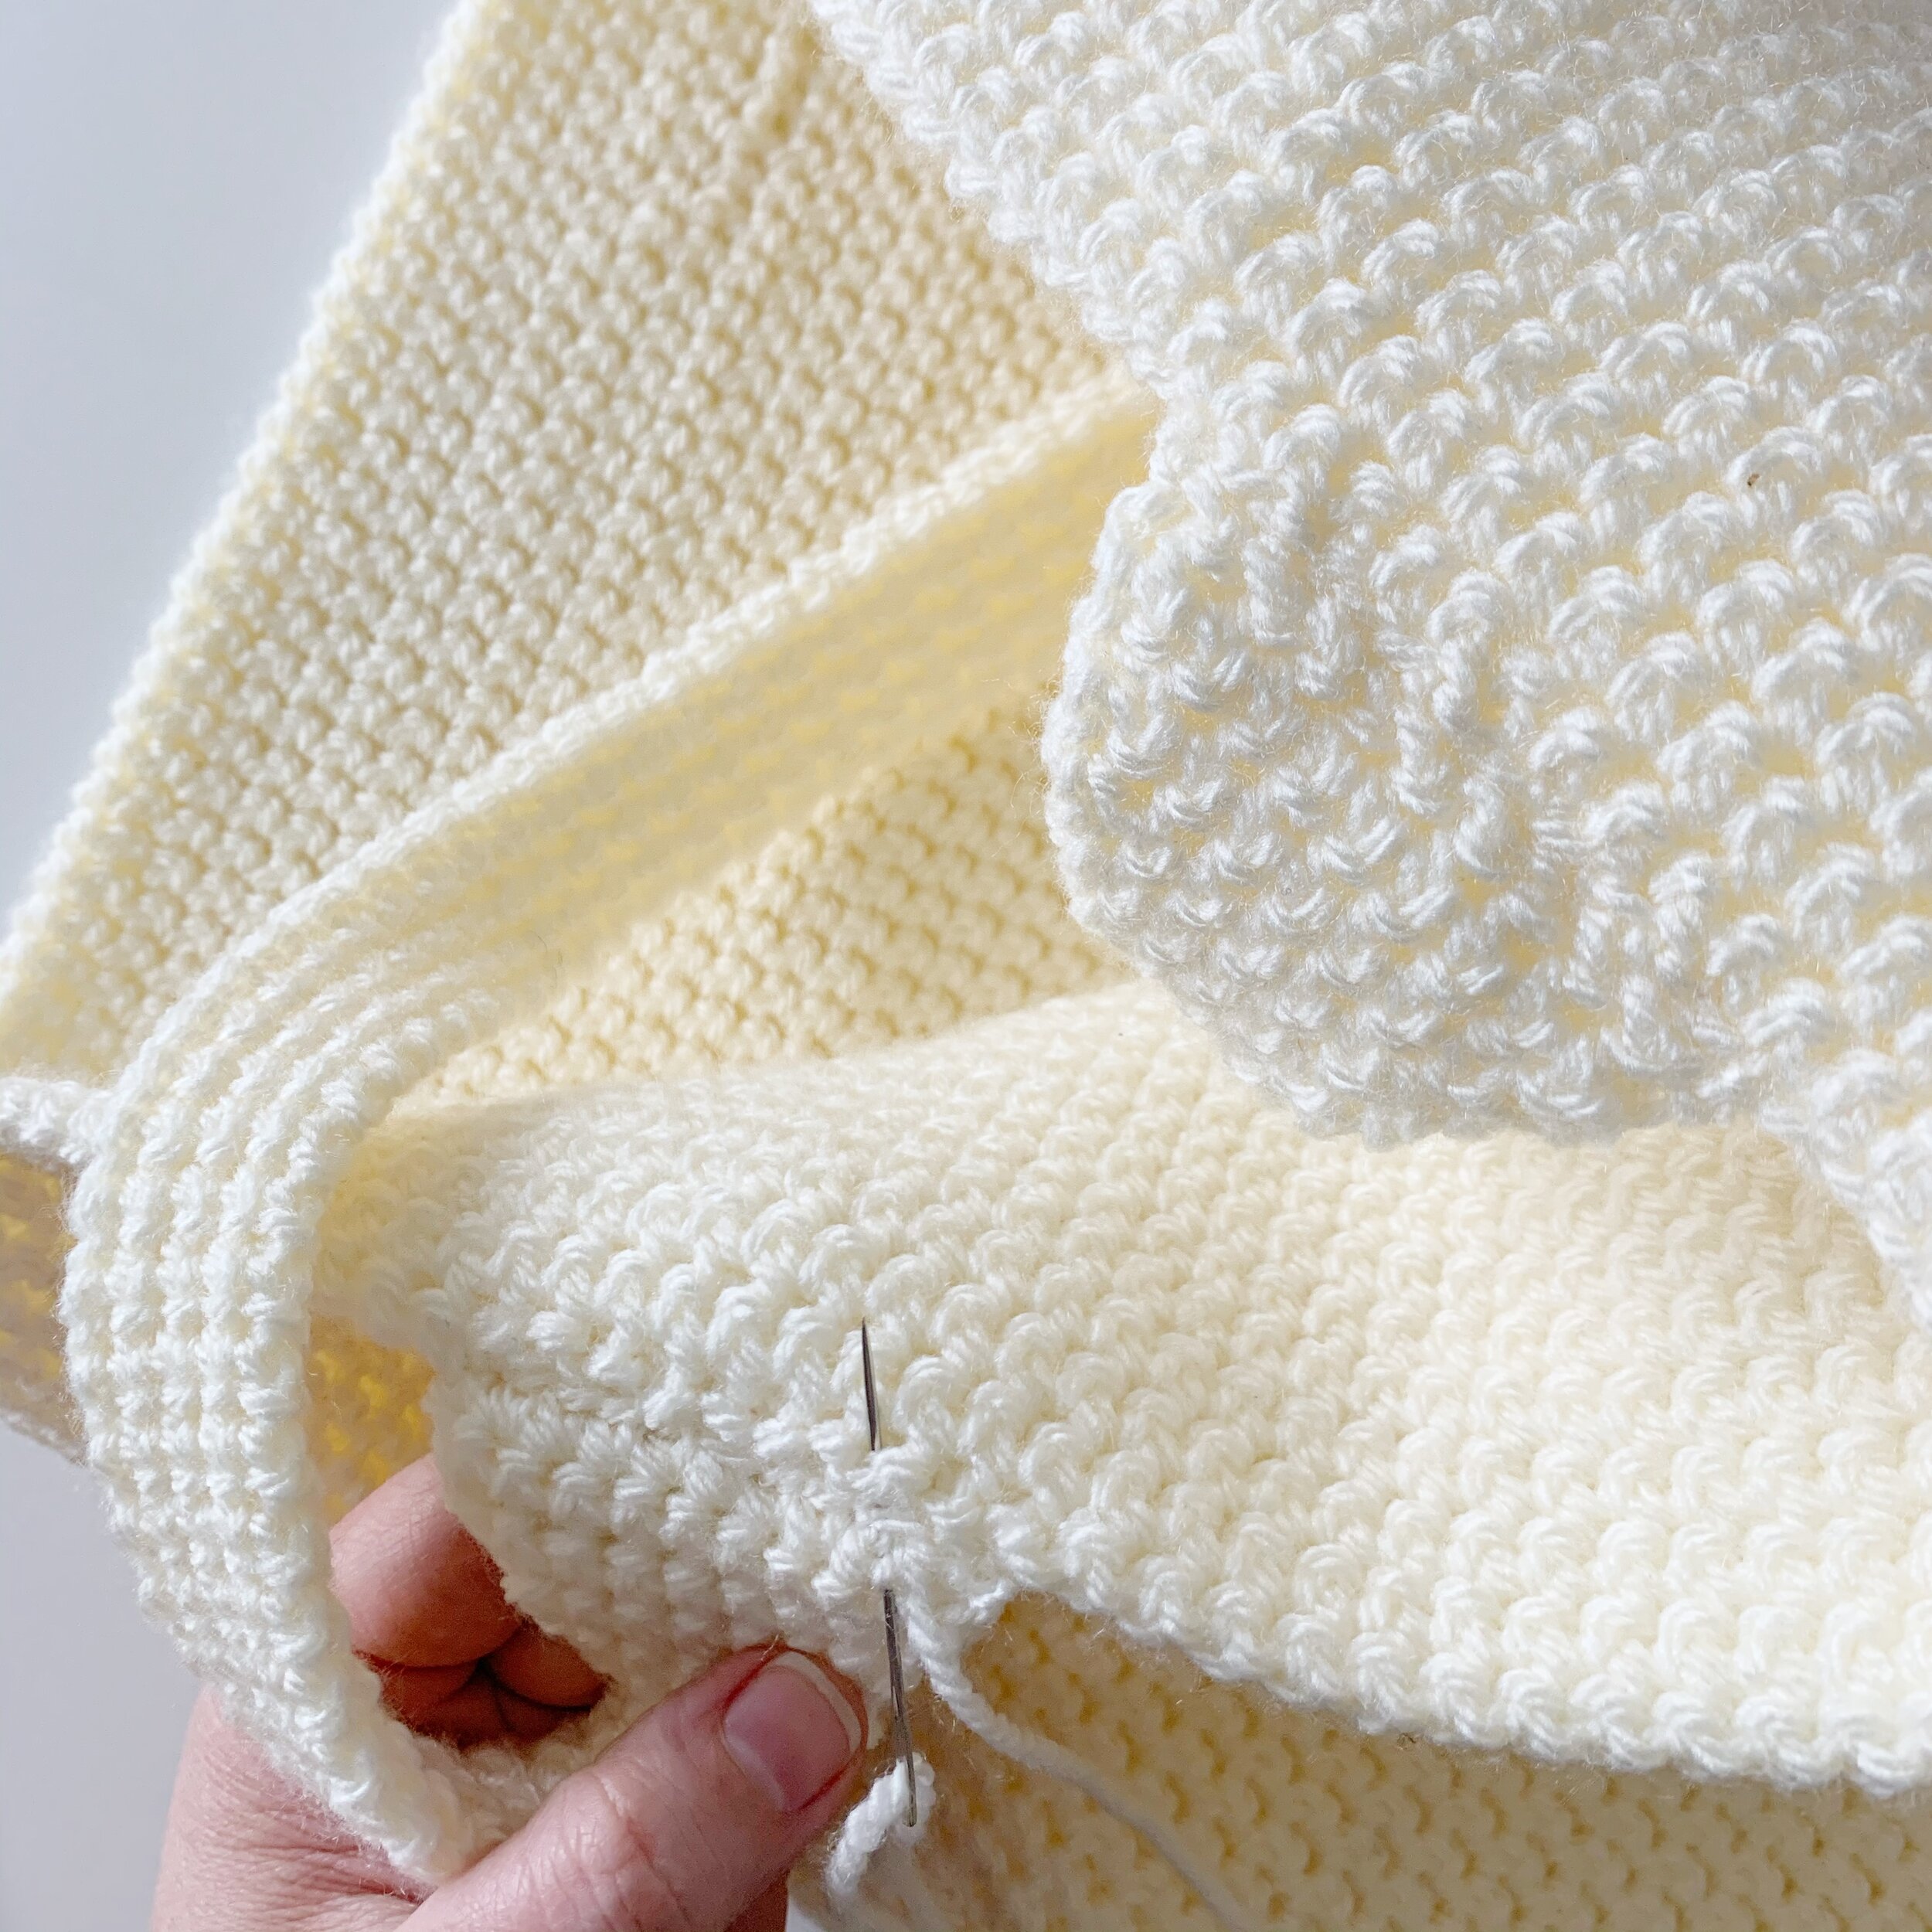
Assembly:
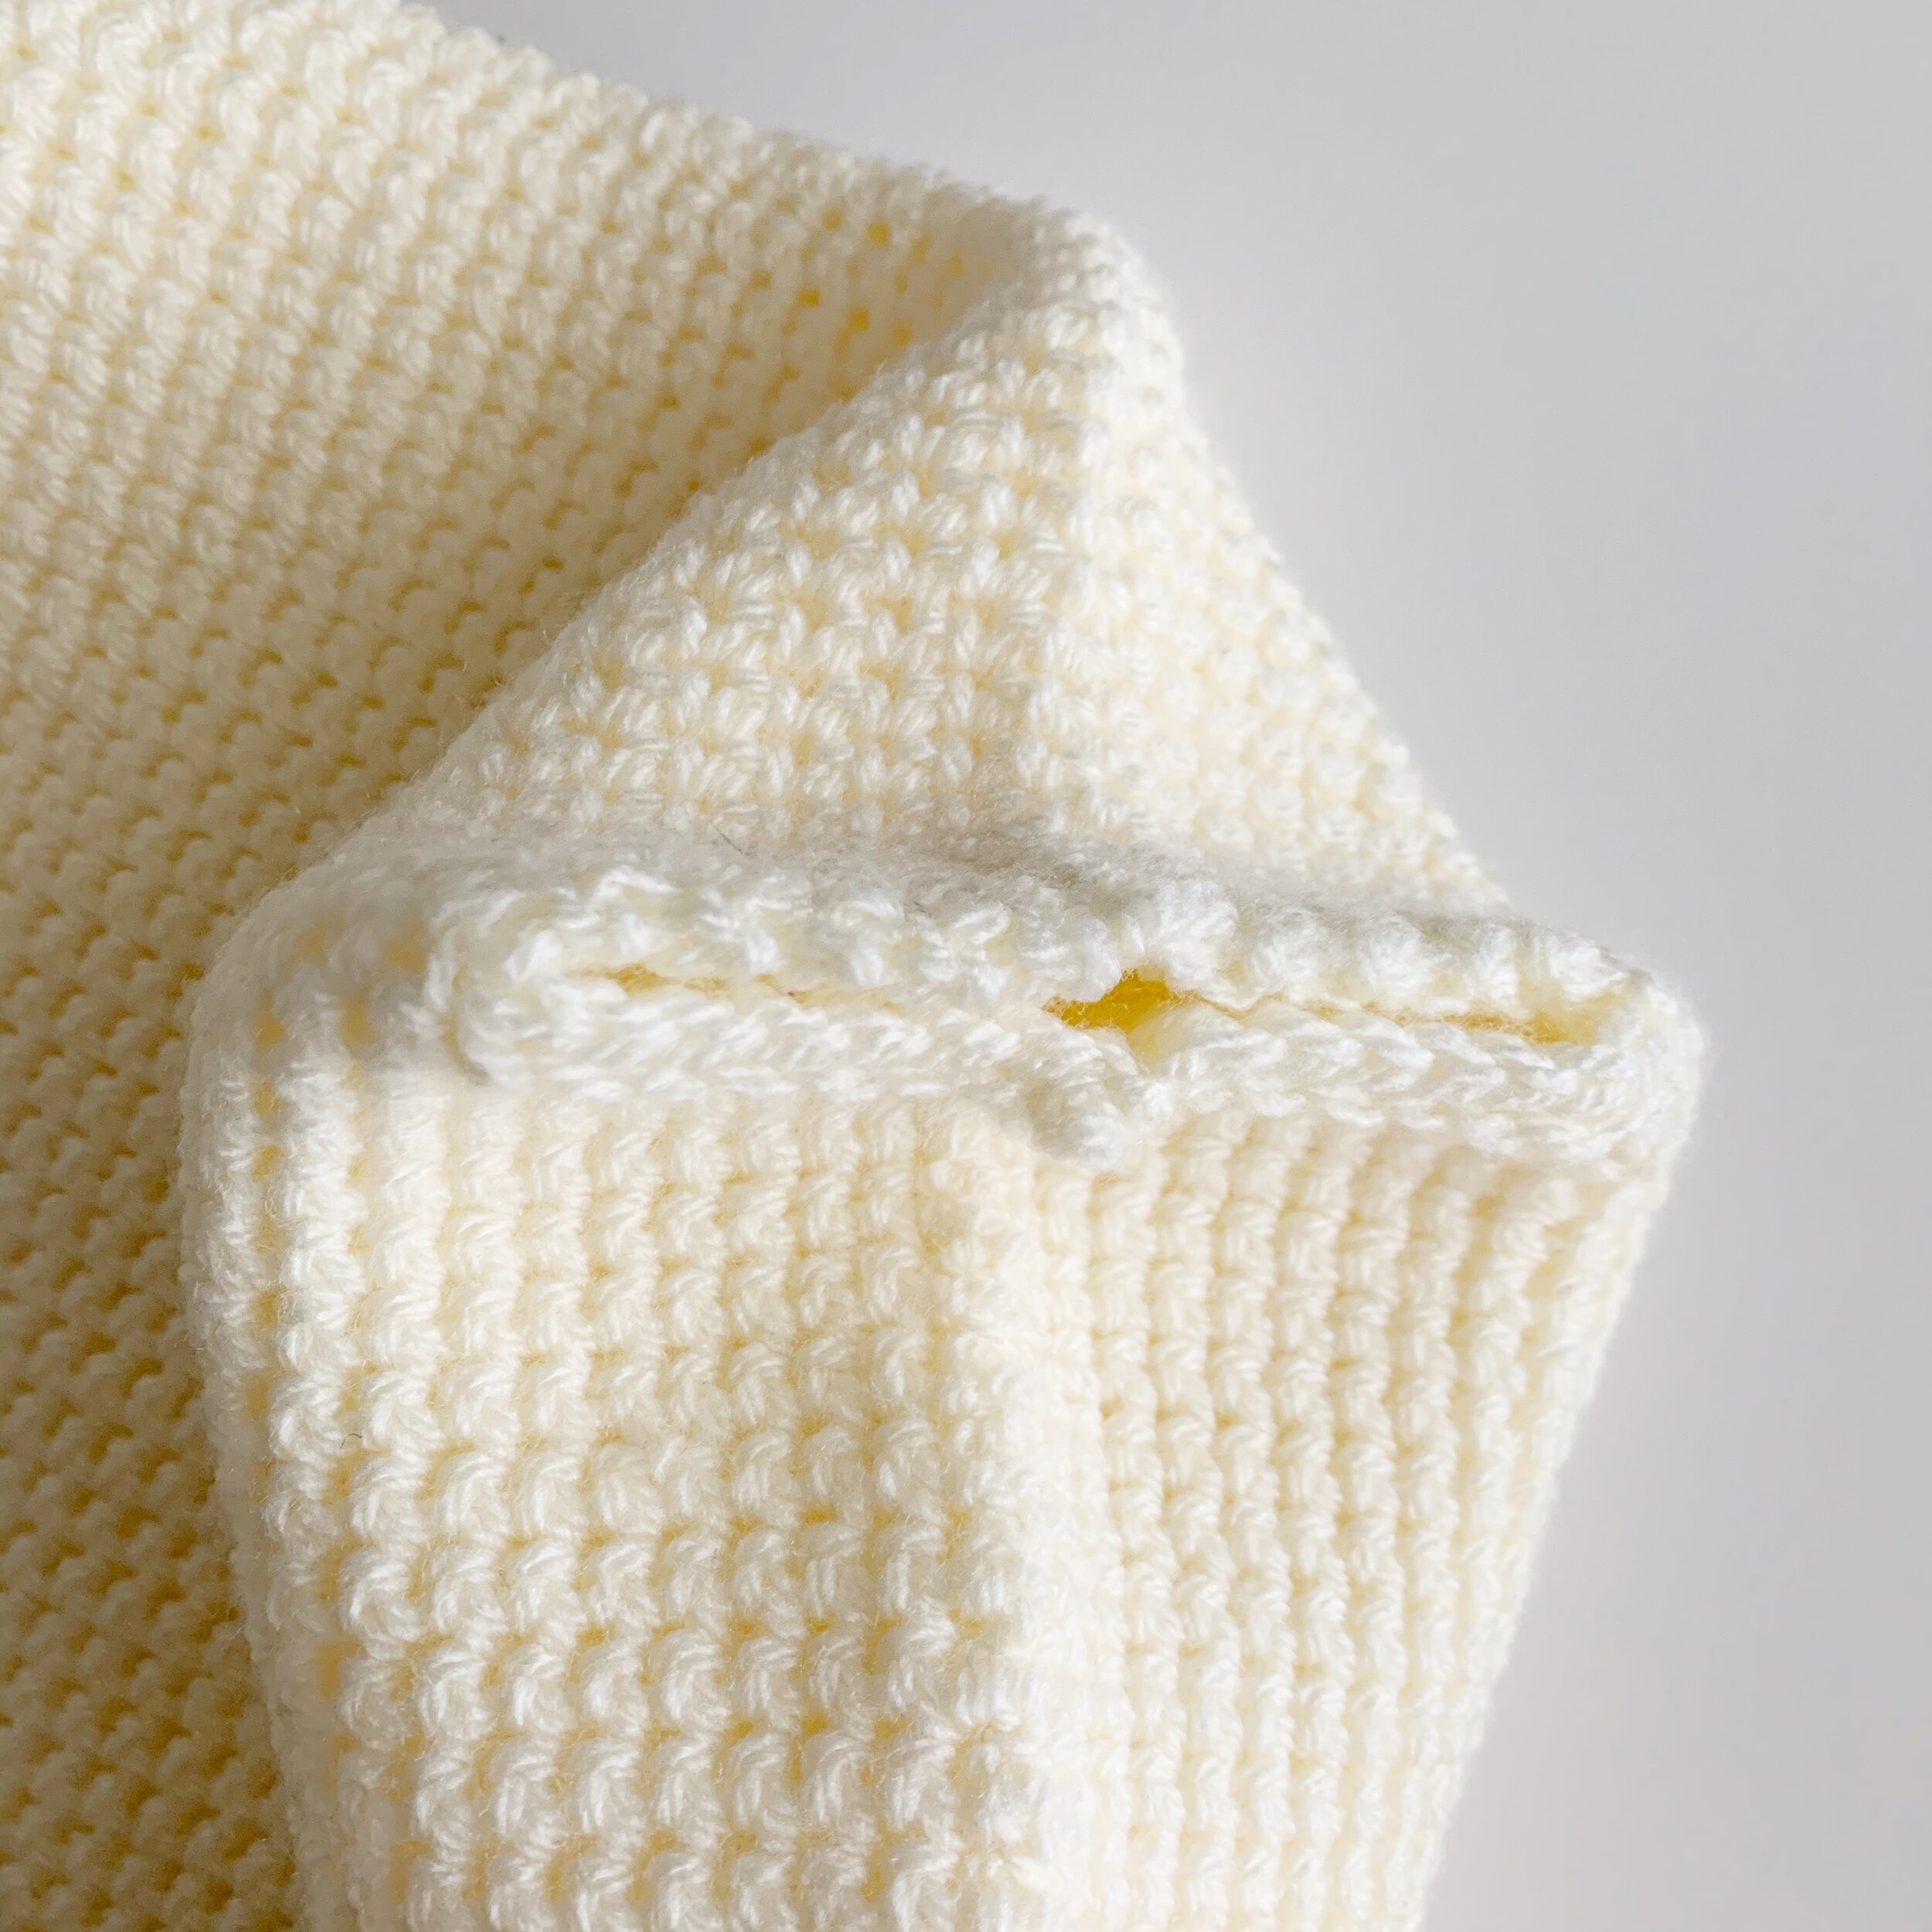
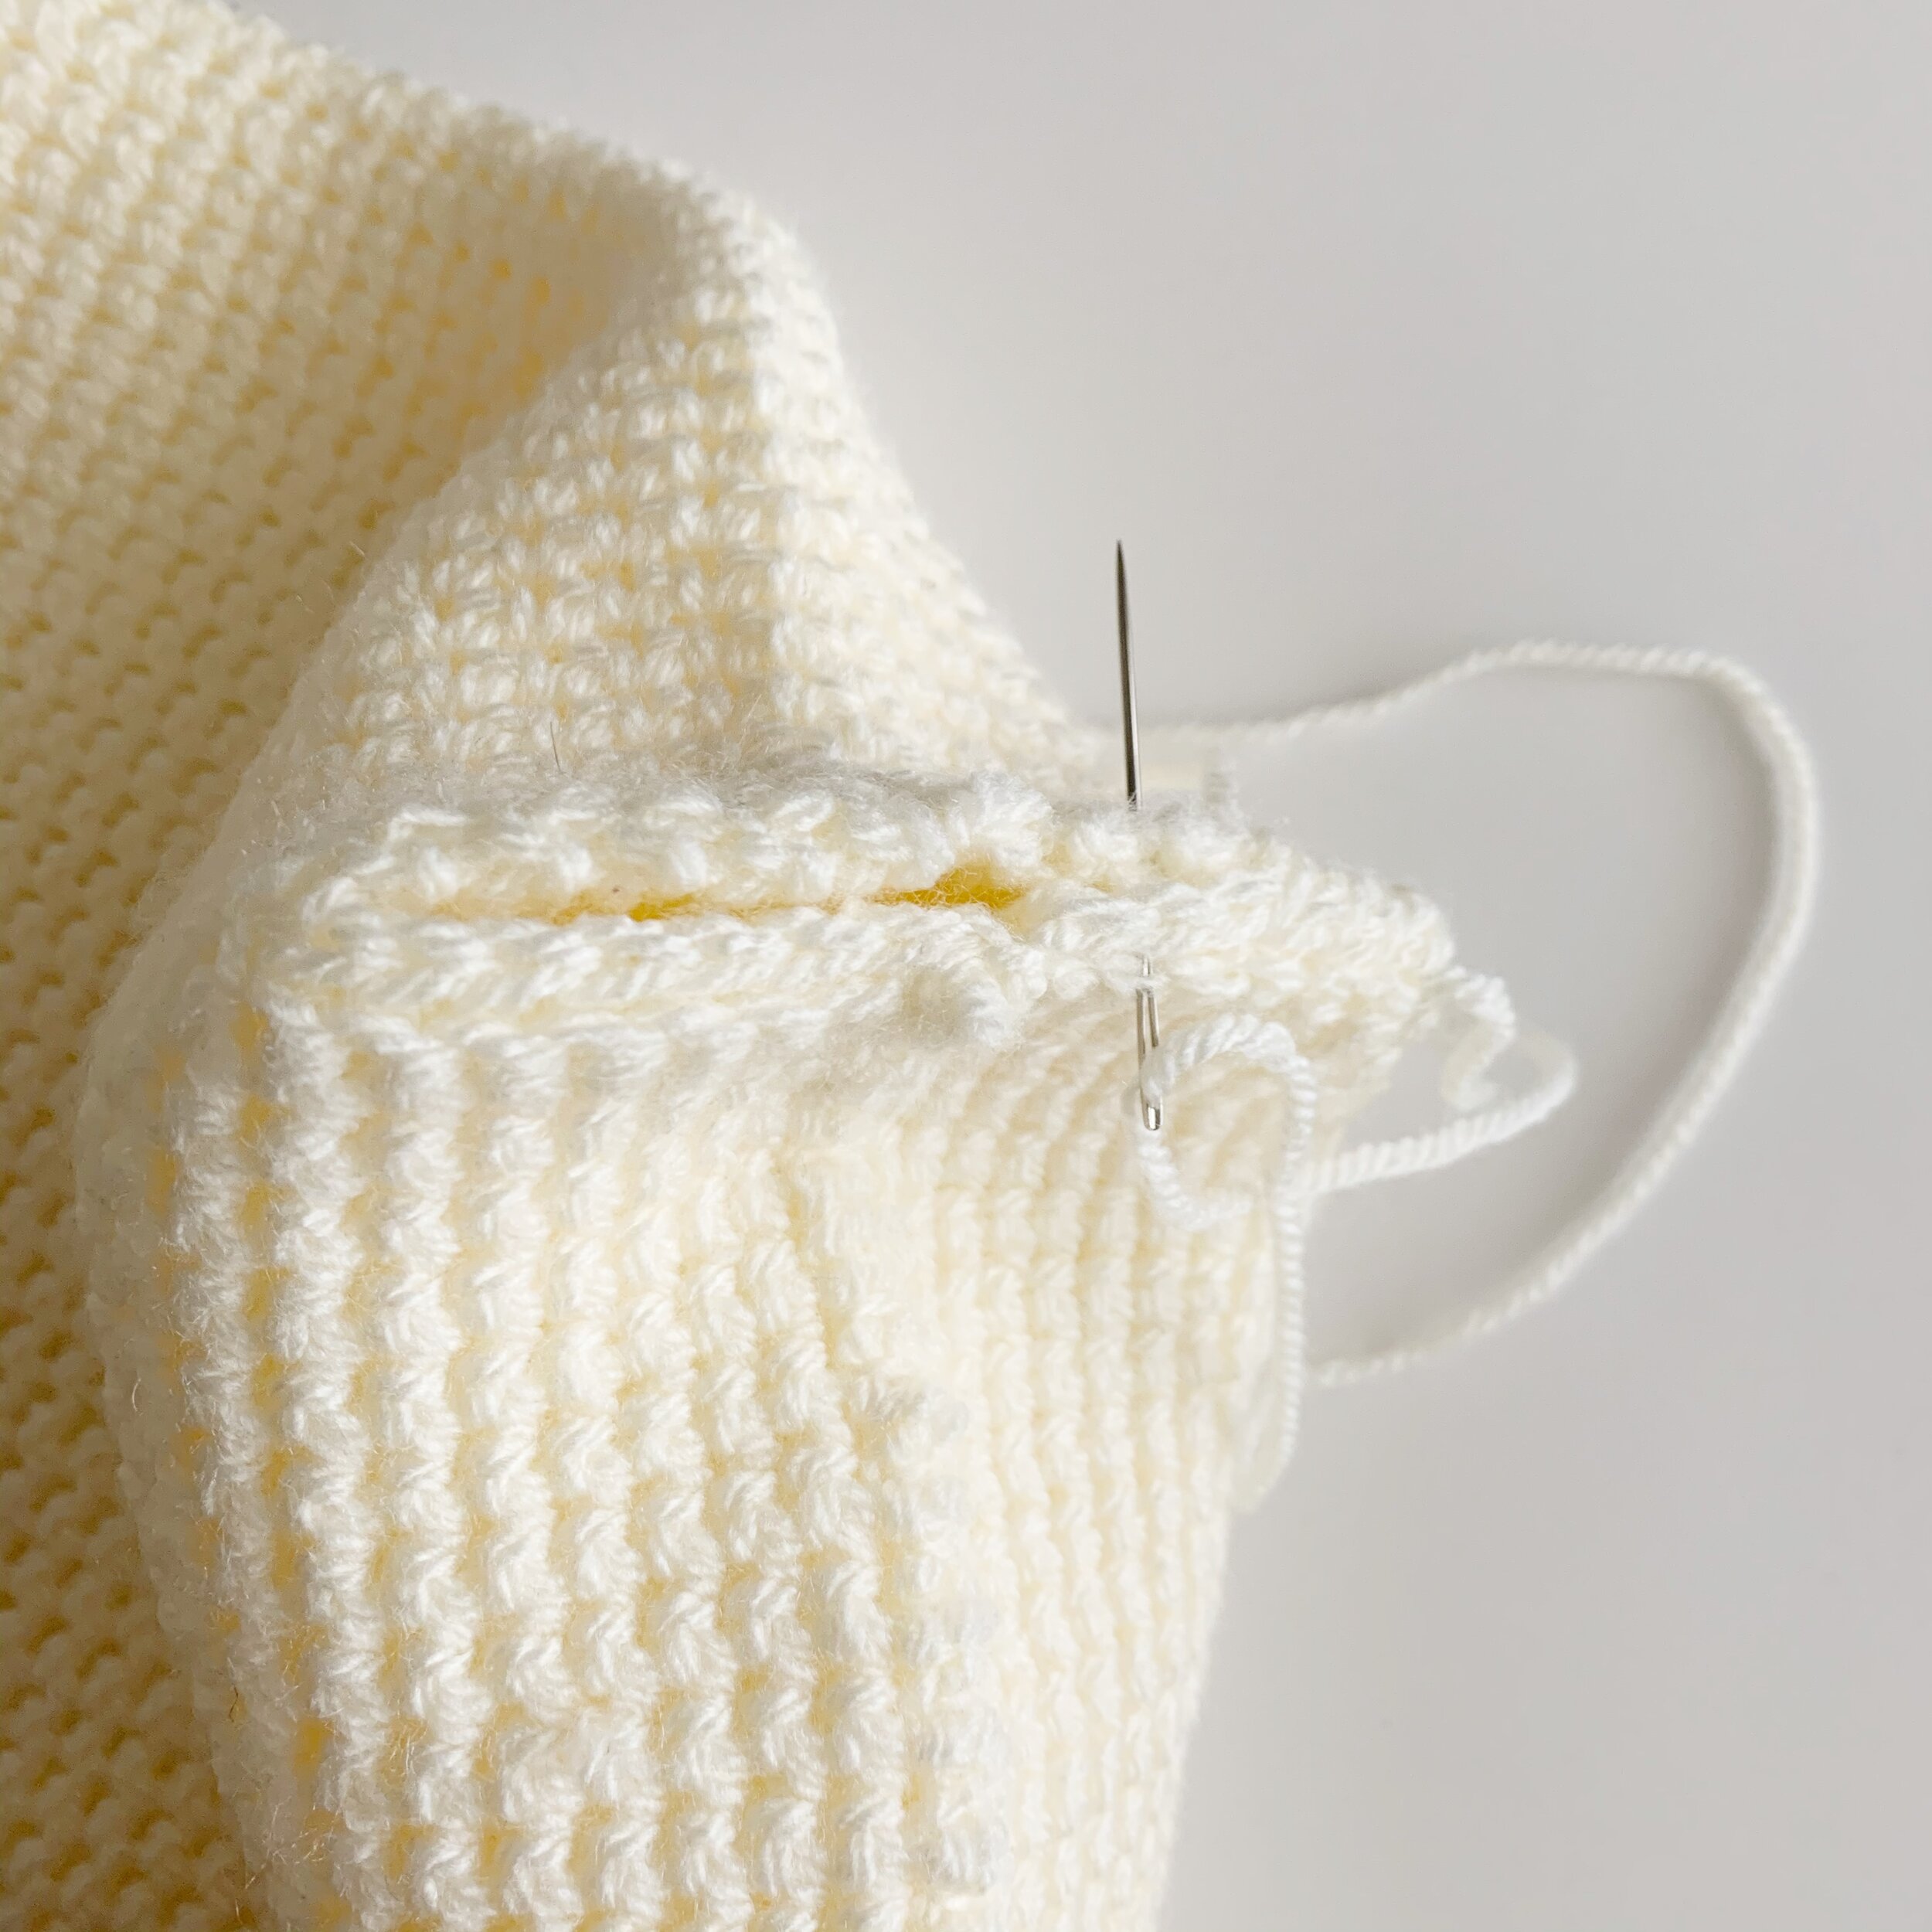
Lay both sides down with right sides together. Using a long piece of yarn and a tapestry needle, whipstitch both sides and bottom edges together.

You will have two L shaped areas that have not been seamed yet. Open those areas up and bring seams together. Whipstitch those corner seams together. Weave in all ends and turn right side out.
Straps:
Options One: make 2
Leaving a long tail, Ch 11
Row 1: sc in 2nd ch from hook BLO and in each ch across, ch 1, turn. (10)
Start thermal stitch
Row 2: TS in each st across going through the back loop of row 1 and the unworked side of the beginning chs, ch 1, turn. (10)
Row 3: TS in each st across, ch 1, turn. (10)
Row 4: TS2tog, TS in next 6 sts, TS2tog over last 2 sts, ch 1, turn. (8)
Rows 5-6: TS in each st across, ch 1, turn. (8)
Row 7: TS2tog, TS in next 4 sts, TS2tog over last 2 sts, ch 1, turn. (6)
Rows 8-9: TS in each st across, ch 1, turn. (6)
Row 10: TS2tog, TS in next 2 sts, TS2tog over last 2 sts, ch 1, turn. (4)
Rows 11-136: TS in each st across, ch 1, turn. (4)
Row 137: 2TS in 1st st, TS in next 2 sts, 2TS in last st, ch 1, turn. (6)
Rows 138-139: TS in each st across, ch 1, turn. (6)
Row 140: 2TS in 1st st, TS in next 4 sts, 2TS in last st, ch 1, turn. (8)
Rows 141-142: TS in each st across, ch 1, turn. (8)
Row 143: 2TS in 1st st, TS in next 6 sts, 2TS in last st, ch 1, turn. (10)
Row 144: TS in each st across, ch 1, turn. (10)
Row 145: TS in each st across, working through both loops of last row and unworked front loops two rows below.
Fasten off leaving a long tail for sewing.
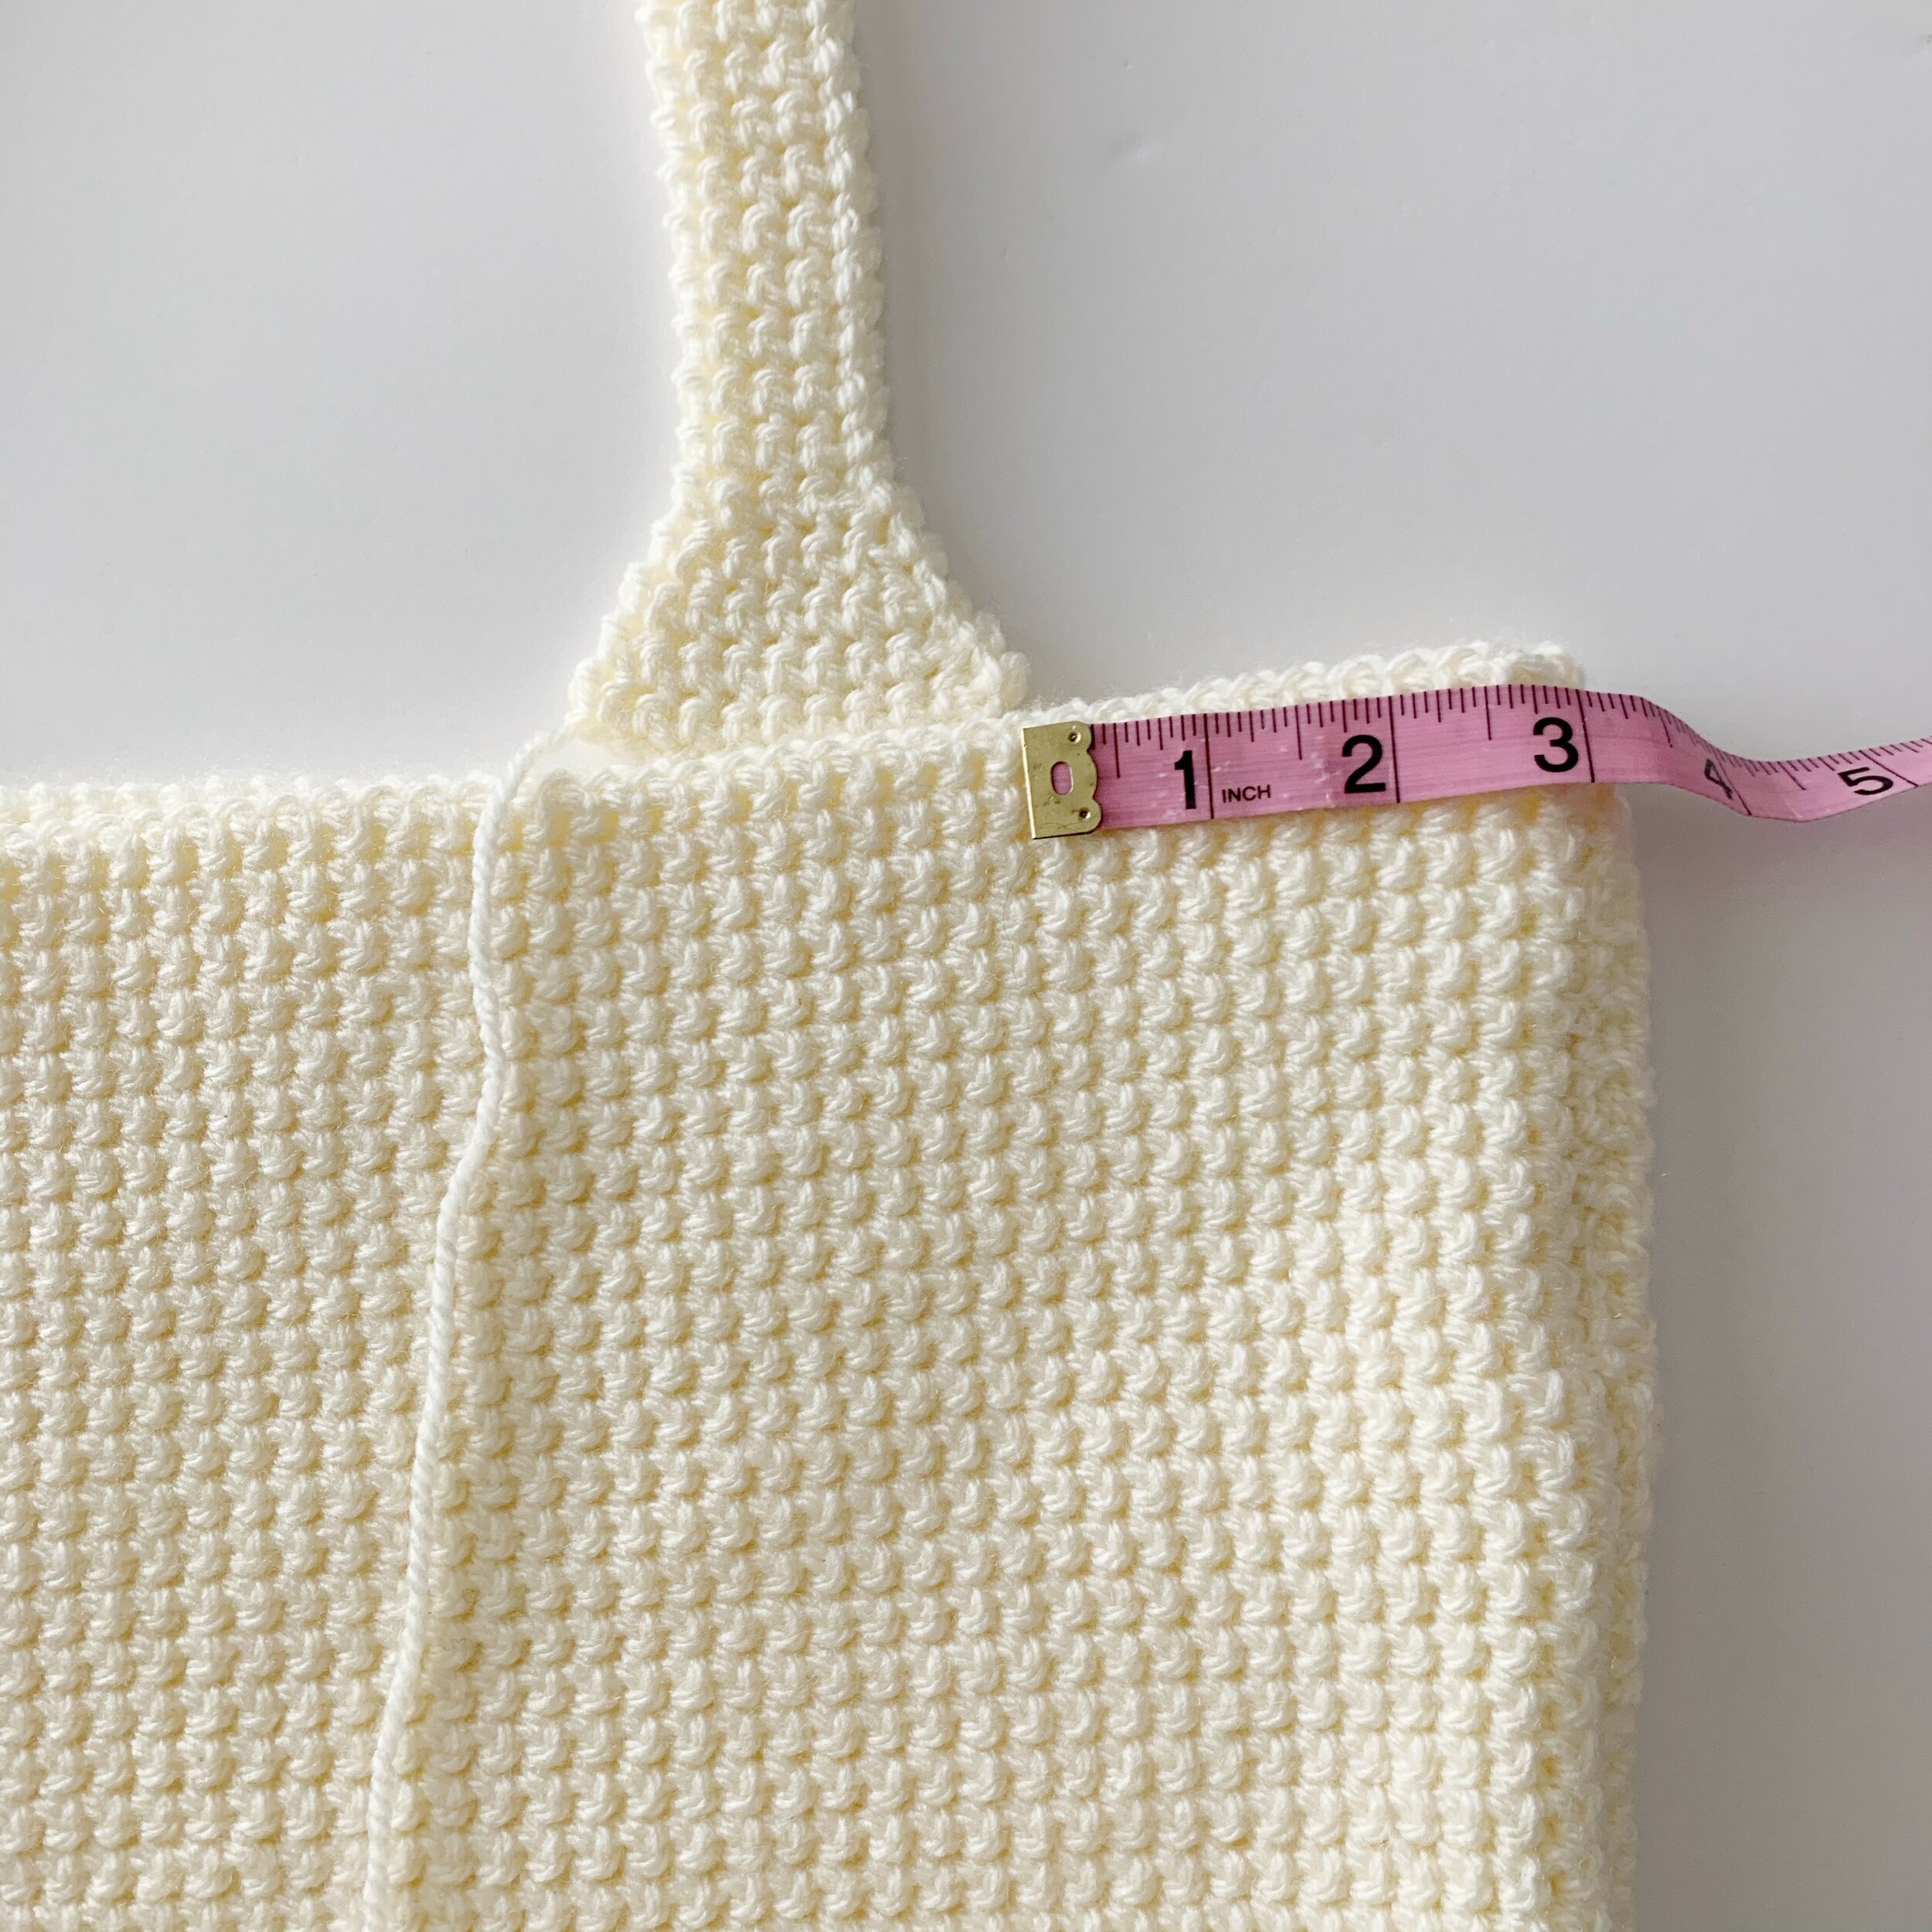
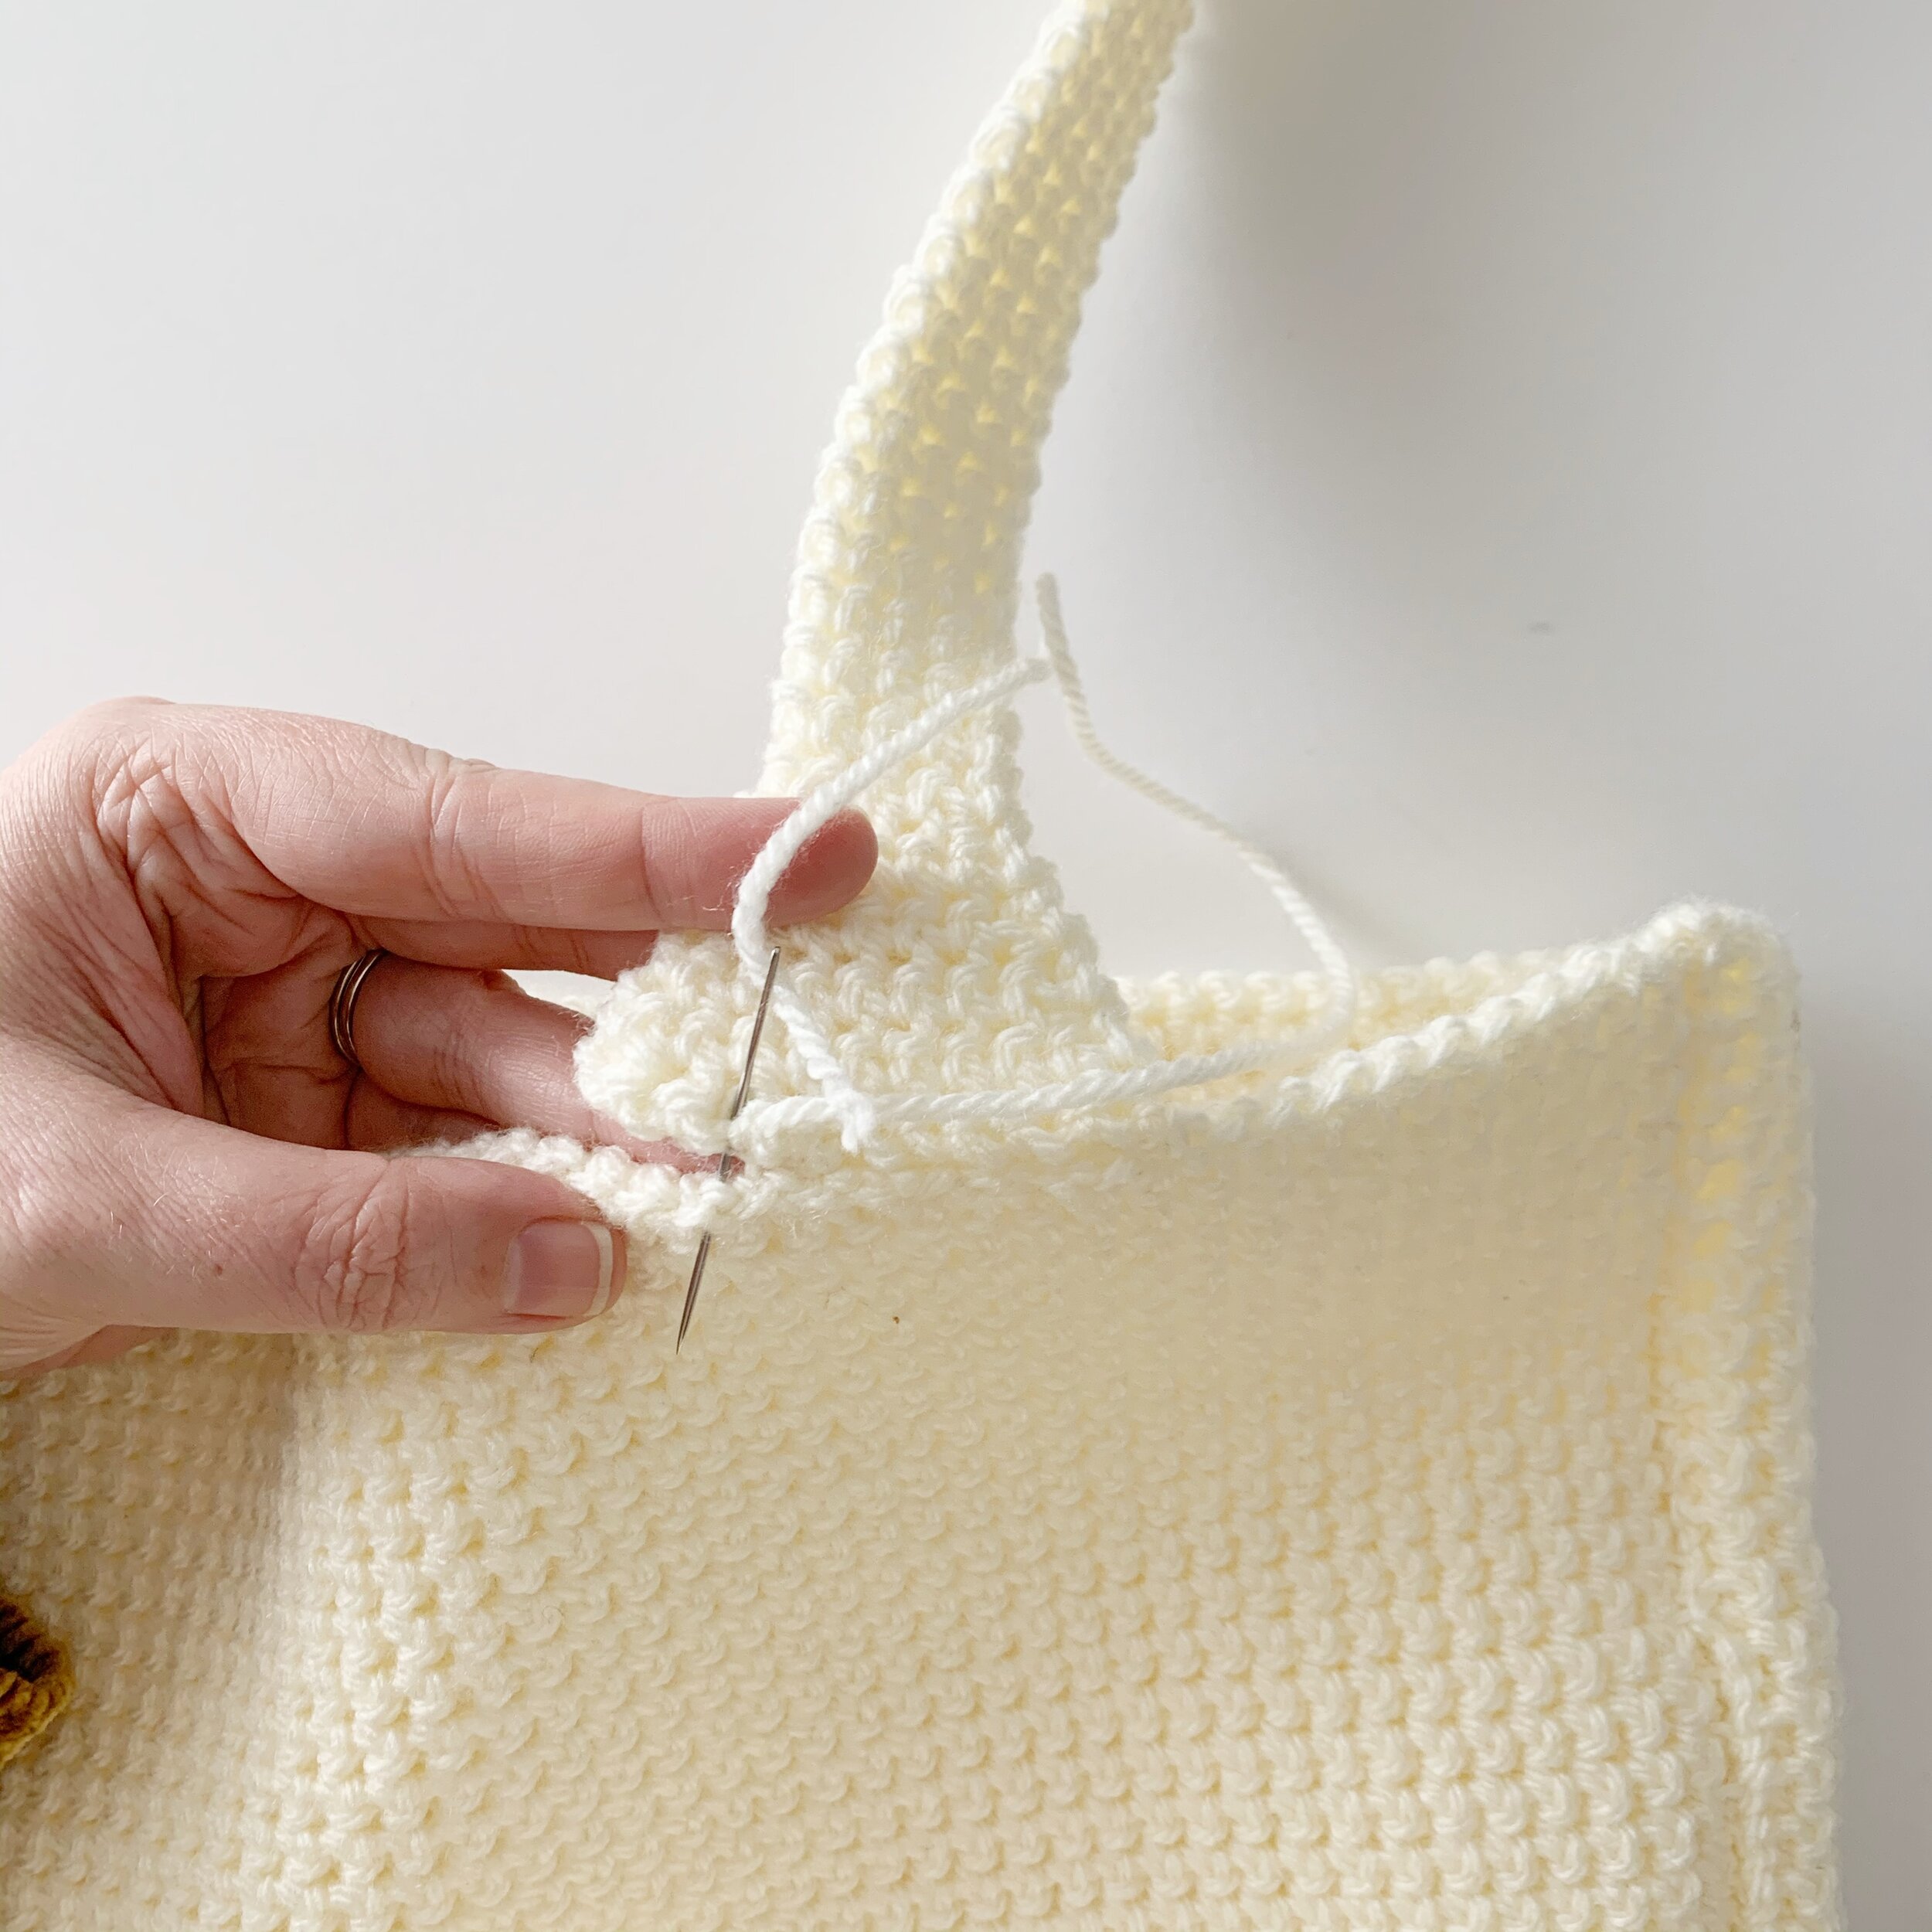
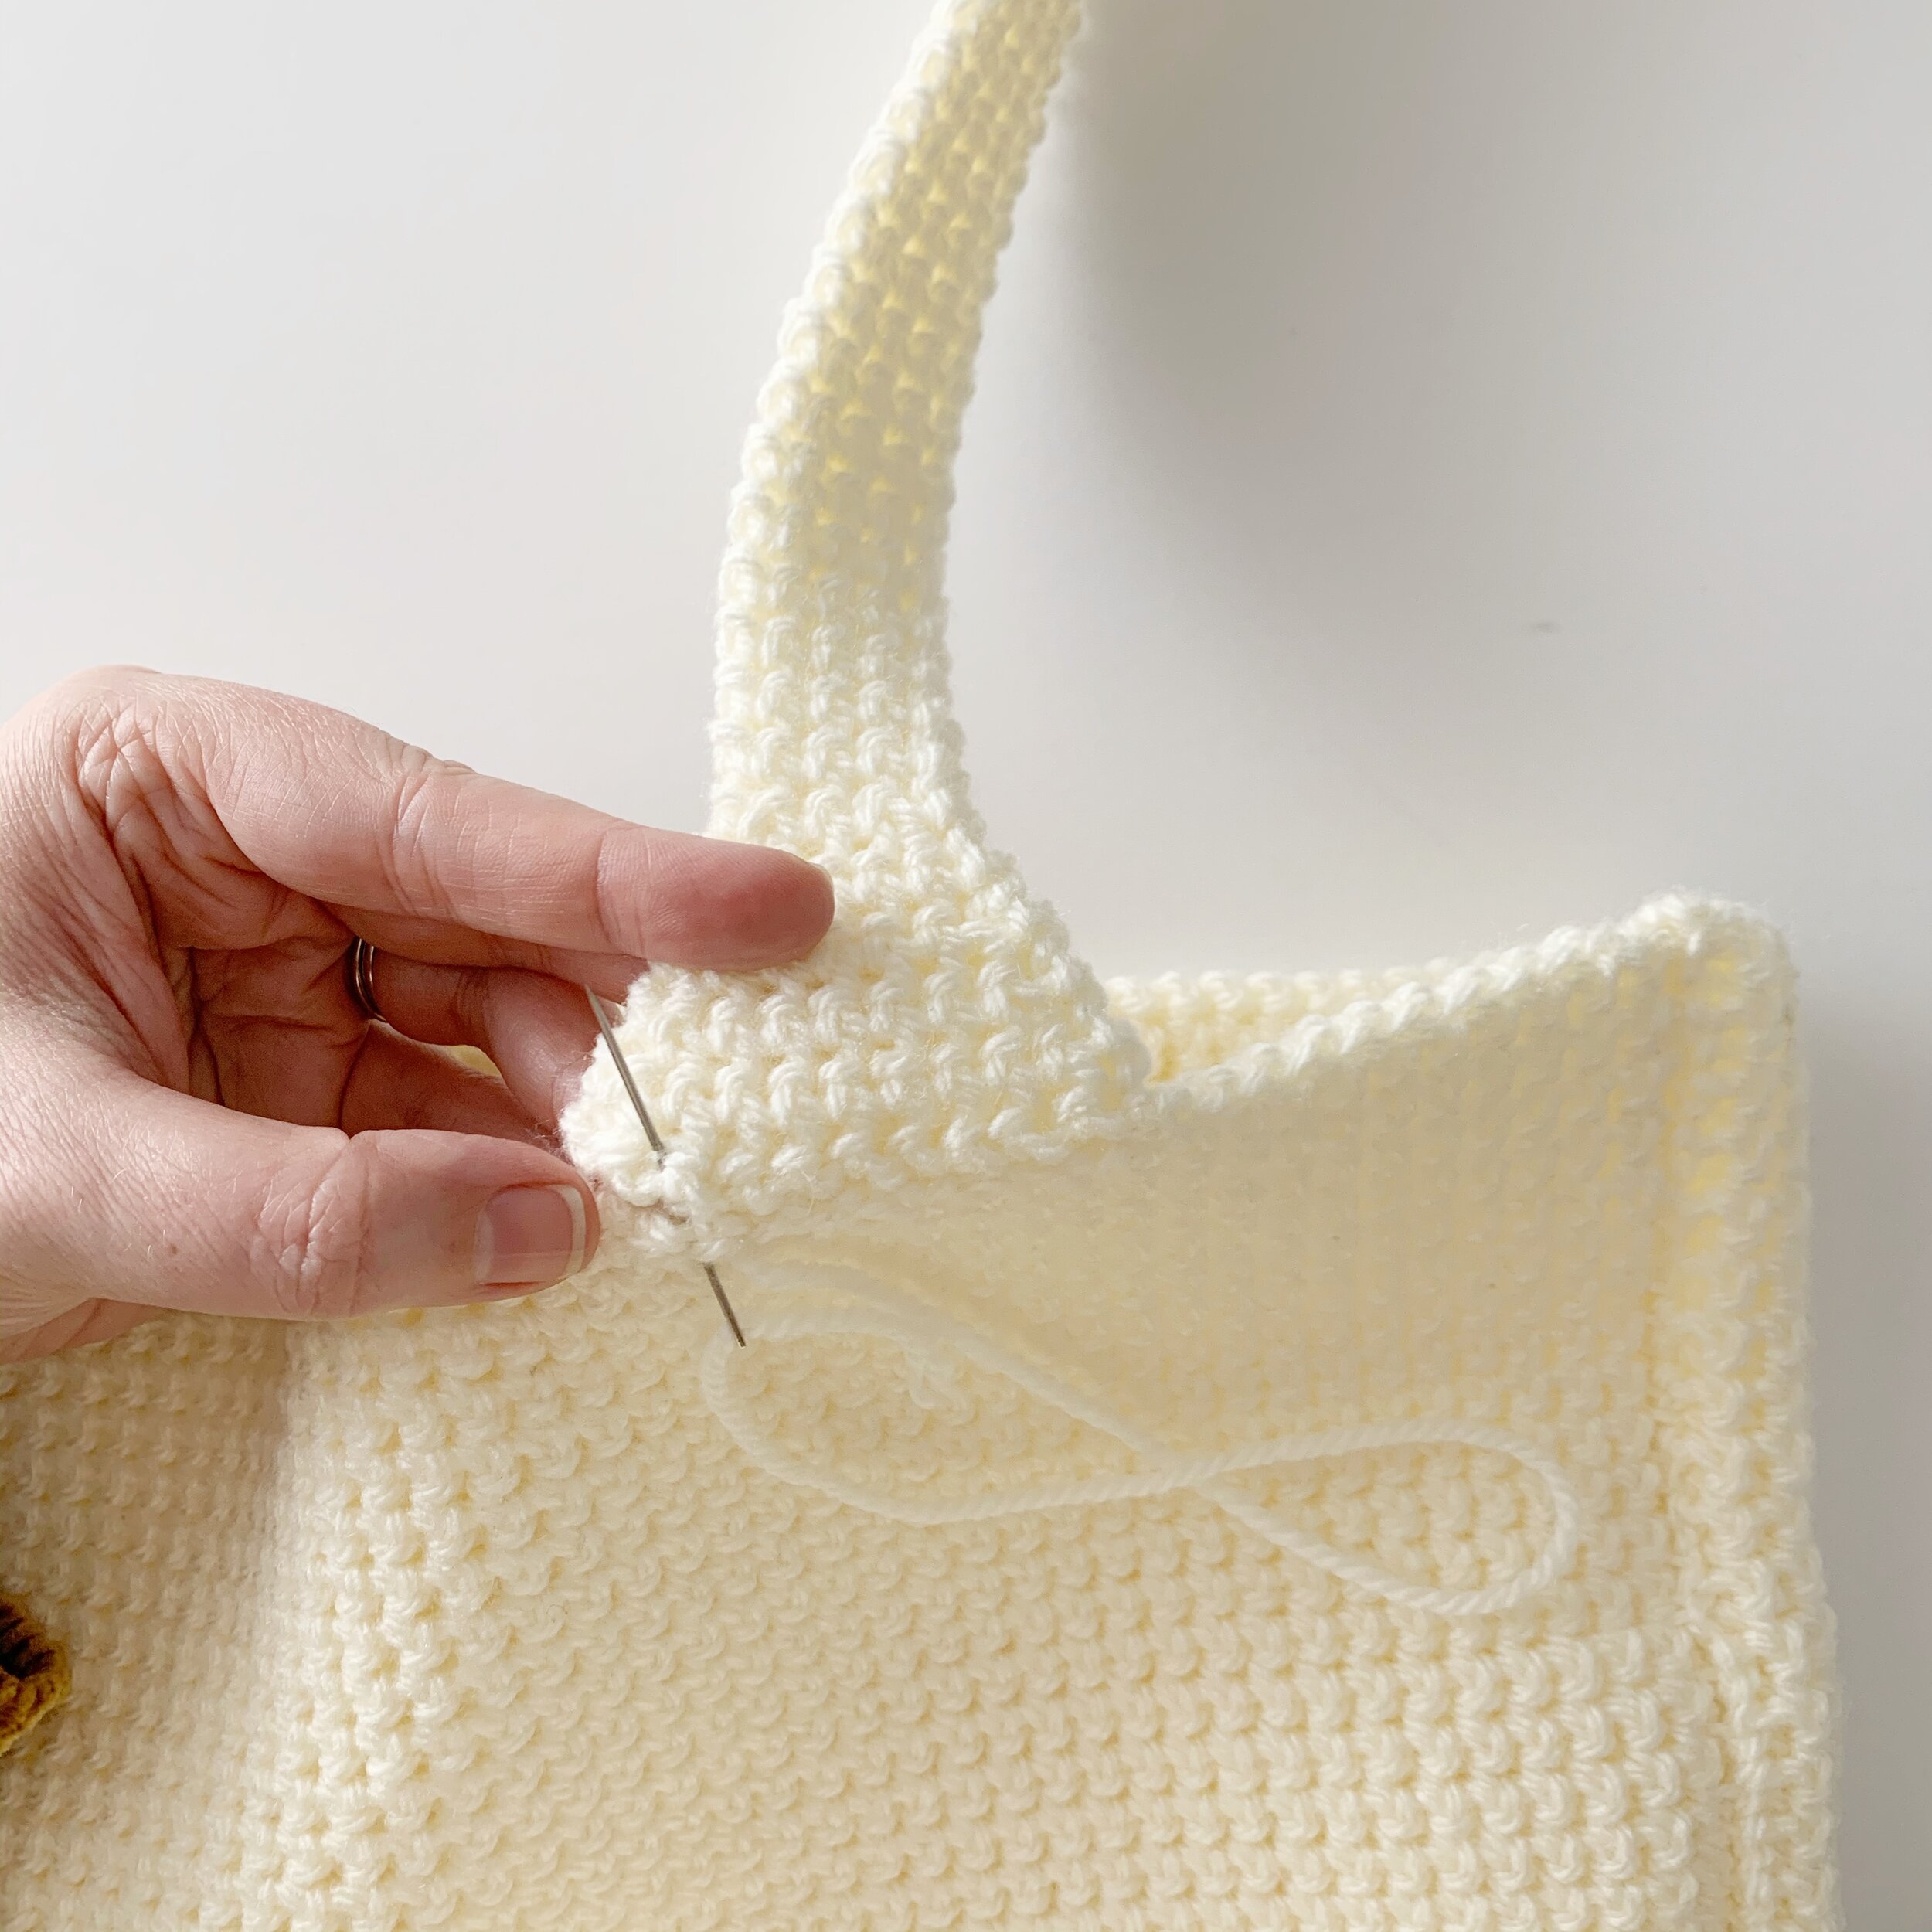
Attach straps to very top edge of bag 3” in from each side seam. Use a zigzag stitch along the outside edge. The bring the yarn through to the inside of the bag and work another zigzag stitch along the edge of the inside to fully secure the straps.
Straps:
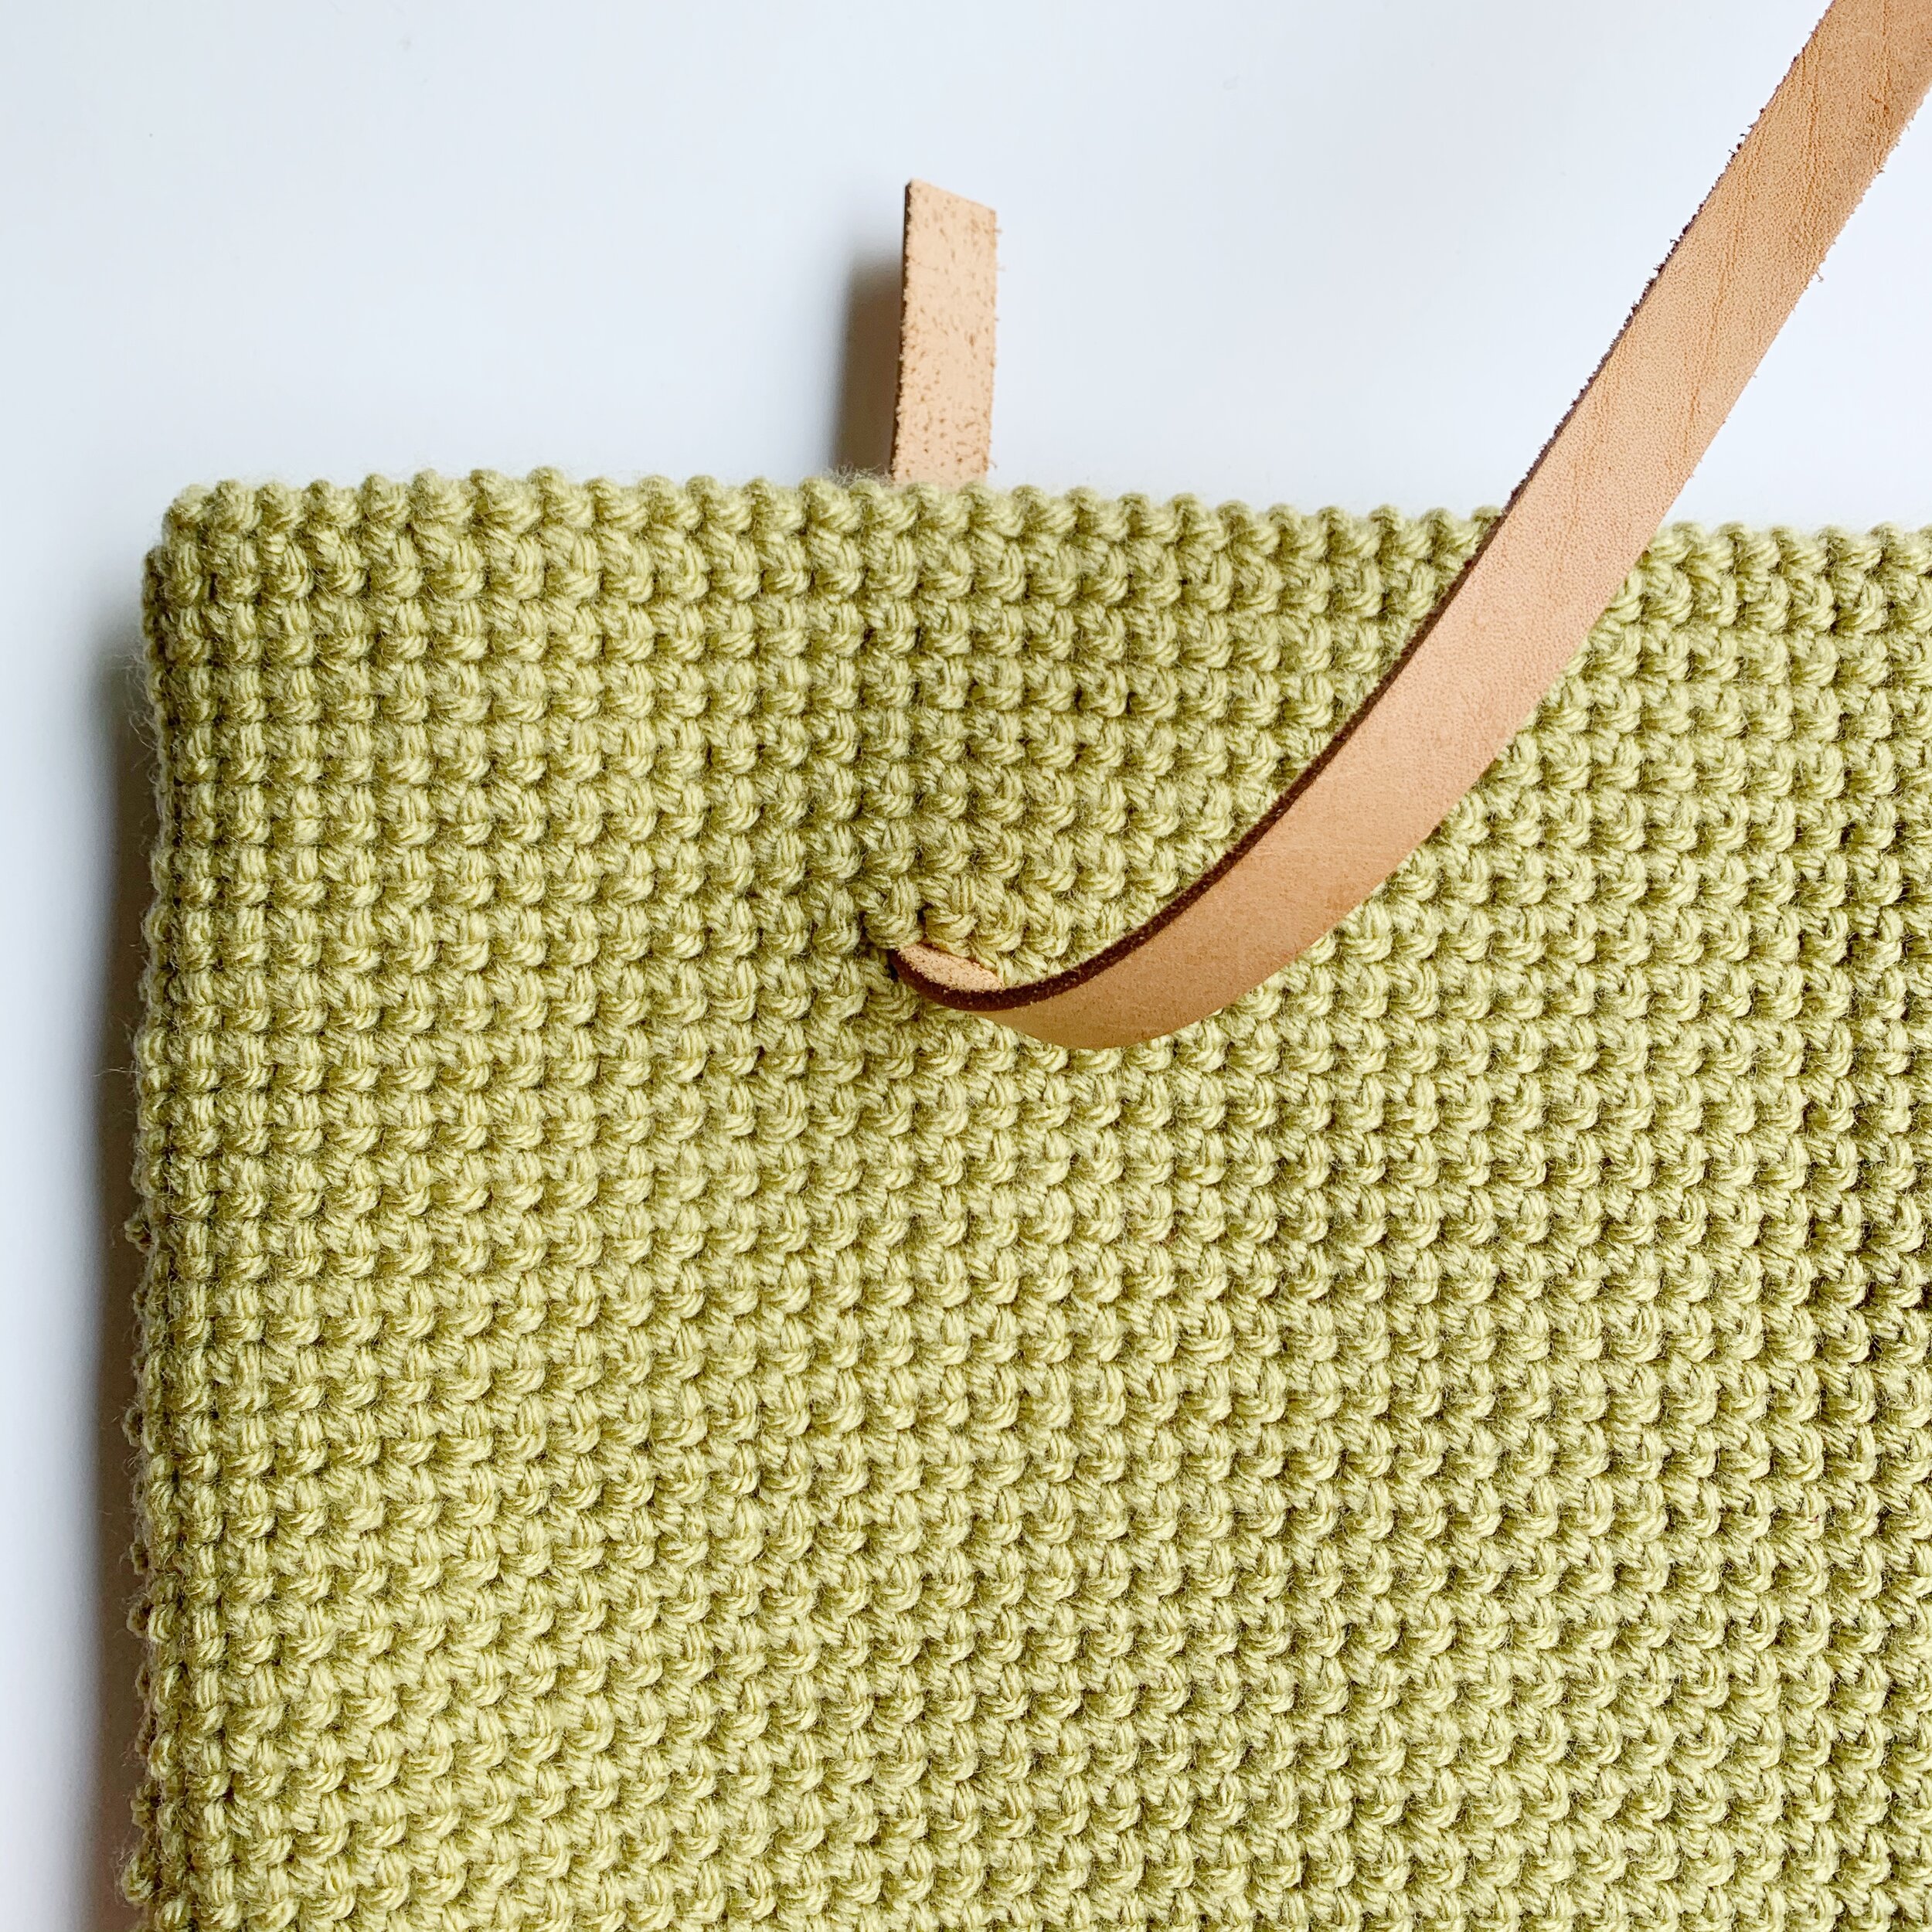
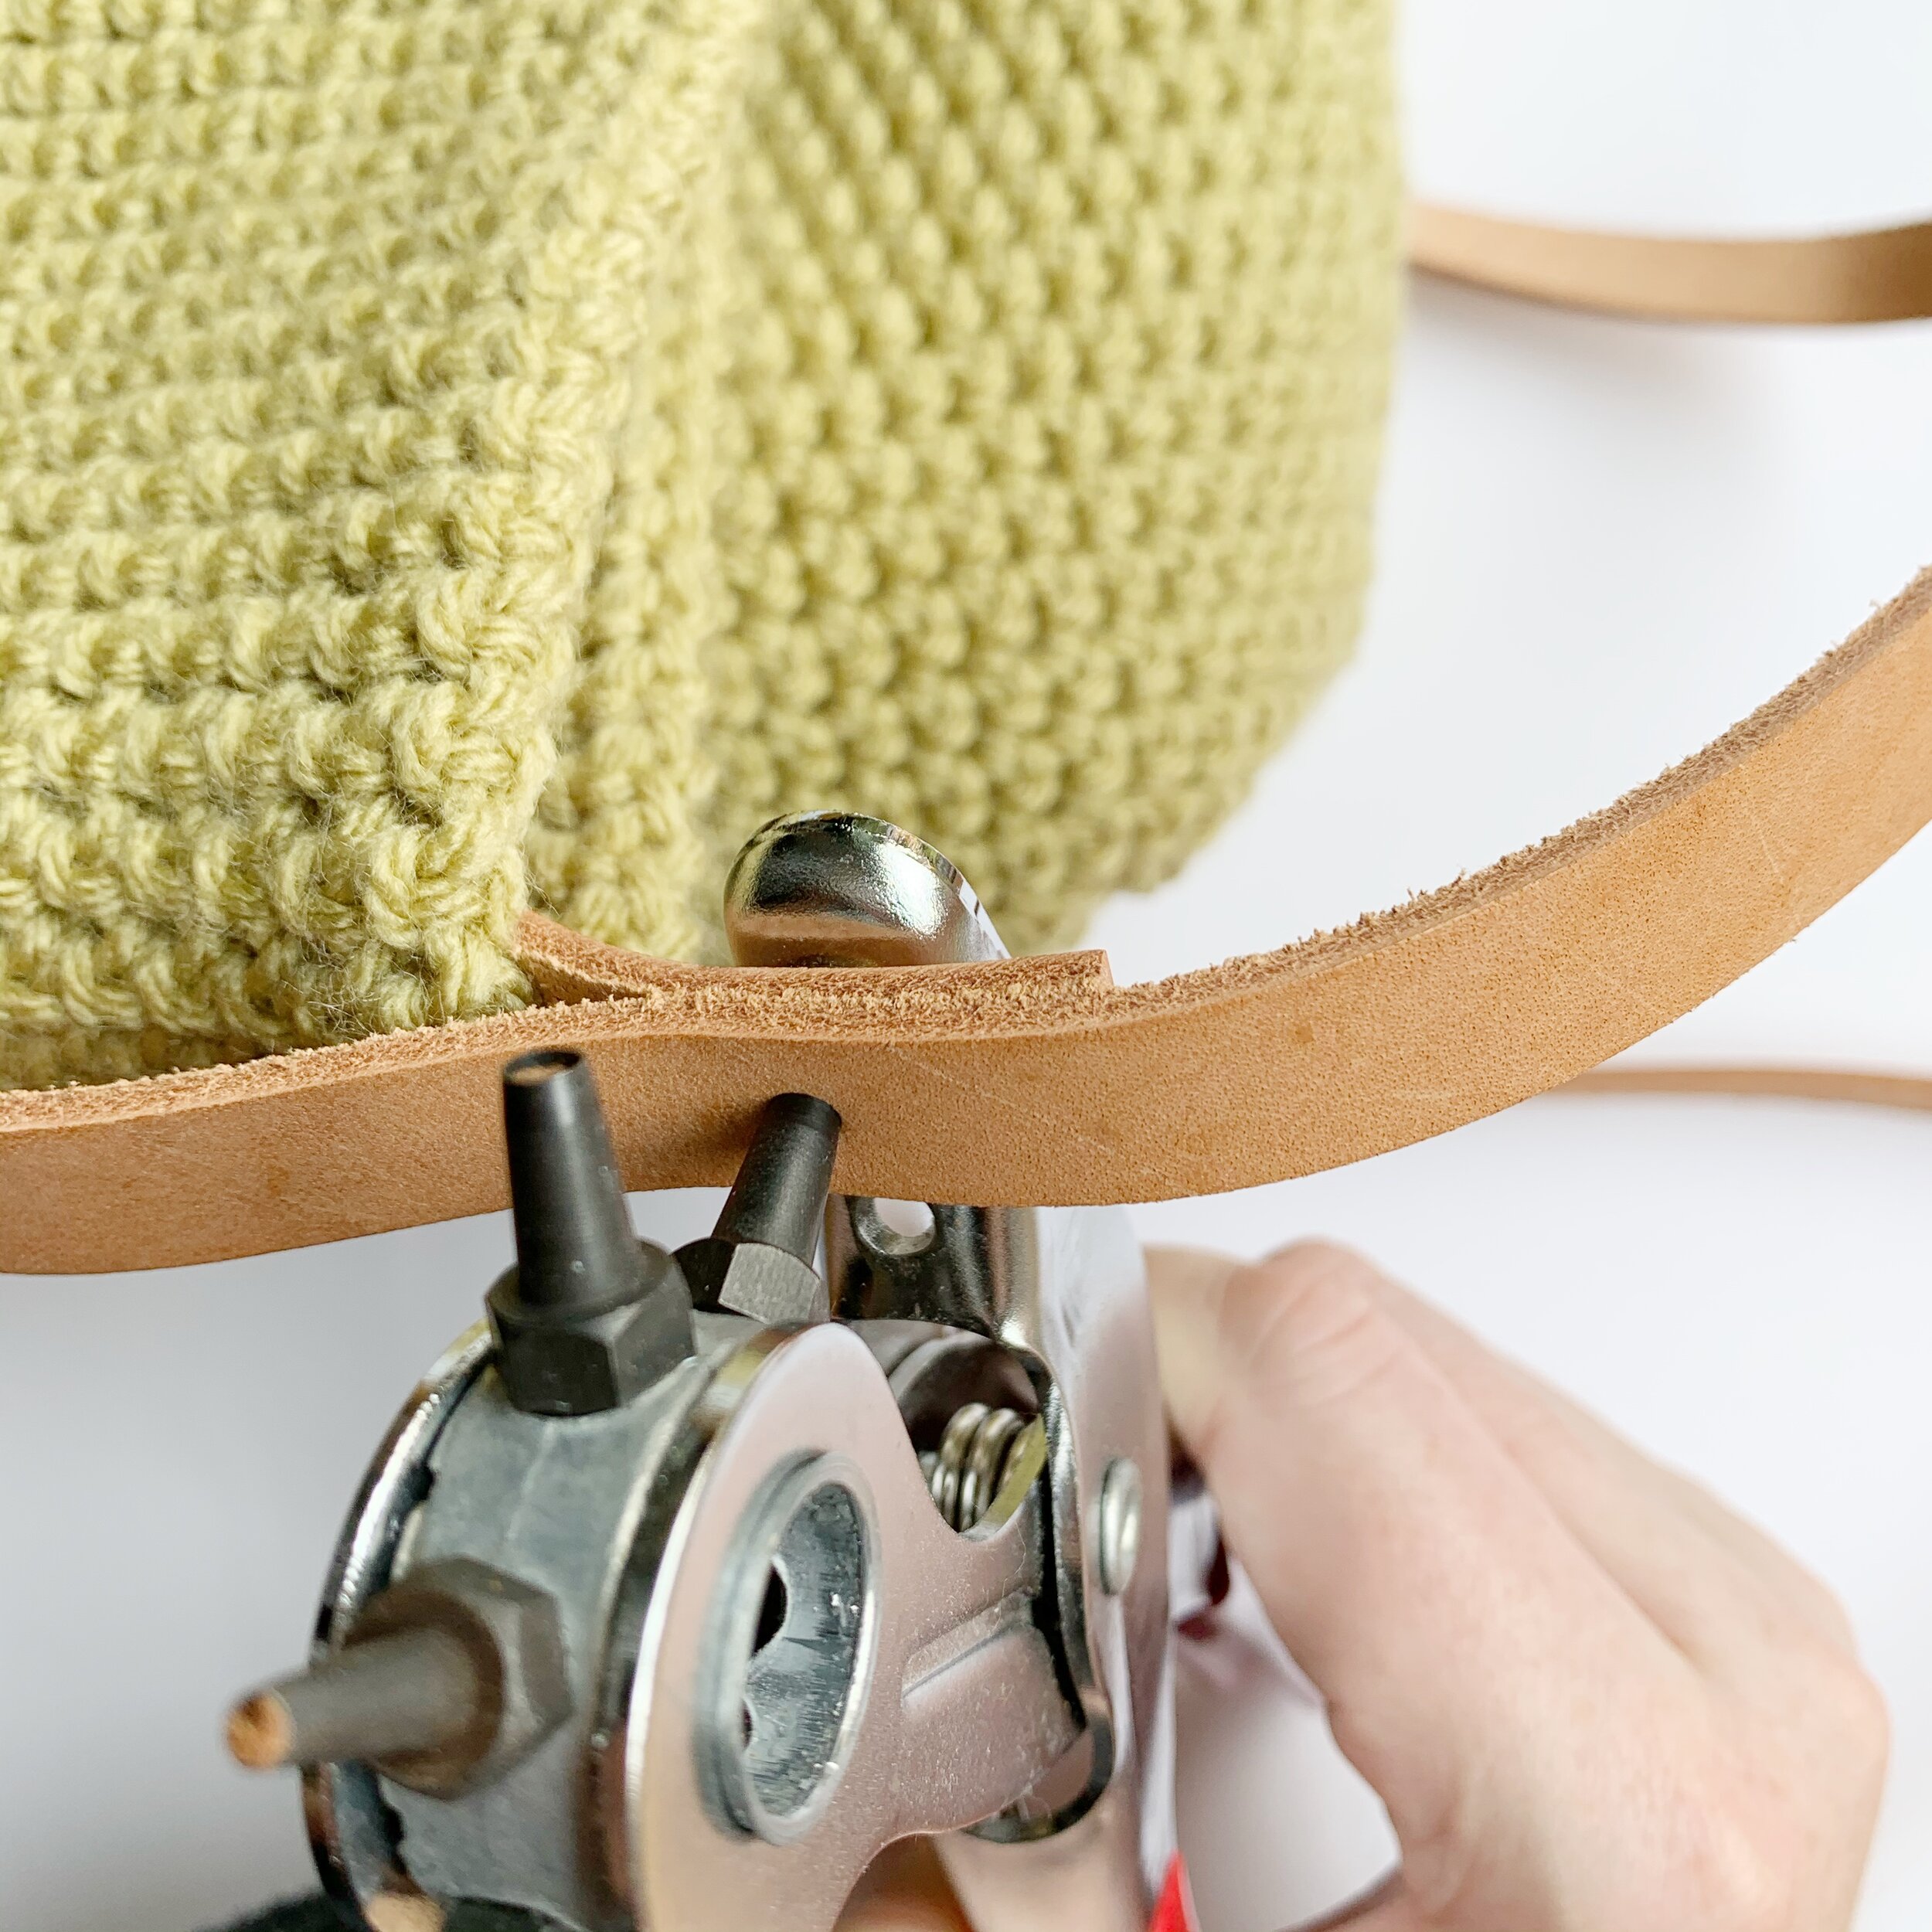
Option Two:
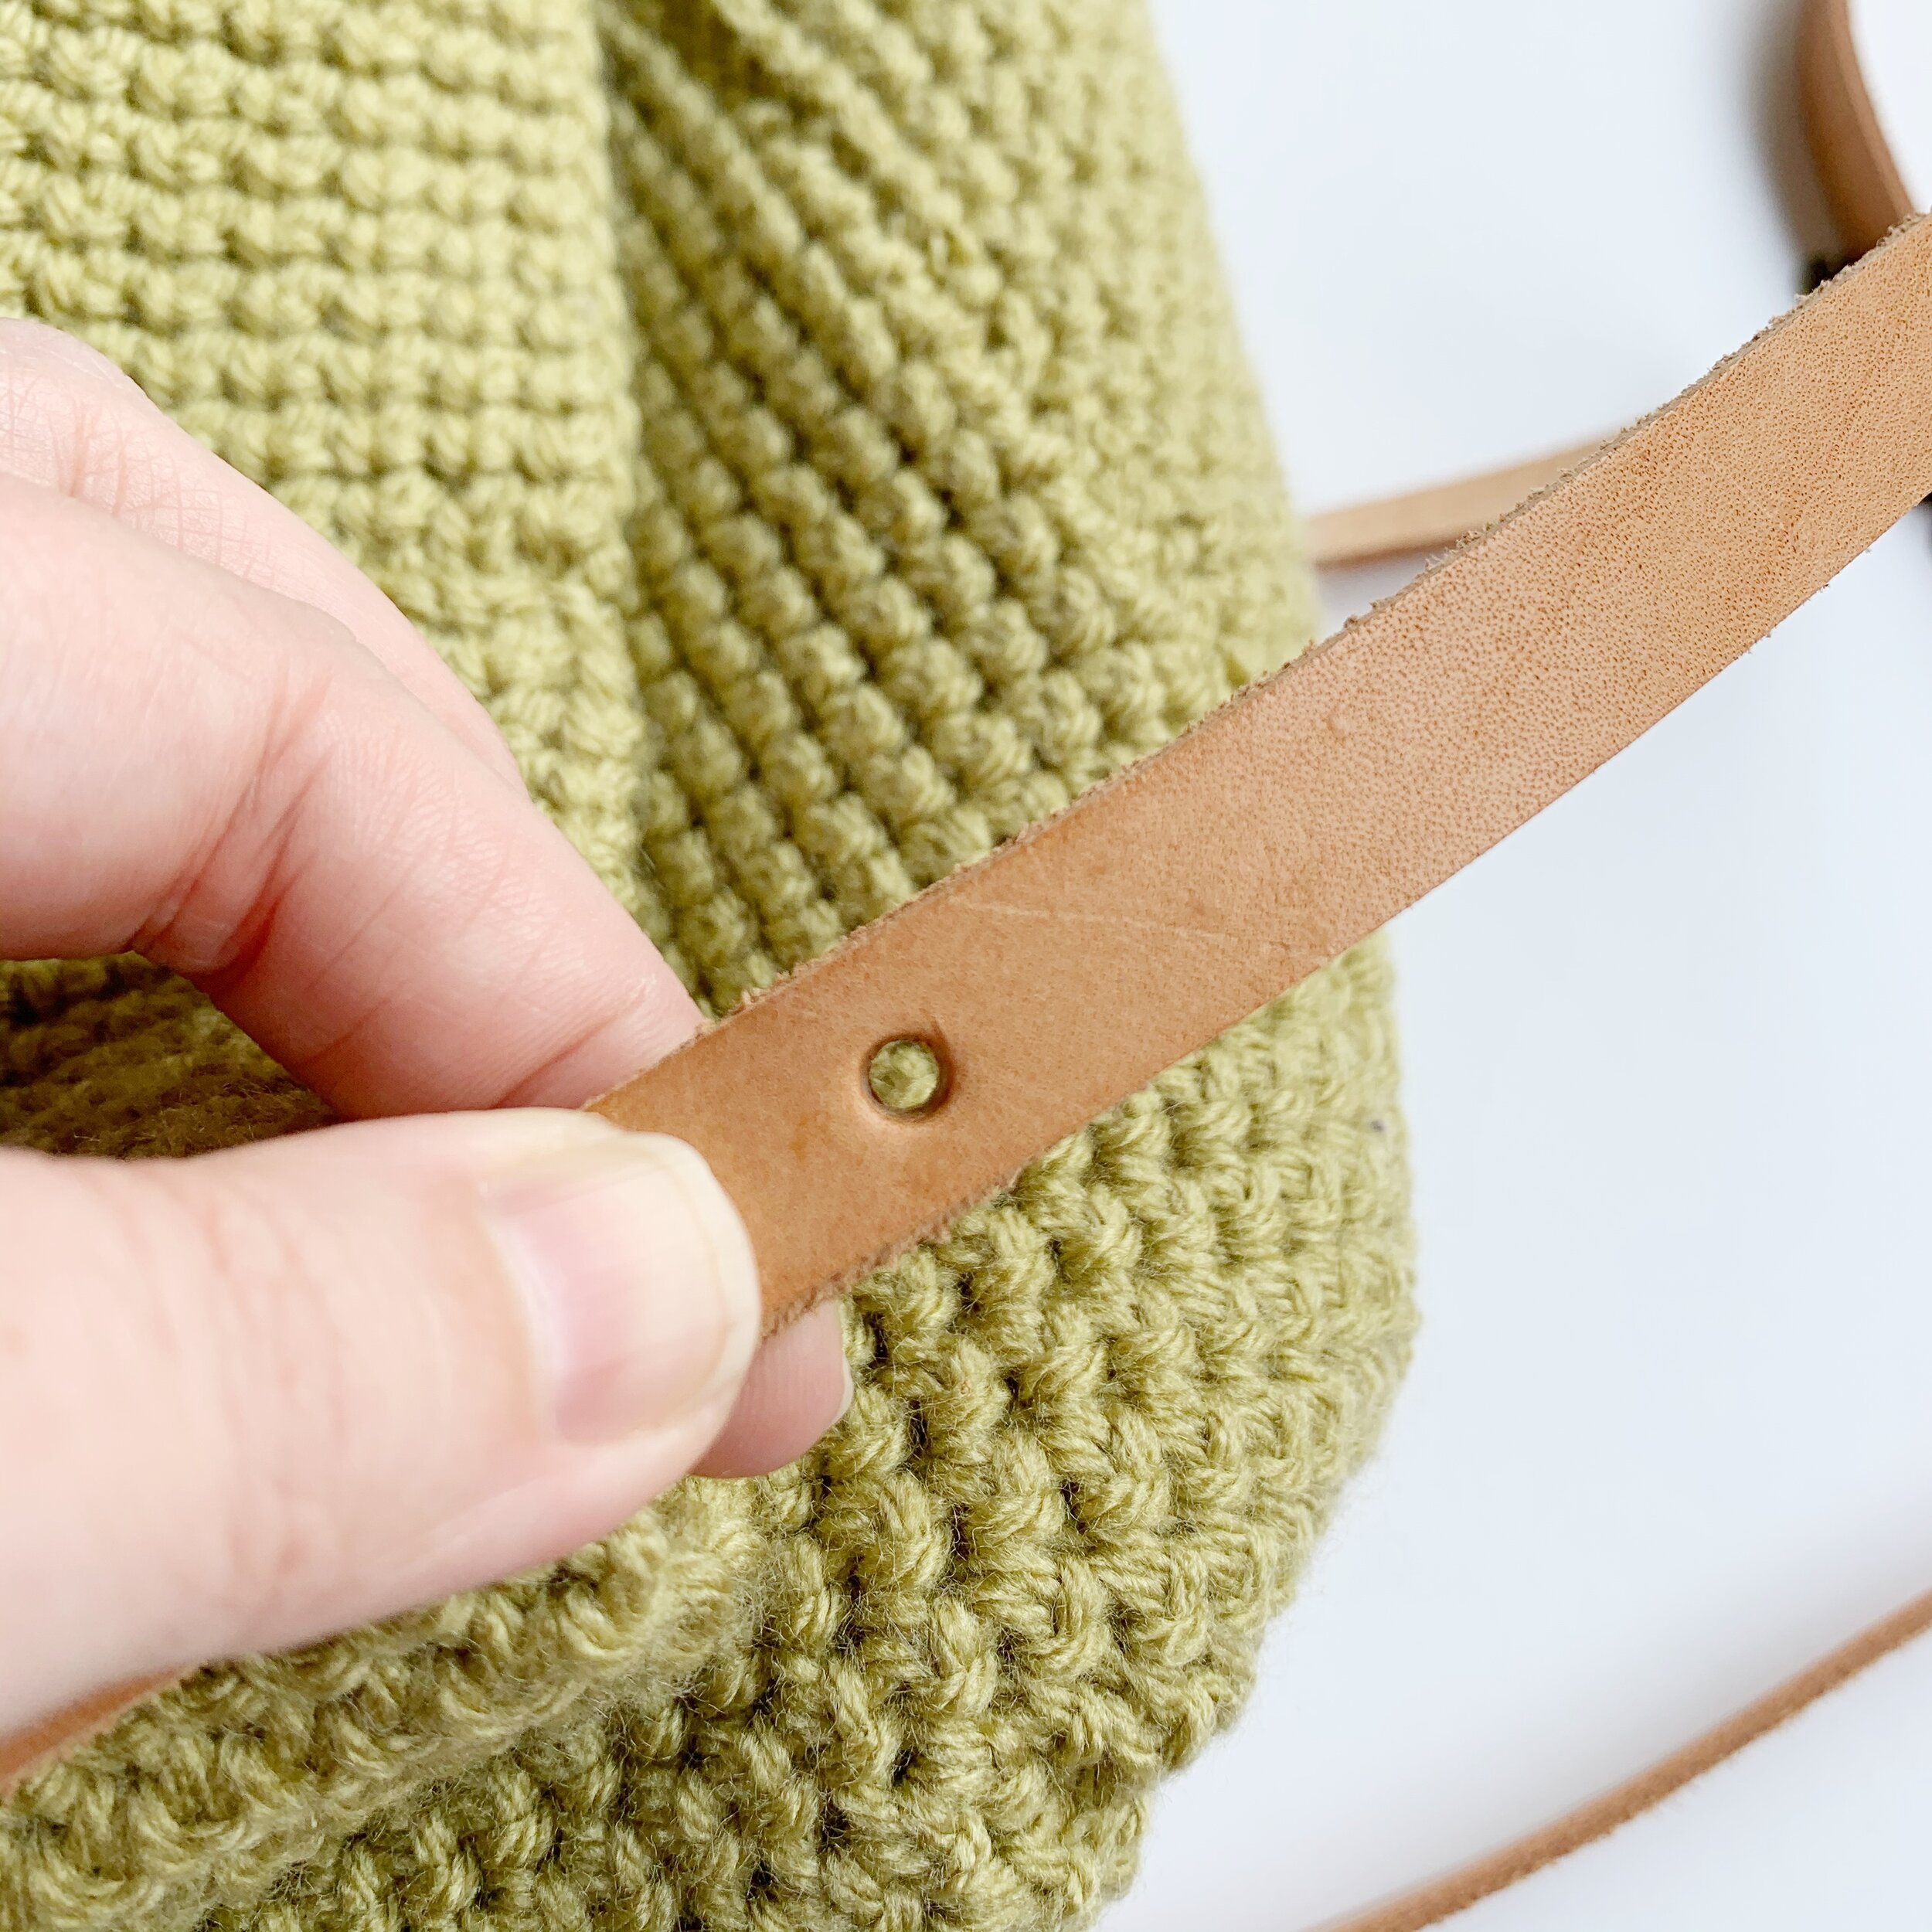
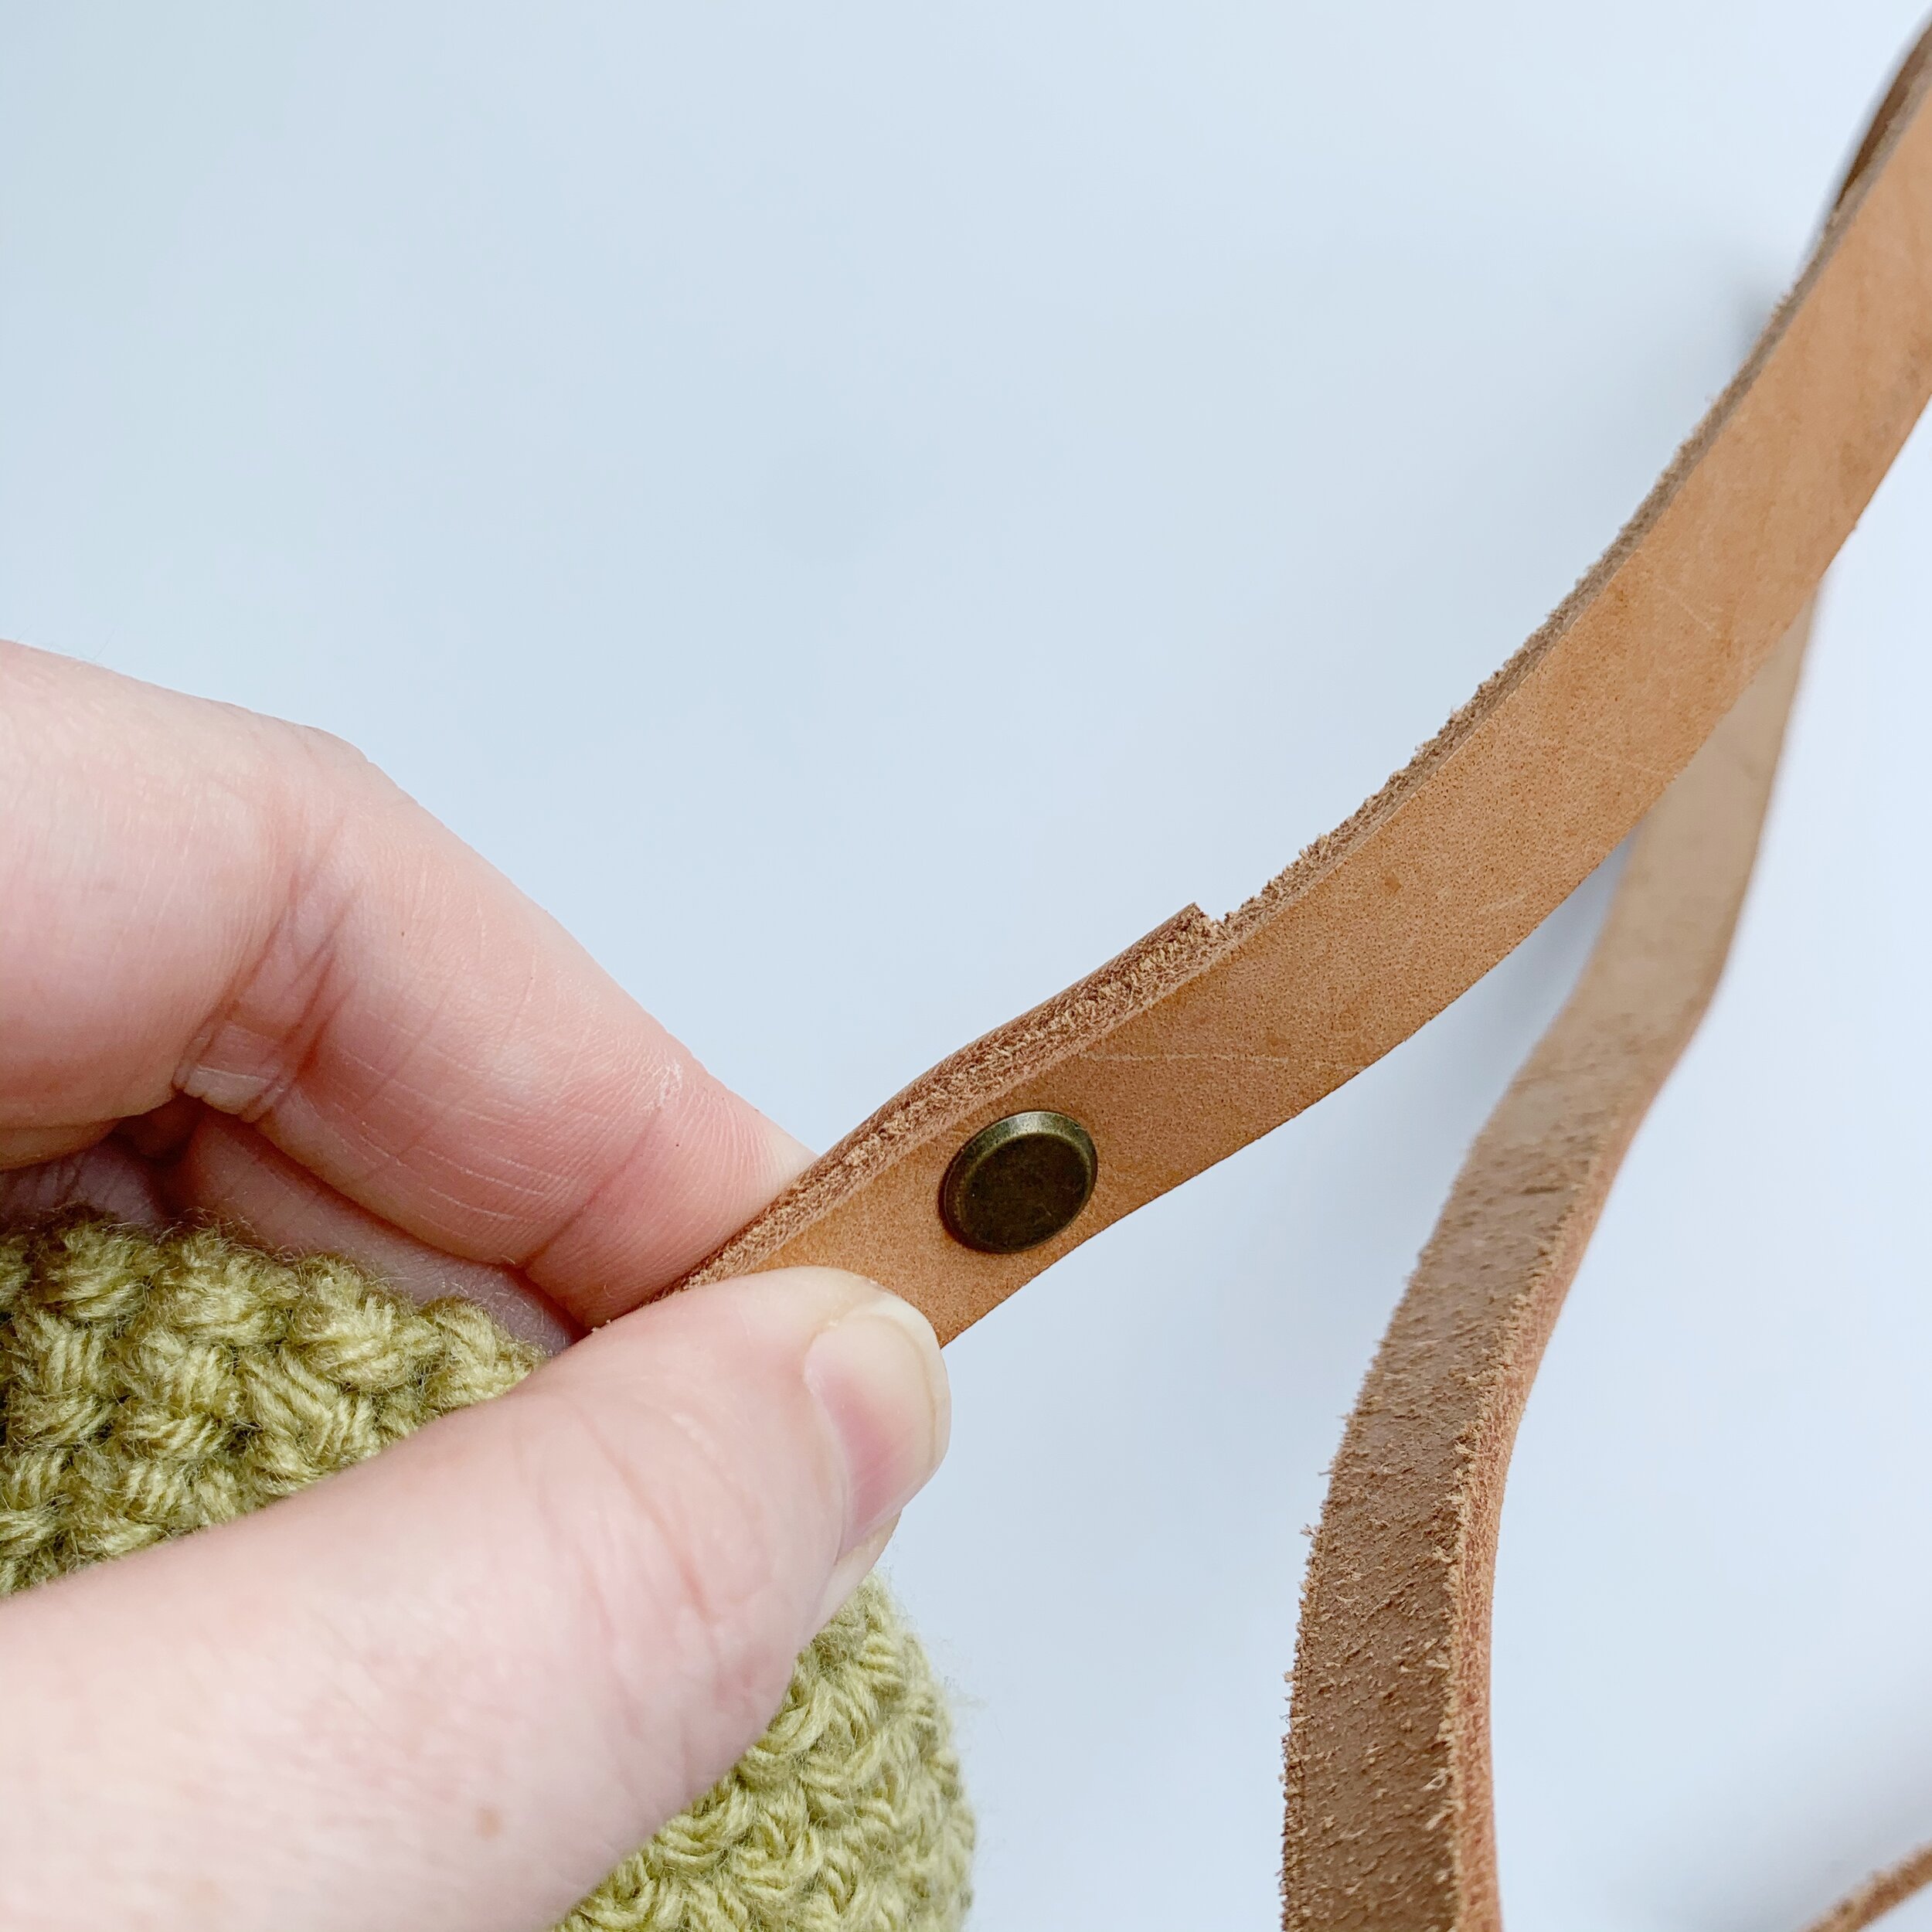
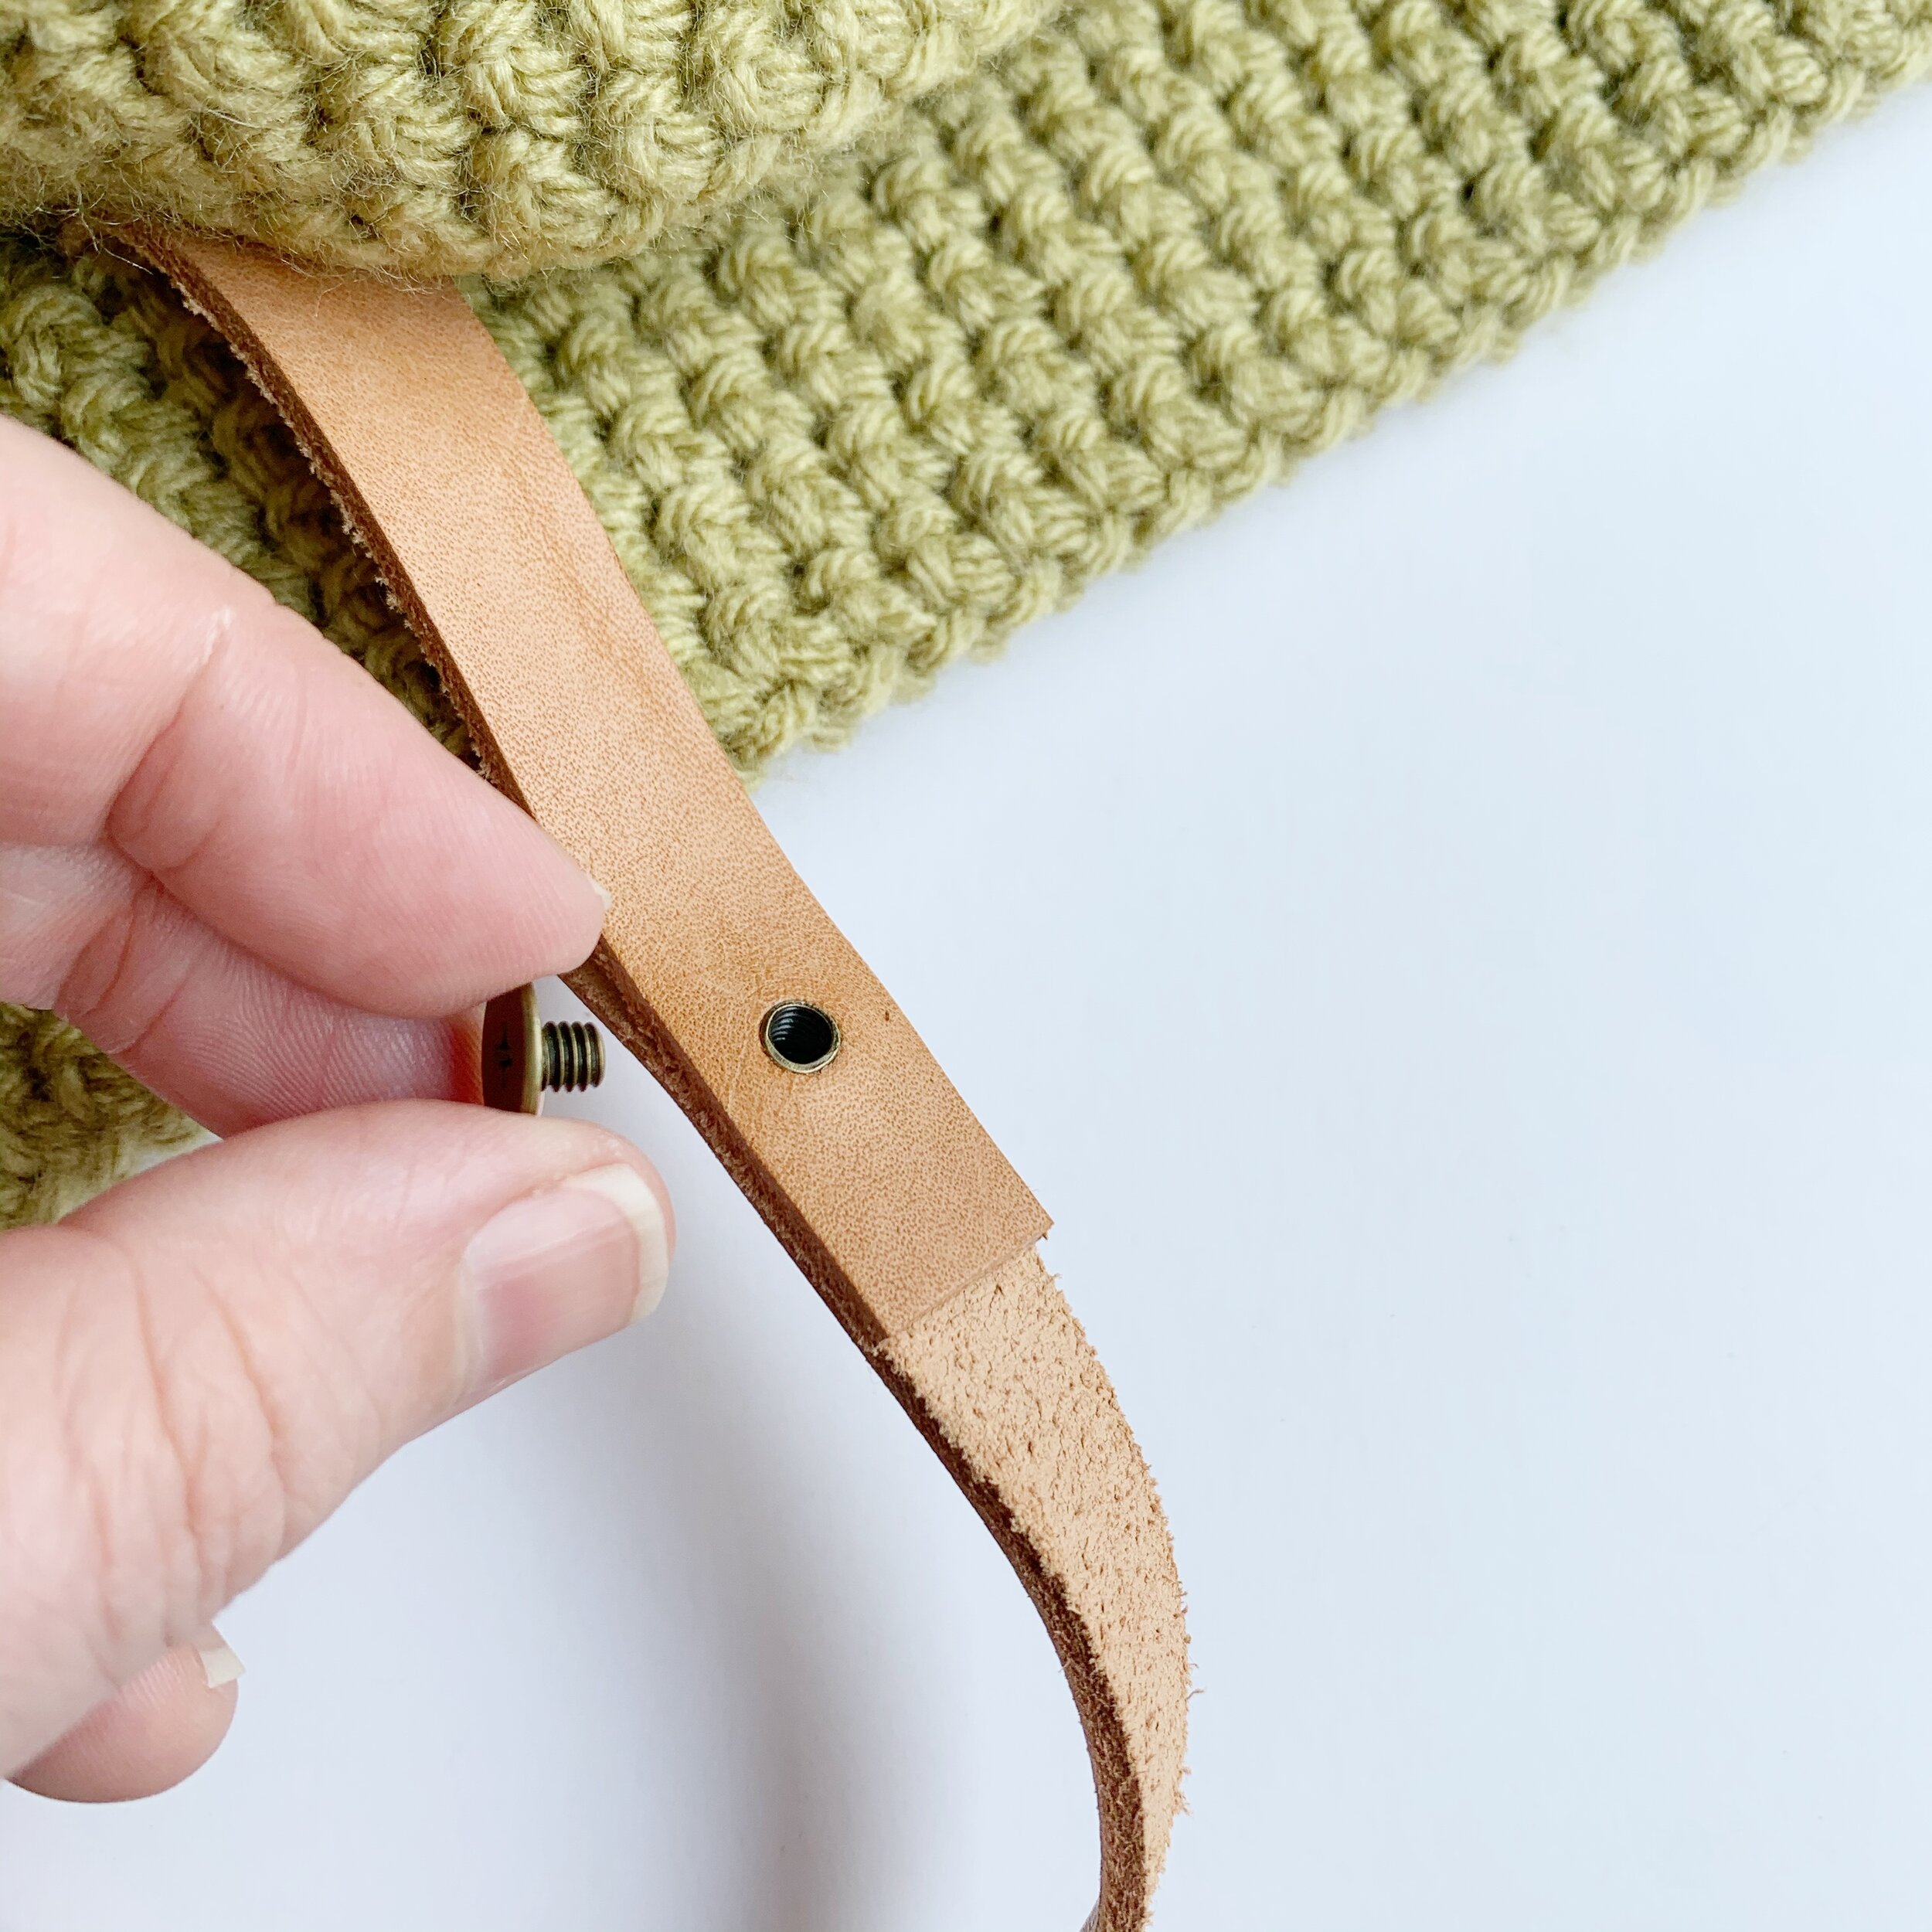
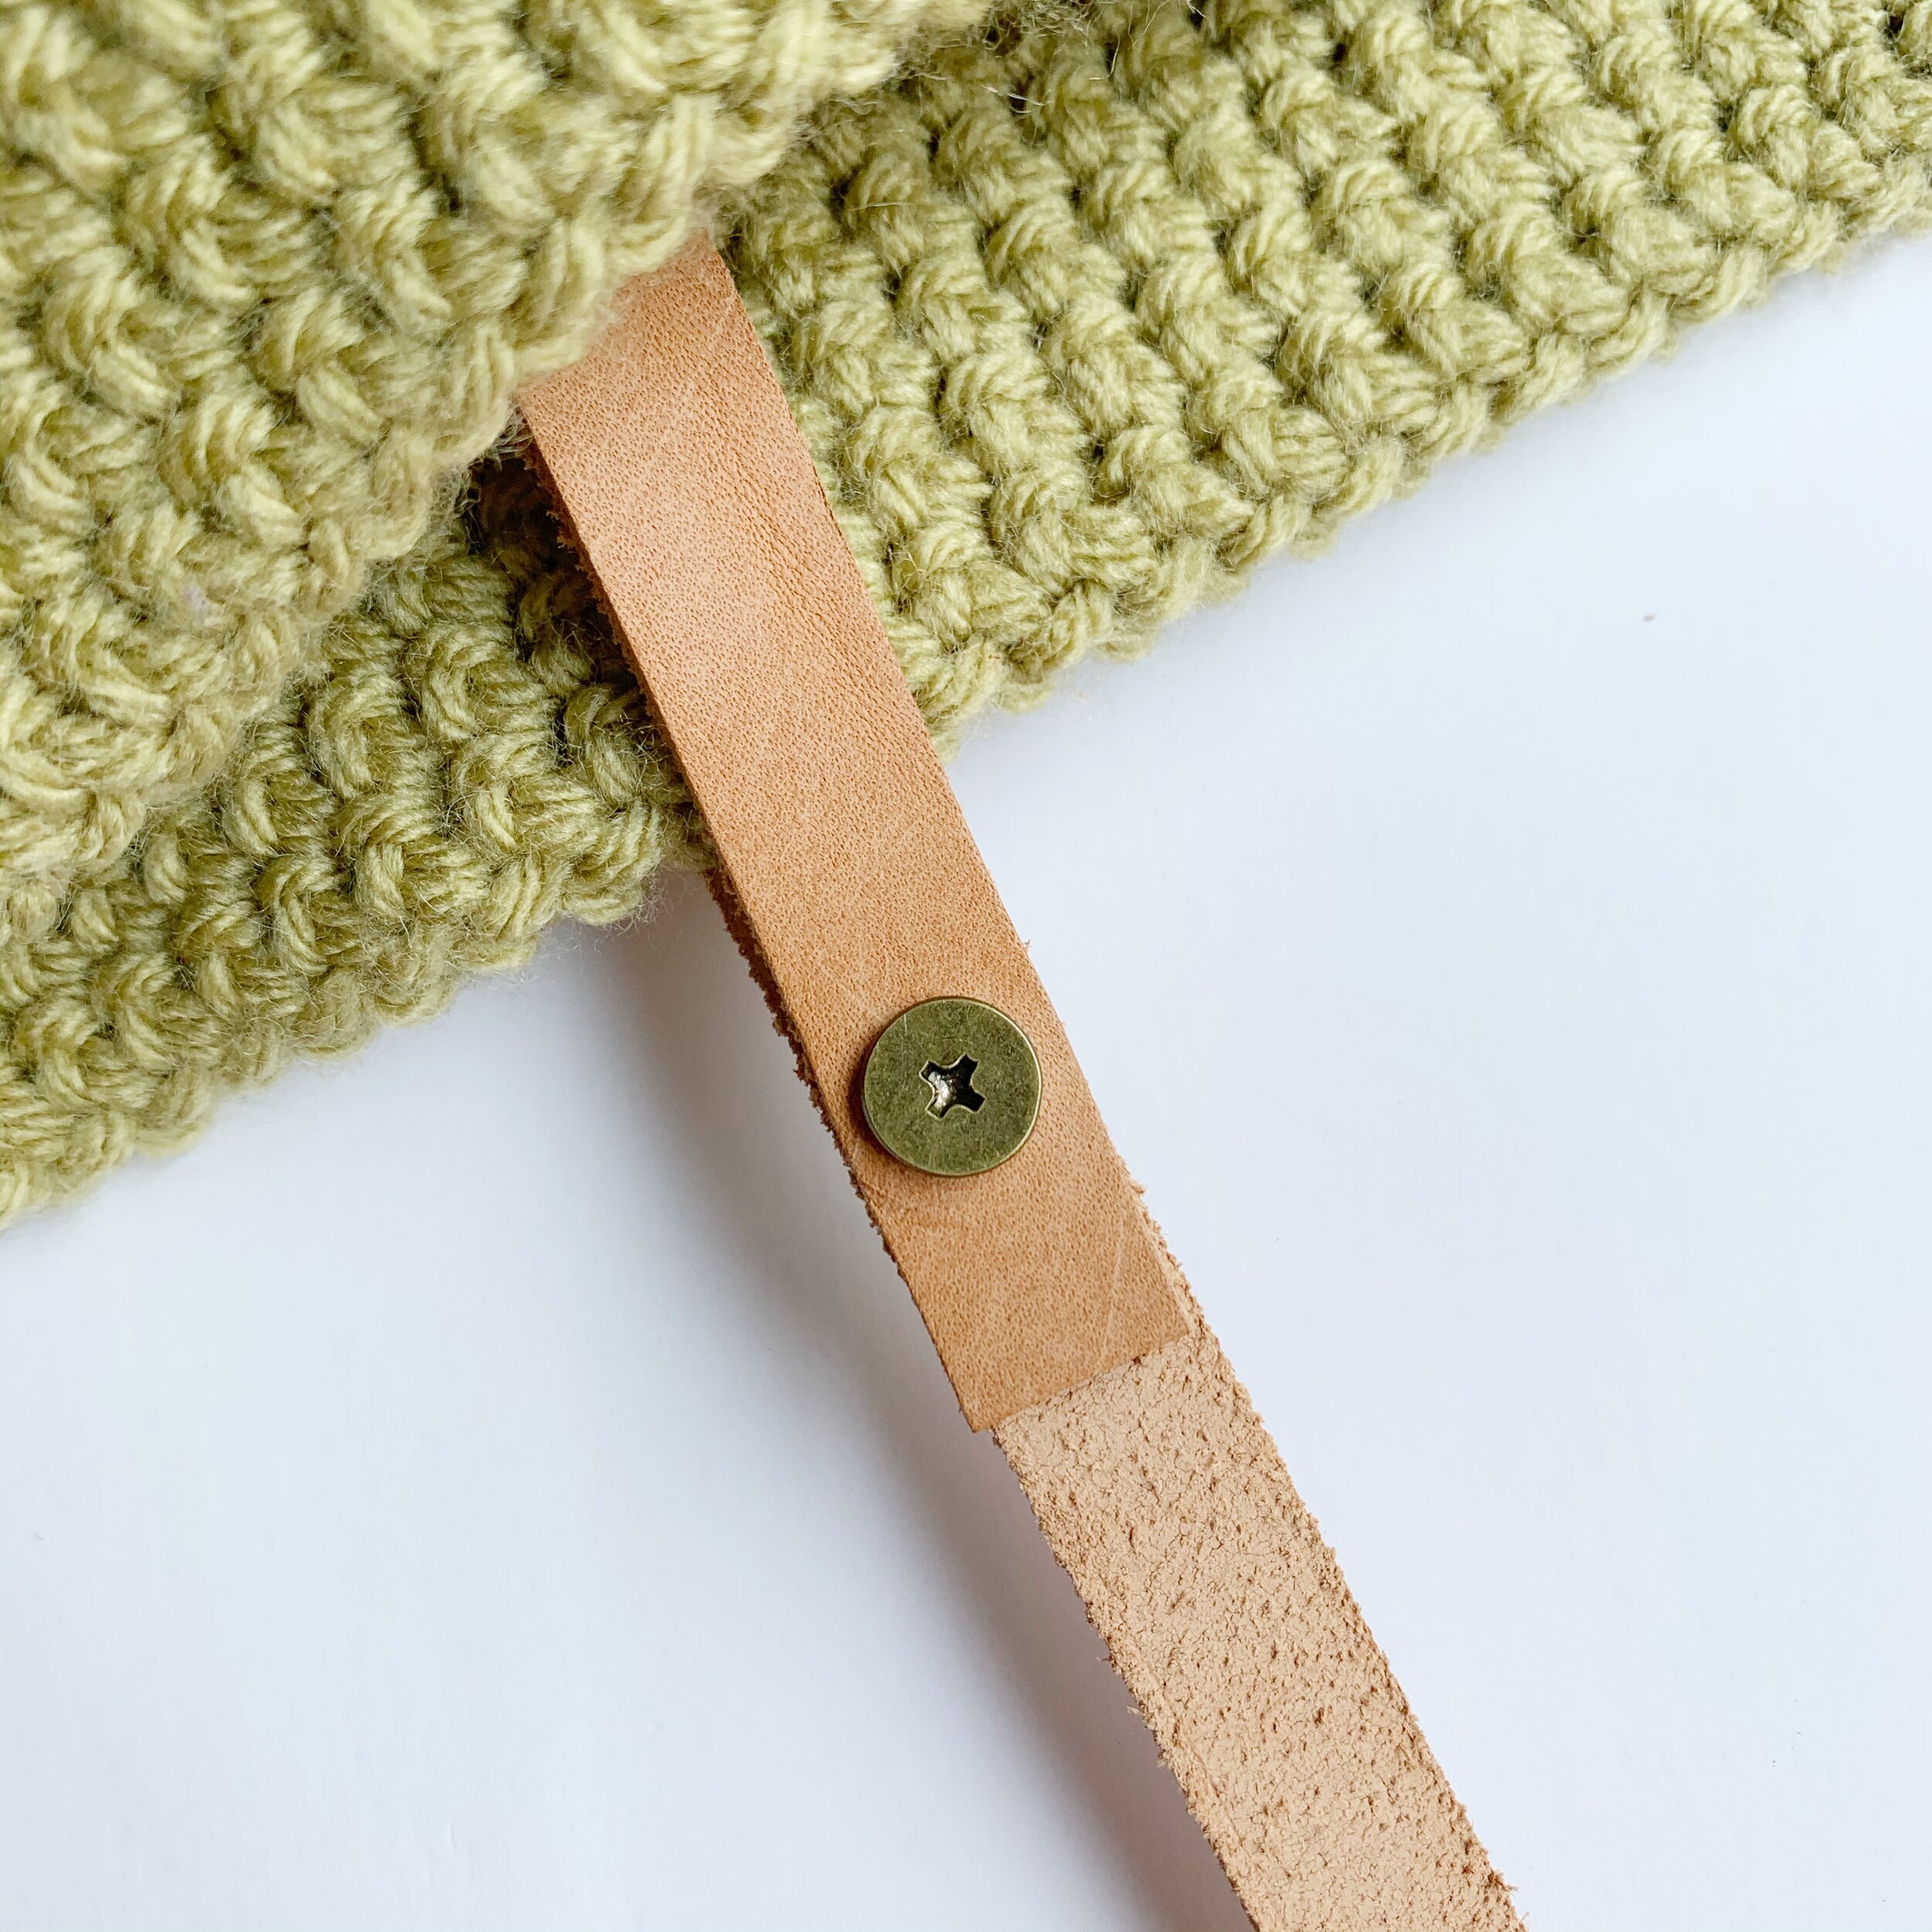
Cut leather straps so they are both approx. 41.5” long. Insert one strap end from front to back through the slit created in Row 17 of main body. Bring end of strap up about 1.25” above top of bag. Using a leather punch make a whole the same size as your rivets through both pieces of the strap. Insert the front rivet into the hole and screw second piece of the rivet in place. Repeat with other side of strap. Then repeat with the second strap on the other side of the tote.

Now go enjoy your brand new Jordynne Tote! I’d love to see your finished pieces so remember to tag me on social media @meghanmakesdo and use #jordynnetote and #meghanmakesdo so I can see.
Don’t forget you can also find a digital PDF version of the pattern in my shop, Etsy and Ravelry.
Happy Crocheting!
Meghan

