The Mabel Blanket-Free Crochet Pattern
***An ad-free PDF of this crochet pattern is available in my shop. Pattern is 13 full color pages and includes step by step instructions with photos. Grab your copy HERE or on Ravelry. ***
I am beyond excited to share with you this beautiful granny square blanket. You know when you've been working on a project for what feels like forever (a little over a year to be exact) and you finally finish it? It's the best feeling ever!

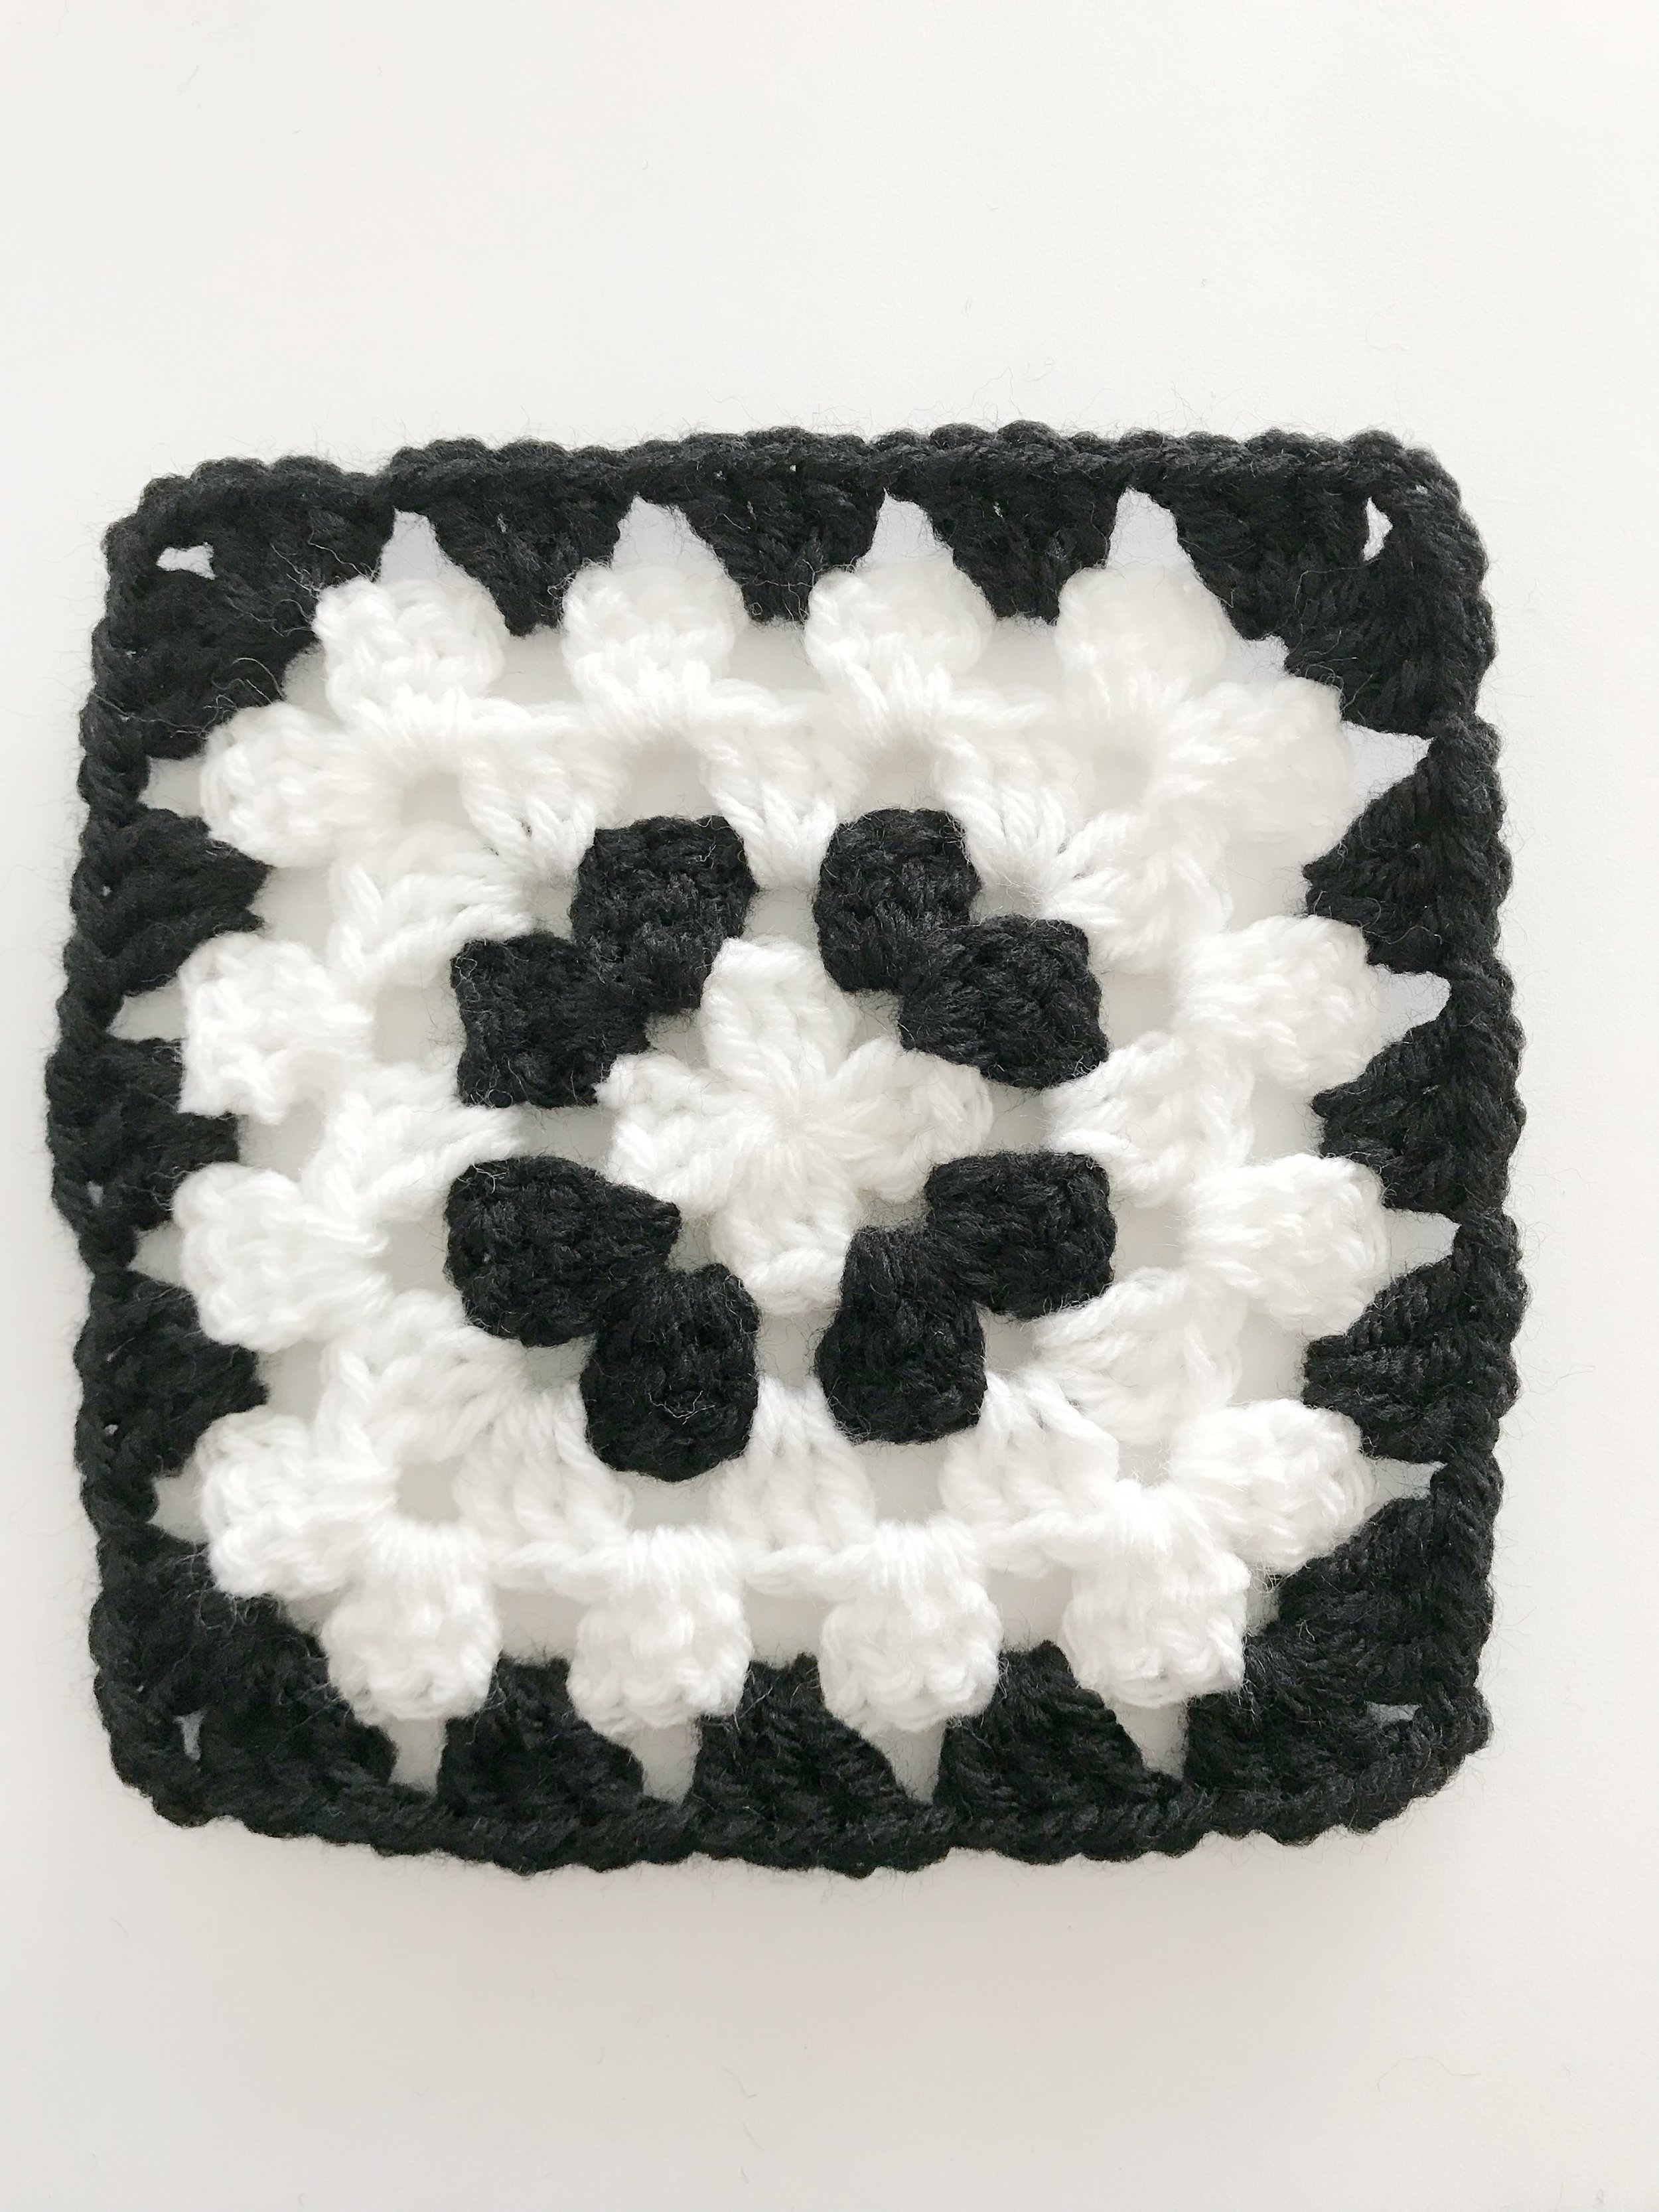
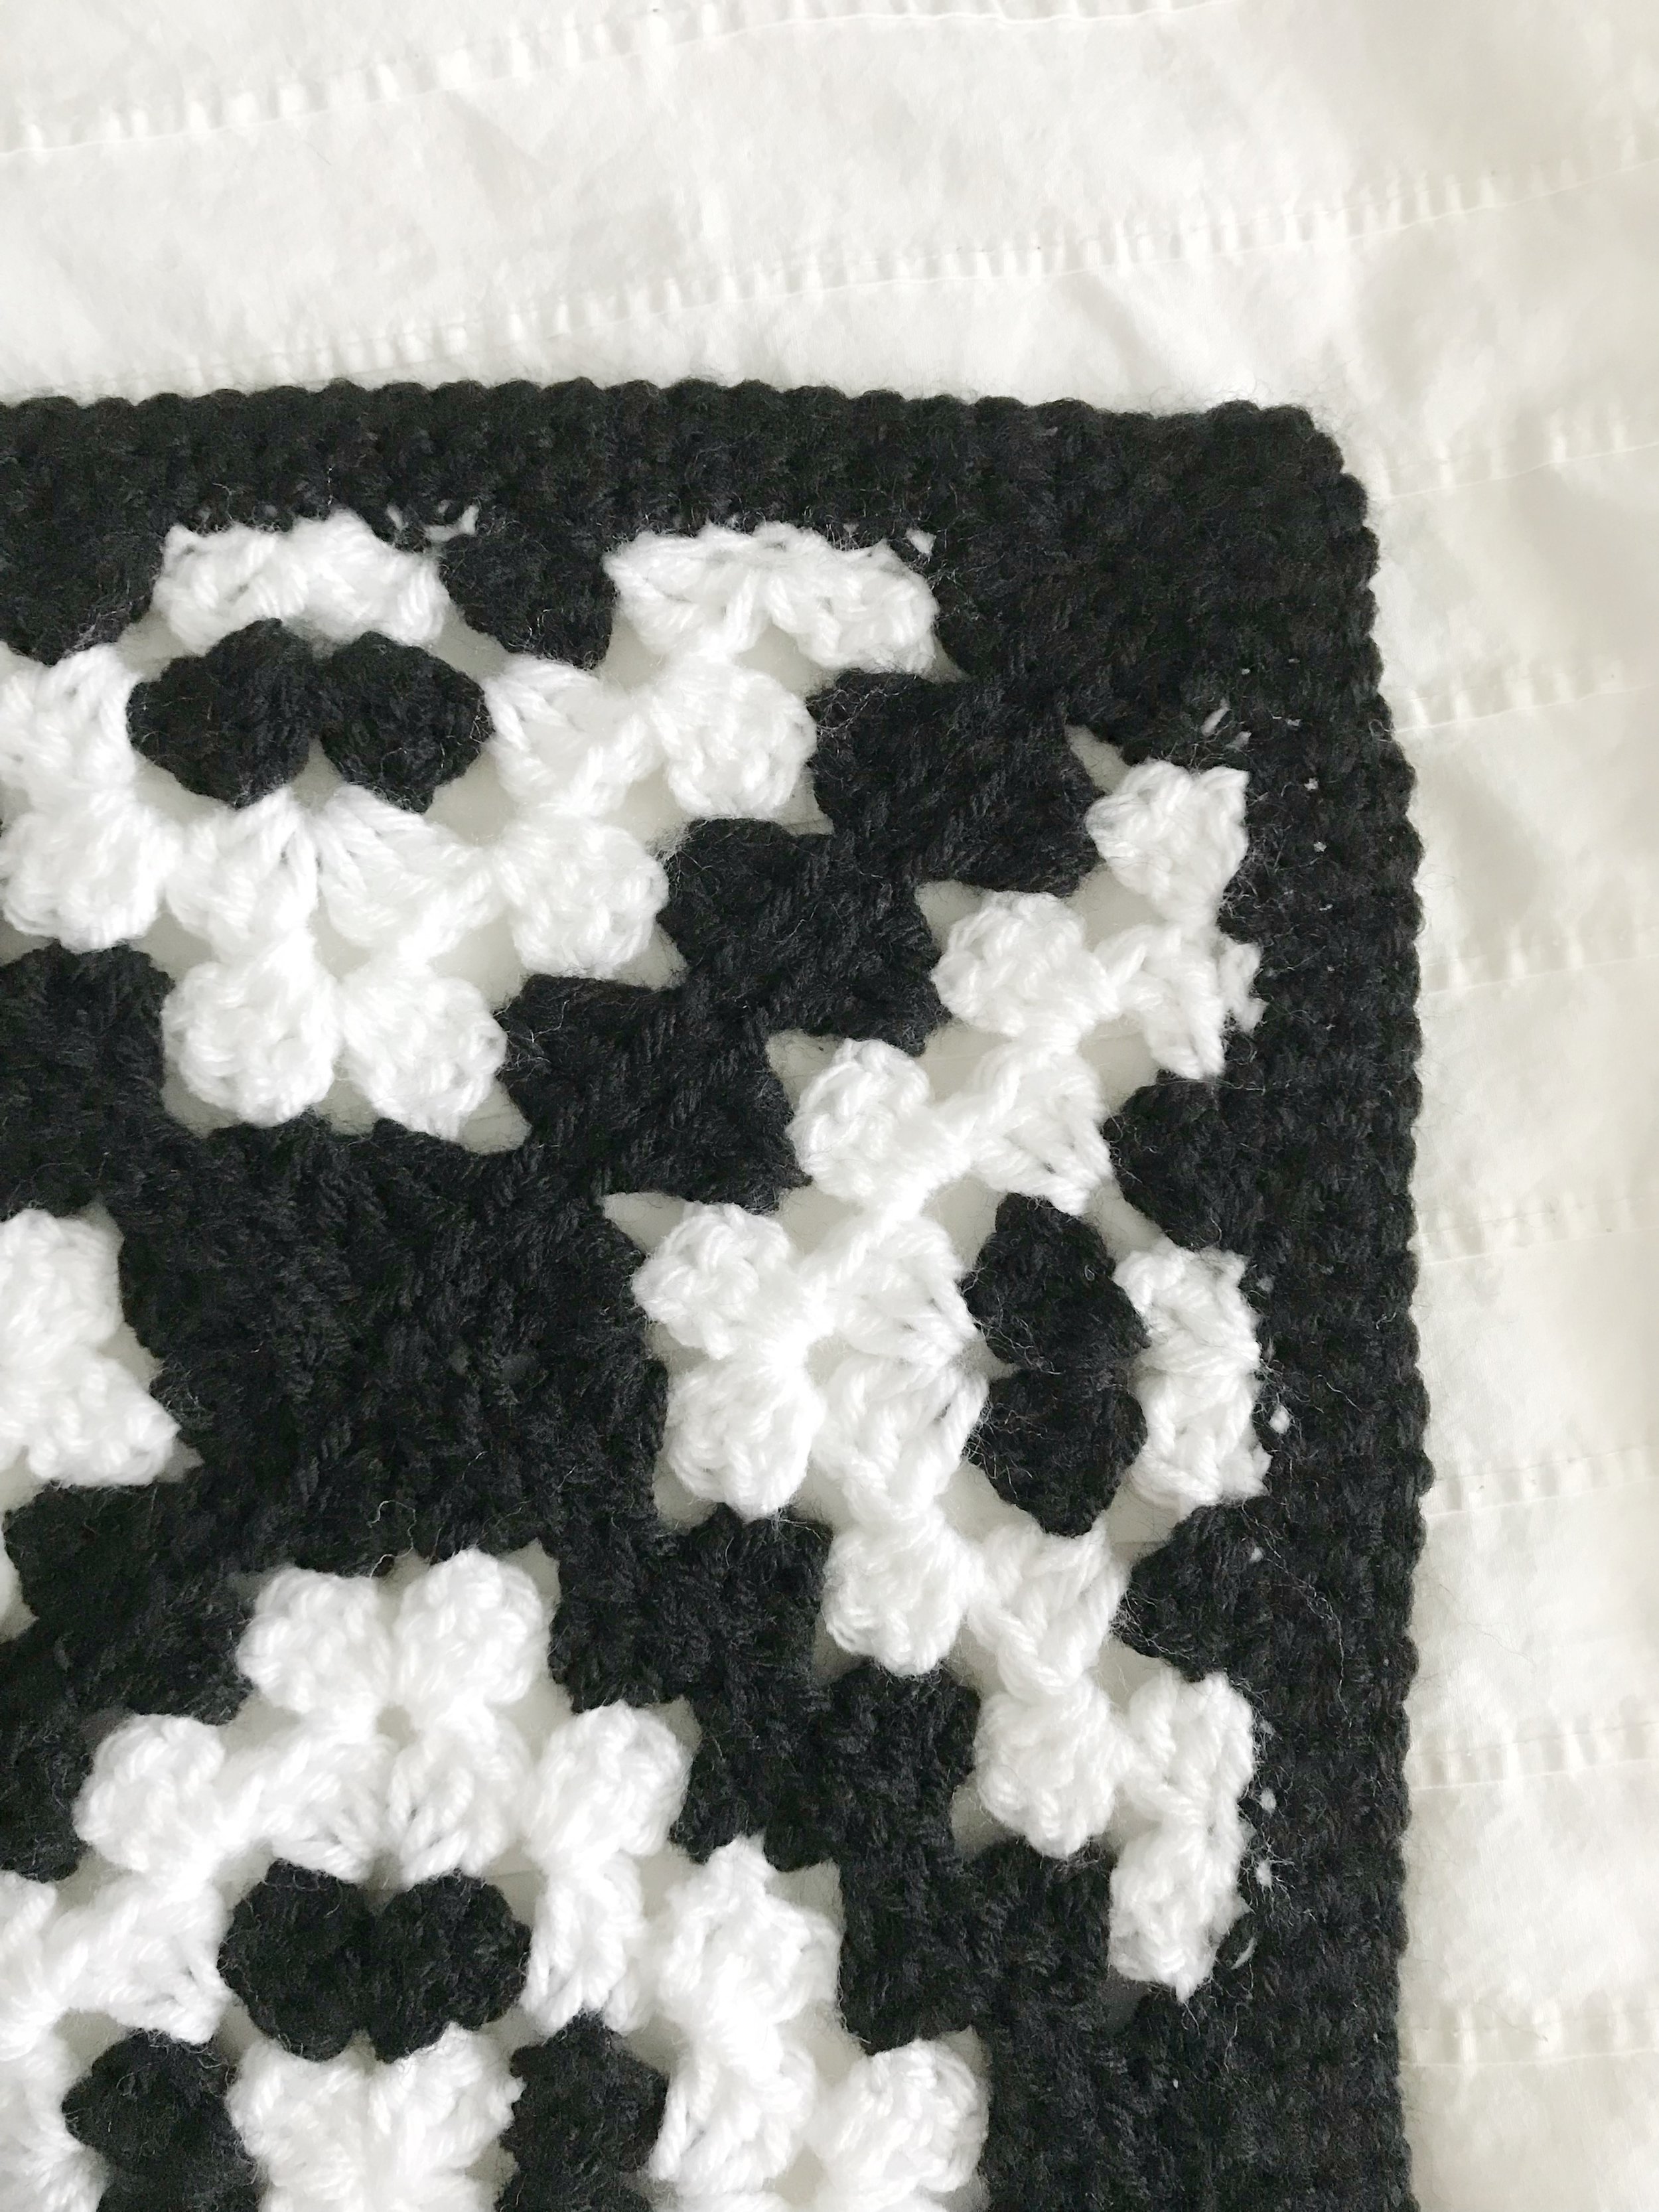
I love the idea of granny squares, but don't really love the bright colored ones. I like that they work up quickly and you can take them with you anywhere. When I first thought of the idea for this blanket I was wanting something a bit more modern, but with a somewhat vintage feel. I played around with a few different looks, but then when I made it just a simple black and white I fell in love! I didn't want it to be the traditional rows of granny squares, I much preferred the diamond-ish shape, but the problem was figuring out how to assemble them into a rectangle shape. In came the half granny square to save the day! I figured out how to create a triangle to match my granny squares and then it was just a matter of really getting to work getting them all made and assembled.
So here she is in all her glory. The Mabel Blanket!

To make your own Mabel Blanket you will need:
Approx. 1950 yards of worsted weight yarn in black (I used Vanna’s choice in black 13 skeins) & 2115 yards of worsted weight yarn in white (I used Big Twist Value yarn in white 6 skeins)
Size 5.00mm (h) crochet hook
Tapestry needle
scissors
Gauge: Granny square = 5.75”X5.75” square
Size: Finished blanket is approx. 60”X67” (with border)
Notes:
1. Ch3 counts as first stitch in each row.
2. Granny squares are worked with clusters of 3dc in each stitch.
3. Always make 3 dc into any ch-1 space.
4. Always make 3dc, ch2, 3dc into any ch-2 space to create corner.
5. Block all squares and half squares before joining to ensure proper sizing.
Special Stitches:
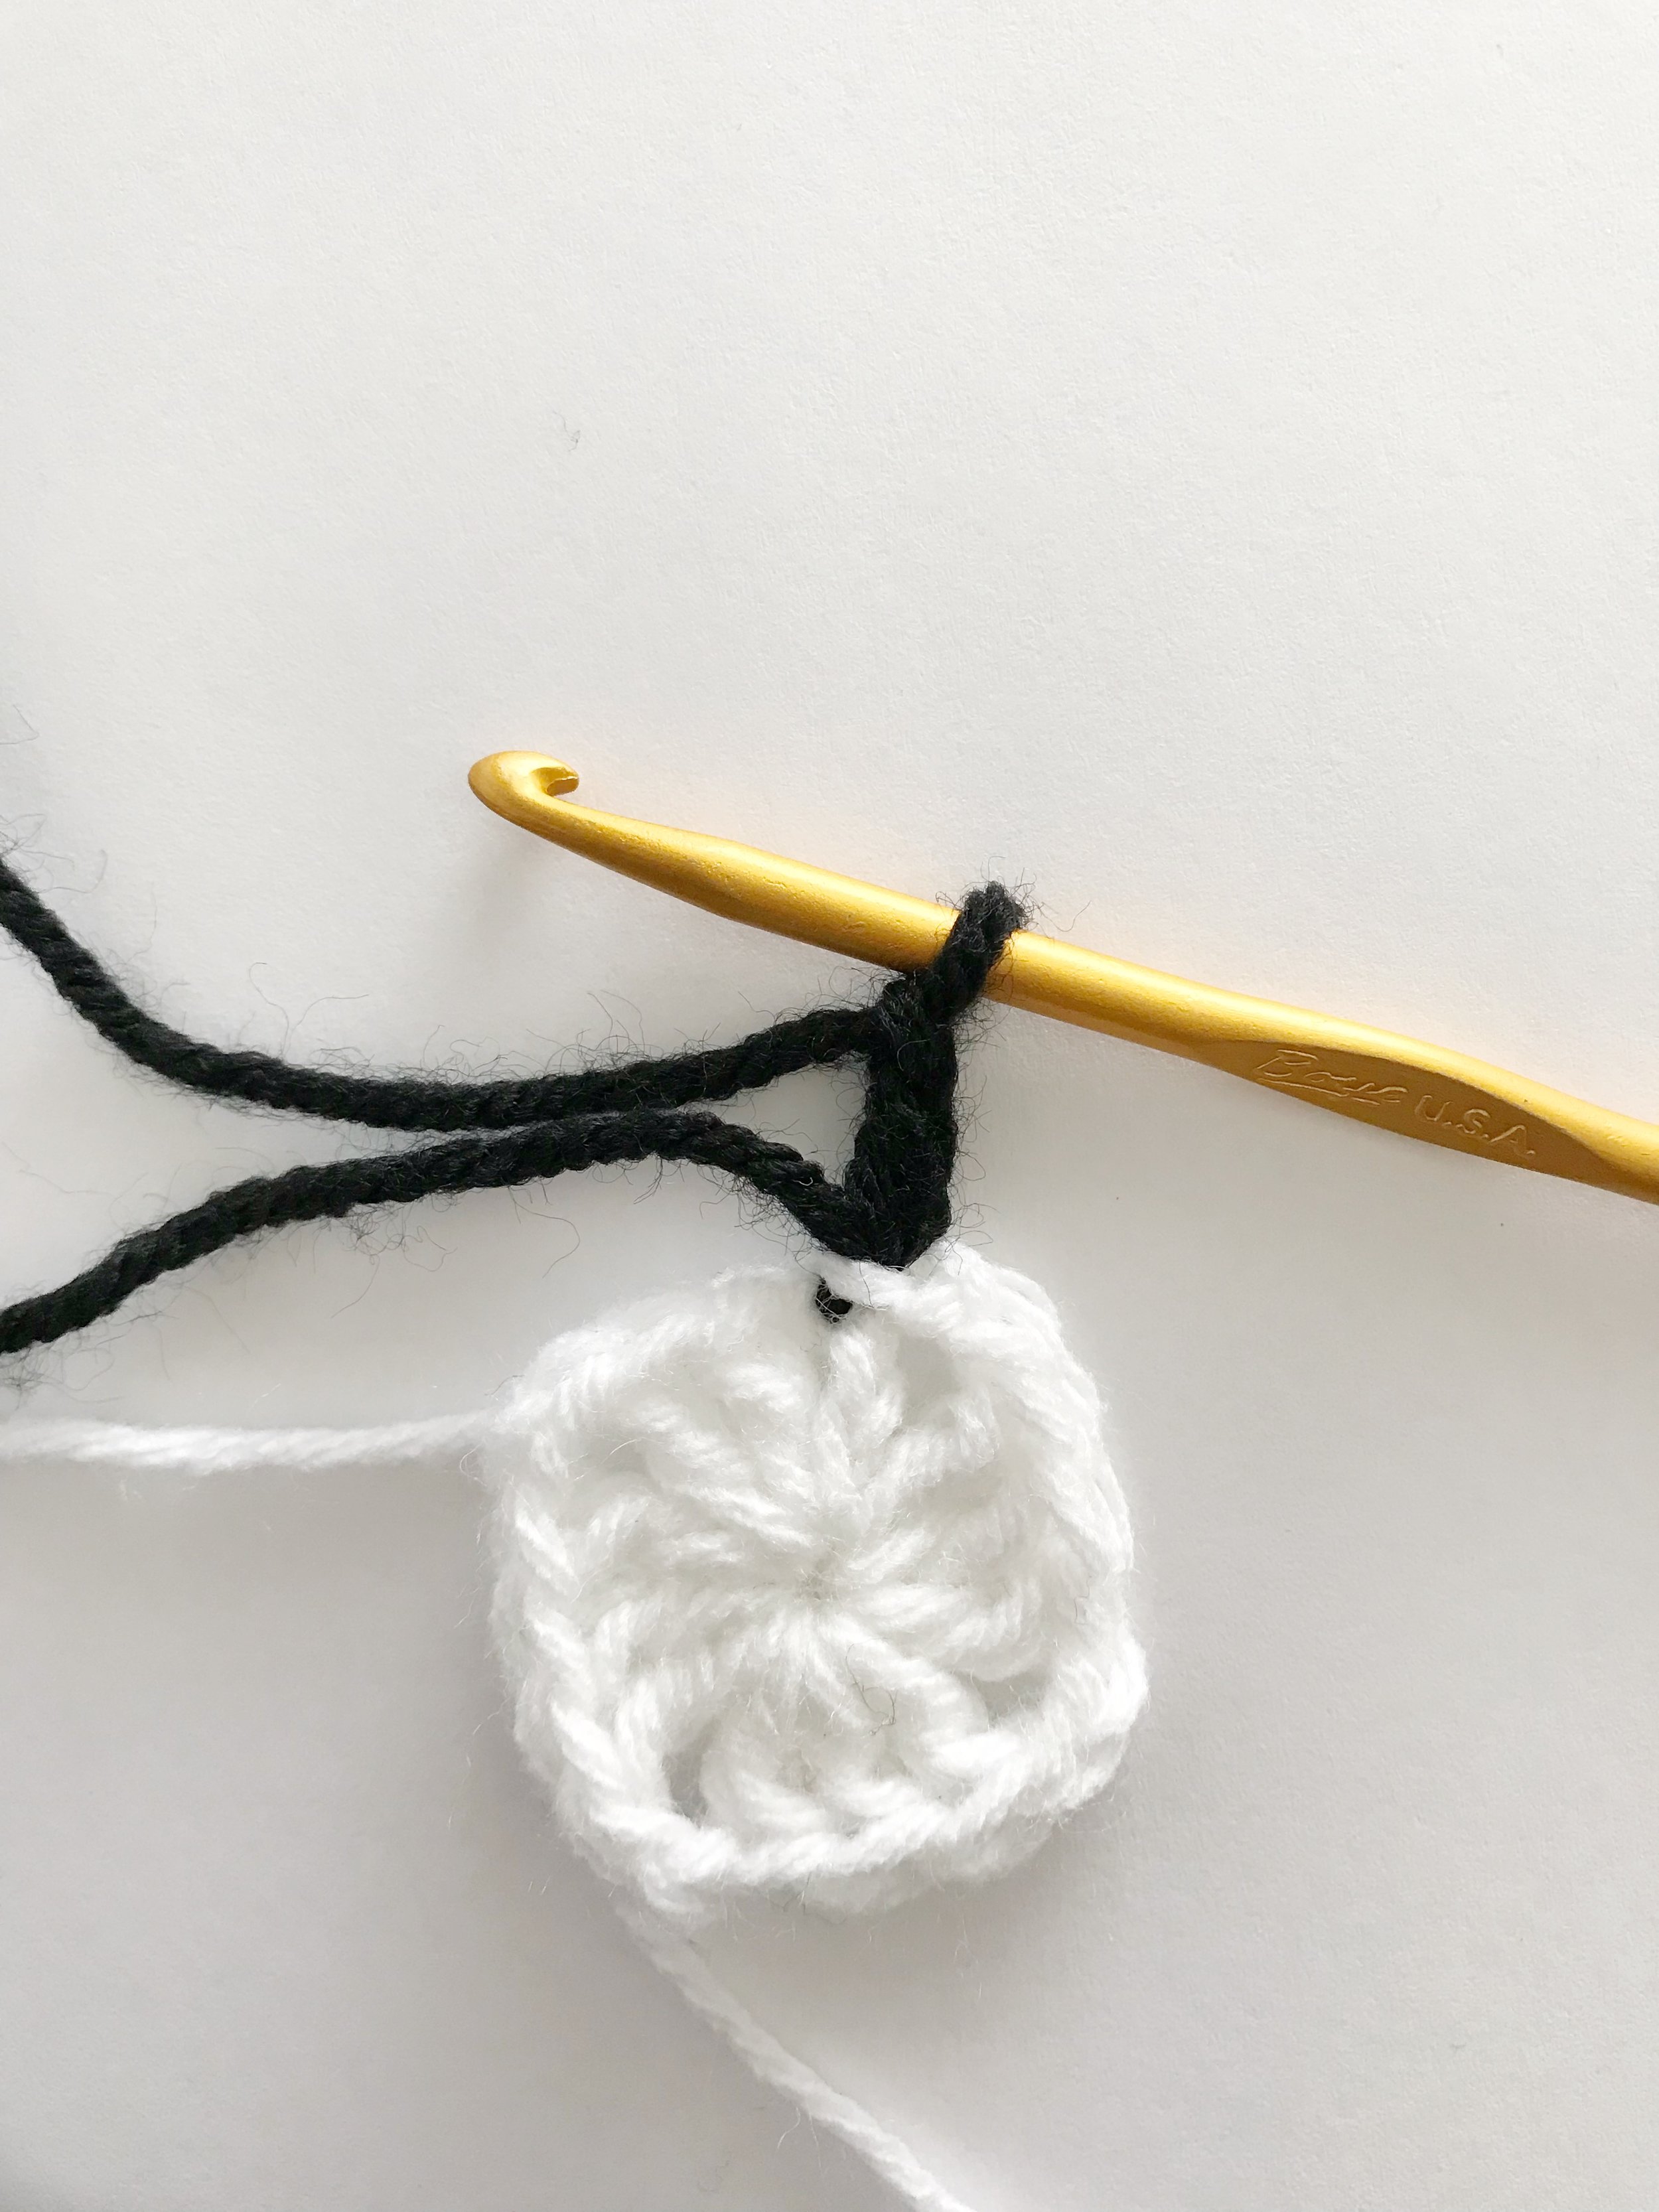
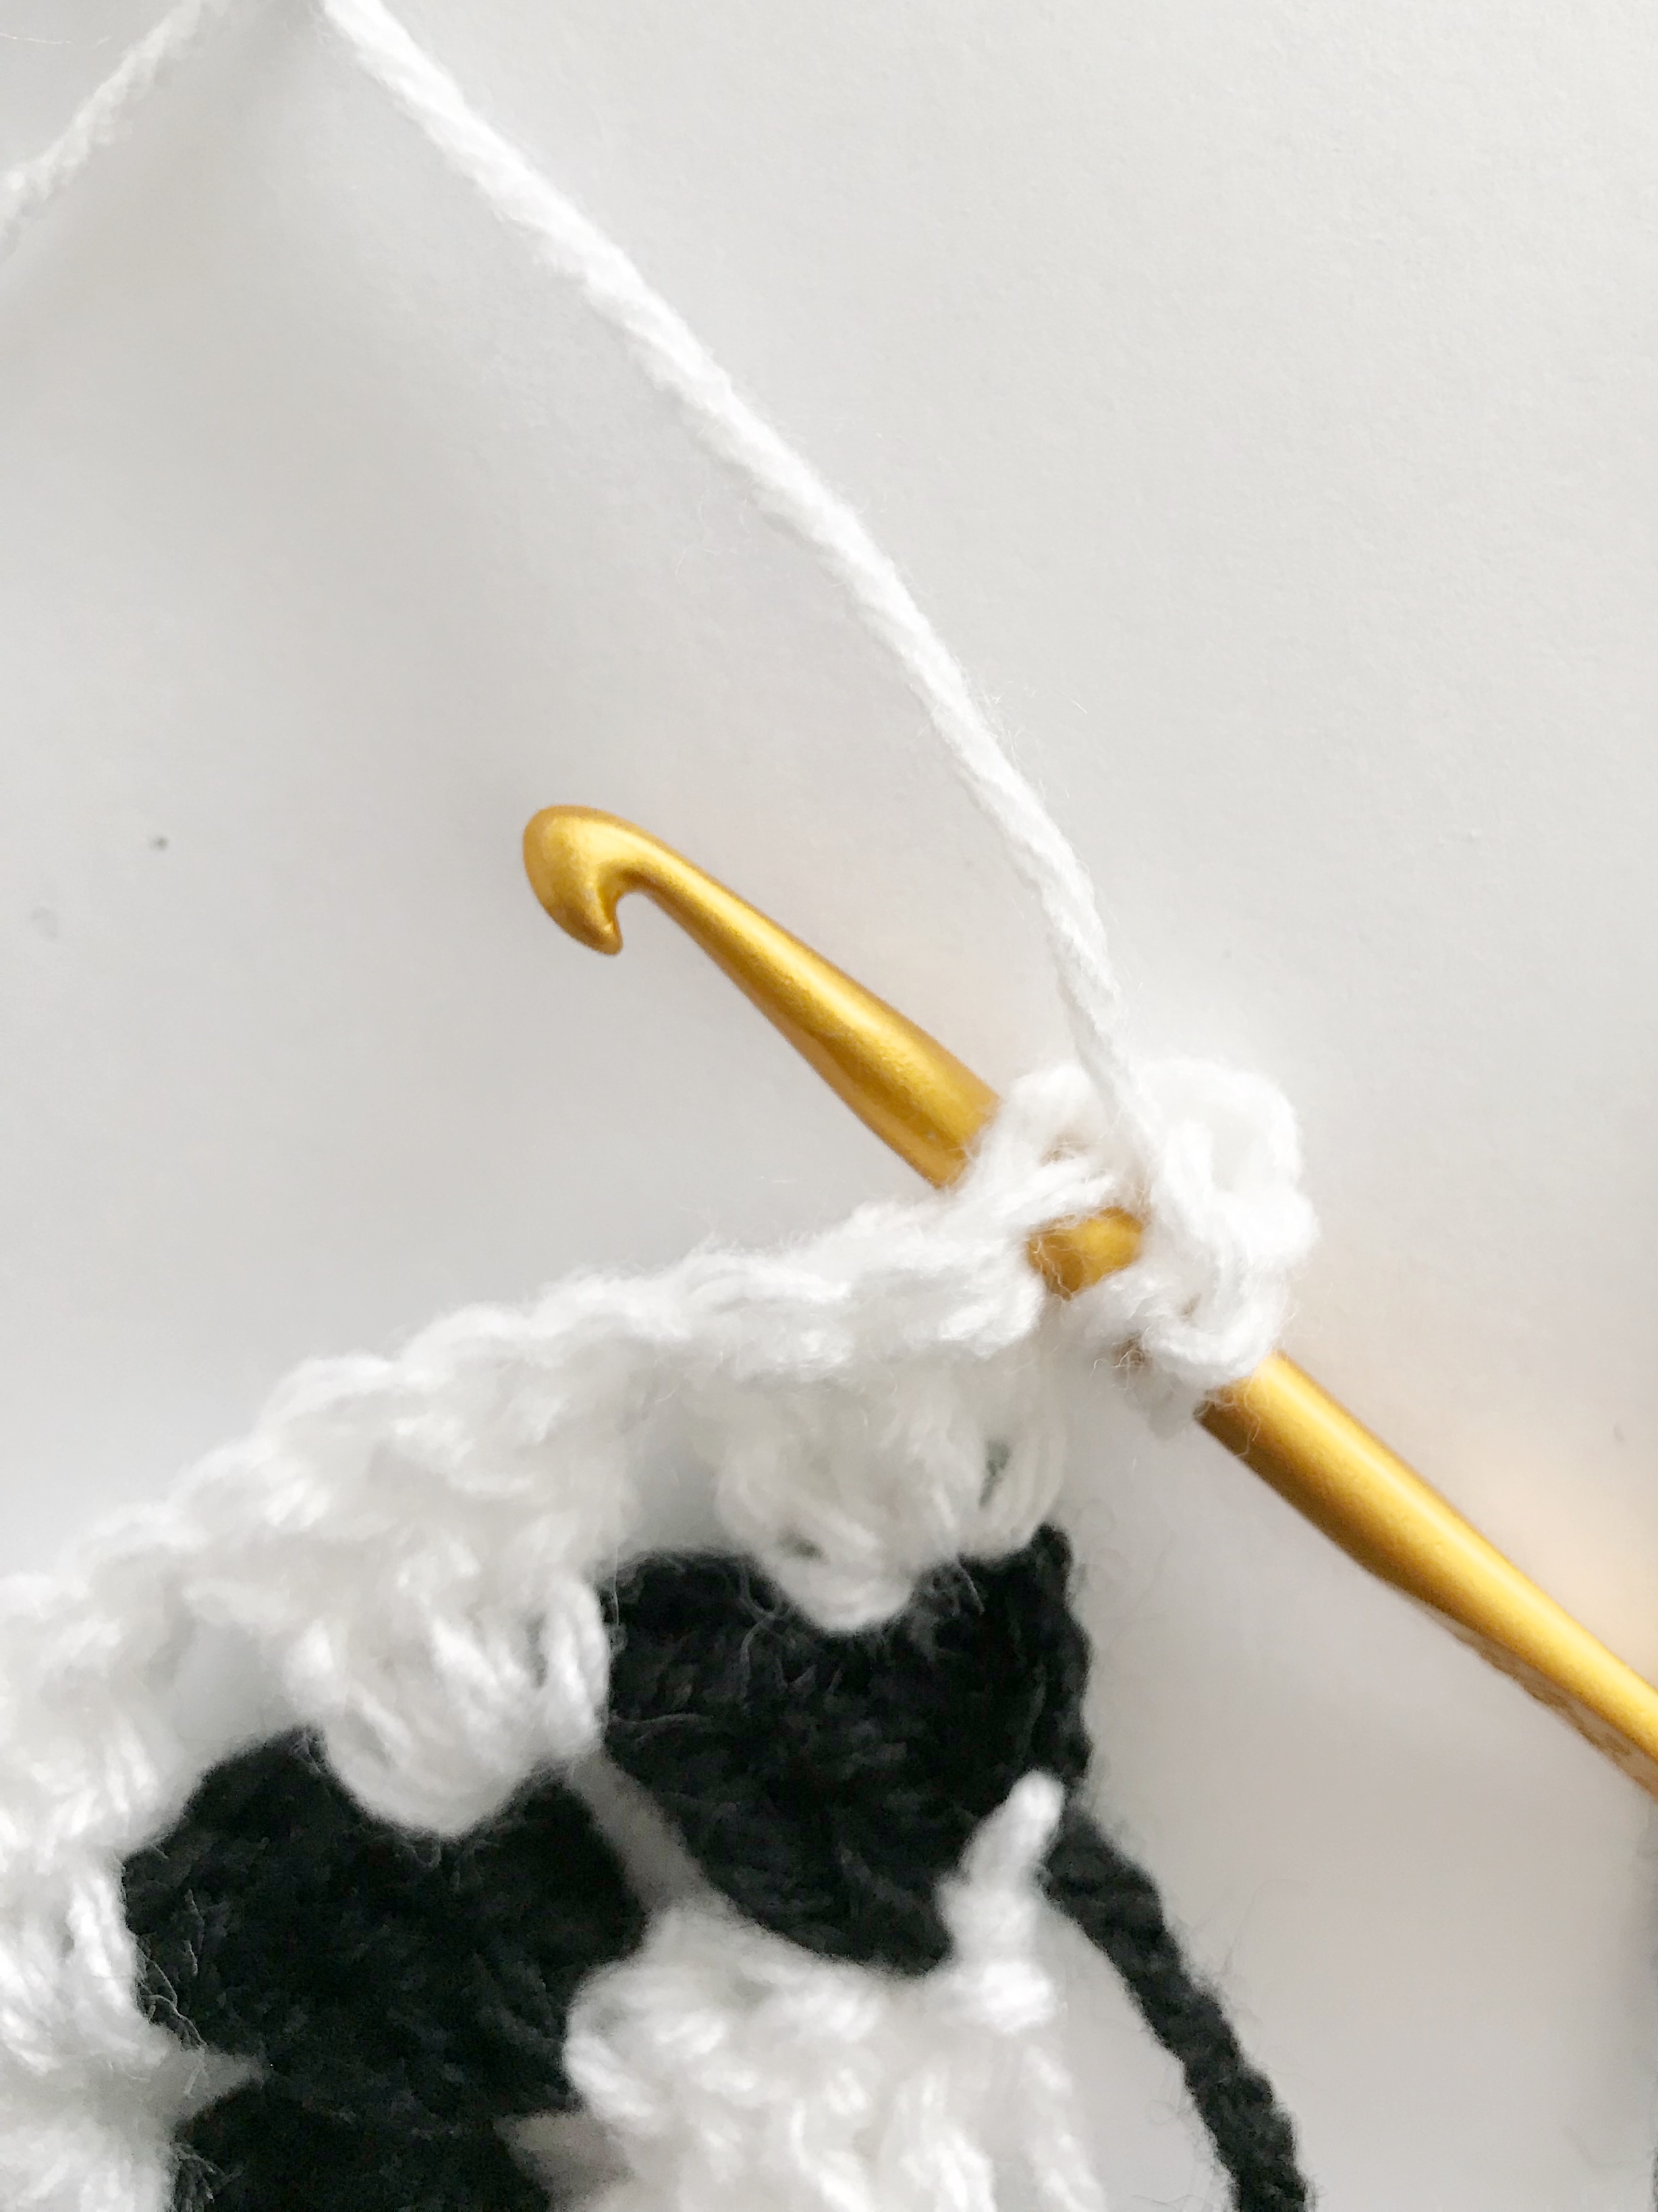
Invisible Join: When changing colors I used an invisible join. At the end of each row attach the new color with a sl st, ch3 then pull the previous row’s color tight to create an invisible join. There may be a slight break in color, but you can cover this break when you weave in your ends.
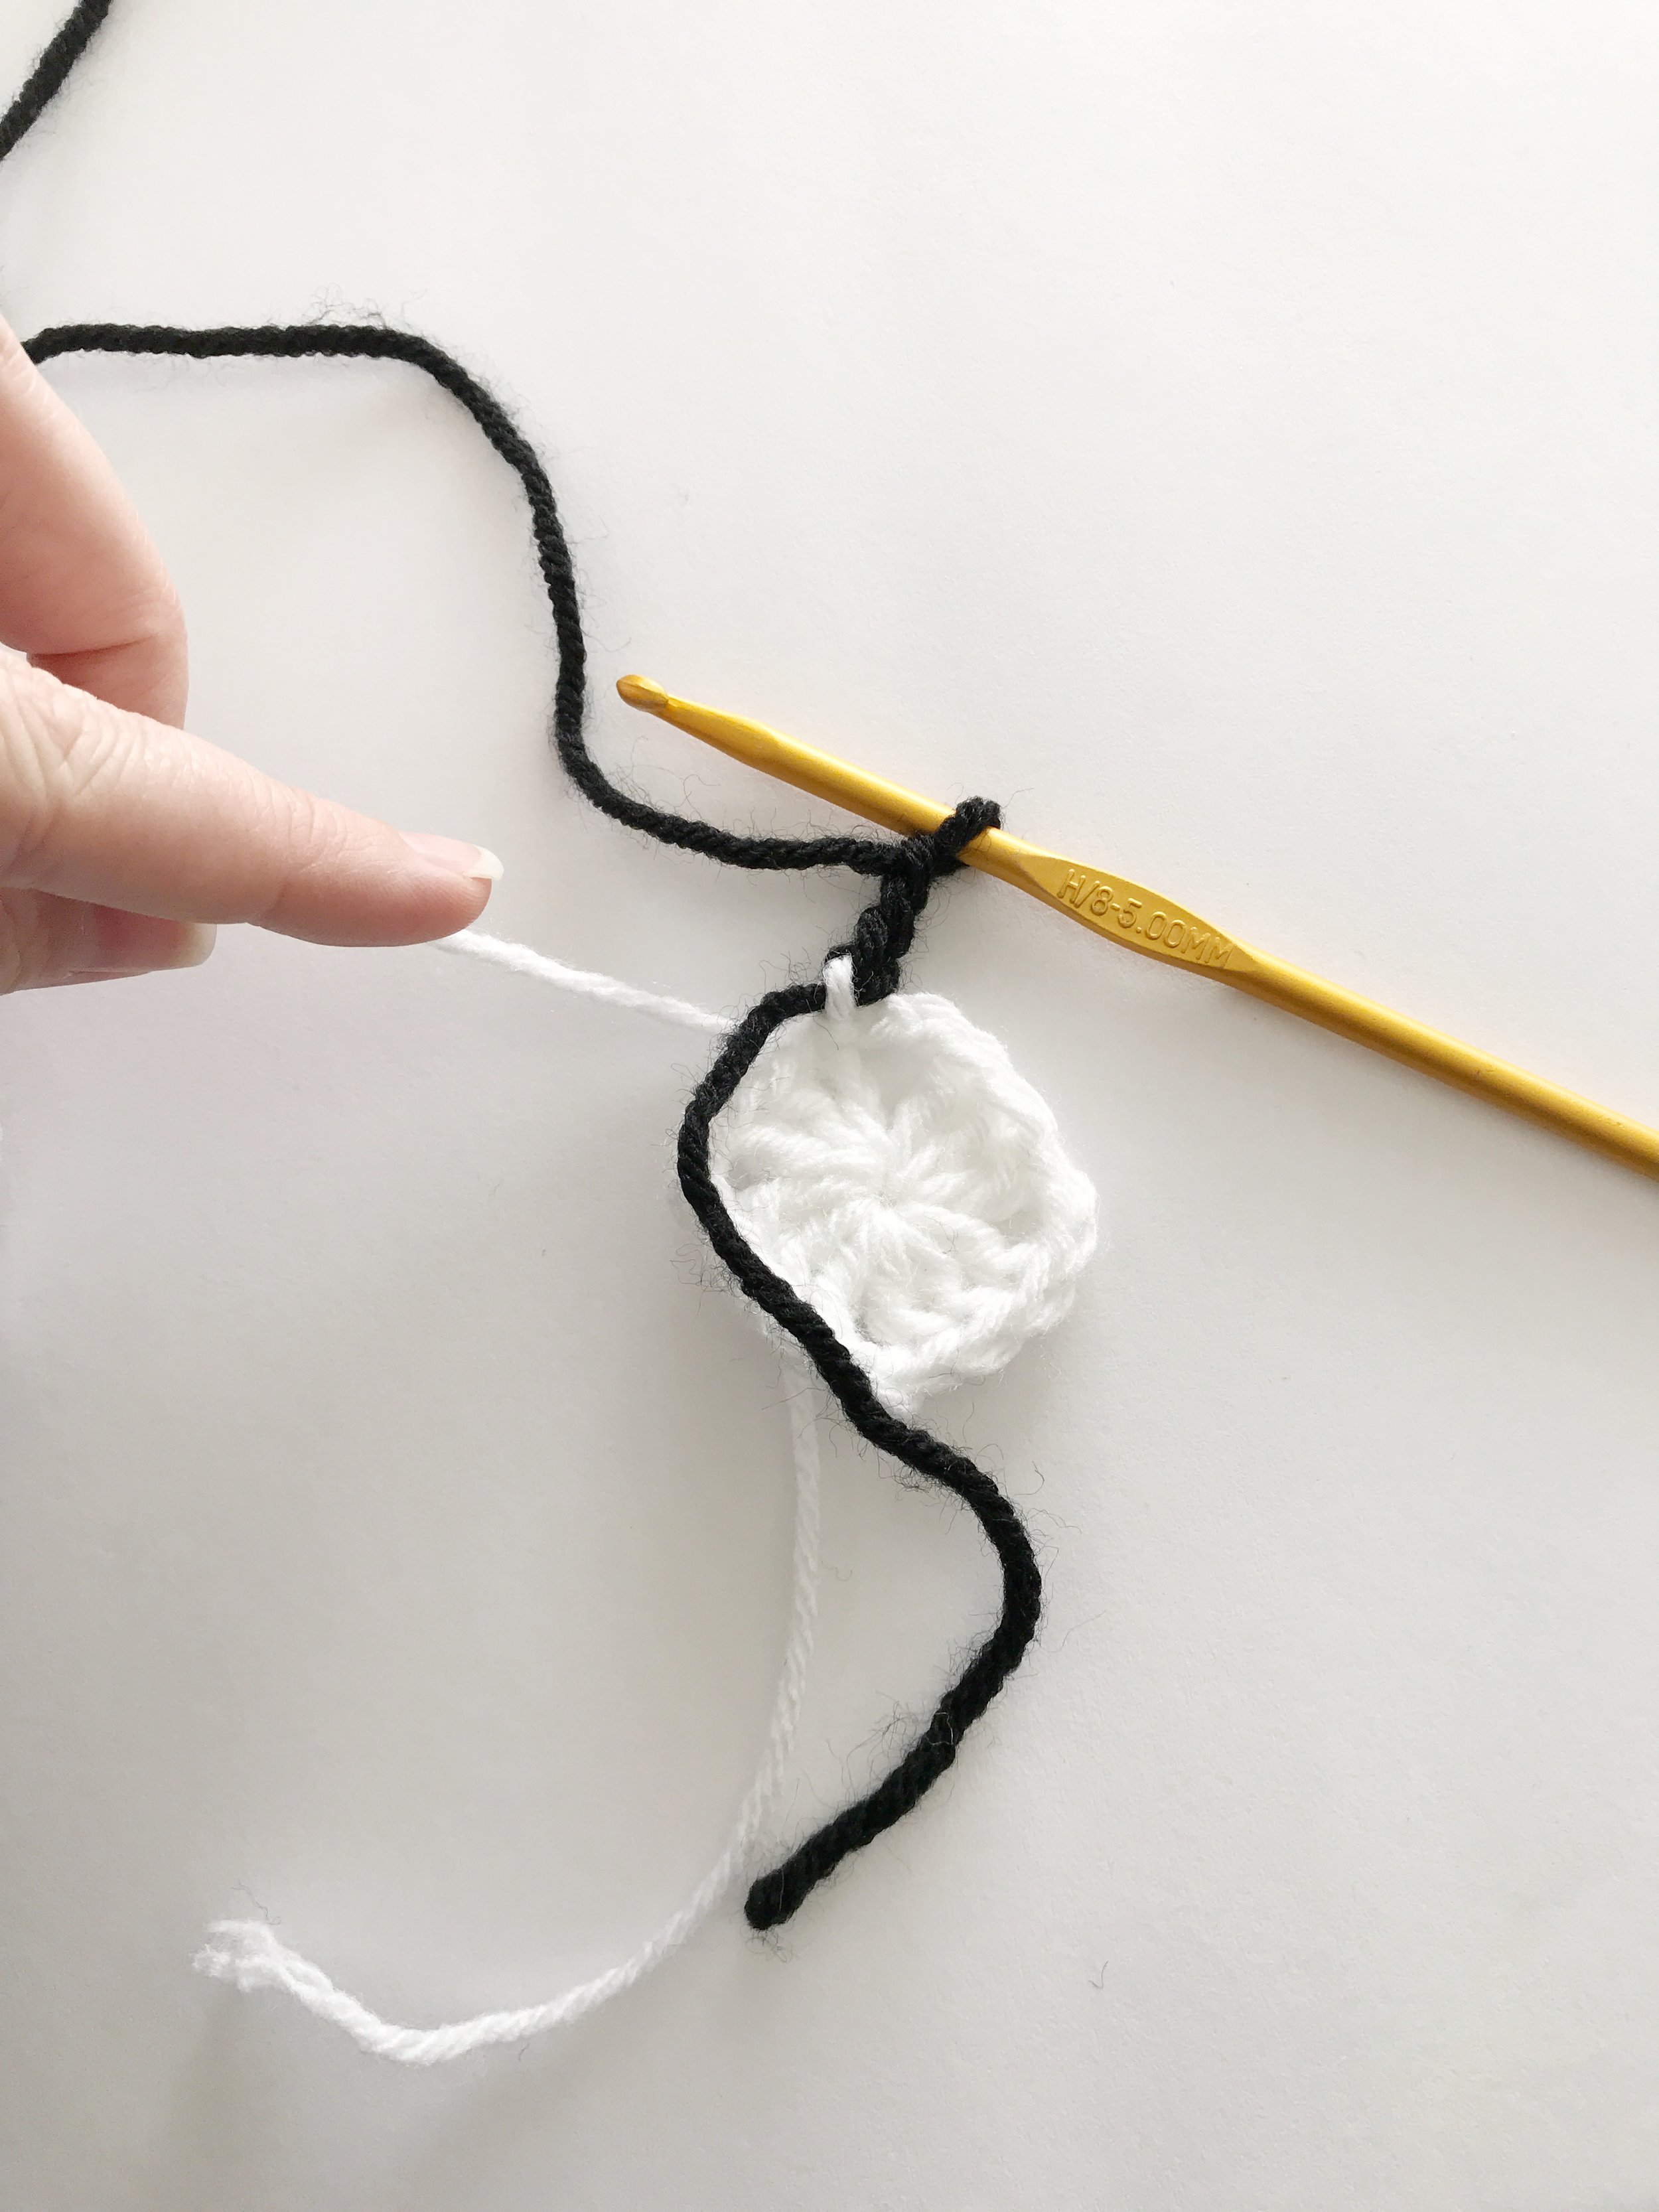
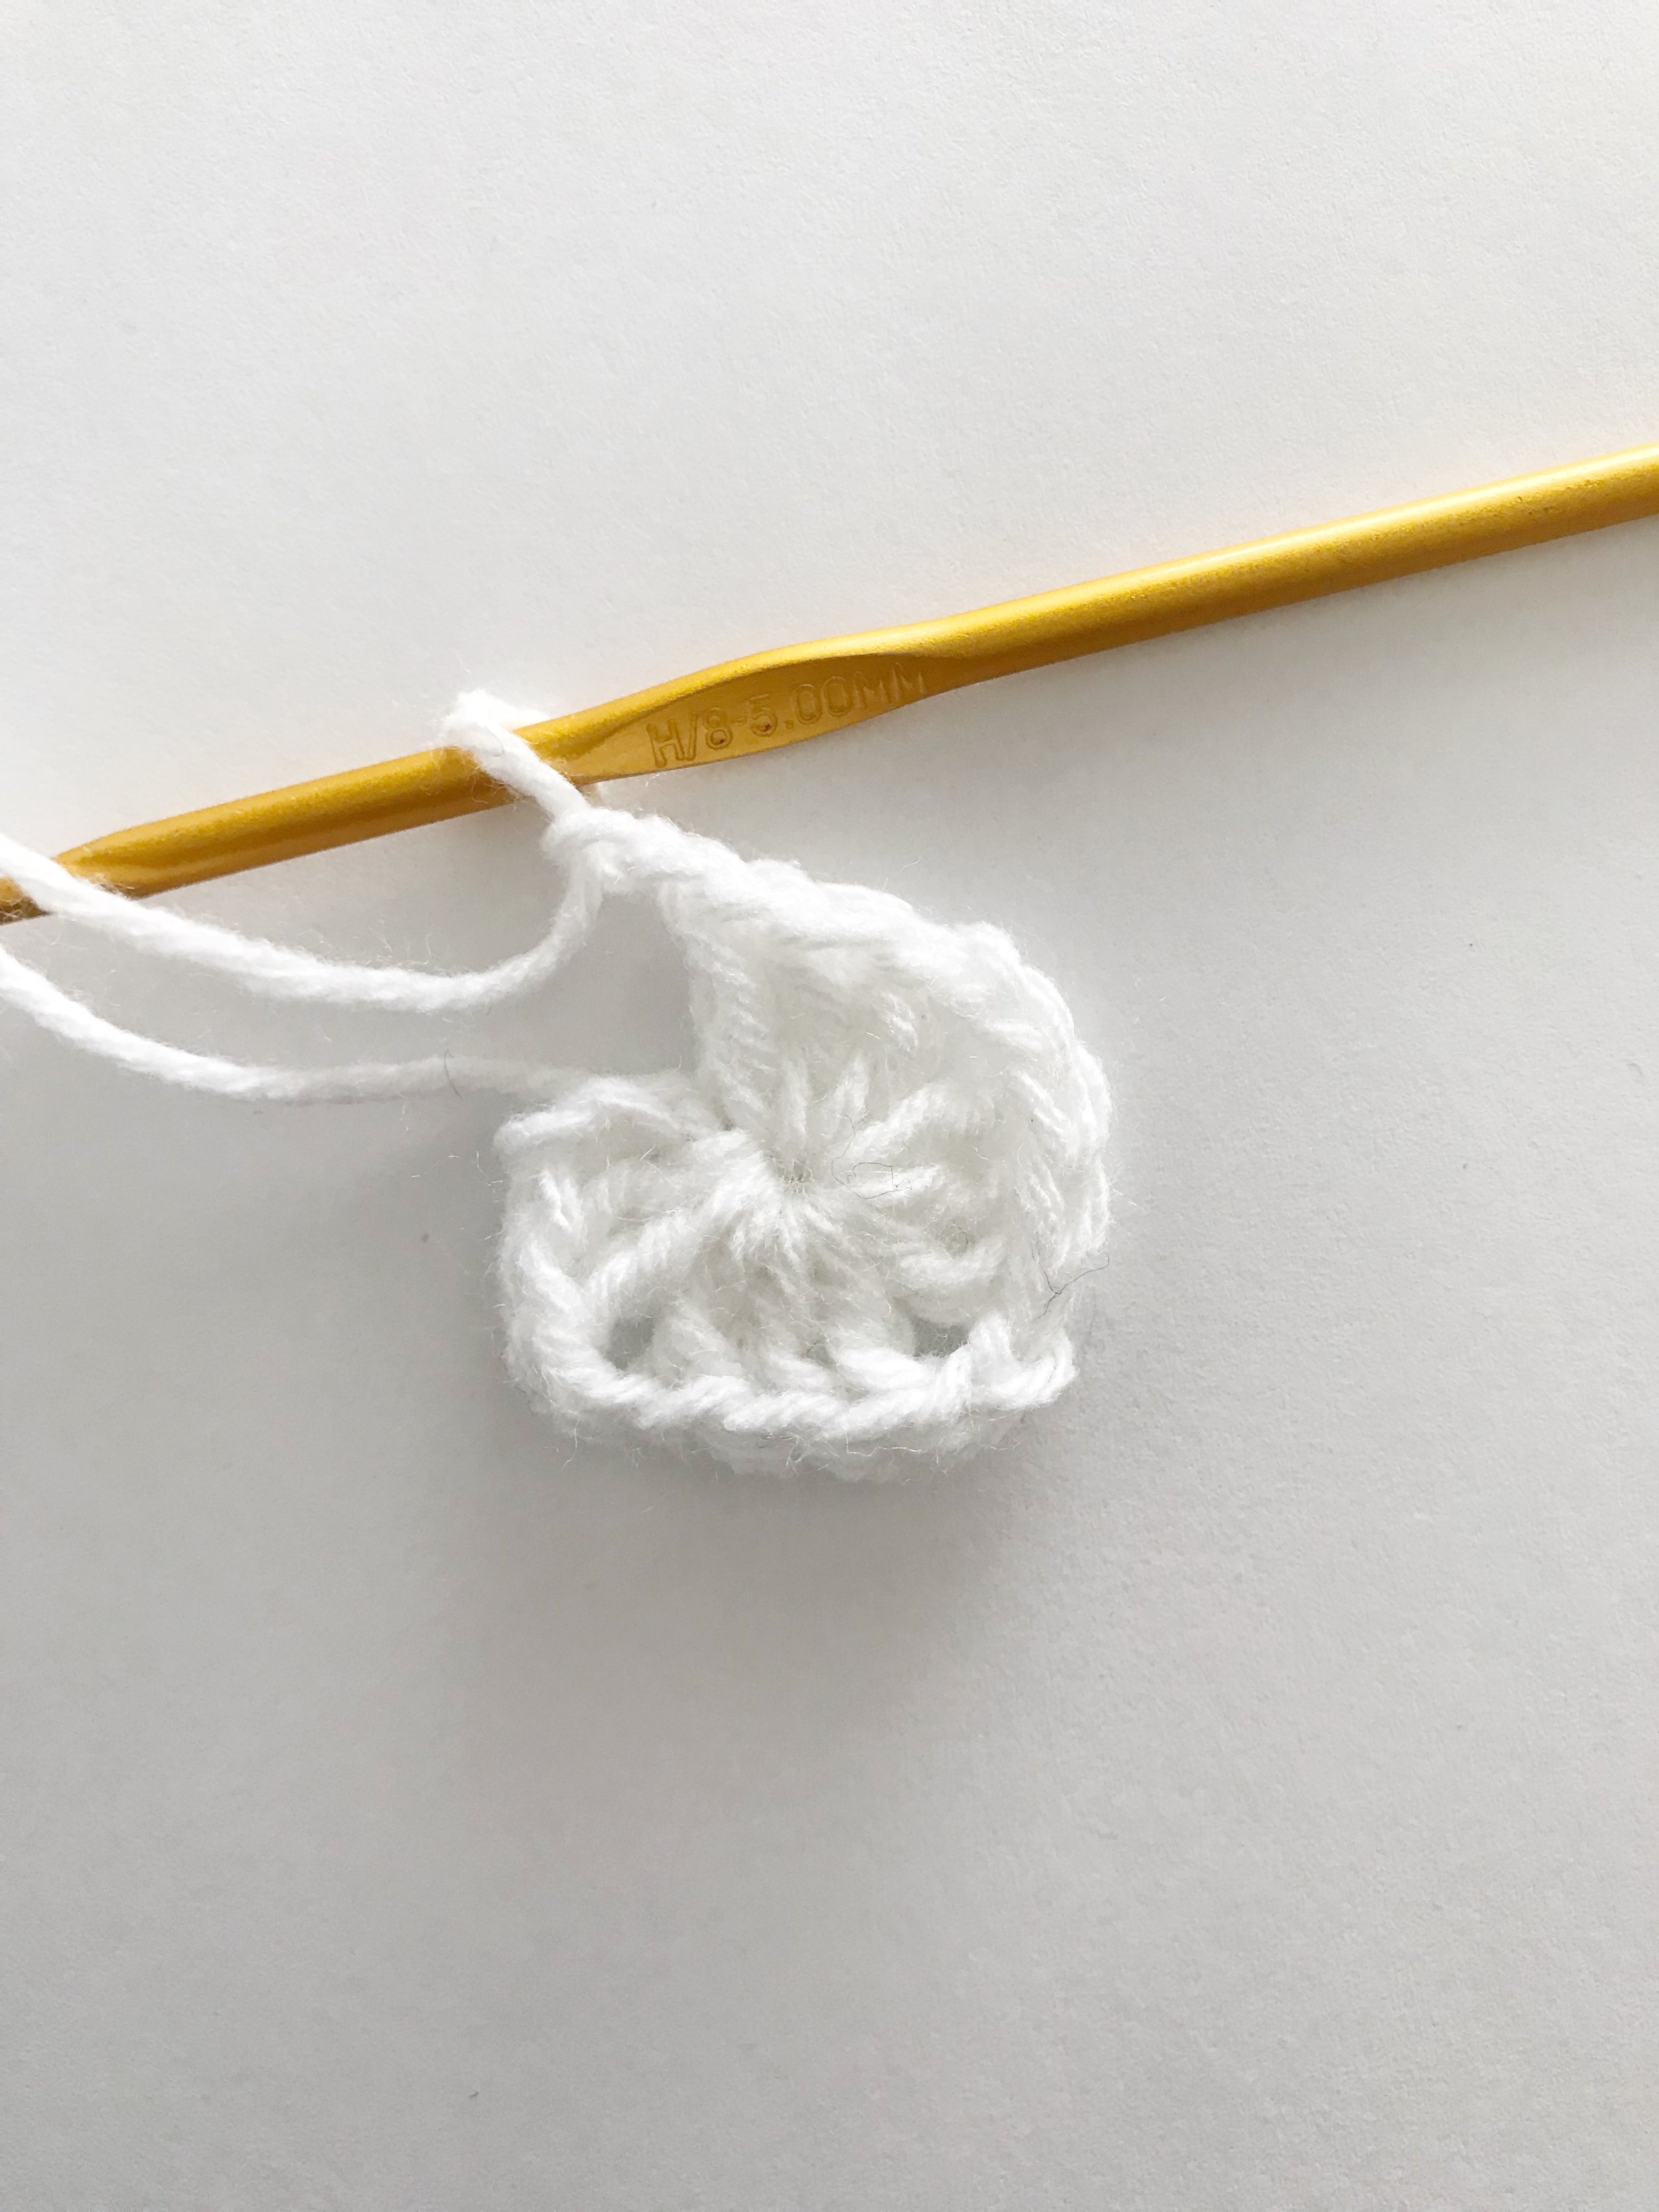
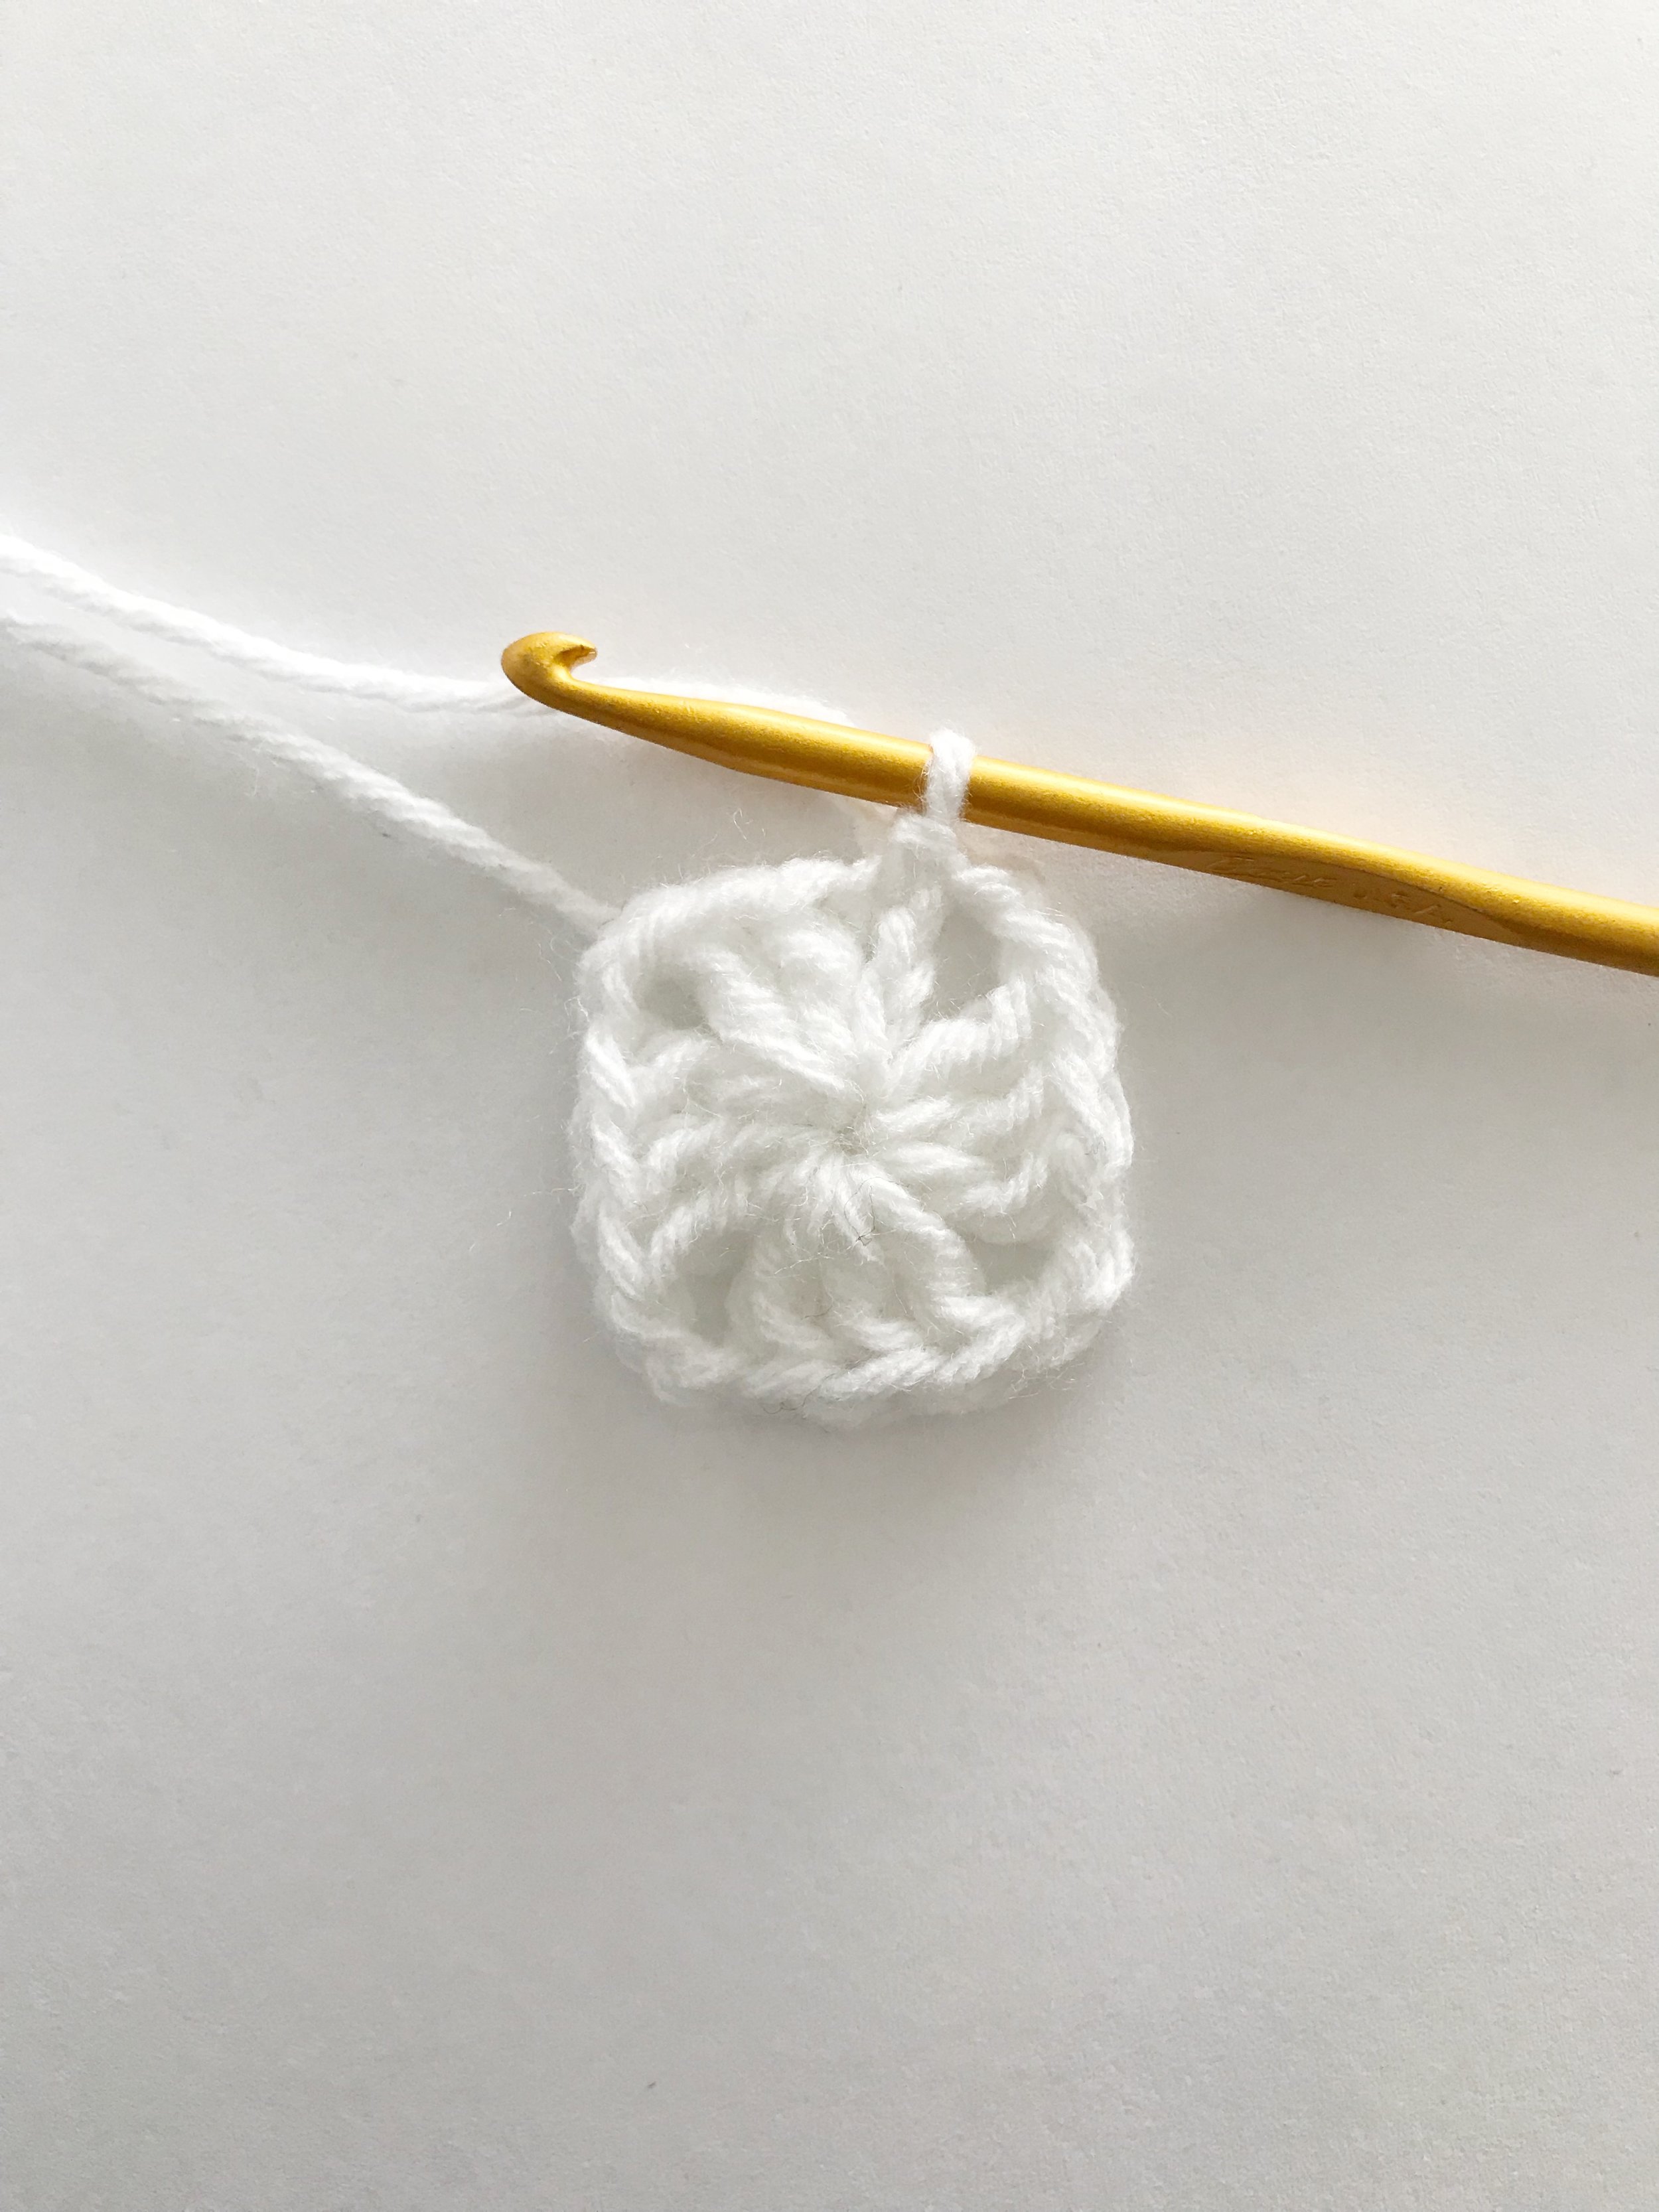
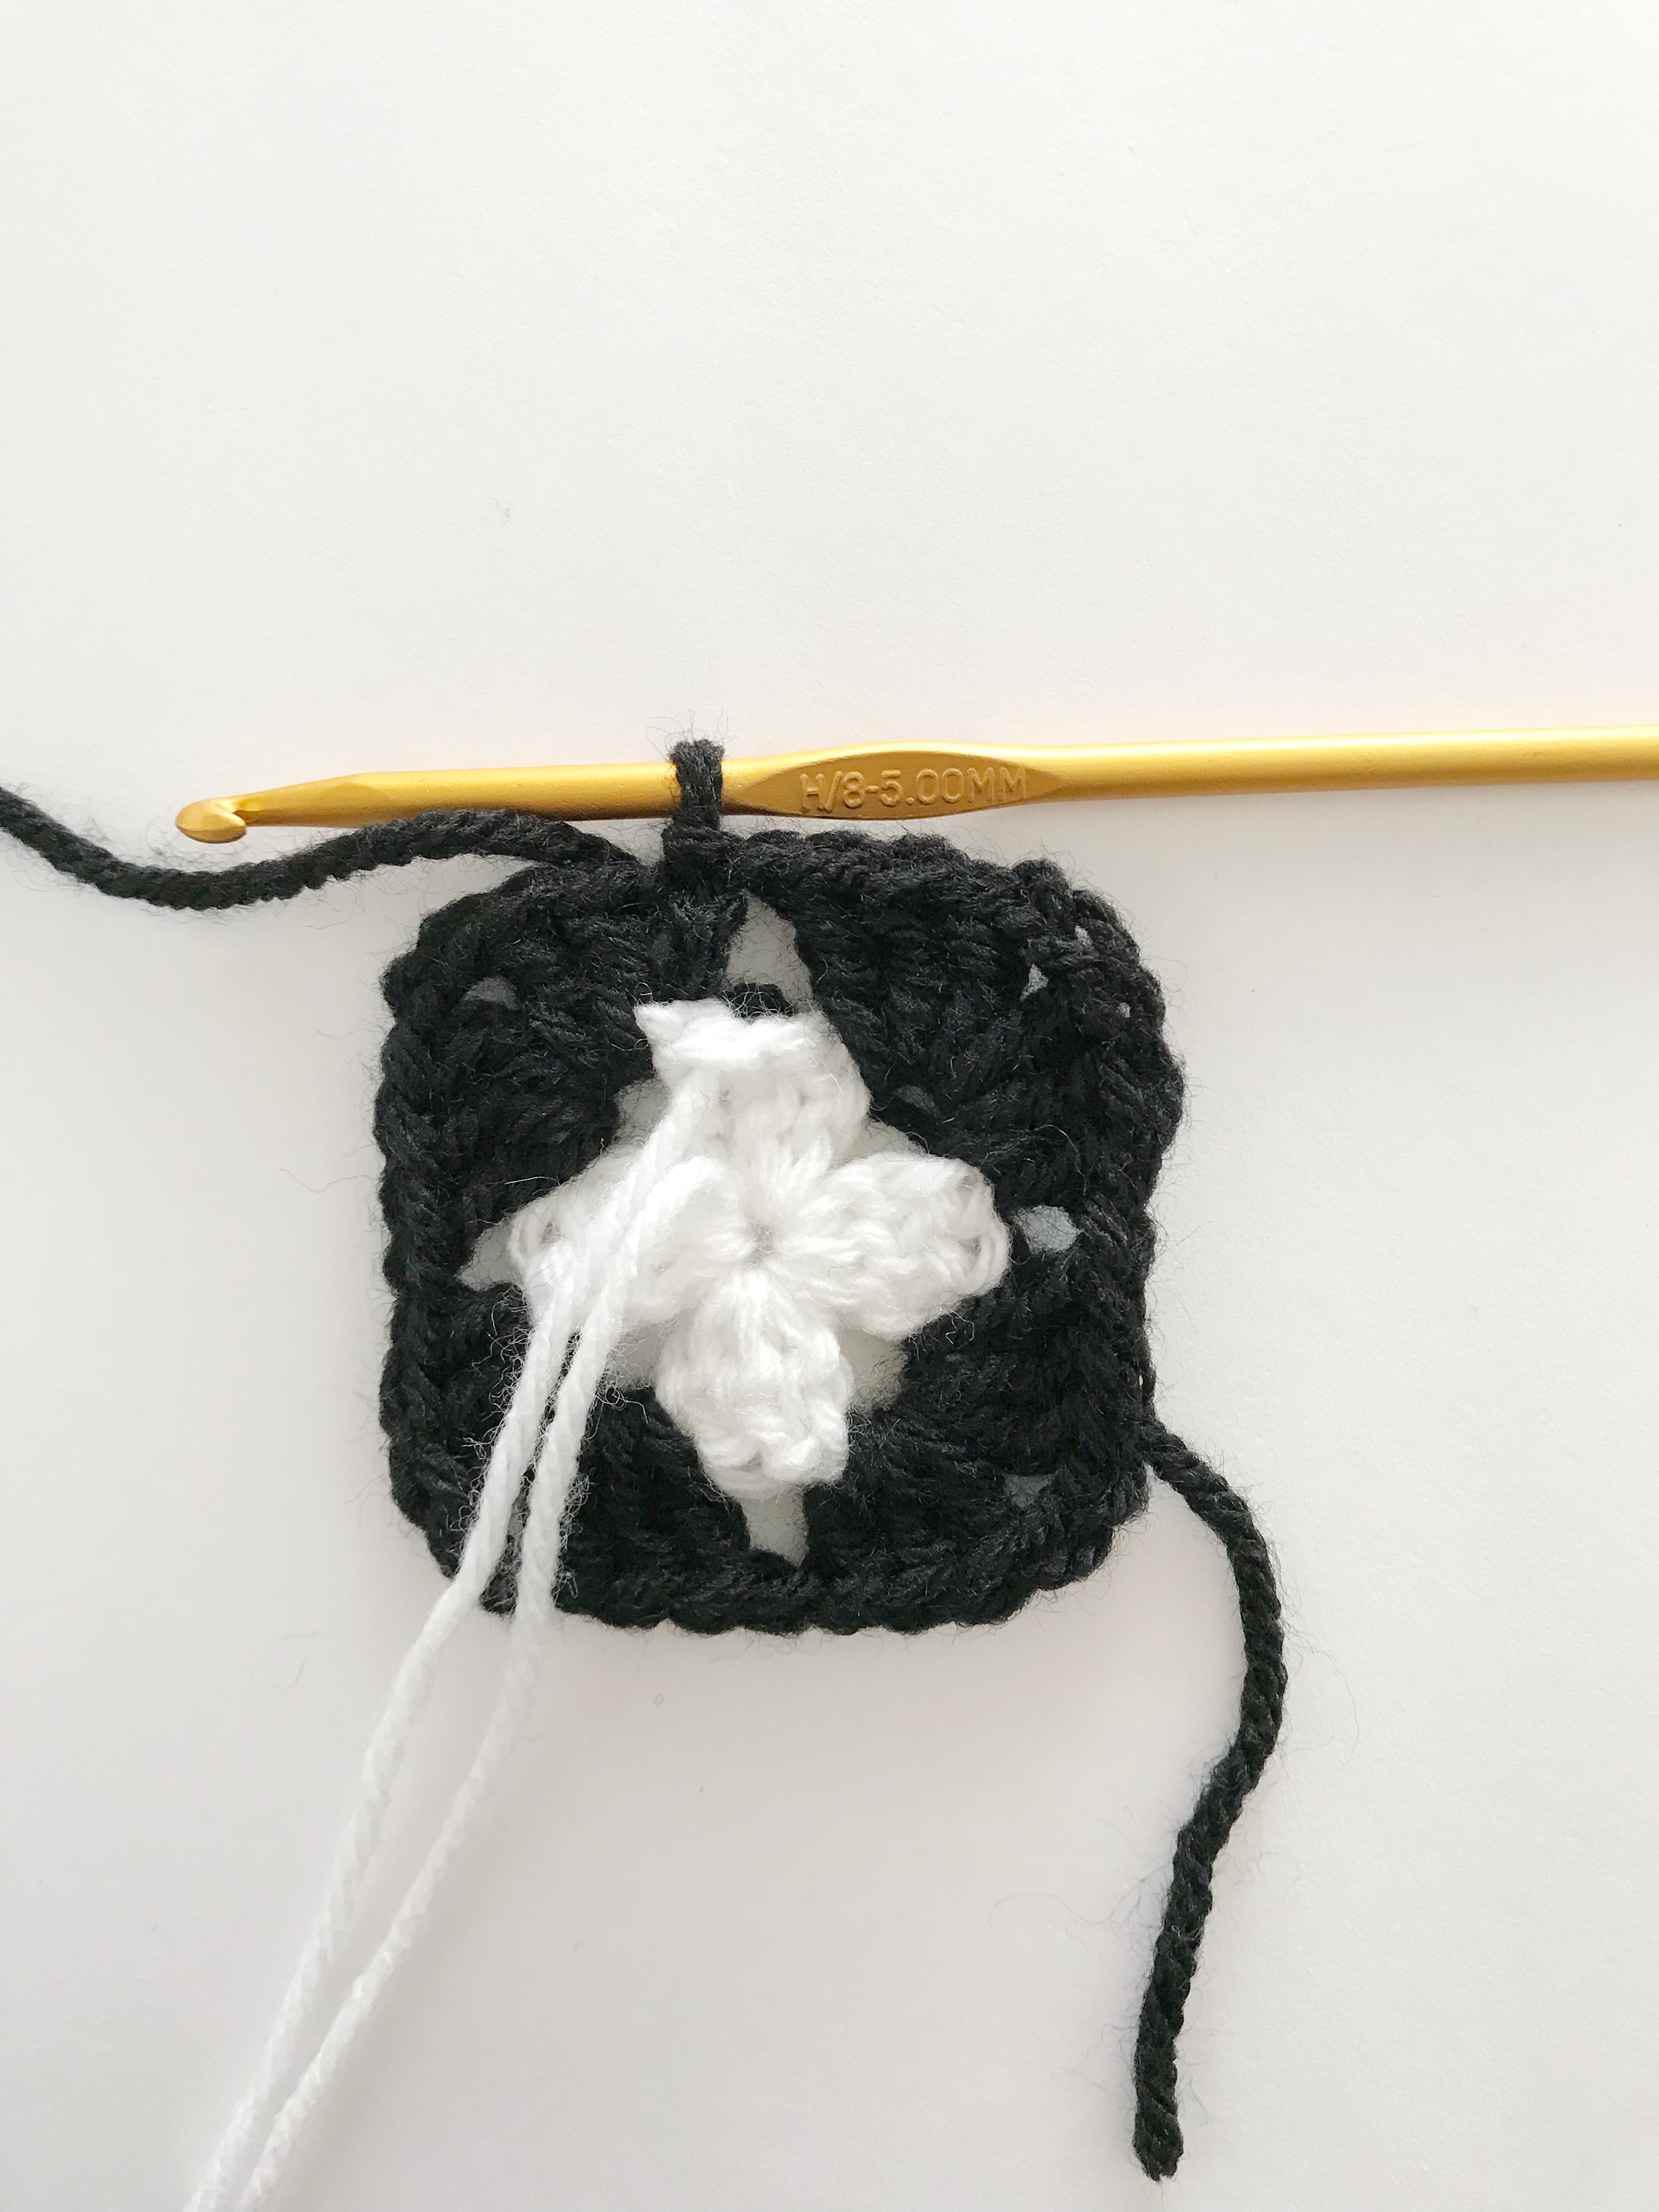
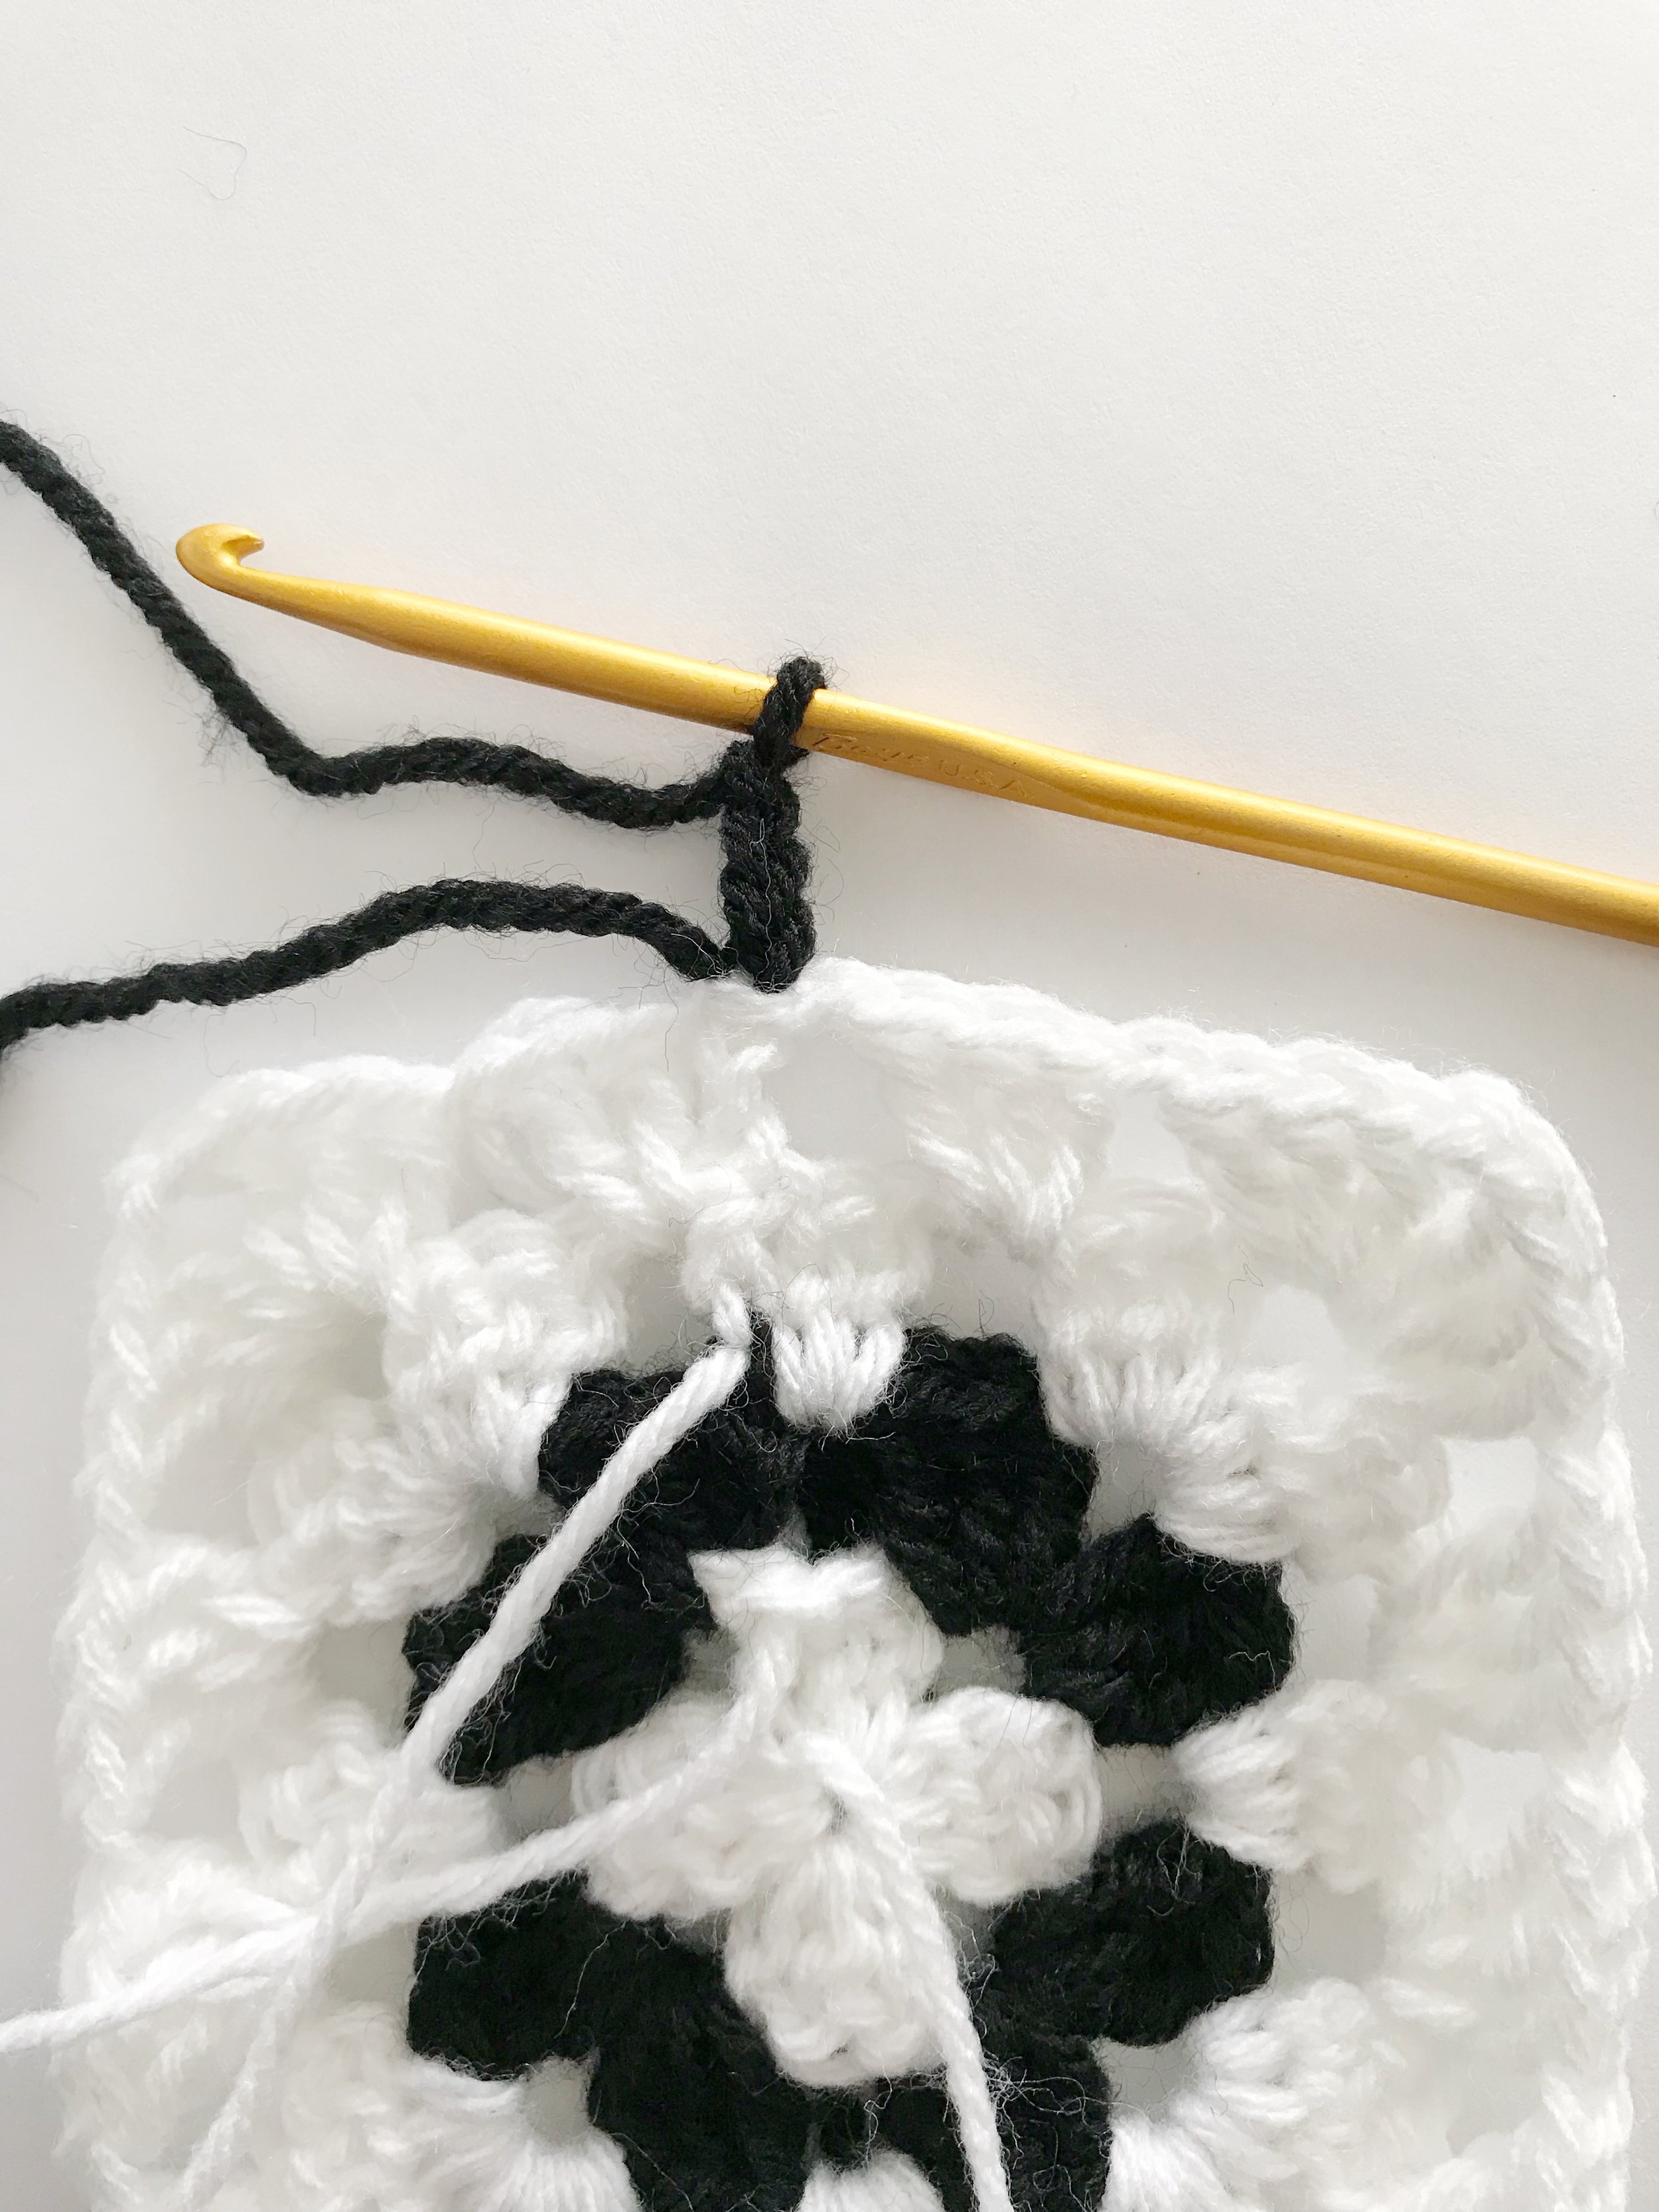
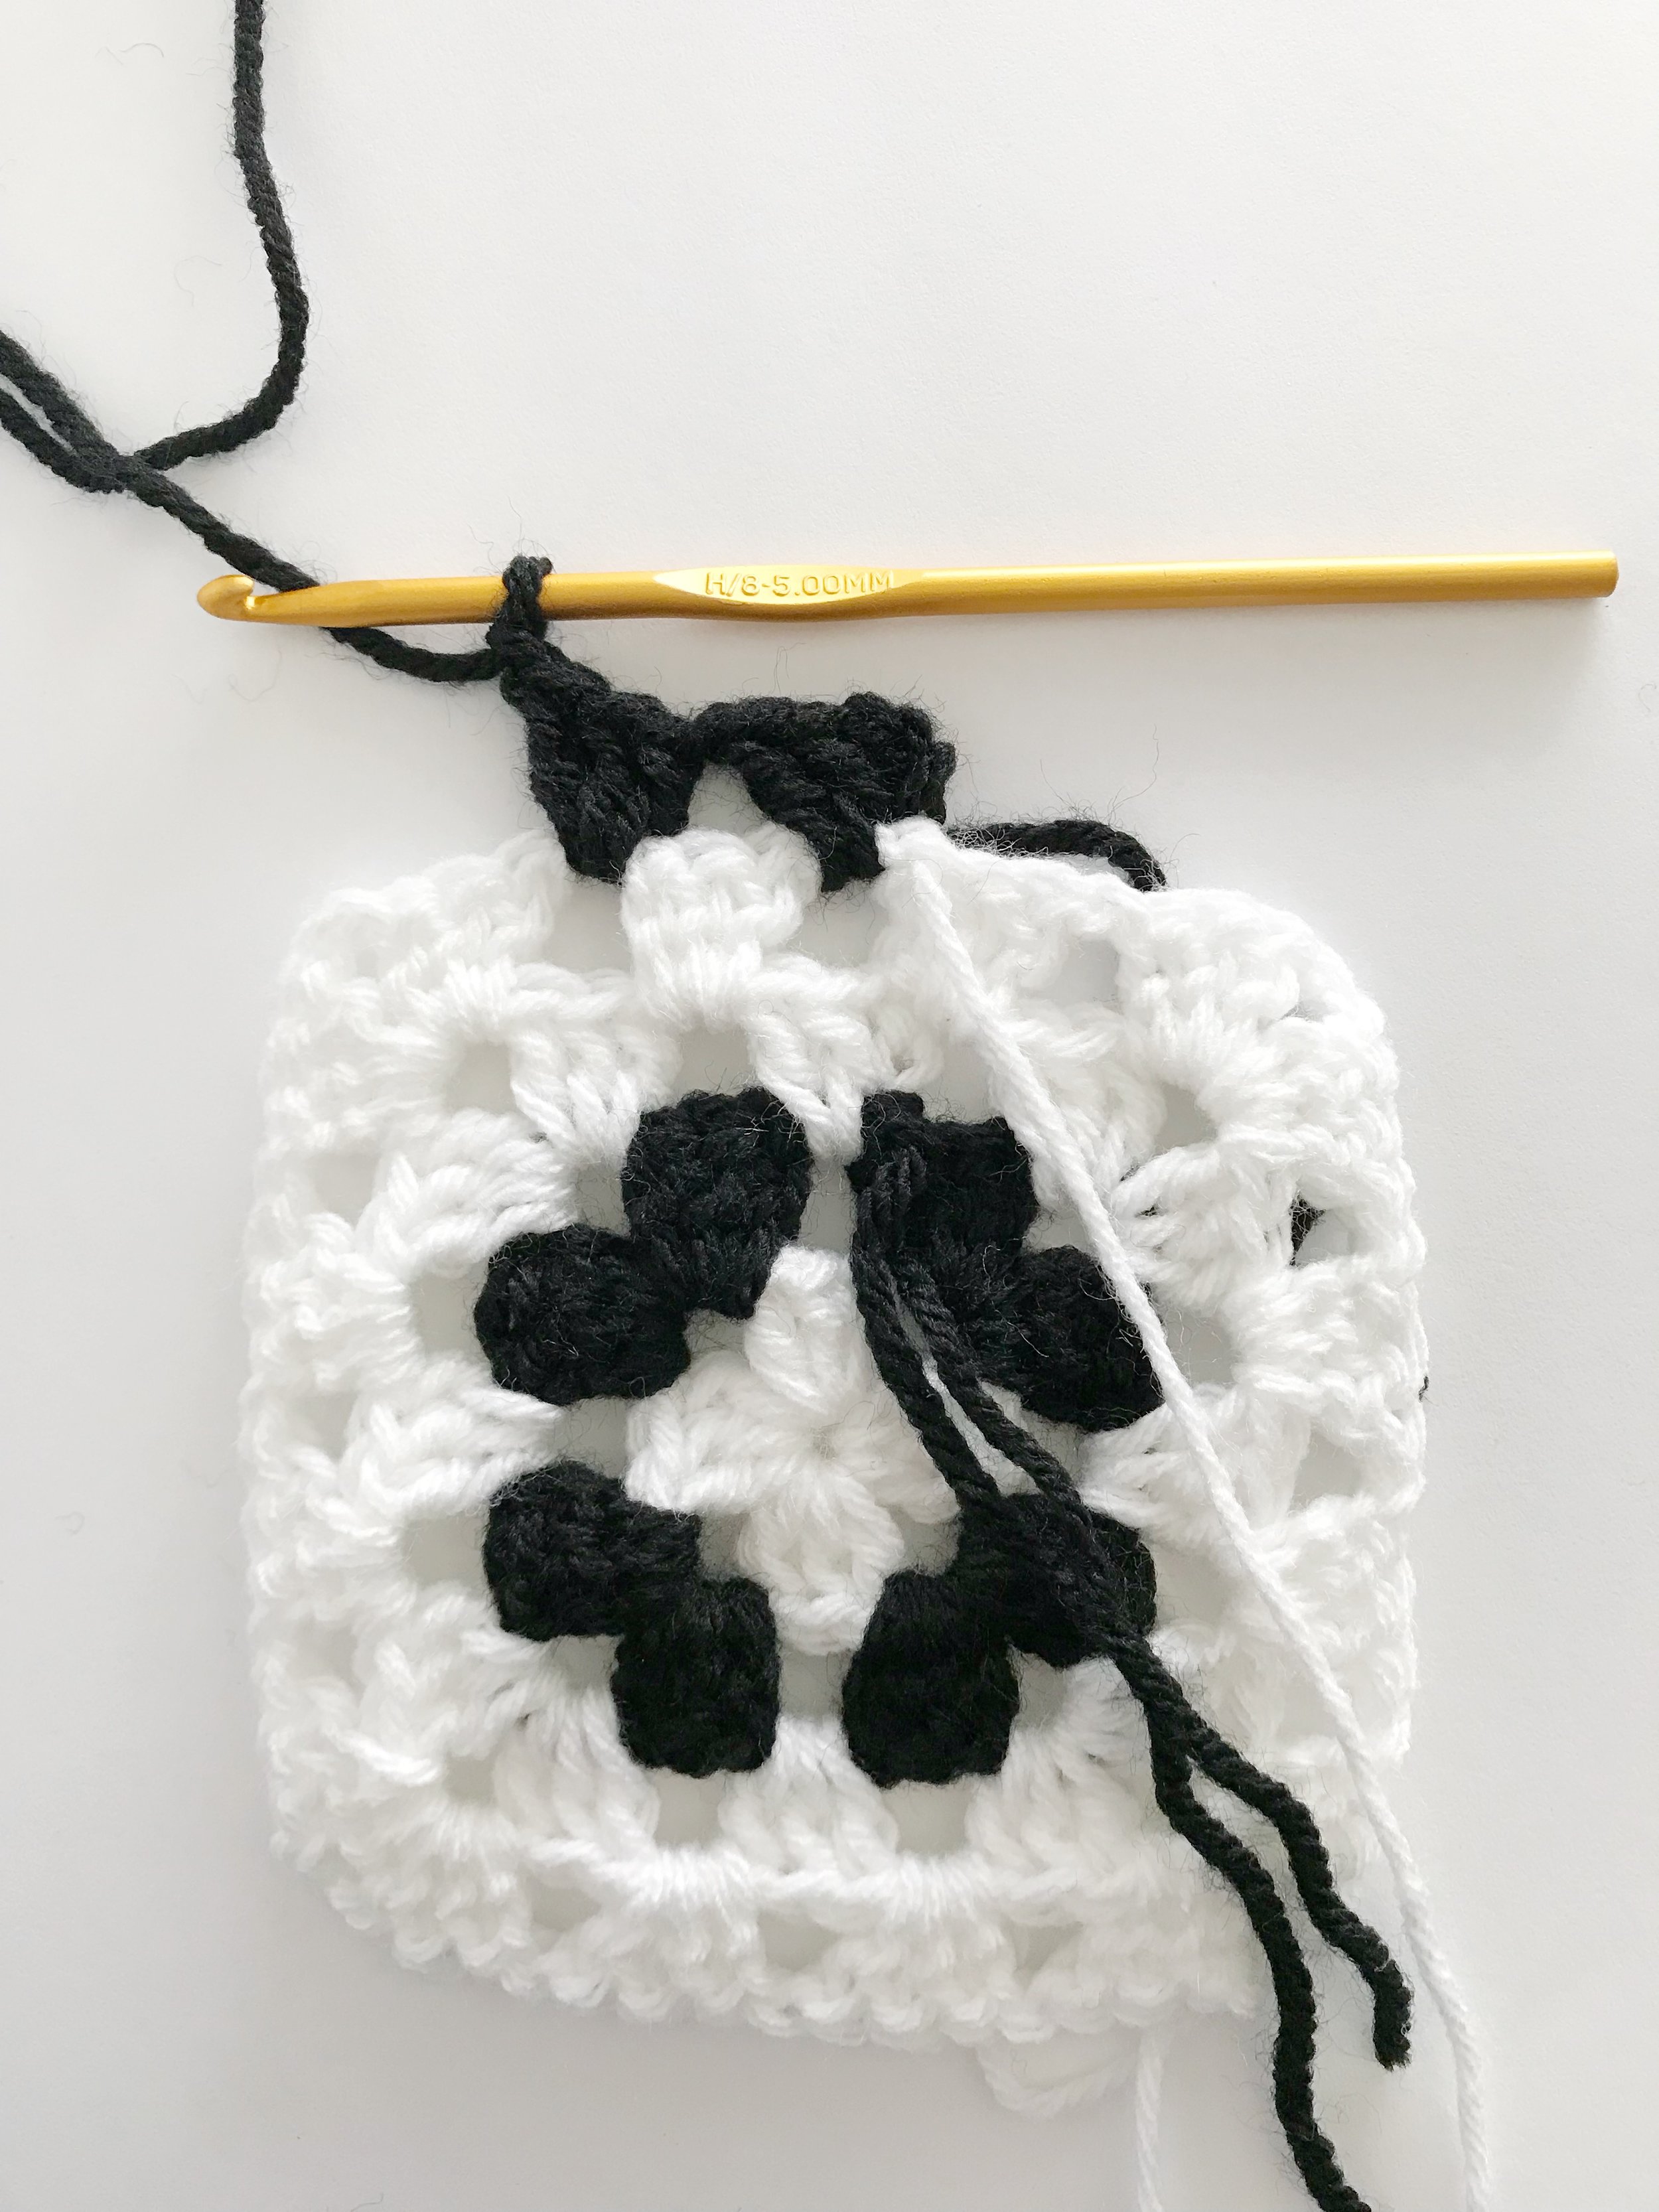
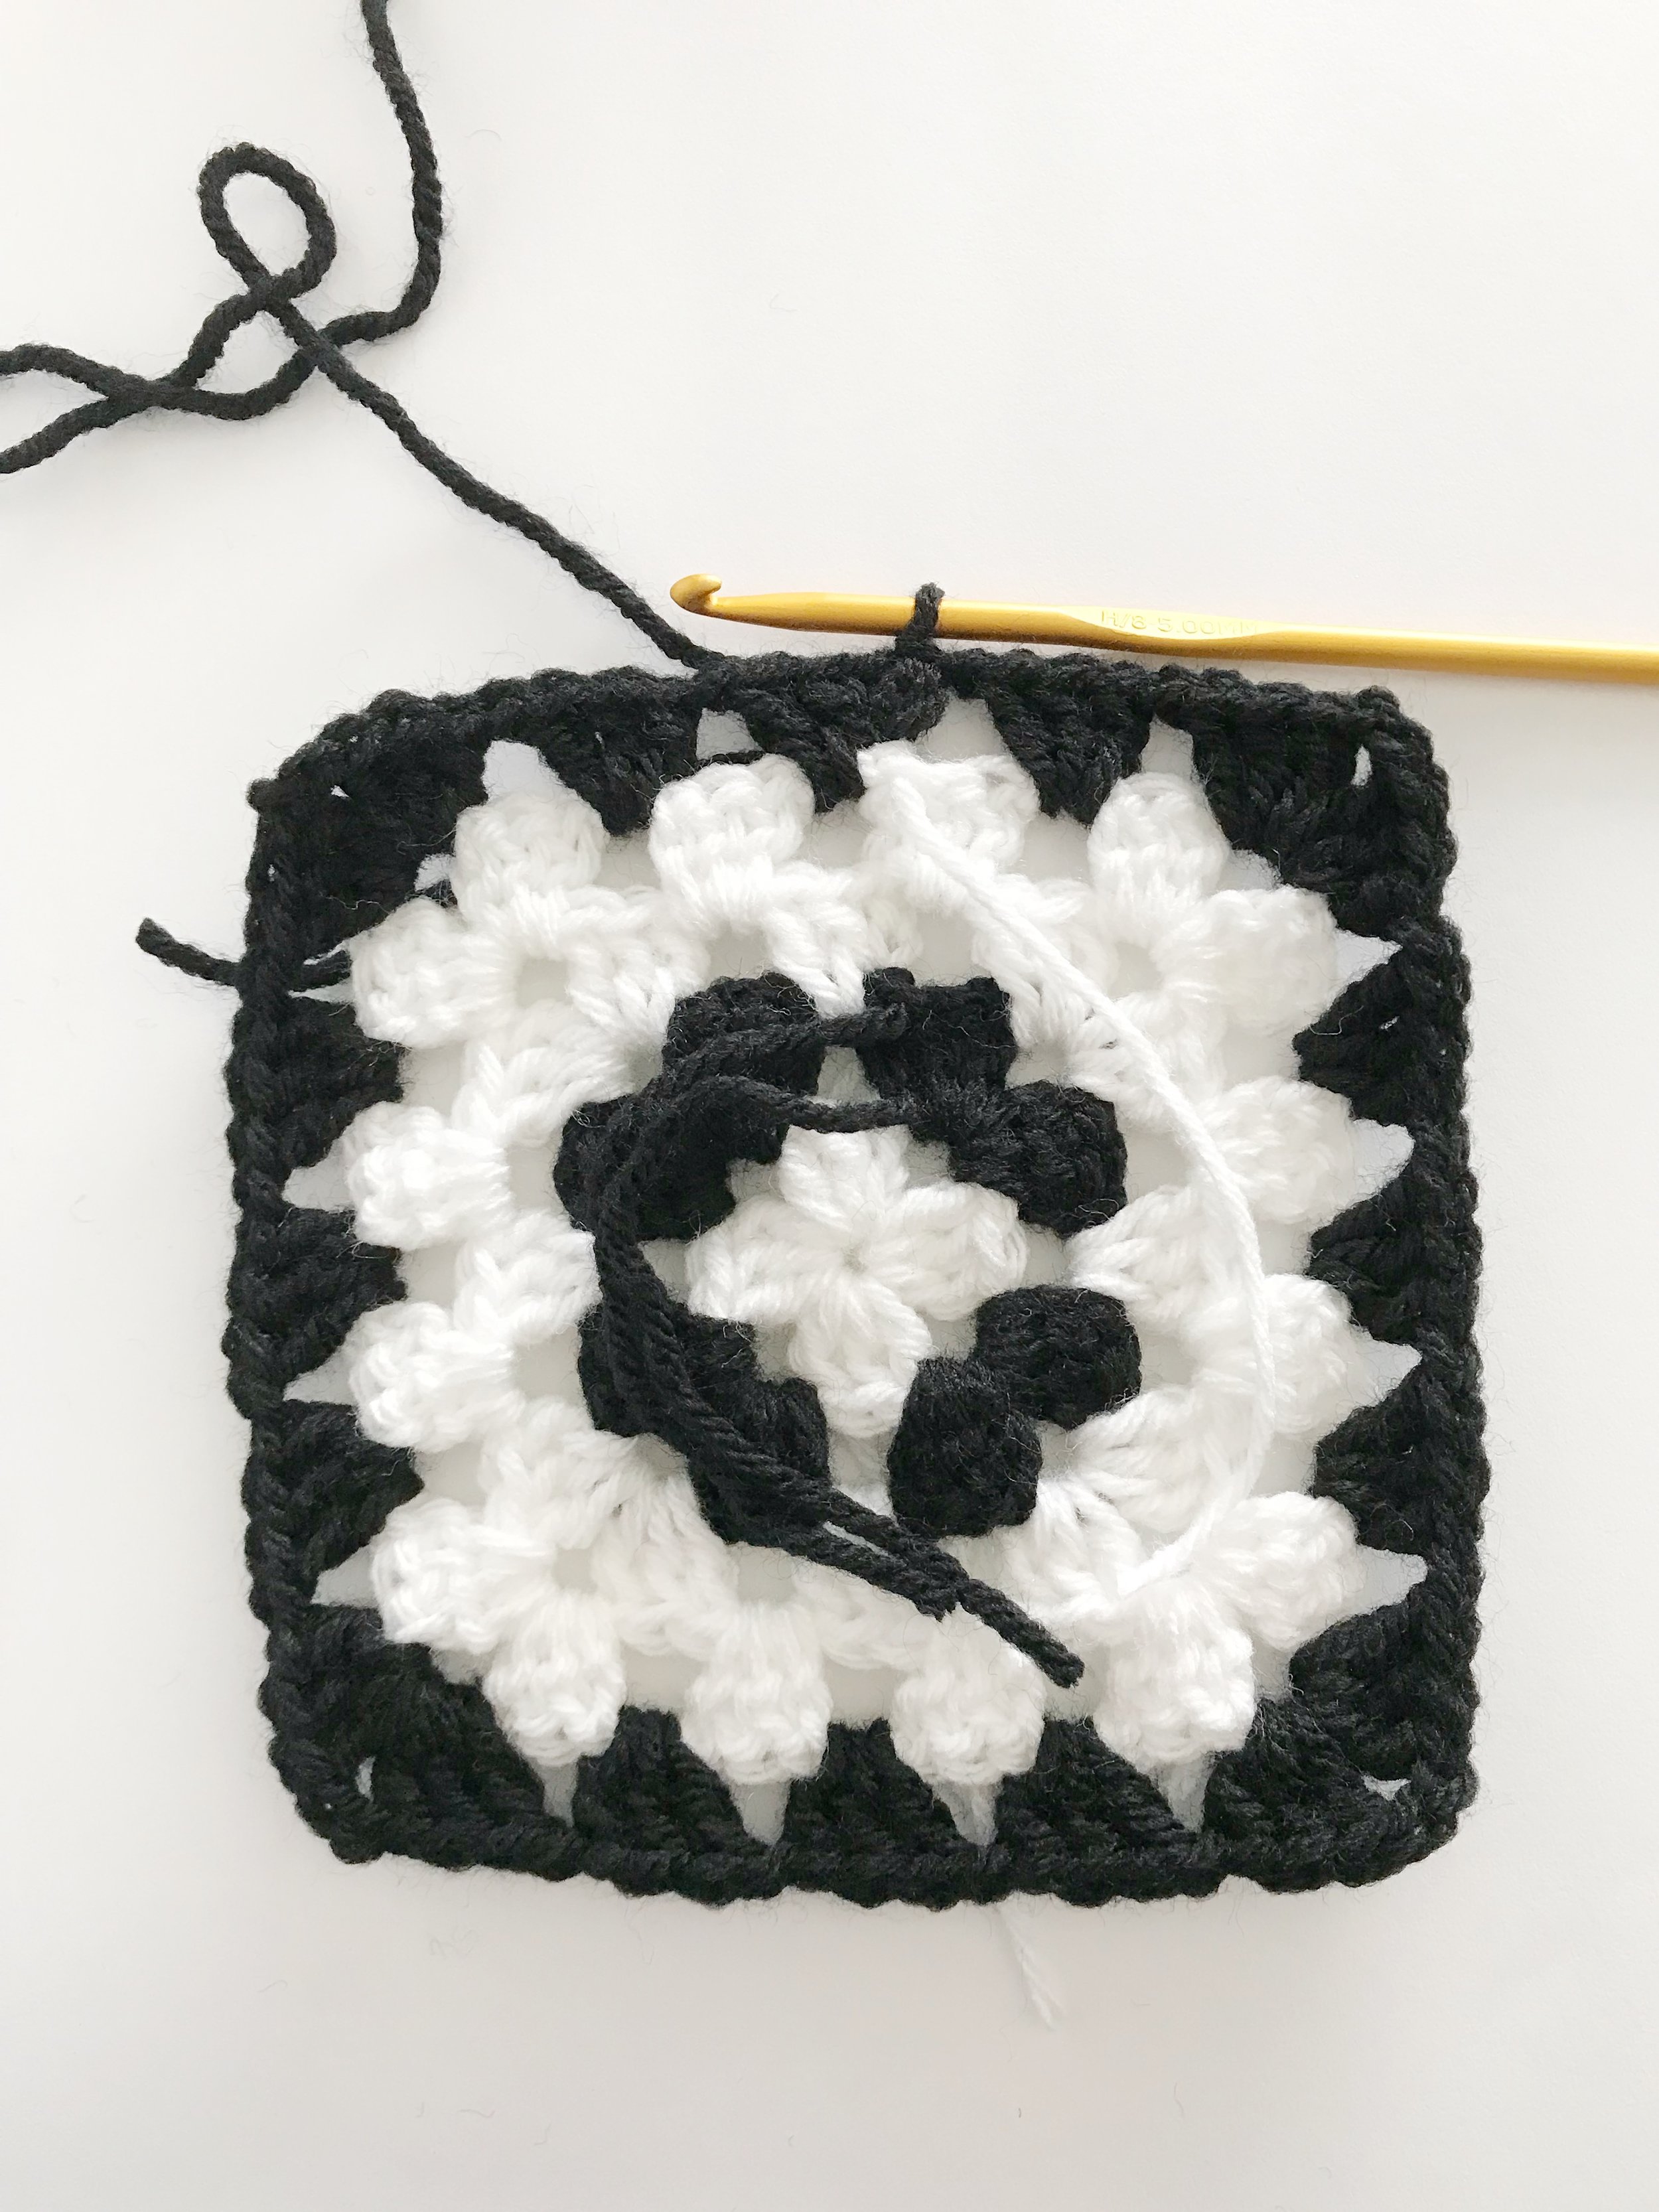
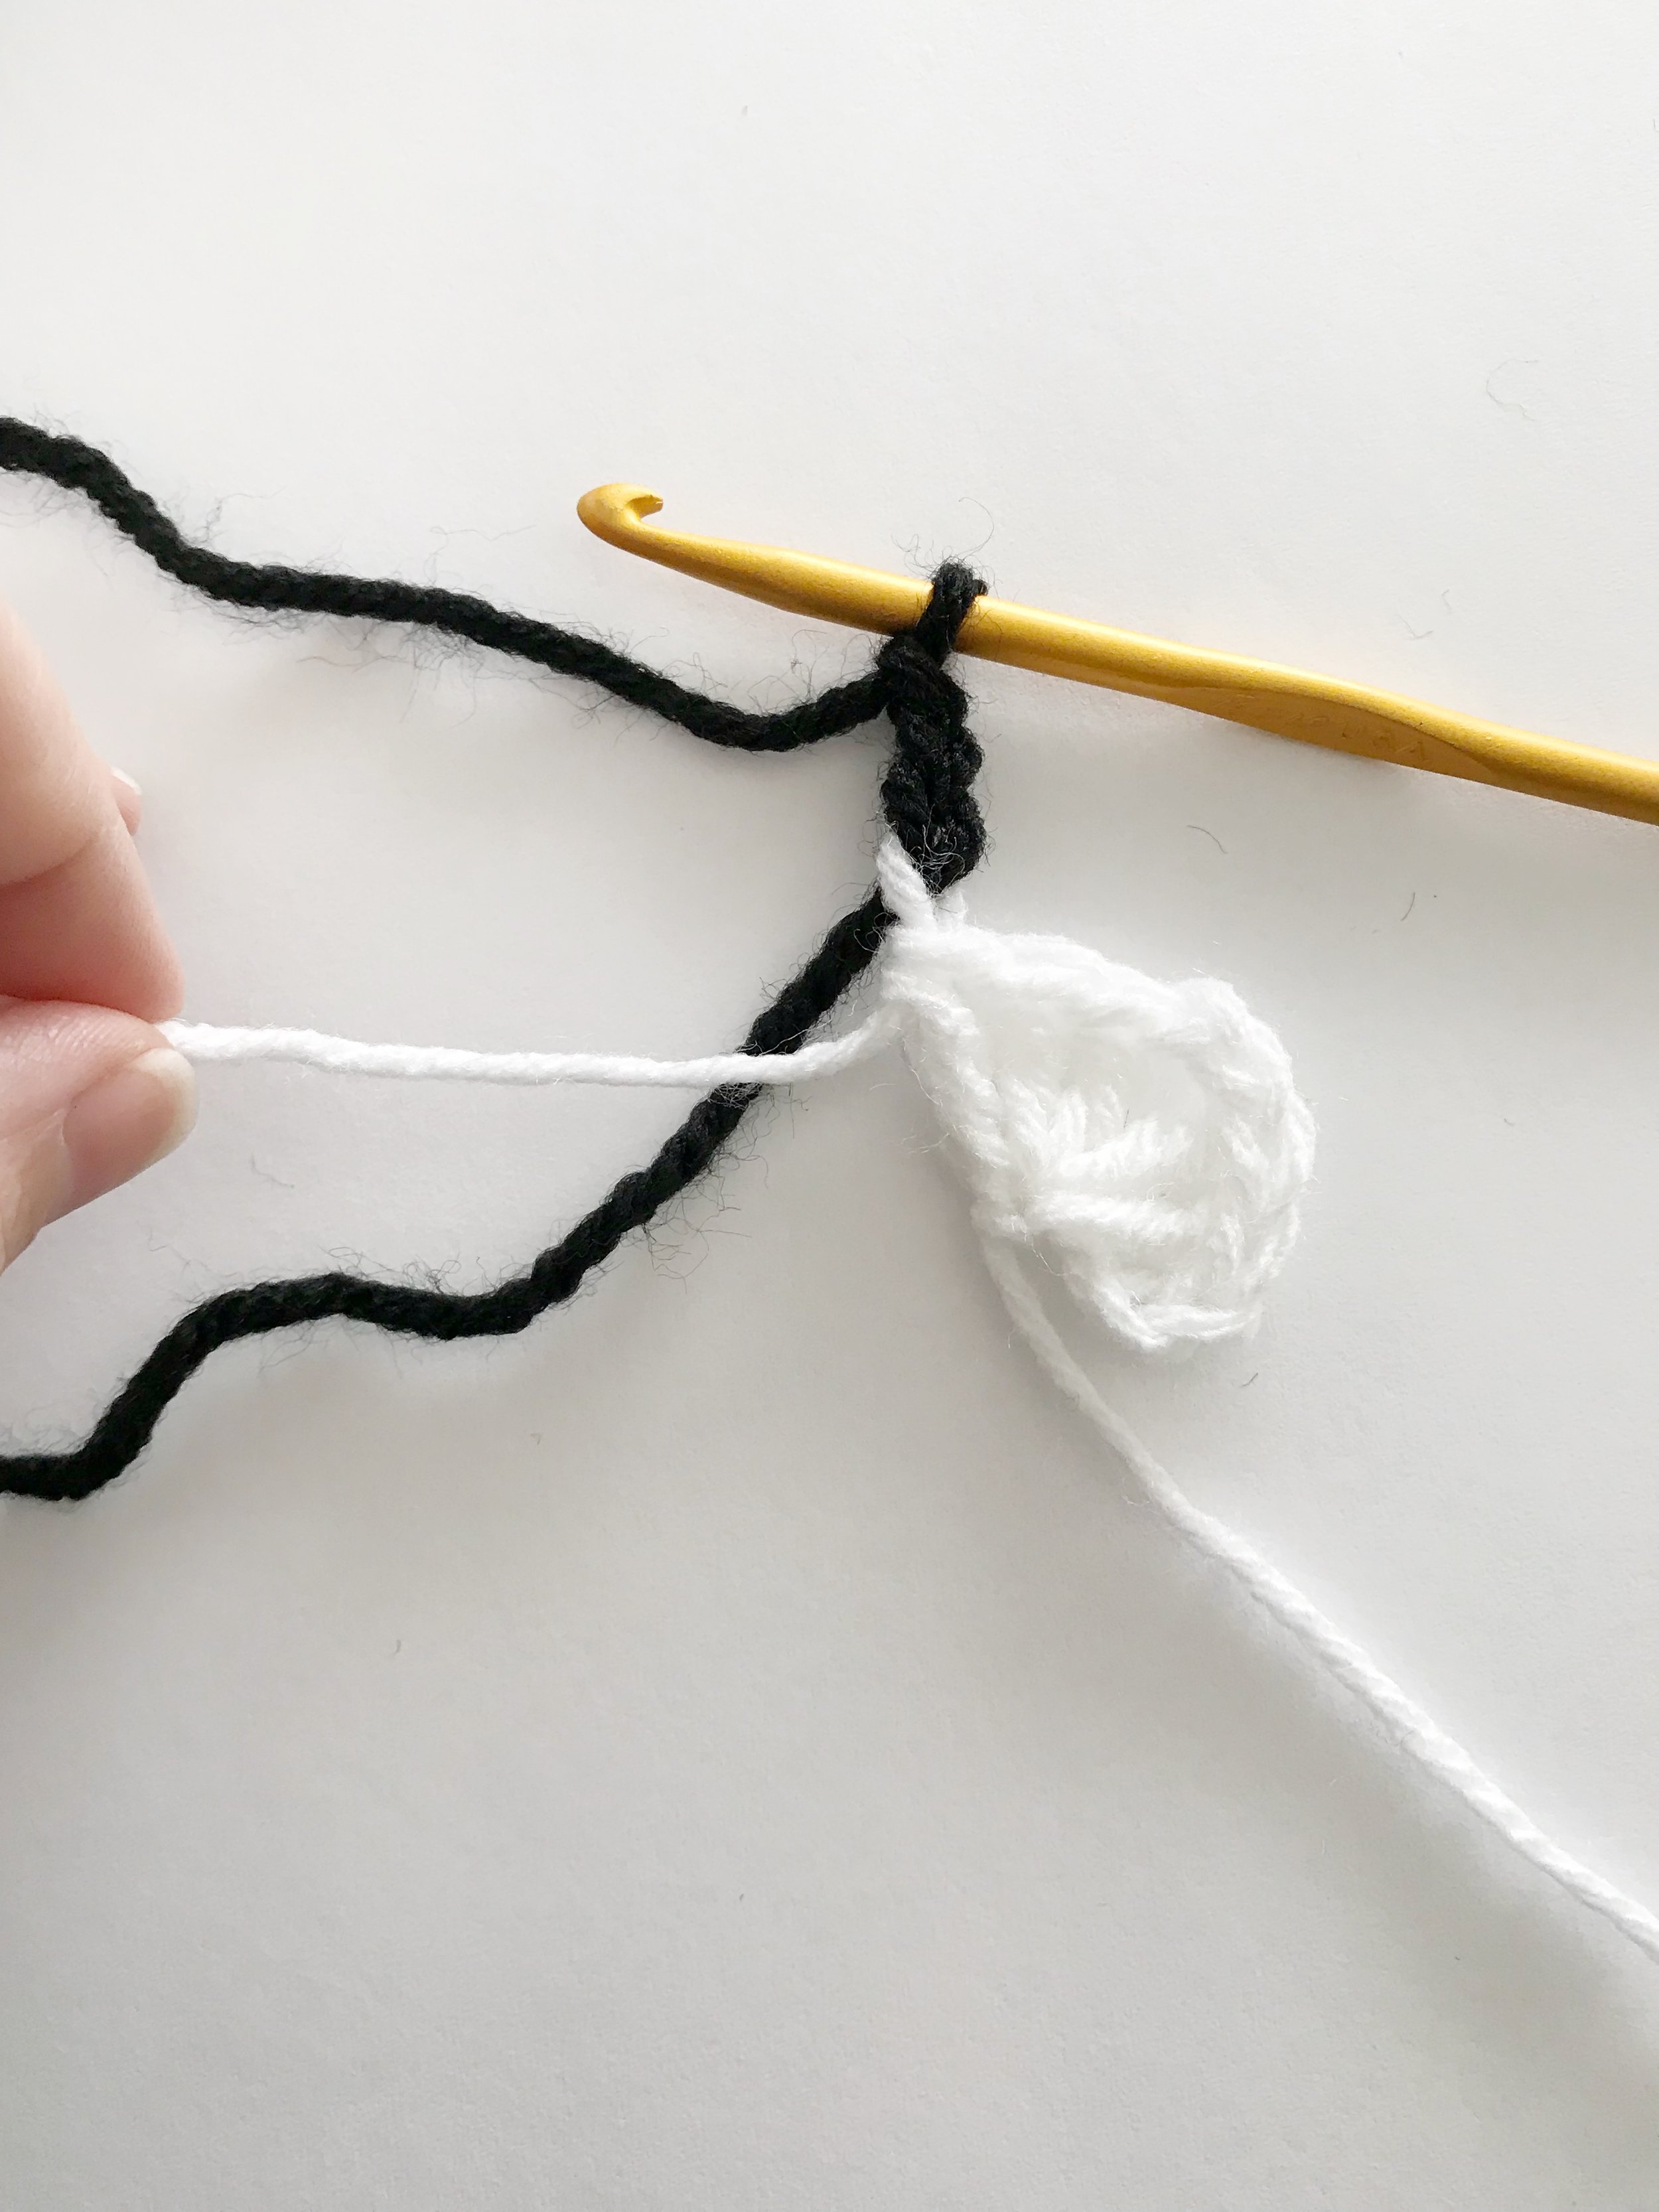
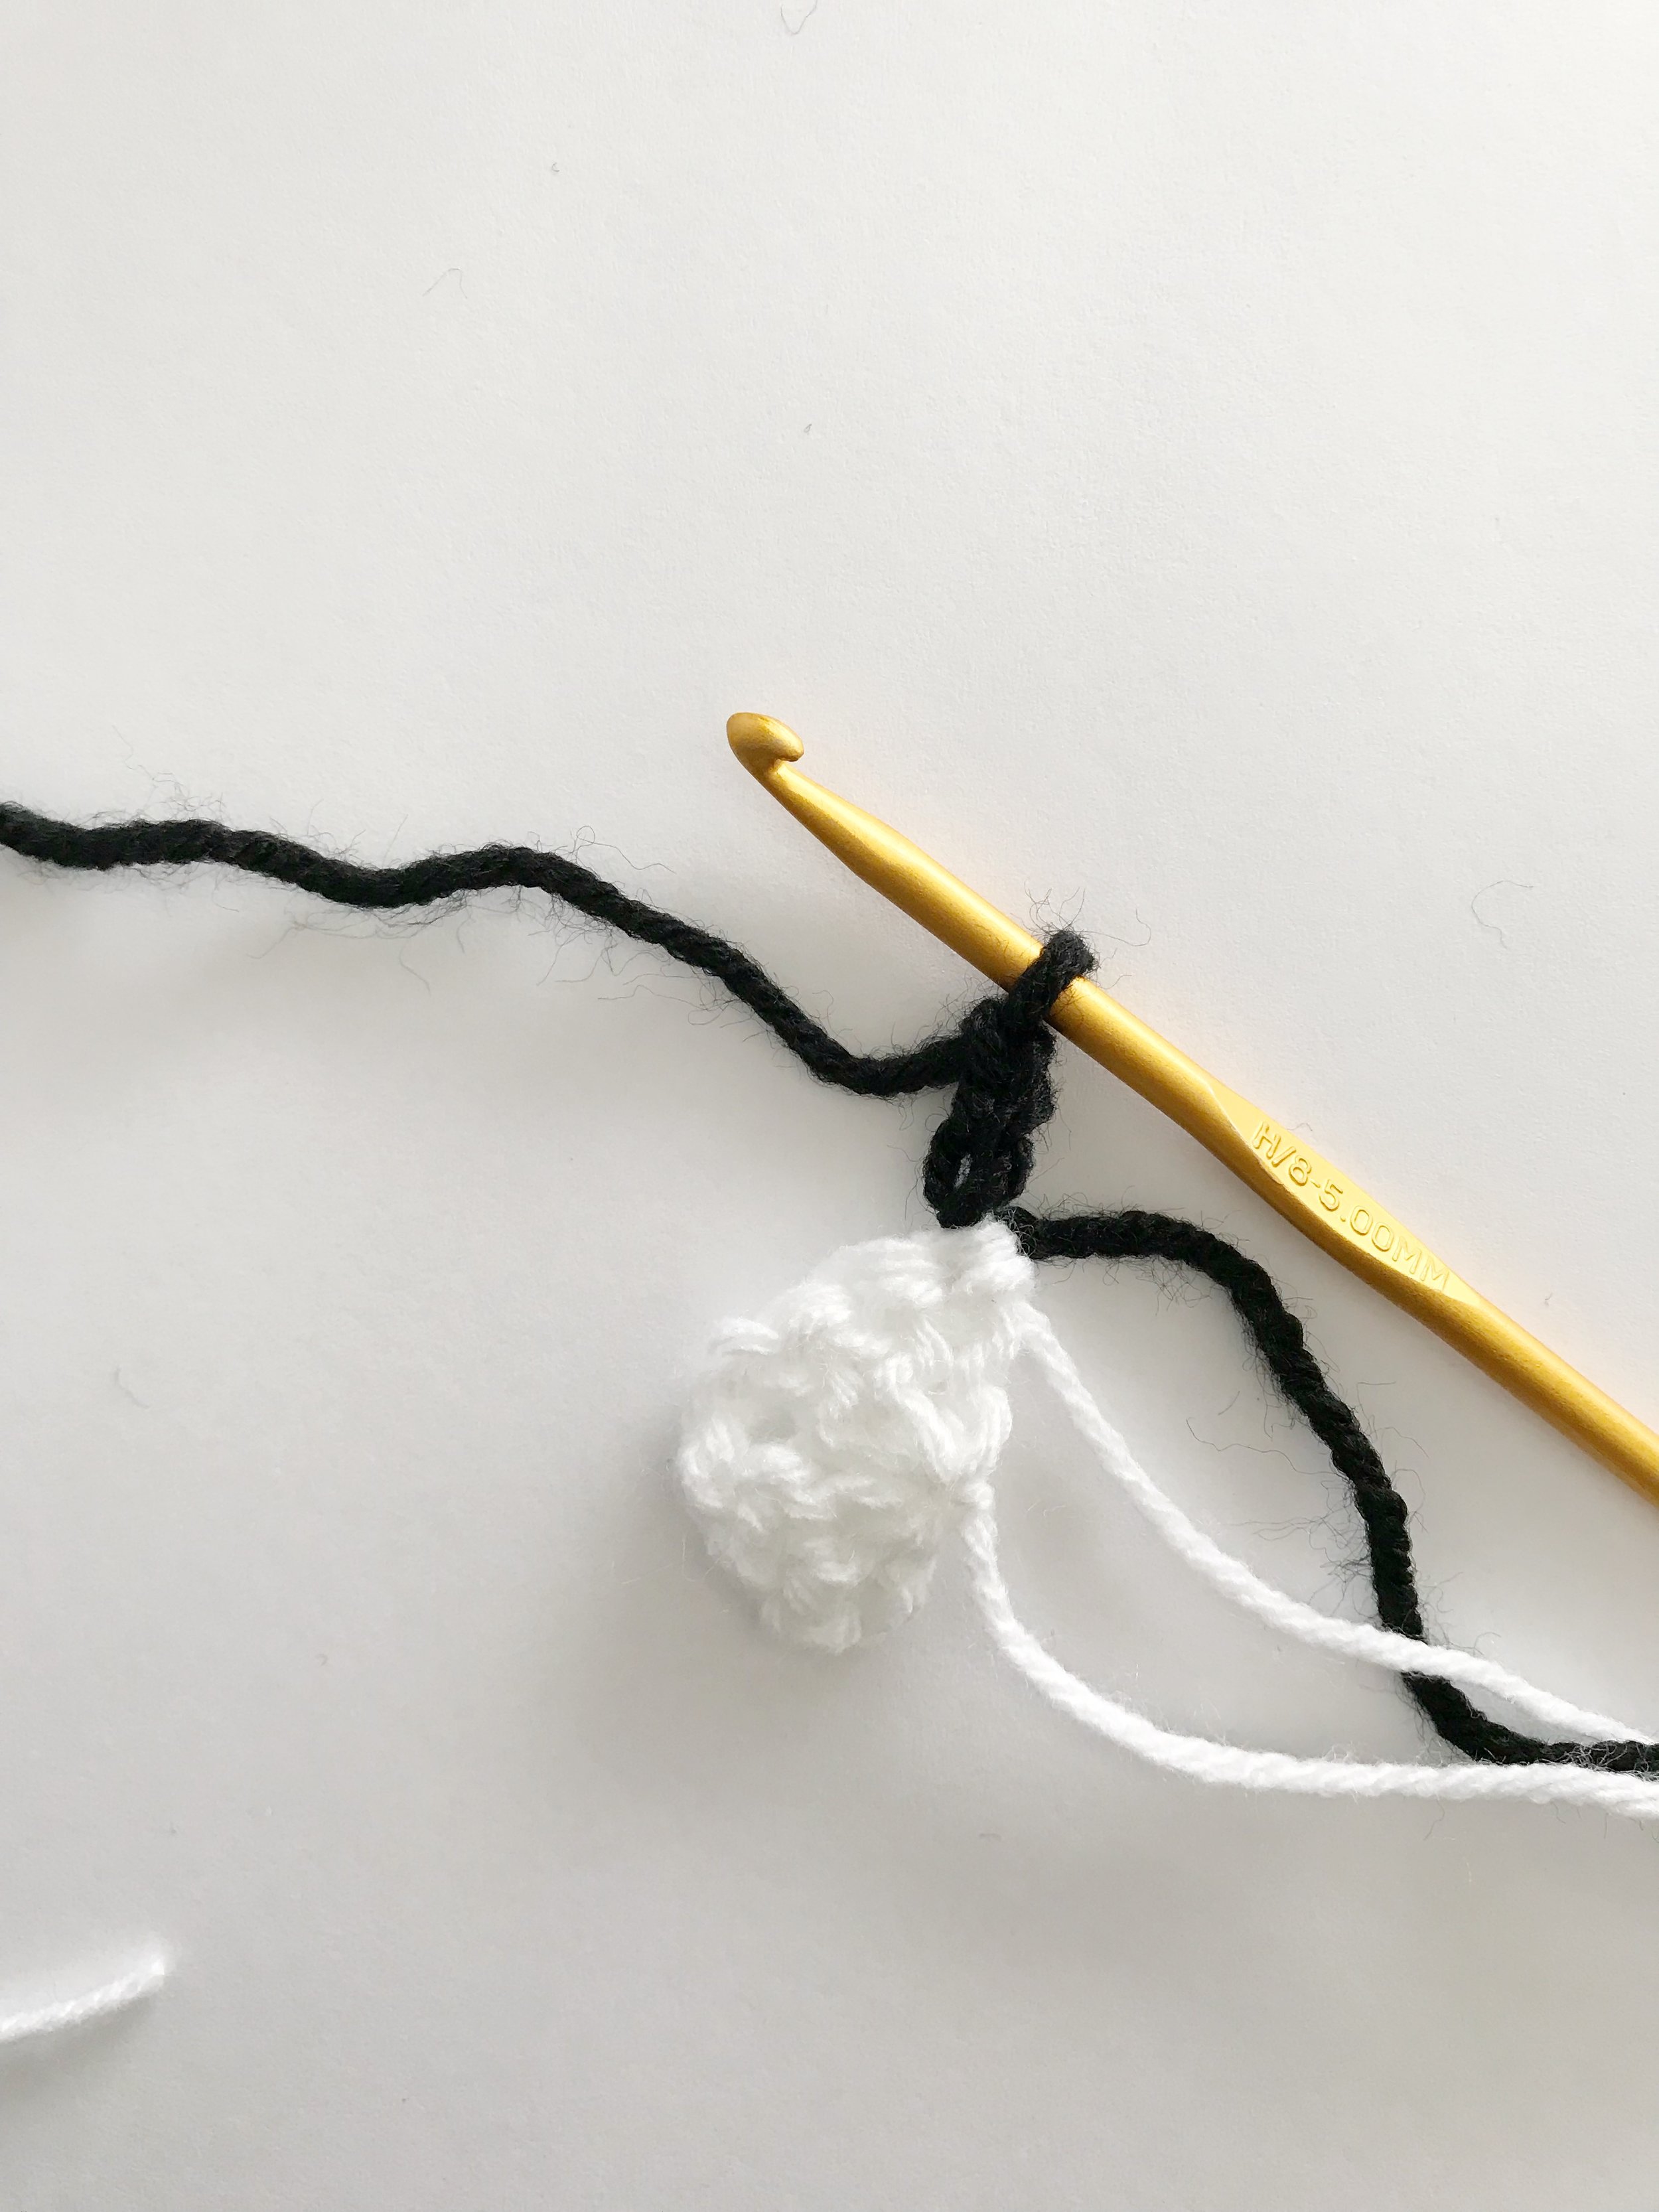
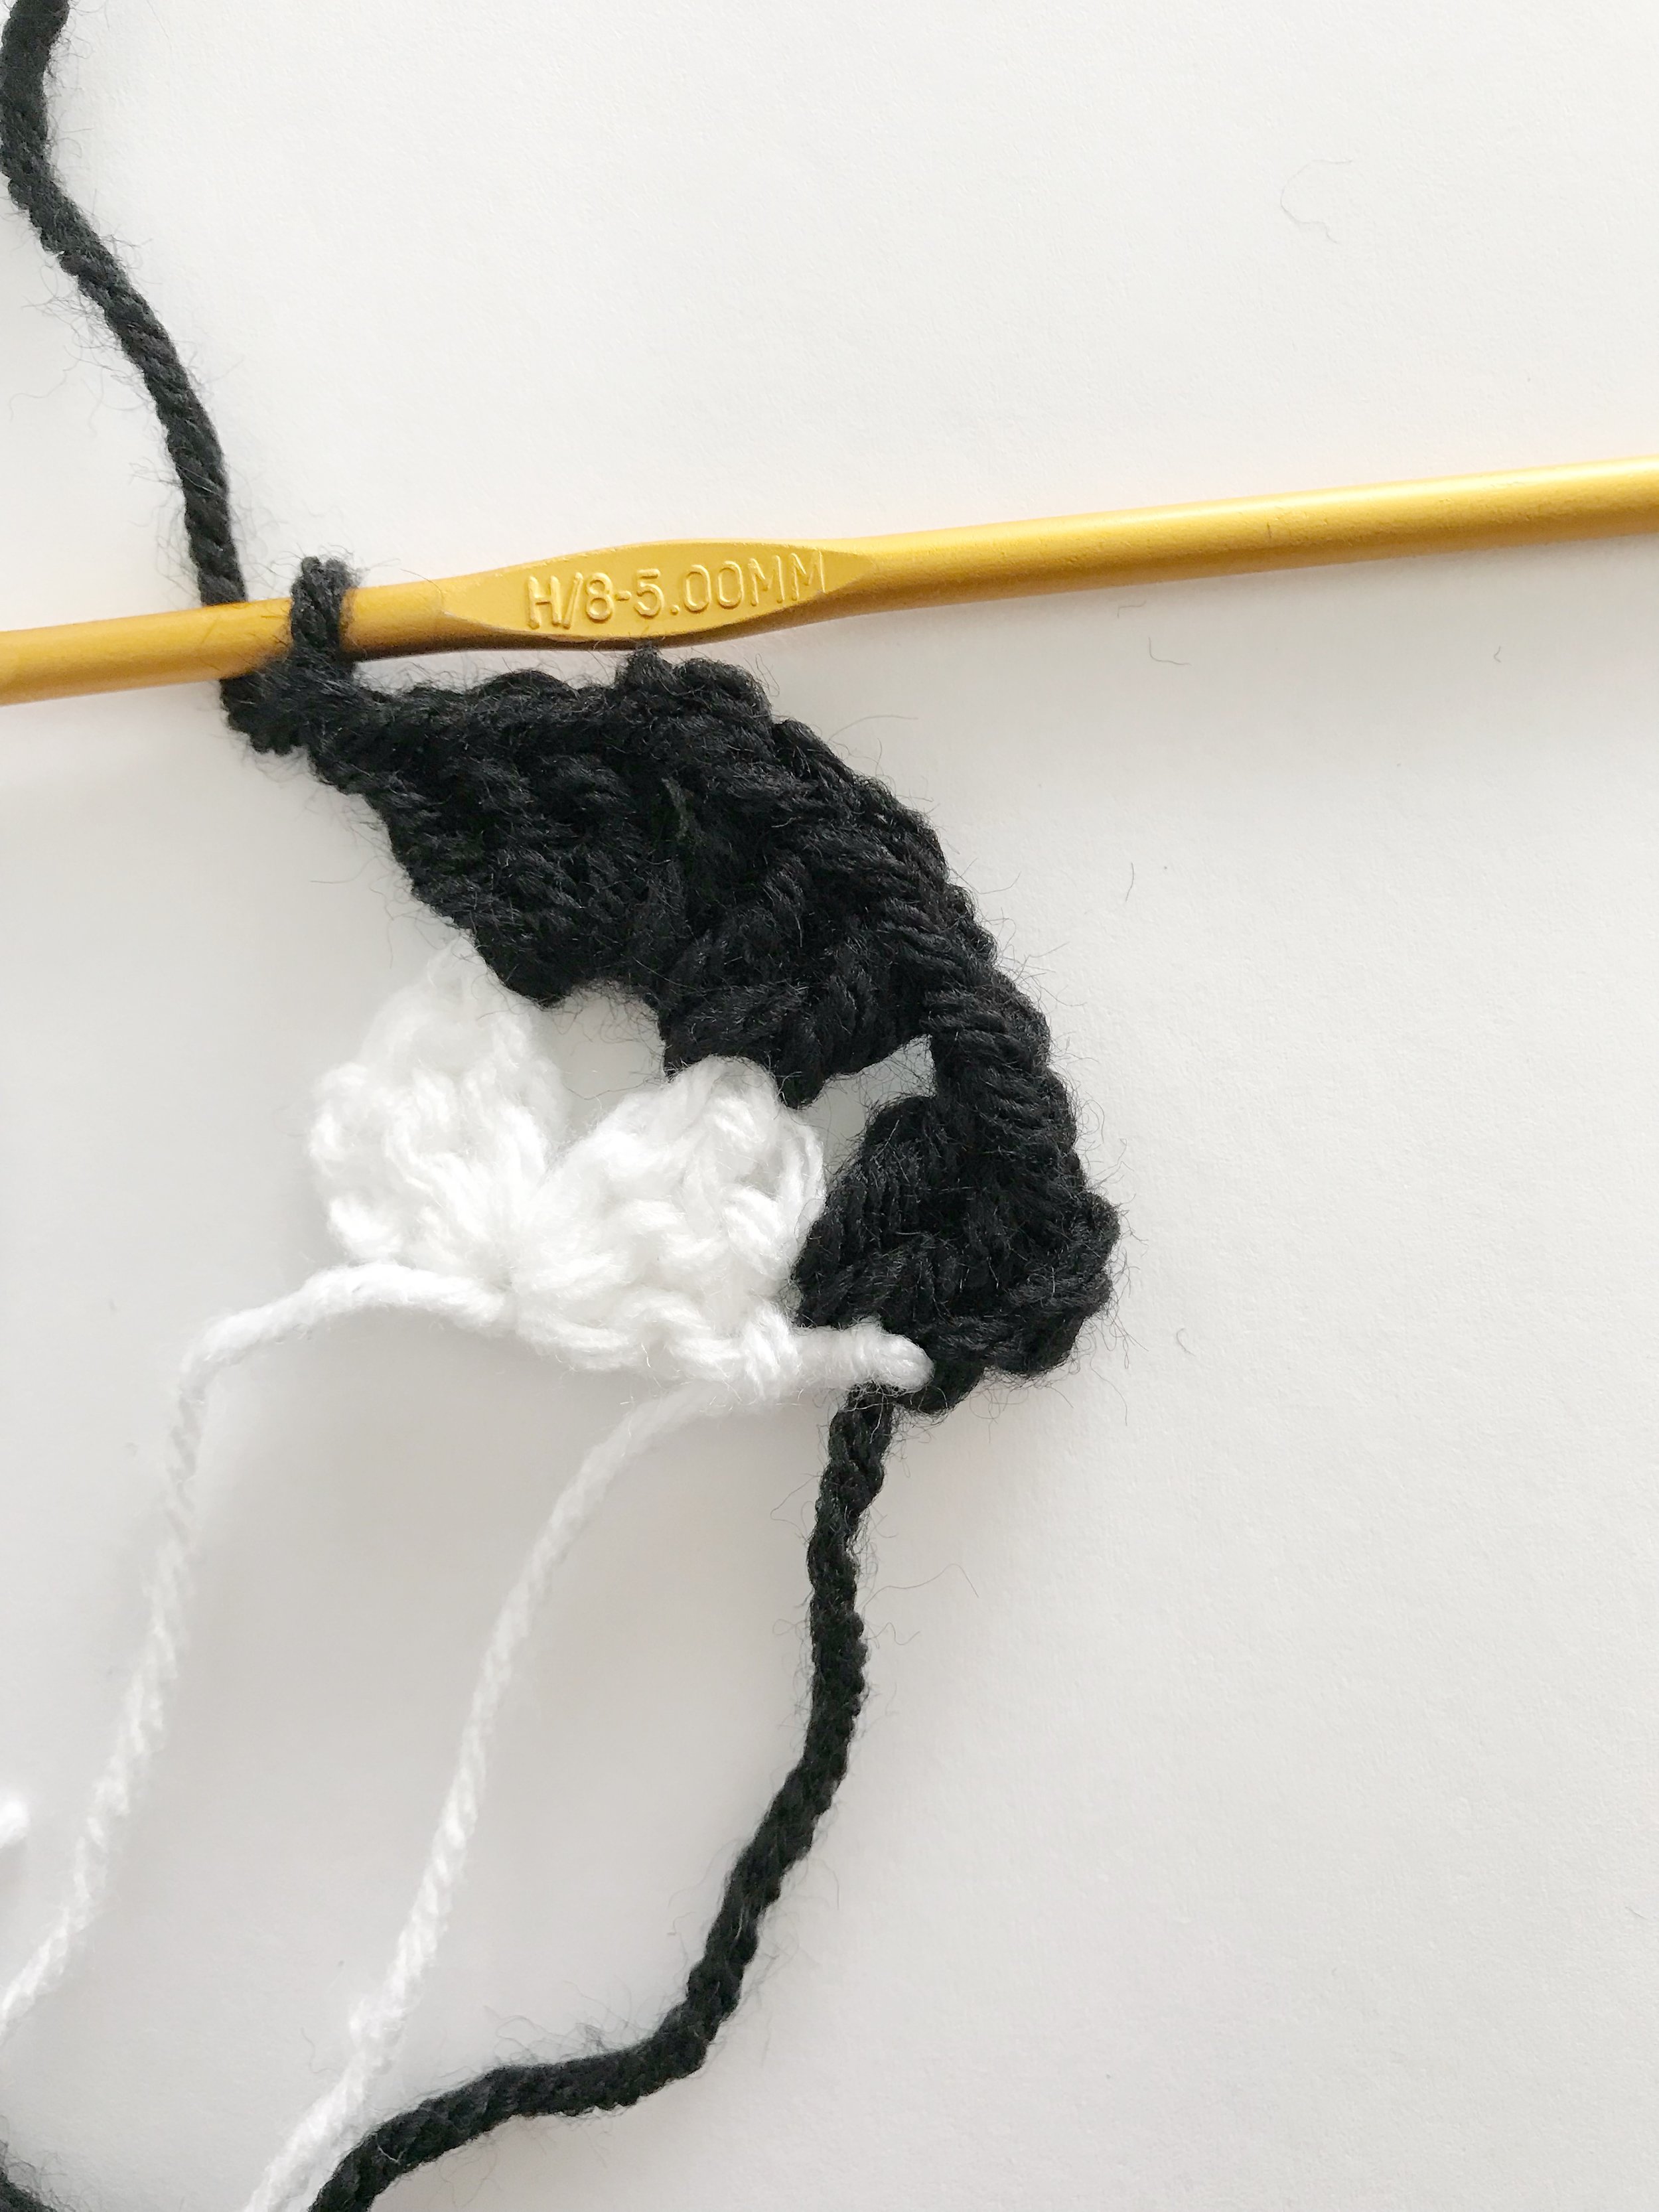
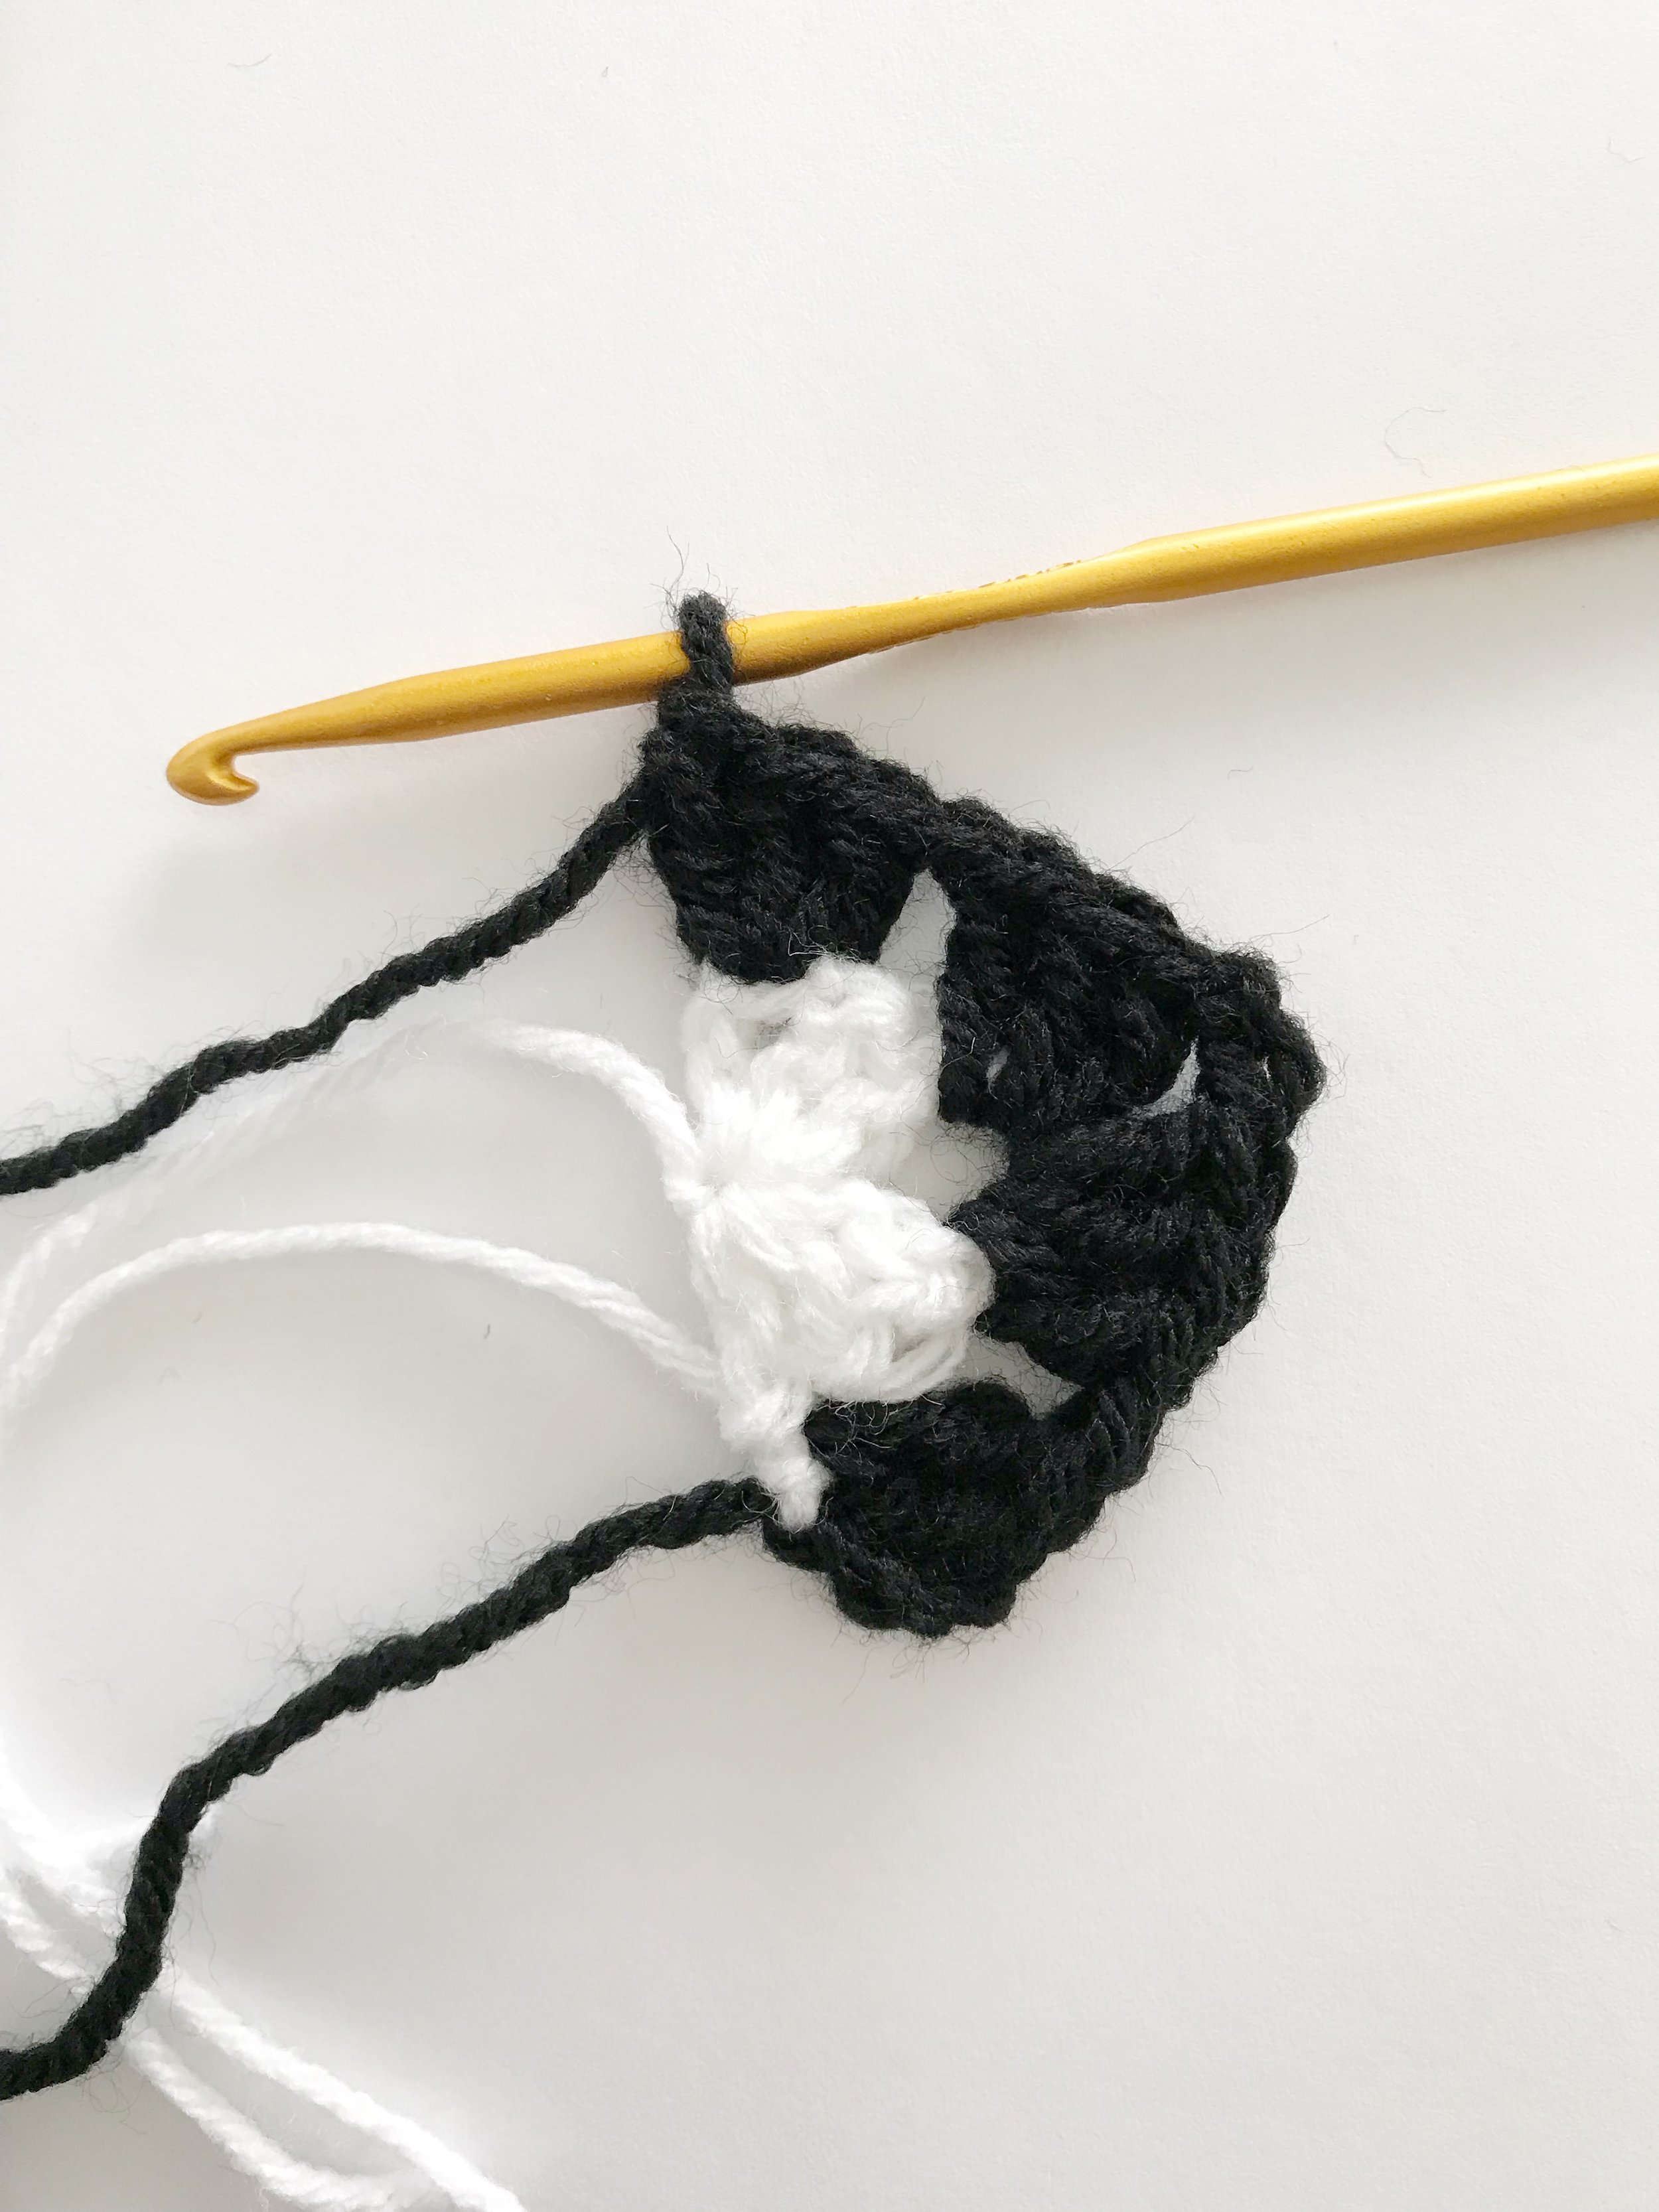
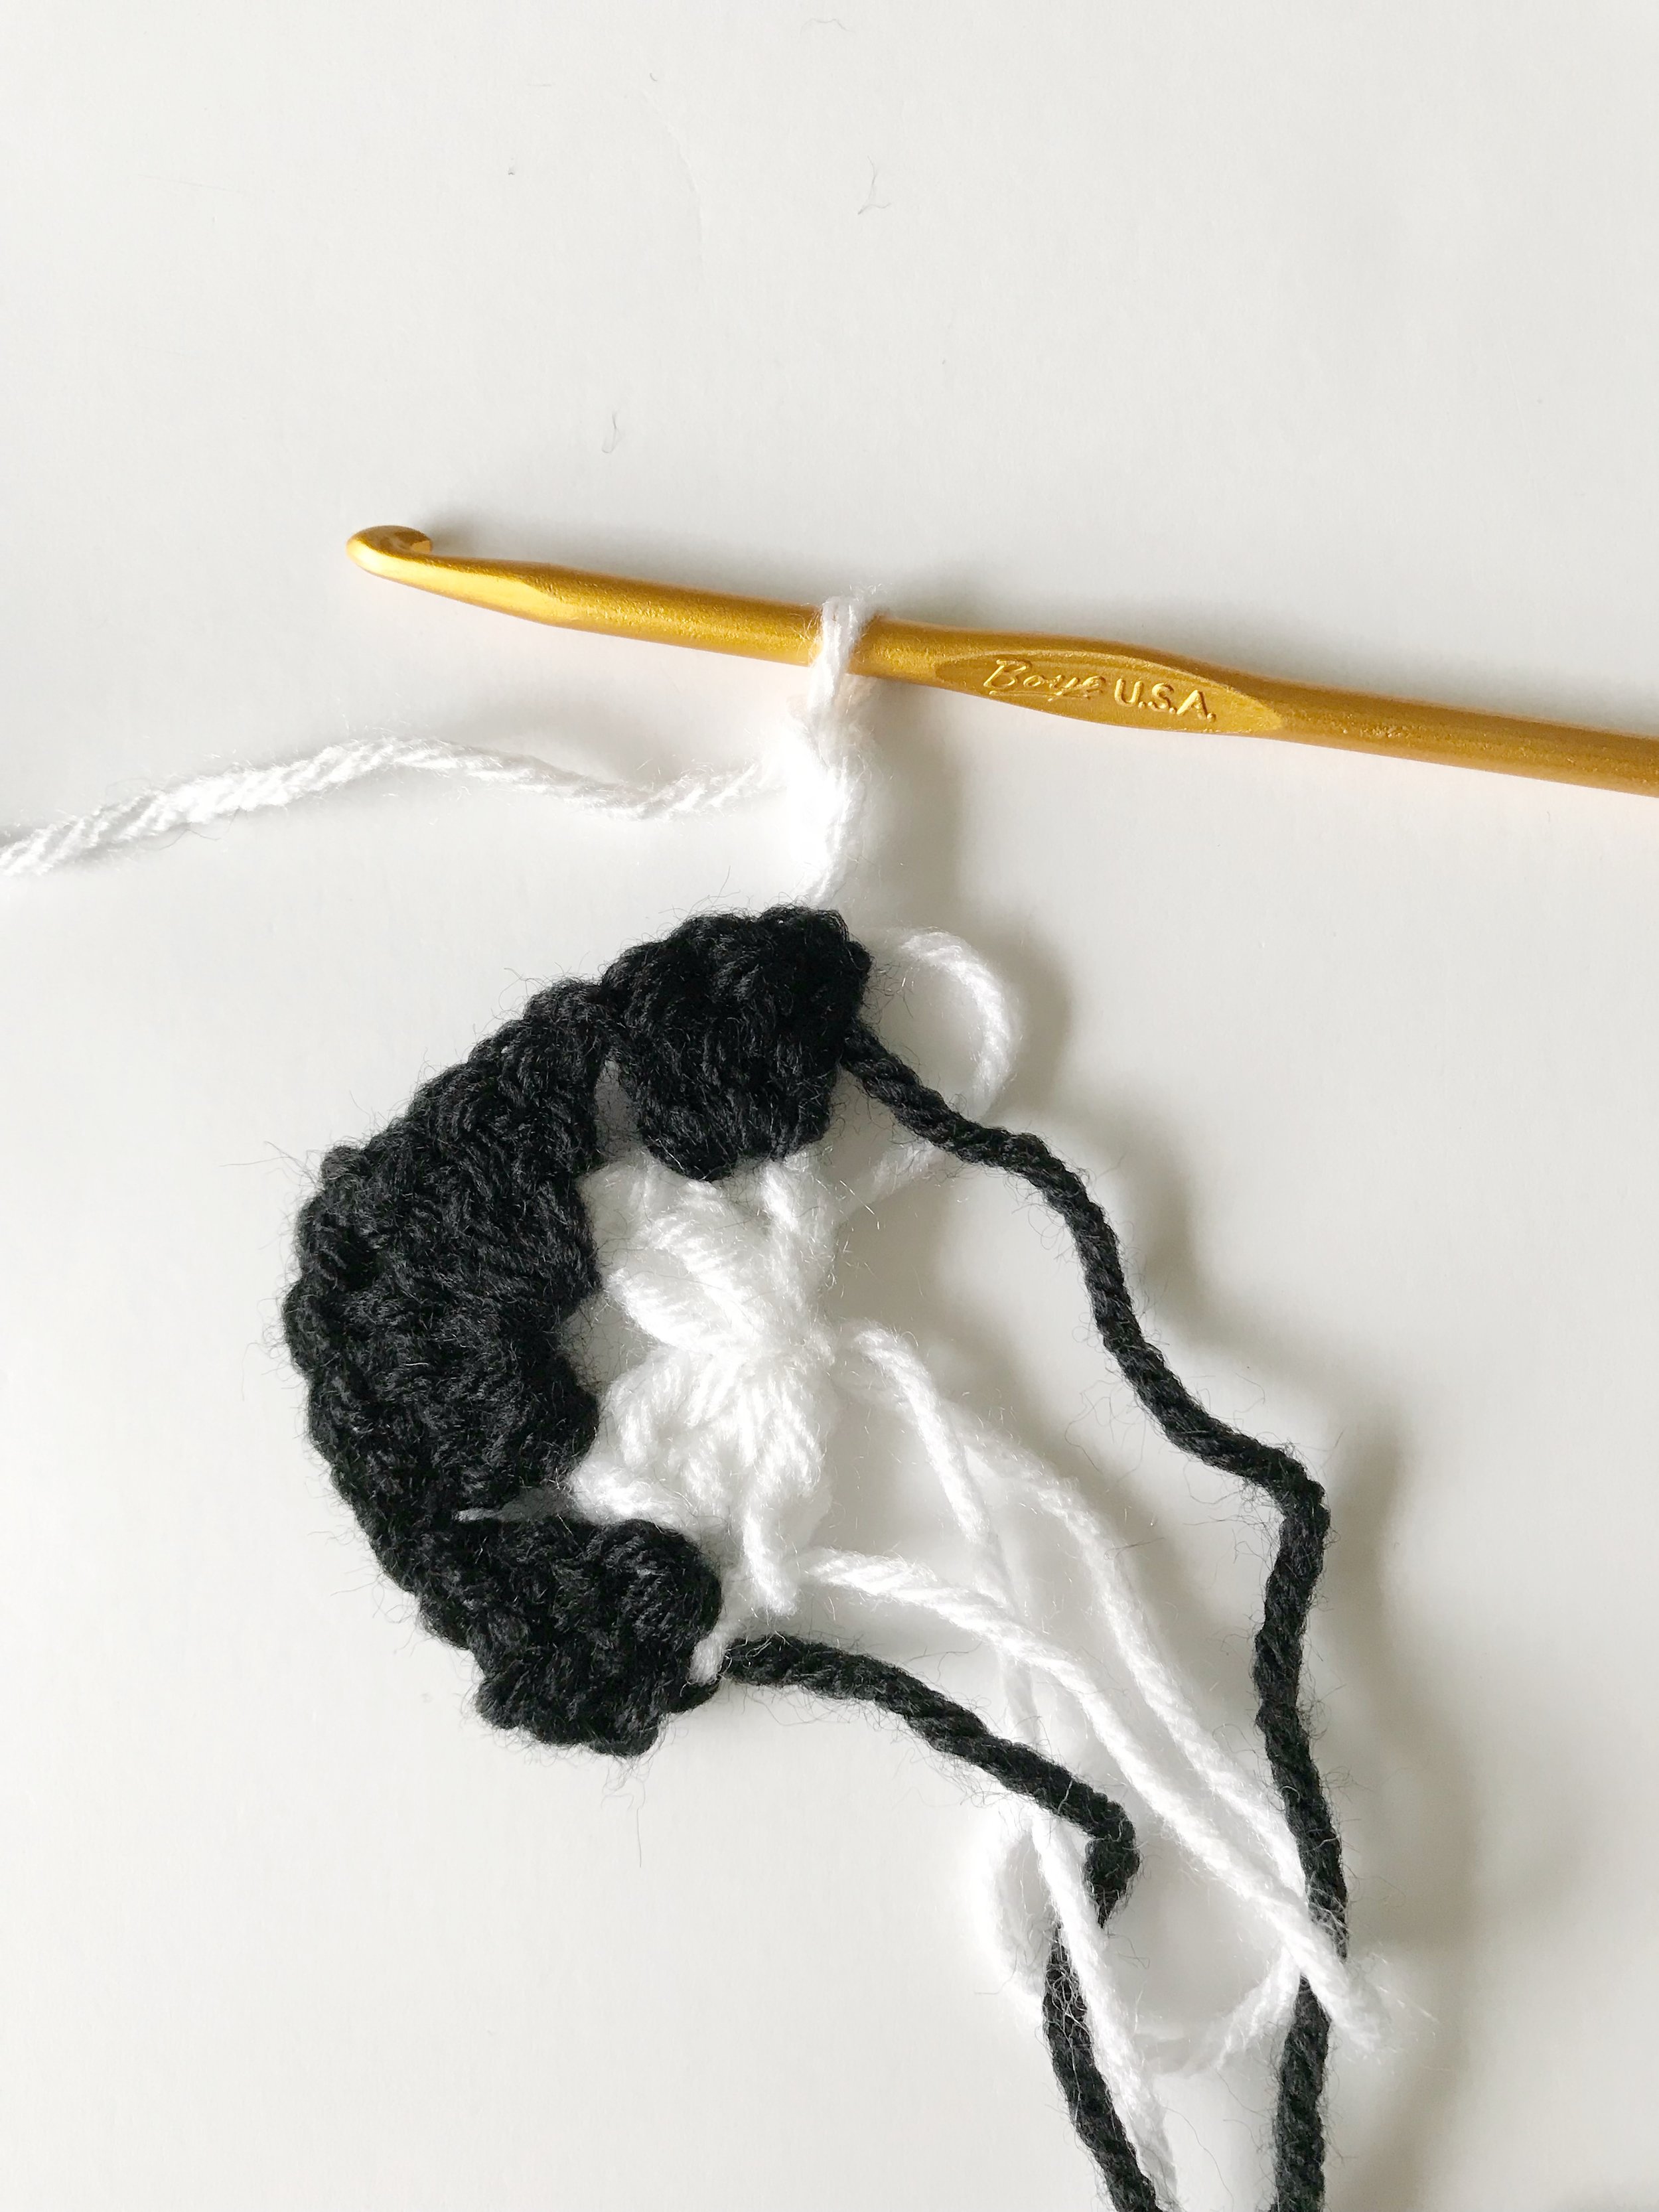
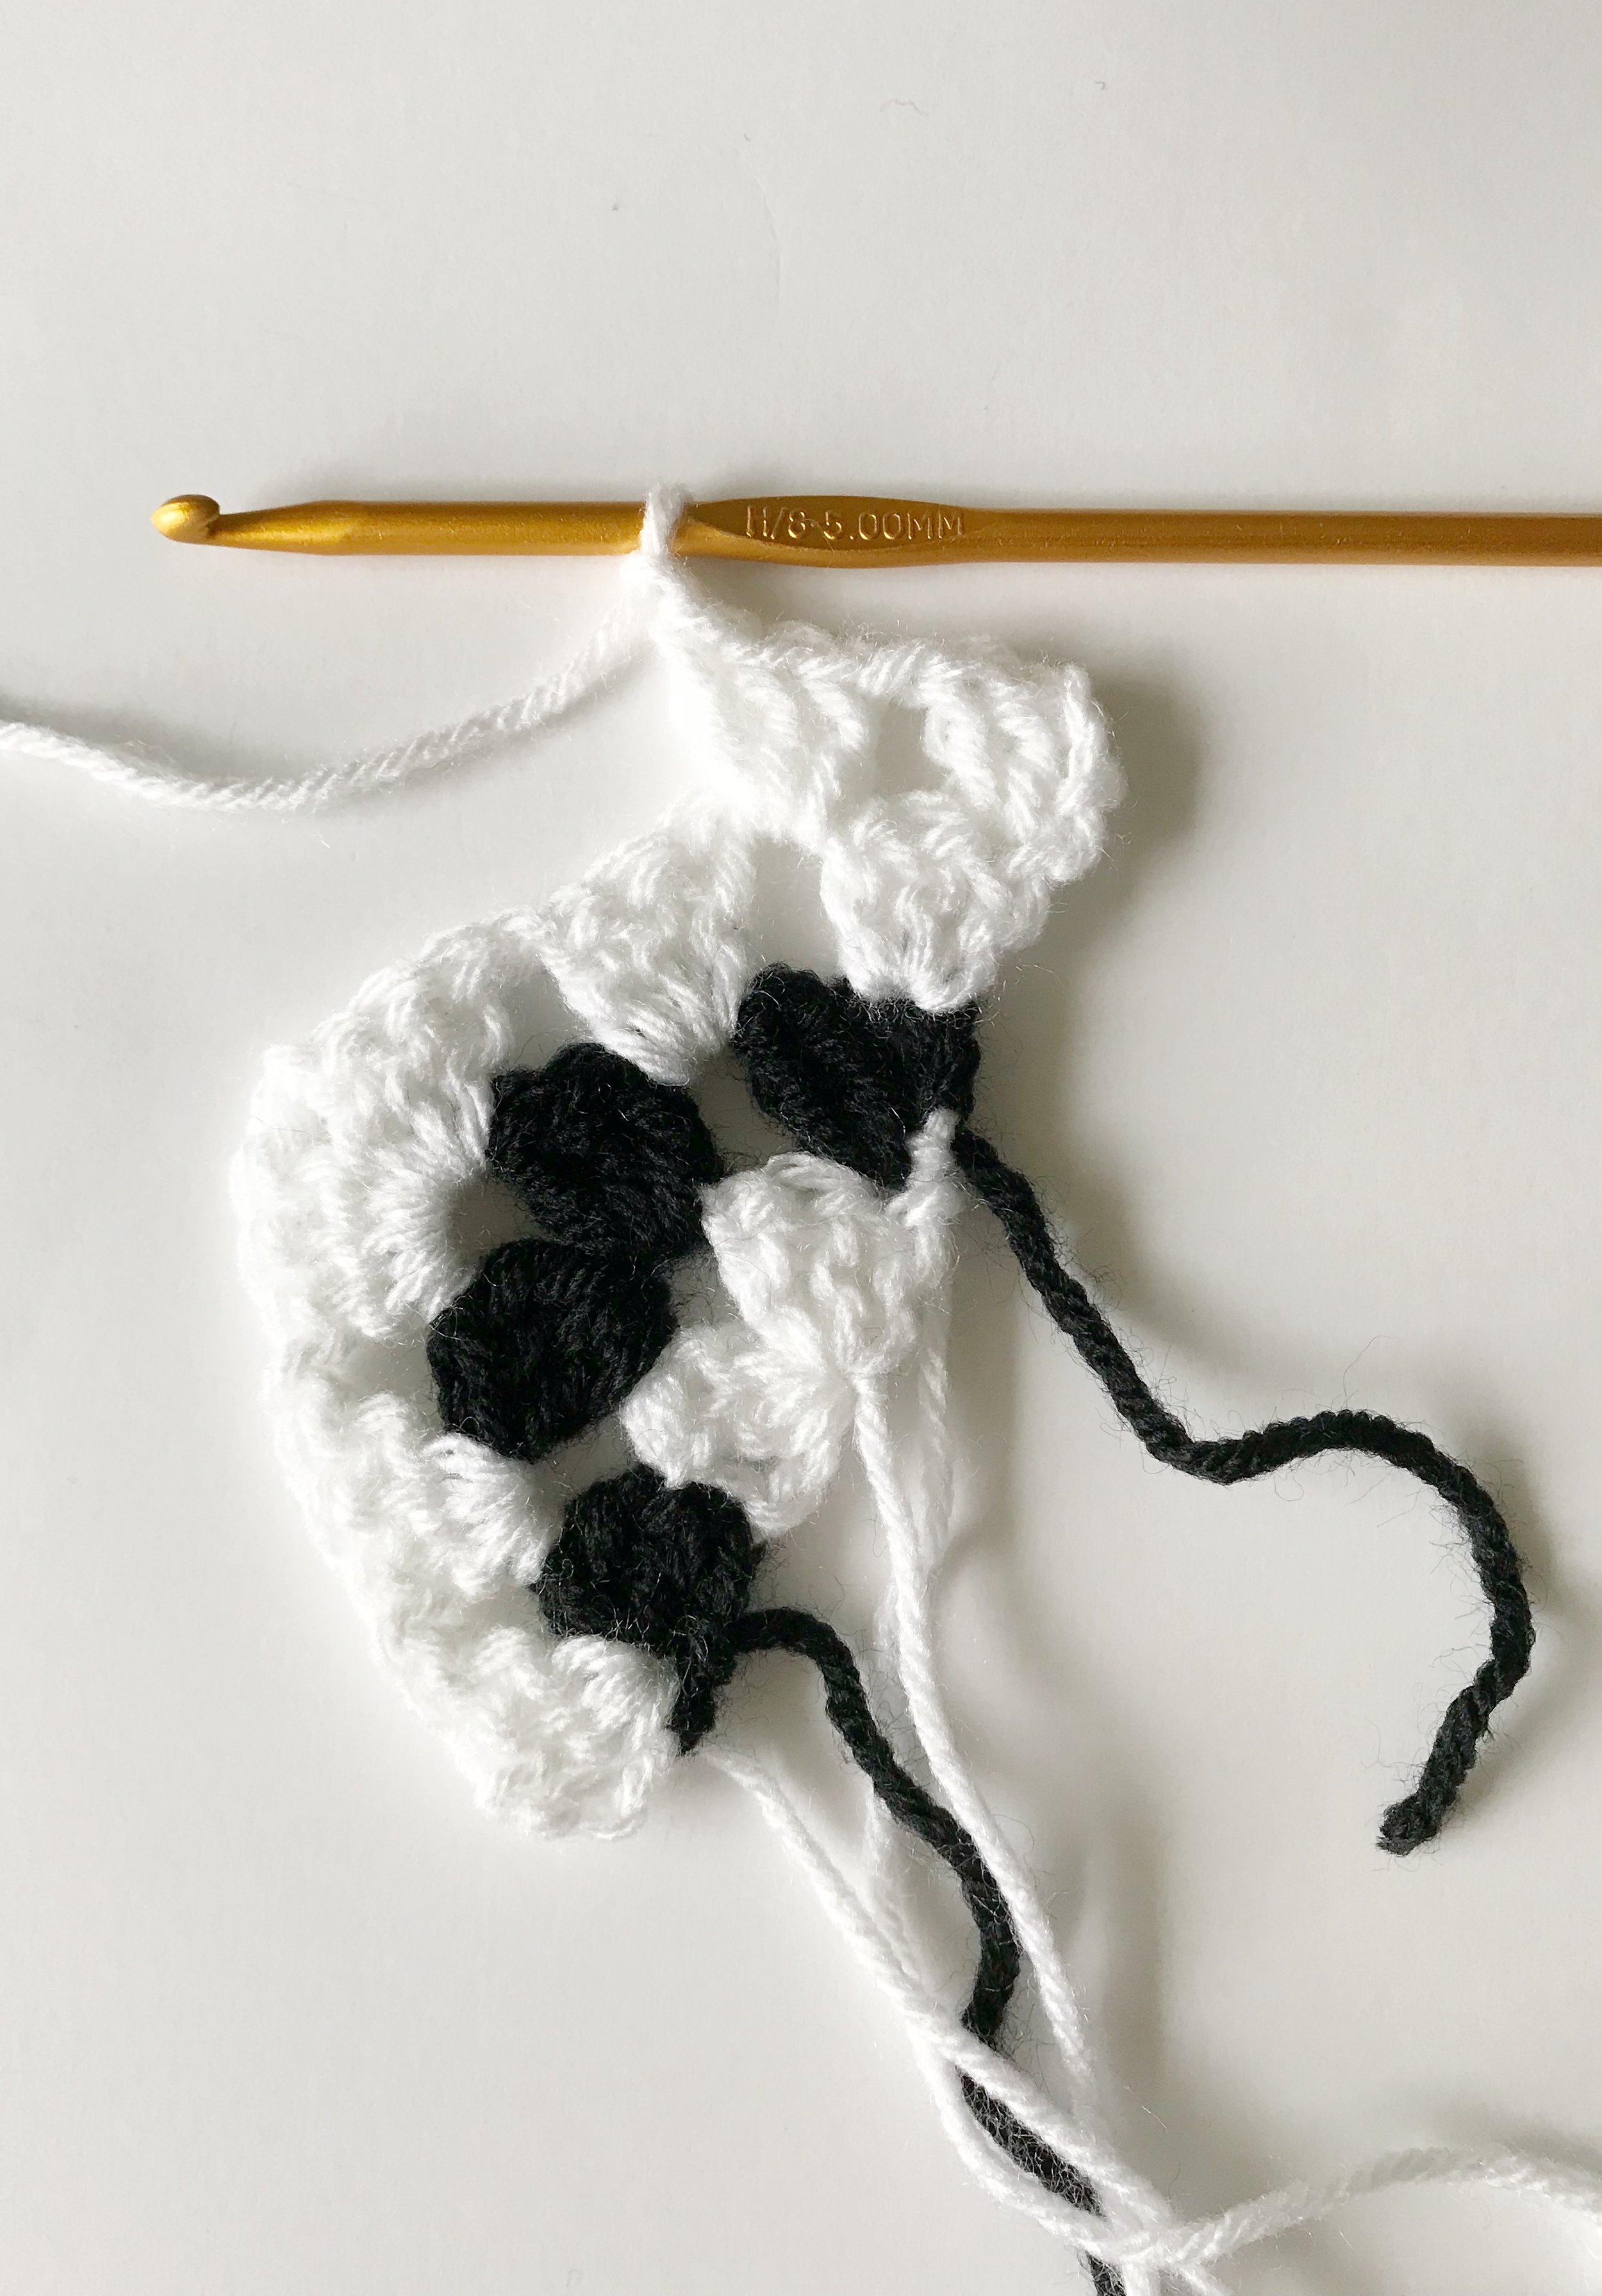
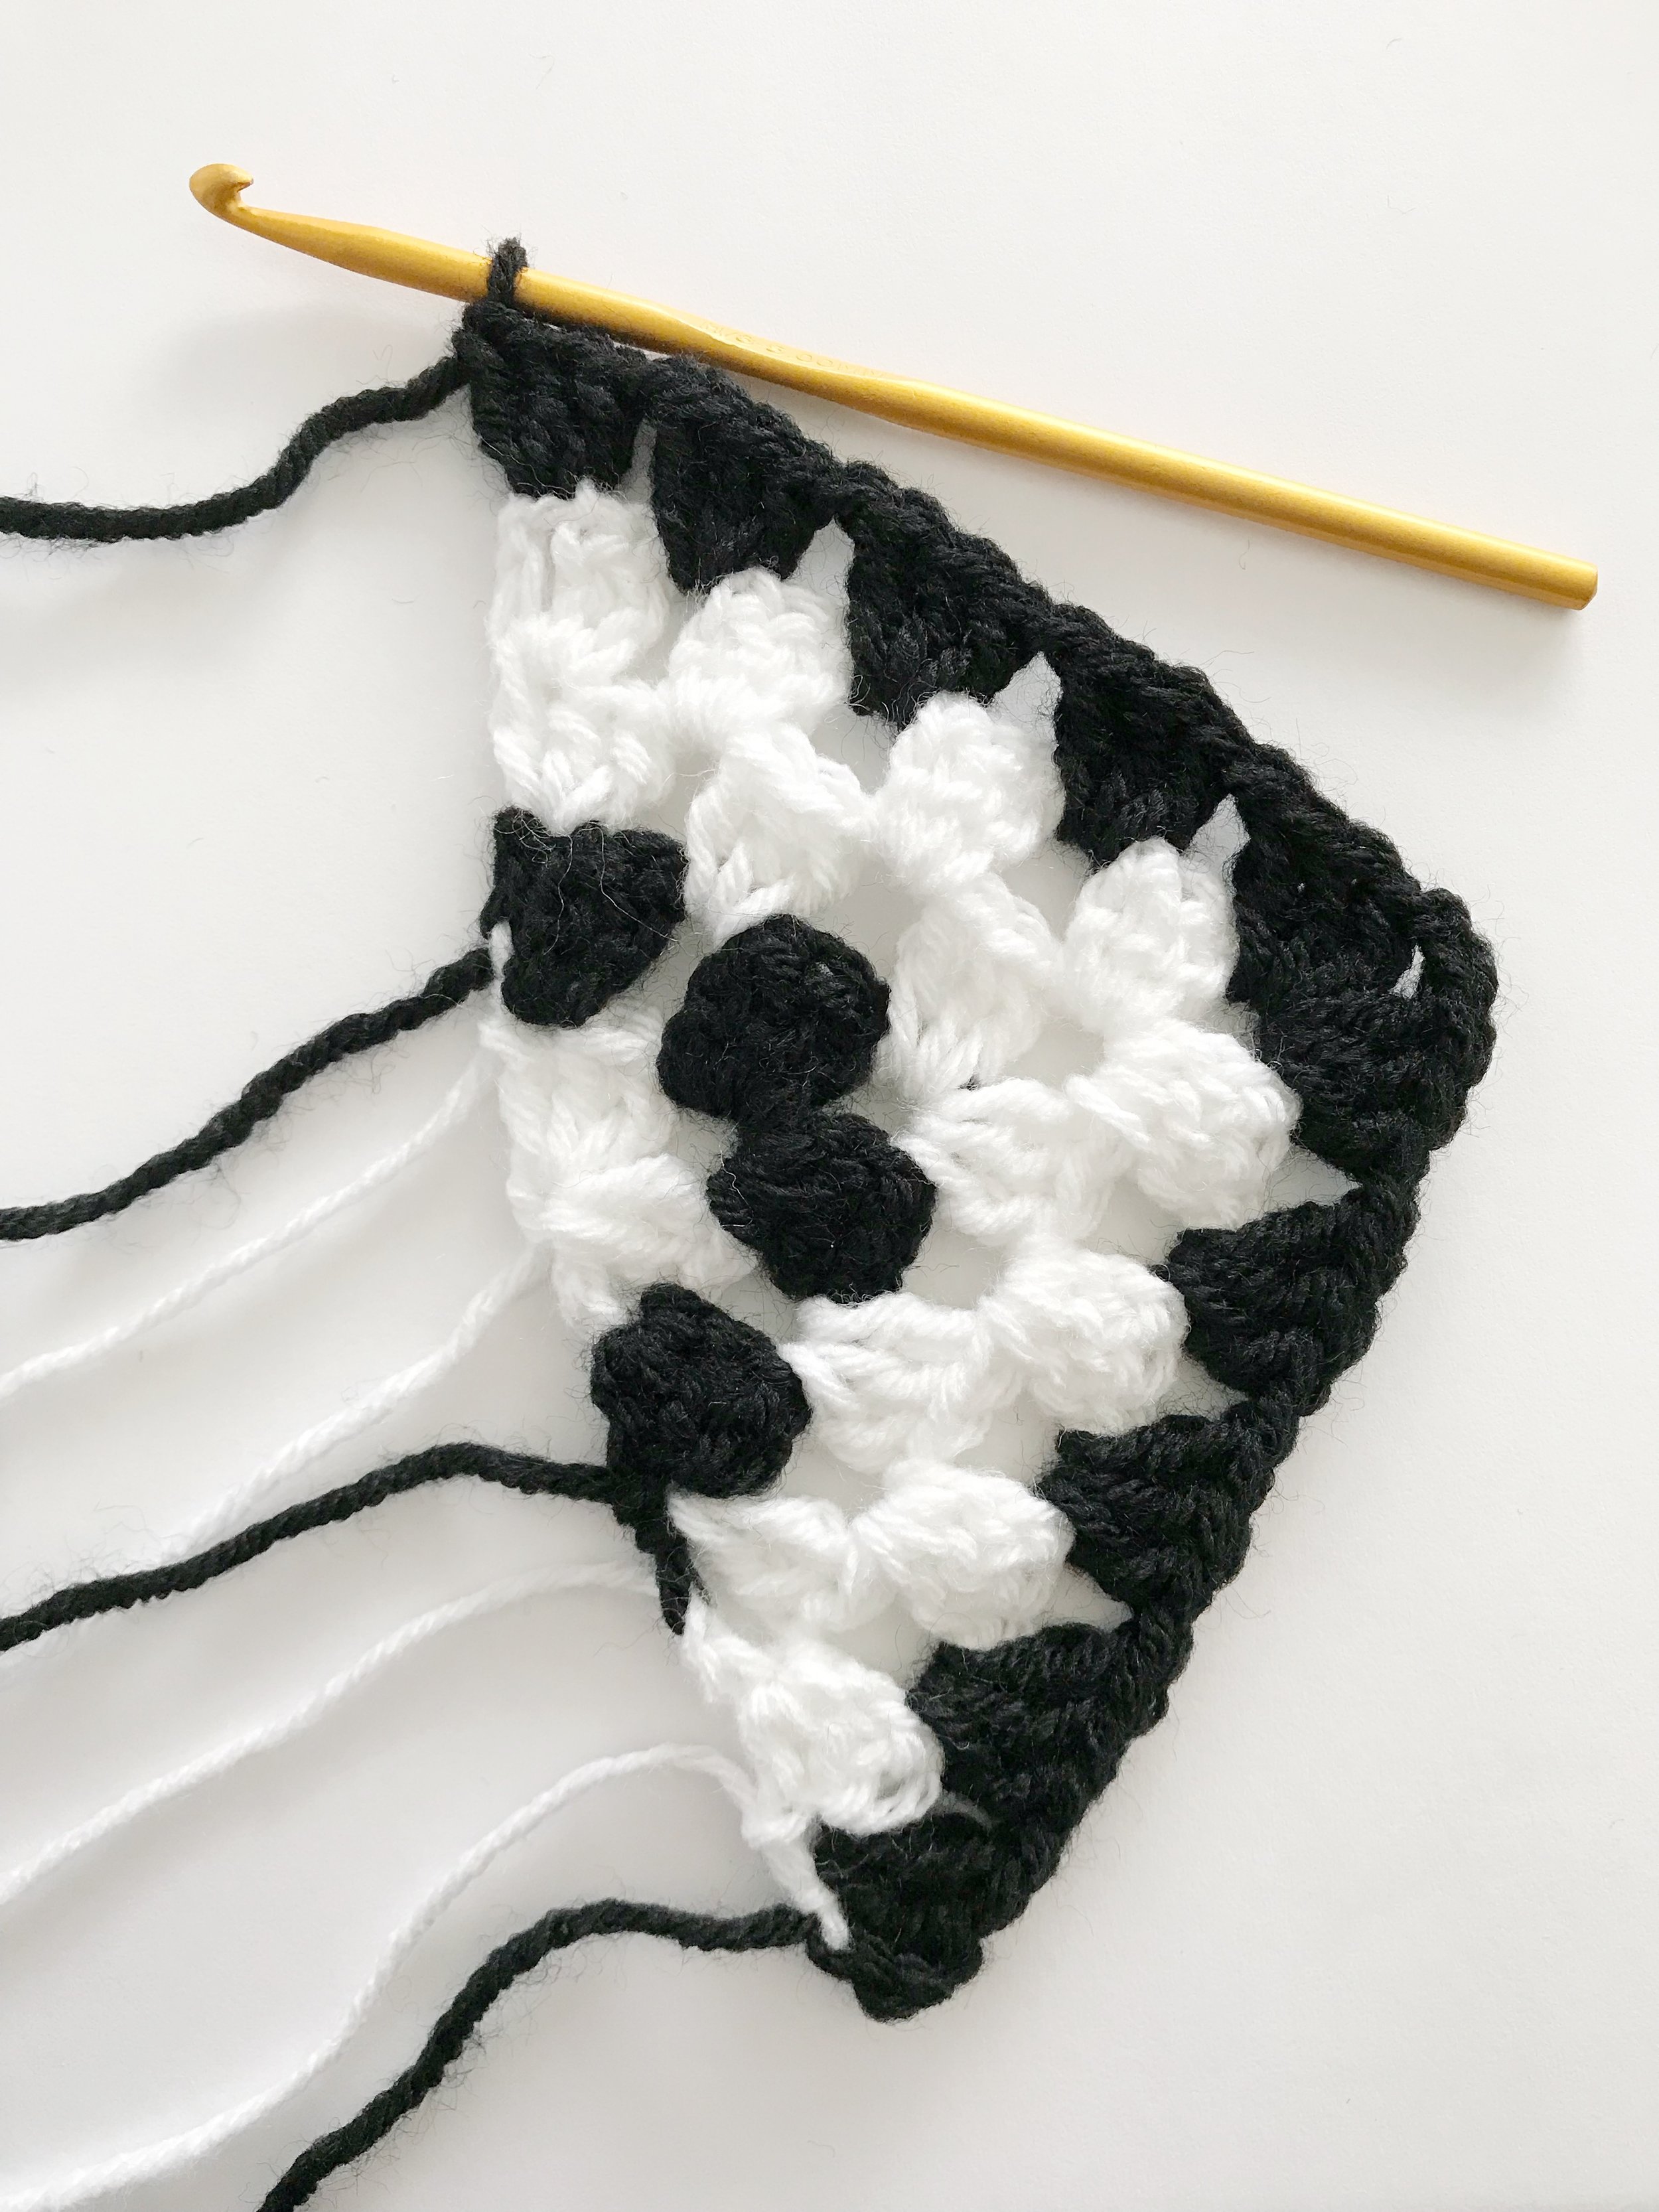
Granny Squares: make 97
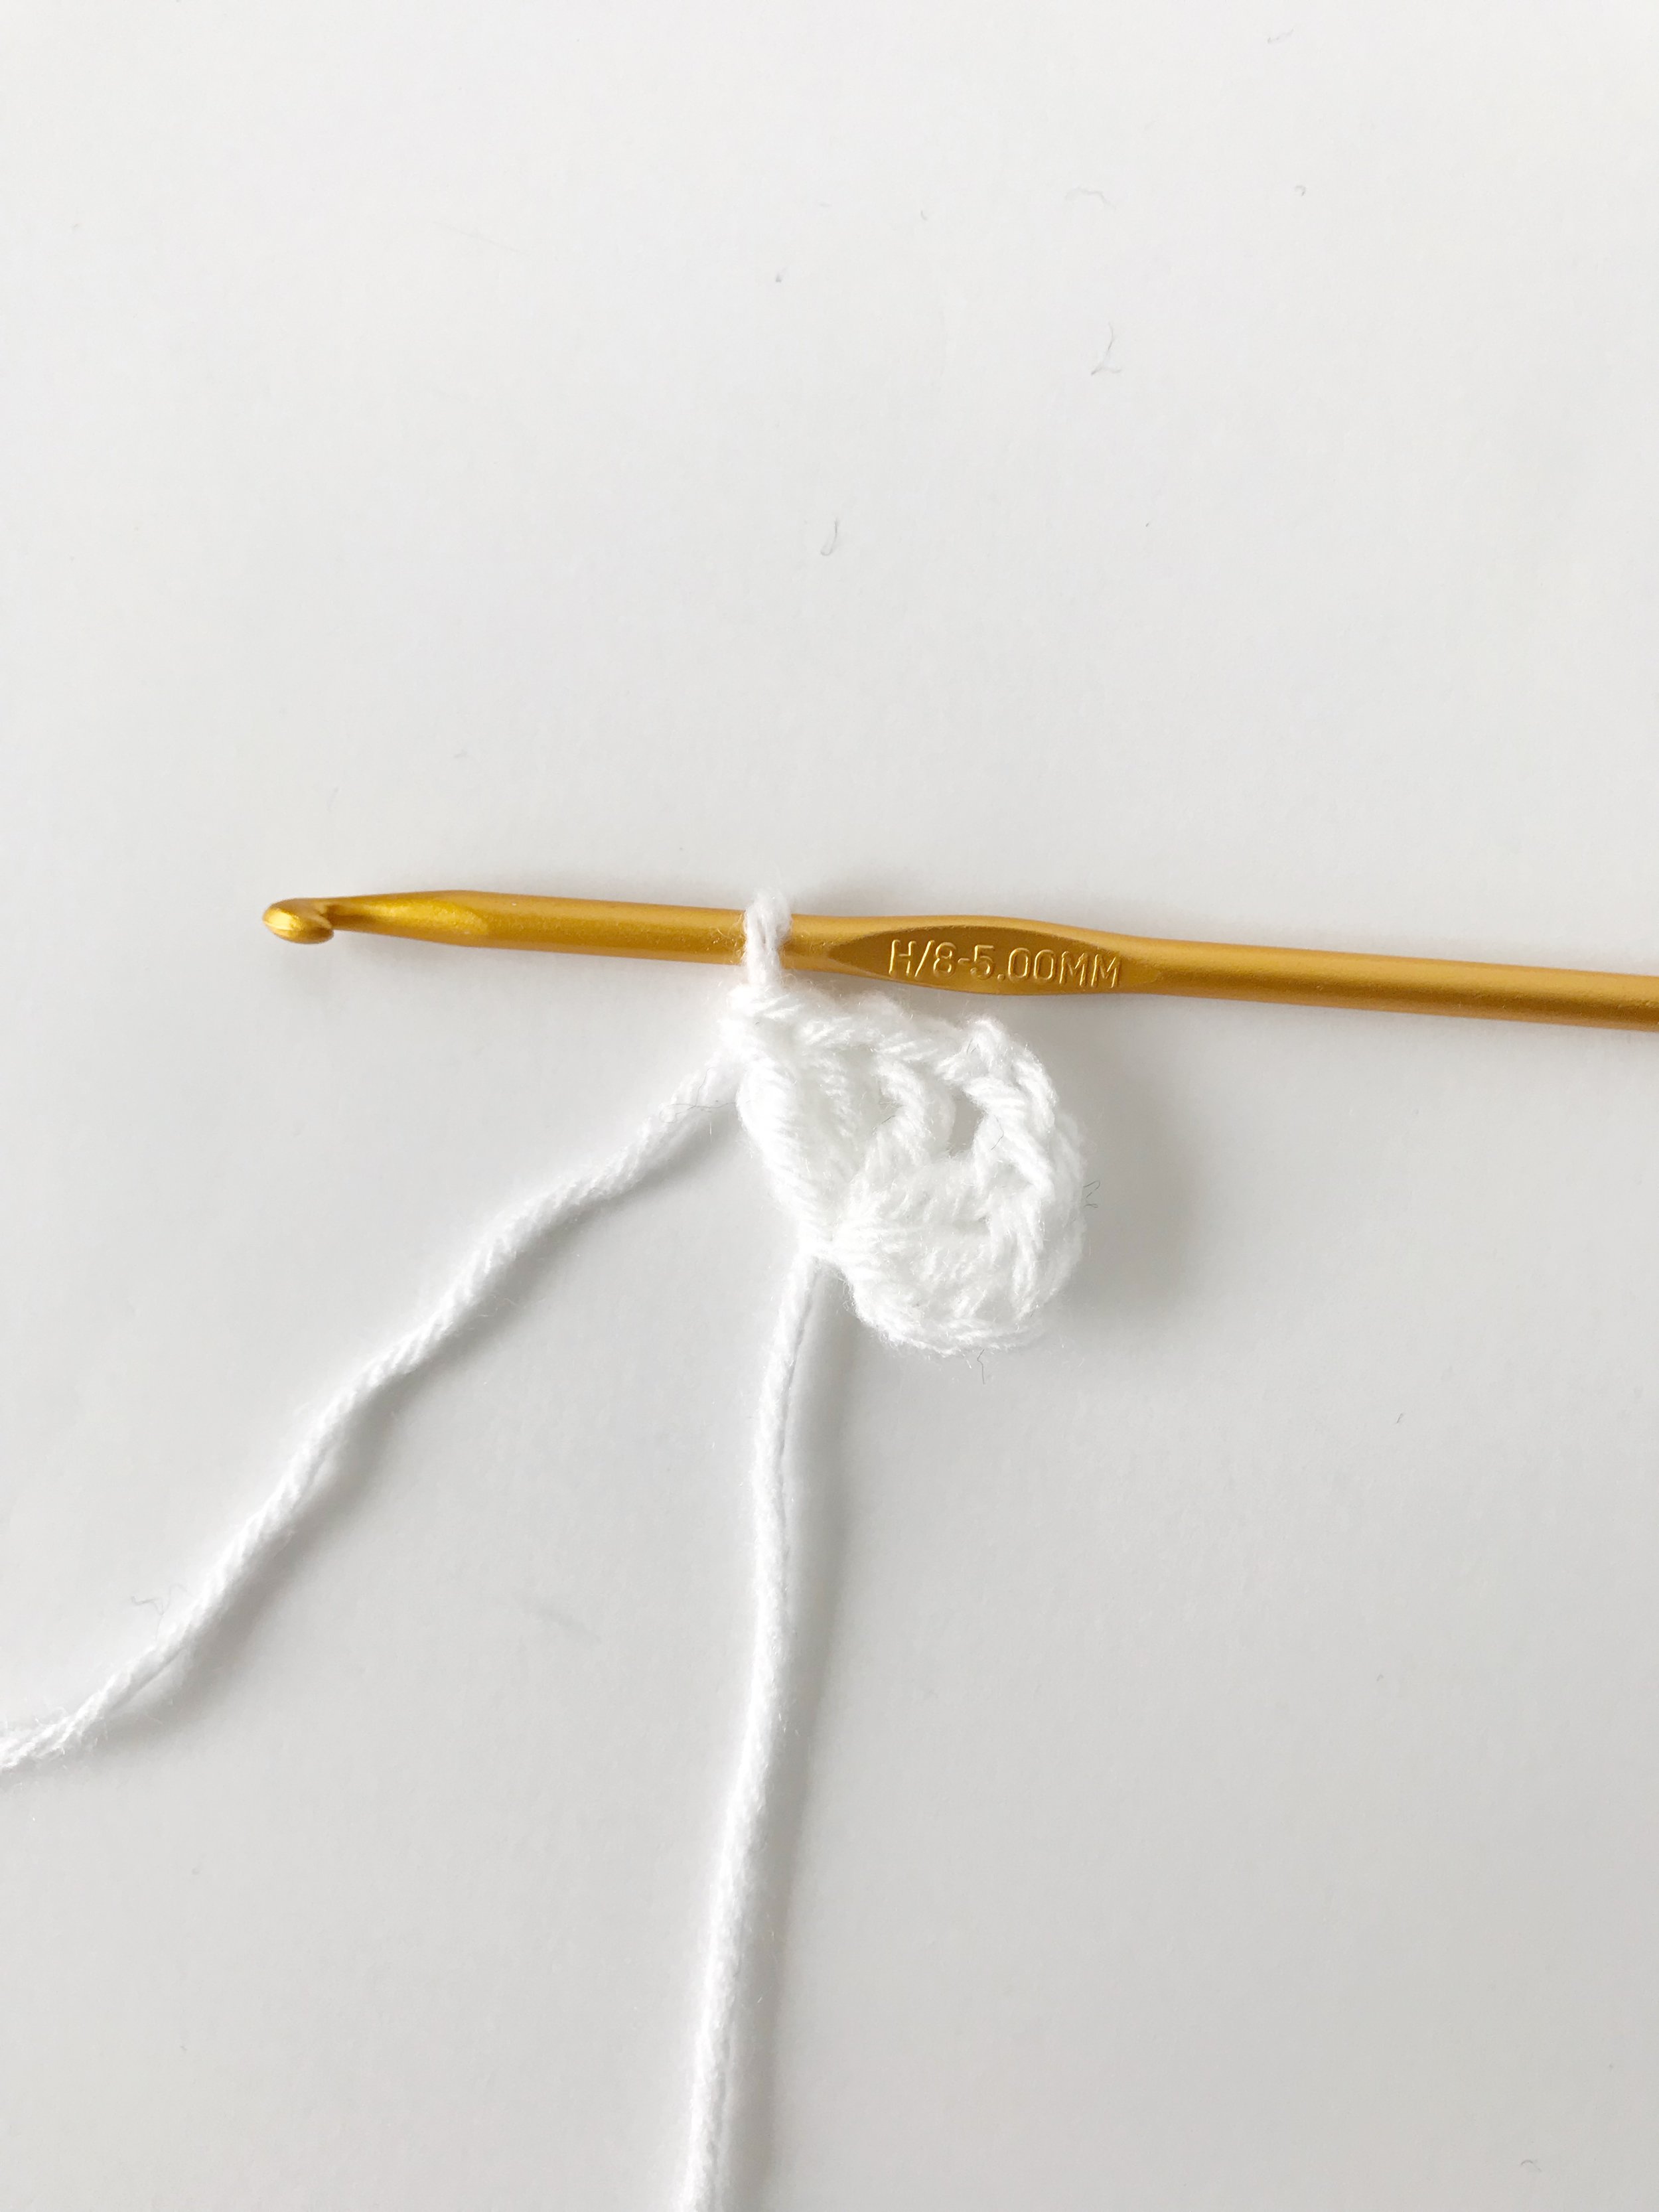
With white form a magic ring.
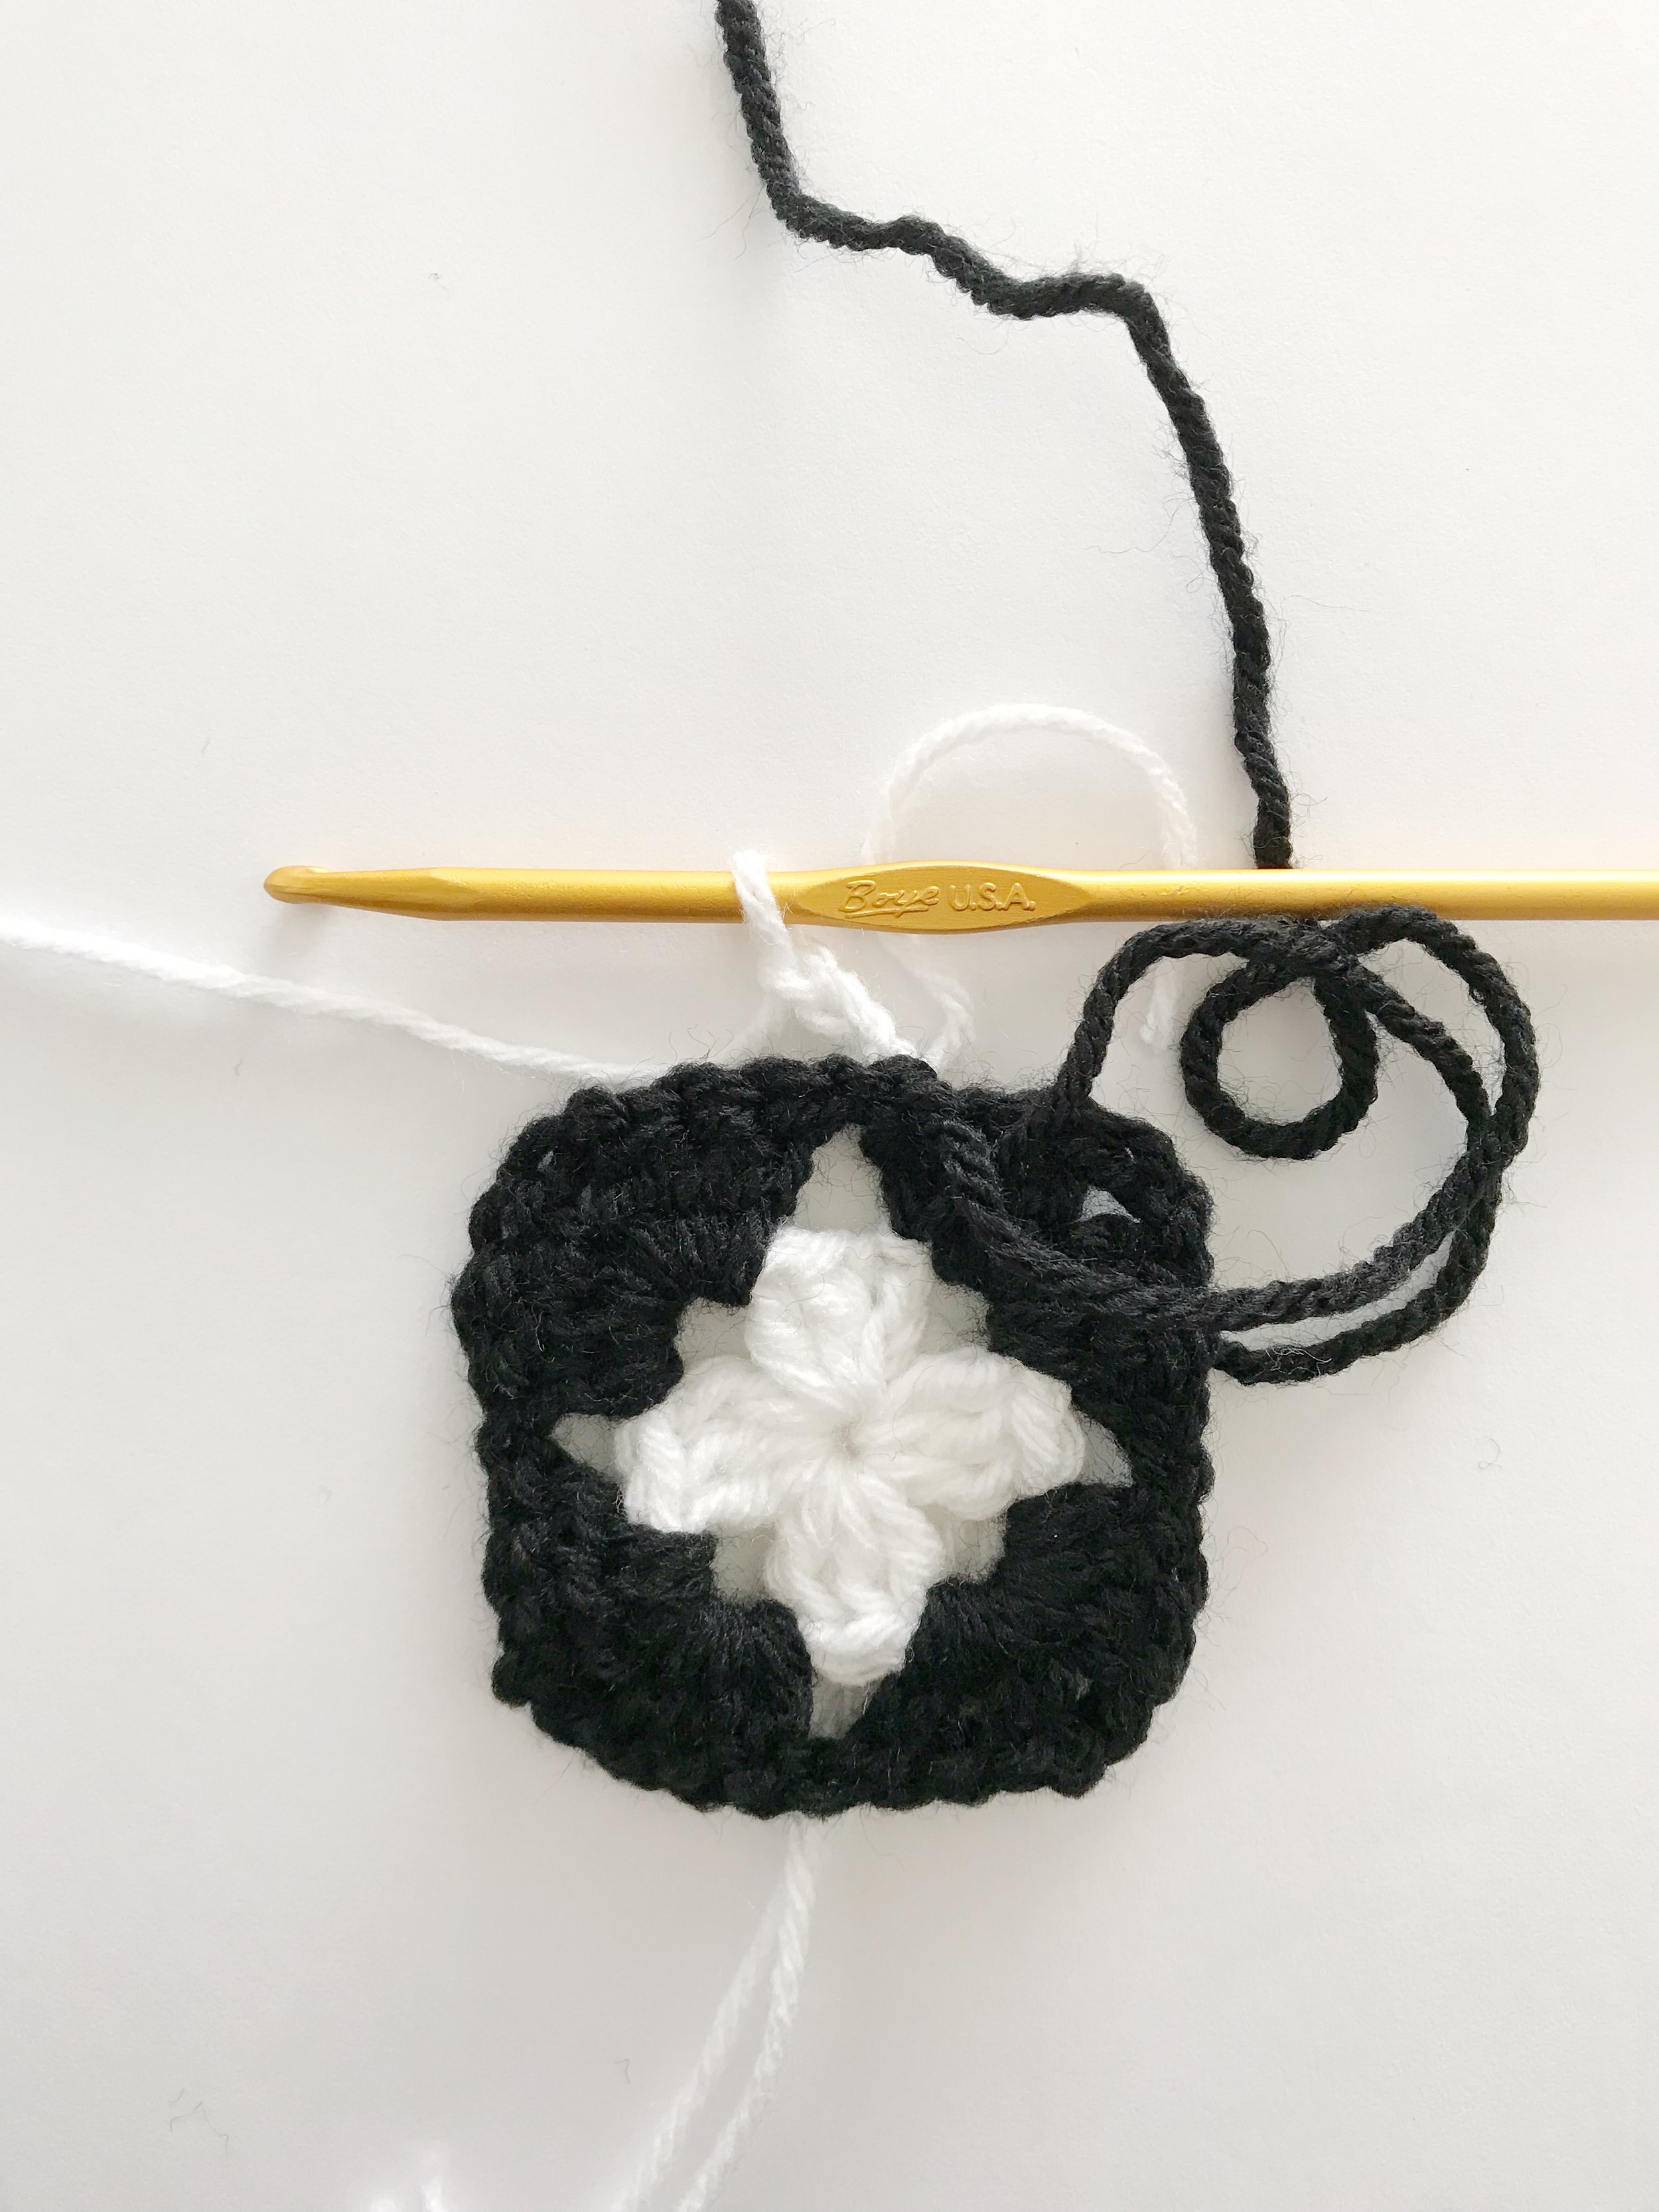
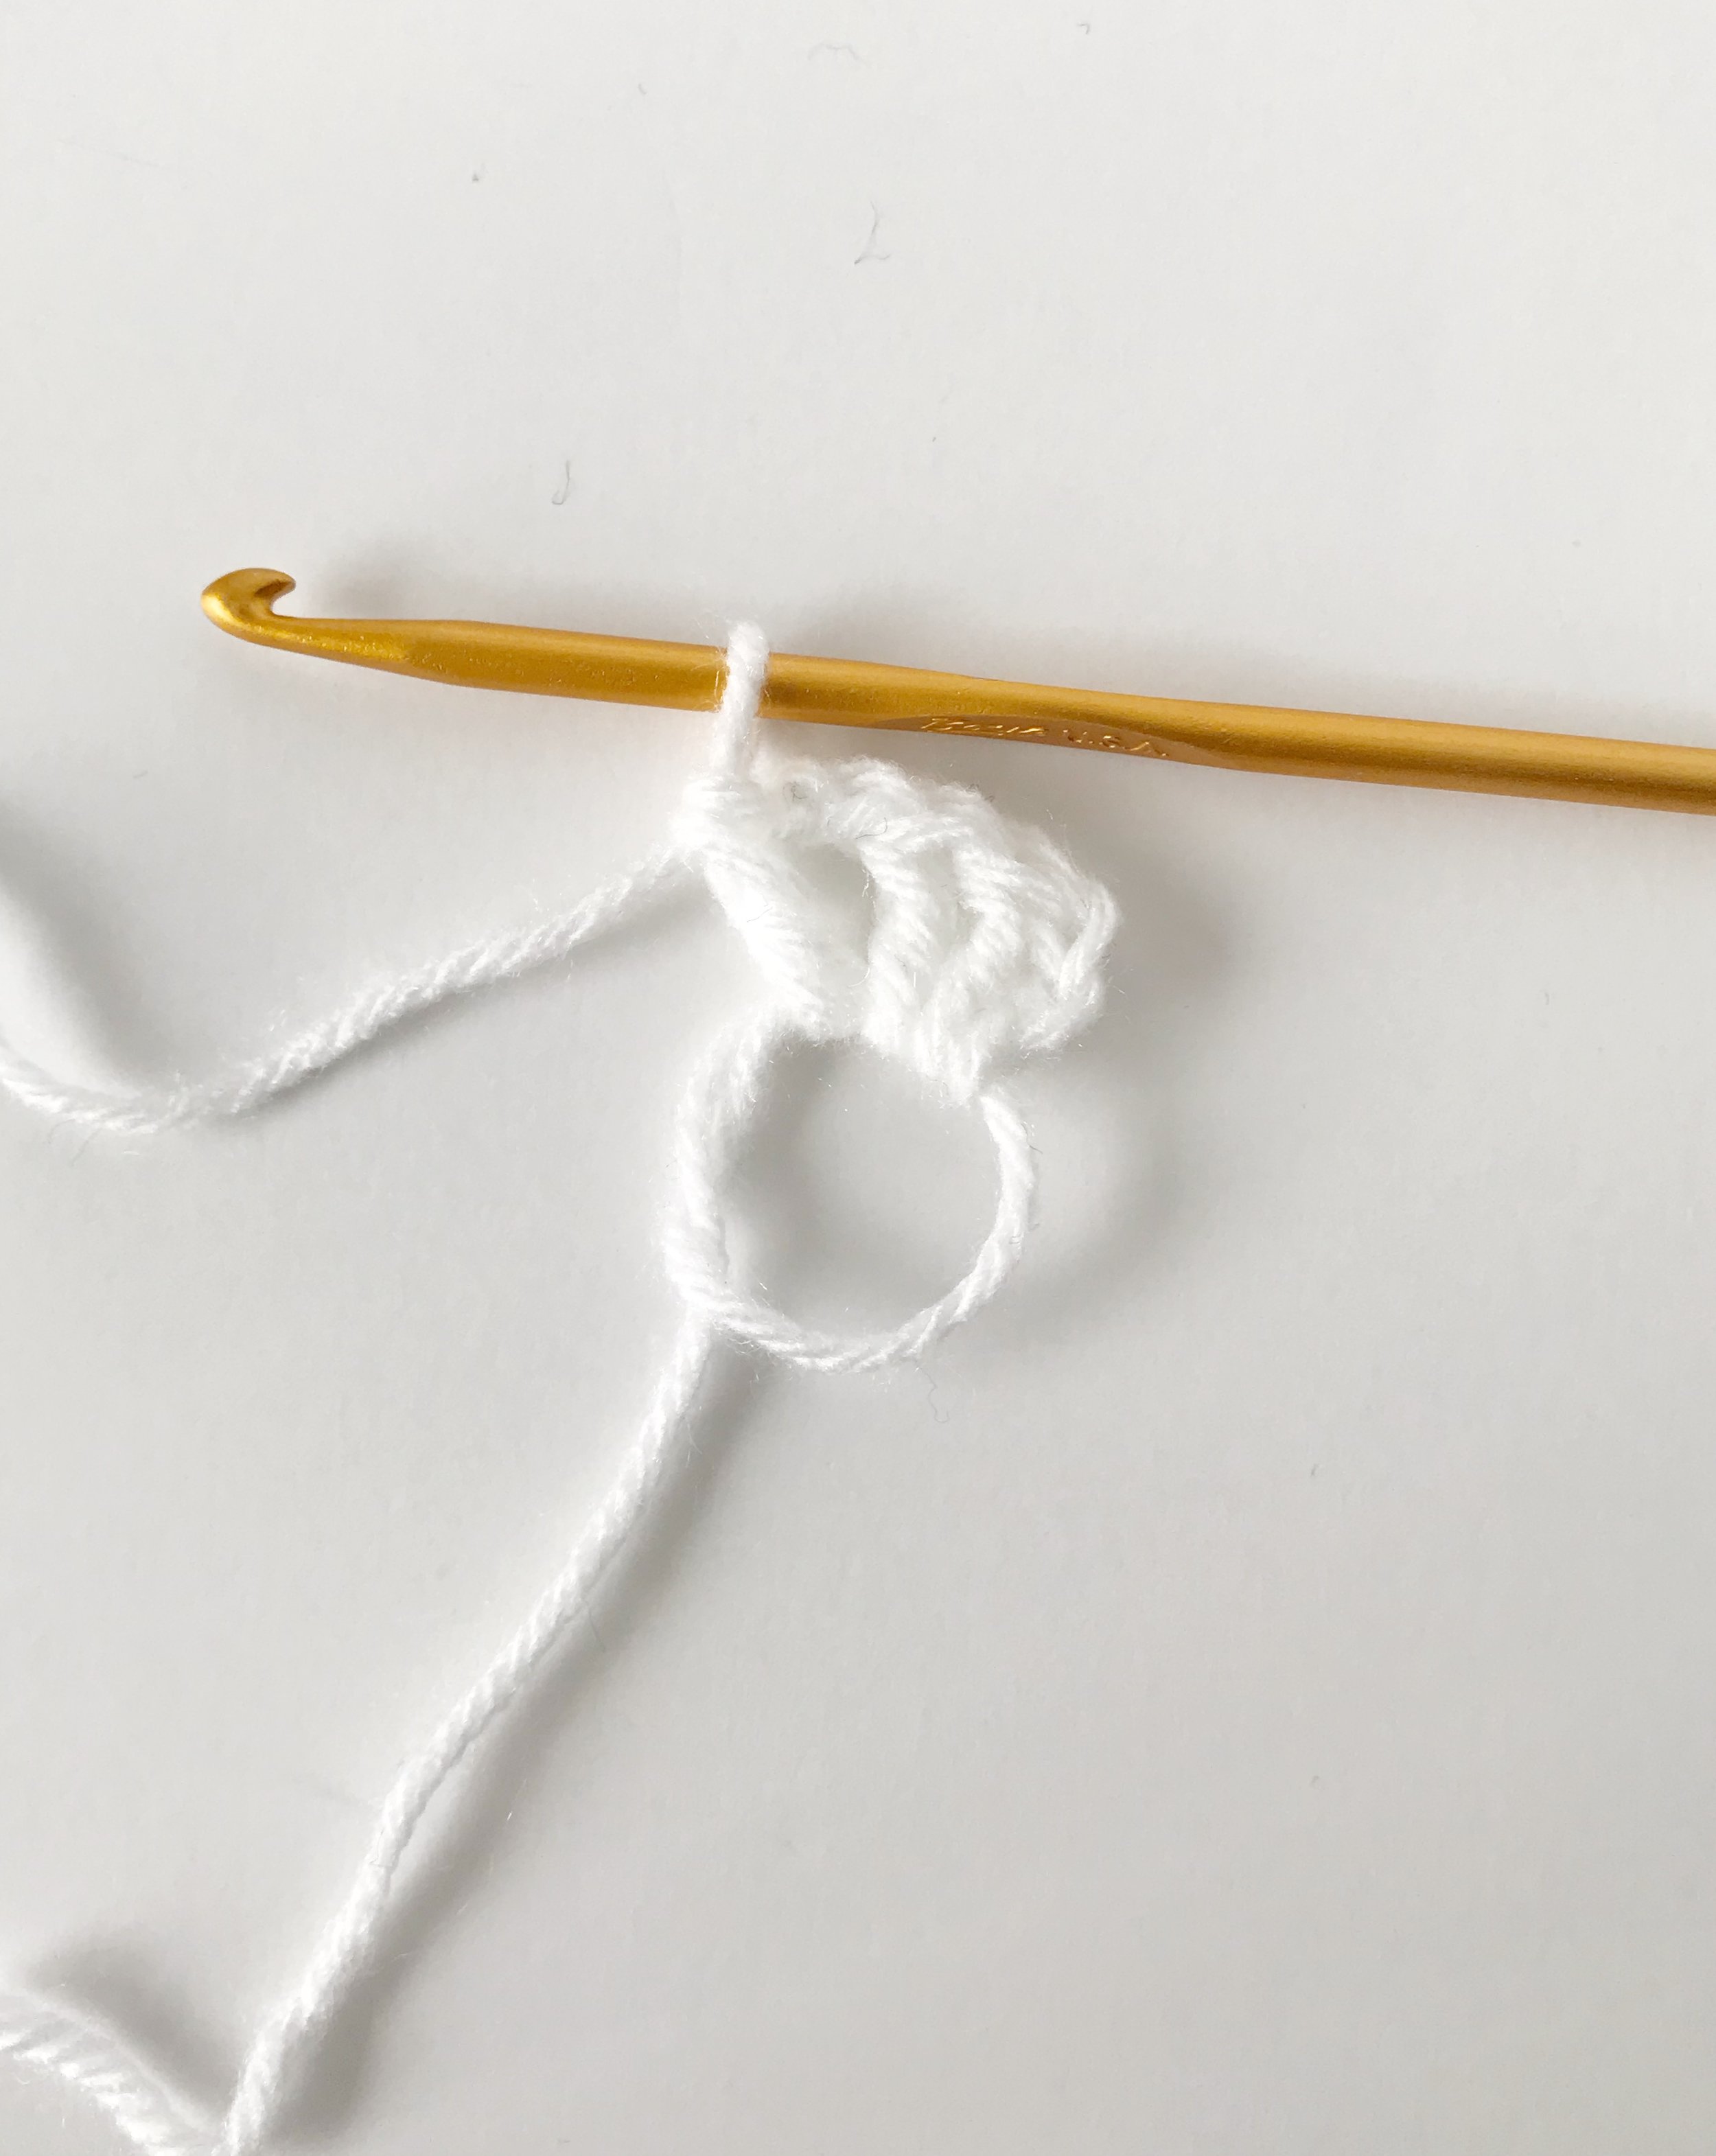
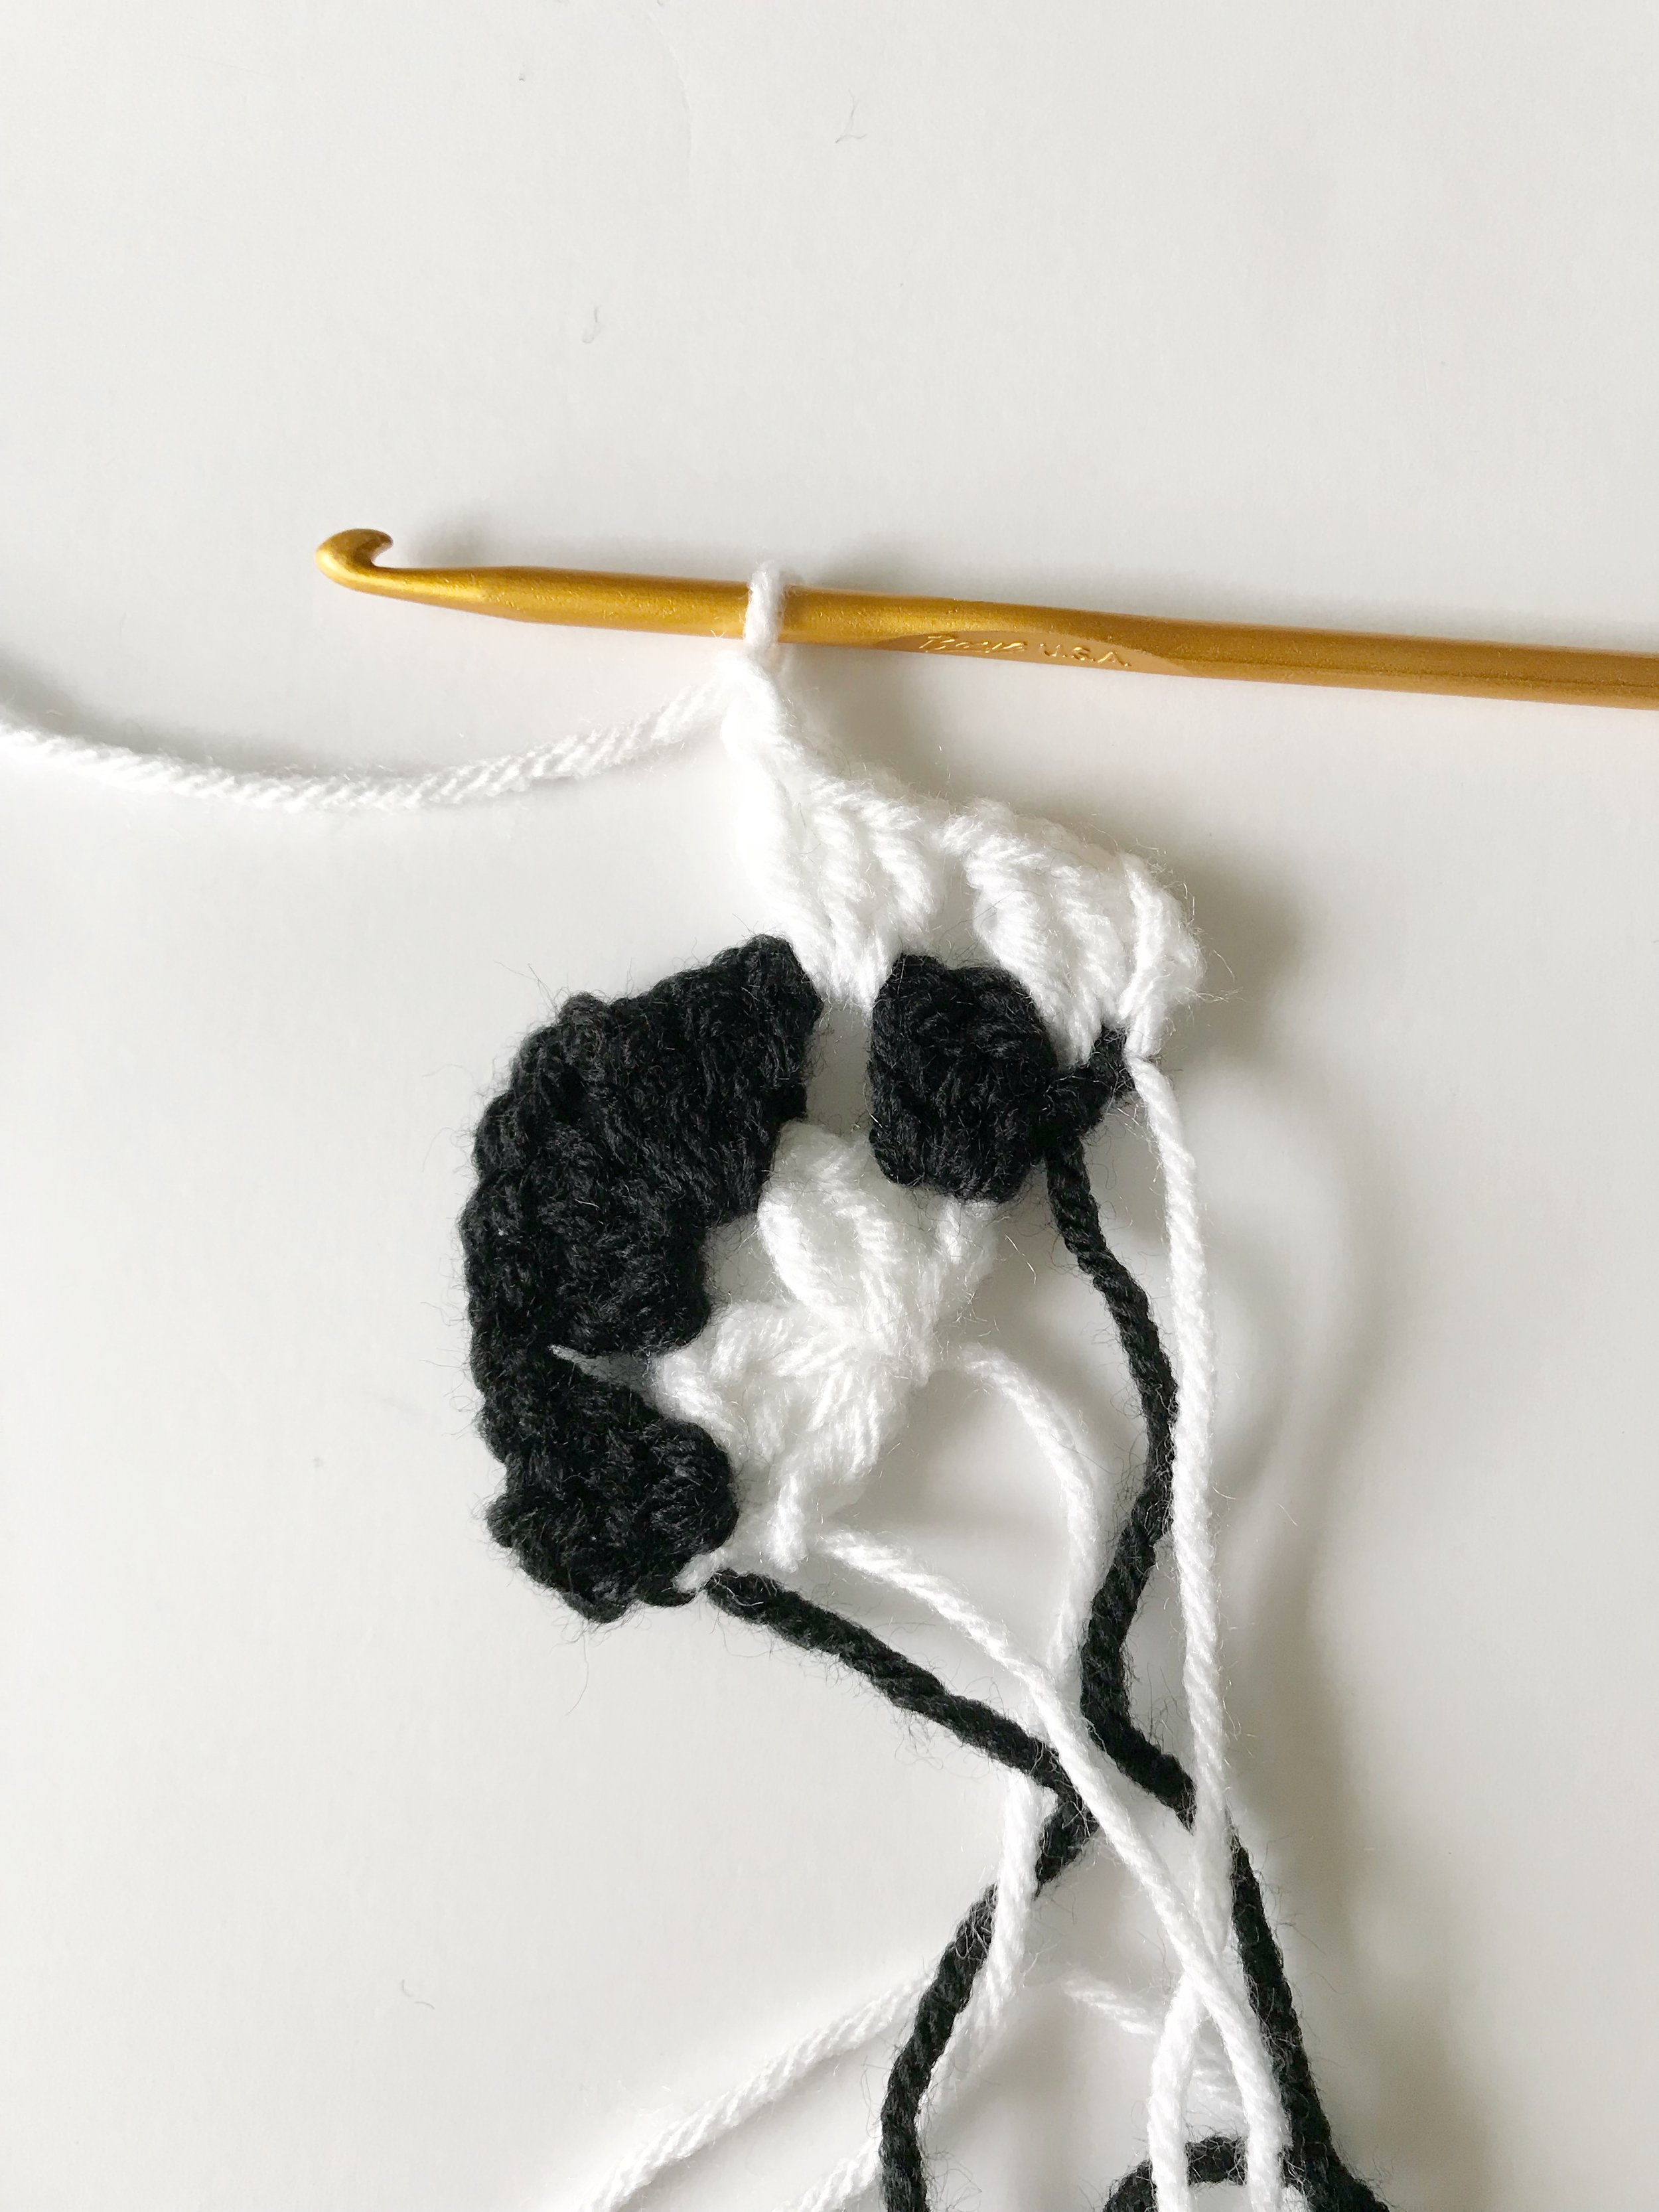
Round 1: ch3, work 2 dc into the magic ring, ch2, 3dc, ch2, 3dc, ch2, 3dc, ch2. Pull magic ring closed and sl st to top of ch3. Change to black. (12 sts, 4 ch-2 spaces)
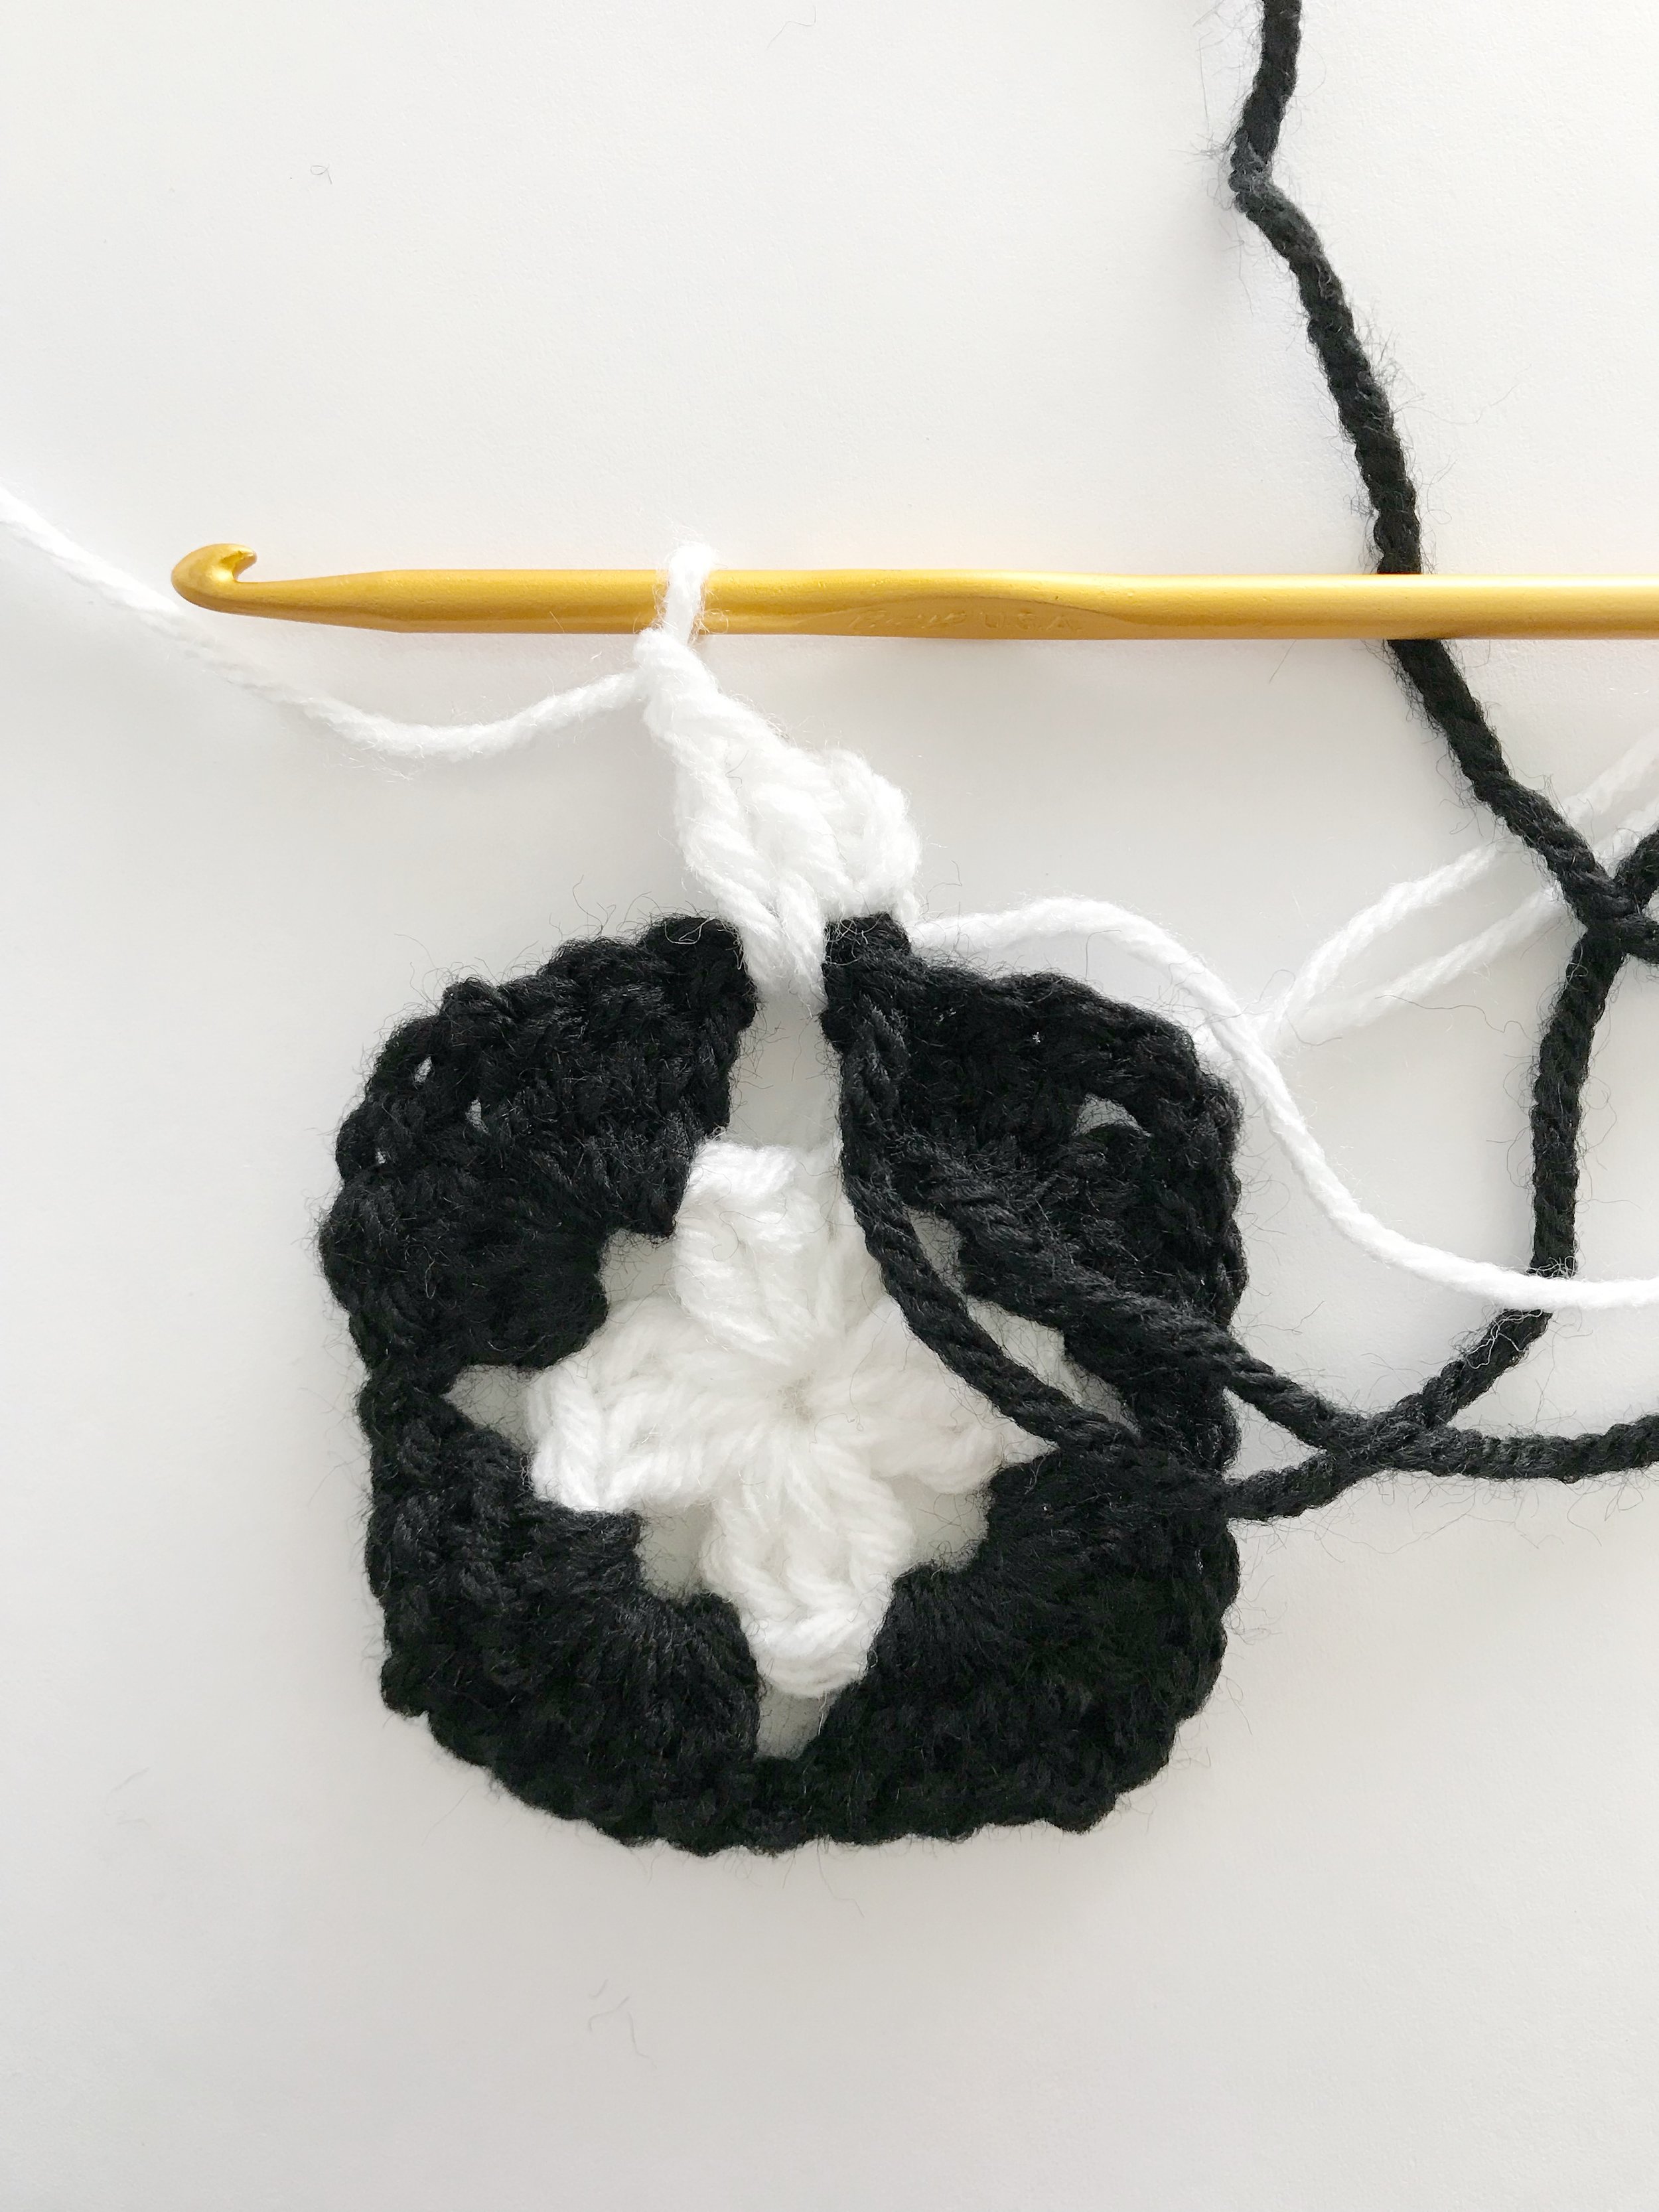
Round 2: ch3, turn. Work 2 dc into the first ch-2 space, ch2 3dc into same ch-2 space. Ch1, 3dc, ch2, 3dc into each ch-2 space around ending with a ch1. Sl st to top of ch3. Change to white. (24 sts, 4 ch-2 spaces, 4 ch-1 spaces )

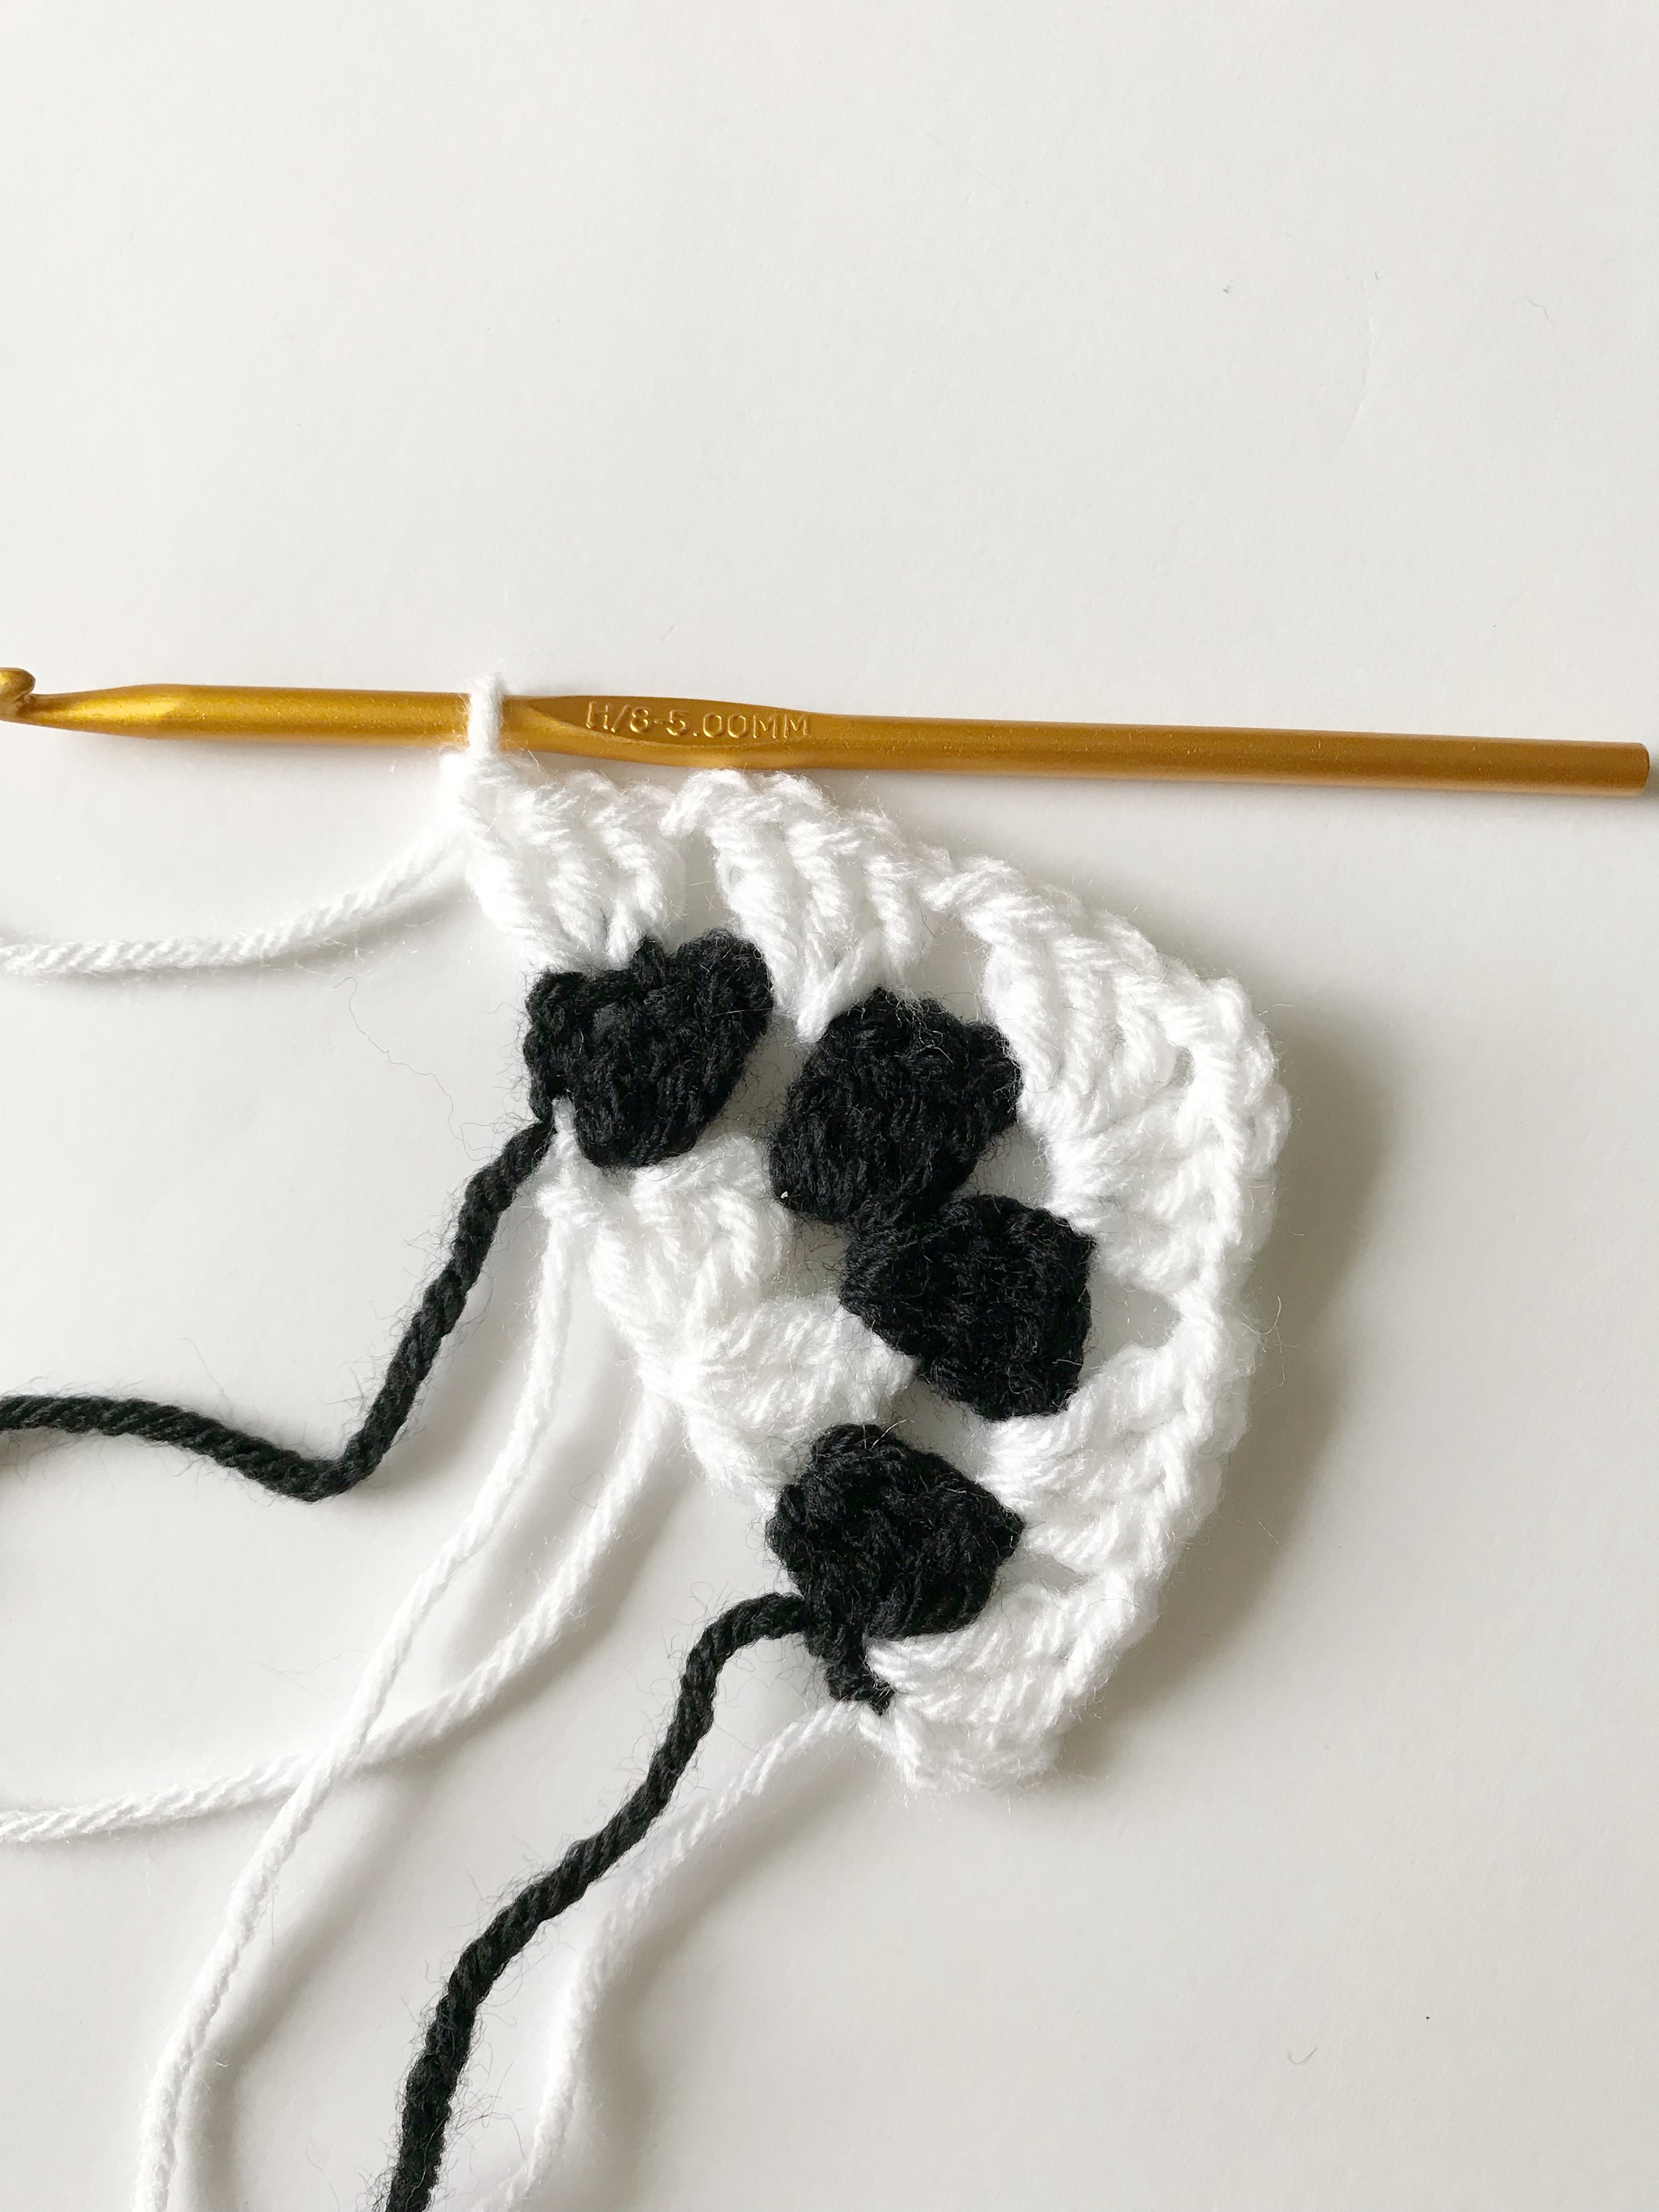
Round 3: ch3, turn. Work 2 dc into the first ch-1 space, ch1, *3dc, ch2, 3dc into the next ch-2 space. Ch1, 3dc into next ch-1 space, ch1 repeat from * all the way around ending with a ch1. Sl st to top of ch3. (36 sts, 4 ch-2 spaces, 8 ch-1 spaces )
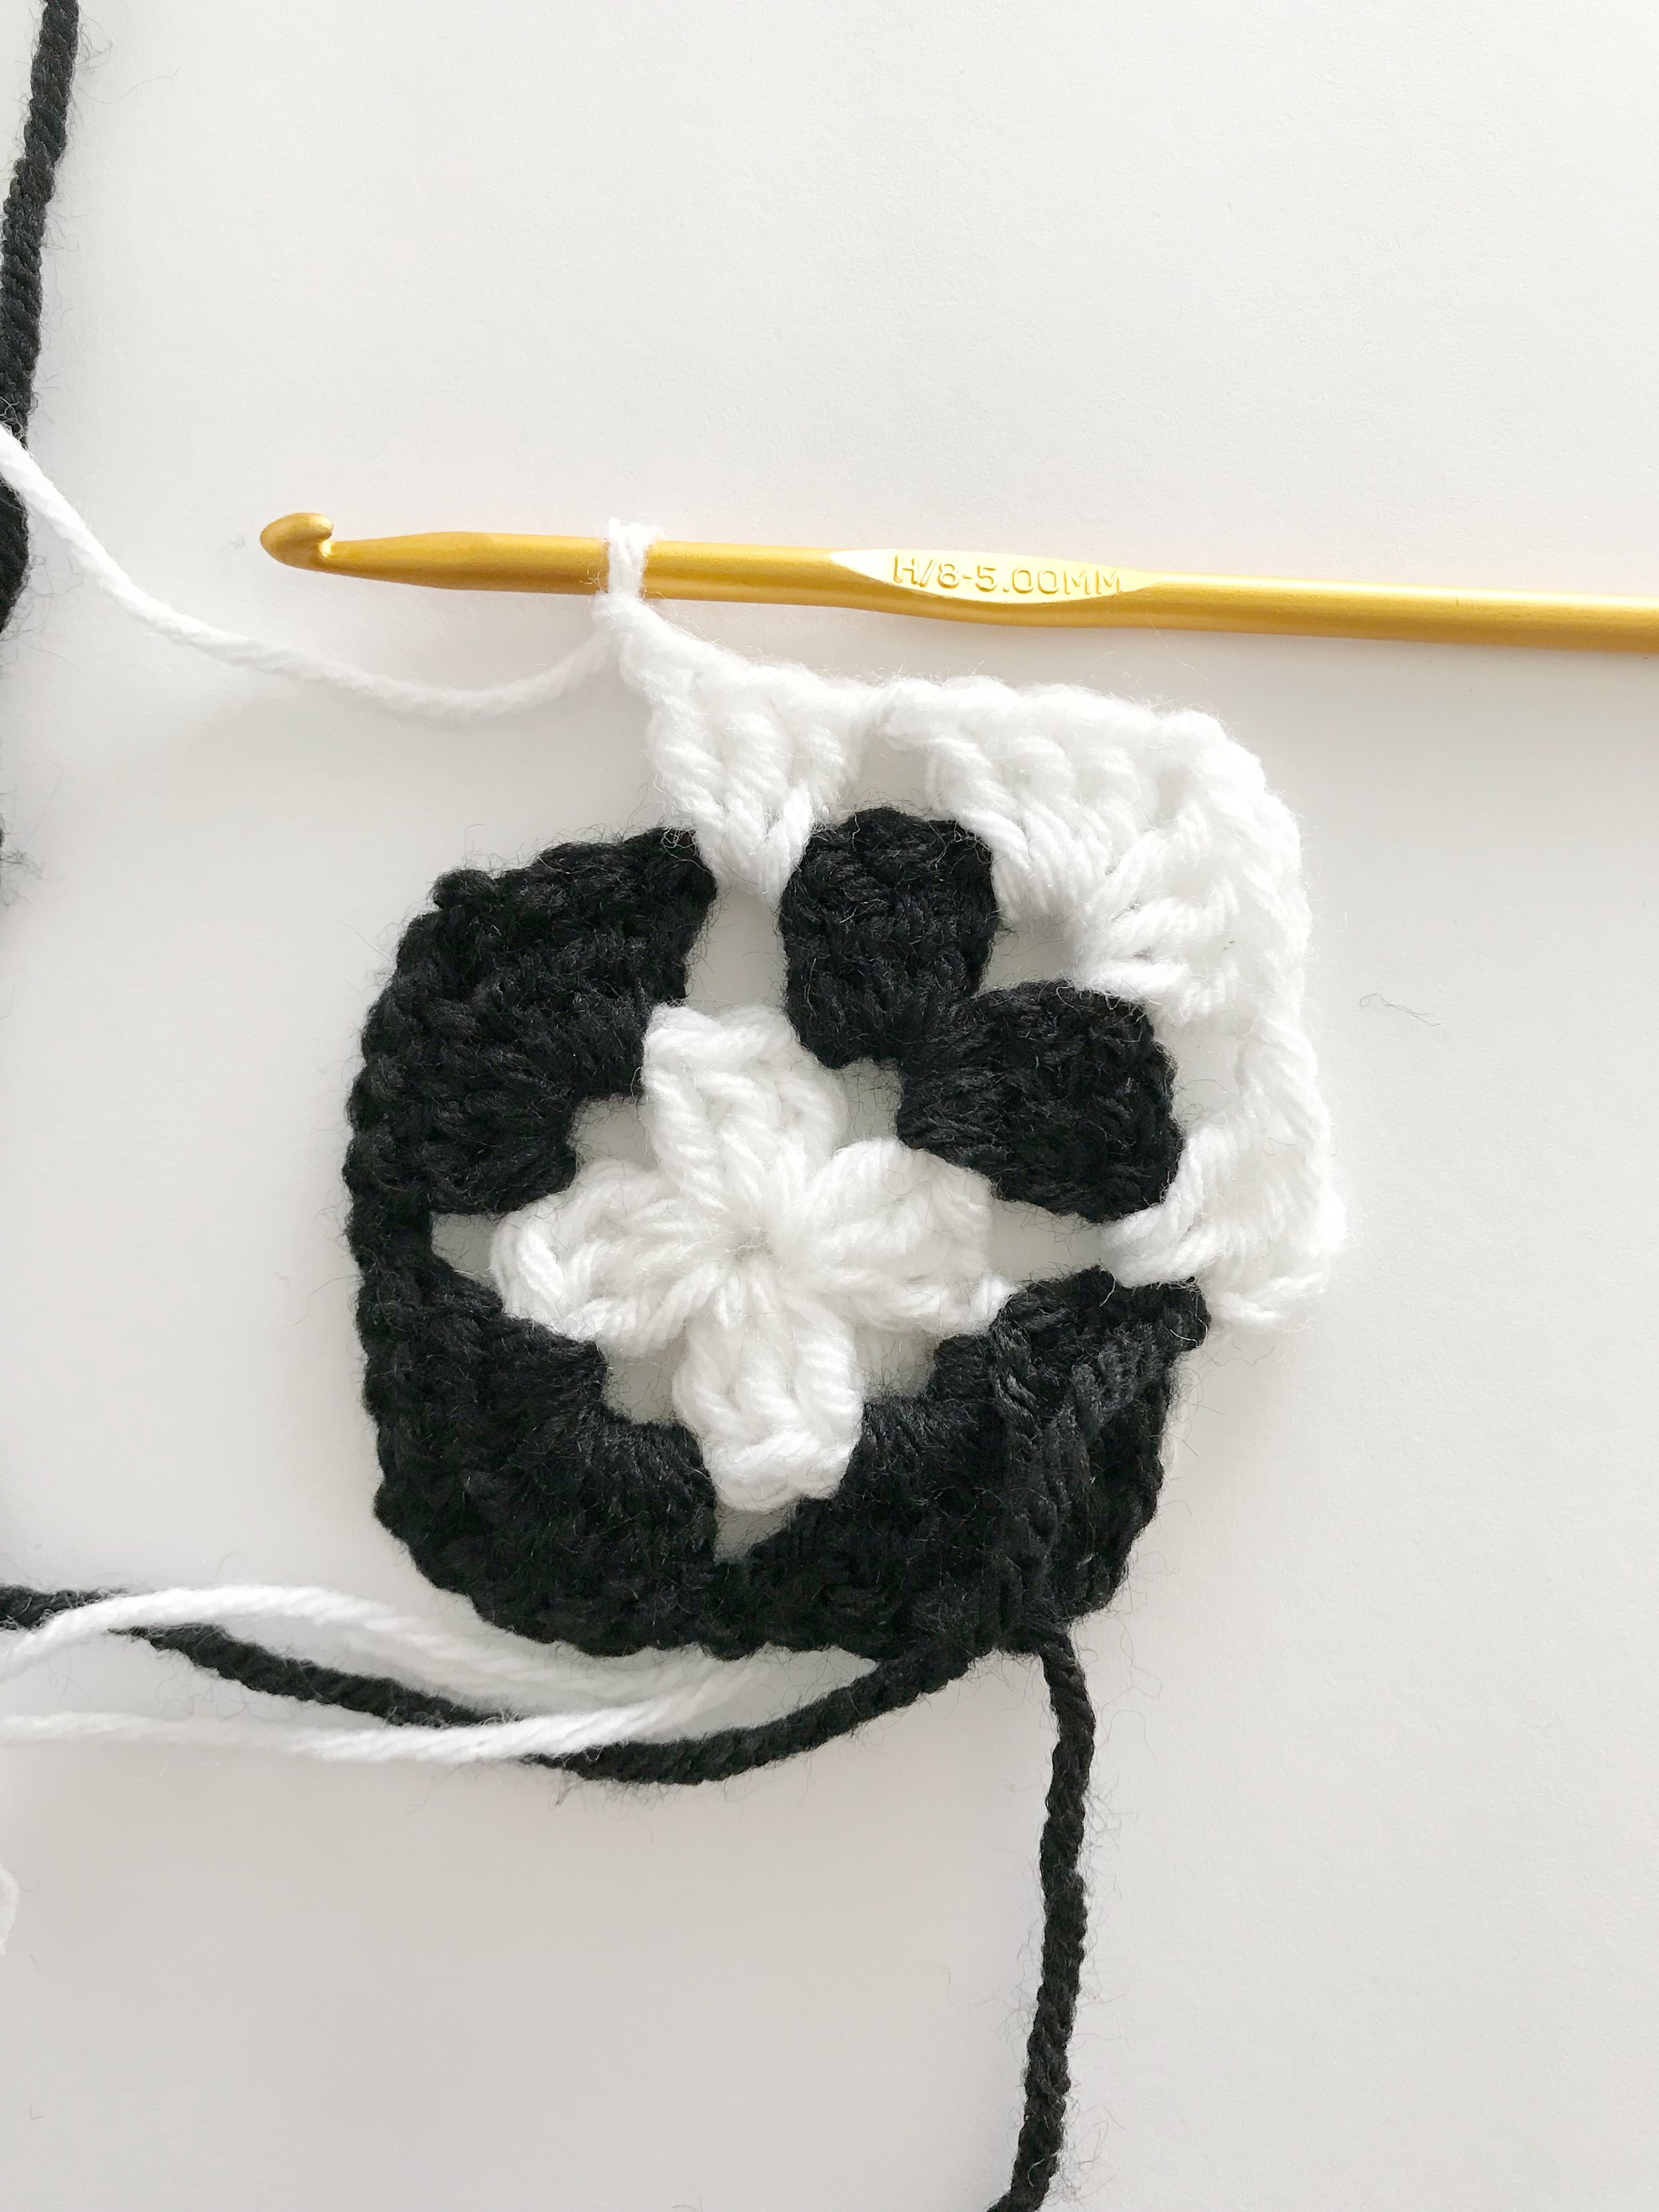
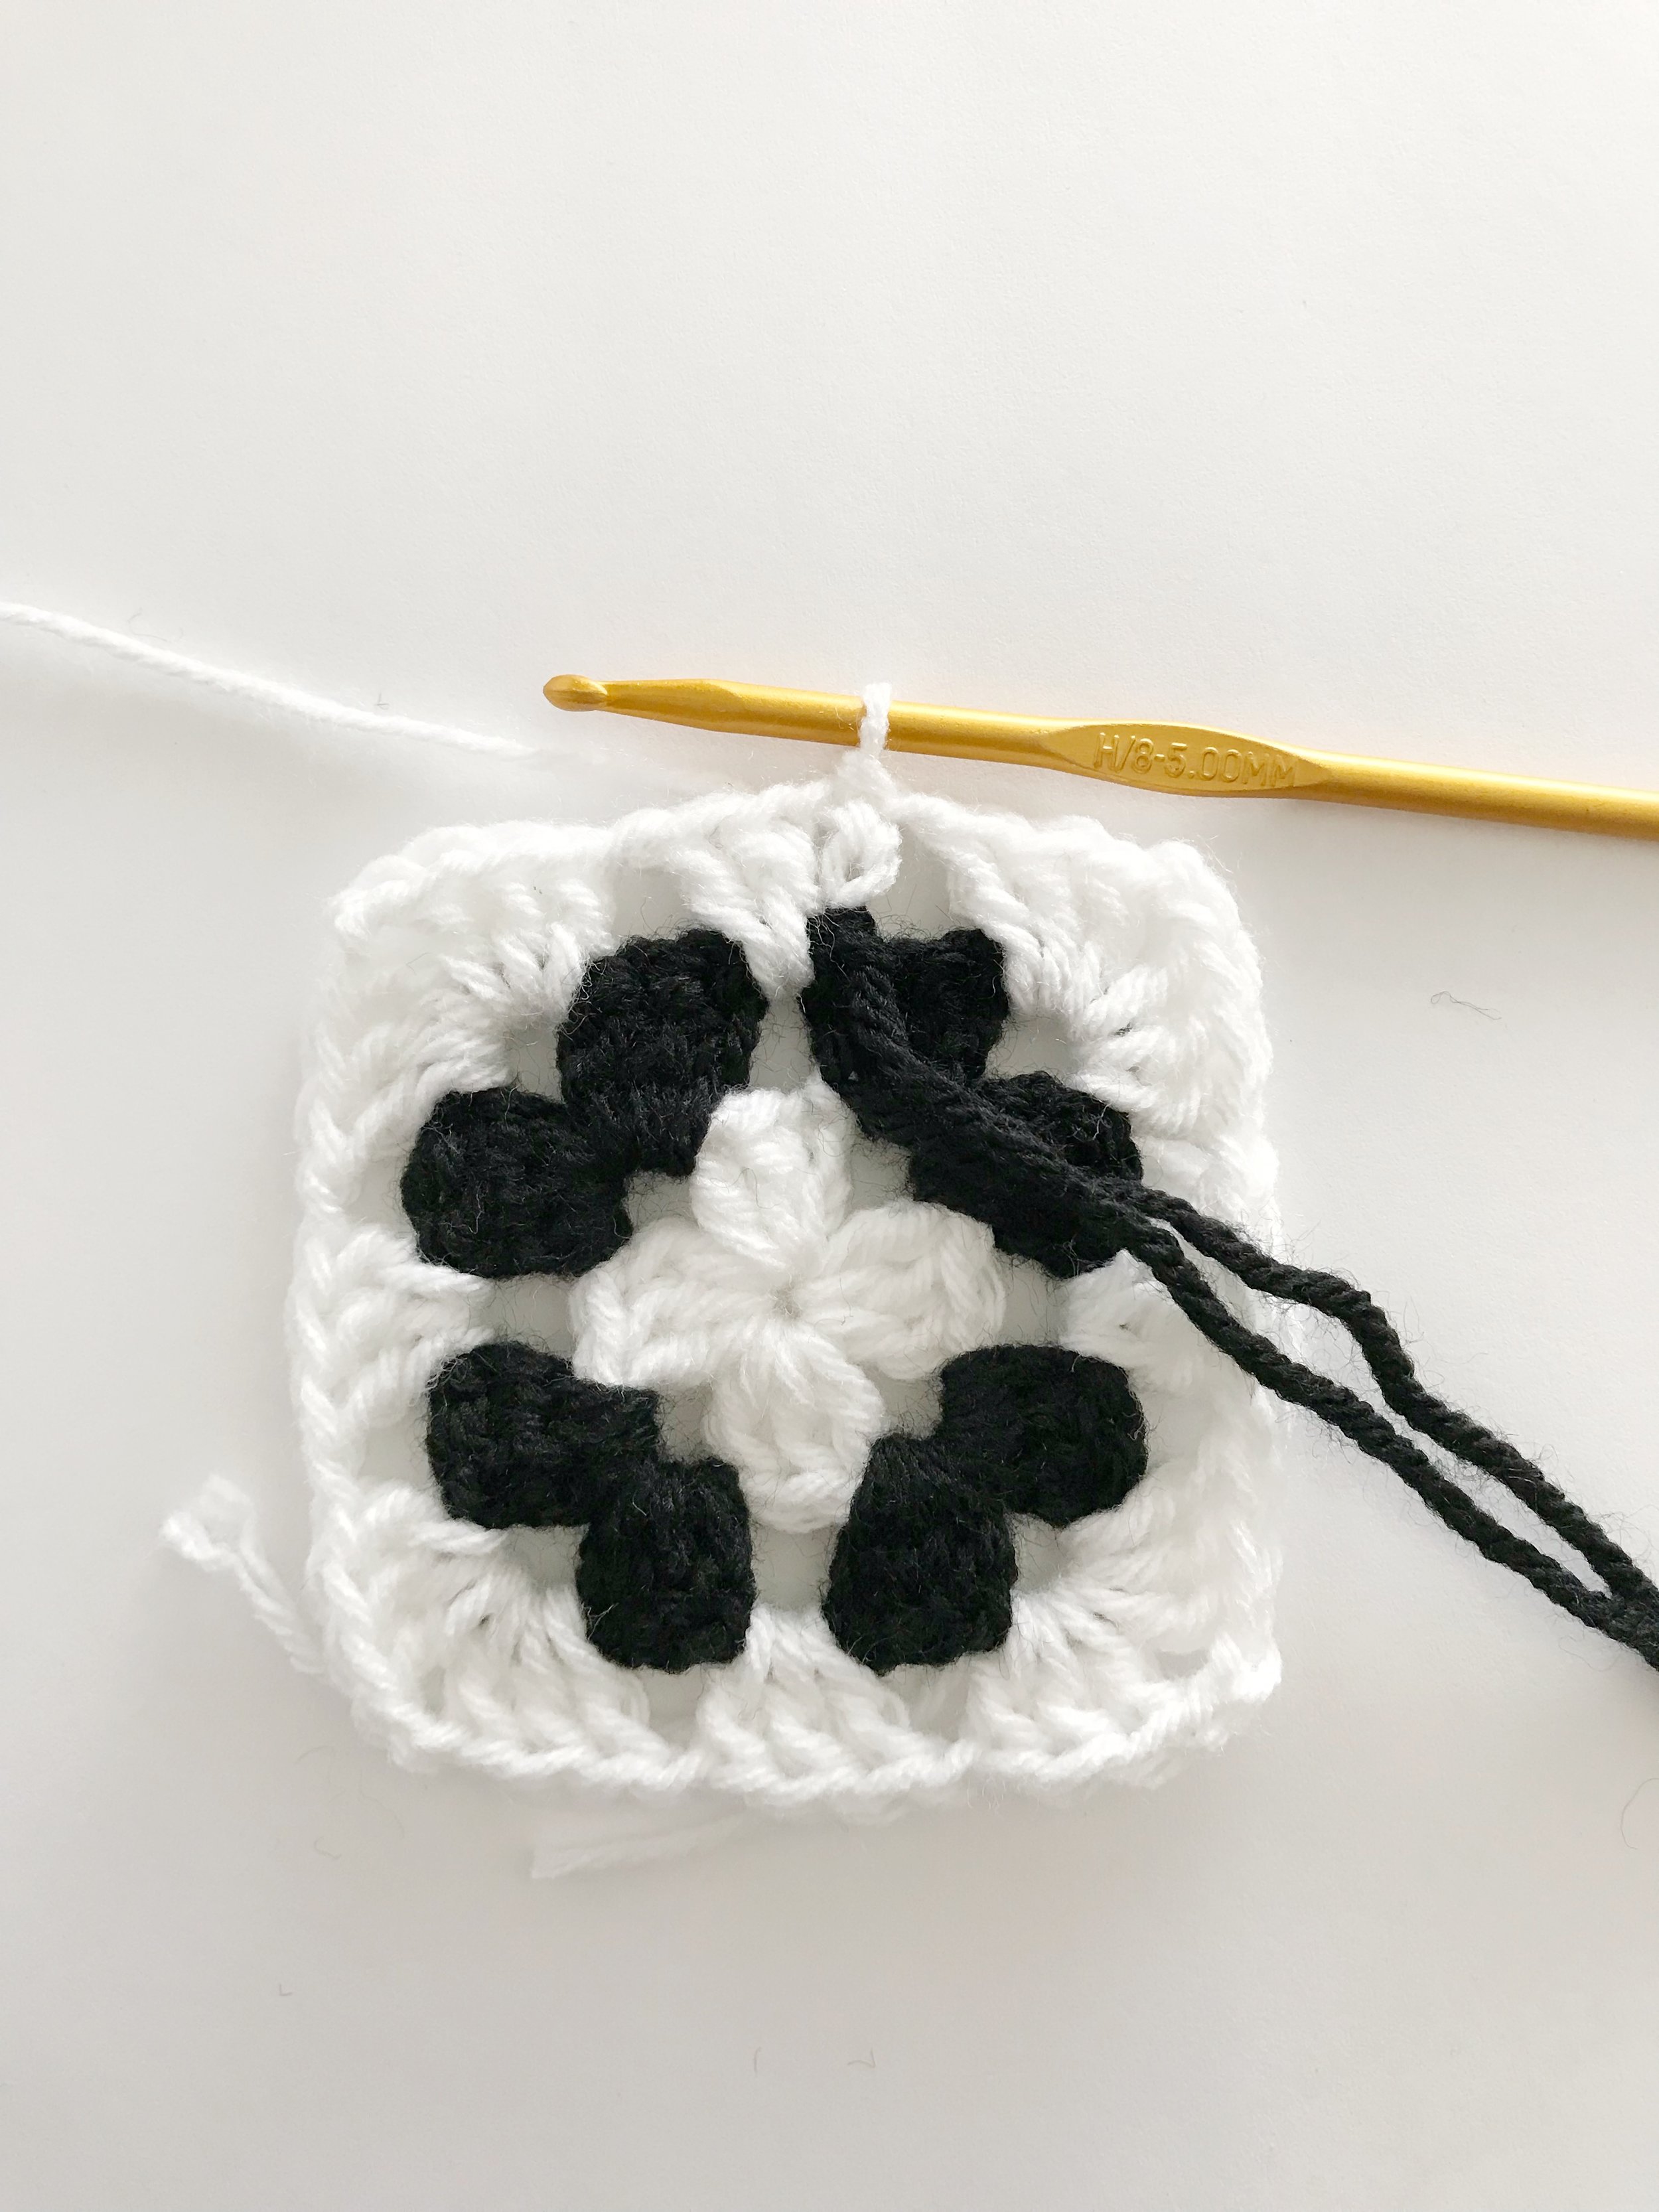
Round 4: ch3, turn. Work 2 dc into the first ch-1 space. ch1, *3dc, ch2, 3dc in next ch-2 space. Ch1, 3dc in next ch-1 space. Ch1, 3dc in next ch-1 space, ch1 repeat from * all the way around ending with a ch1, sl st to top of ch3. Change to black. (48 sts, 4 ch-2 spaces, 12 ch-1 spaces)
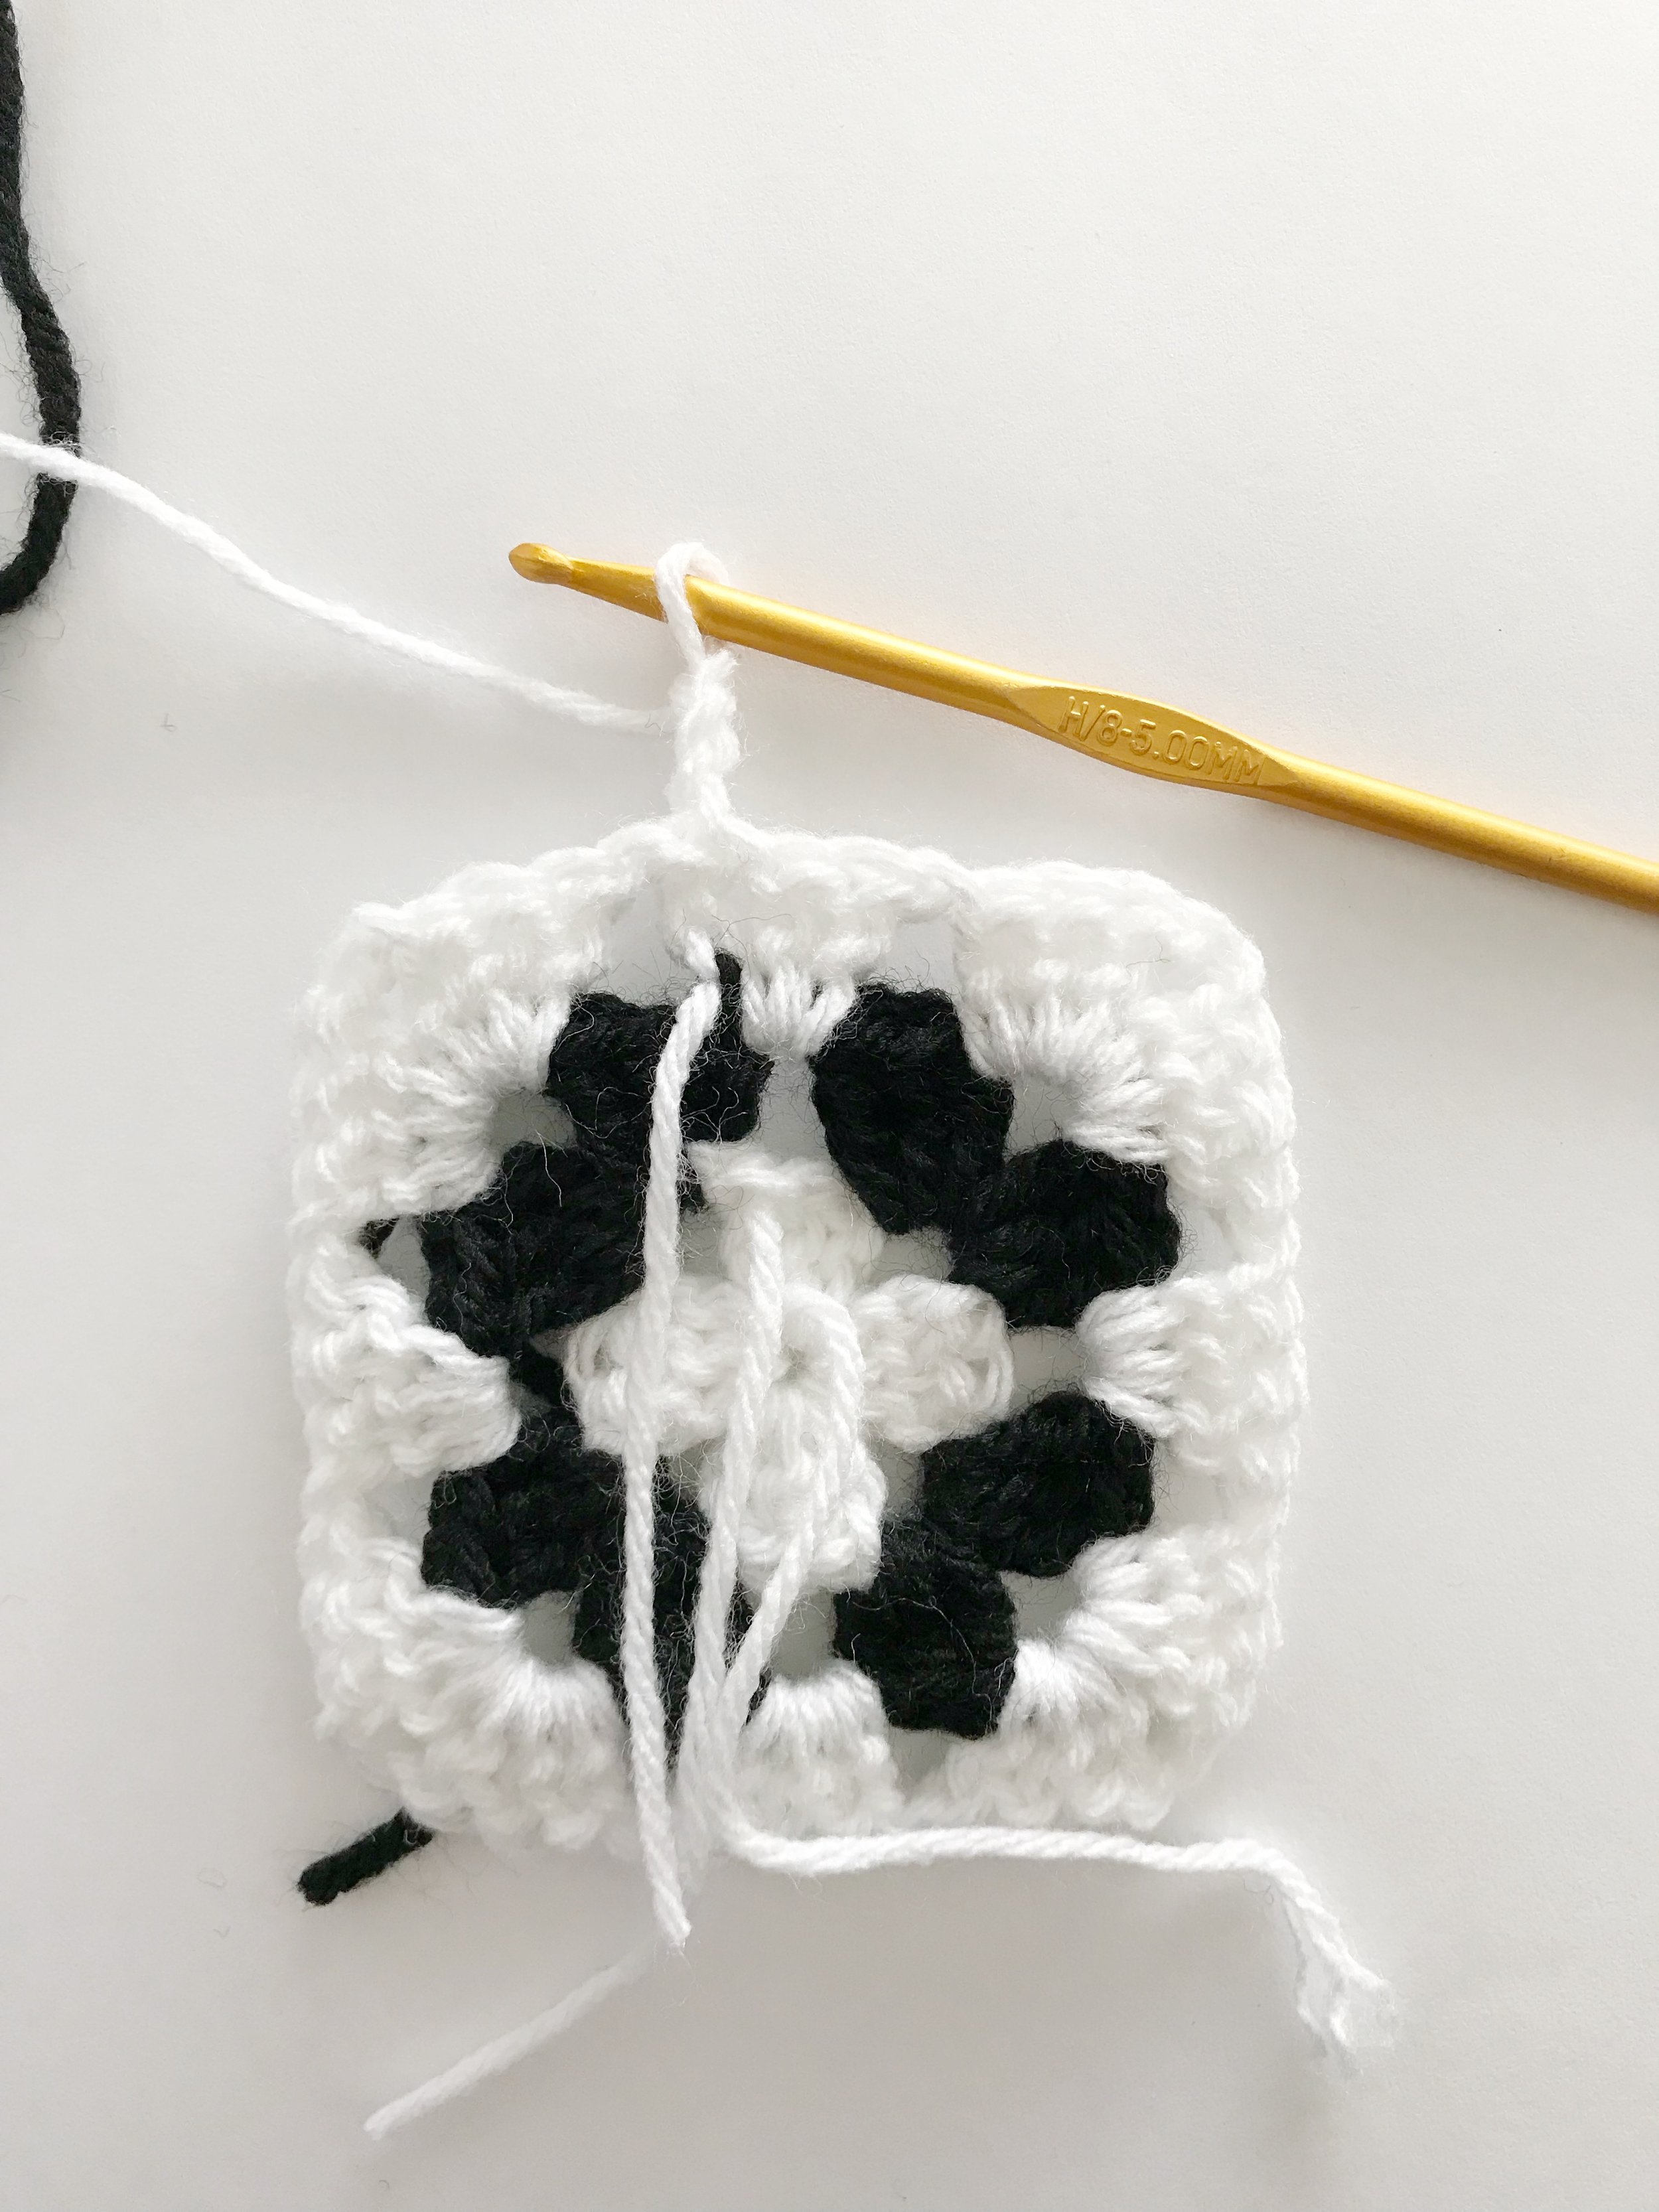
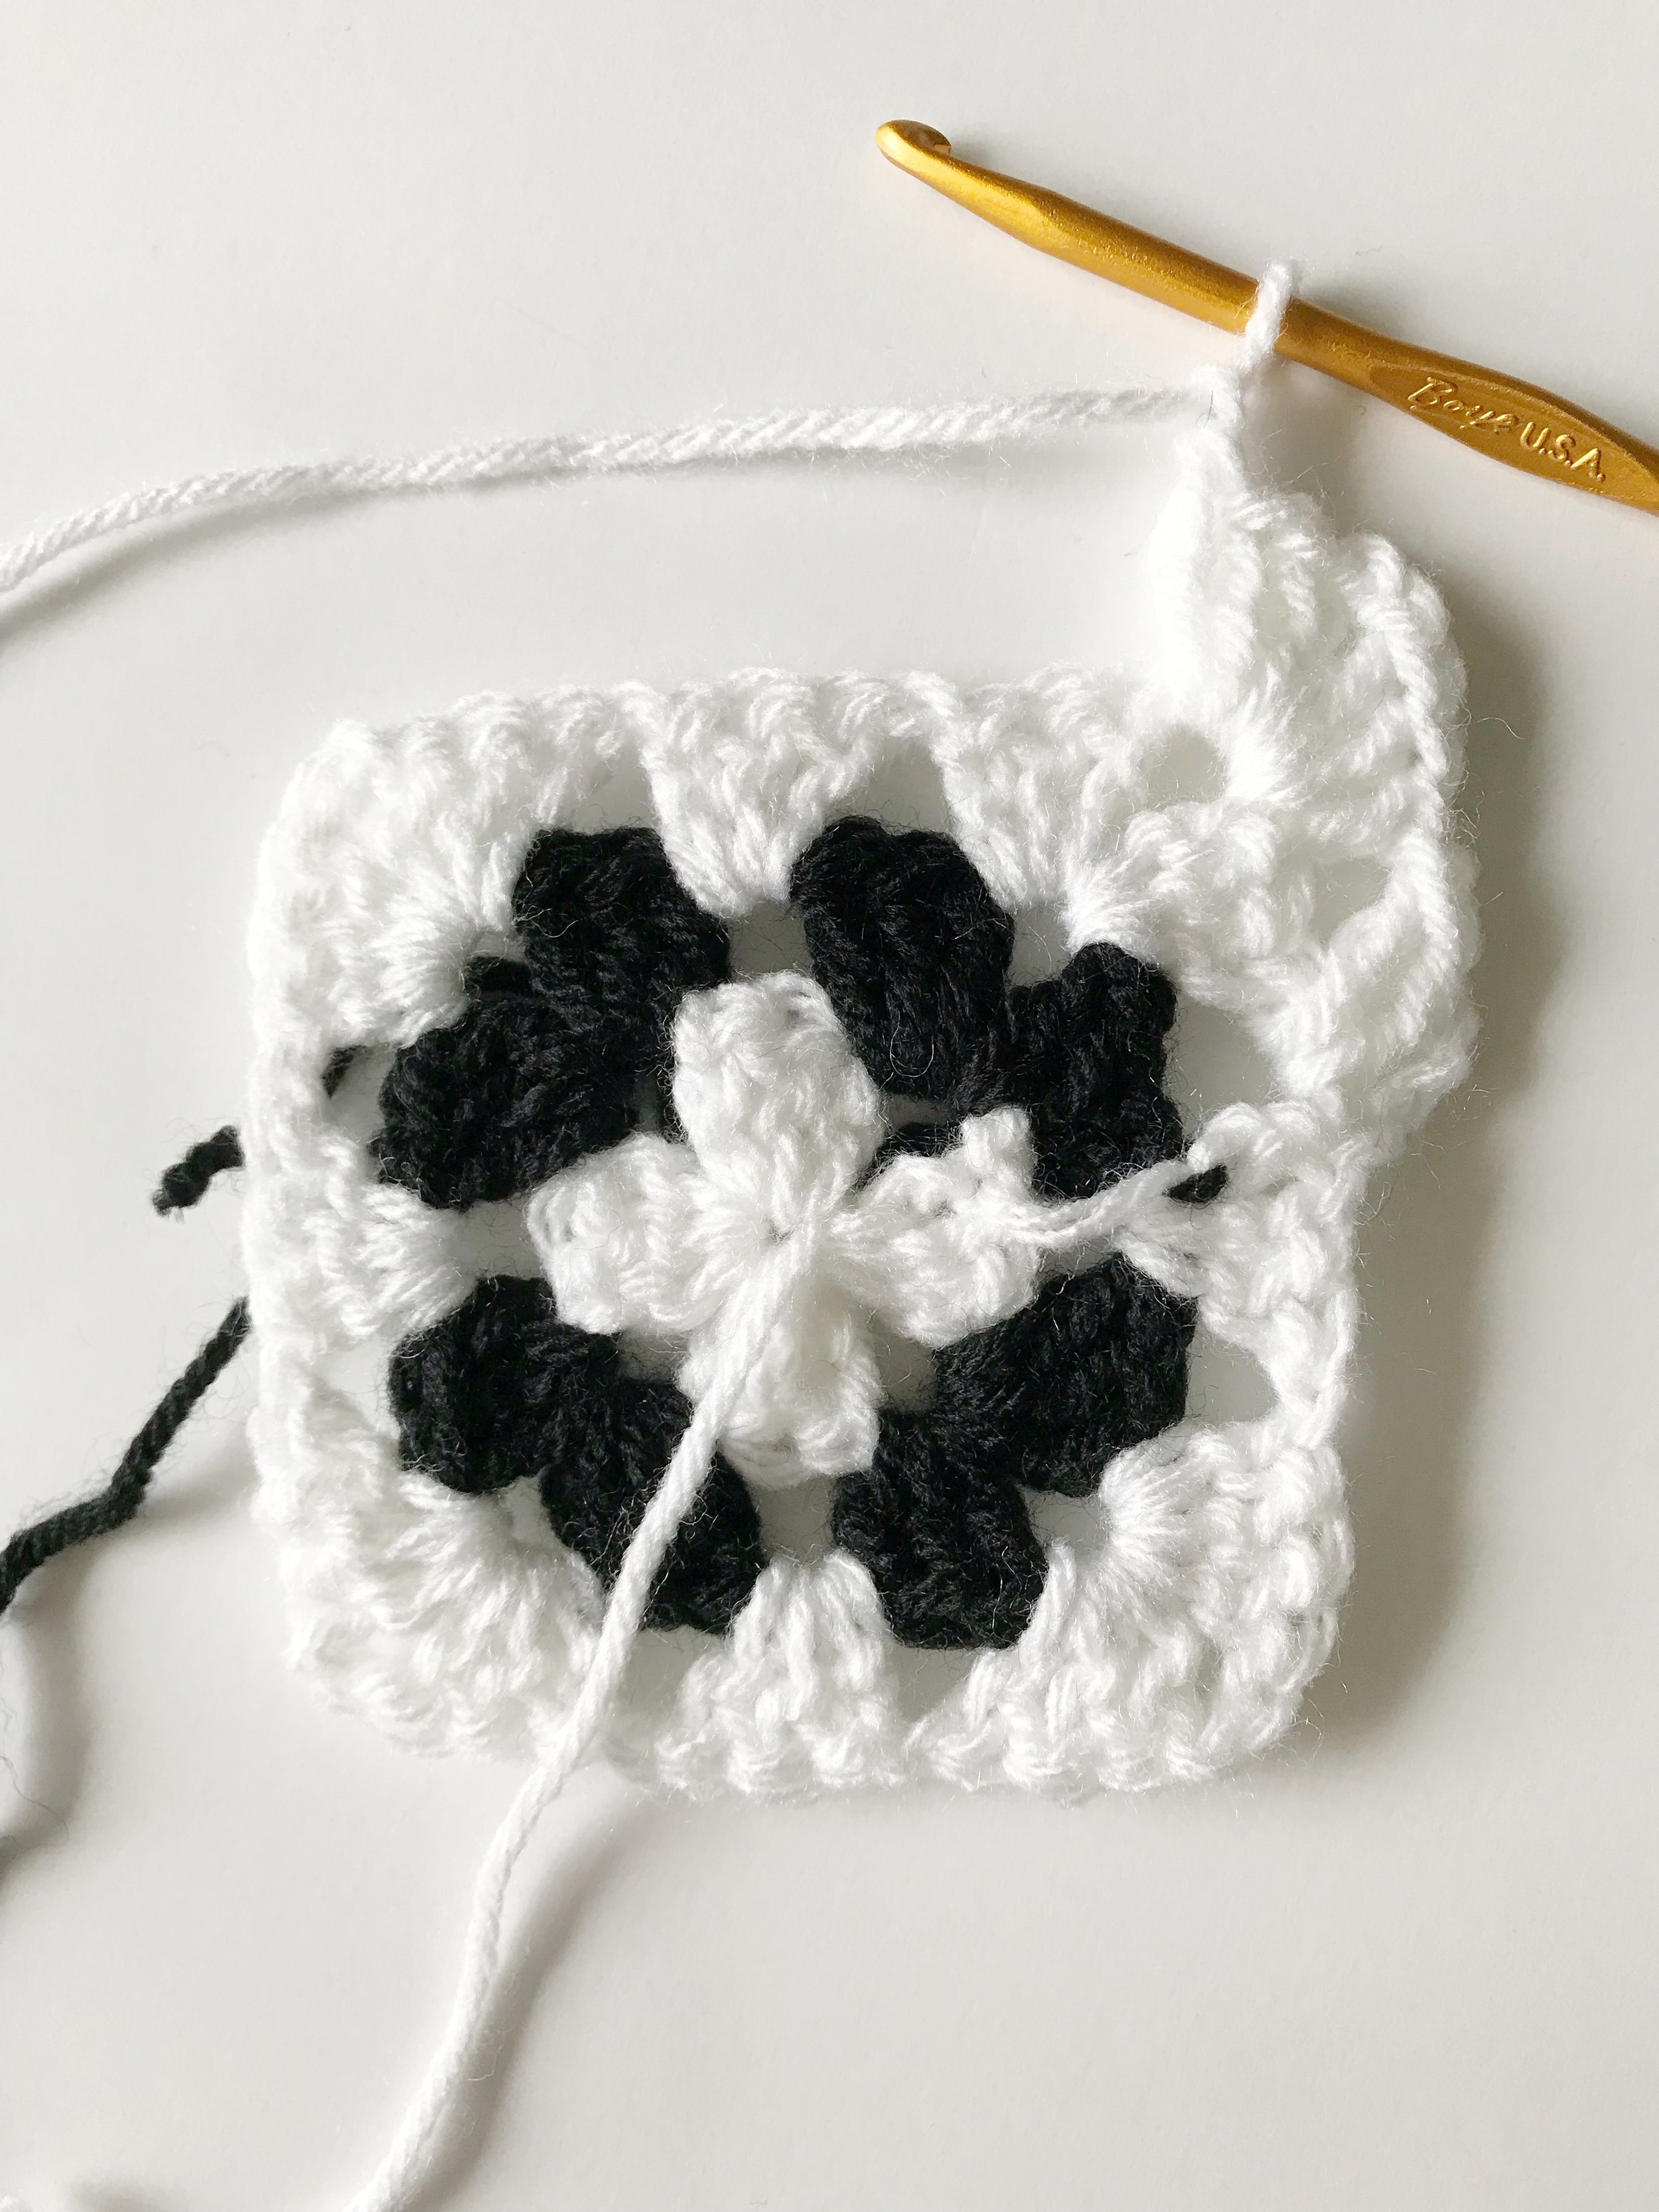
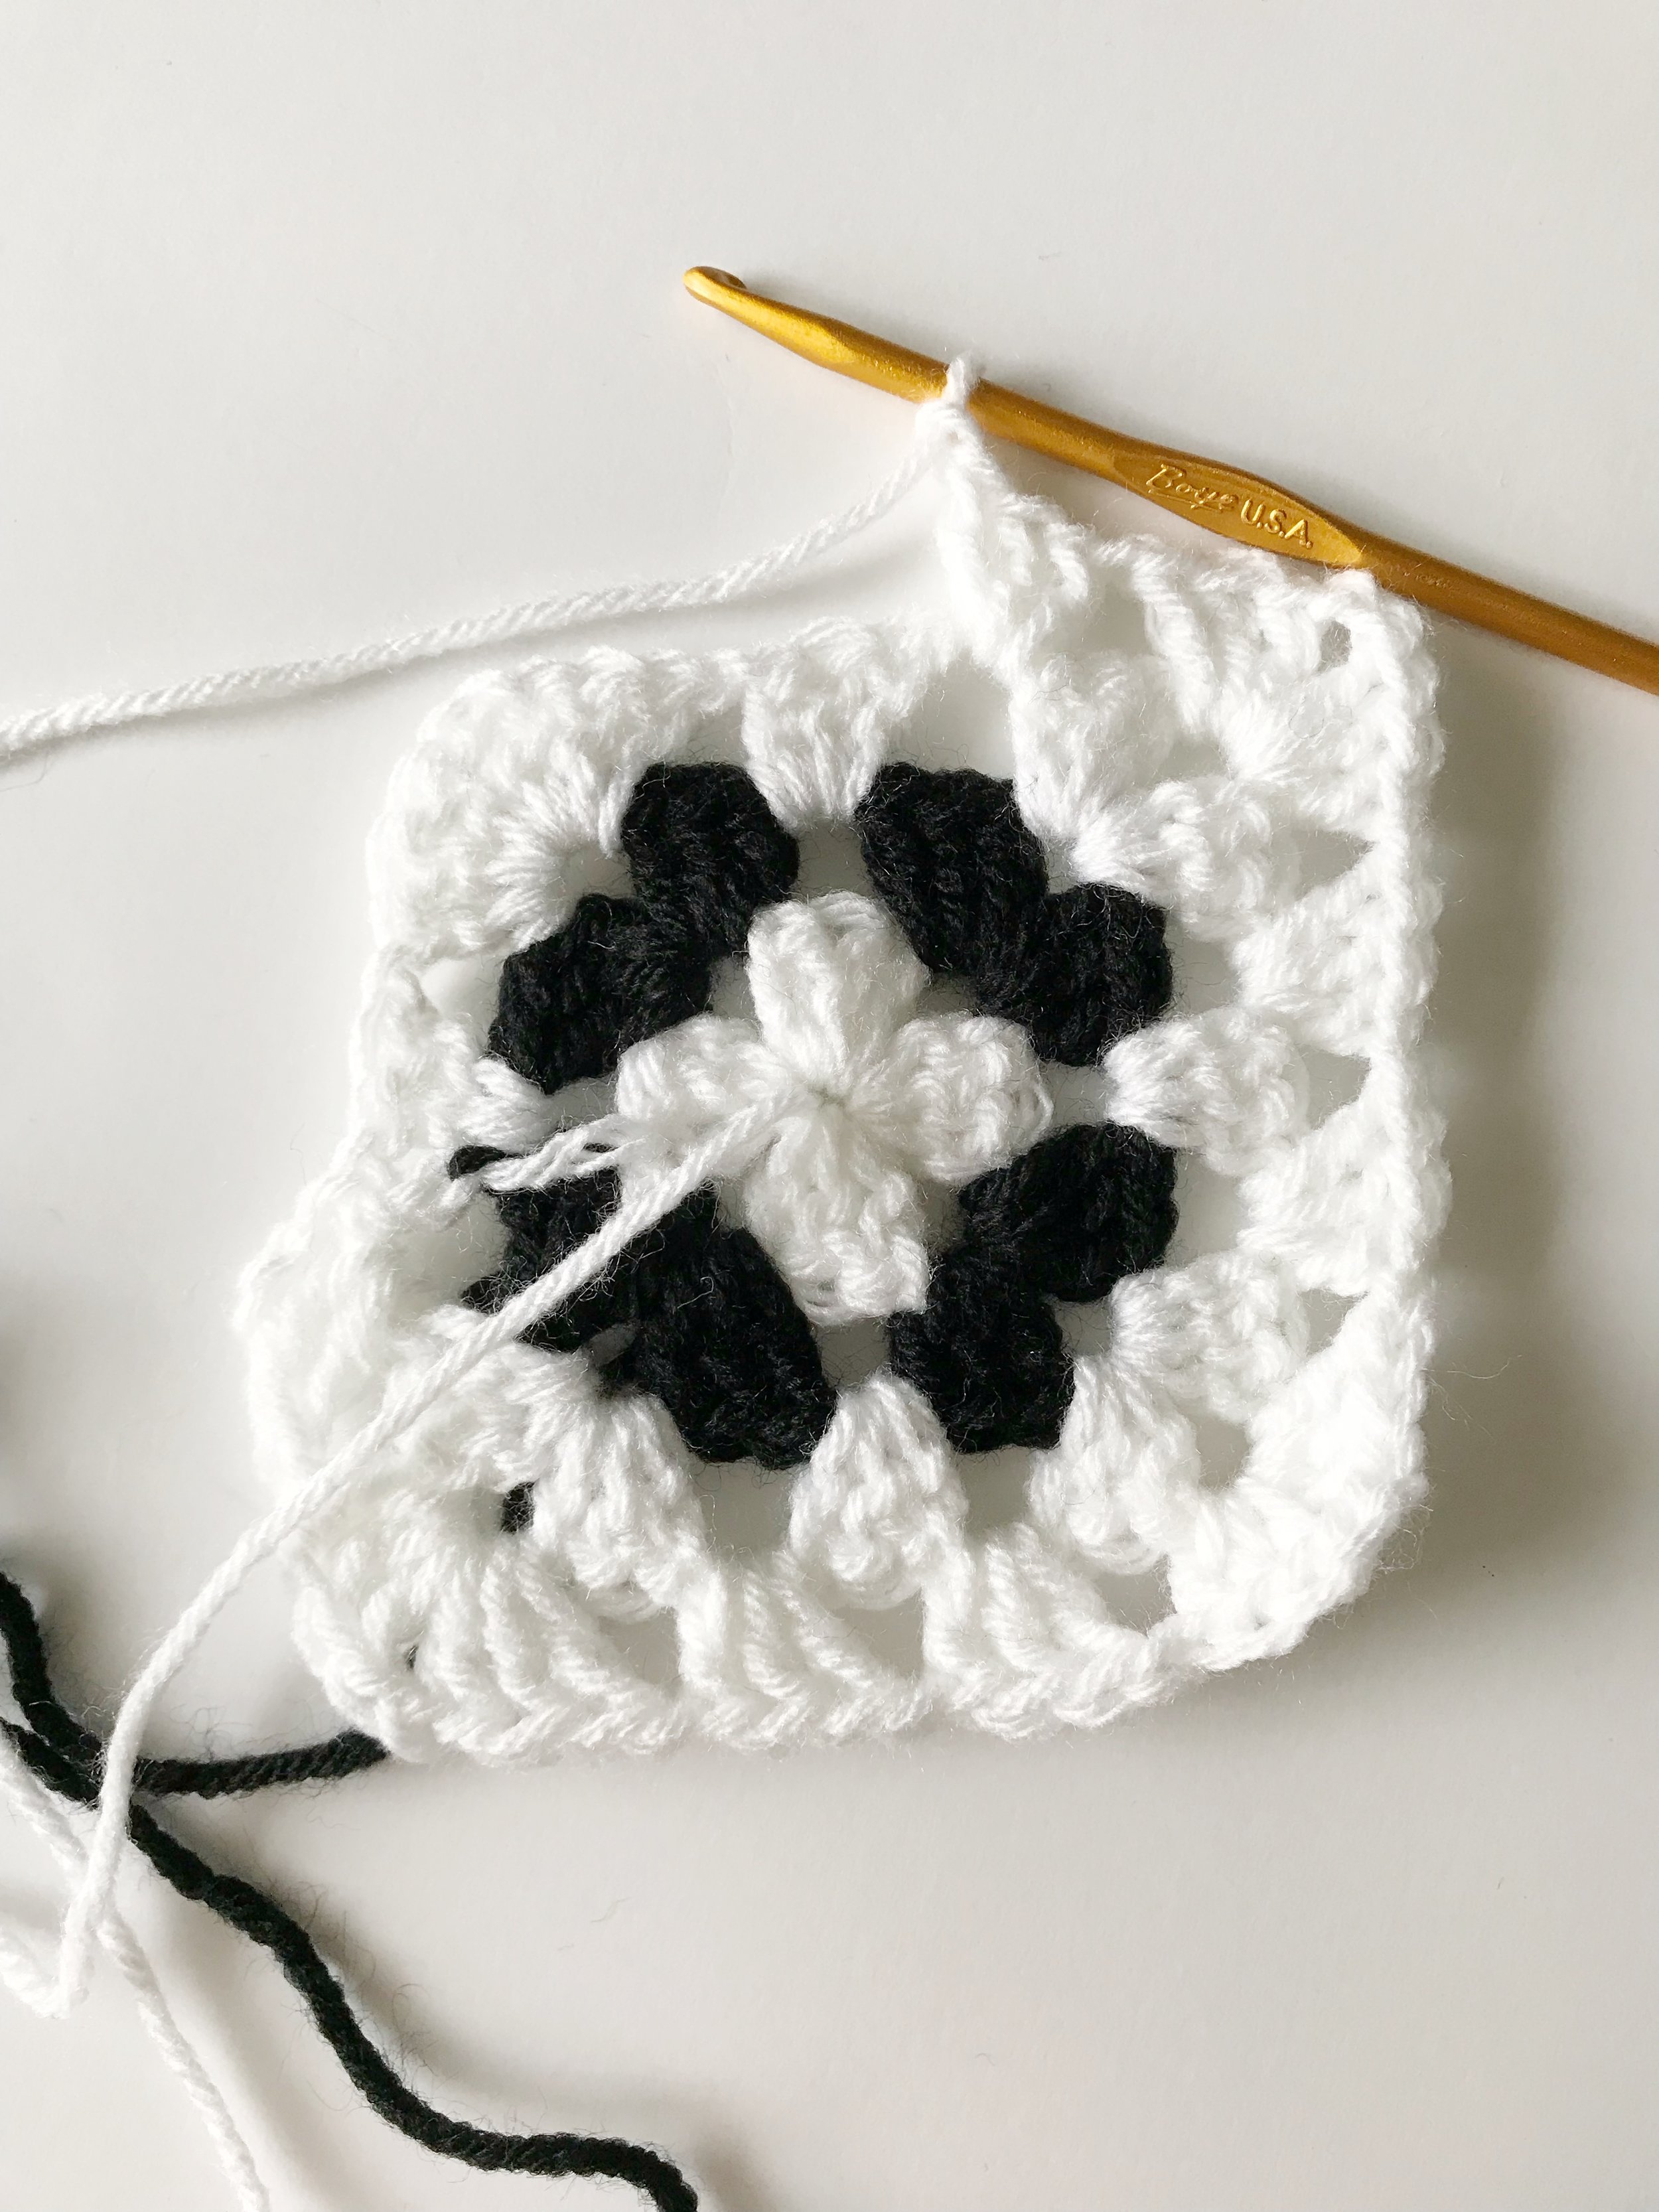
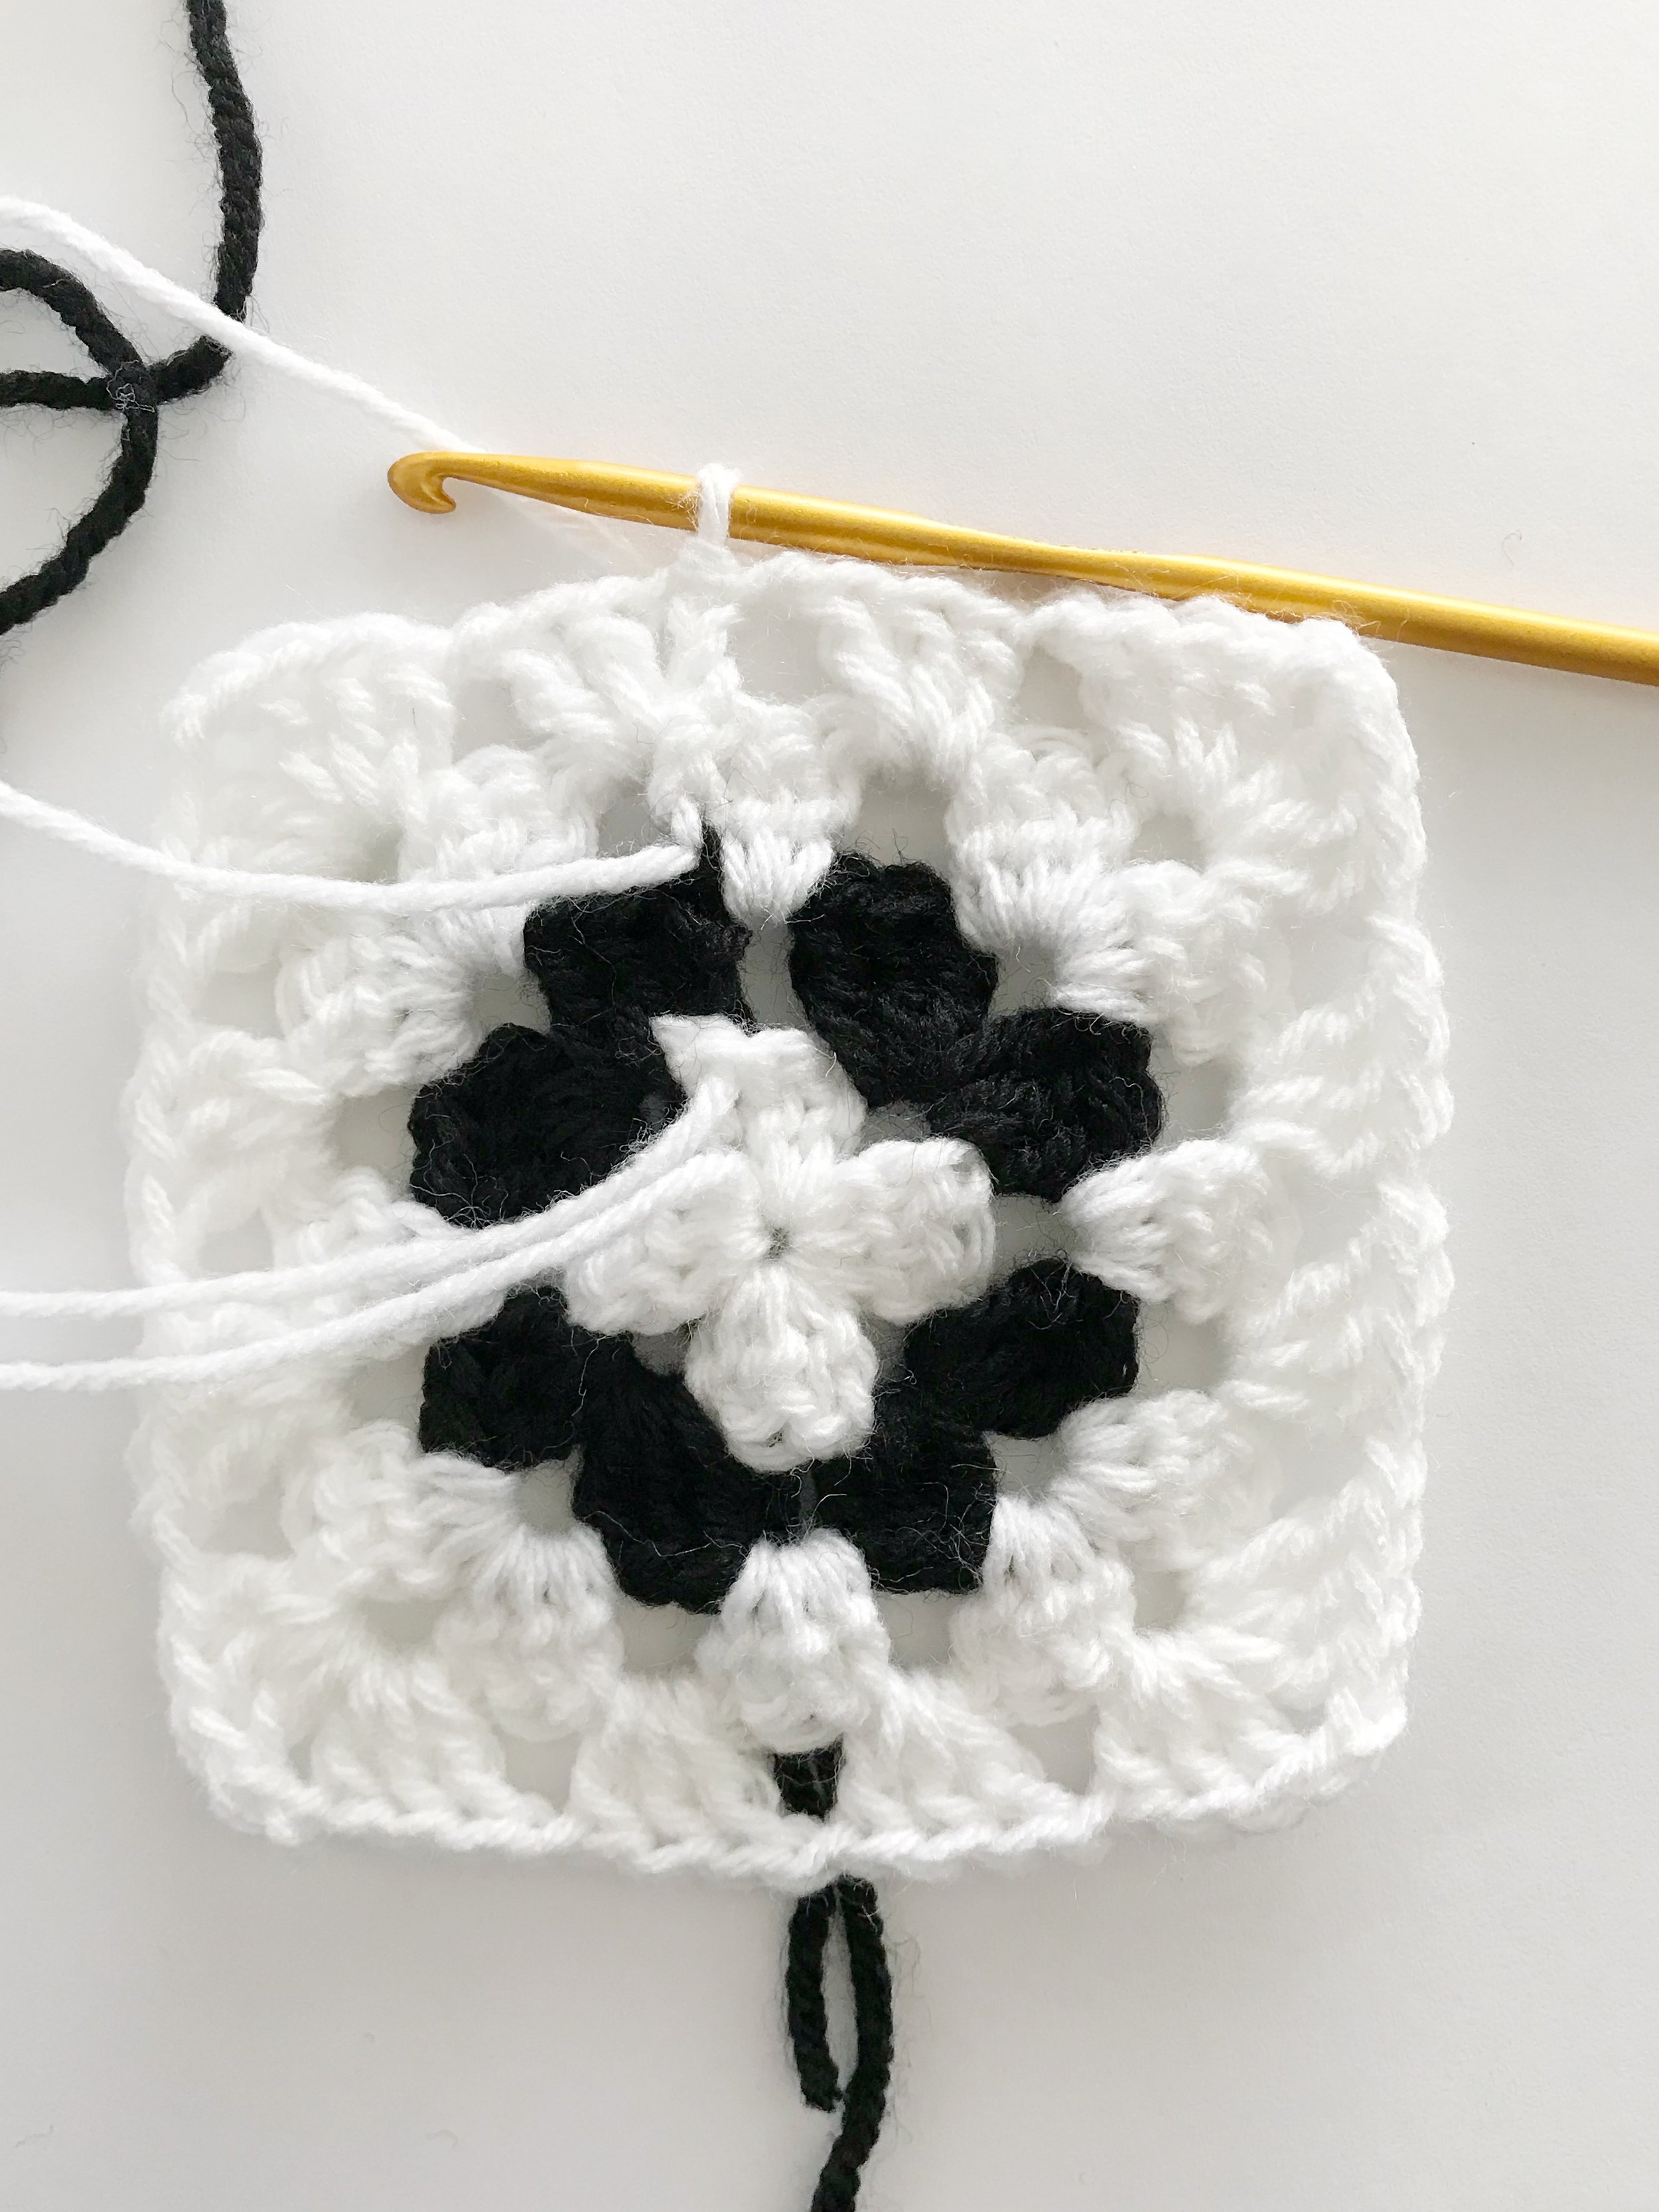
Round 5: ch3, turn. Work 2 dc into the first ch-1 space. Ch1, 3dc into next ch-1 space, ch1, 3dc, ch2, 3dc into next ch-2 space, *ch1, 3dc into each of the next 3 ch-1 spaces, ch1, 3dc, ch2 3dc in next ch-2 space, repeat from * all the way around to the last ch-2 space, ch1, 3dc into the last ch-1 space, ch1. Sl st to top of ch3. Fasten off and weave in ends. (60 sts, 4 ch-2 spaces, 16 ch-2 spaces)
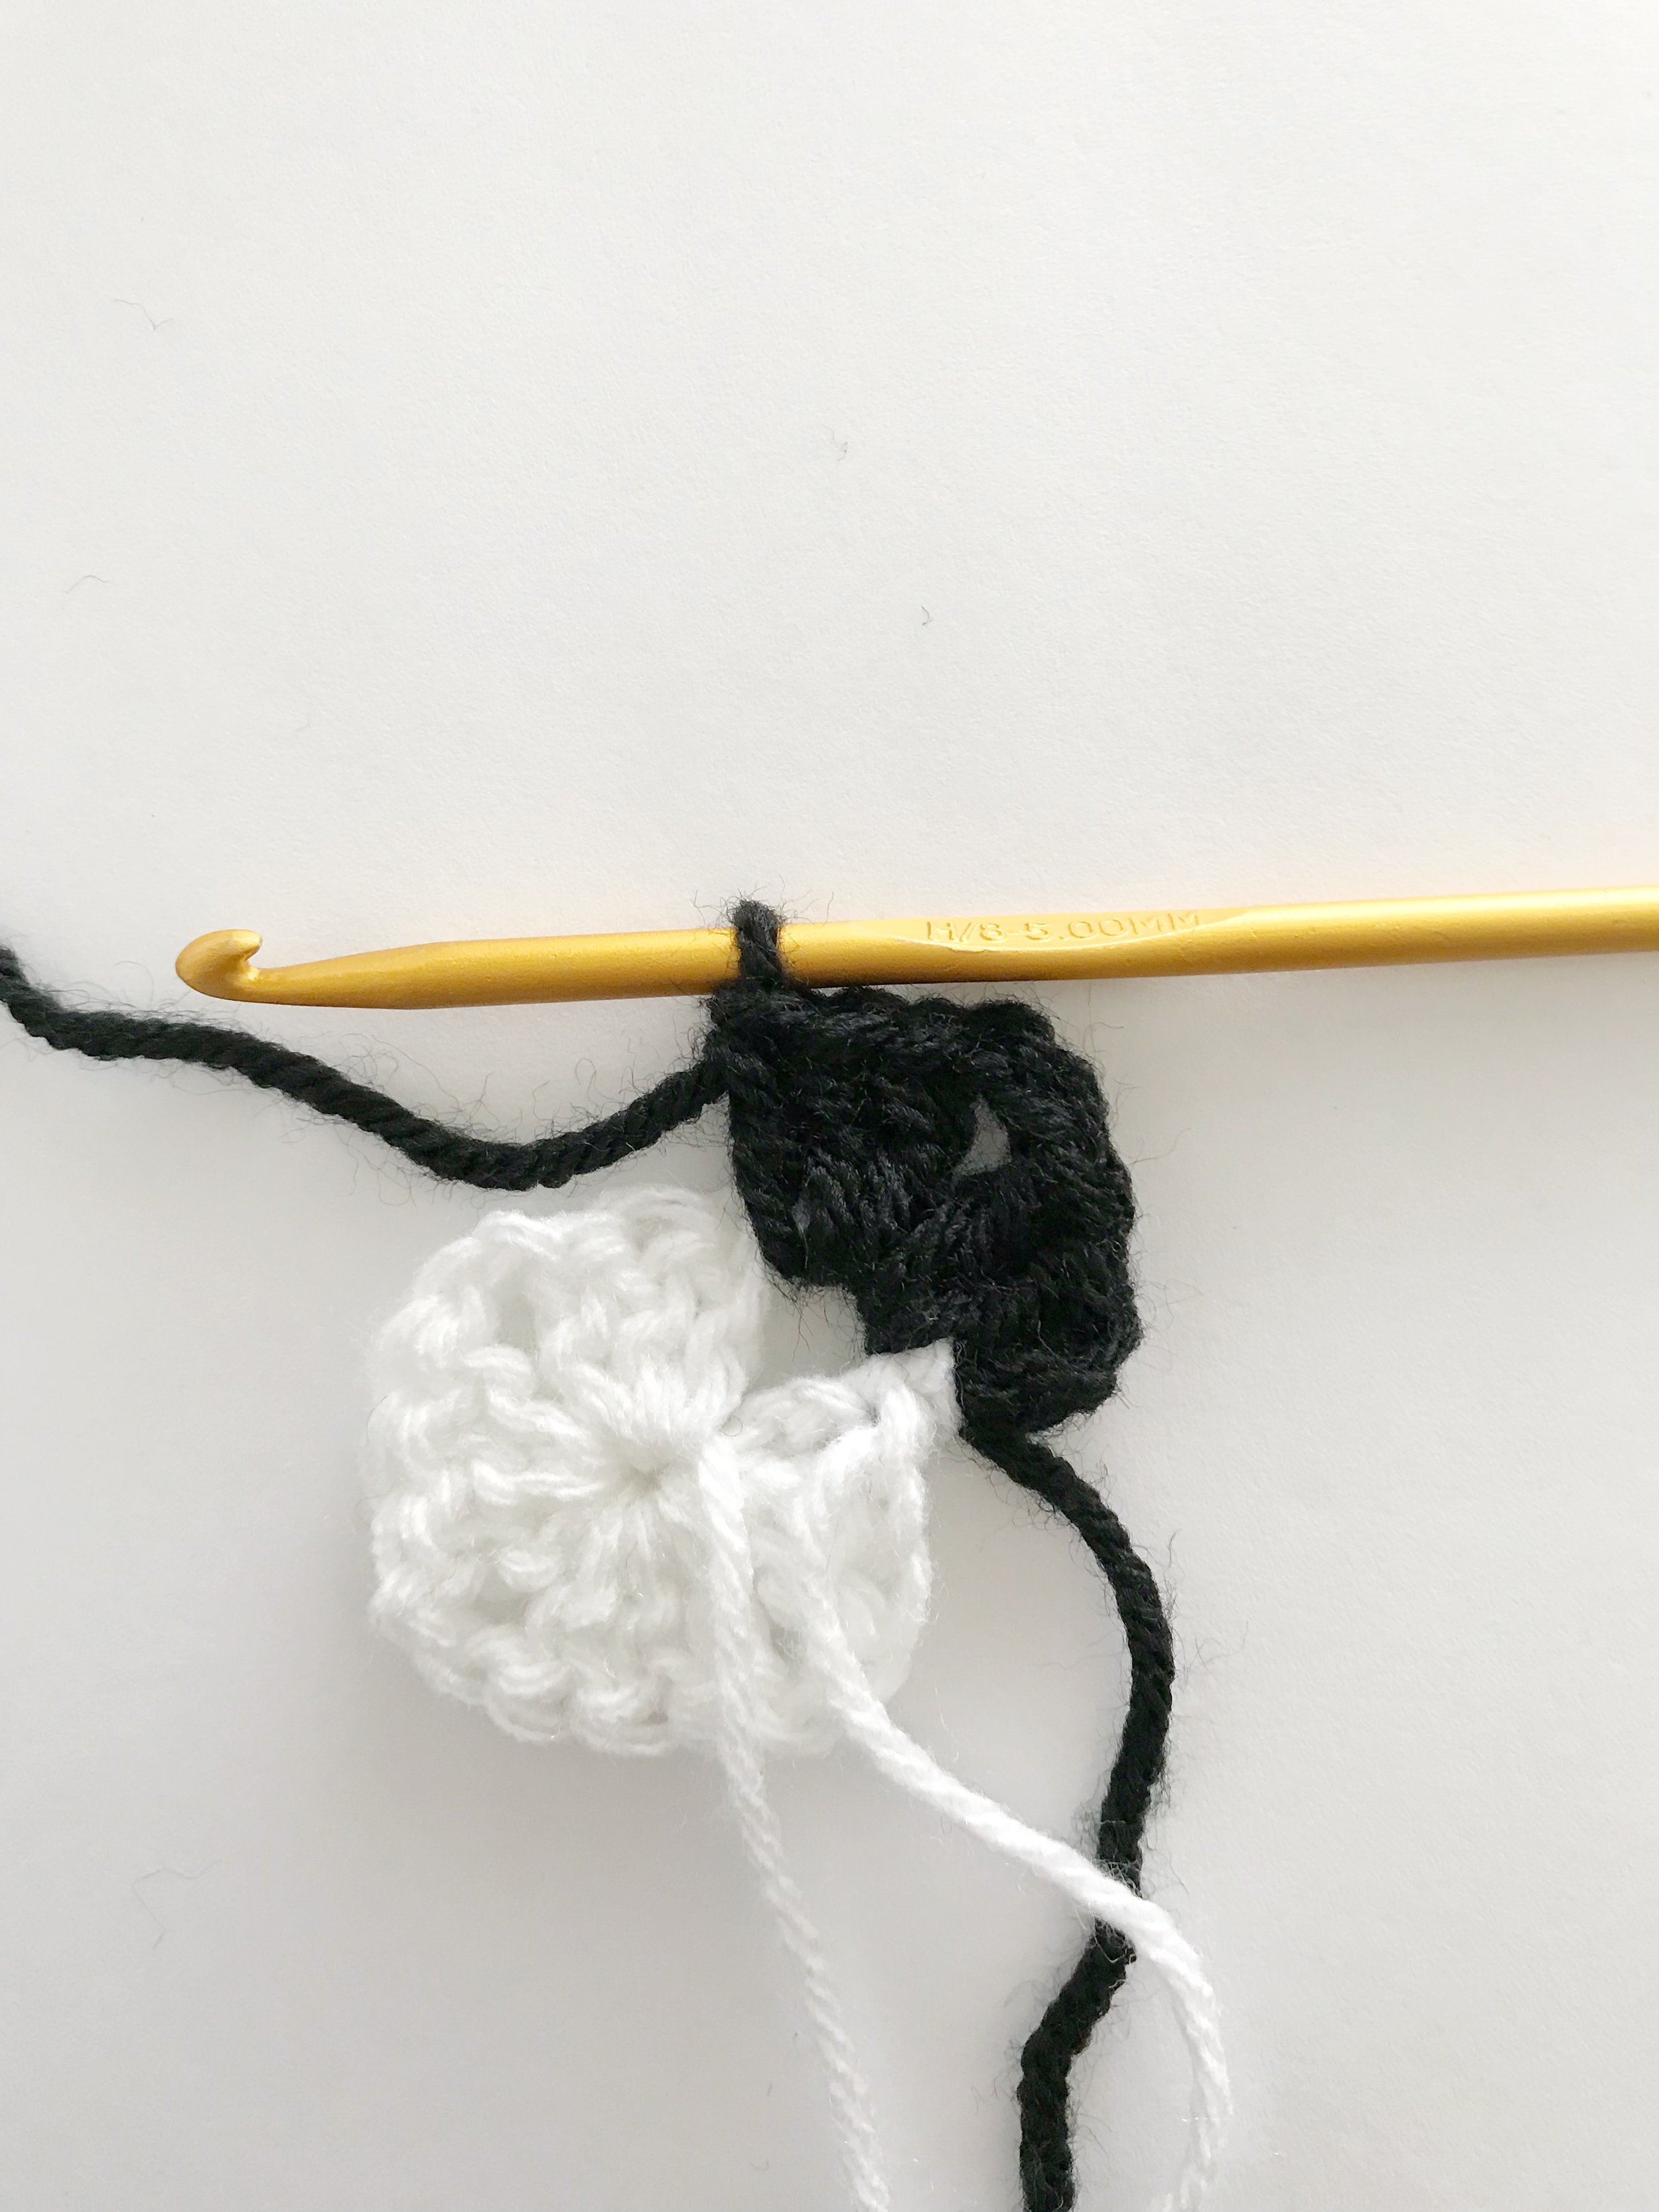
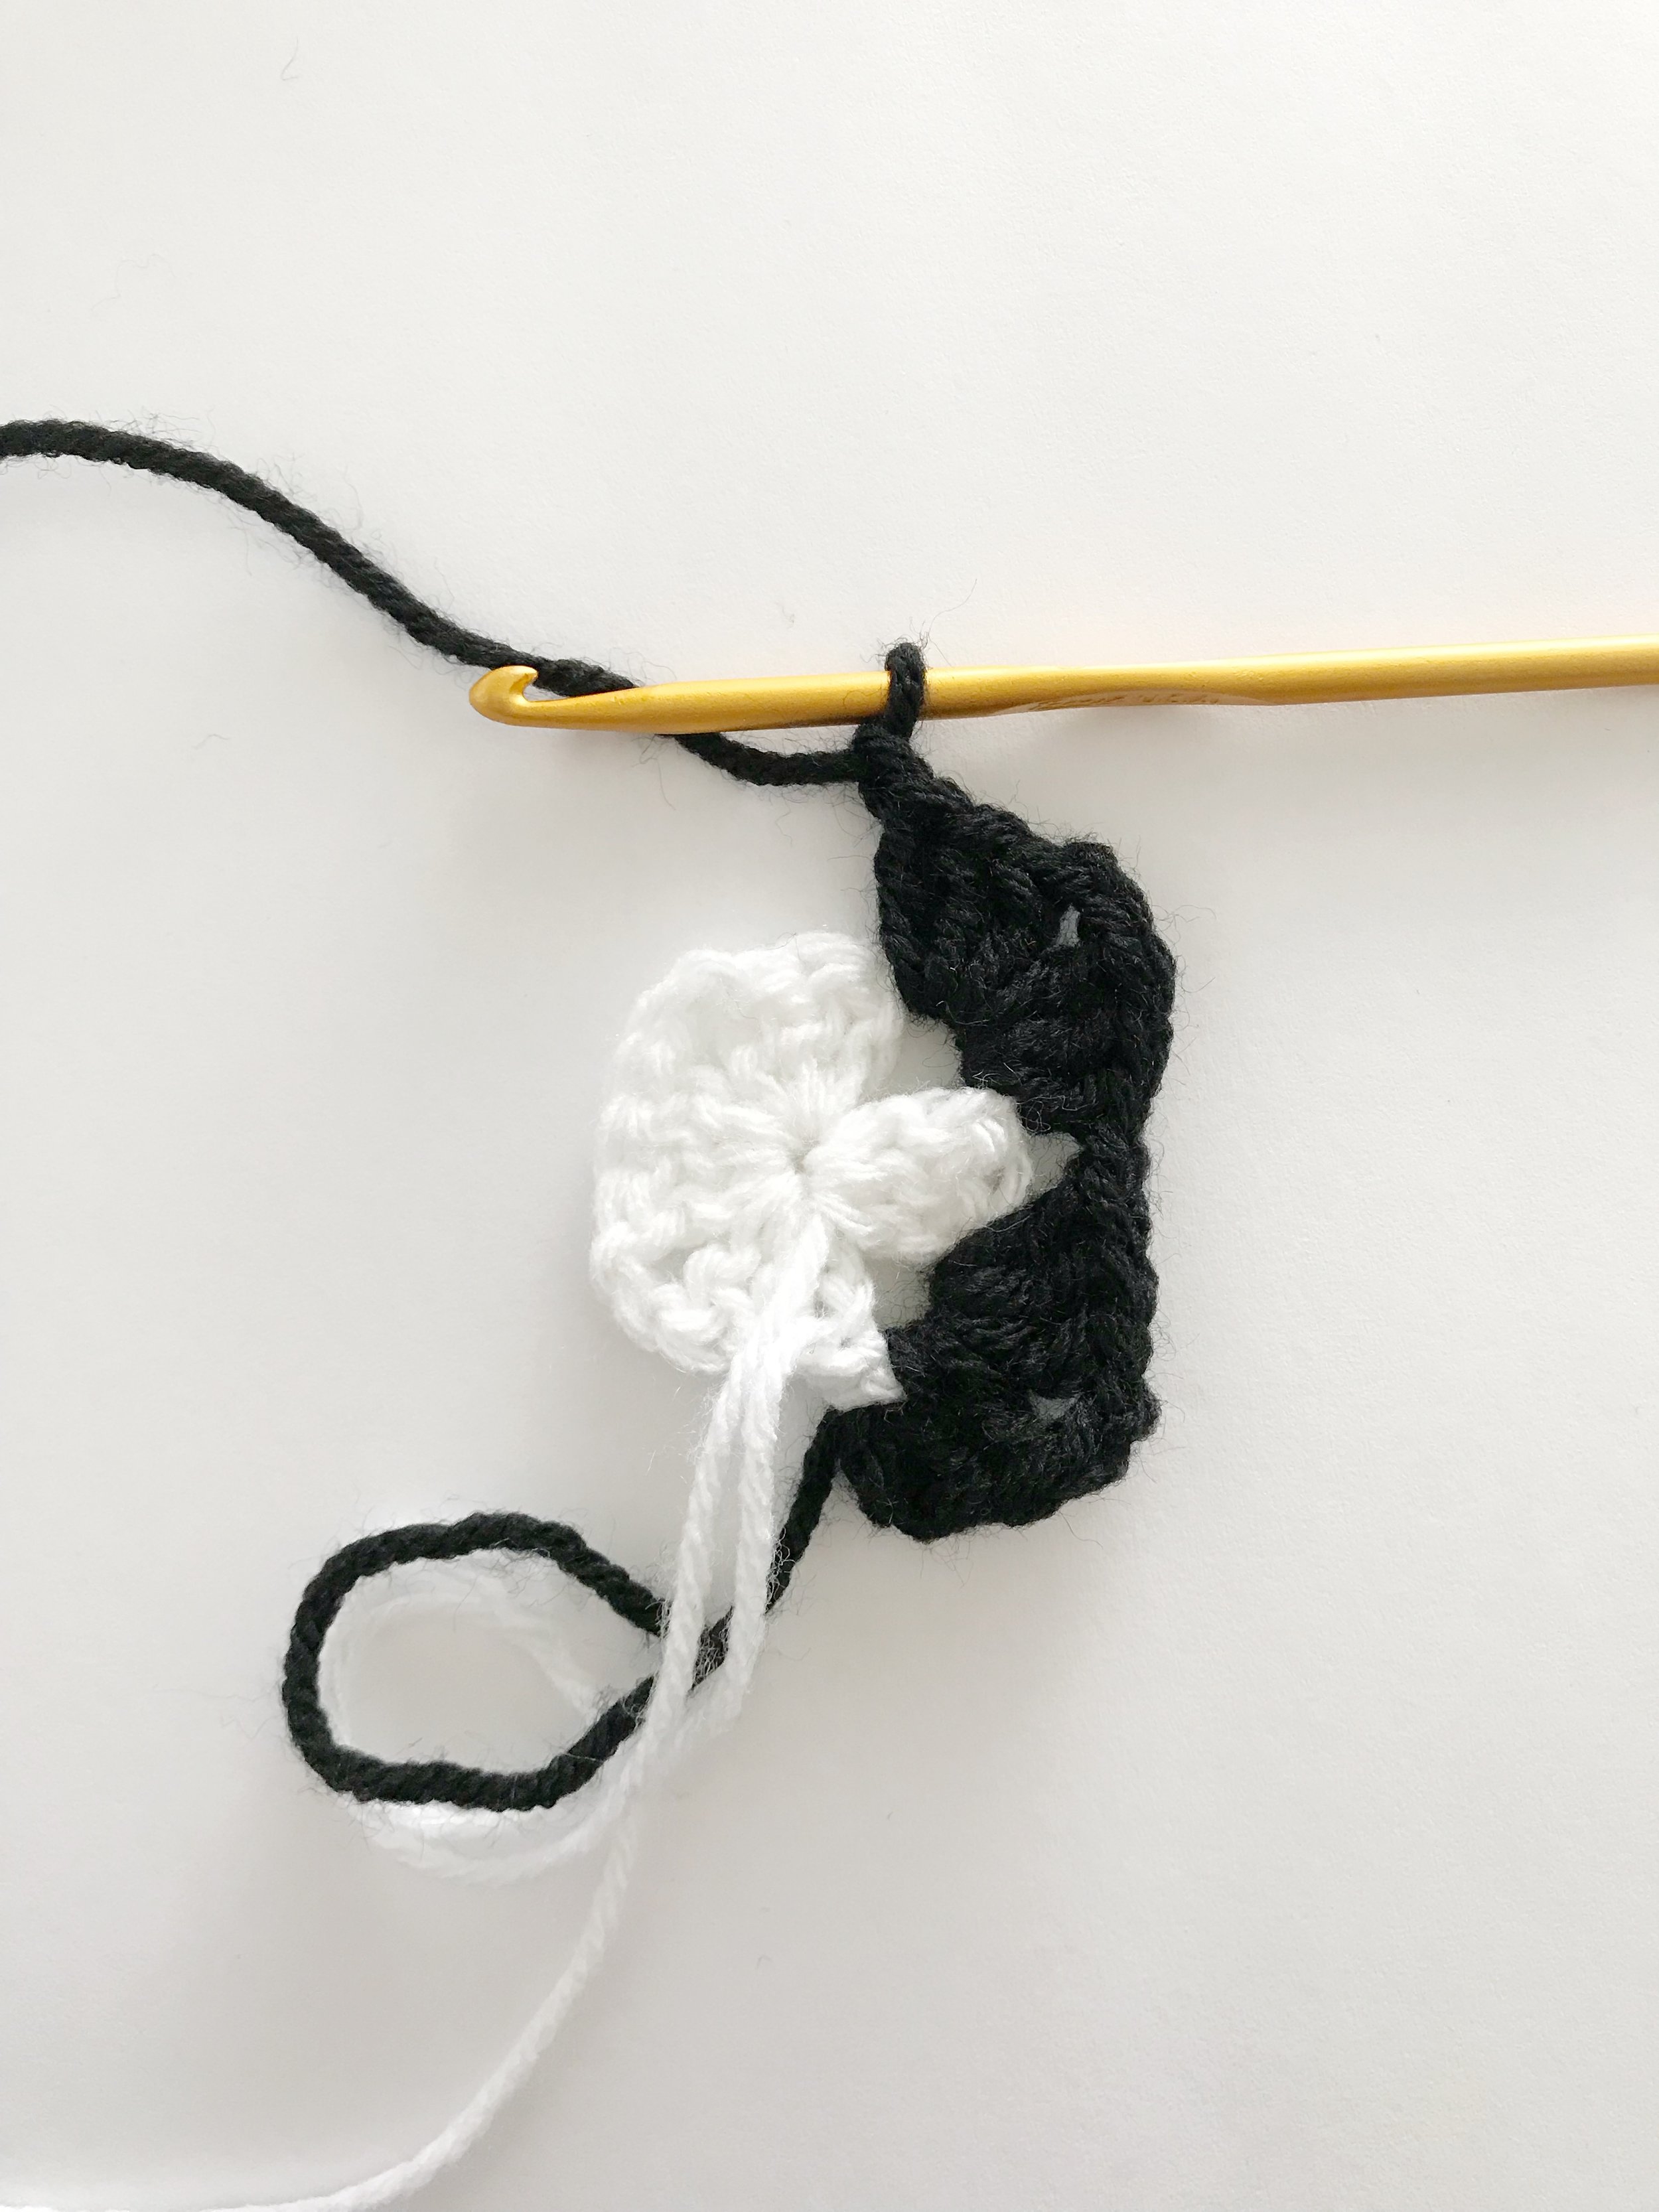
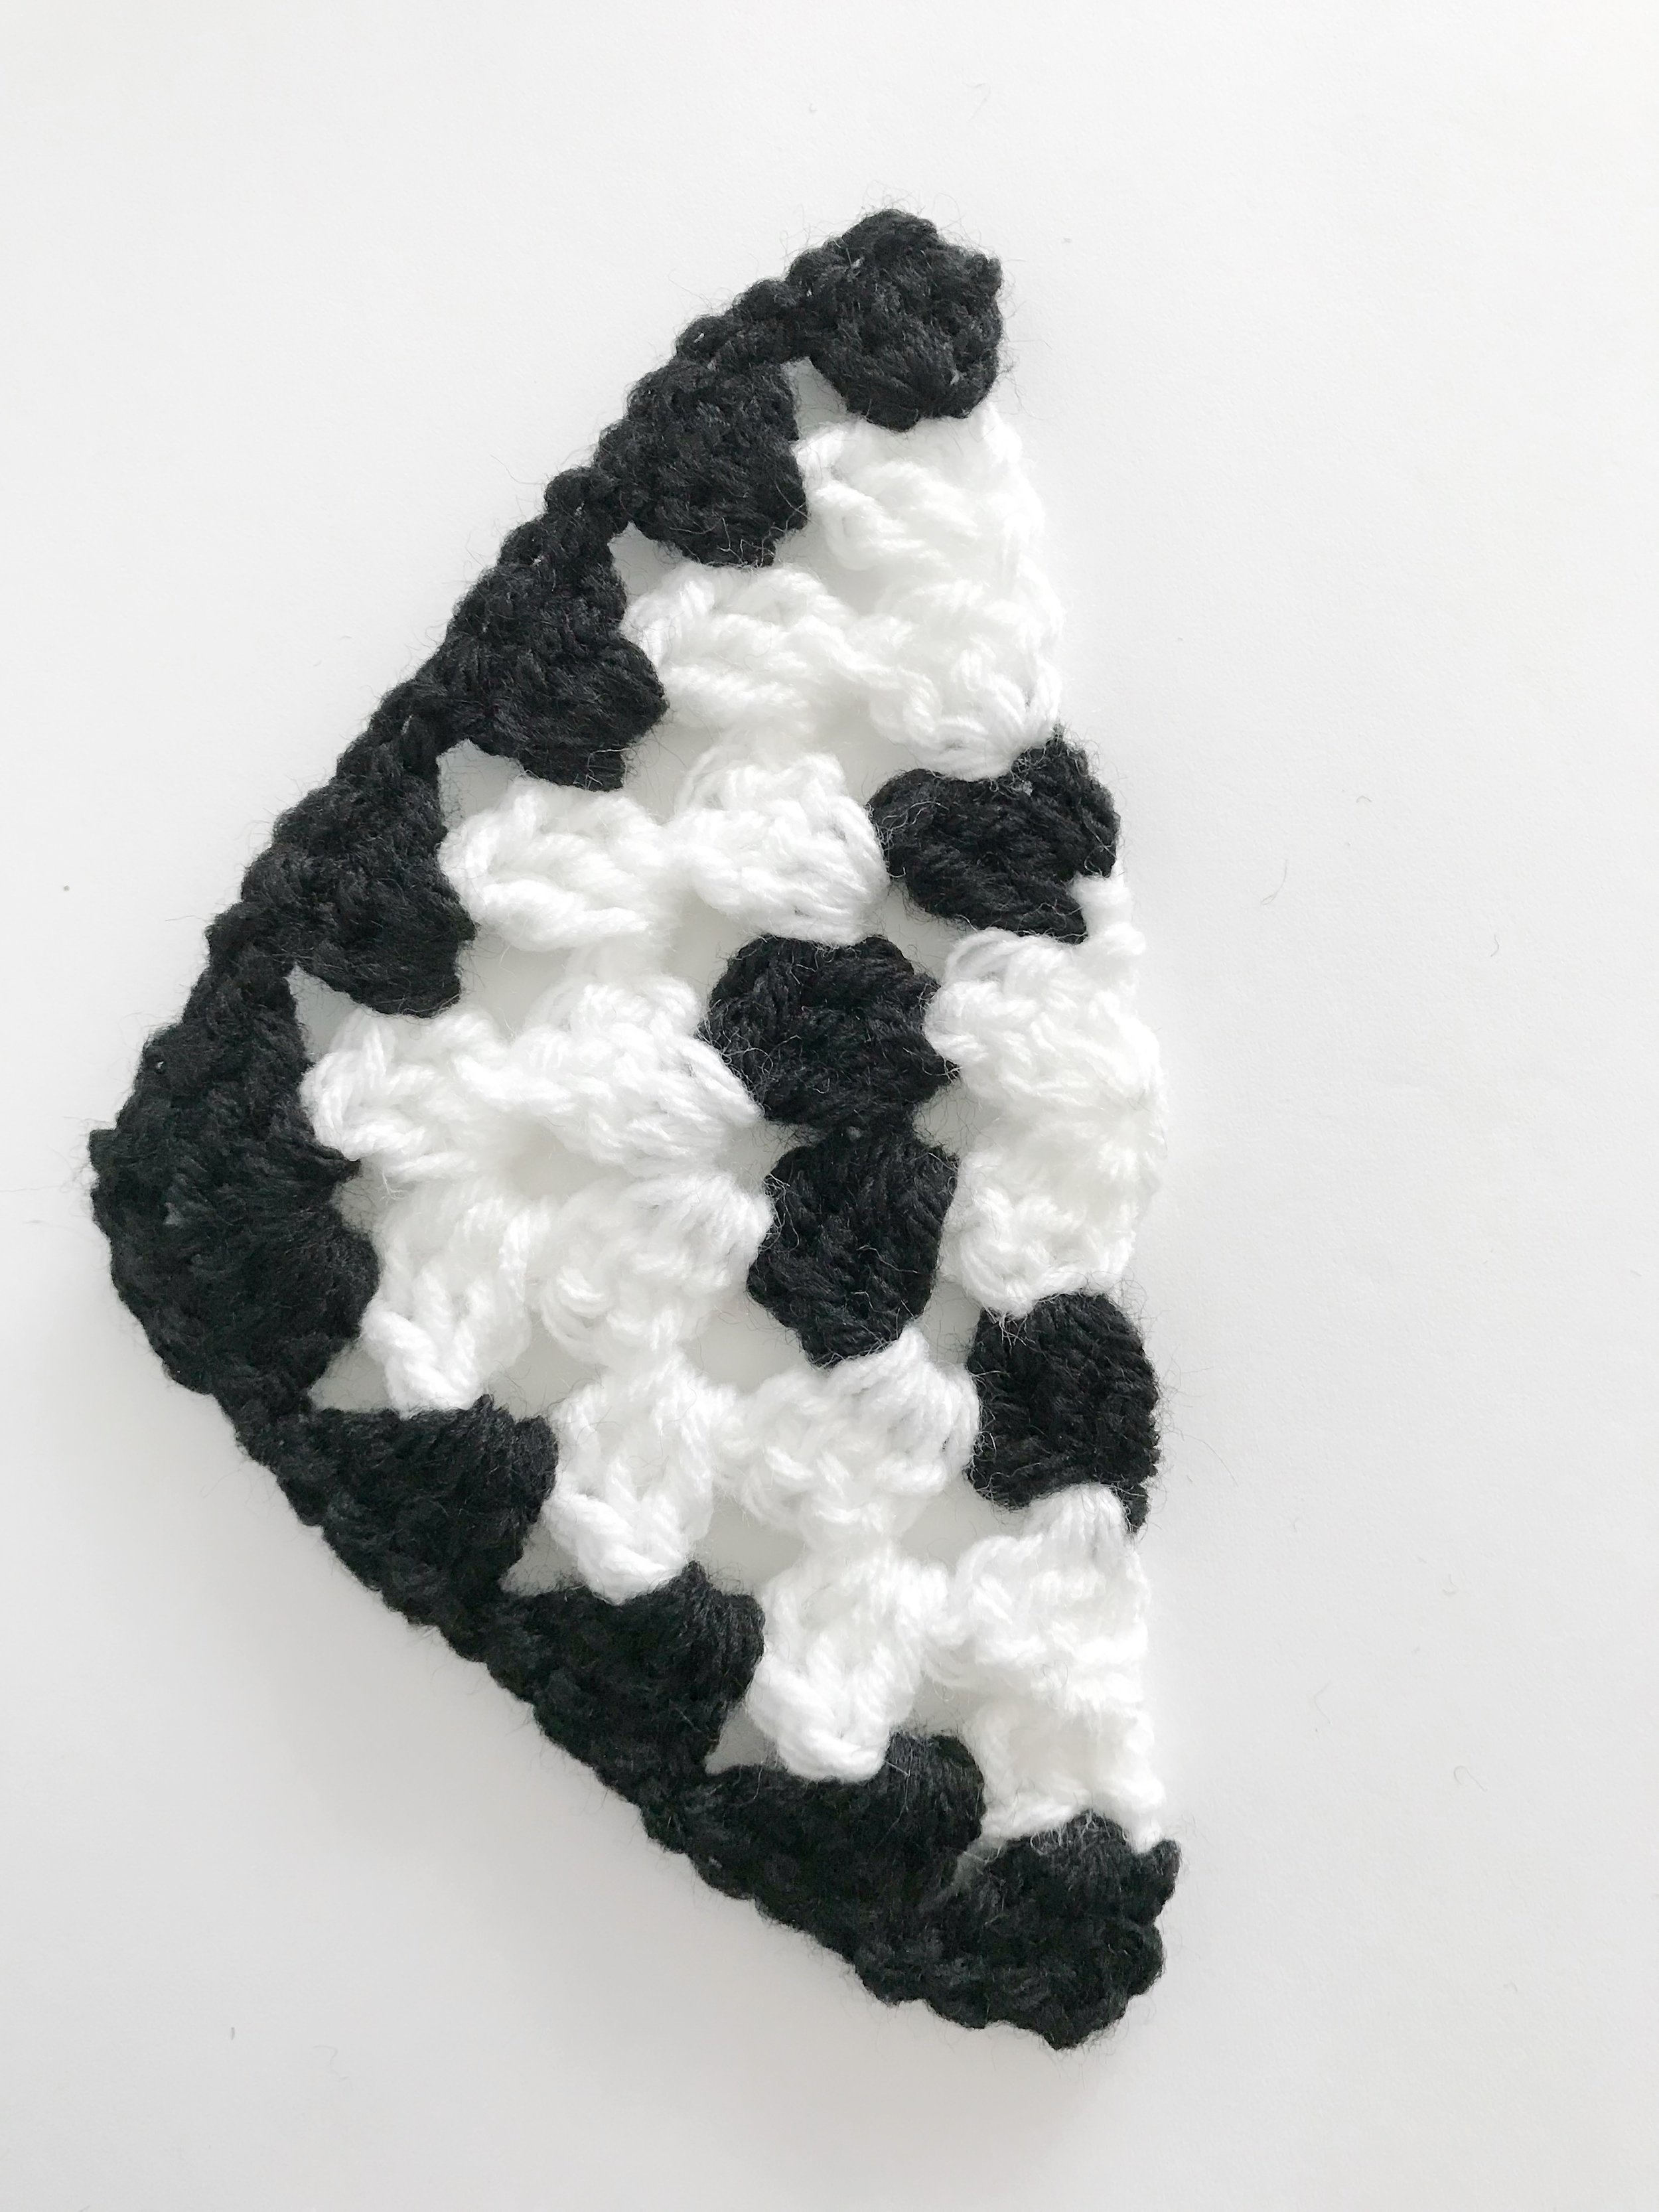
Half Granny Squares/Triangles: make 30
With white make a magic ring.
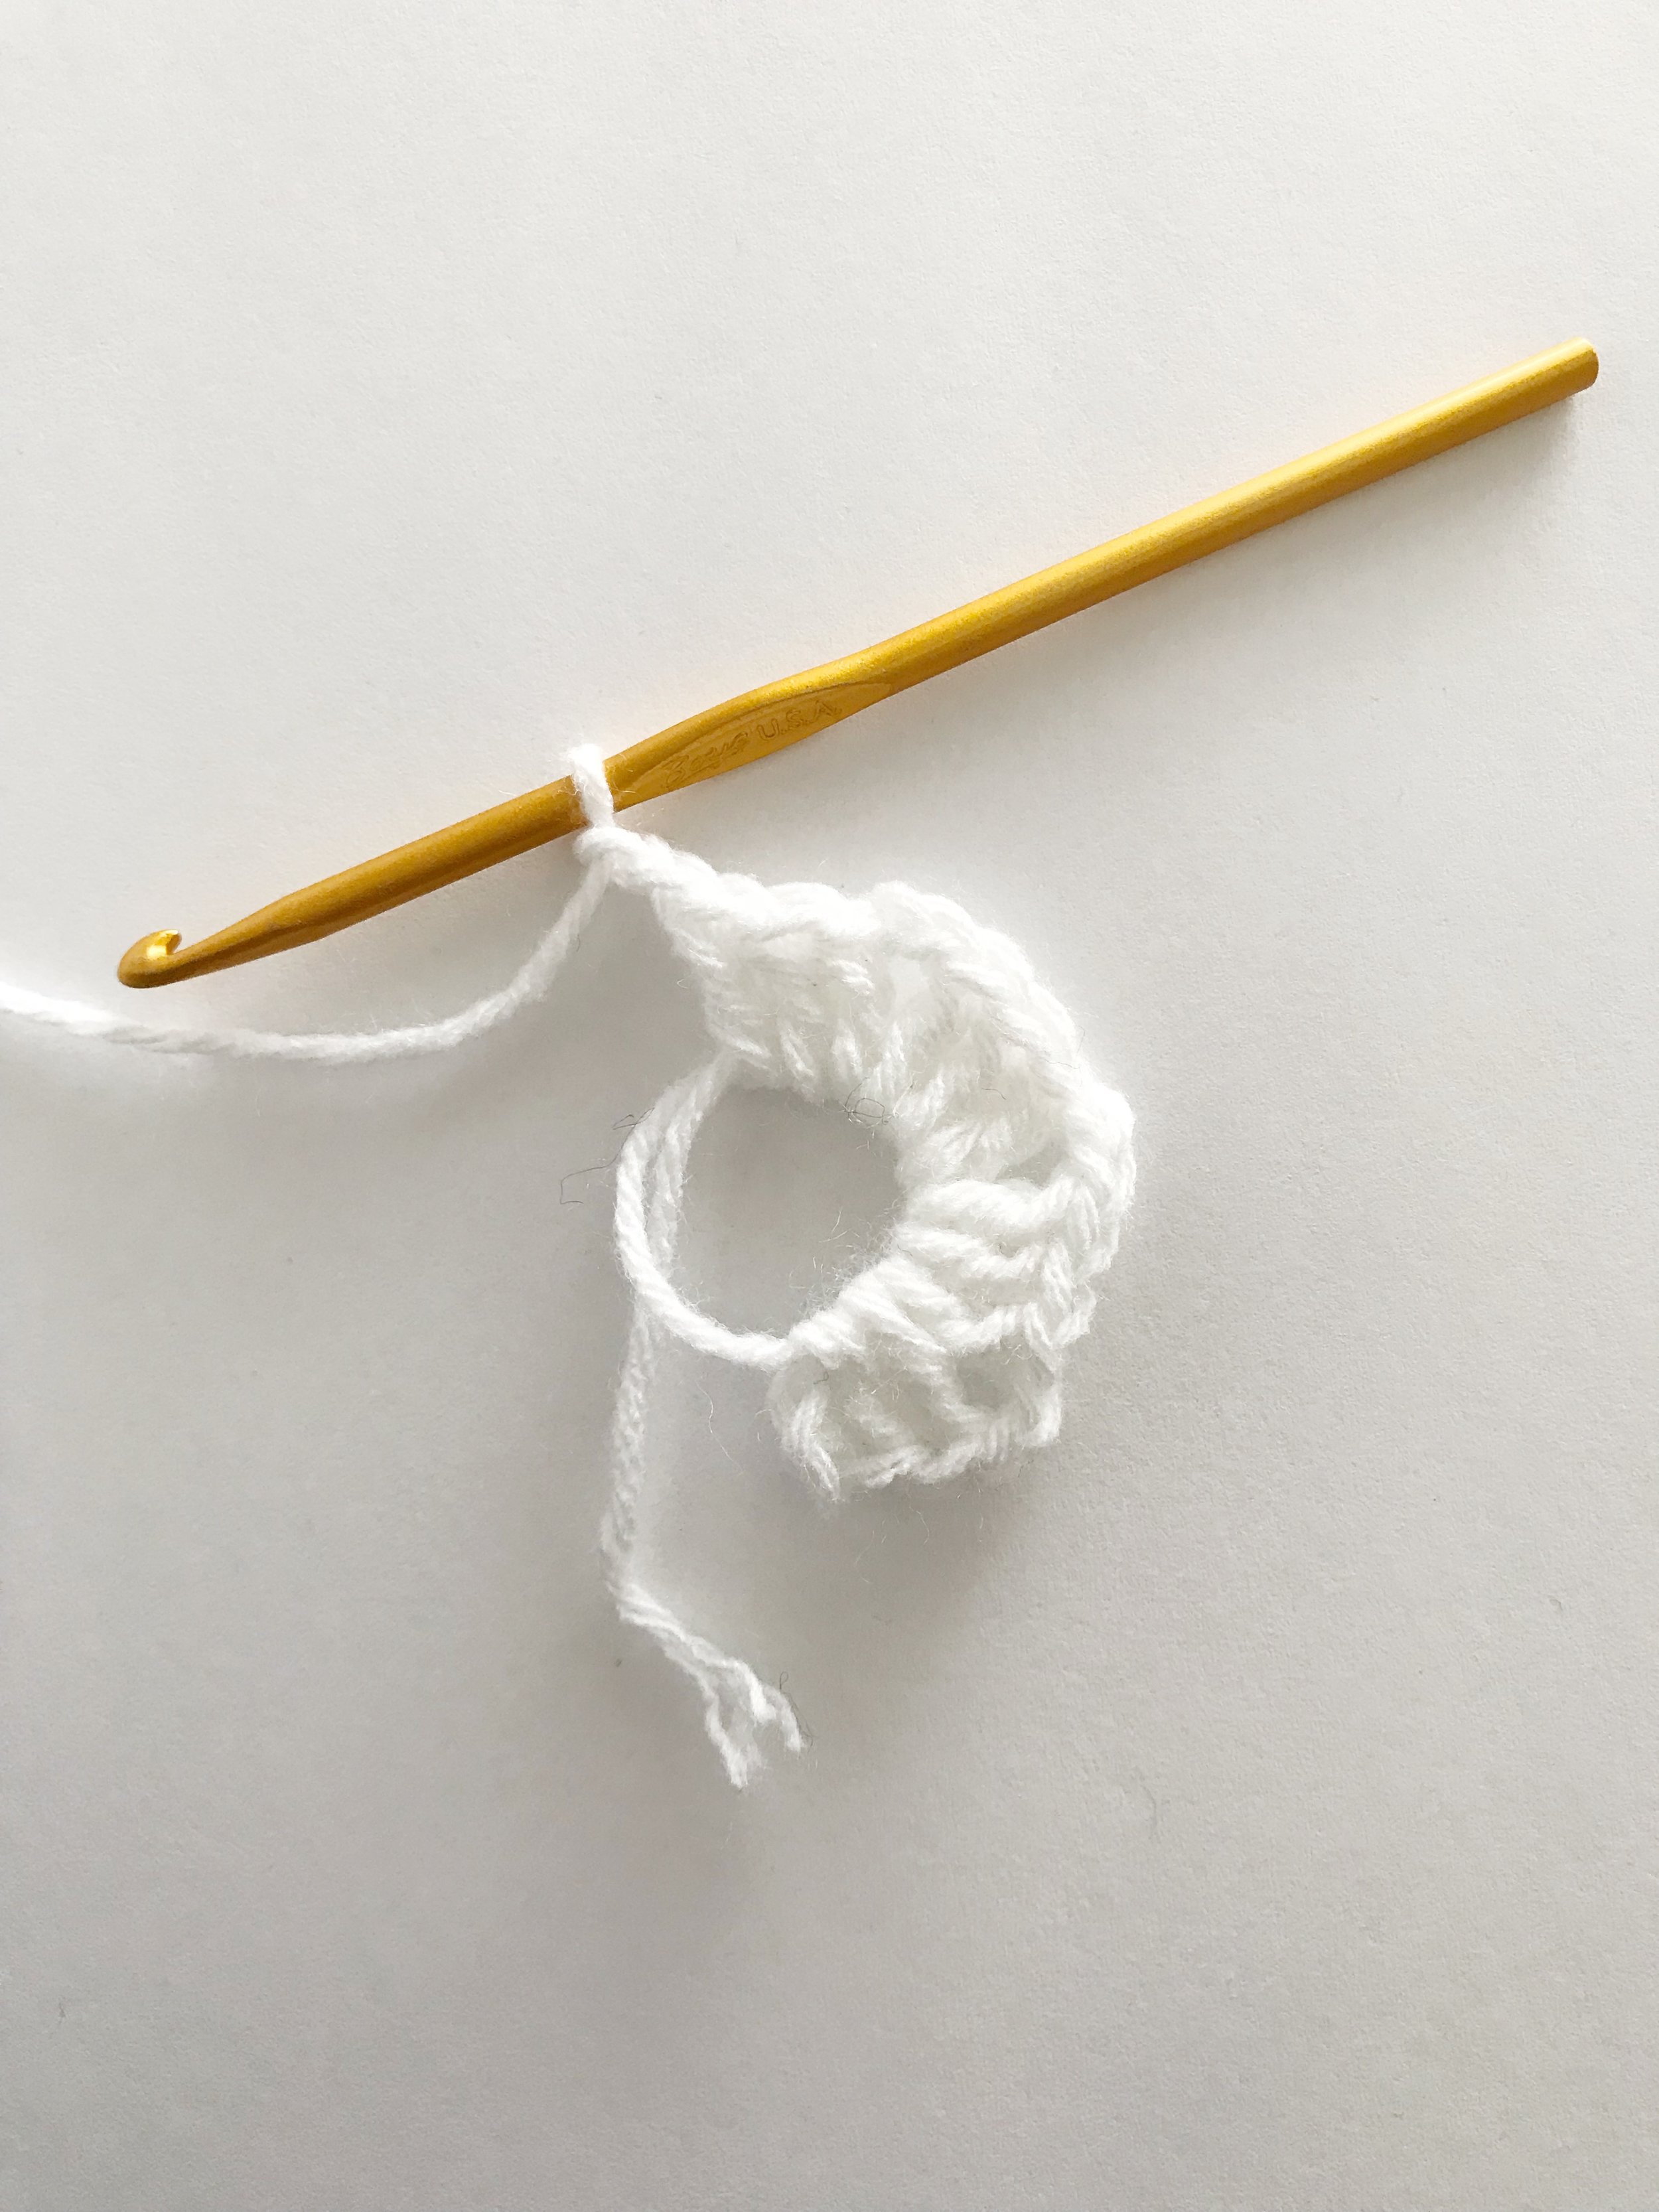
Row 1: Ch3, 2 dc into magic ring, ch2, 3 dc into magic ring. Pull magic ring tight. Change to black. (6 sts, 1 ch-2 space)

Row 2: ch3, turn, 2 dc into the top of the first stitch in previous row. Ch 1, 3dc, ch2, 3dc into ch-2 space. Ch1, 3dc into top of ch3 from previous row. Change to white. (12 sts, 1 ch-2 space, 2 ch-1 spaces)
Row 3: Ch3, 2 dc into the top of first stich. Ch1, 3dc into next ch-1 space. Ch1, 3dc, ch2, 3dc into ch-2 space. Ch1, 3dc into next ch-1 space. Ch1, 3dc into the top of ch3 from previous row. (18 sts, 1 ch-2 space, 4 ch-1 spaces)

Row 4: ch3, turn, 2 dc into the top of the first stitch in previous row. Ch1, 3dc in next two ch-1 spaces. Ch1, 3dc, ch2, 3dc into ch-2 space. Ch1, 3dc in next 2 ch-1 spaces. Ch1, 3dc into top of ch3 from previous row. Change to black. (24 sts, 1 ch-2 space, 6 ch-1 spaces)
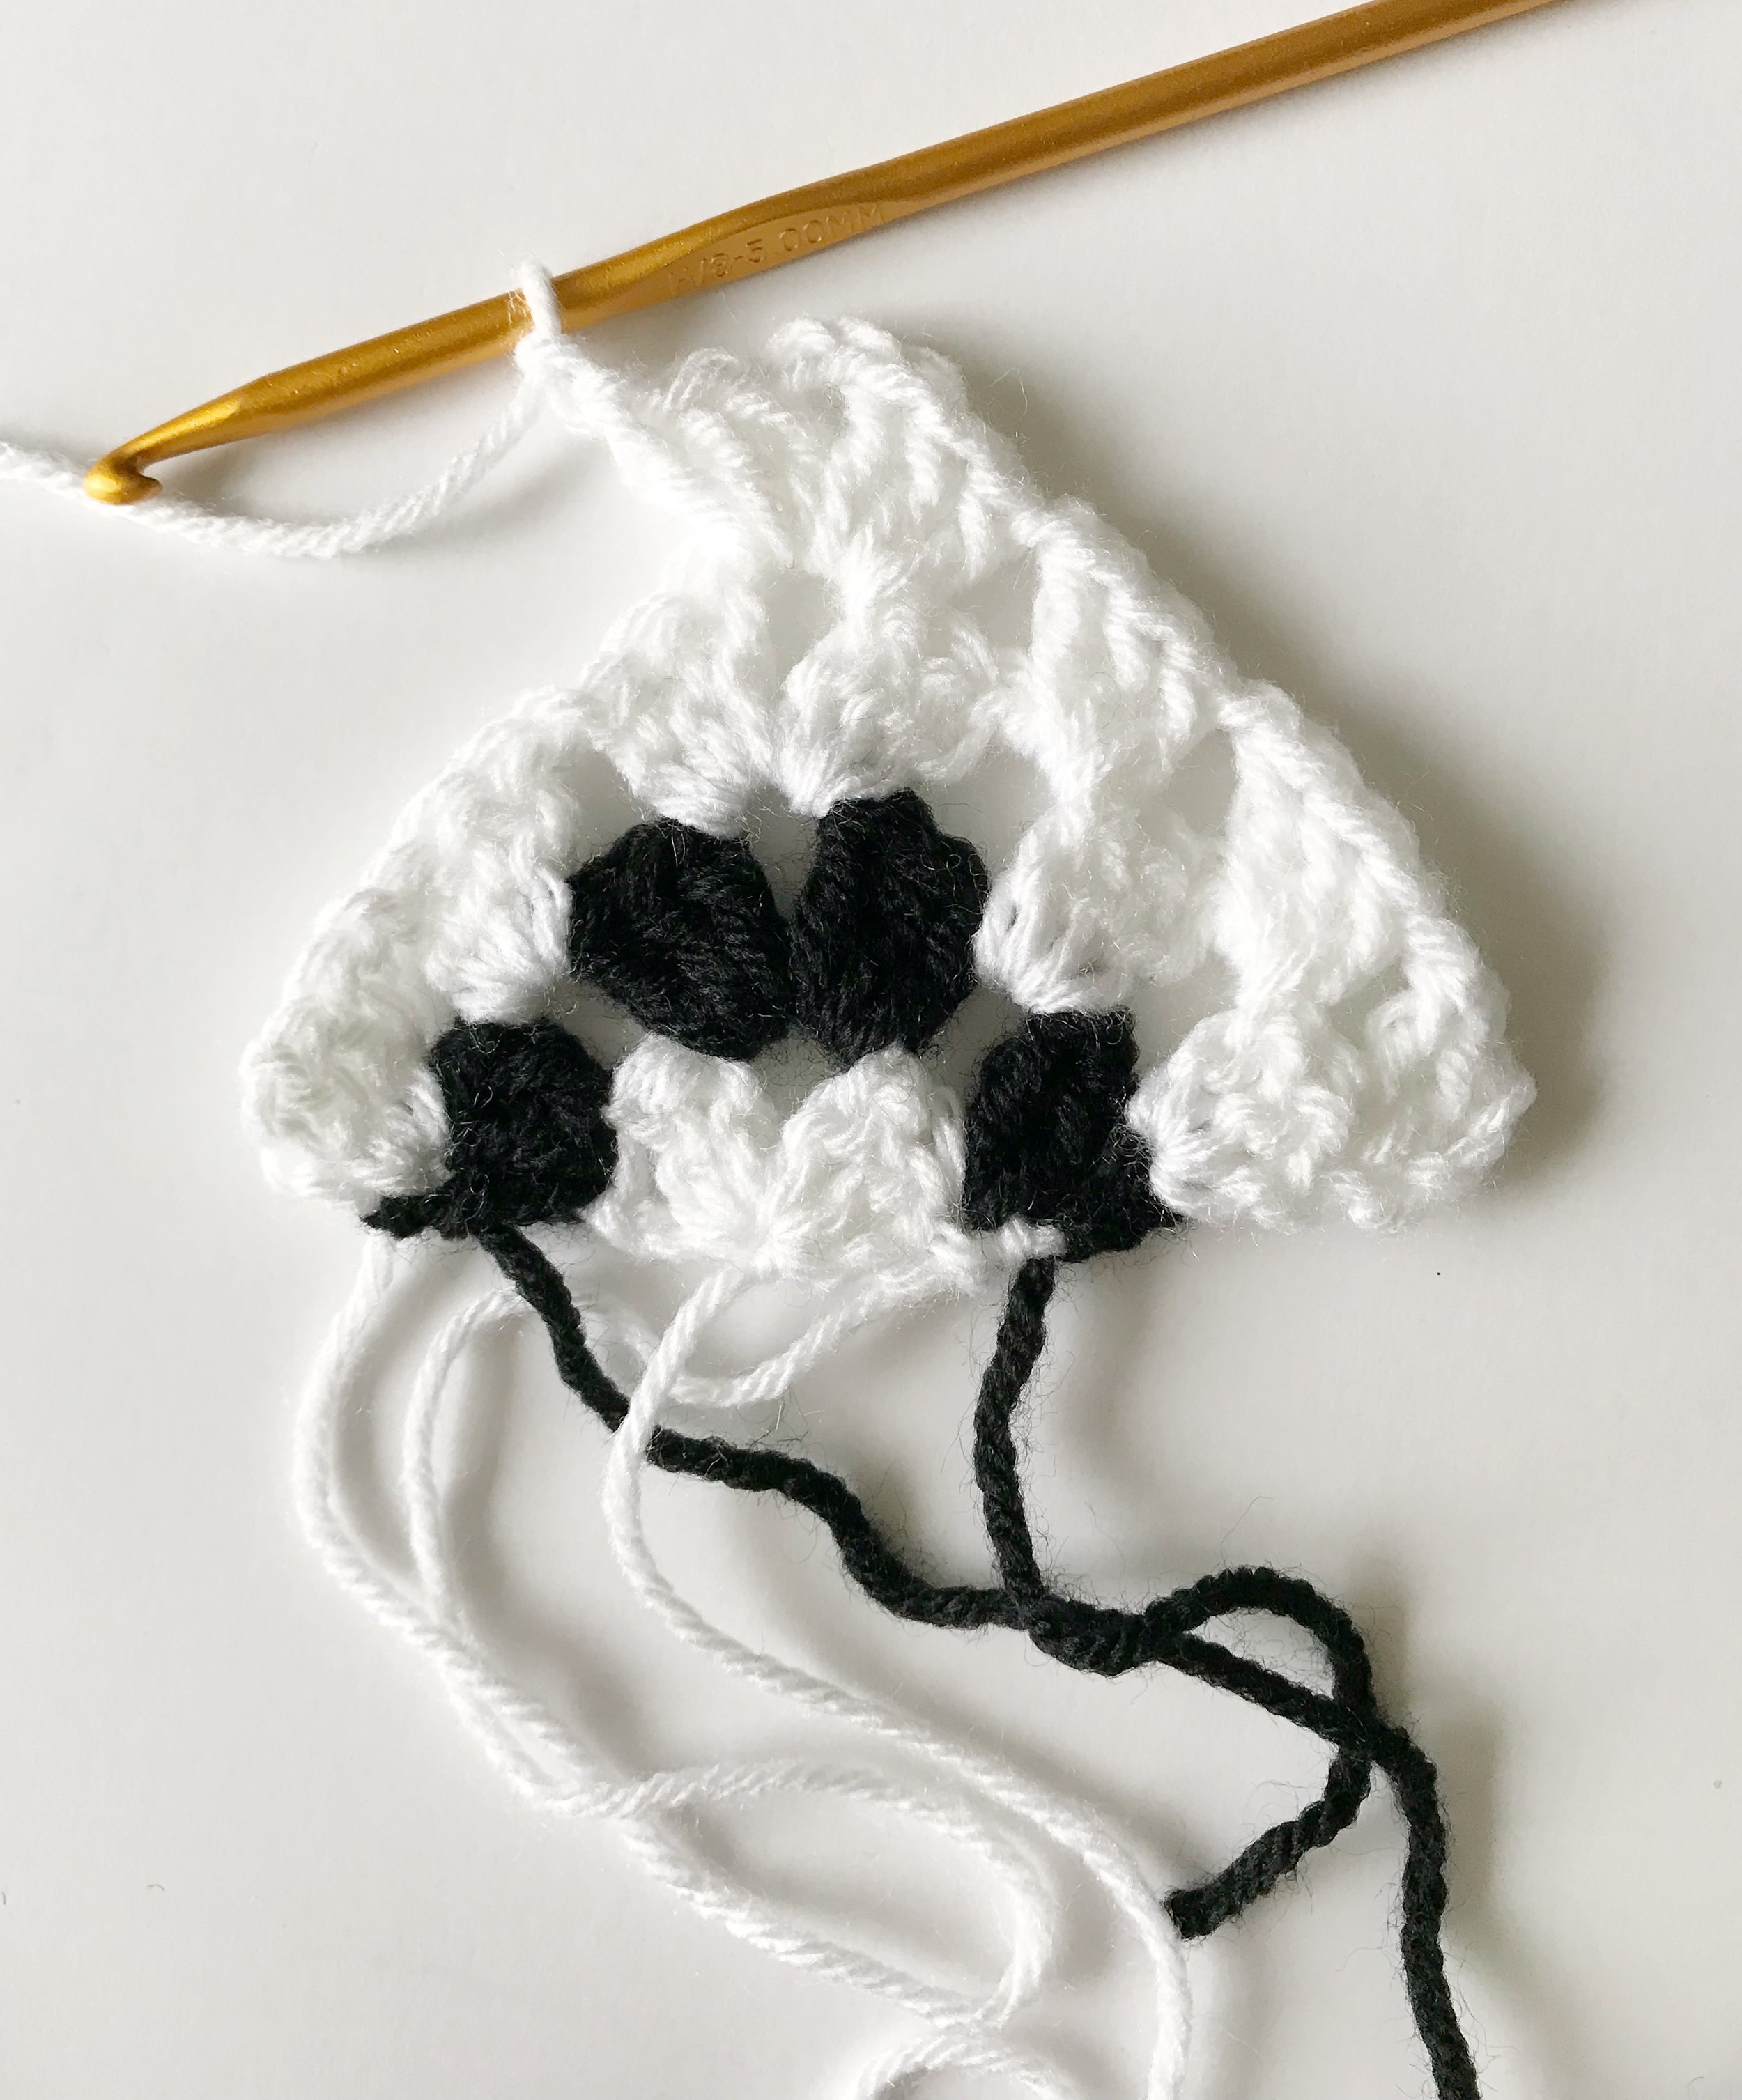

Row 5: Ch3, 2 dc into the top of first stich. Ch1, 3dc into next 3 ch-1 spaces. Ch1, 3dc, ch2, 3dc into ch-2 space. Ch1, 3dc into next 3 ch-1 spaces. Ch1, 3dc into the top of ch3 from previous row. Fasten off and weave in ends. (30 sts, 1 ch-2 space, 8 ch-1 spaces)
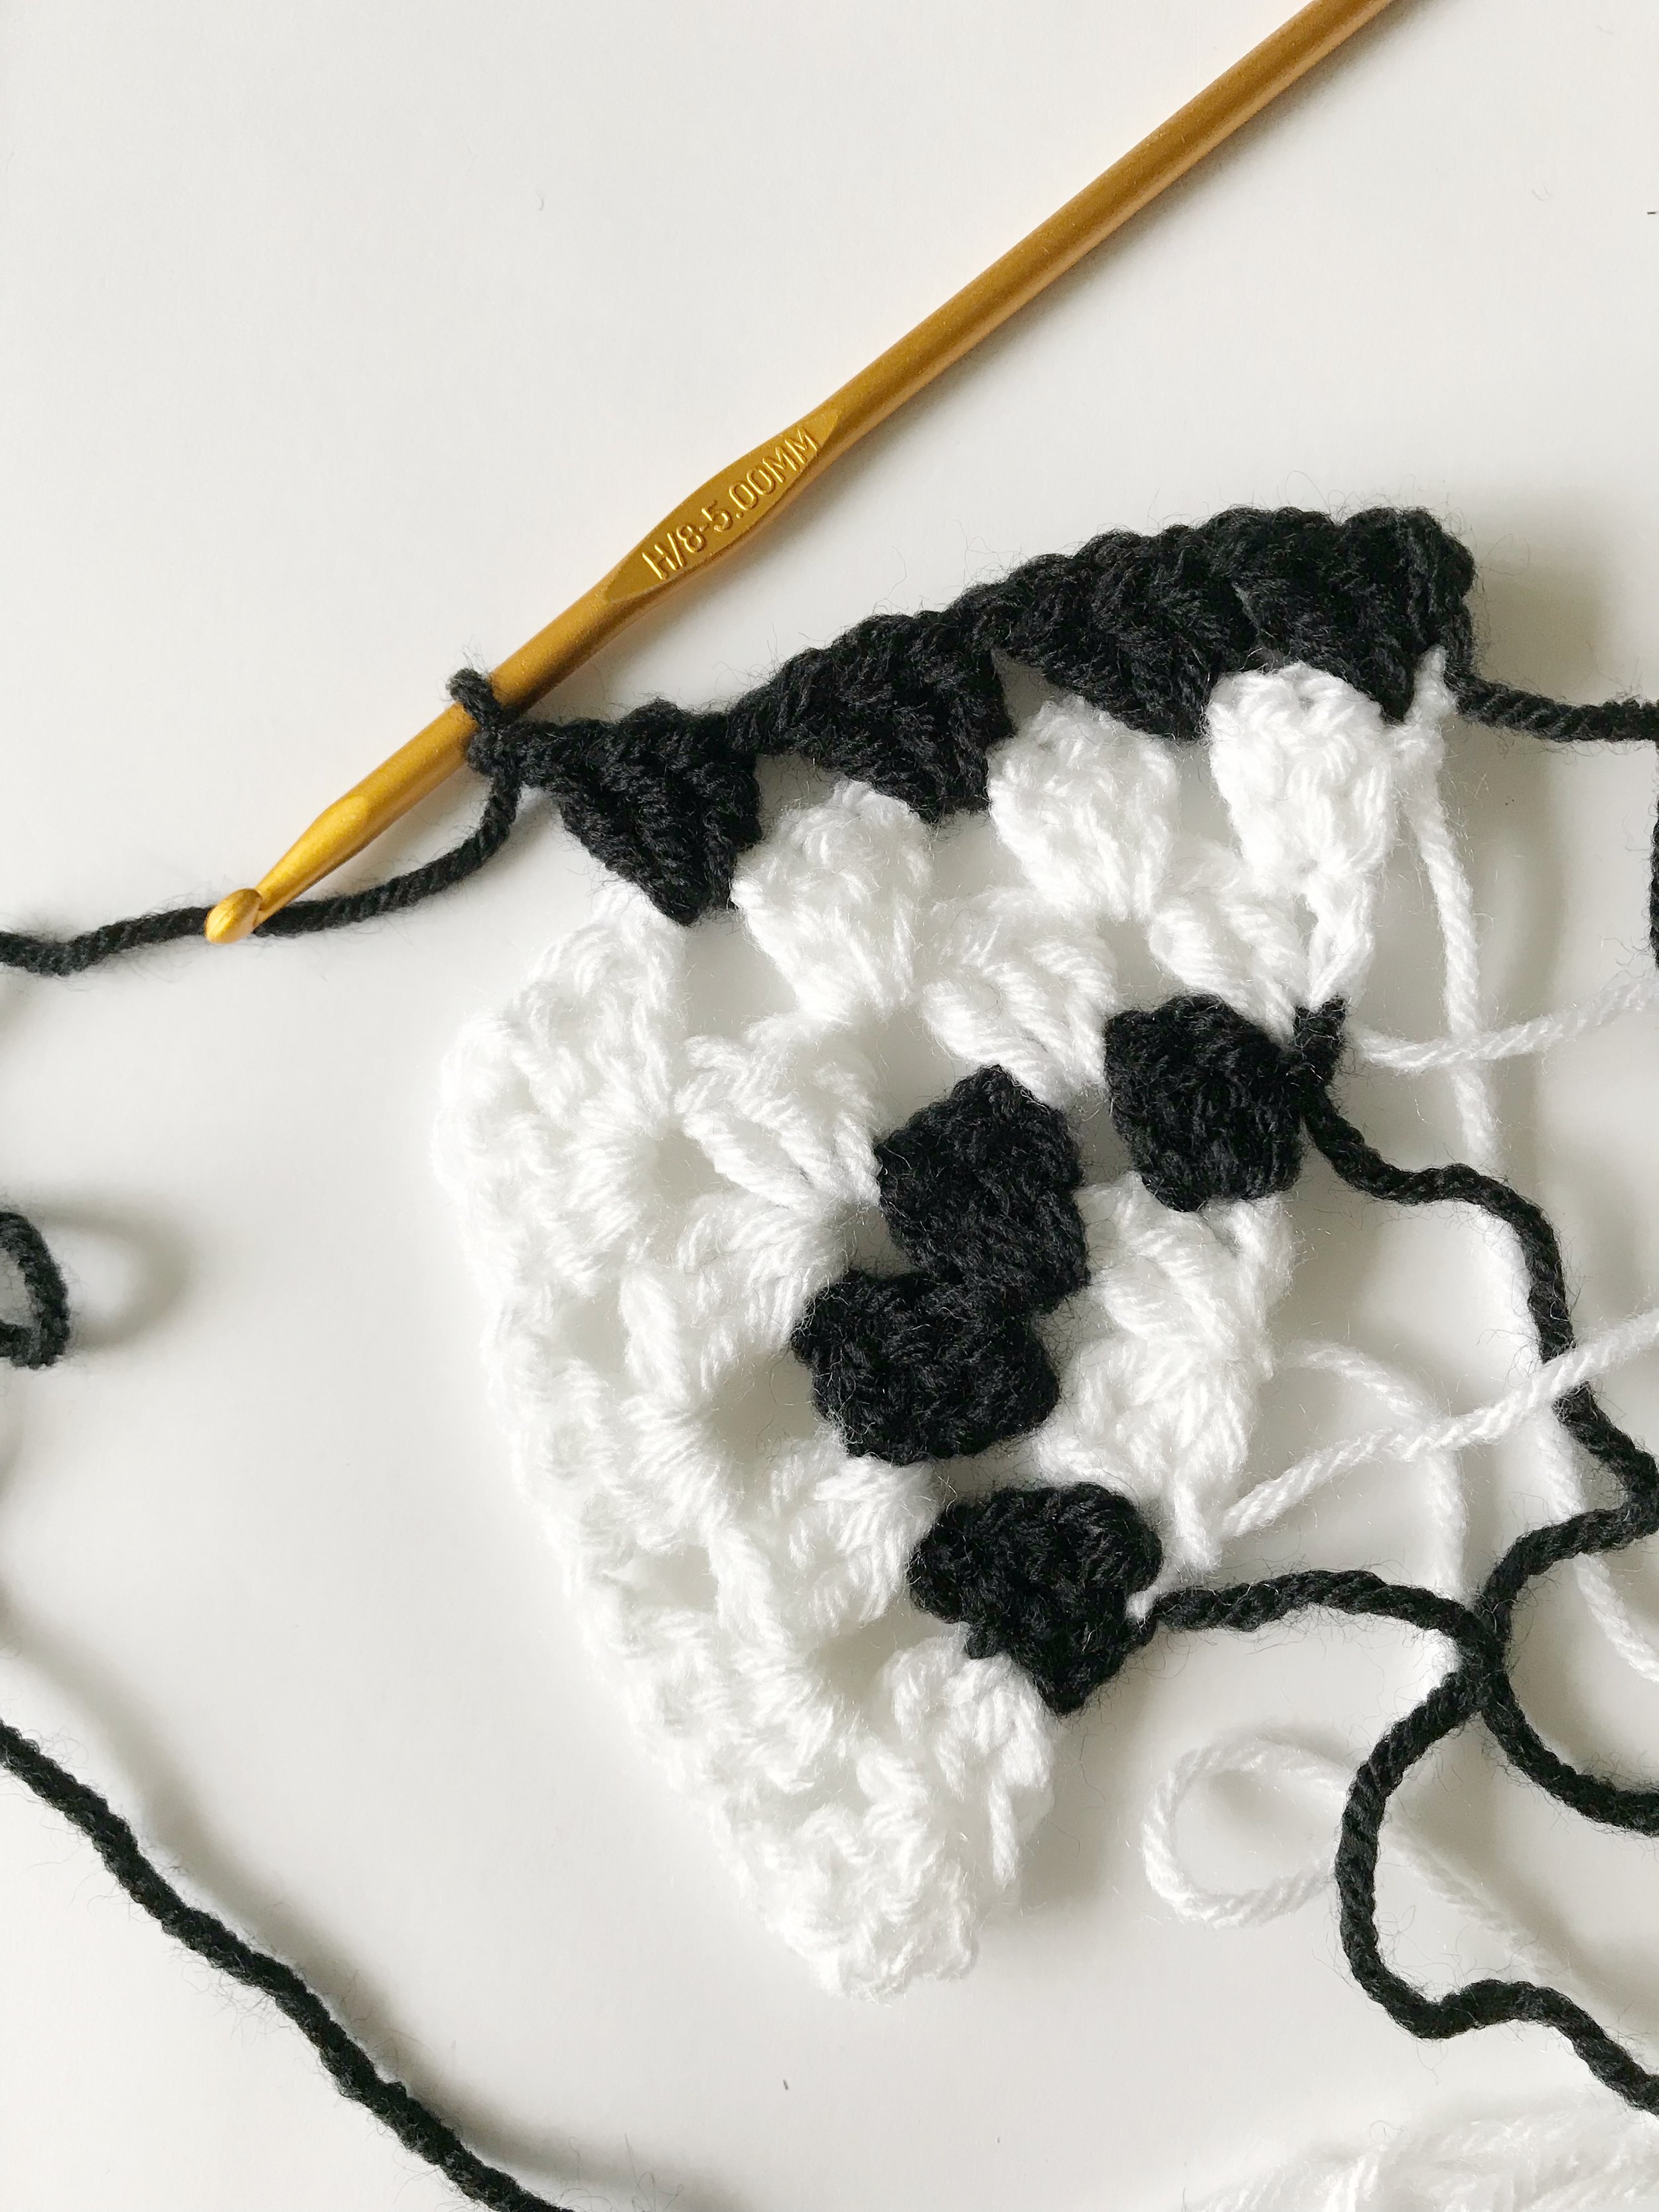
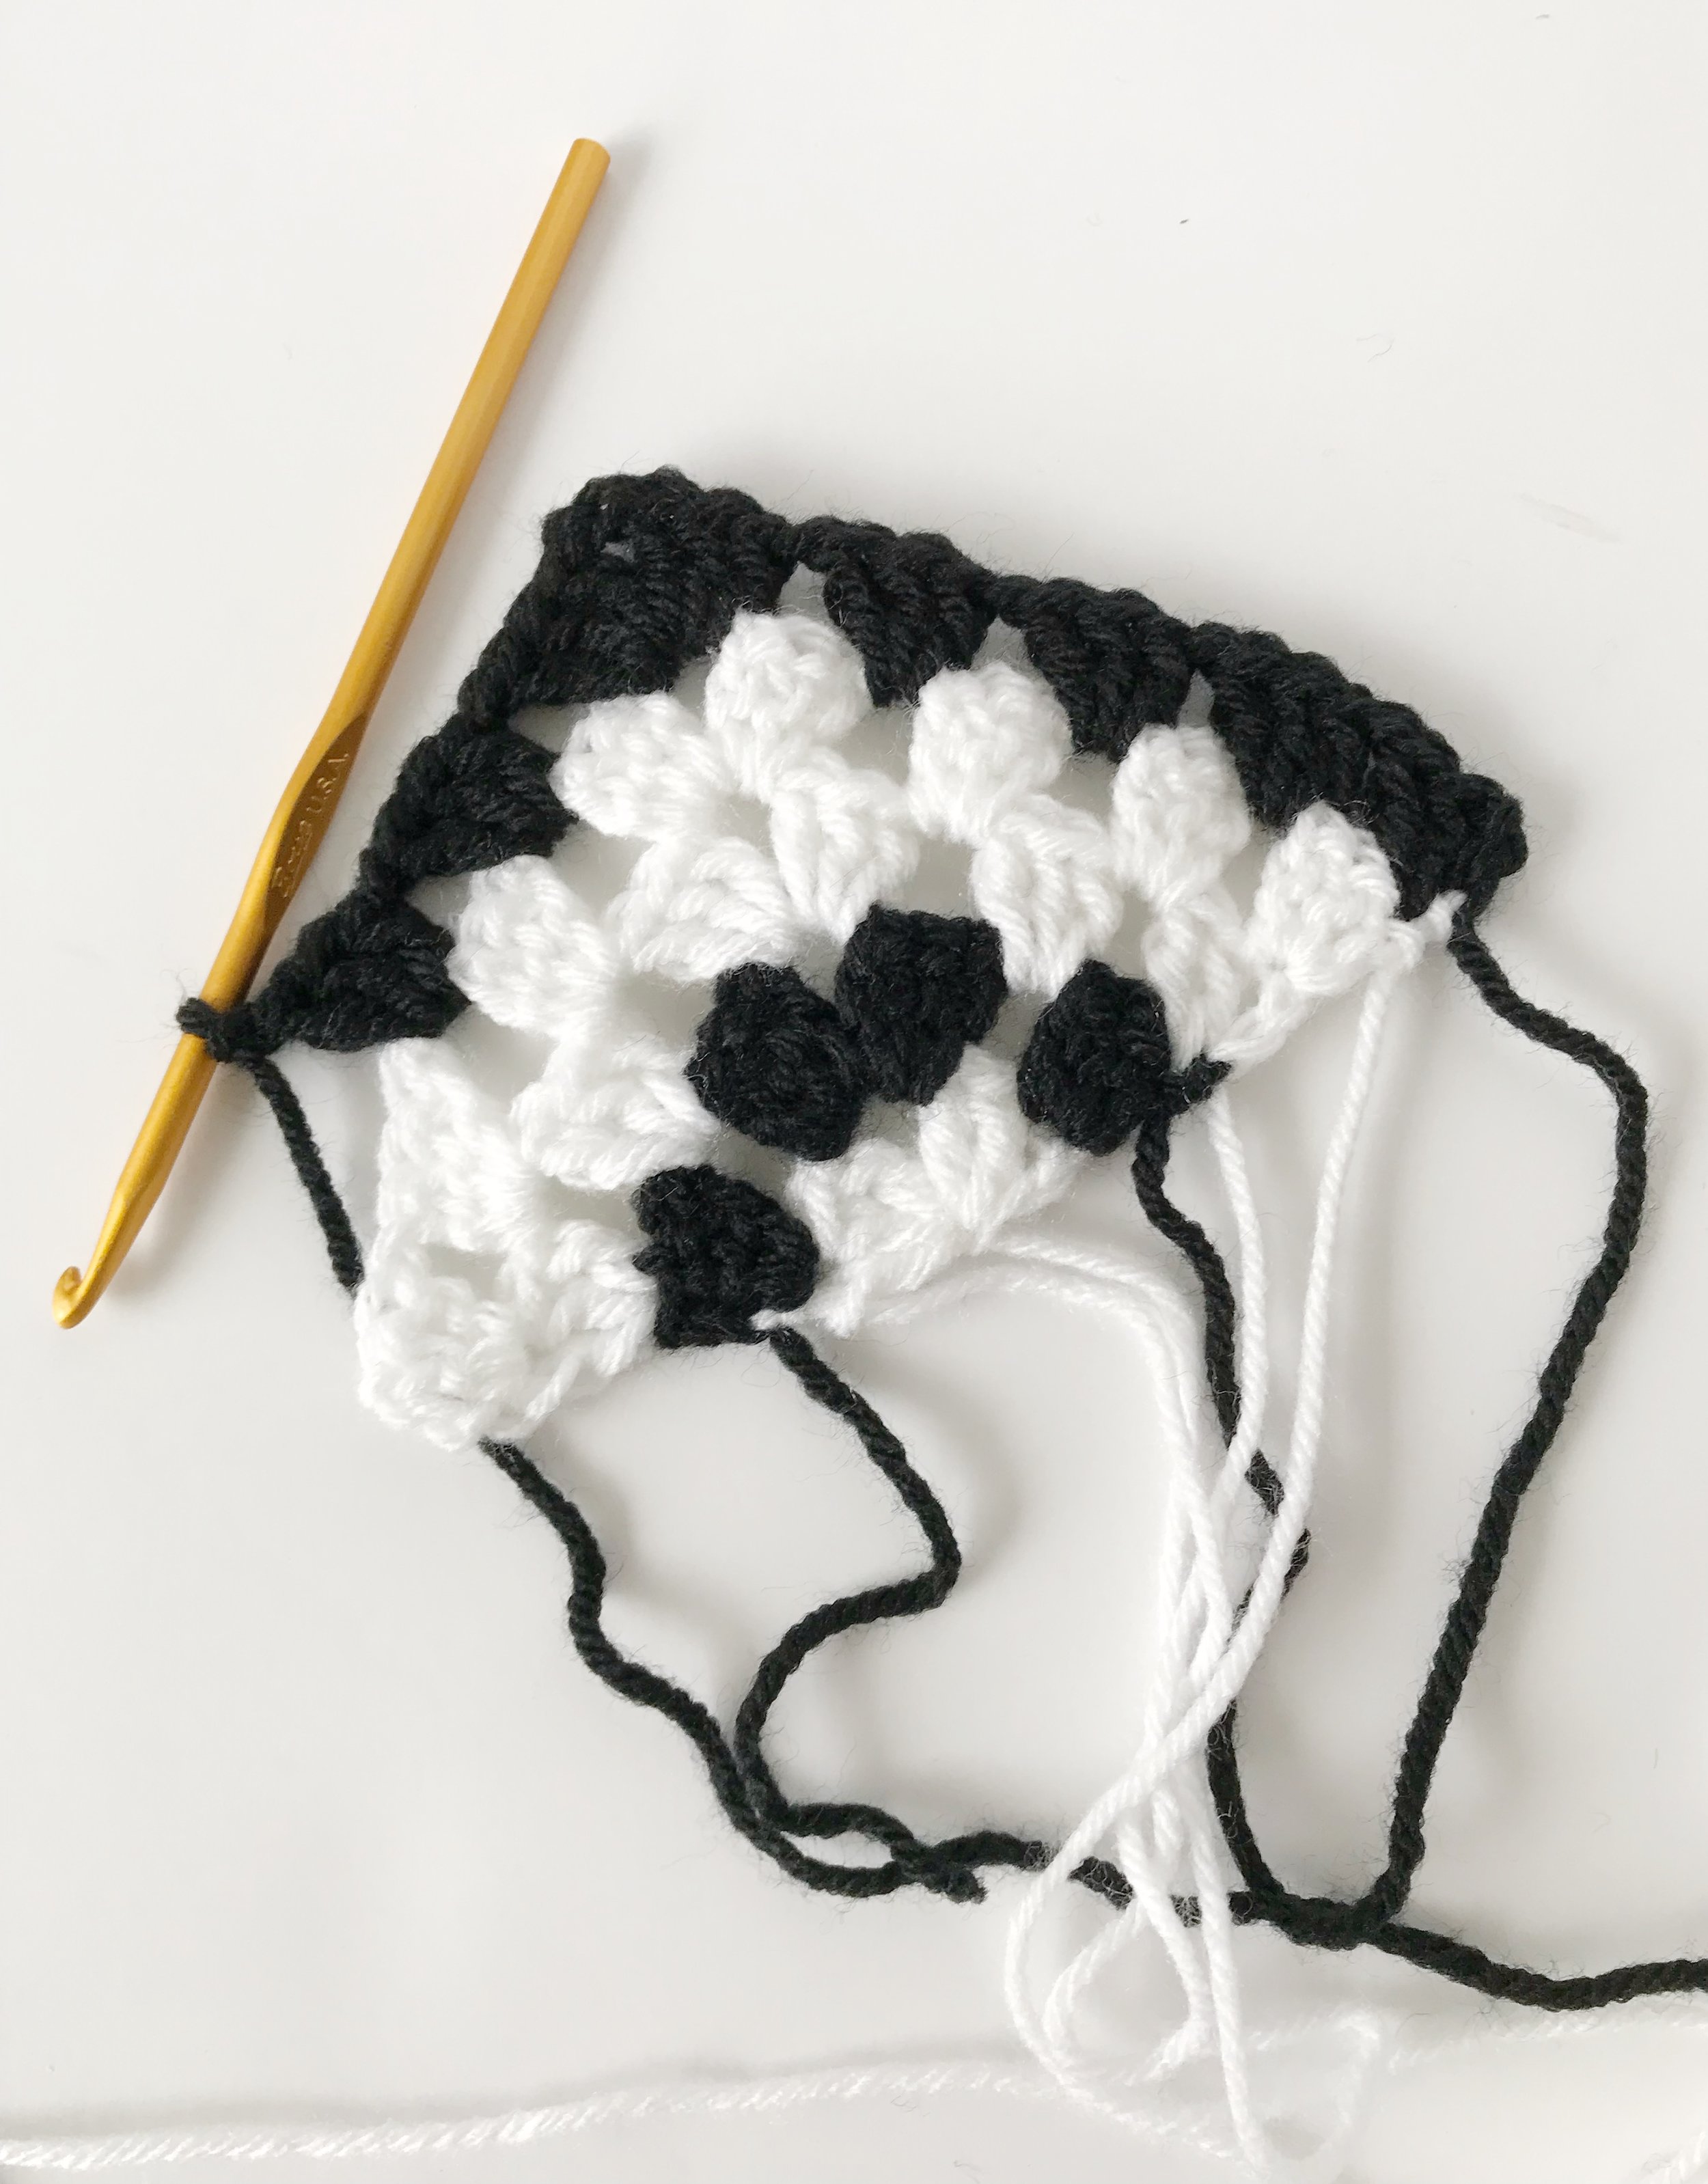
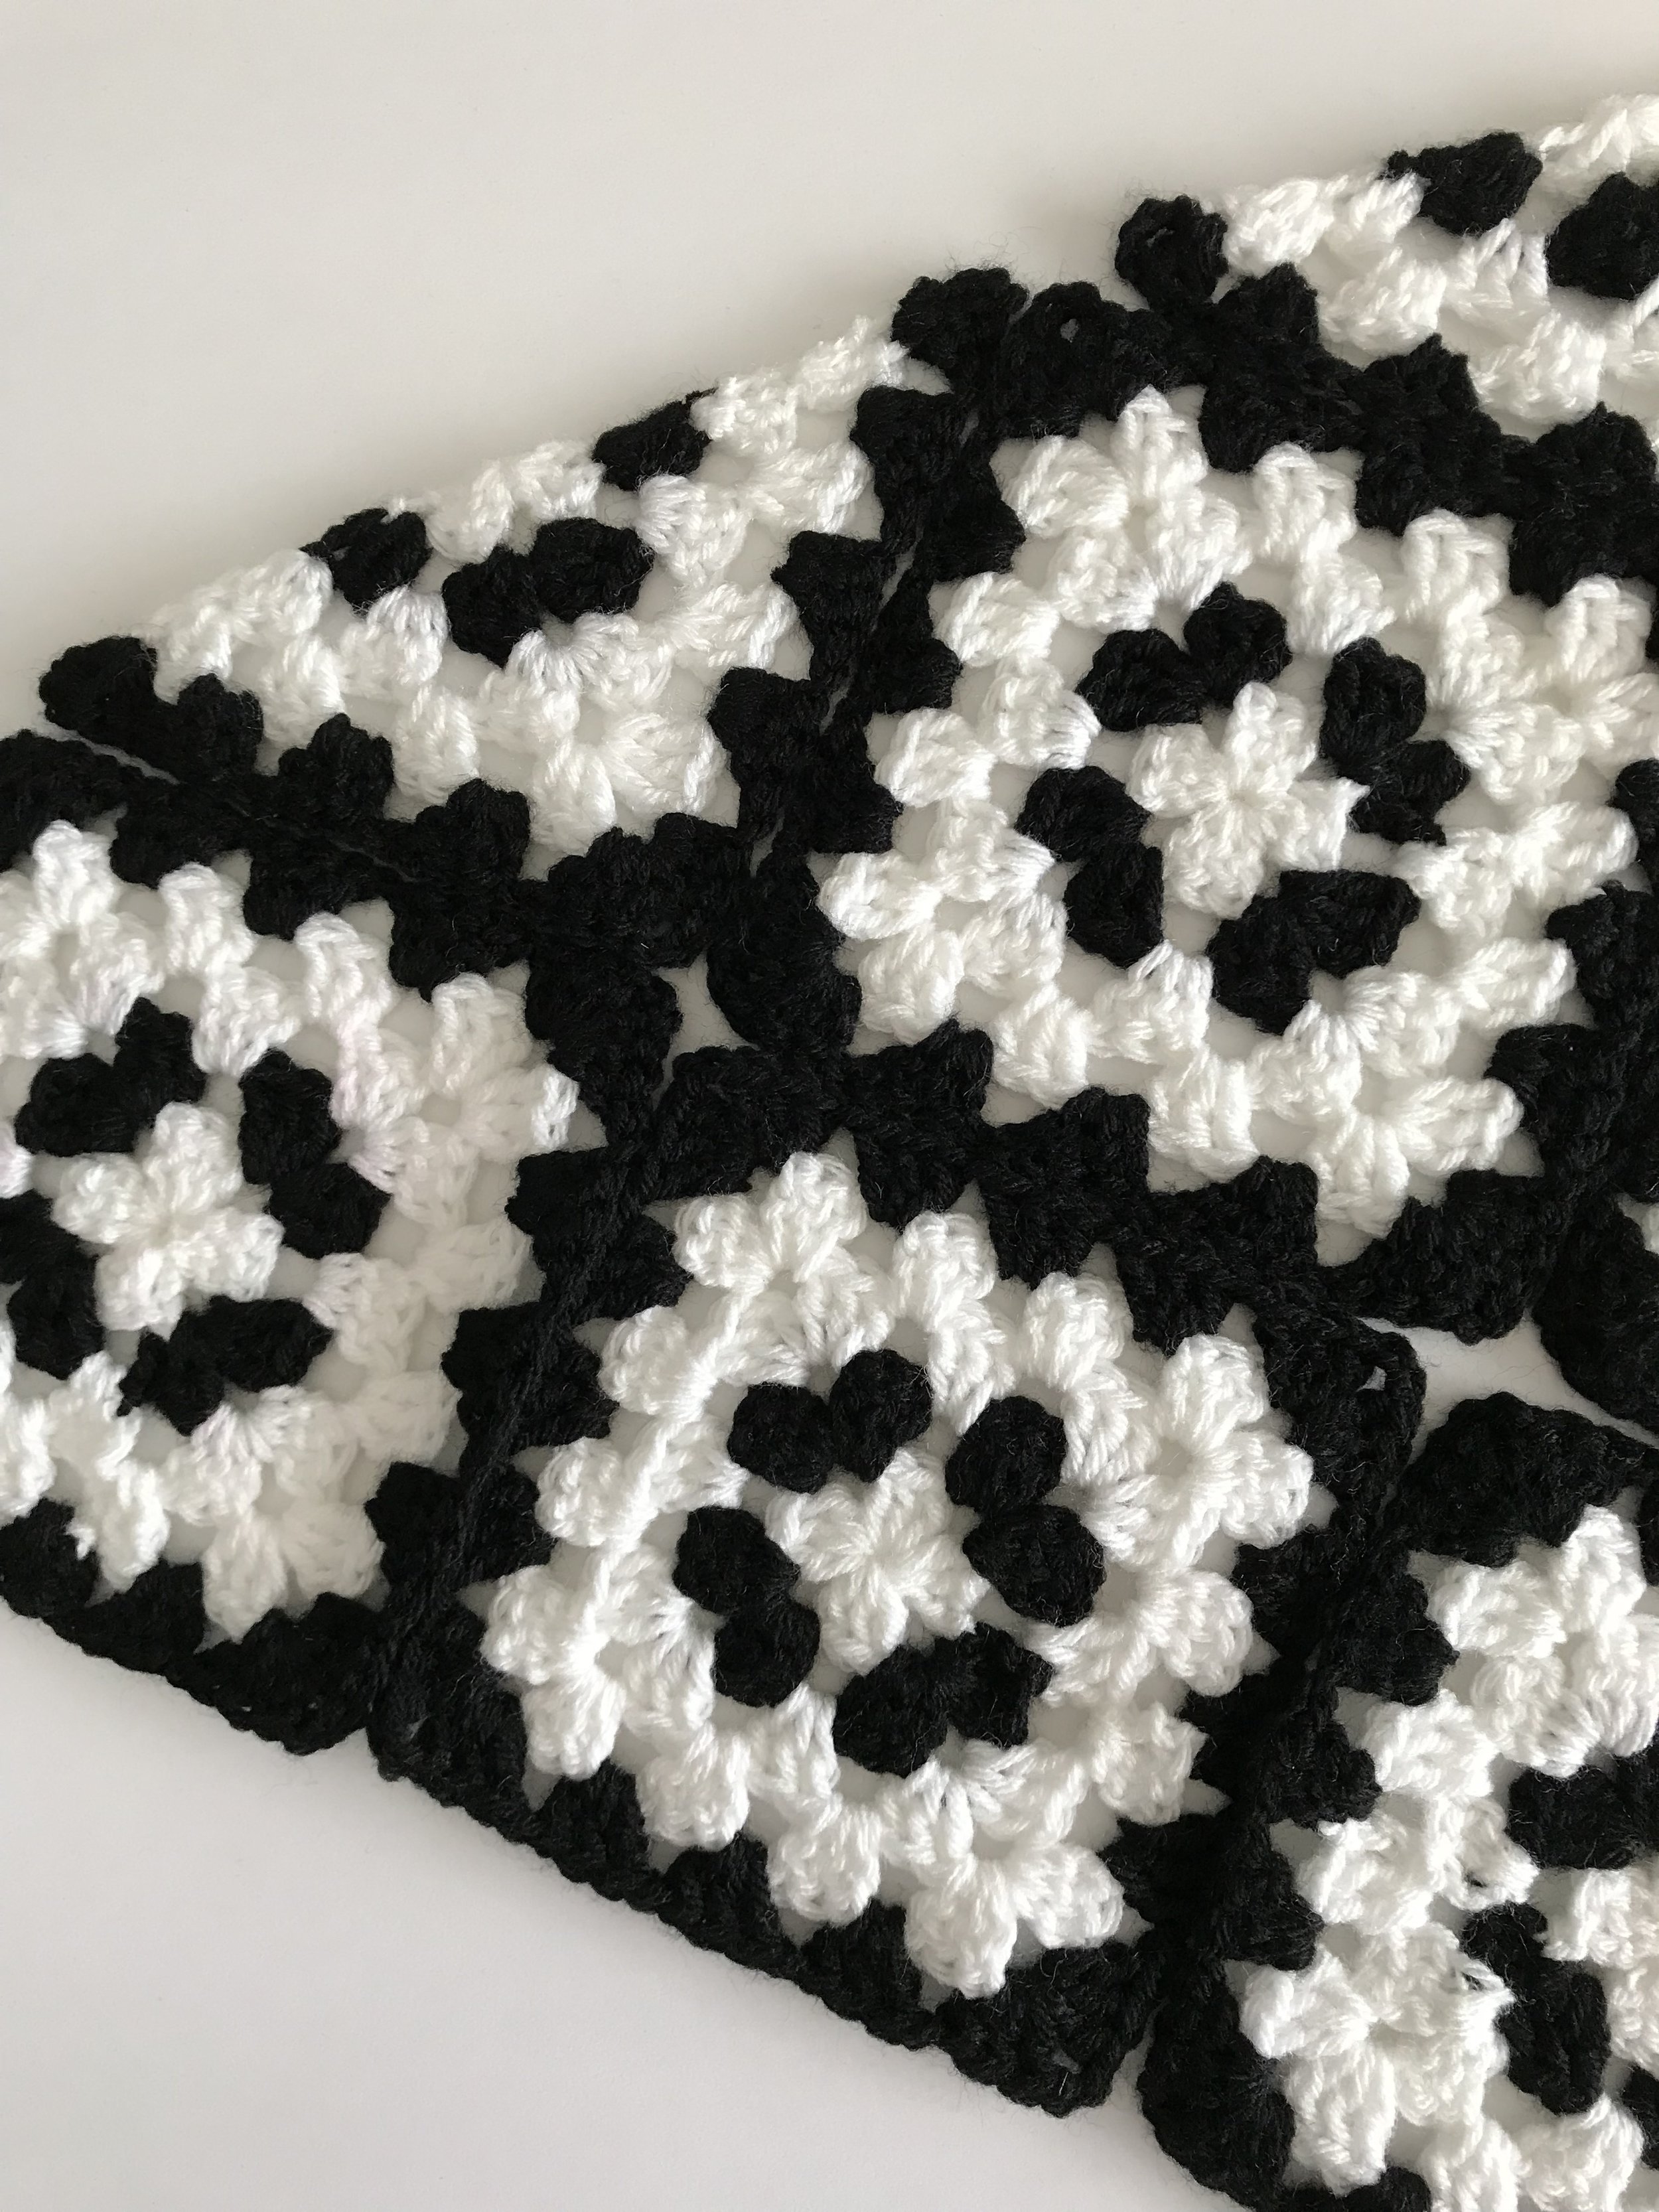
Once you have all your squares and half squares made it's time to assemble your blanket. There are a number of different ways to join granny squares, but I liked the look and ease of a simple whip stitch. Using black yarn I lined up my squares and whip stitched through the back loops of each square. I started in one corner and joined the squares and half squares in a zig-zag/chevron pattern.

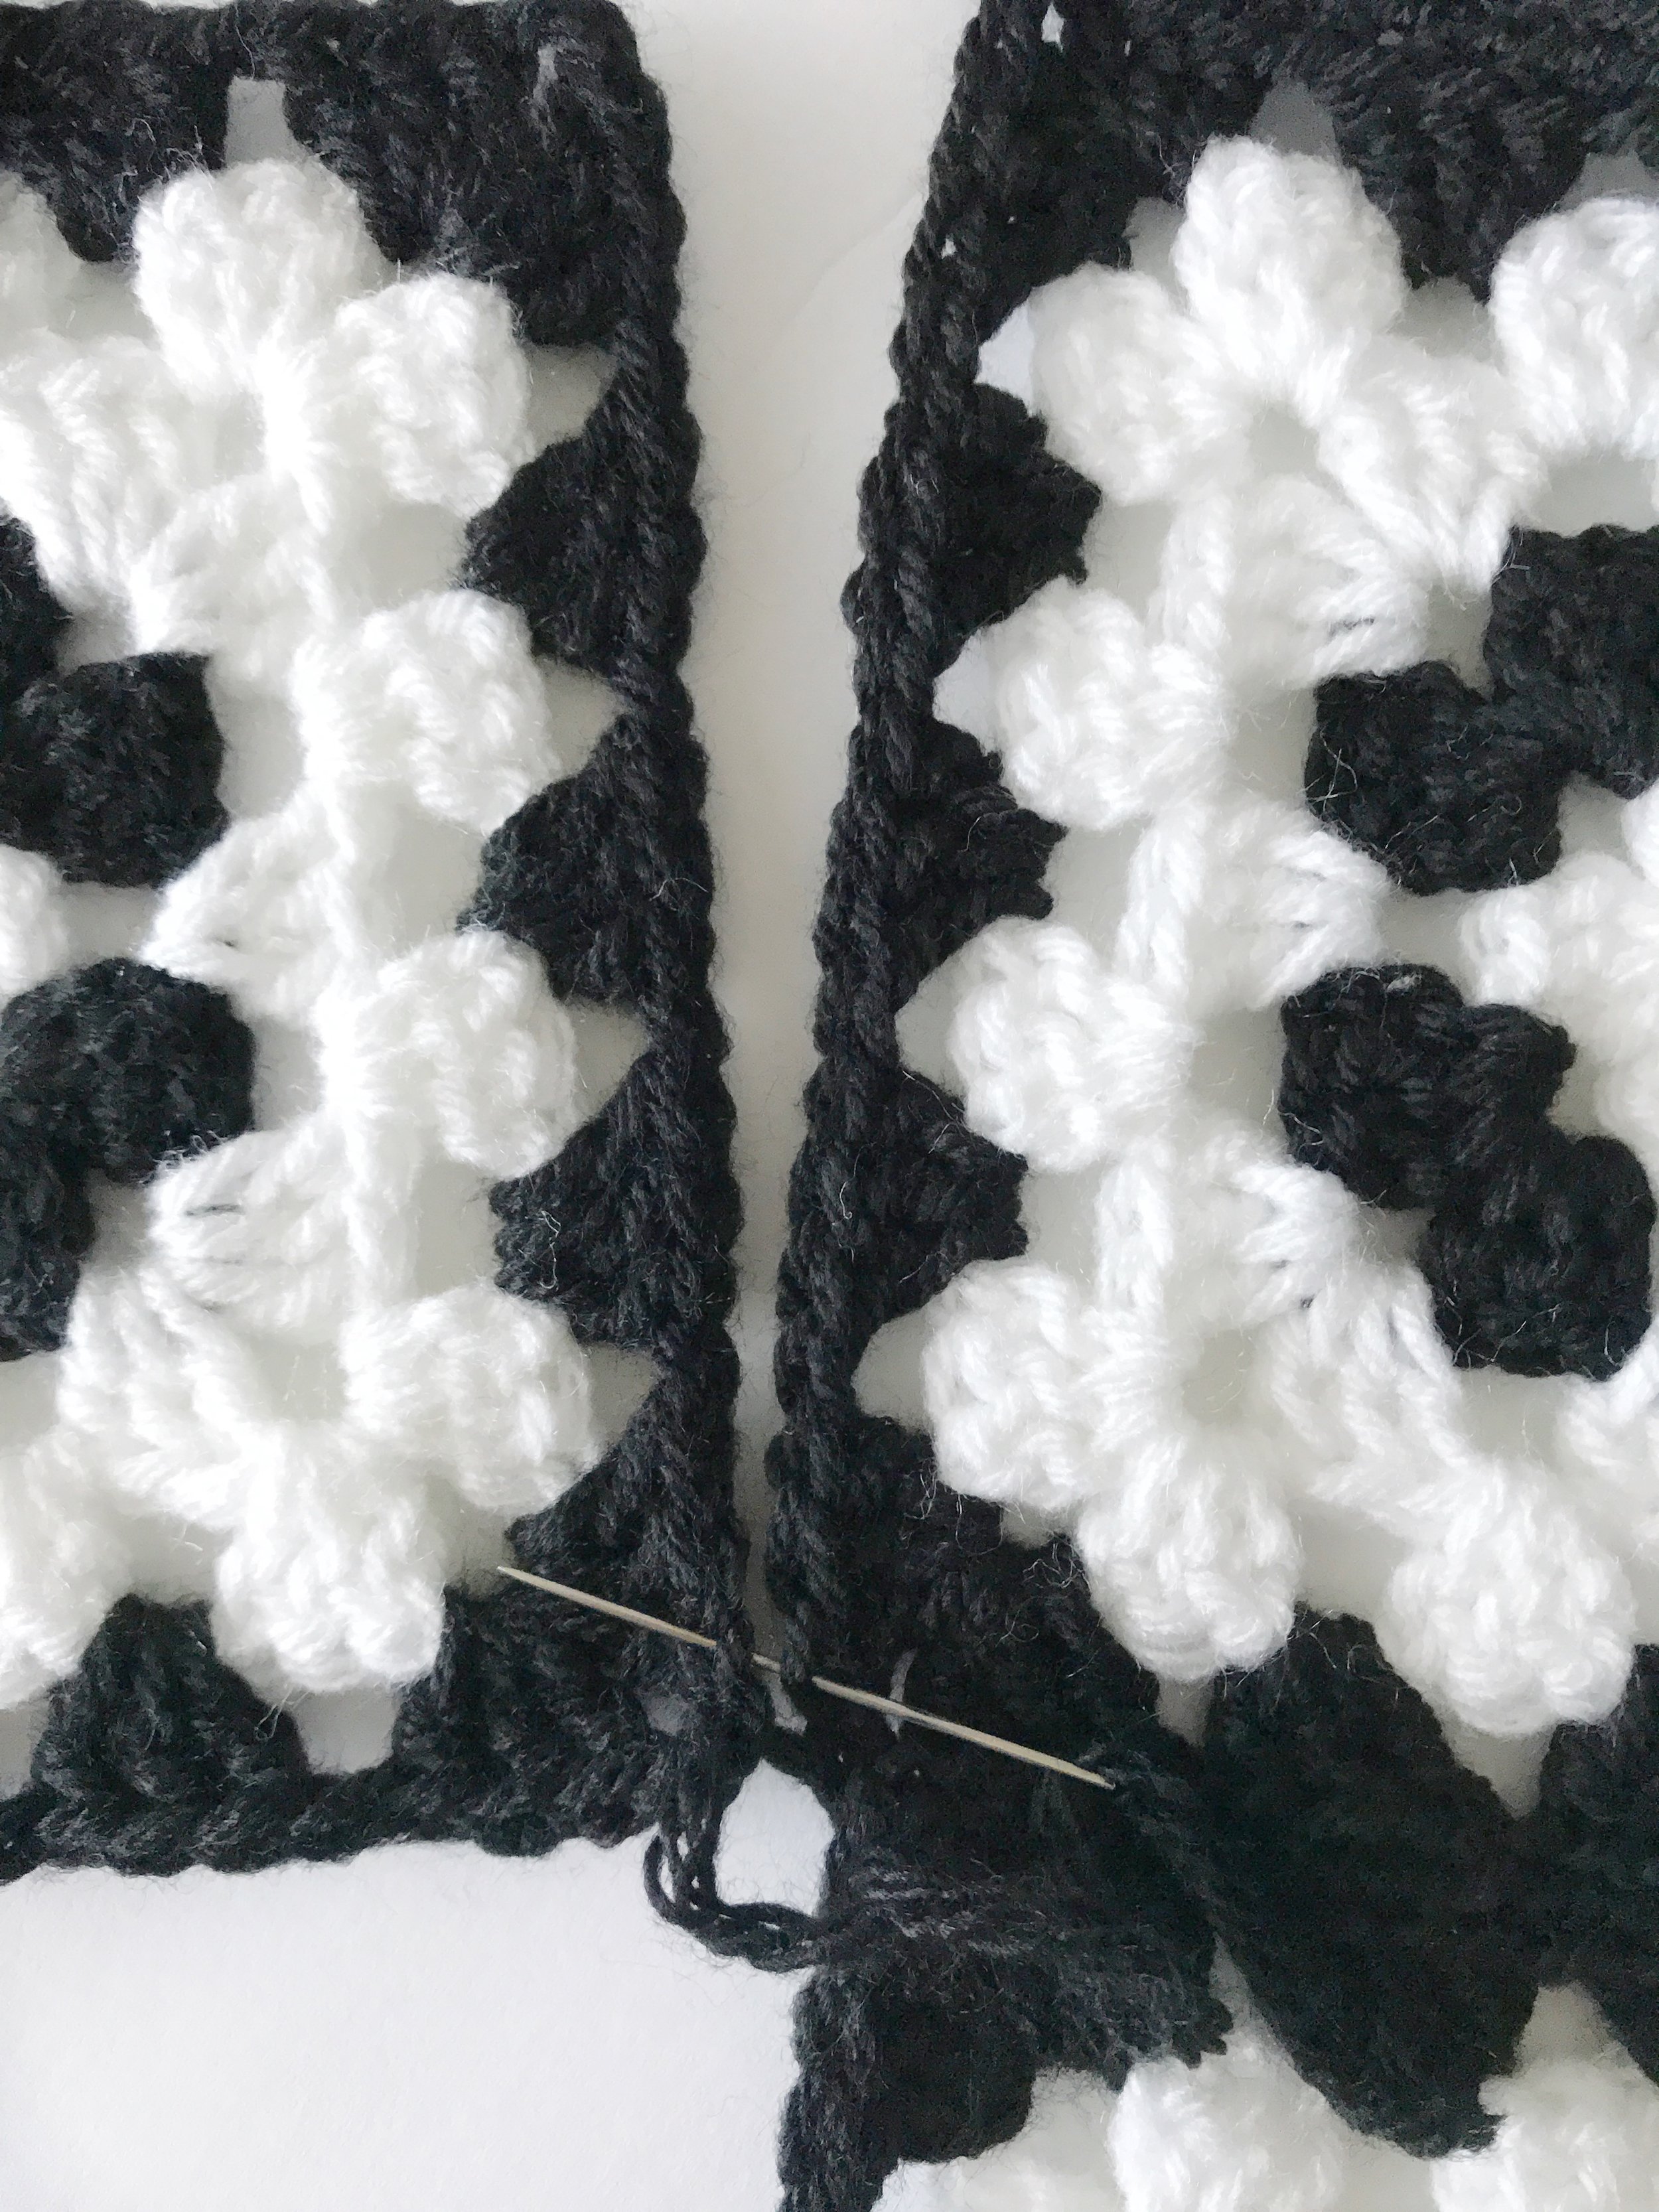

My husband was kind enough to help me create a simple diagram of how the squares and half squares should be attached.

Once all the pieces were assembled I couldn't decide if I should add a border or leave it be. It was beautiful on it's own, but ultimately I decided to add a simple border to give it a more polished look.
To add a border attach black yarn anywhere along the edge of your blanket. Ch1, and then sc all the way around making sure to work 3sc into each corner. Work 3 rounds to create the simple border like mine. Fasten off and weave in ends and you are done!

Now snuggle up and enjoy your Mabel Blanket. I'm already dreaming up other color combos that would be beautiful like grey and white or mustard yellow and white
If you would like to purchase an inexpensive PDF version of this pattern you can find it HERE or on Ravelry.
If you make a Mabel Blanket I would love to see it! Tag me on Instagram or Facebook @meghanmakesdo or use #meghanmakesdo so I can see your Mabel.
Happy Making!
Meghan

Find your next project below.