Crochet The Diamond Lattice Stitch
This post contains affiliate links. If you make a purchase through one of those links I may receive a small commission.
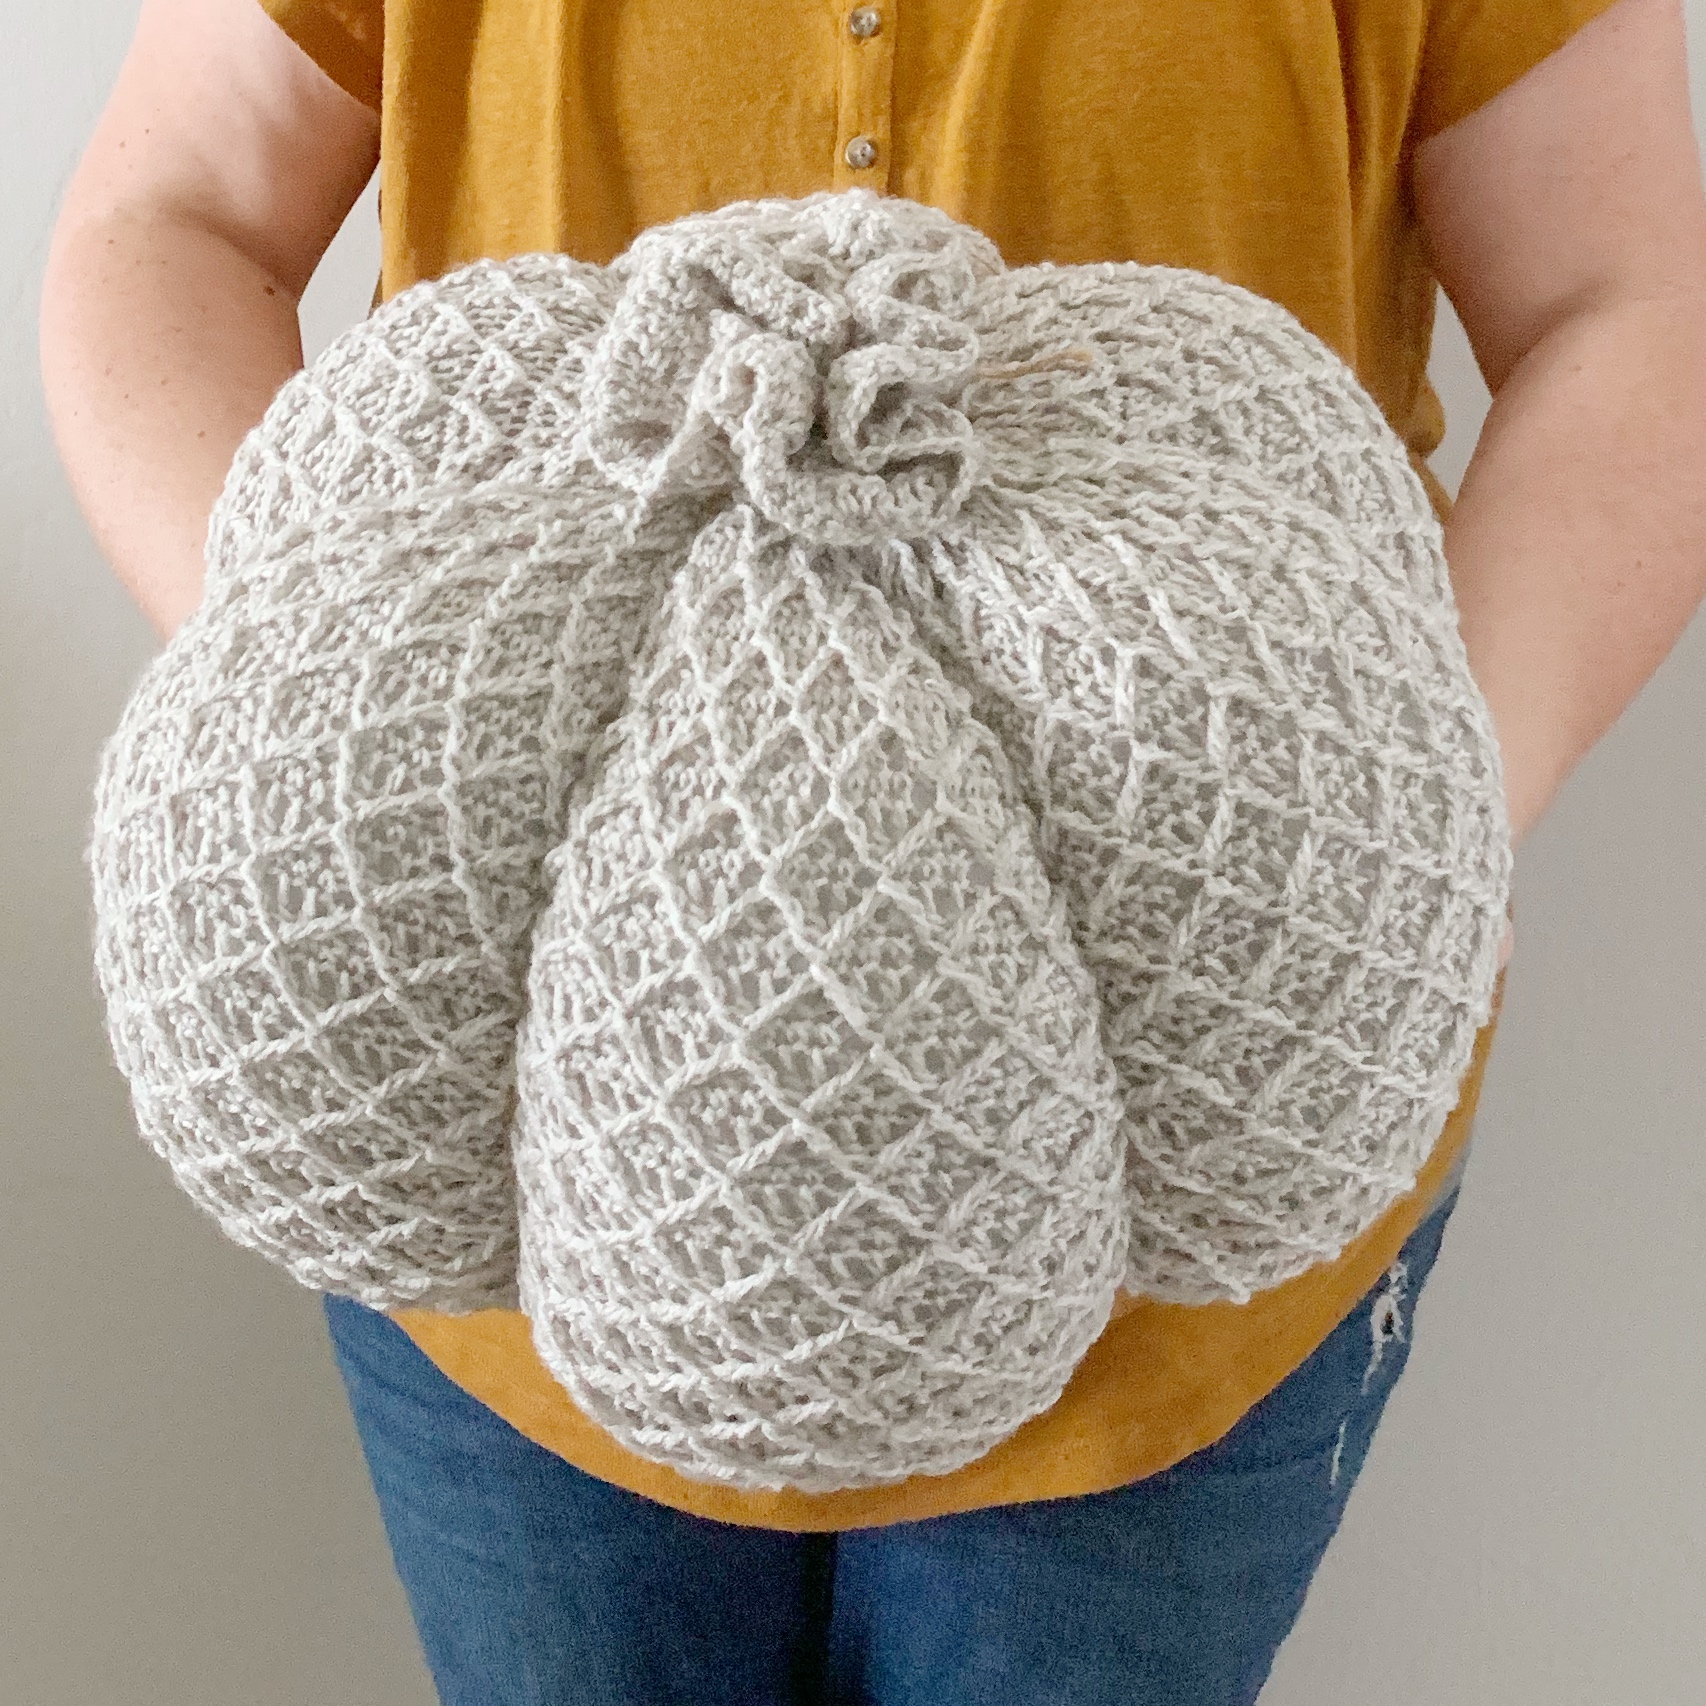
Today I am thrilled to be sharing the Diamond Lattice Stitch with you! I’ll be honest this stitch totally intimidated me at first, but once I gave it a try I instantly fell in love. It’s surprisingly easy once you get used to the repeats and works up quickly. I recently used it for my Beryl Pumpkin crochet pattern and the result was stunning. I’ve included a video tutorial as well as a detailed photo tutorial below.

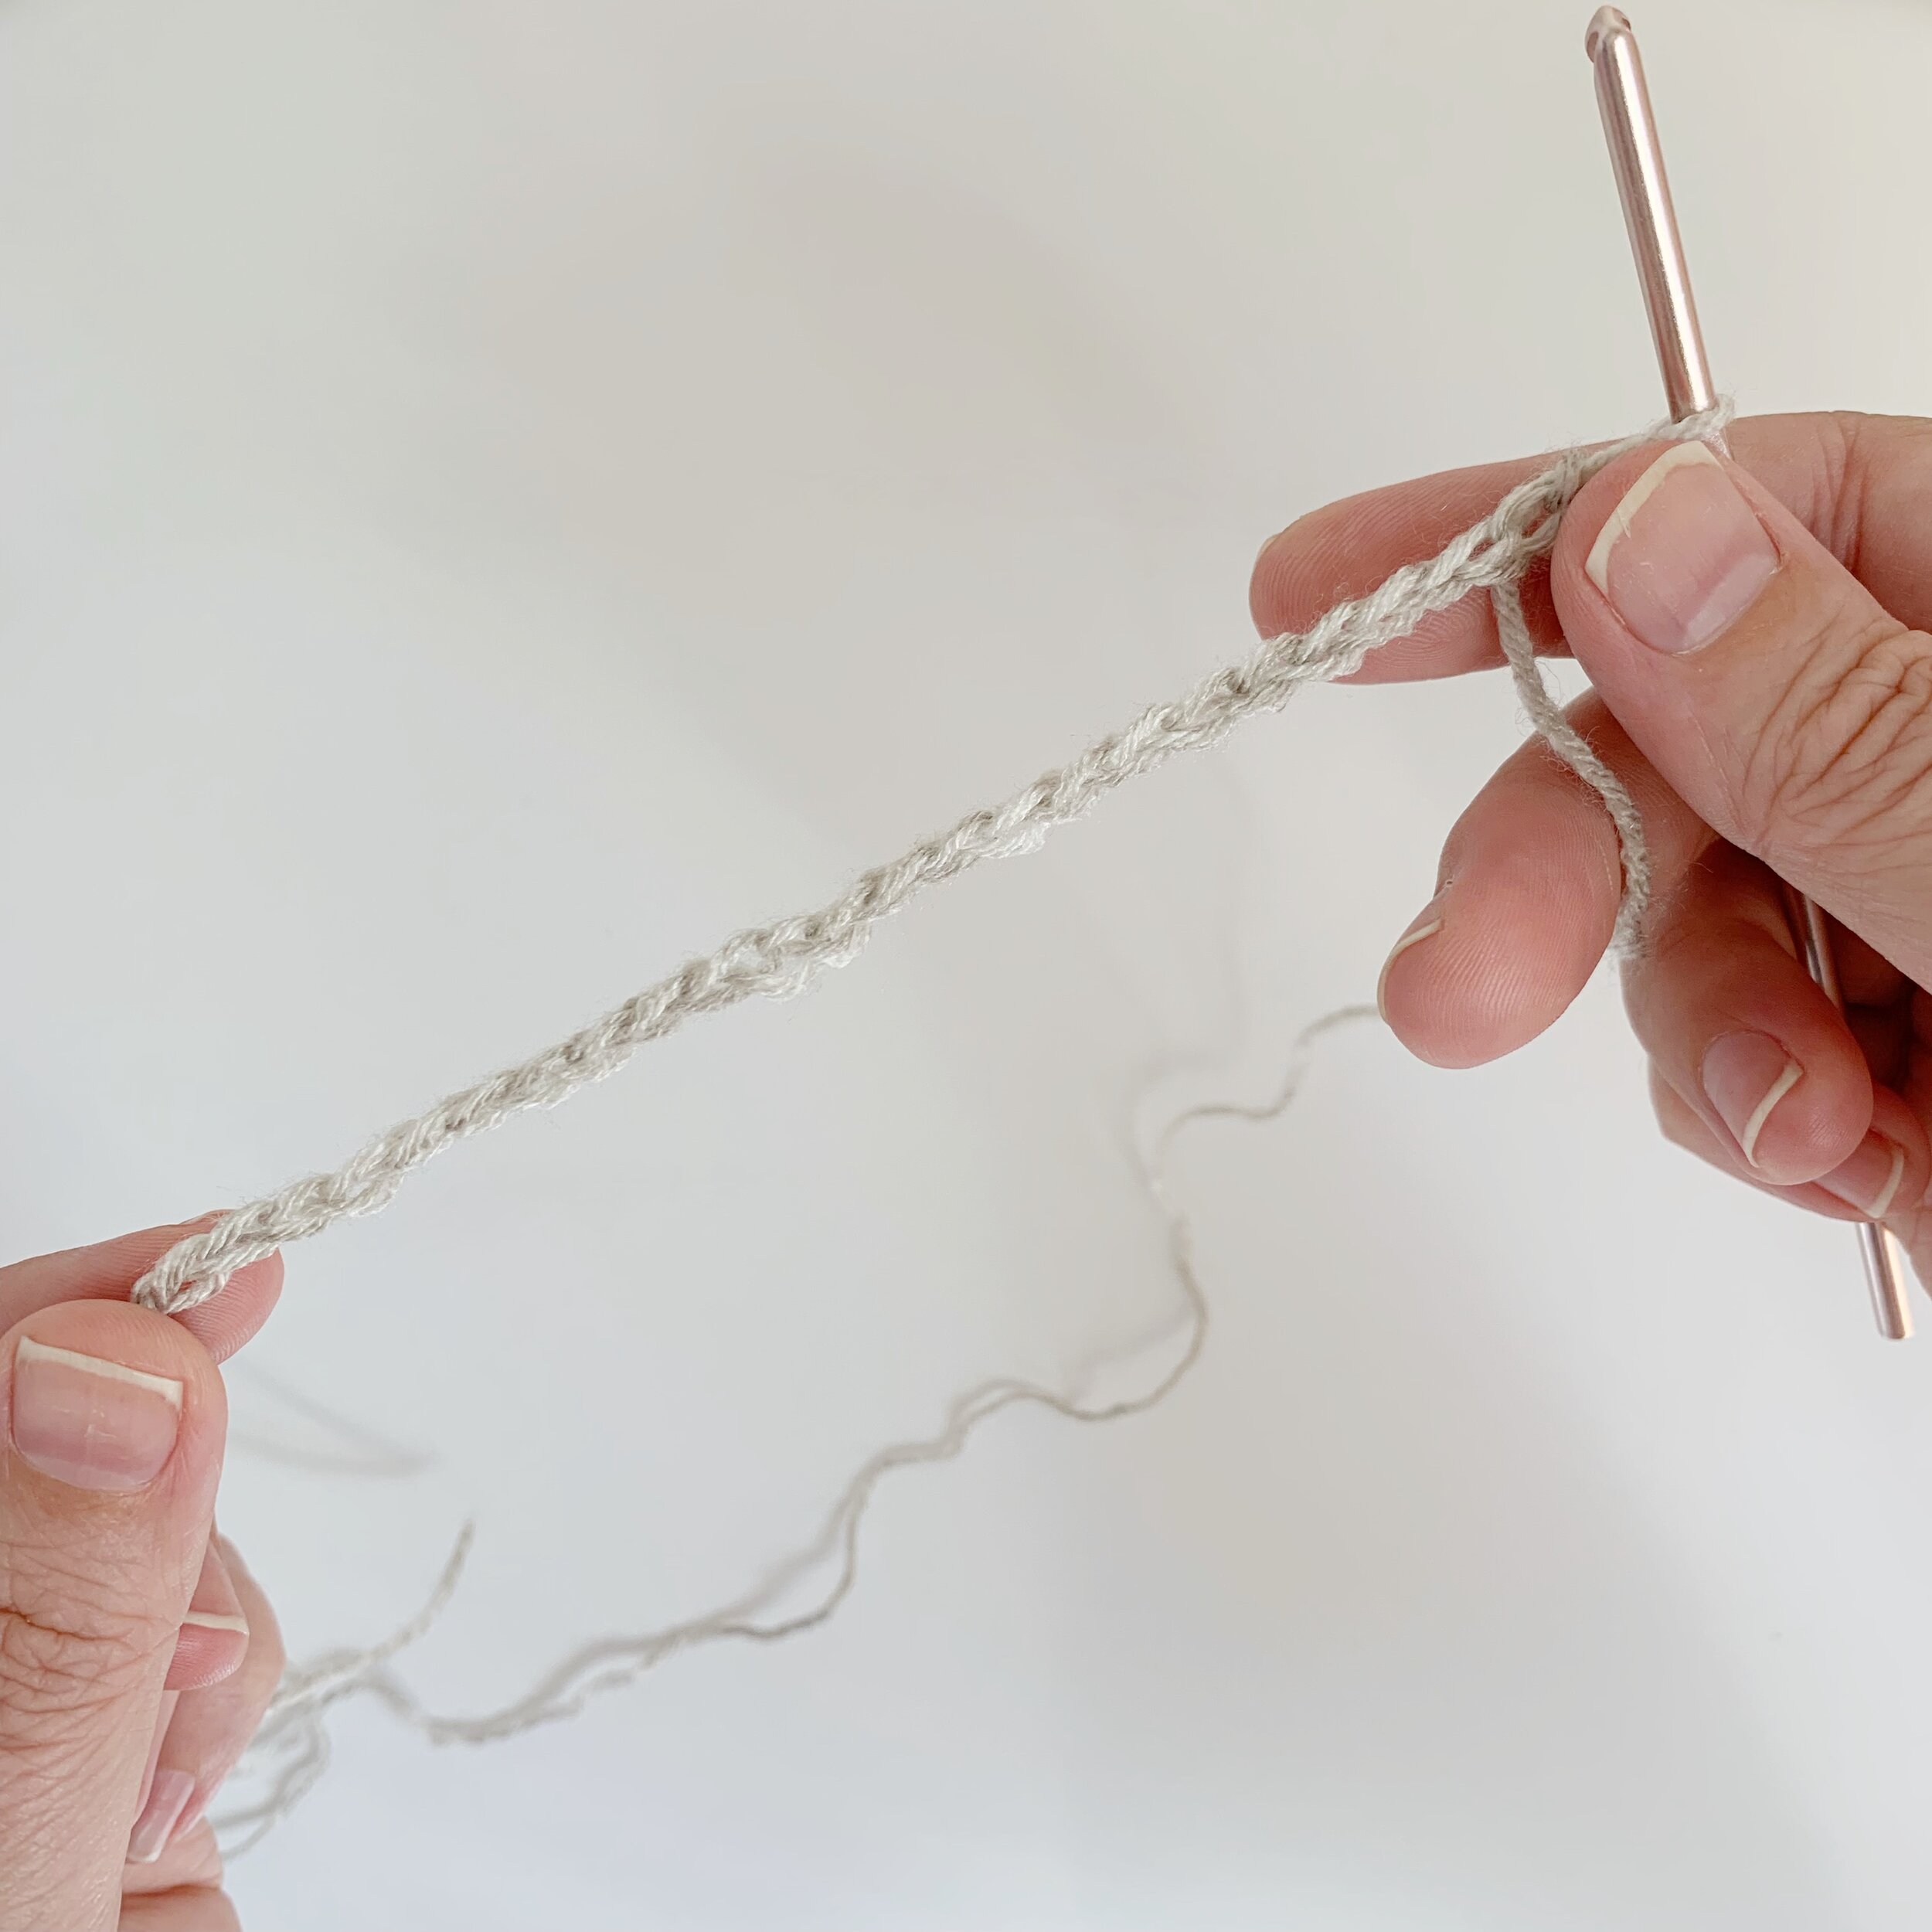
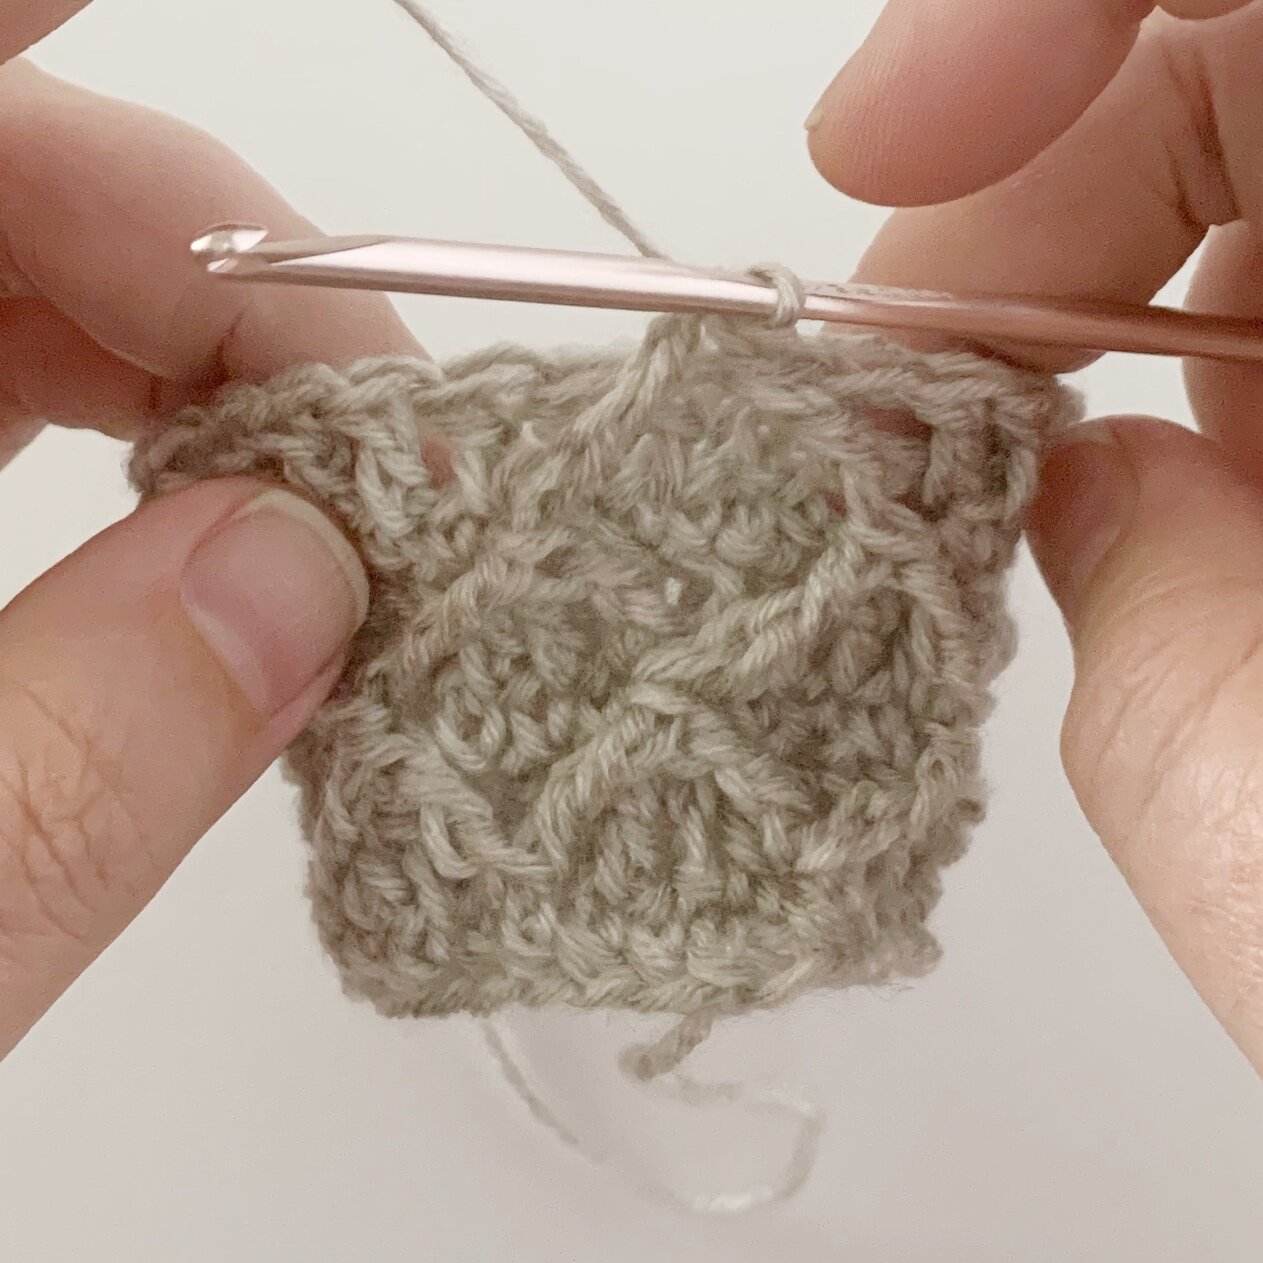
For this tutorial, I used Yarn Bee Soft and Sleek DK in the color Linen and a size E 3.5mm crochet hook. Feel free to use any size hook and yarn weight that you want to achieve the look you want. Today’s tutorial is shown in the round. The stitch is made in multiples of 4.
Diamond Lattice Stitch Video Tutorial
Diamond Lattice Stitch Photo Tutorial
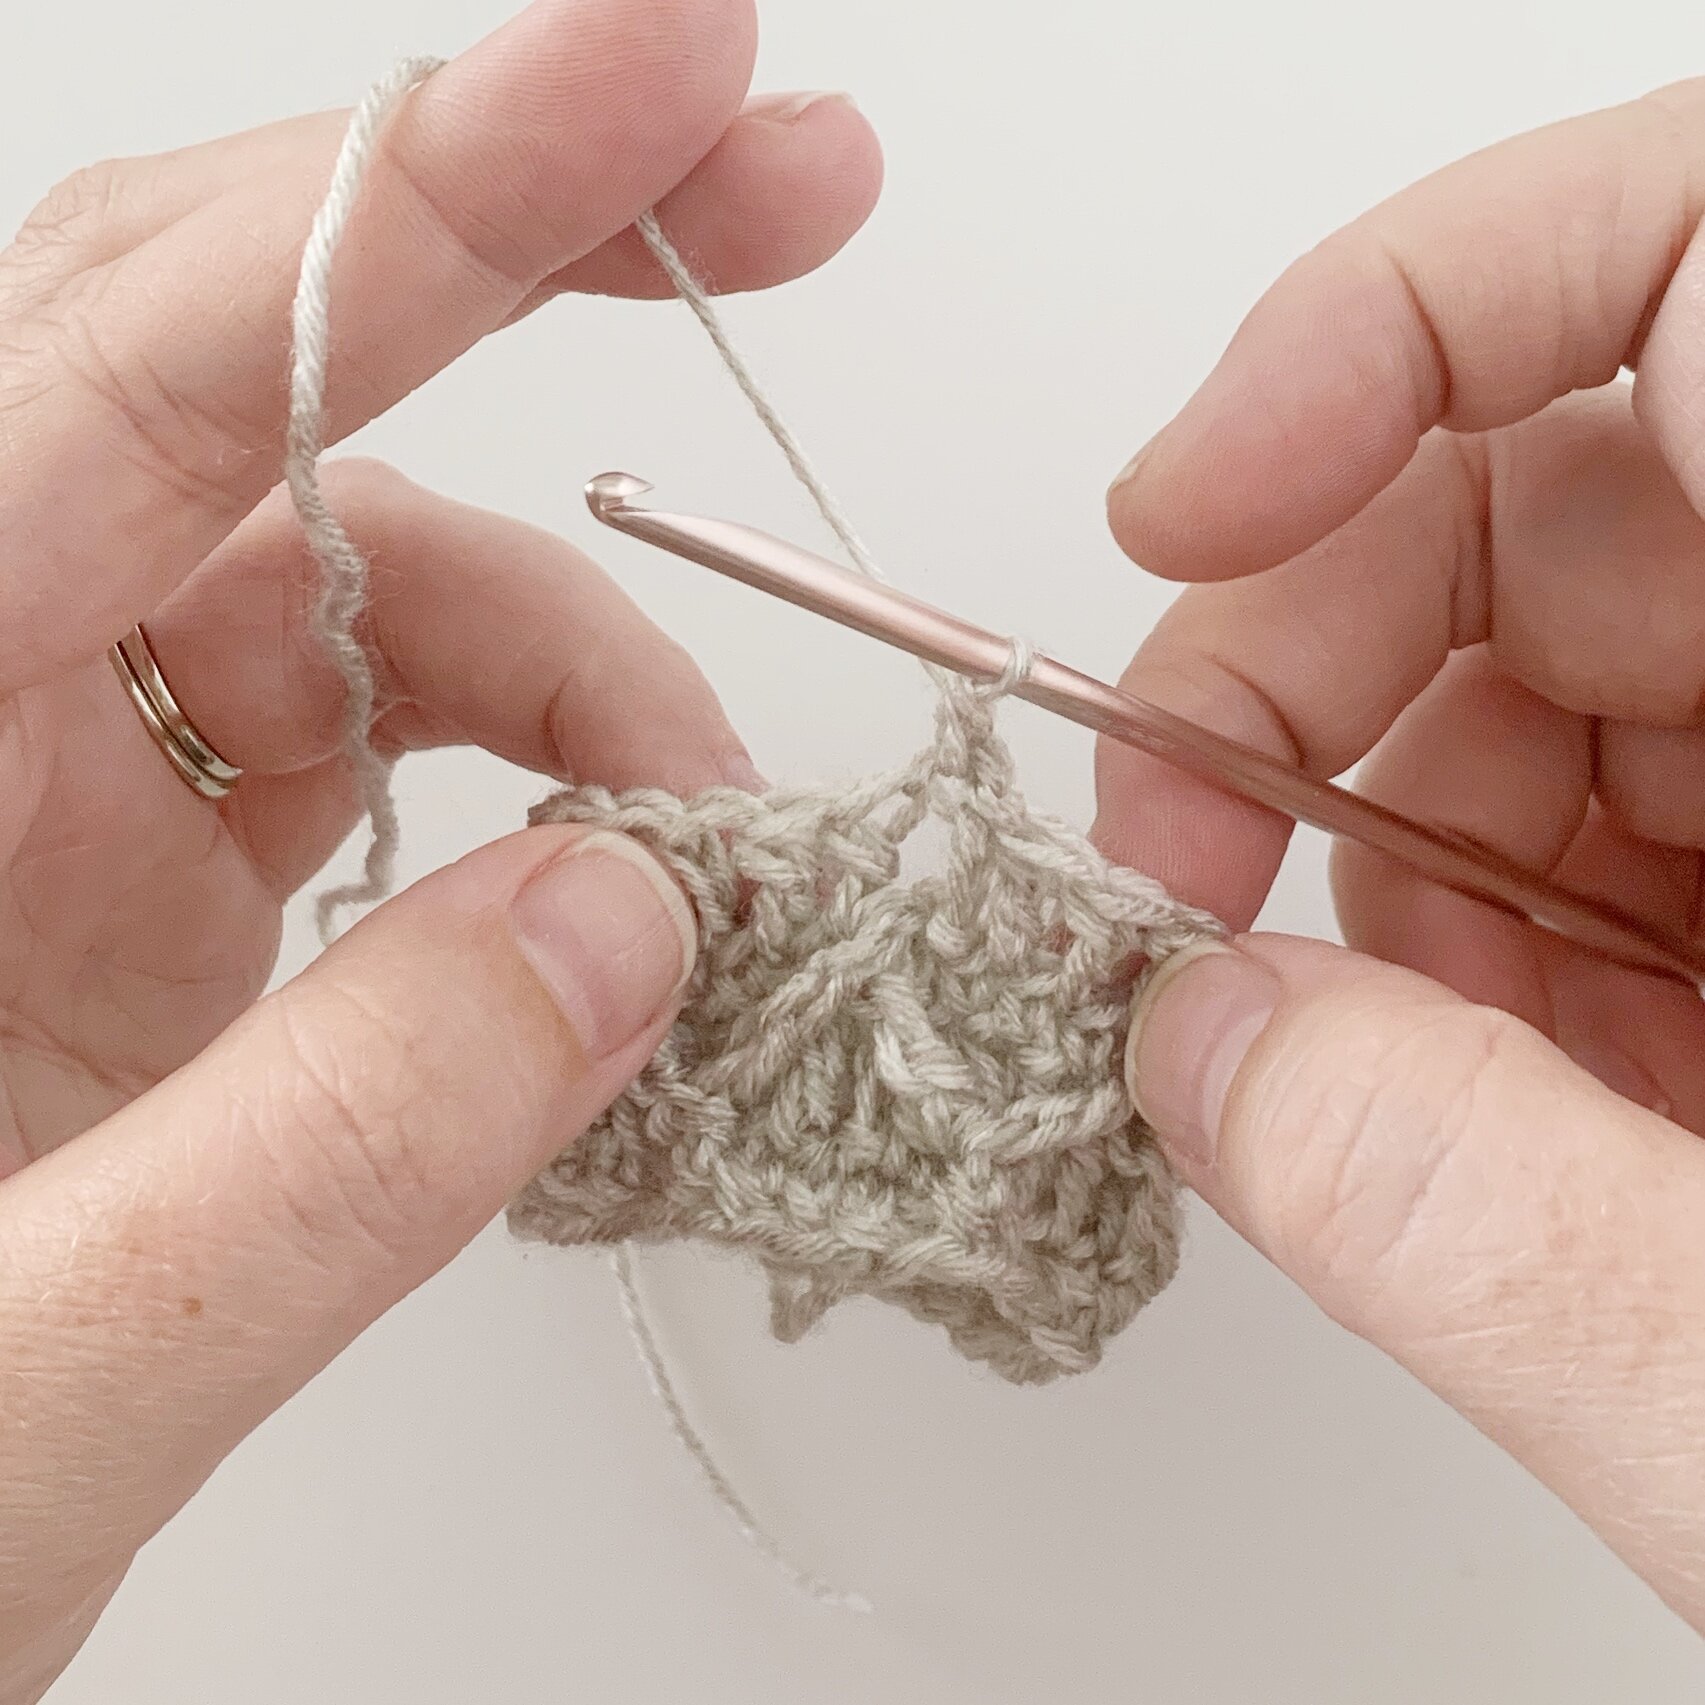
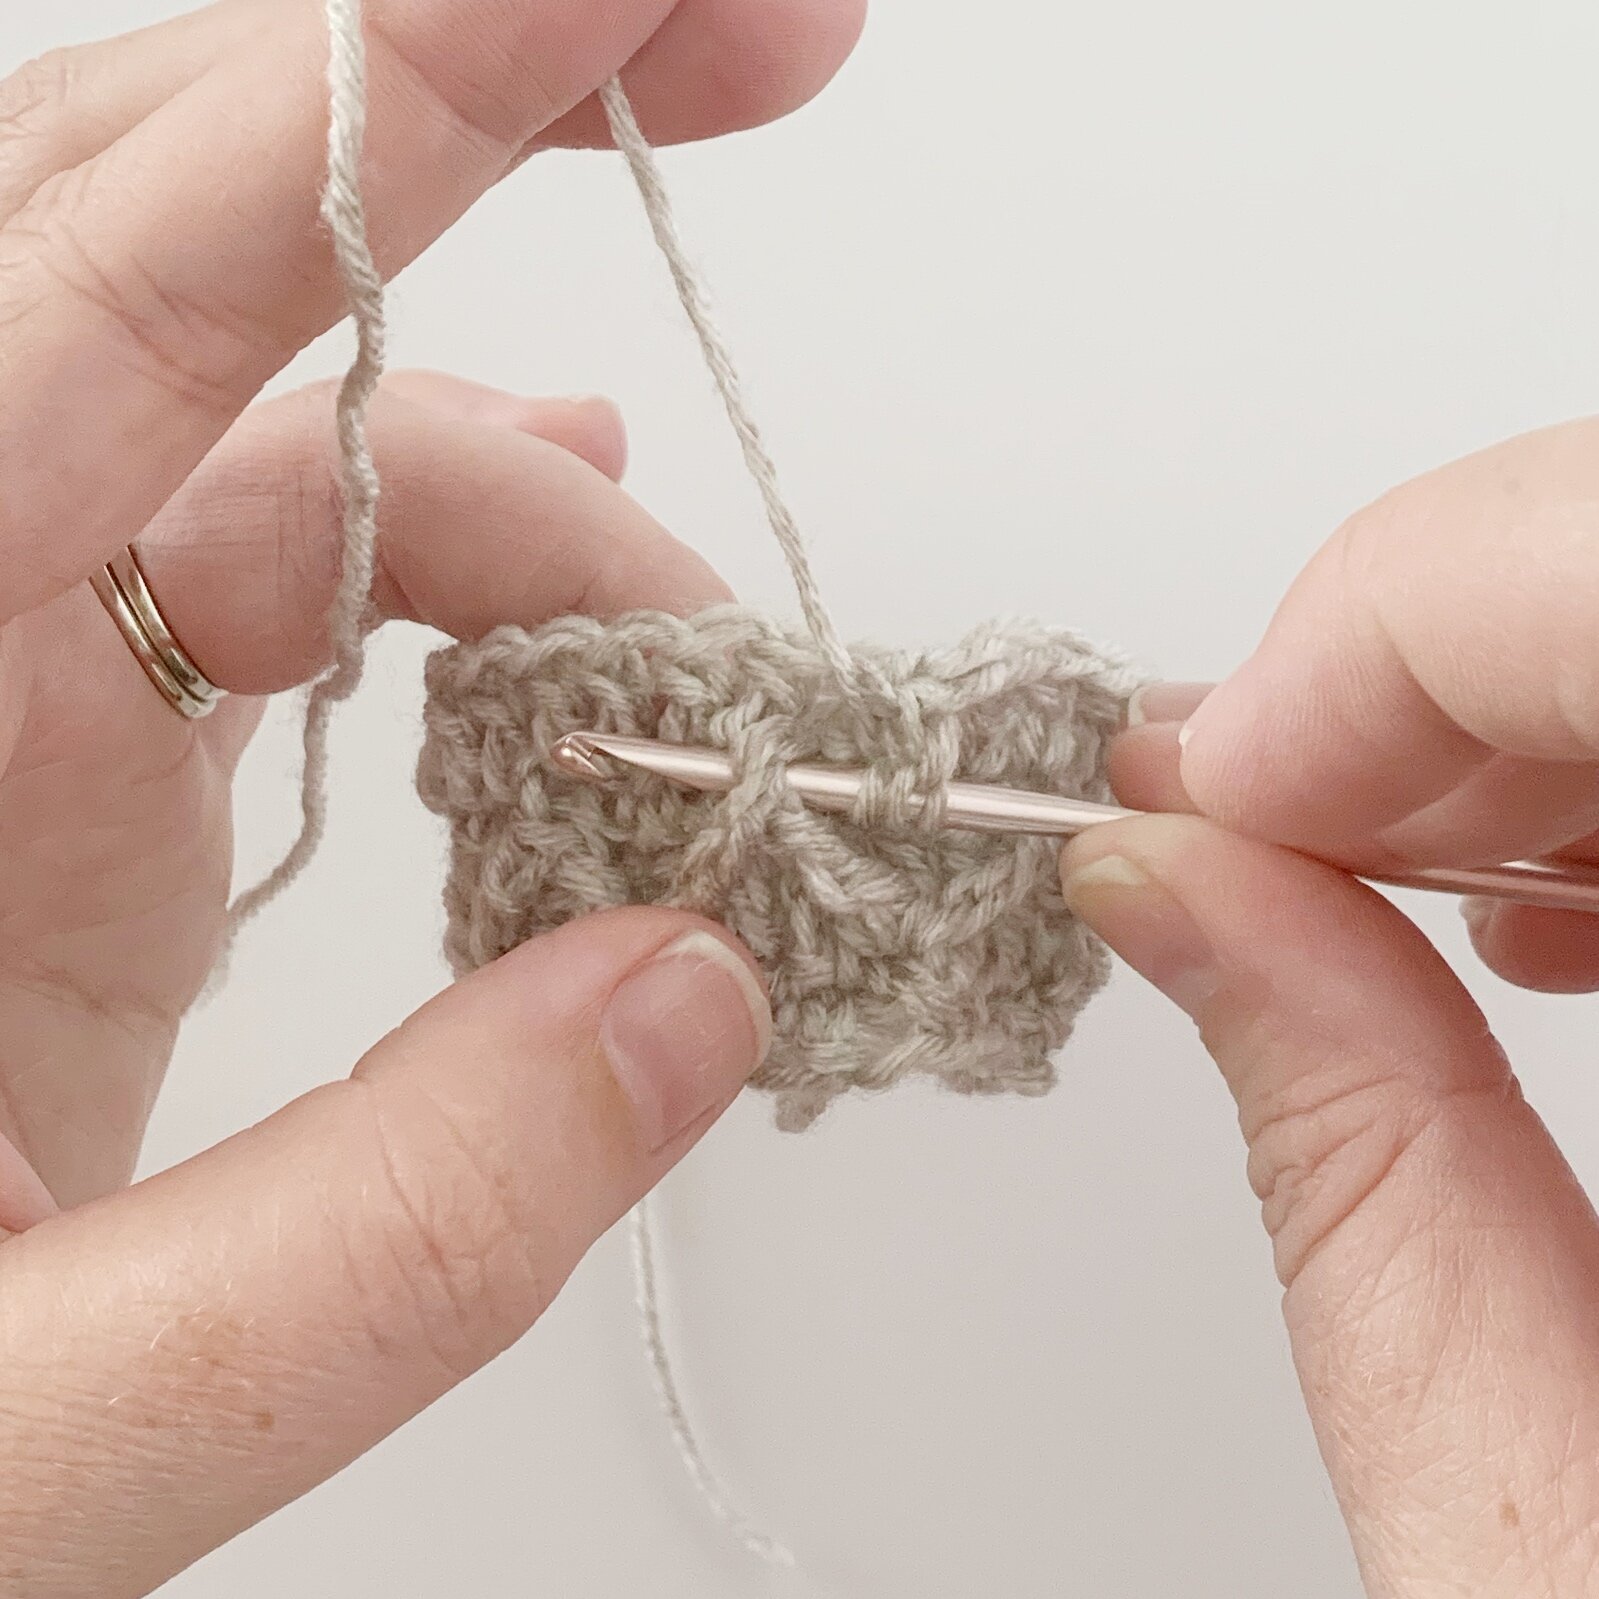
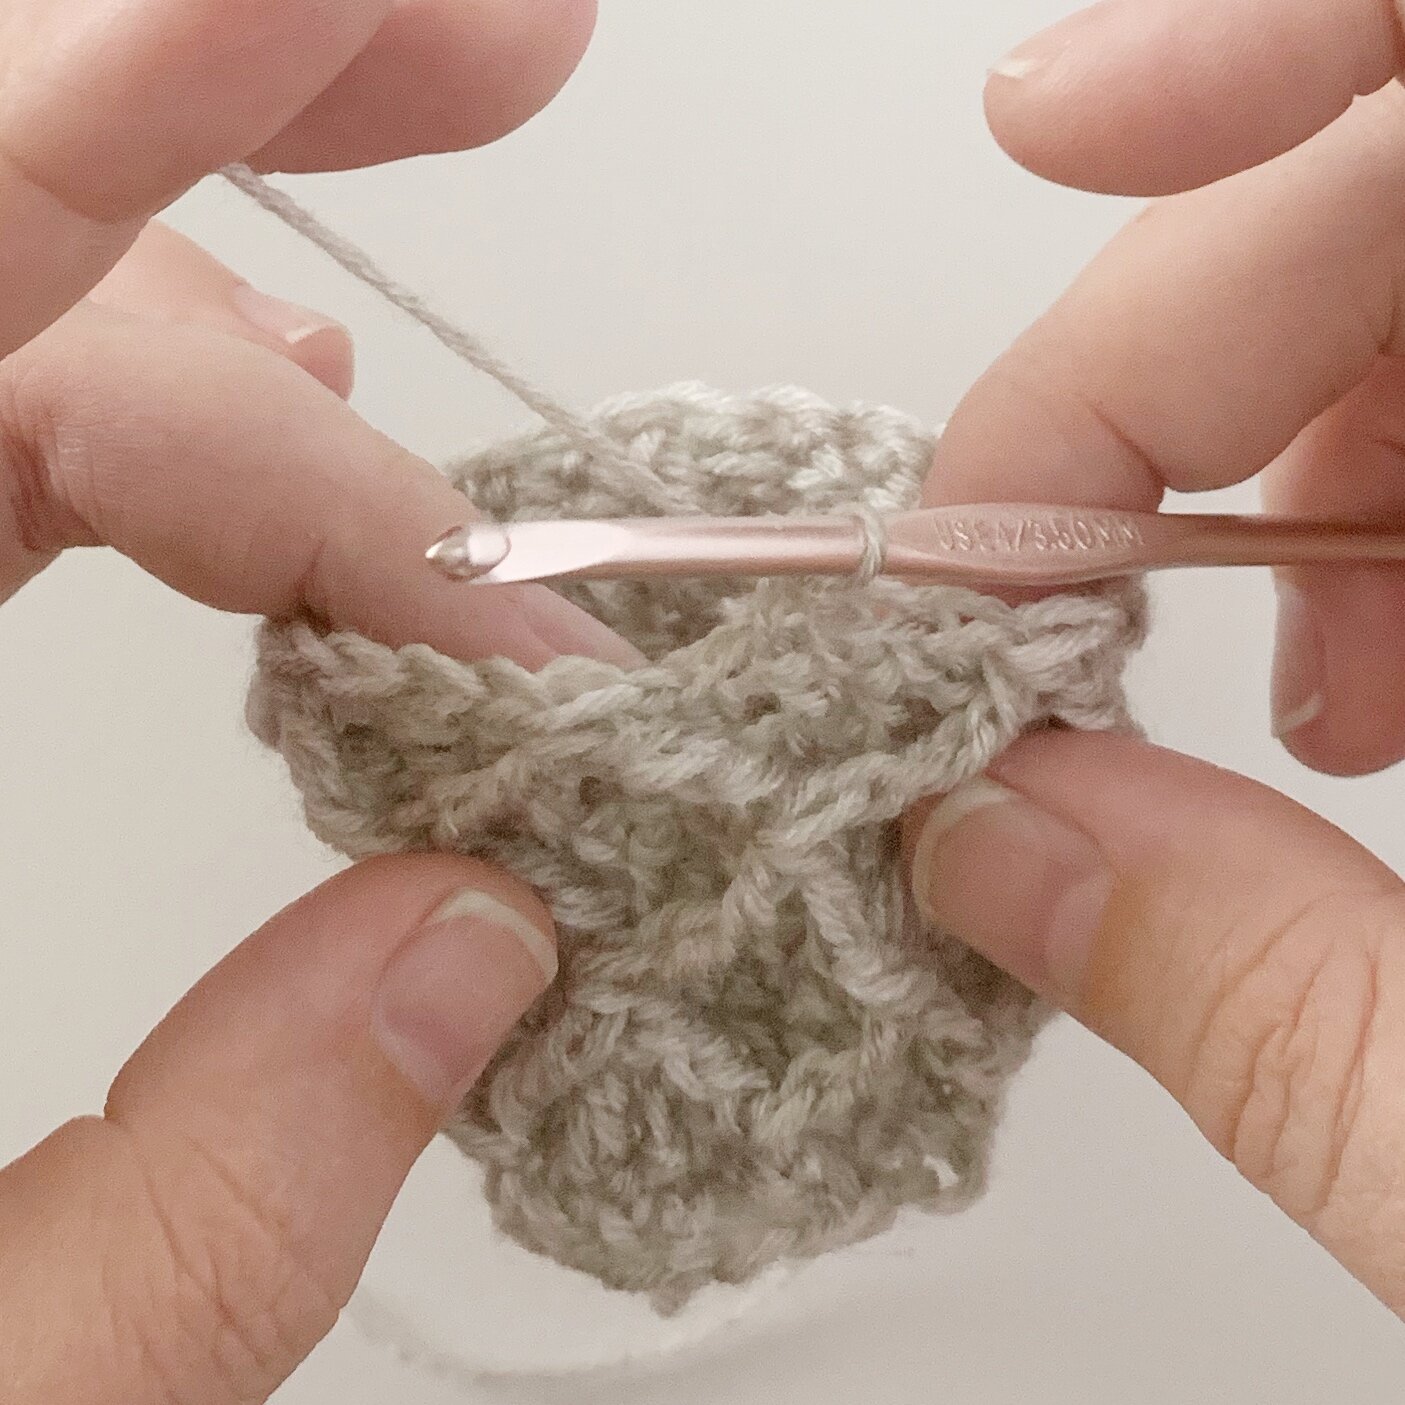
Before jumping right in to the diamond lattice stitch, you will need to know how to front post treble crochet two together (fptrc2tog).
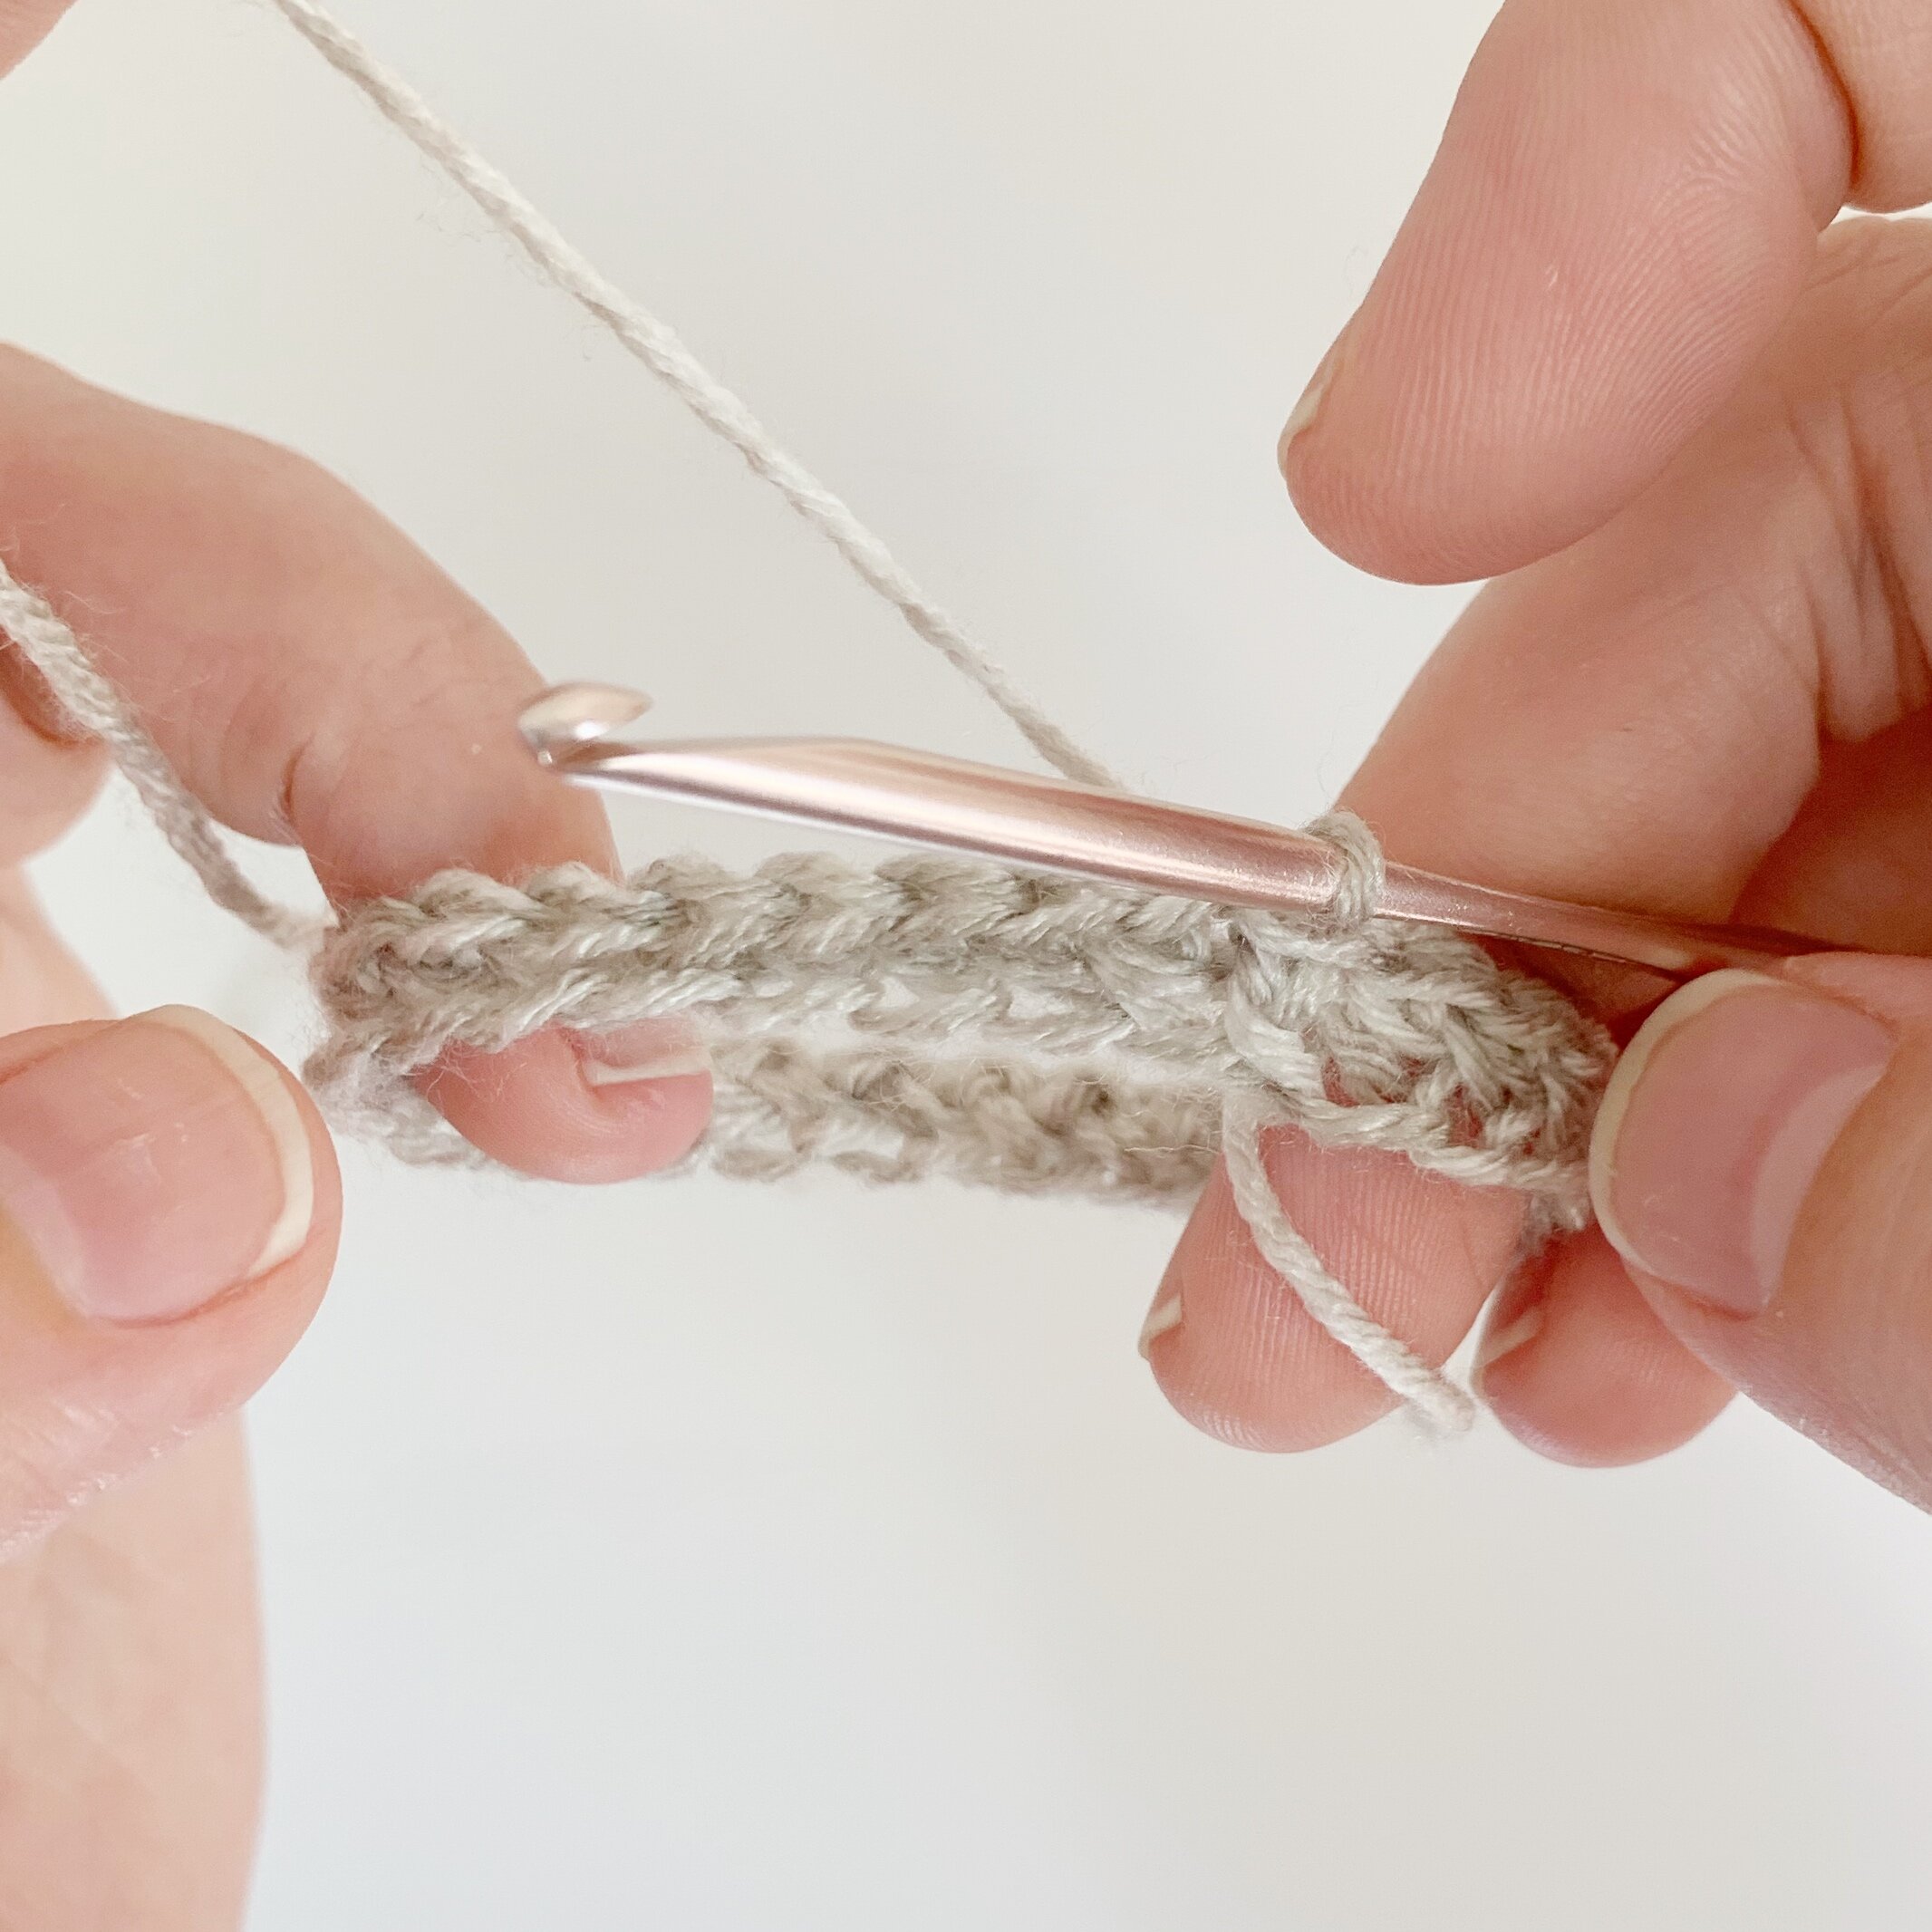
To work a fptrc2tog you will yo twice, insert hook behind the indicated st, yo and draw up a loop (4 loops on hook), yo and draw through 2 loops (3 loops on hook), yo and draw through 2 loops on hook, leave last two loops on hook.
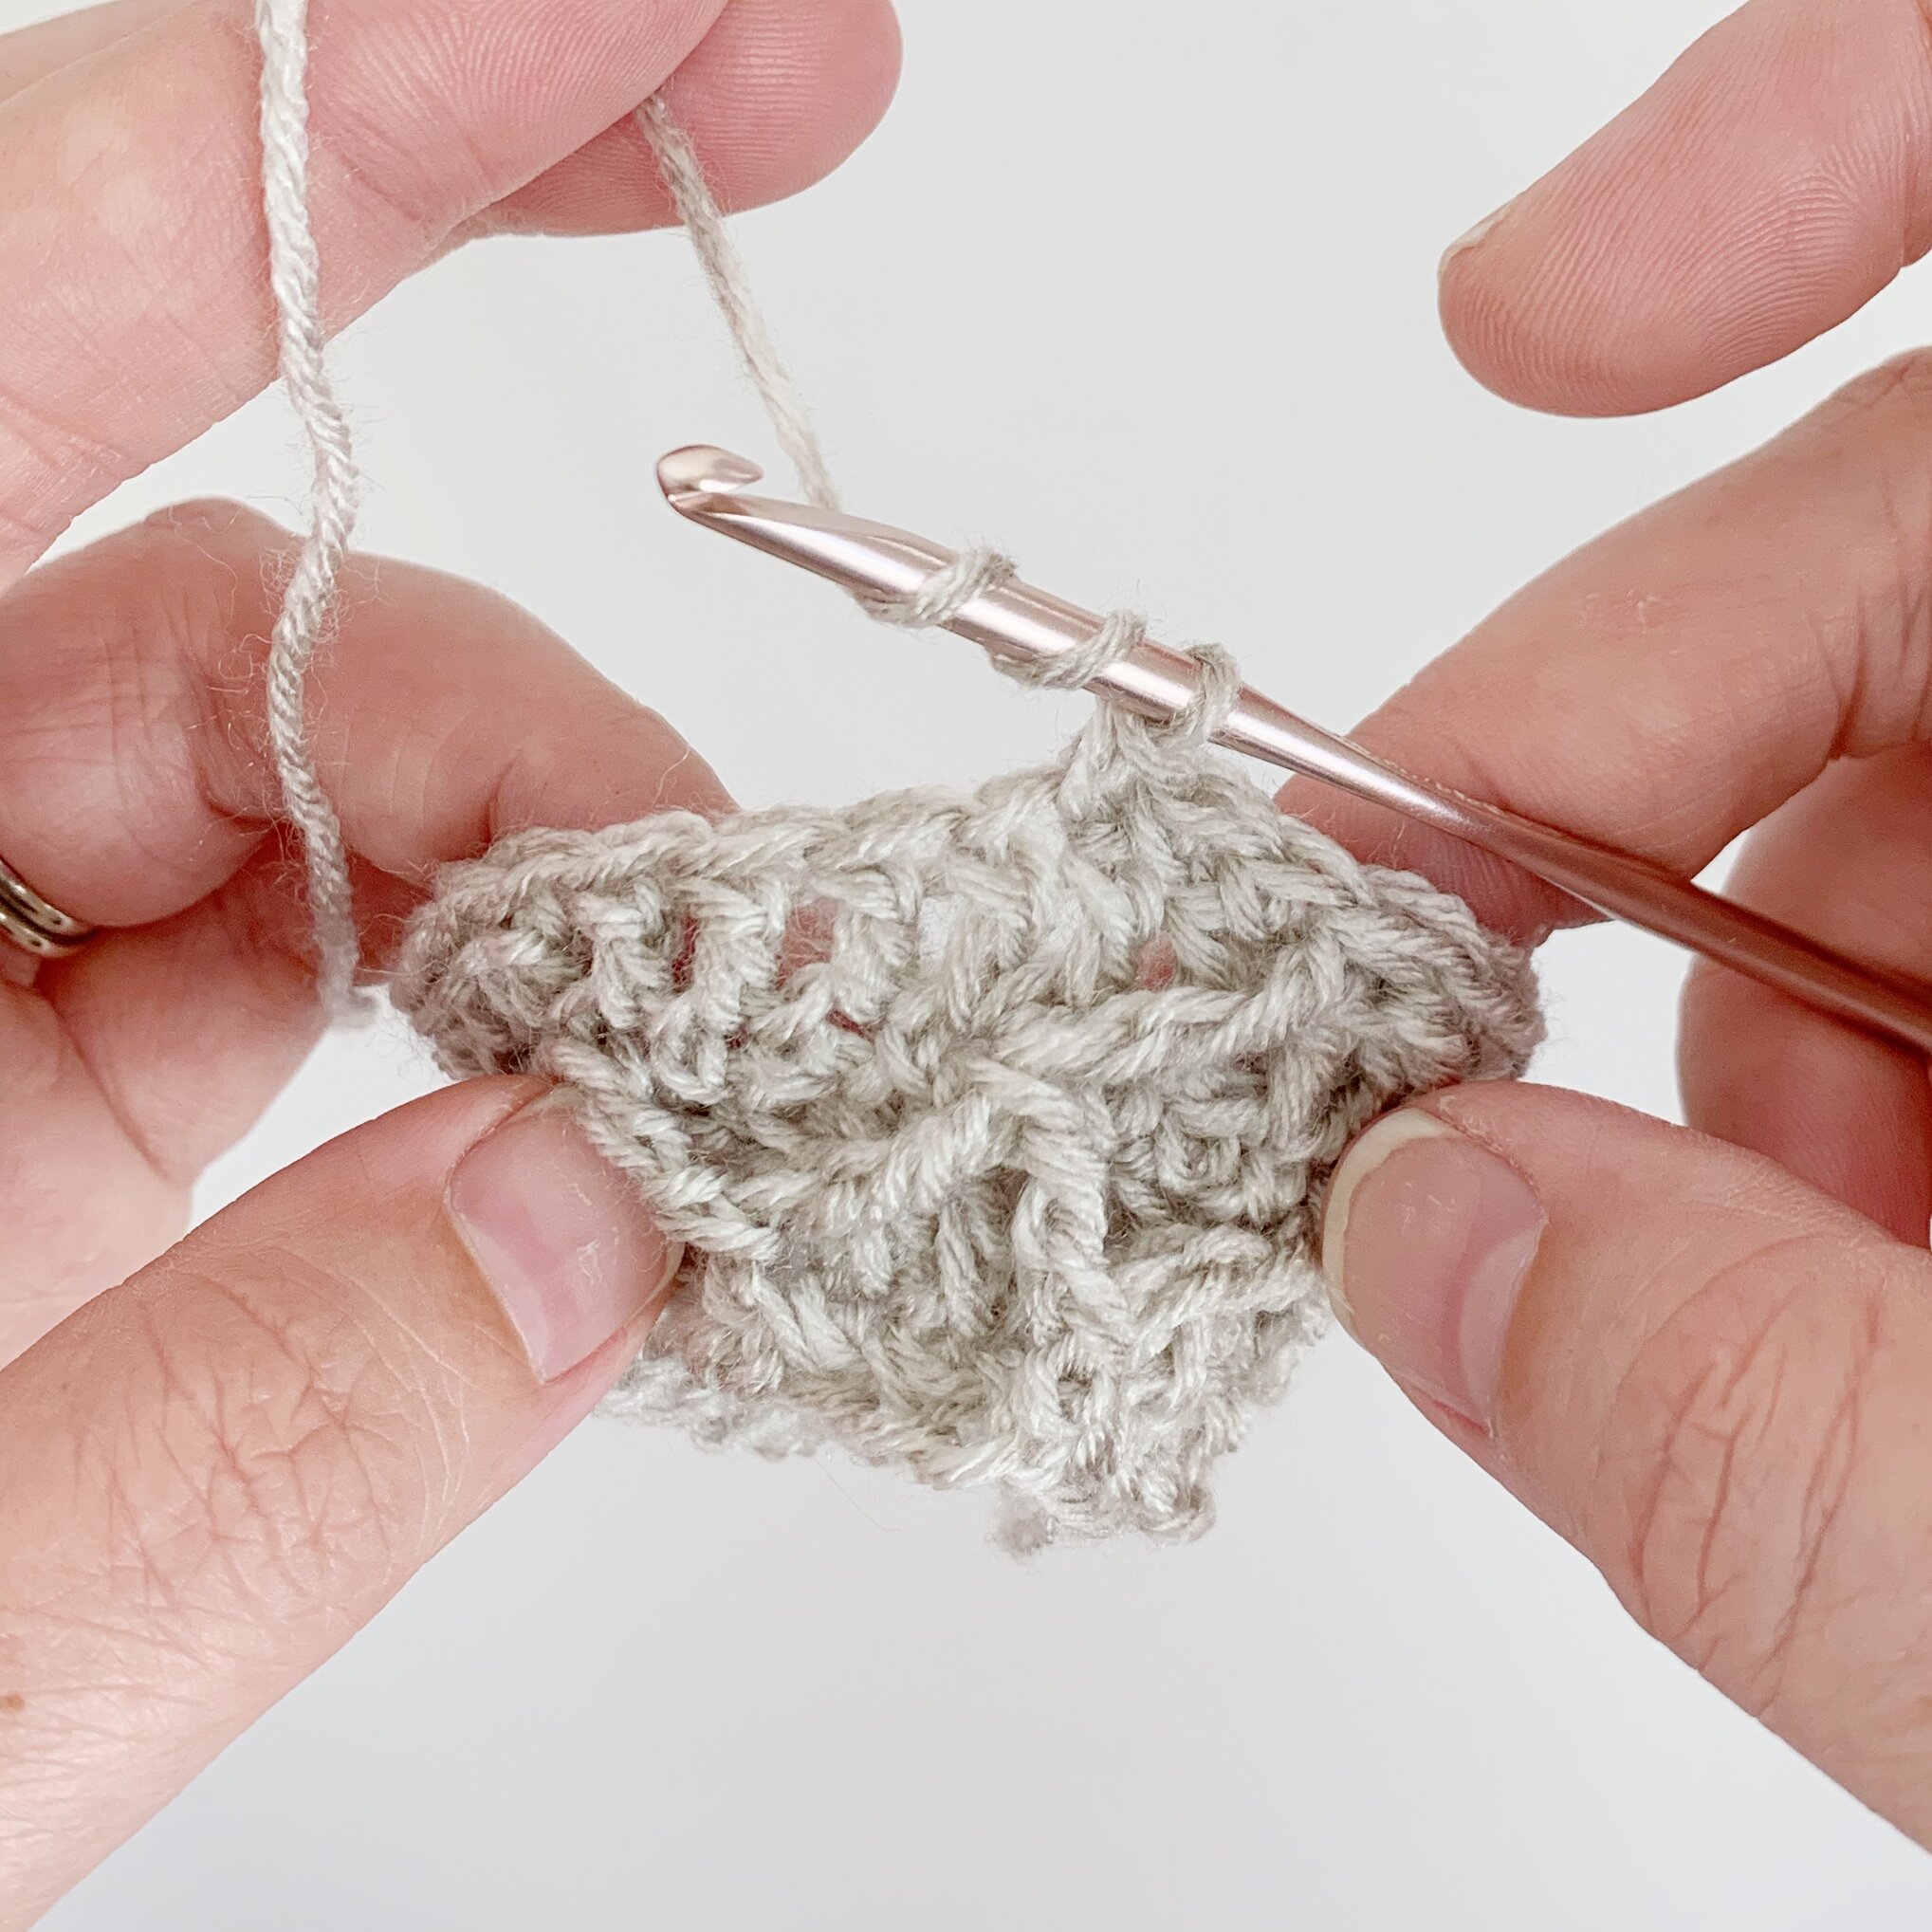
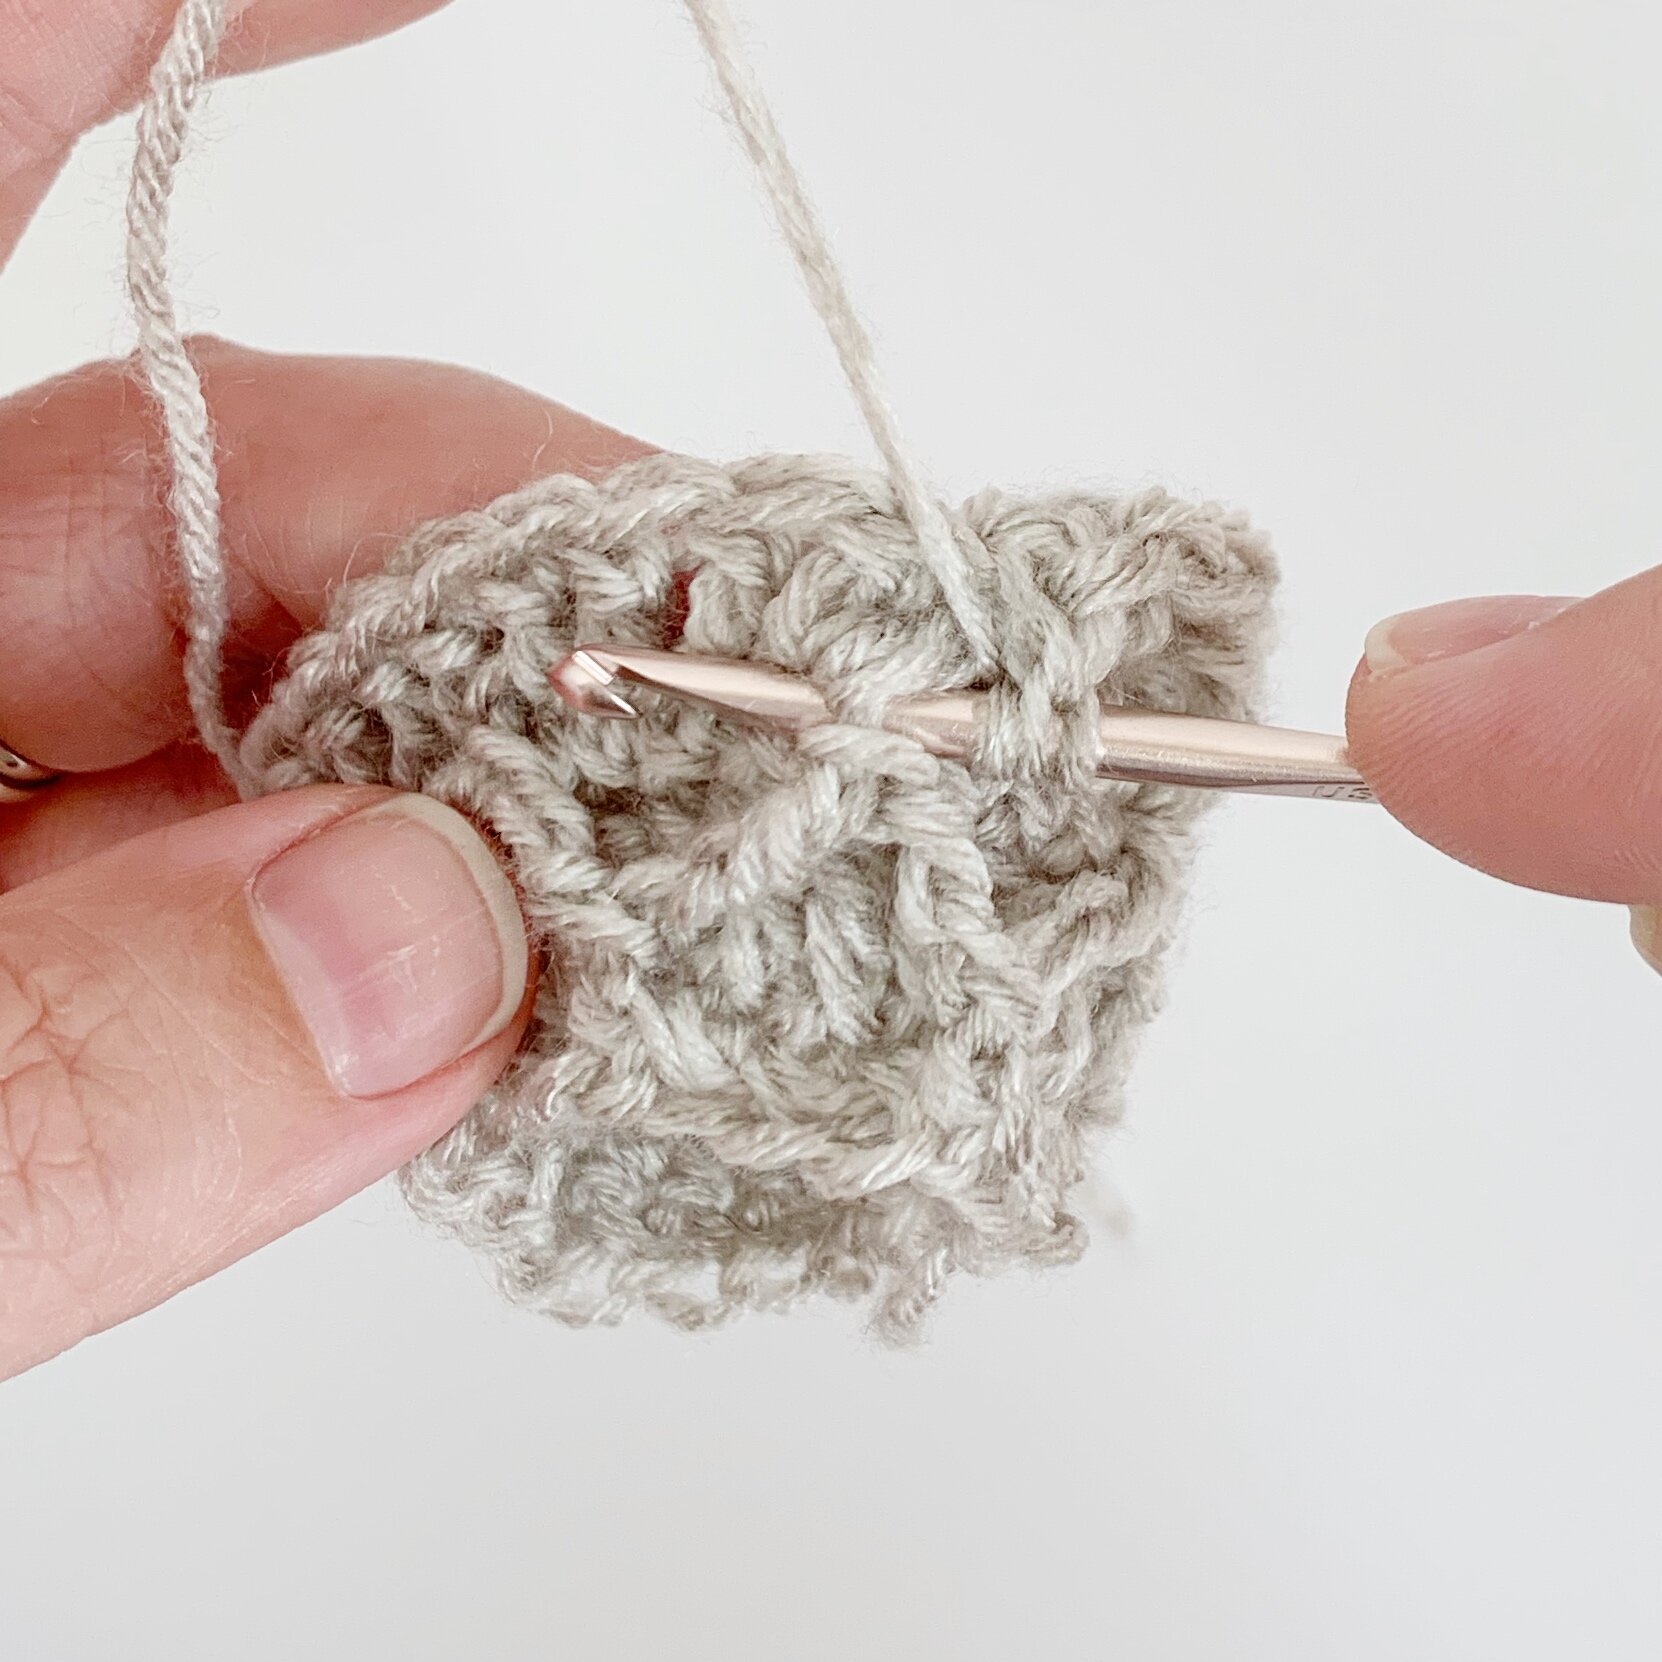
Yo twice, insert hook behind indicated st, yo and draw up a loop (5 loops on hook), yo and draw through 2 loops (4 loops on hook), yo and draw through 2 loops (3 loops on hook), yo and draw through last 3 loops.
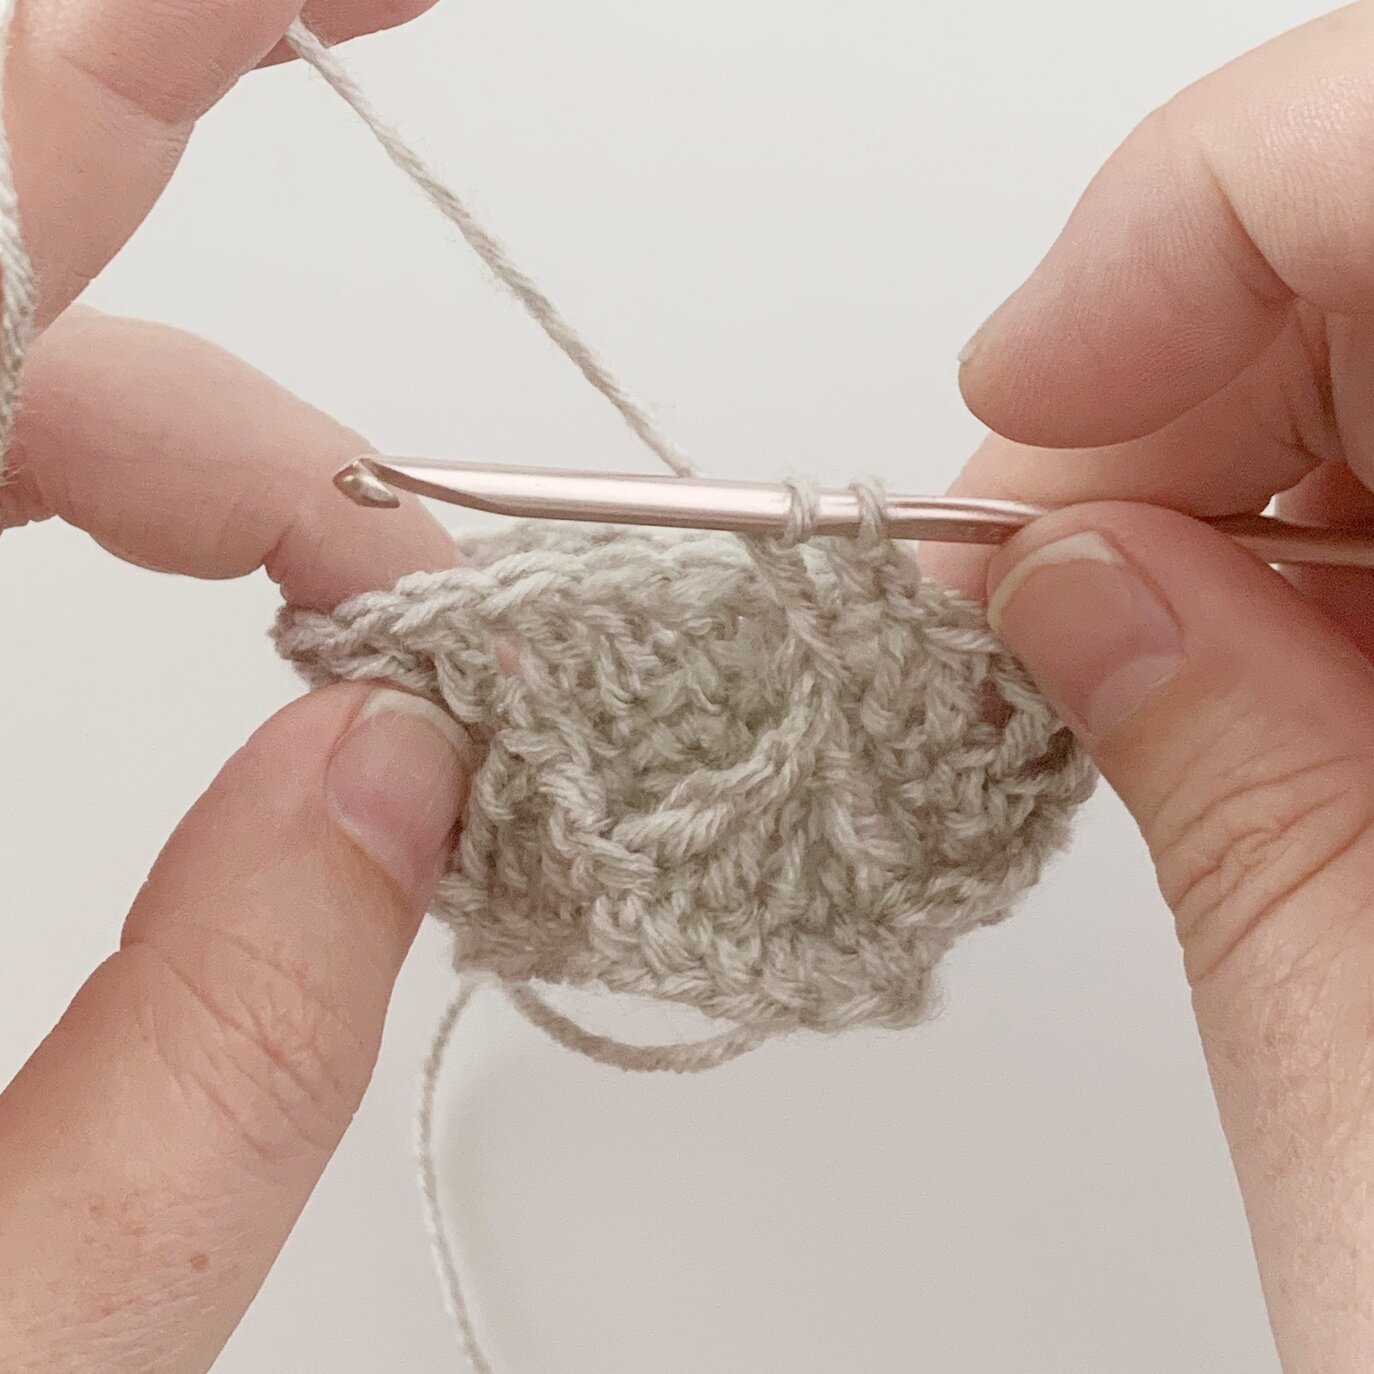
Now that you know how to work a fptrc2tog we are ready to learn how to work the diamond lattice st in the round.
This stitch is made by first creating three rounds which will set up the diamond stitch. From that point on the stitch is worked in a series of 4 round repeats. Keep in mind that all fptrc2tog stitches will be worked around stitches two rounds below the current round.
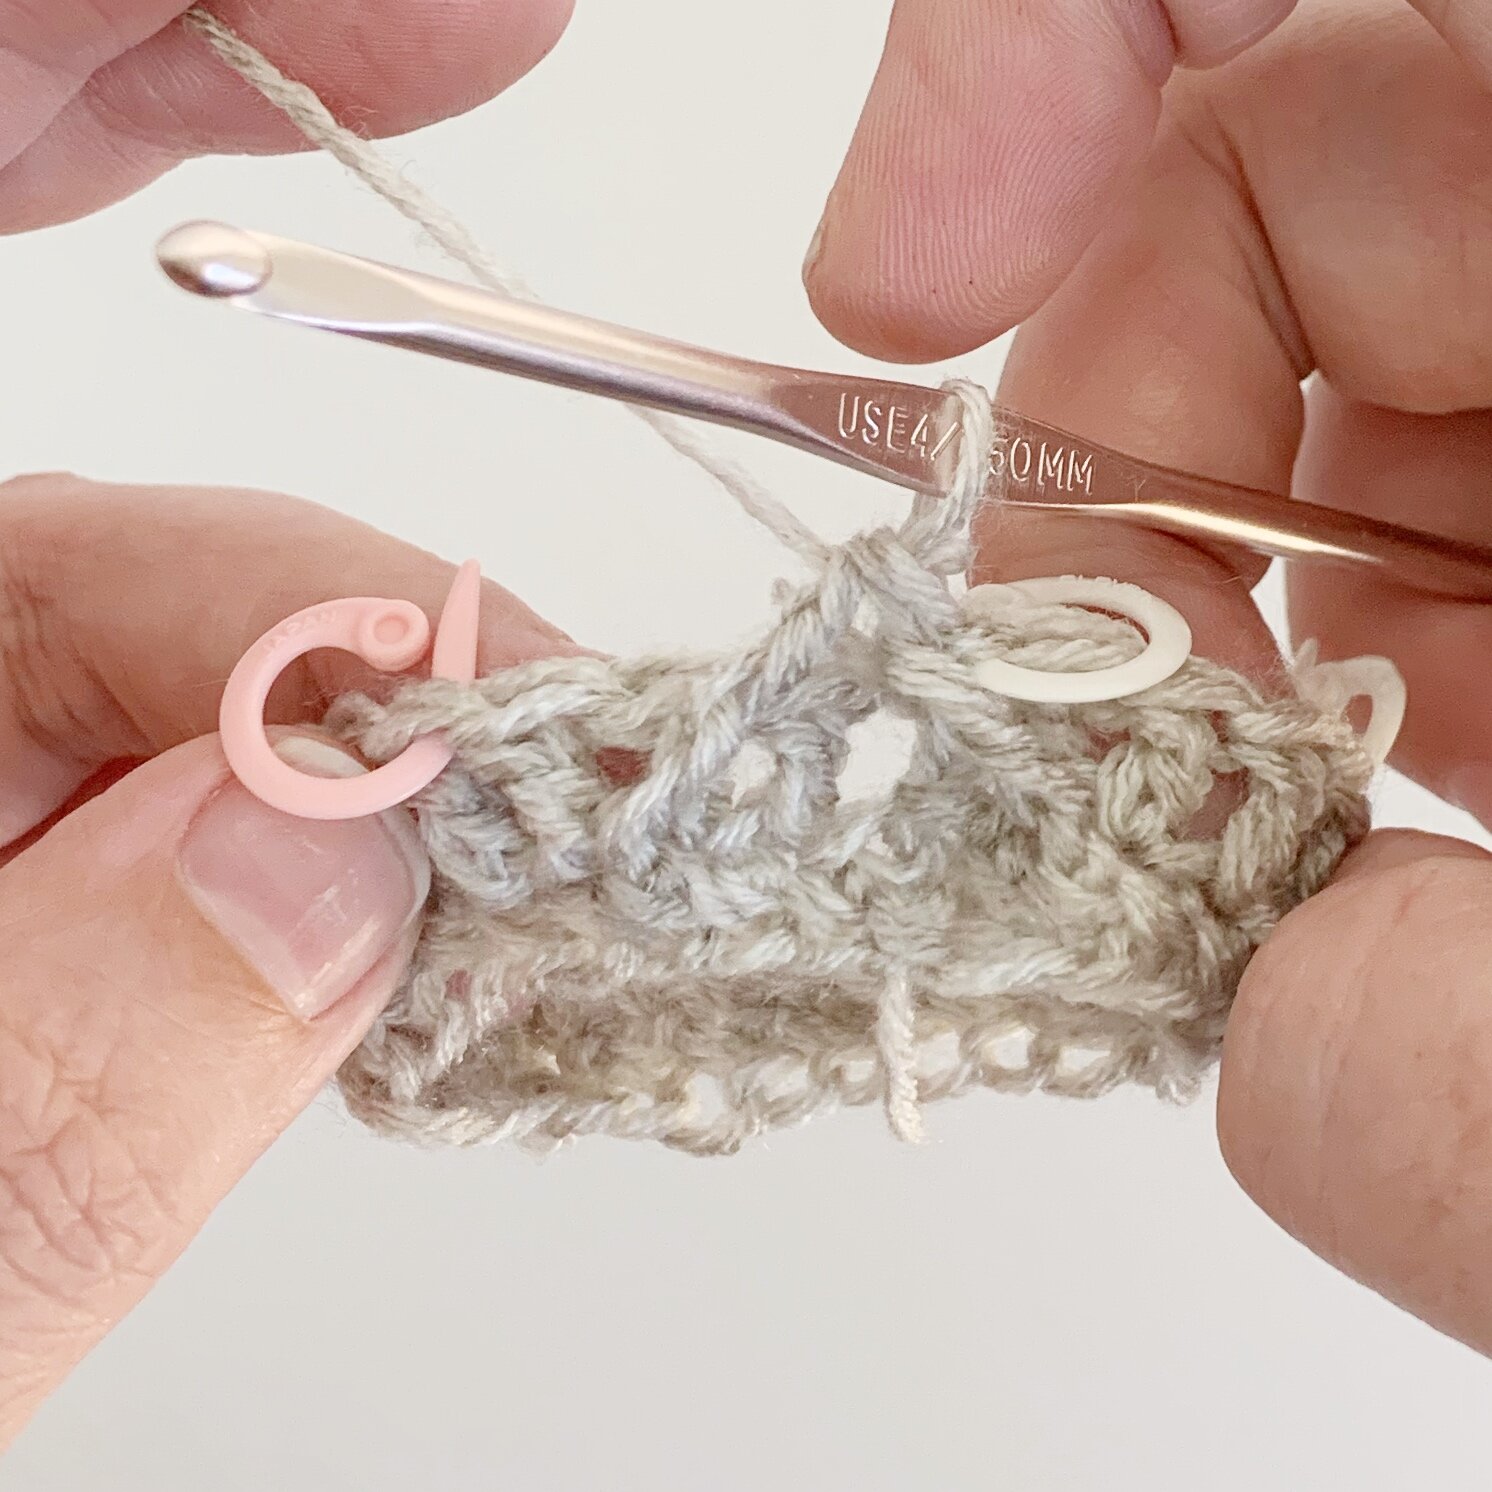
The stitch is worked in multiples of 4, so for this tutorial start by chaining 24. Sl st to the first ch to create a loop. Make sure to not twist your stitches. Then ch 1 and sc in same st as join and in each st around, sl st to top of first st to join.
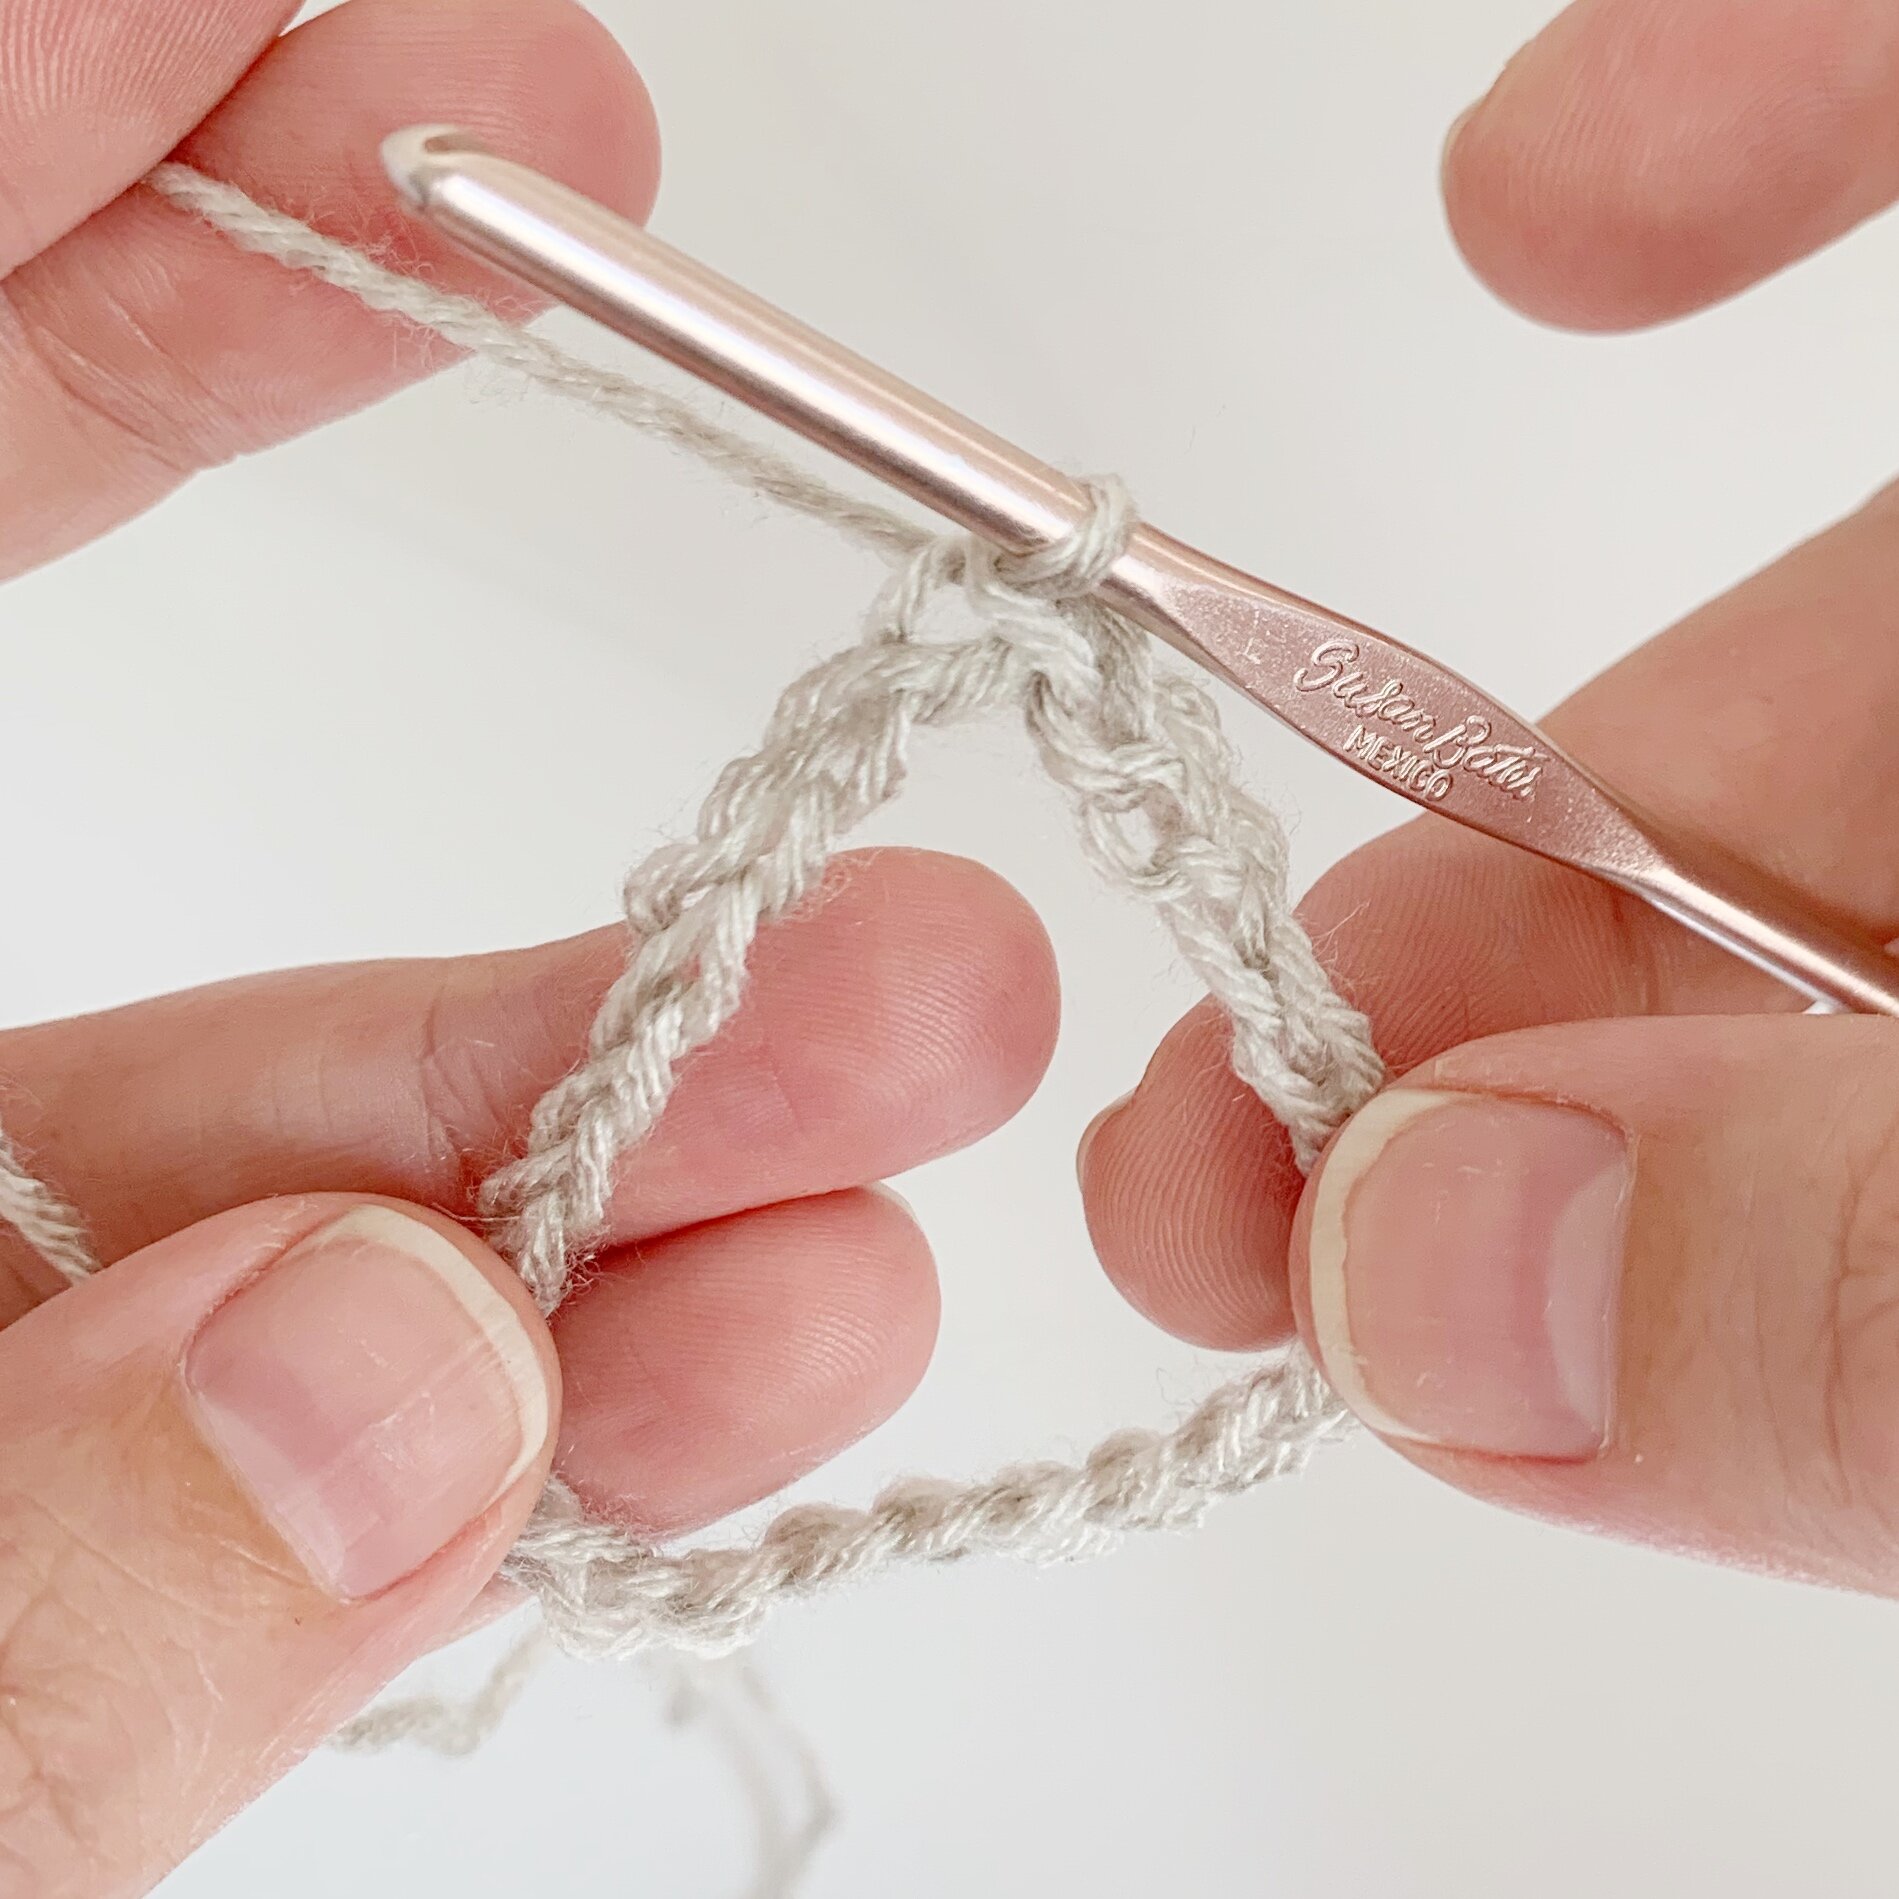
Next ch 3 (counts as first st) and dc in each st around, sl st to top of ch 3 to join.
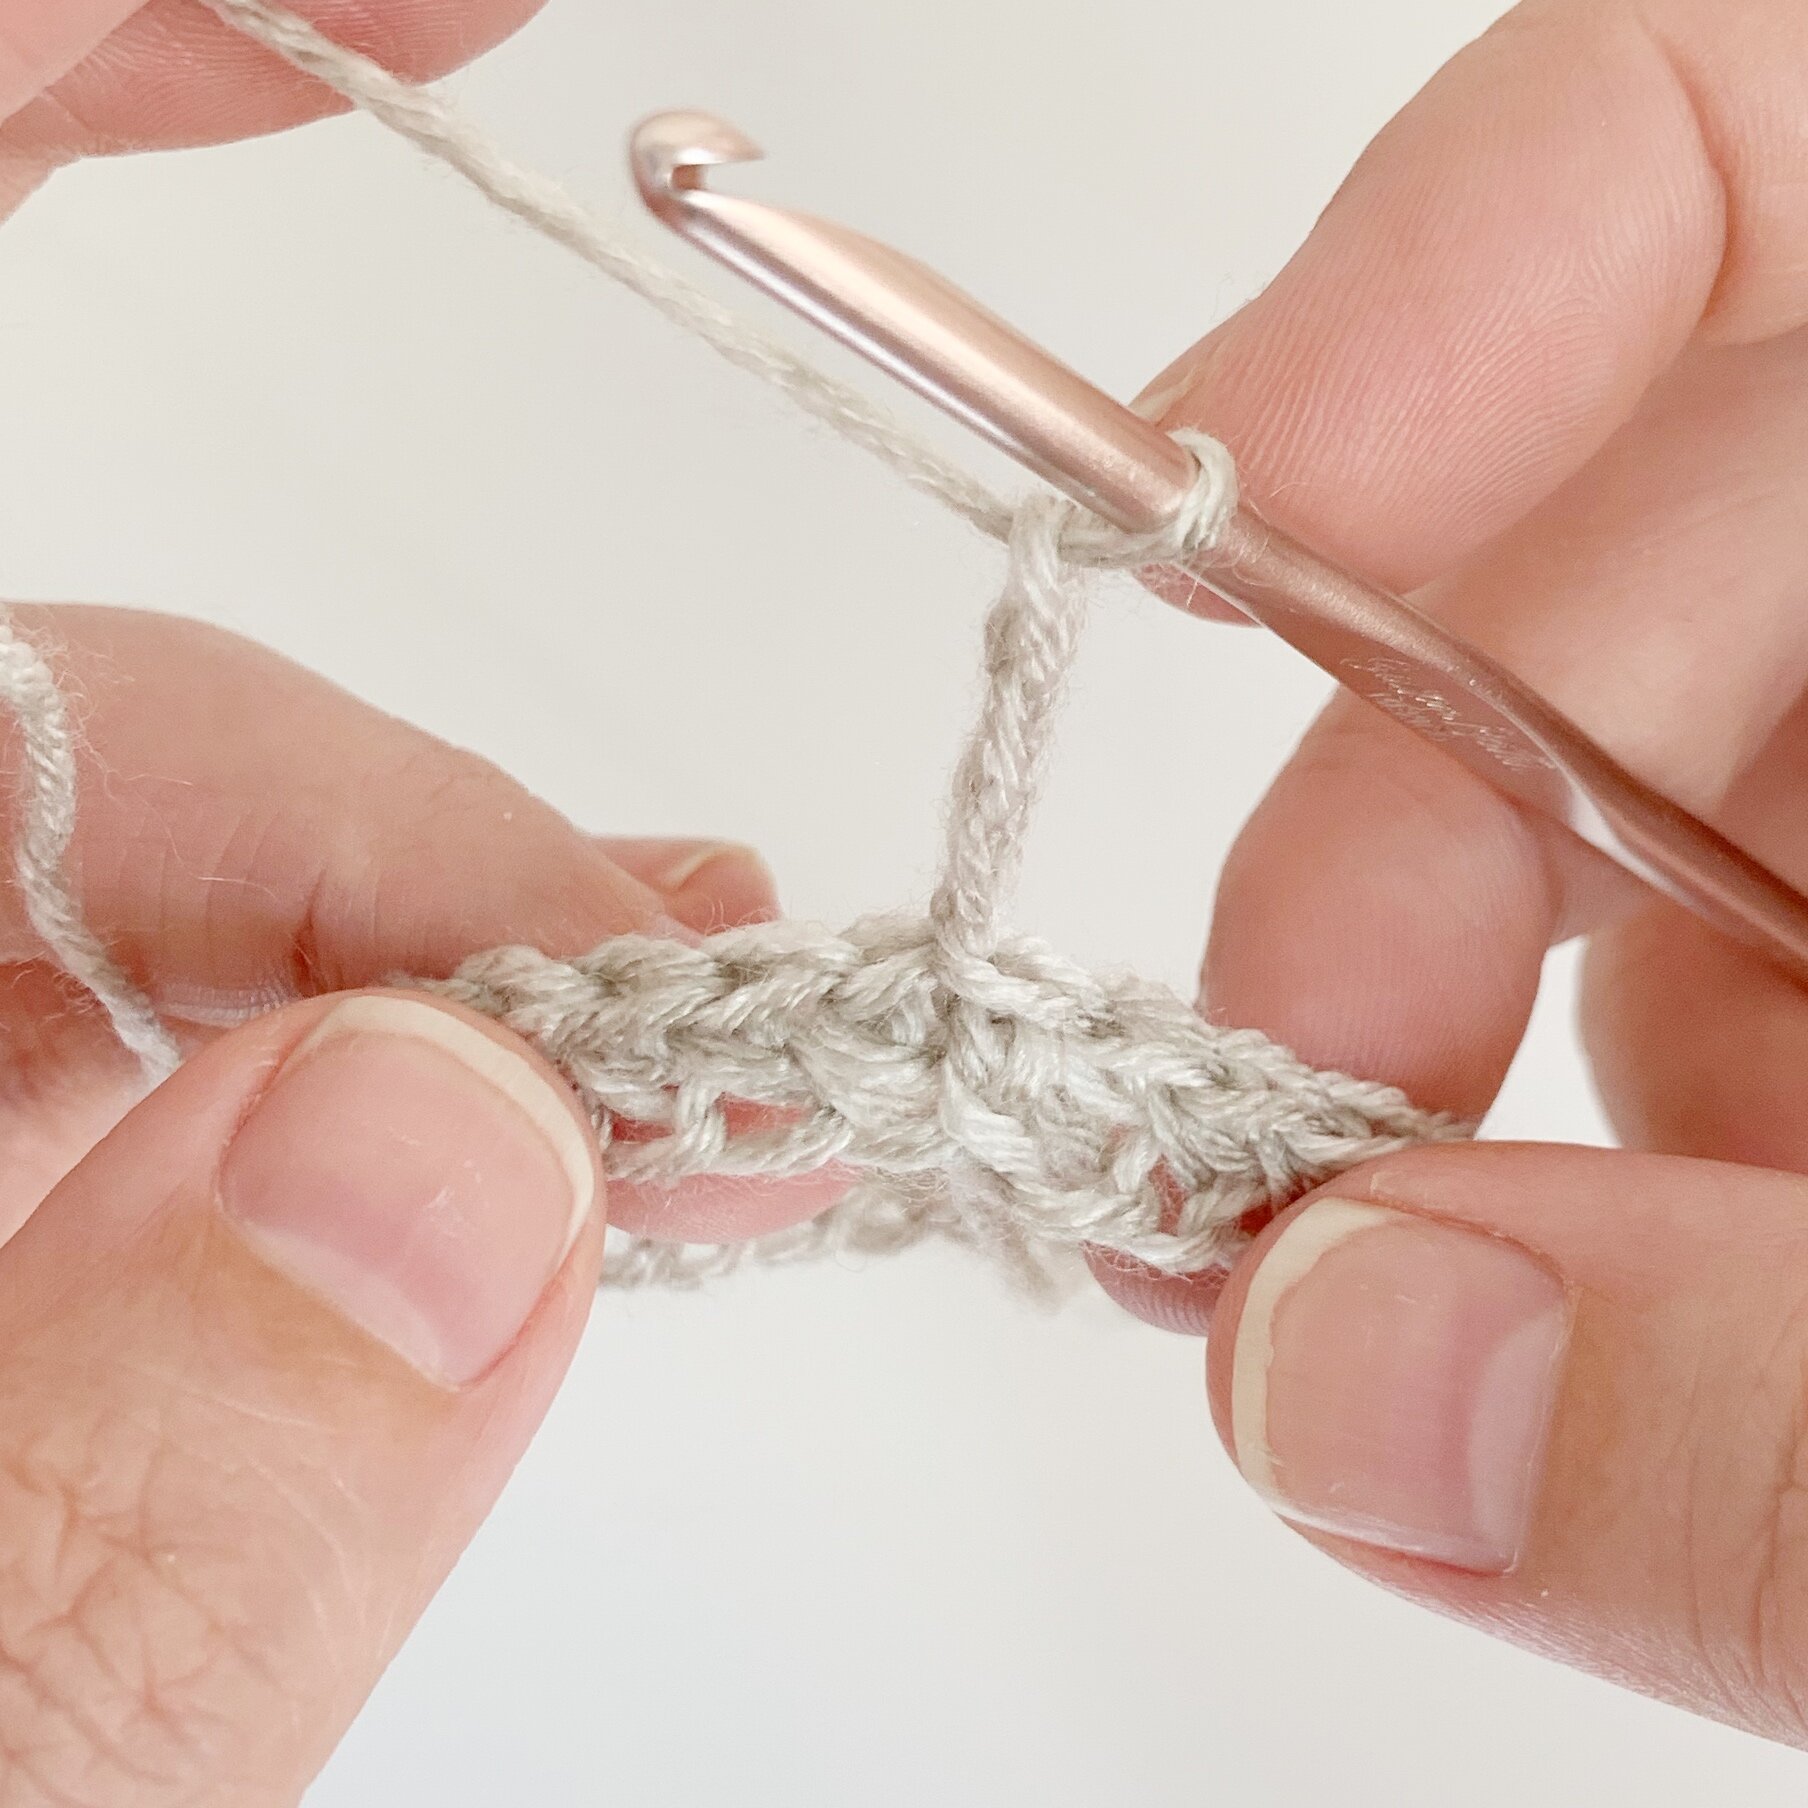
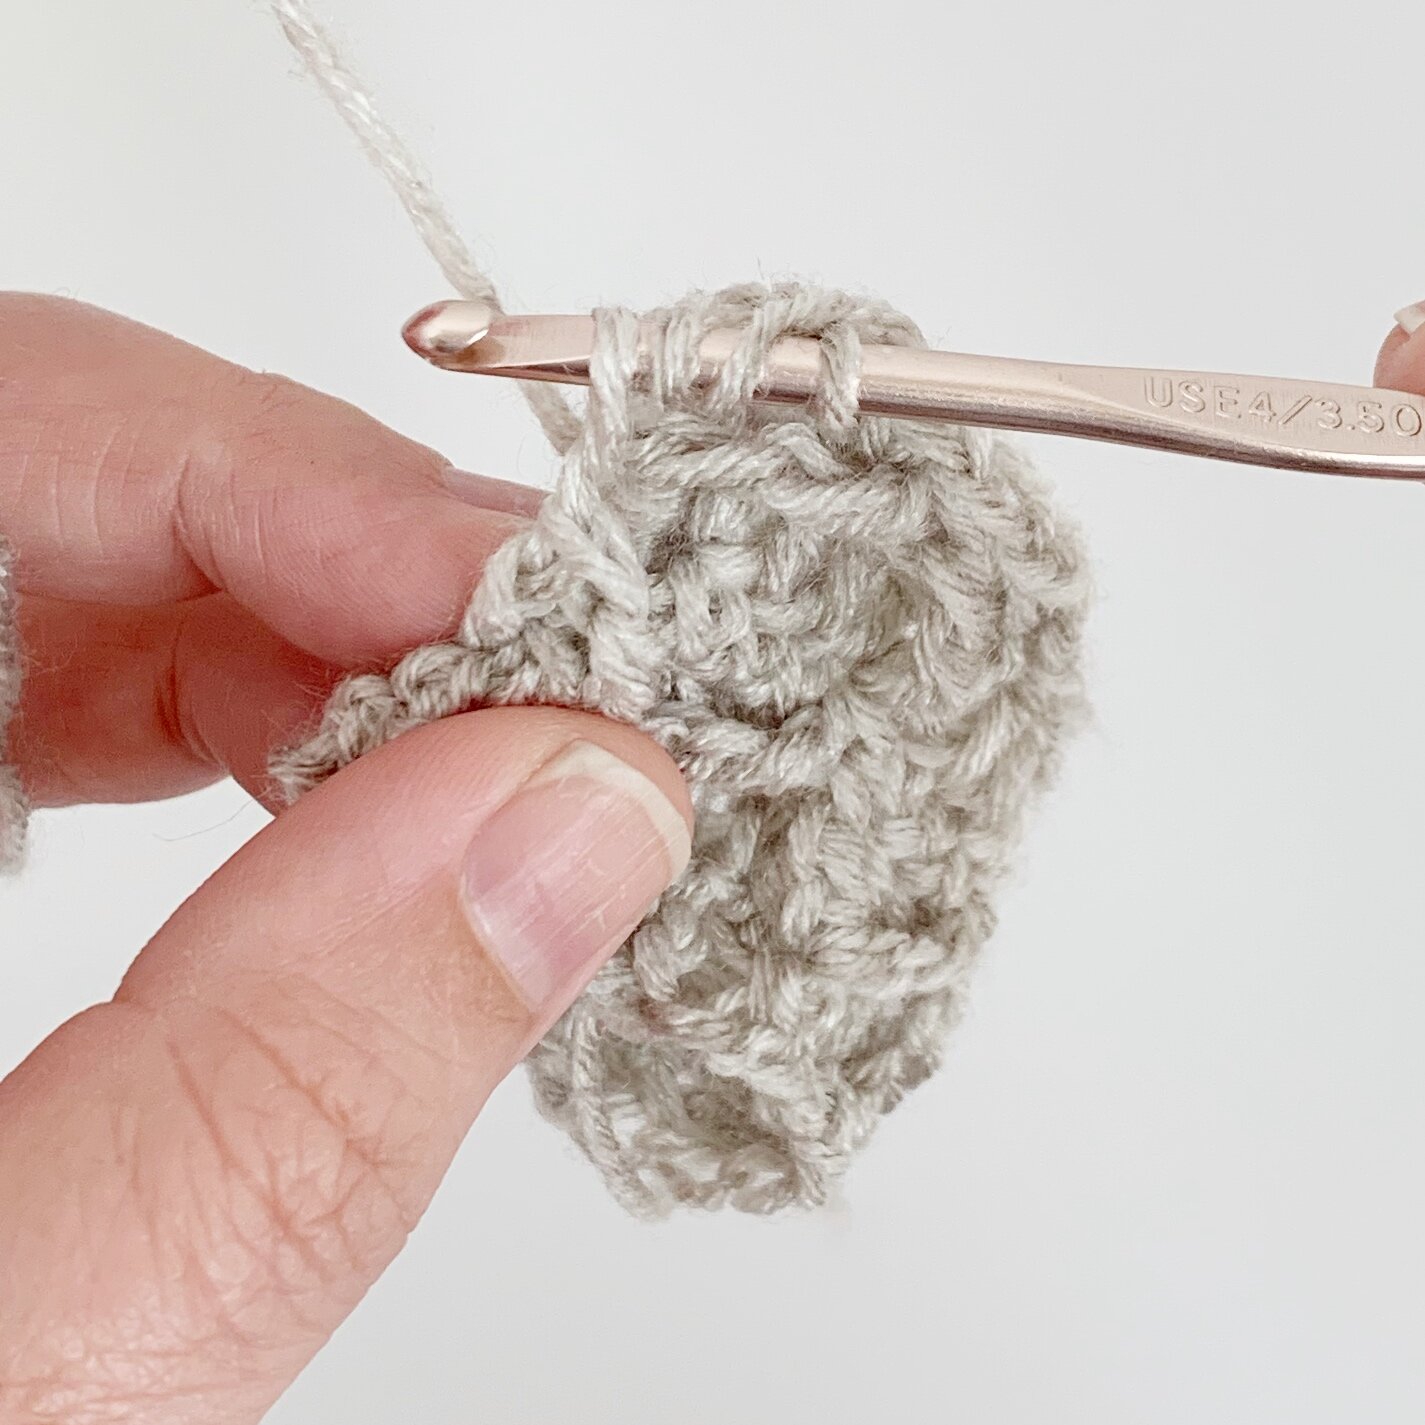
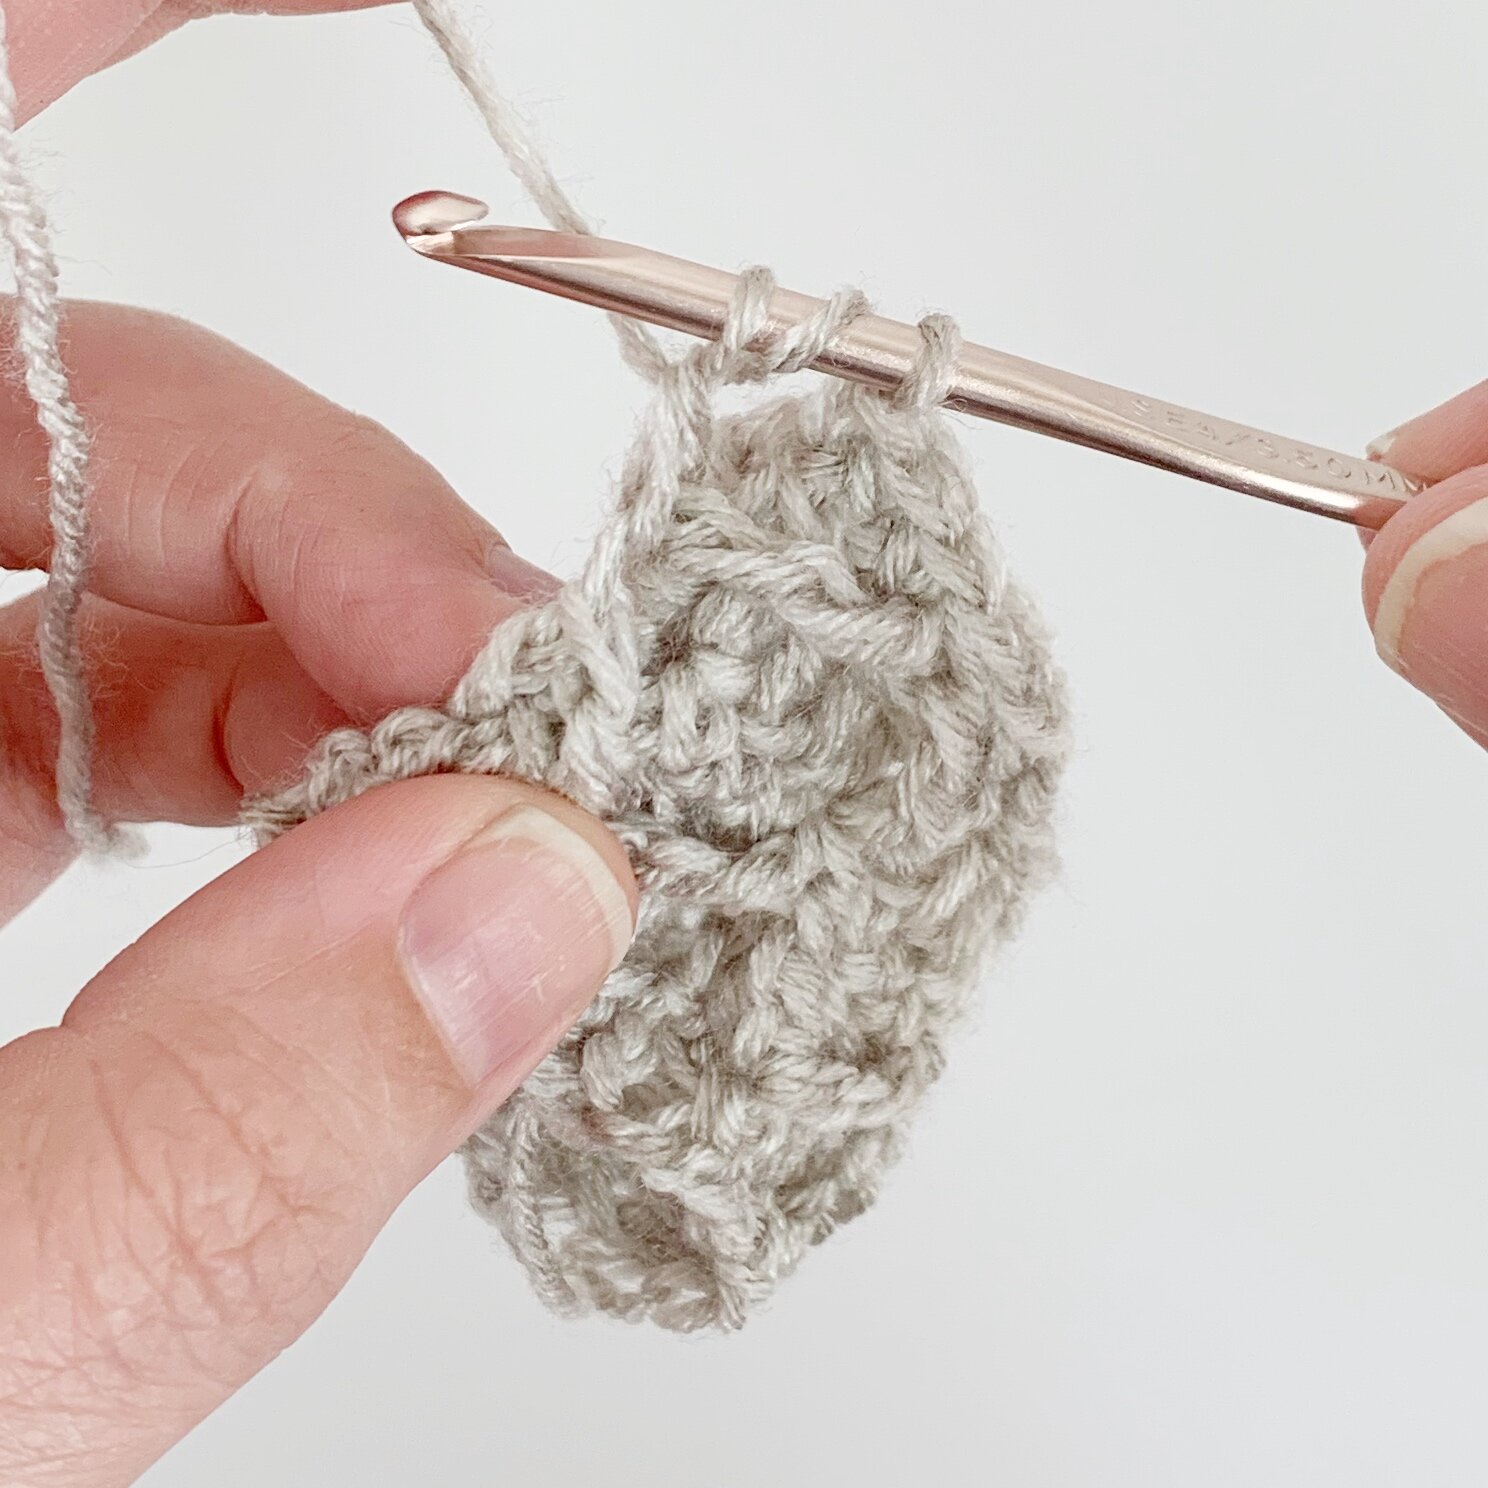
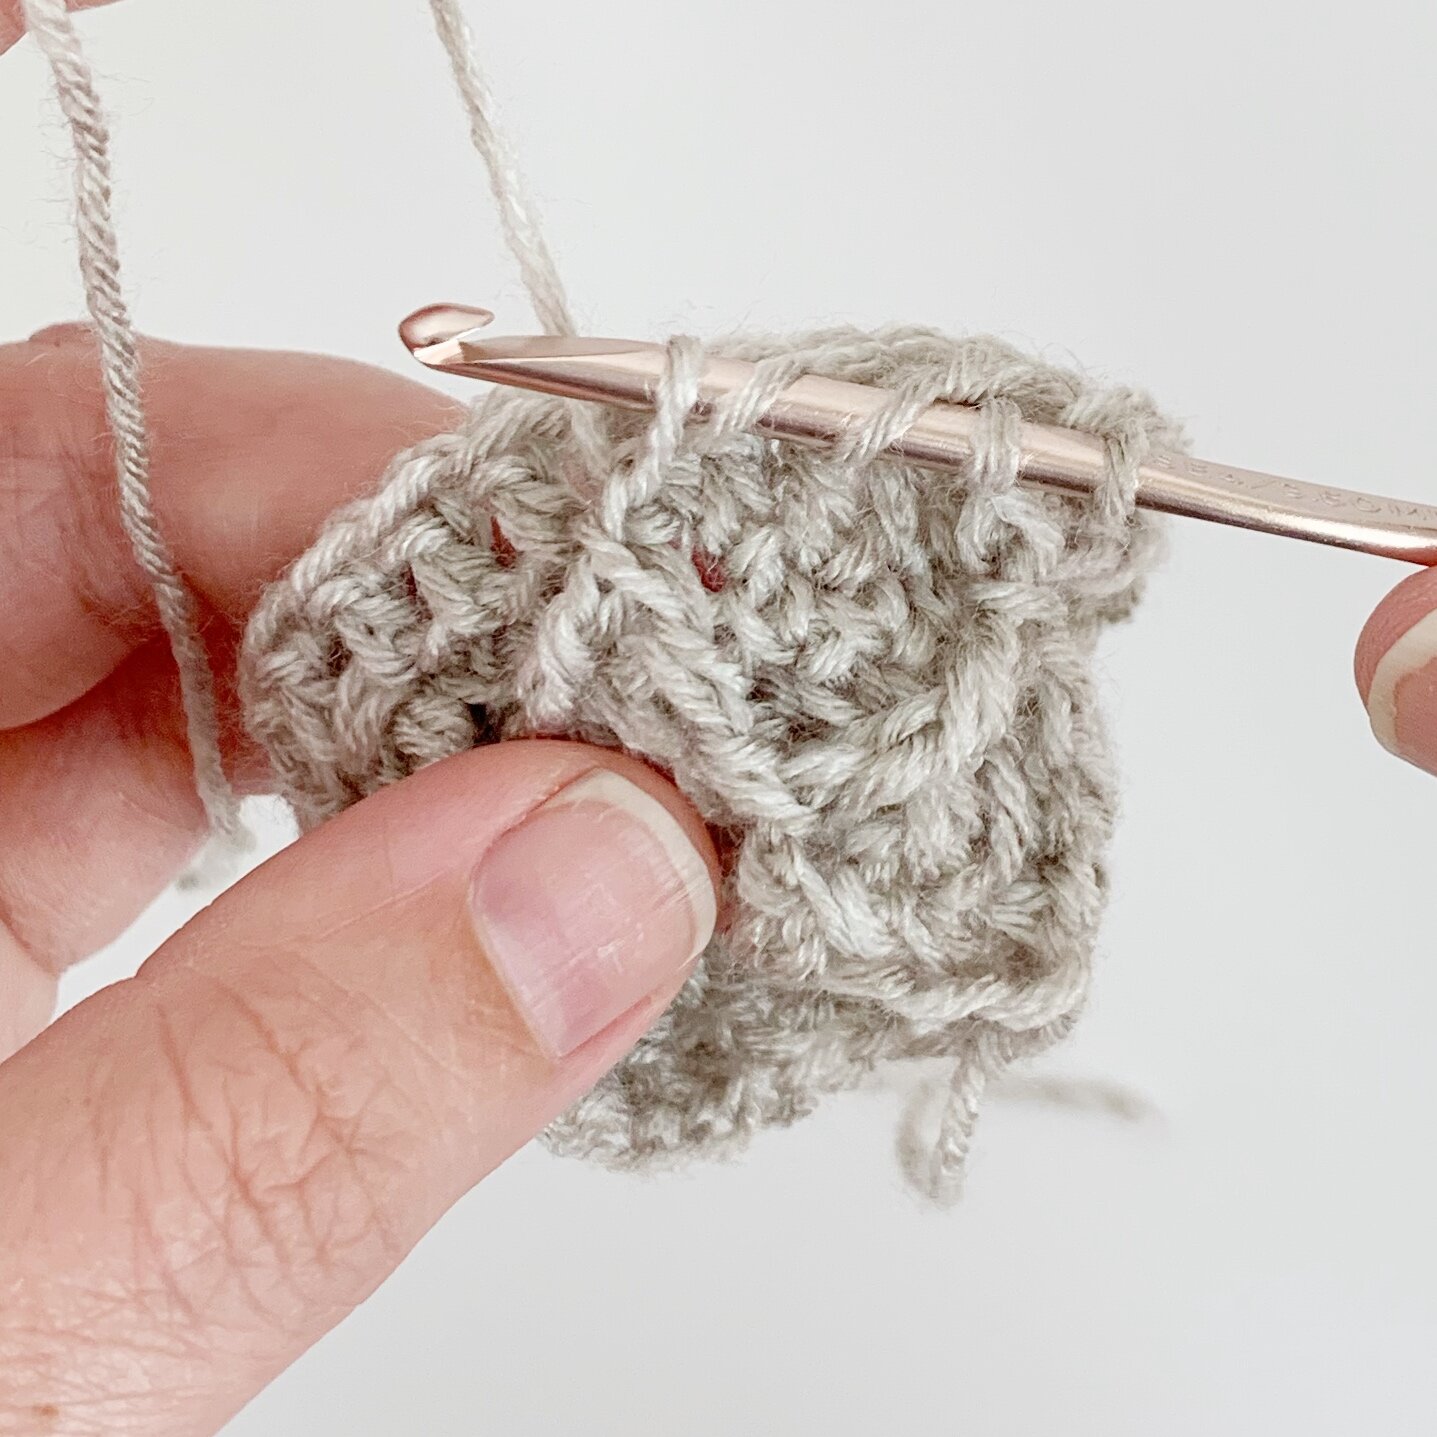
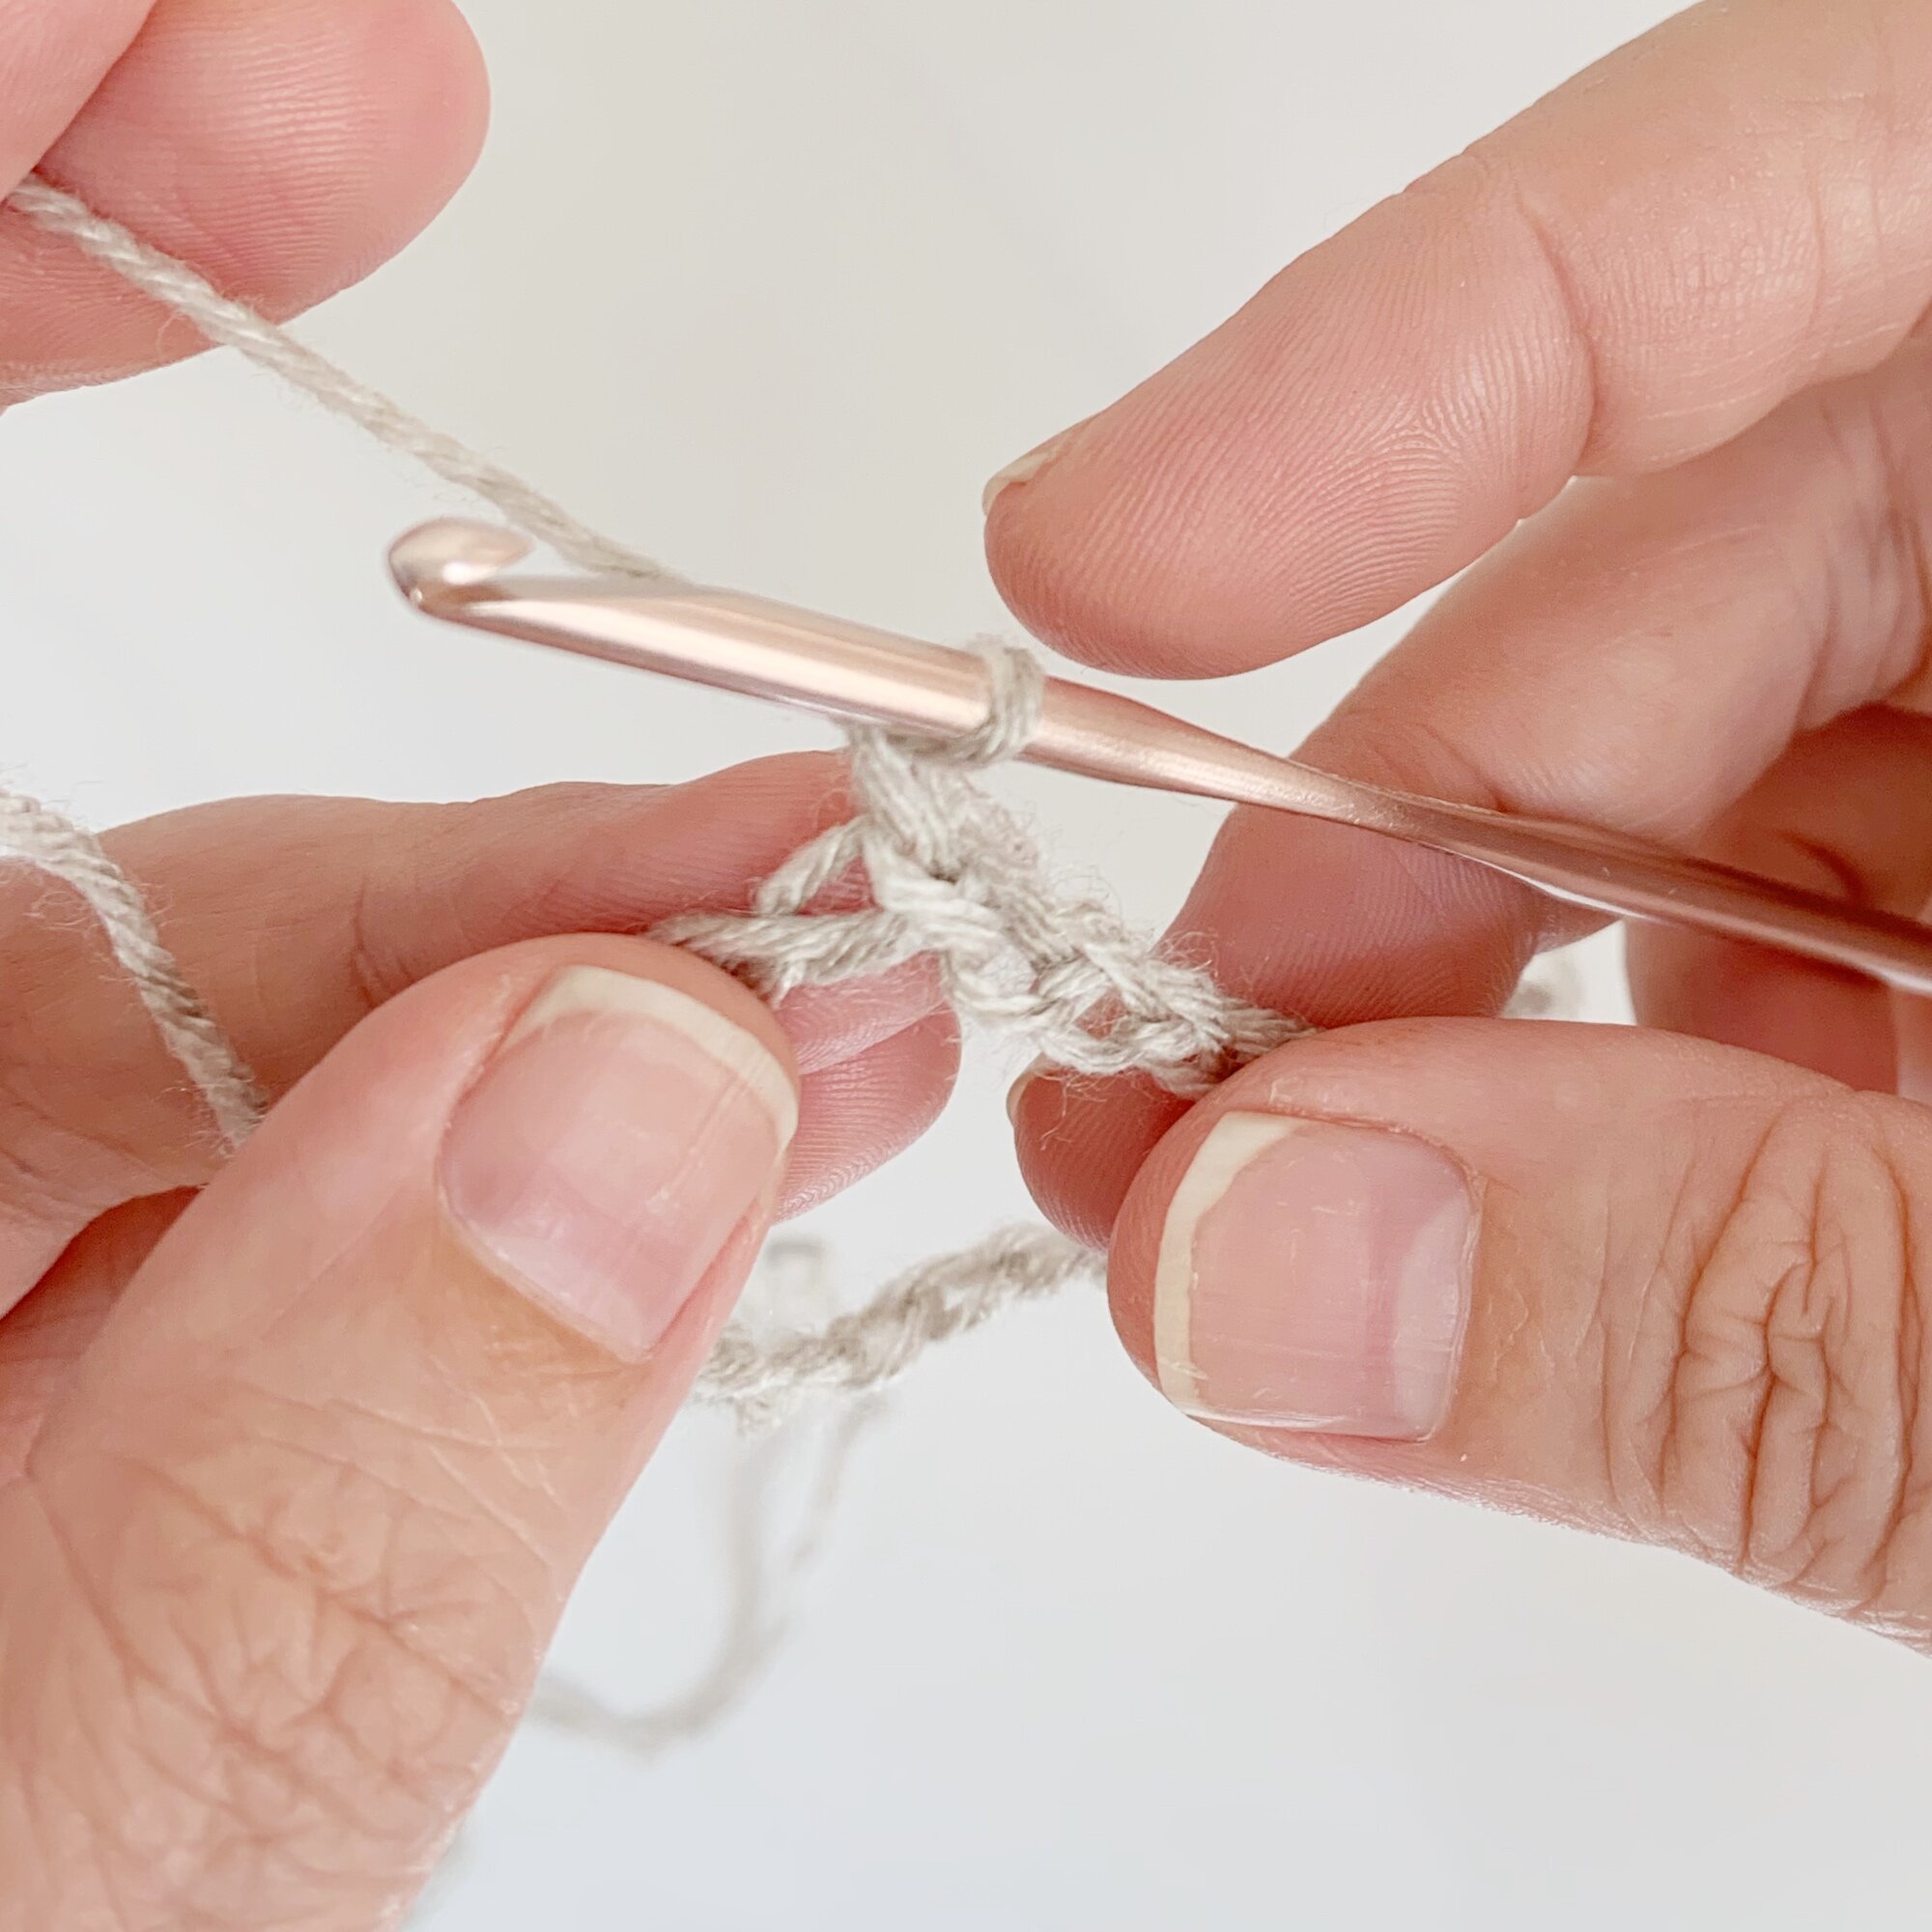
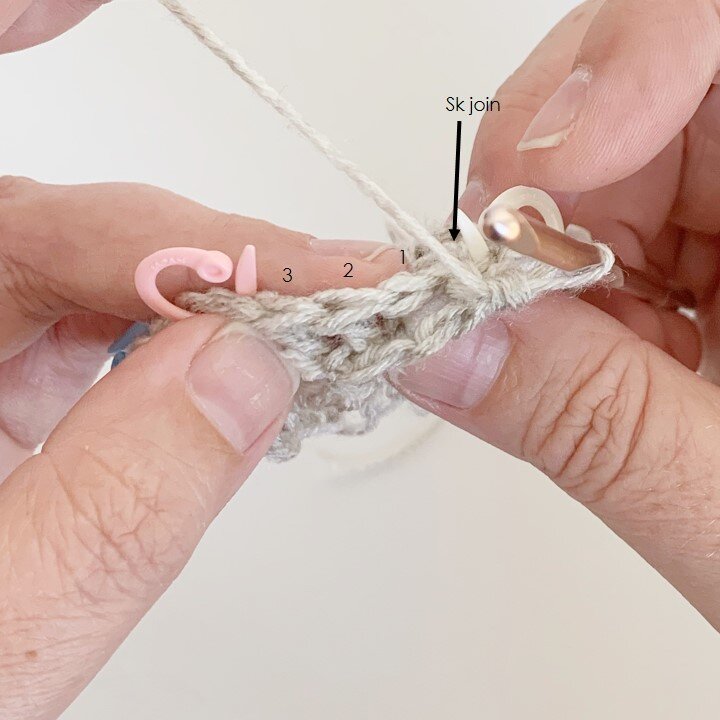
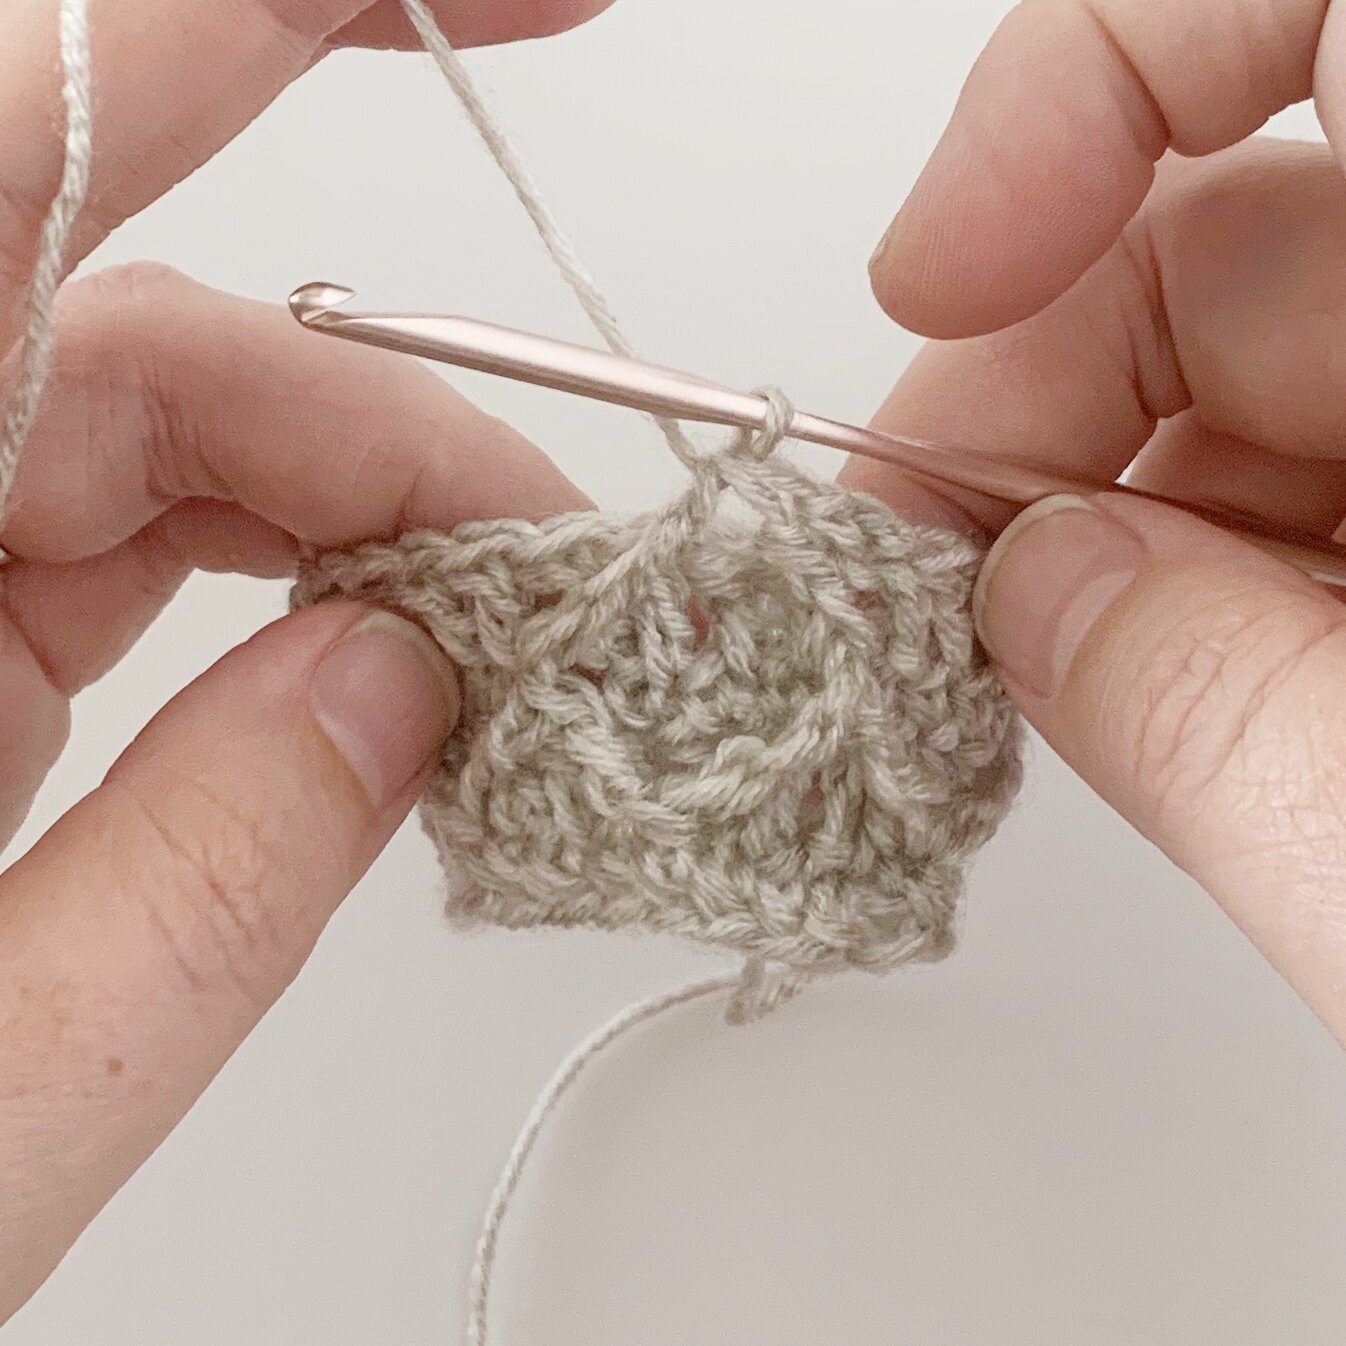
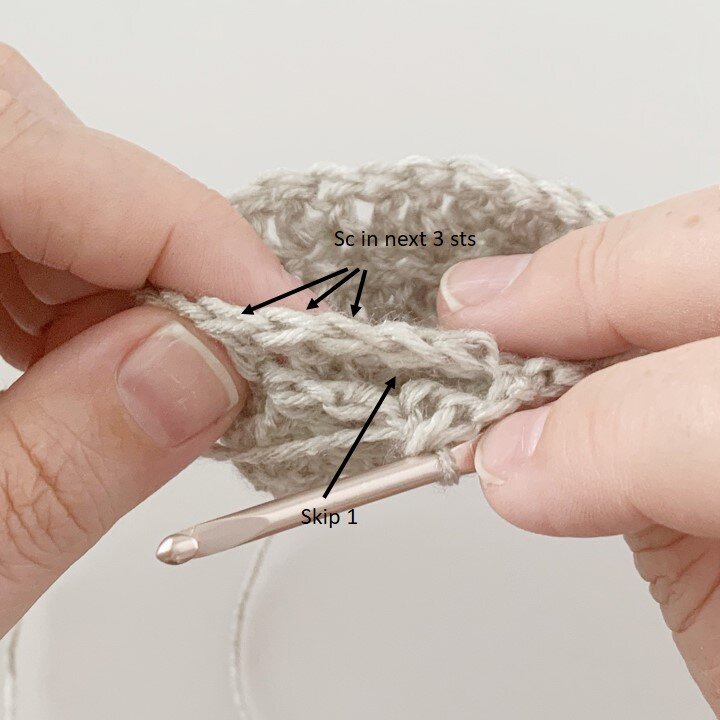
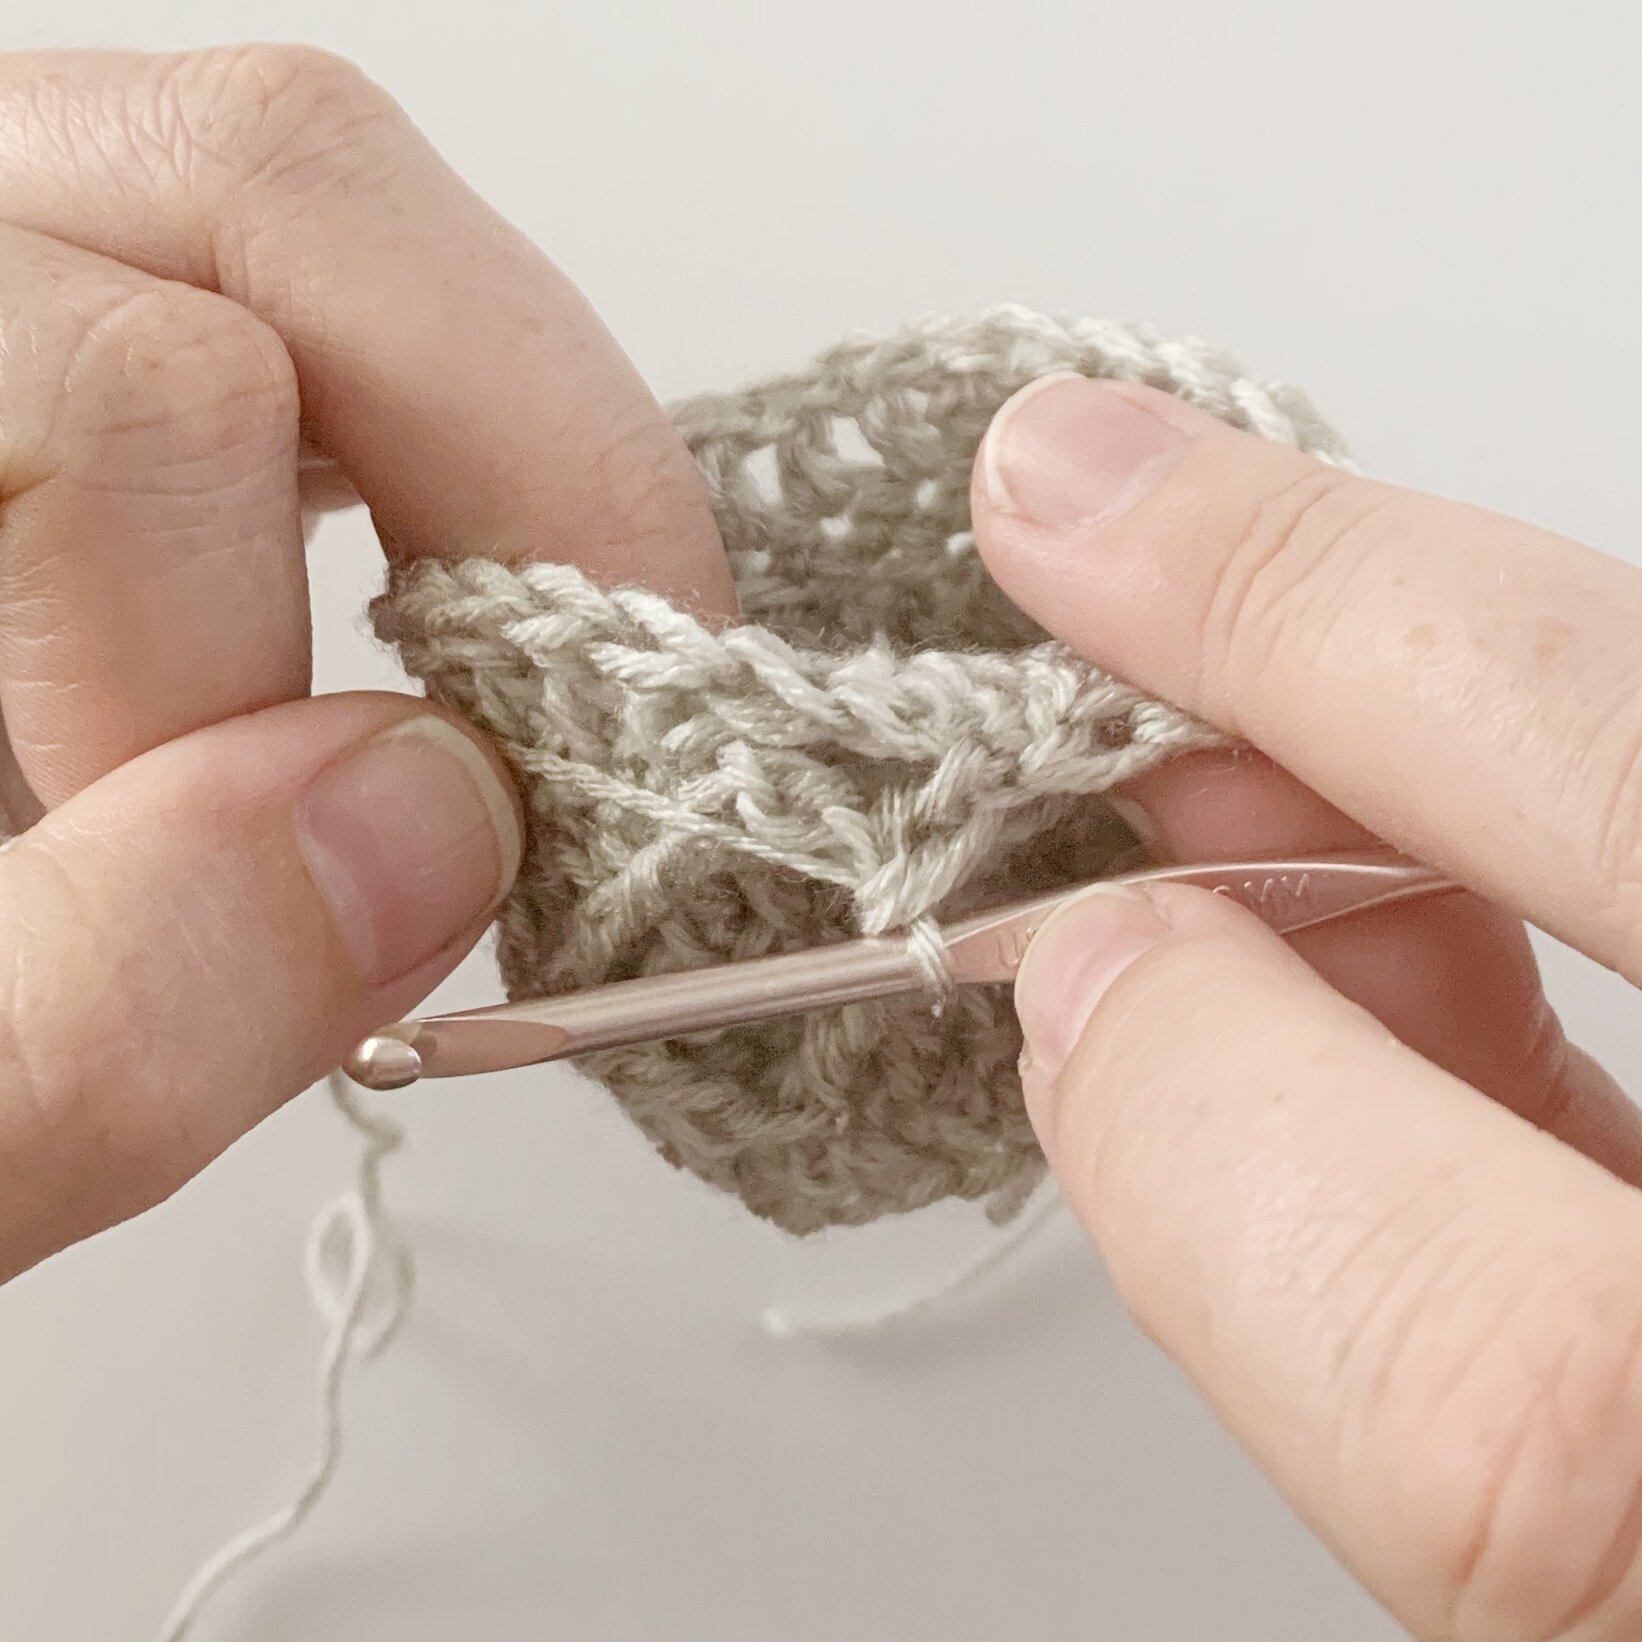
Now you will work your first round with fptrc2tog stitches to set up your diamond lattice stitch repeats. Do not ch at the beginning of this round. Note that it can also be helpful to place stitch markers in every fourth st starting at the join. This will help you to see which sts to skip when working this round. Start by working a fptrc2tog into the sc sts two rounds below. You will work your first fptrc2tog around the sc st 2 to the right of the join and the sc st 2 sts to the left of the join.
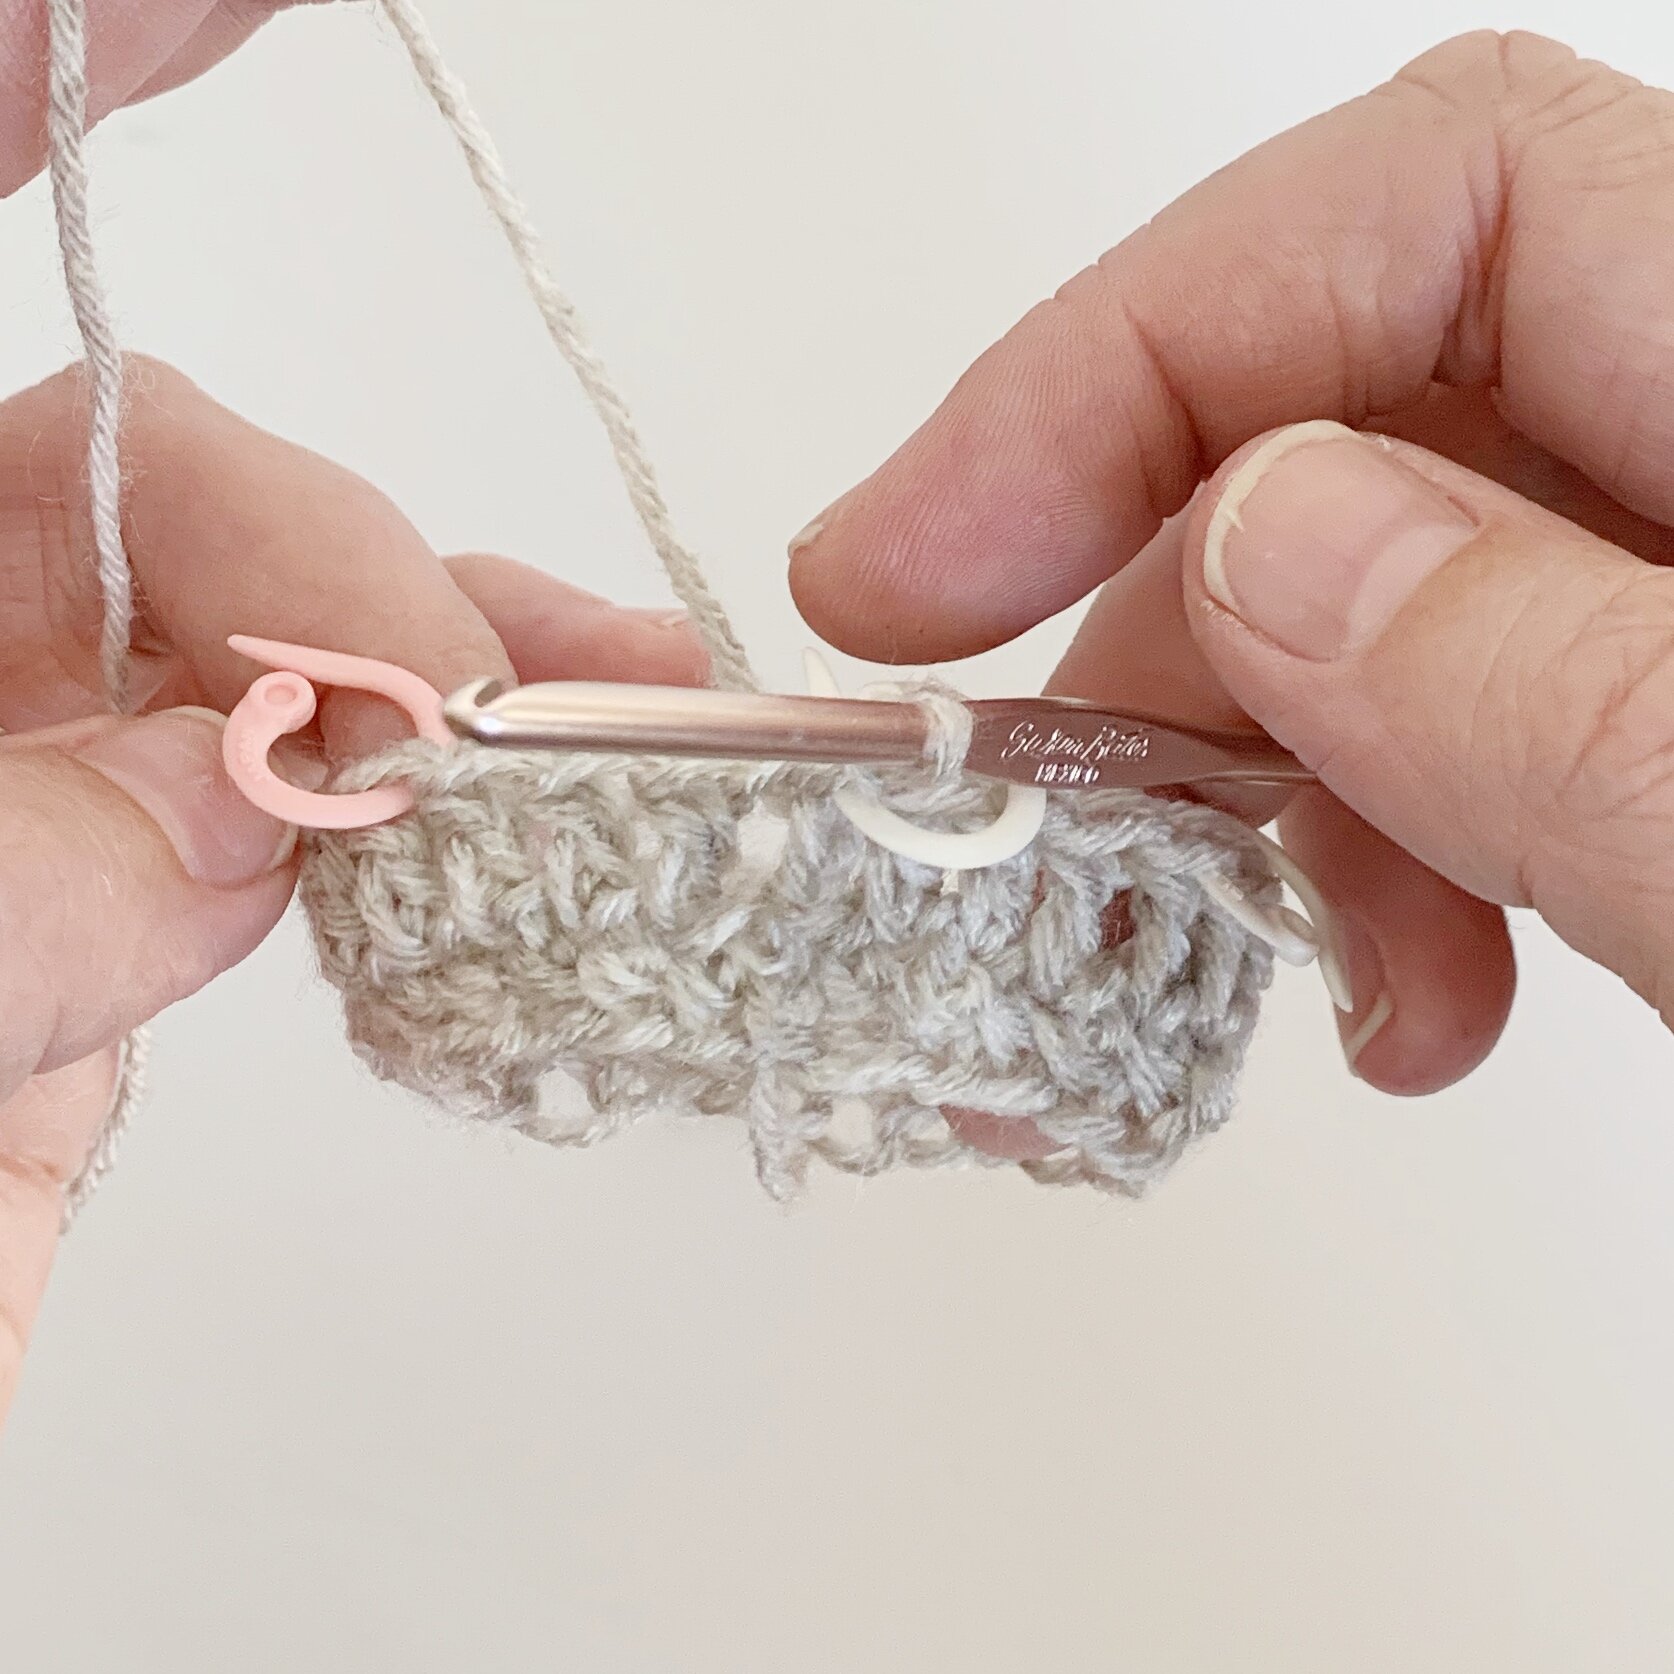
Now working back into the top of the dc sts in round 2, skip the join and work 3 sc. Then work another fptrc2tog working behind the sc sts 2 rounds below and behind the left leg of the fptrc2tog stitch you previous made and in the fourth st from that st. Then working back into the top of the dc sts, sk 1, sc 3. Repeat around ending with a sc 3 and sl st to the top of the first fptrc2tog.

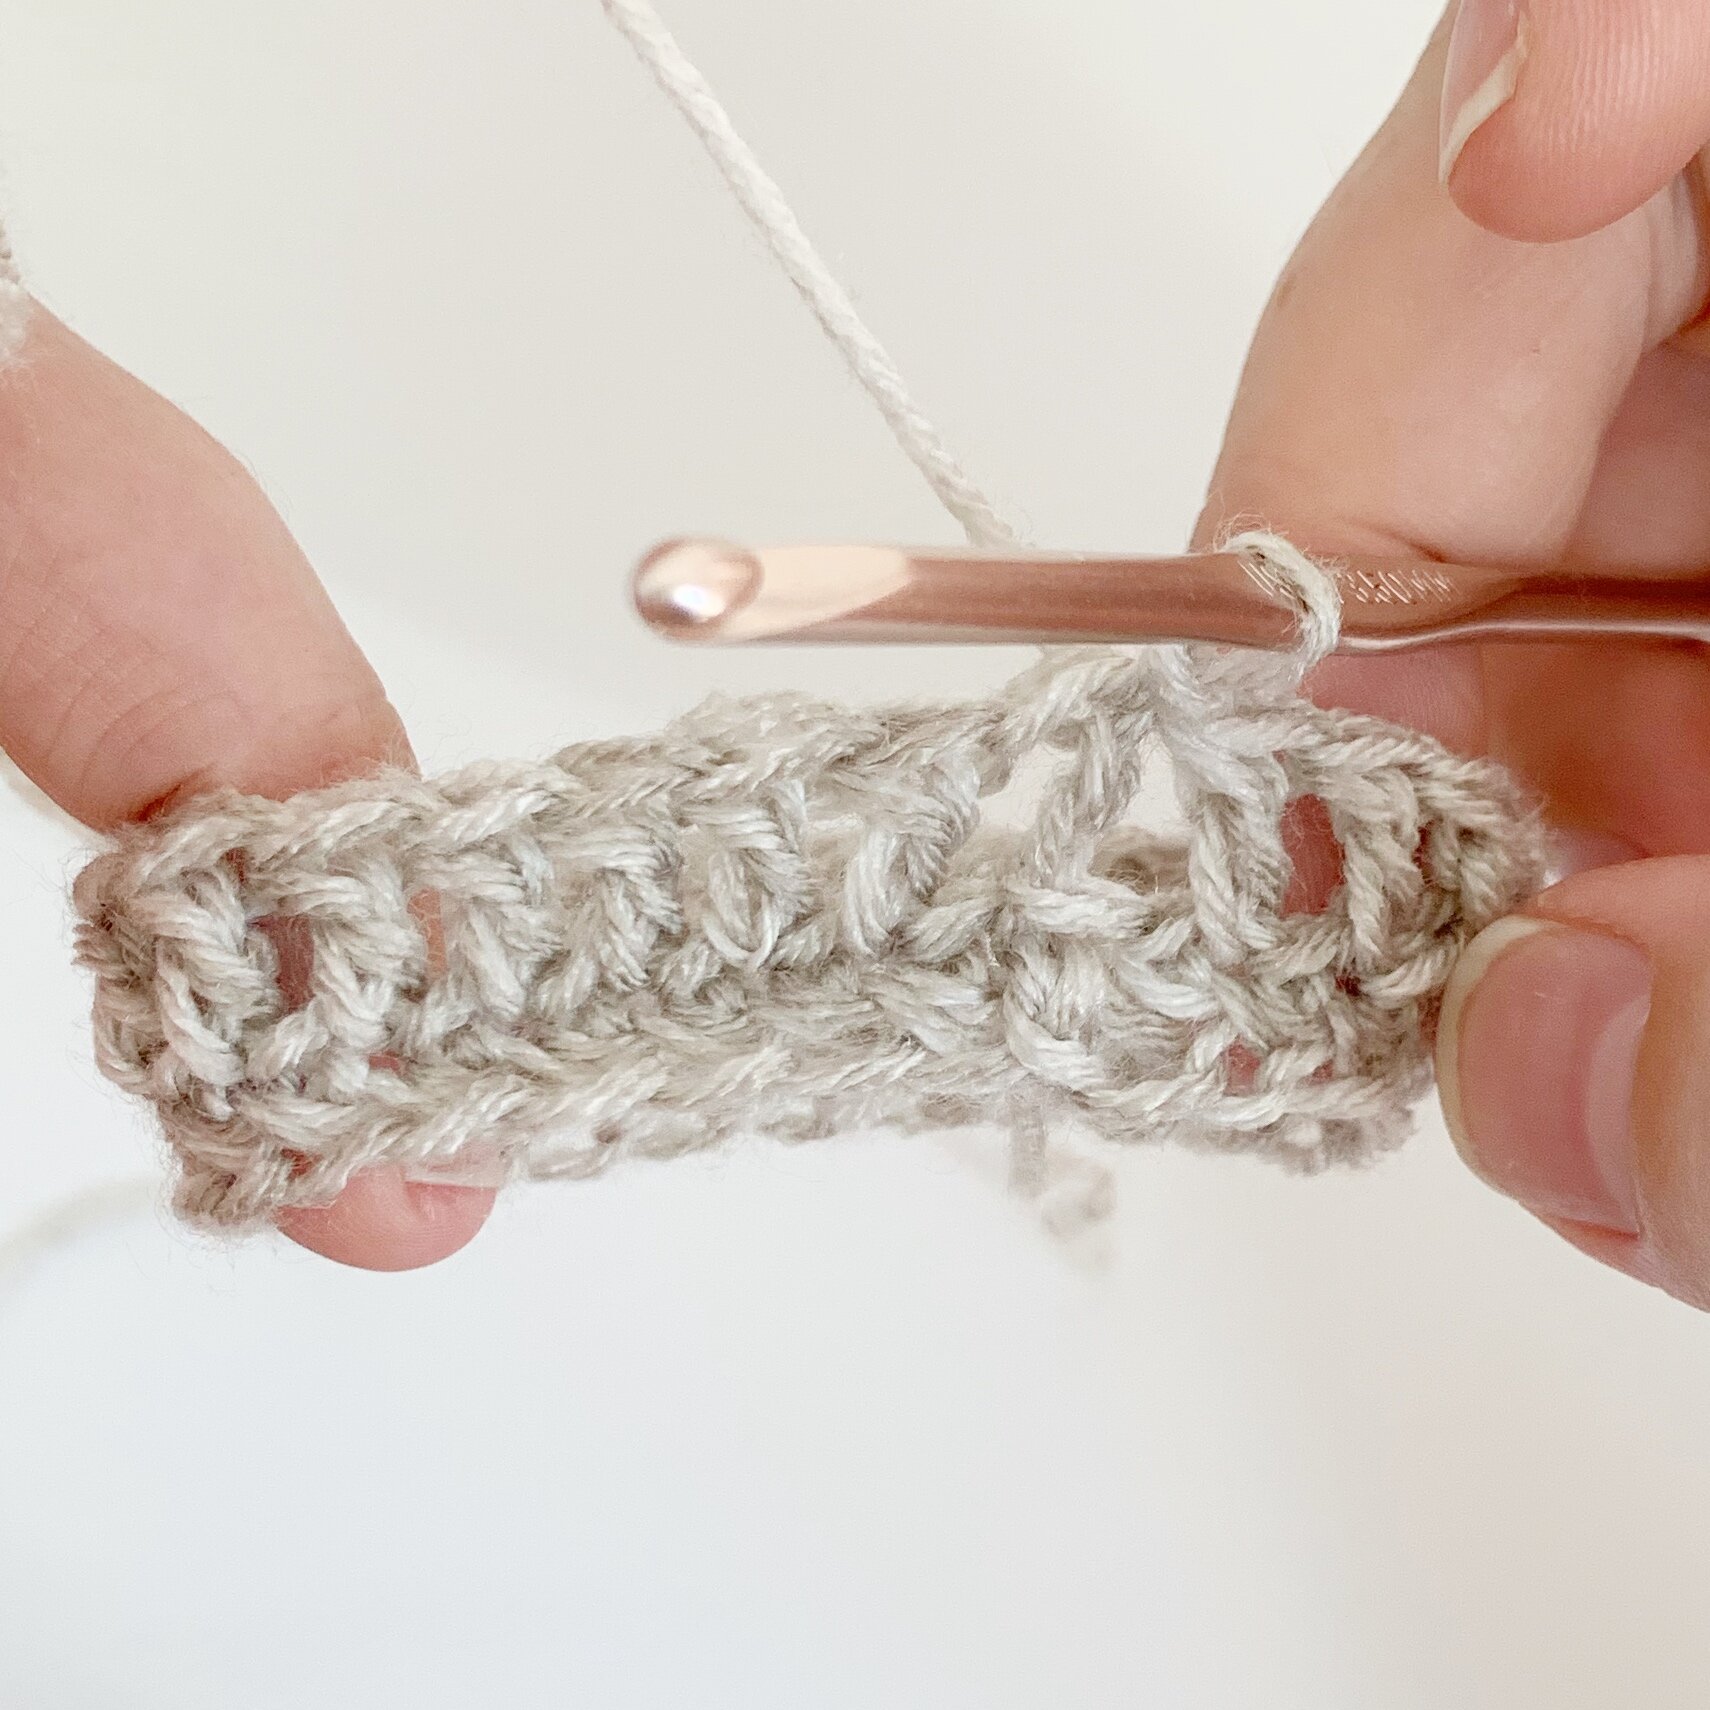
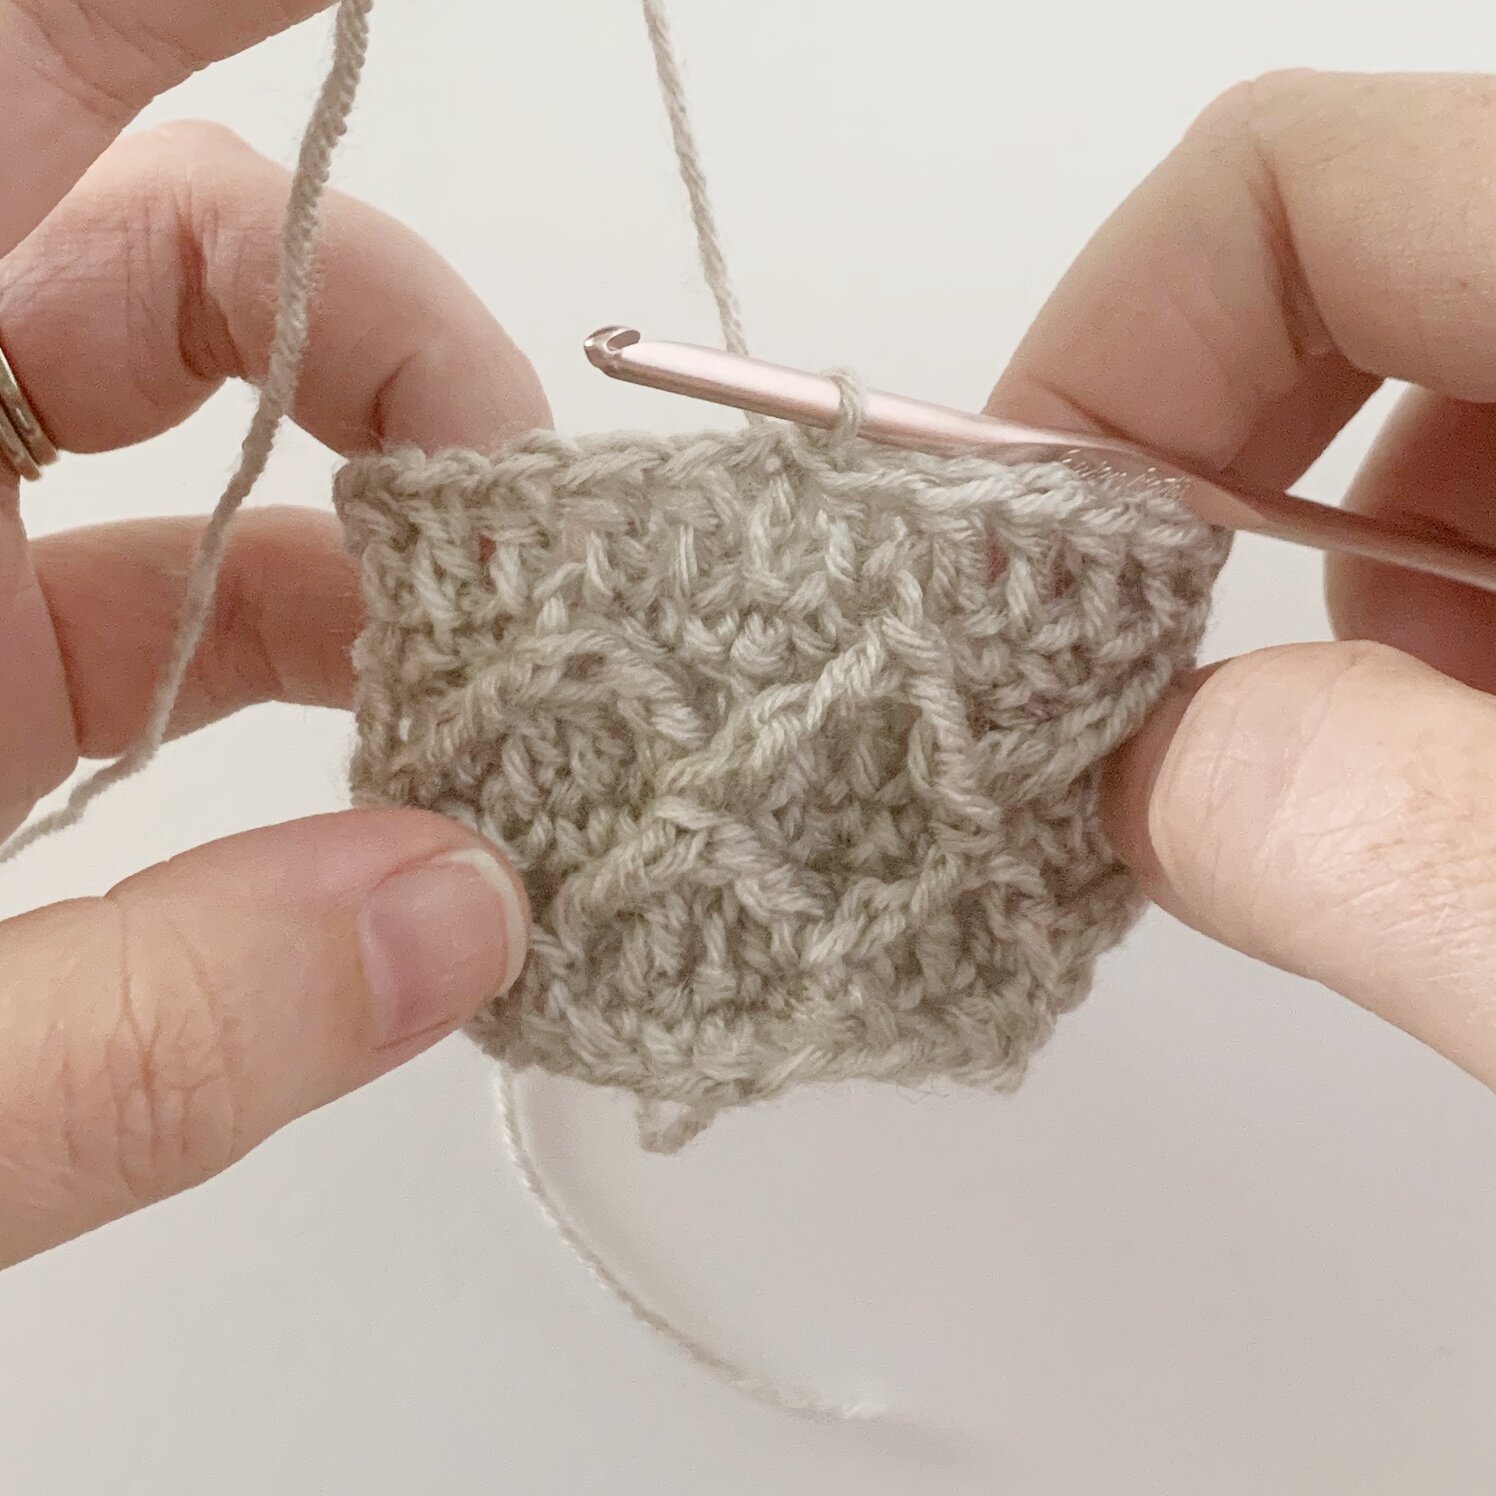
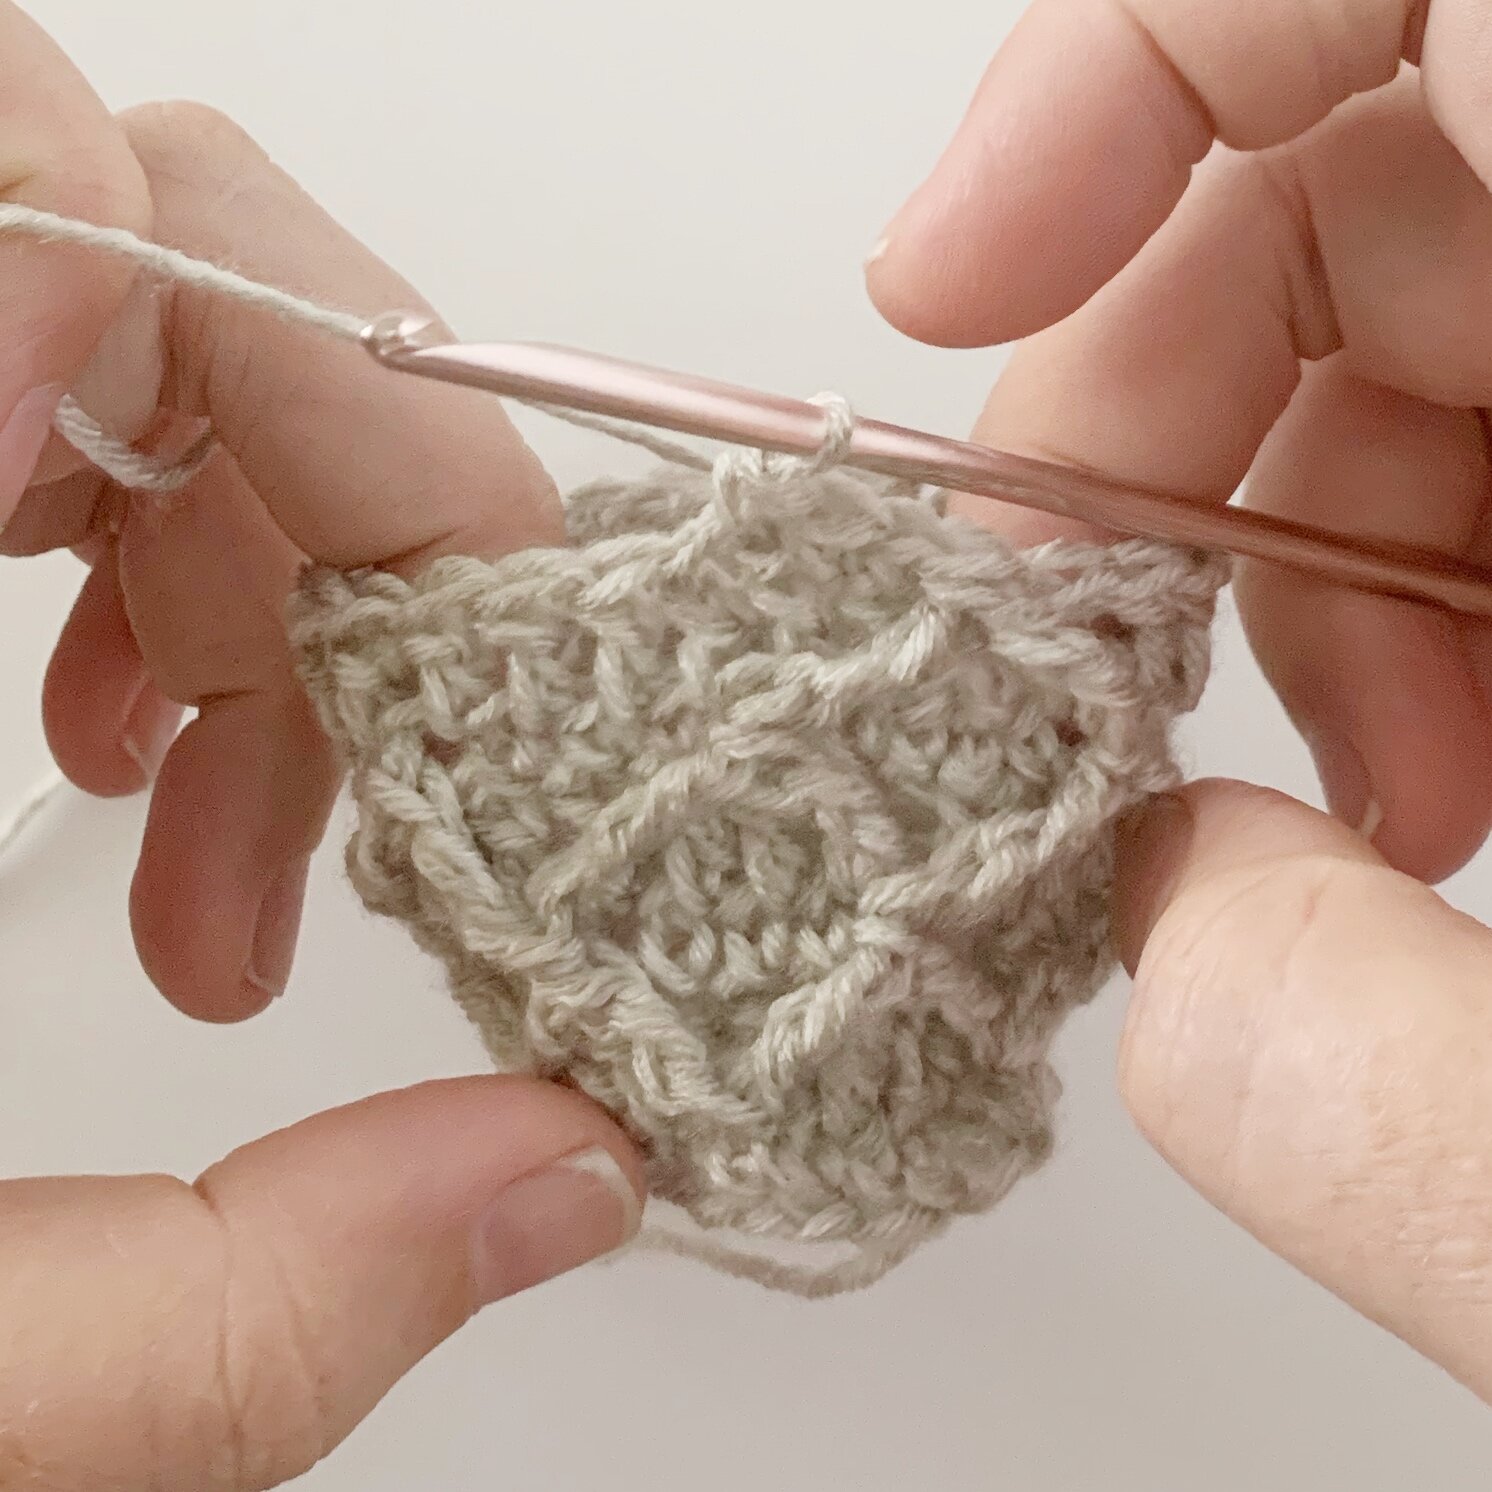
That is the end of setting up your diamond lattice stitch. The next four rounds will be the stitch repeat.
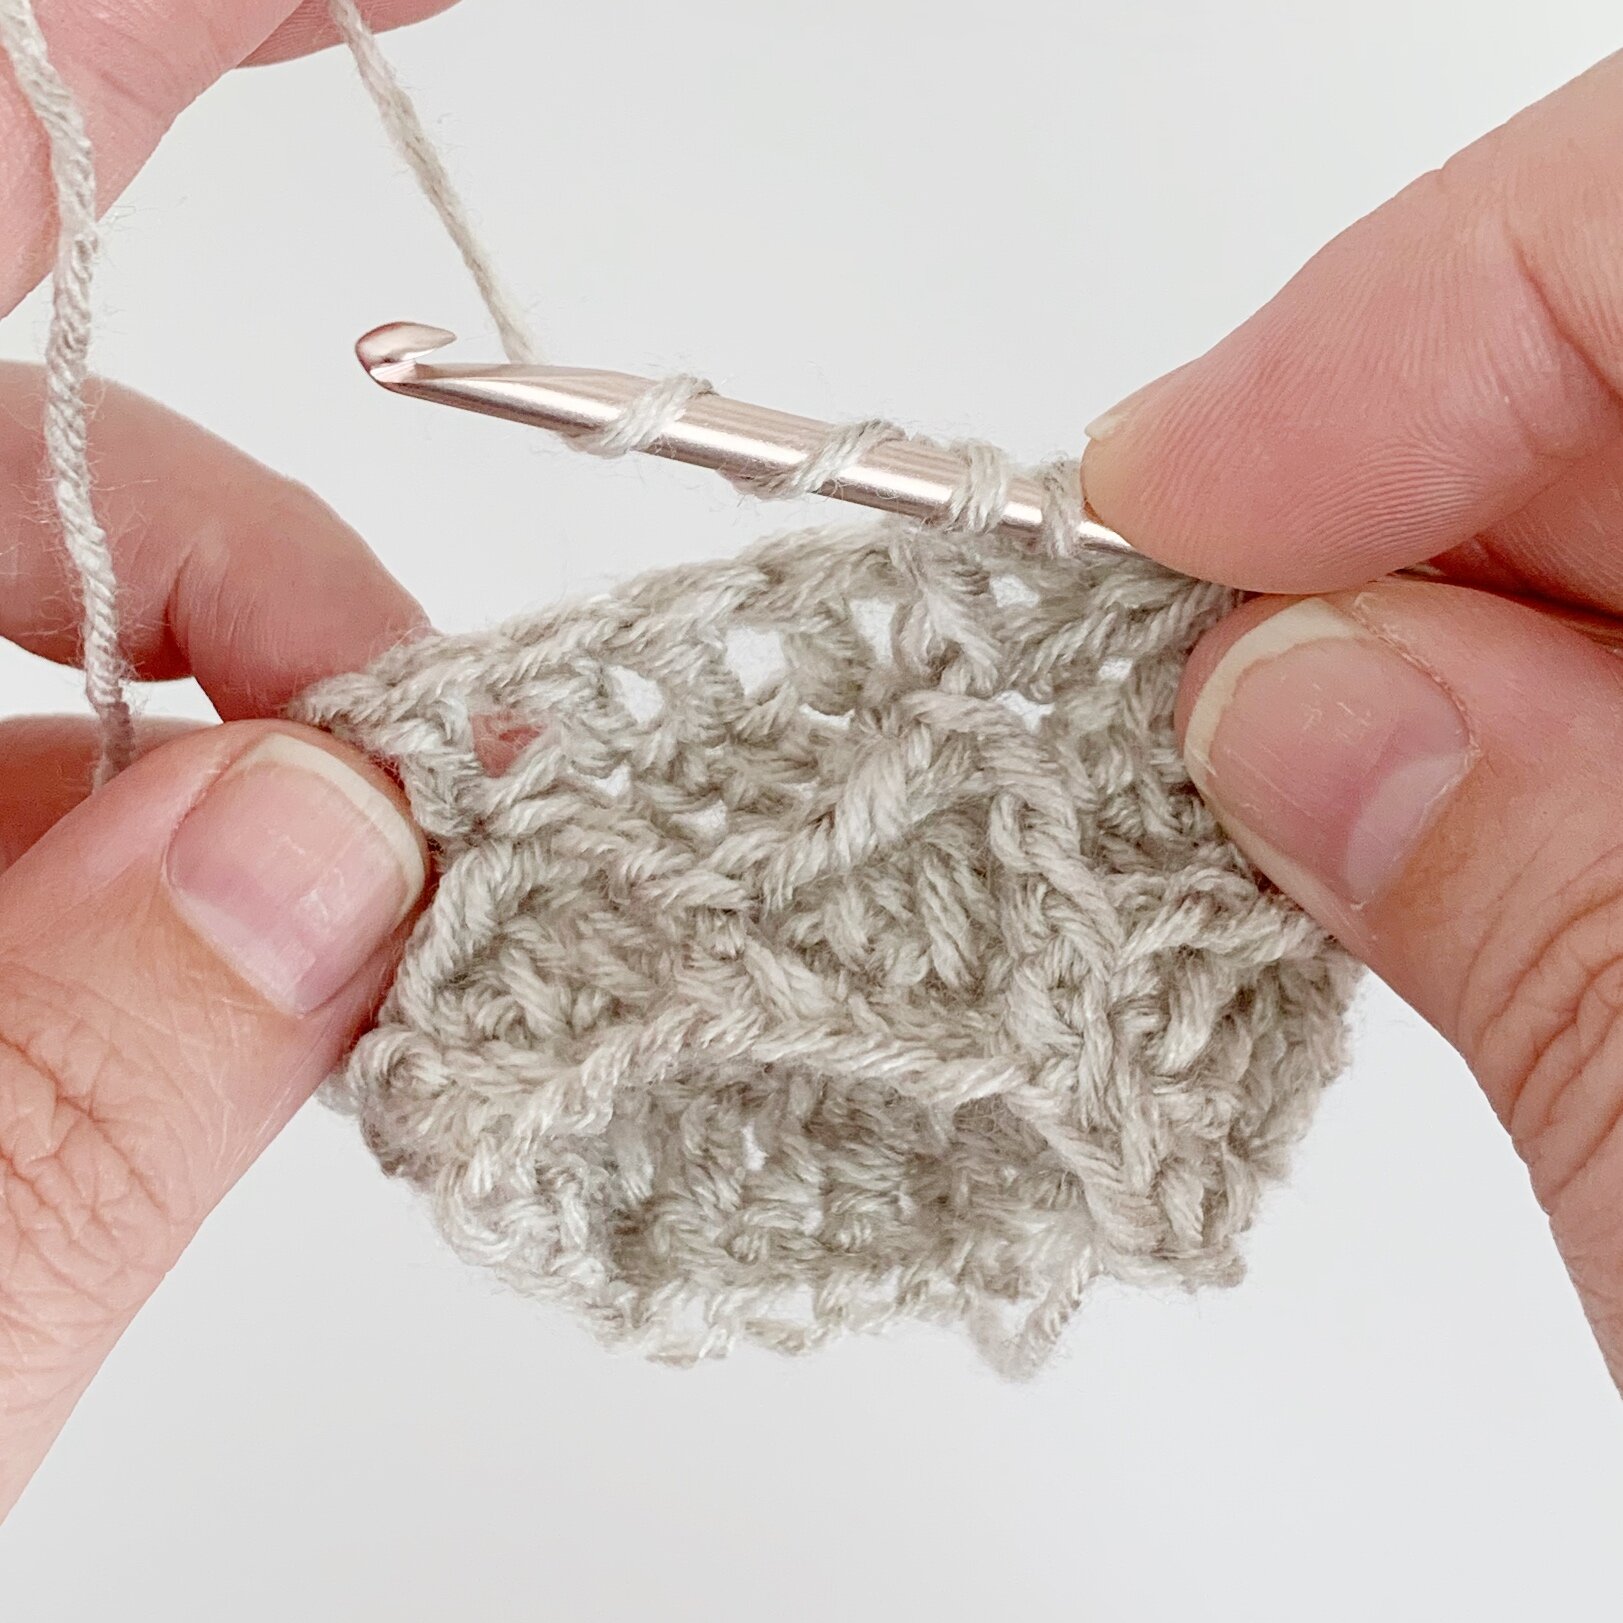
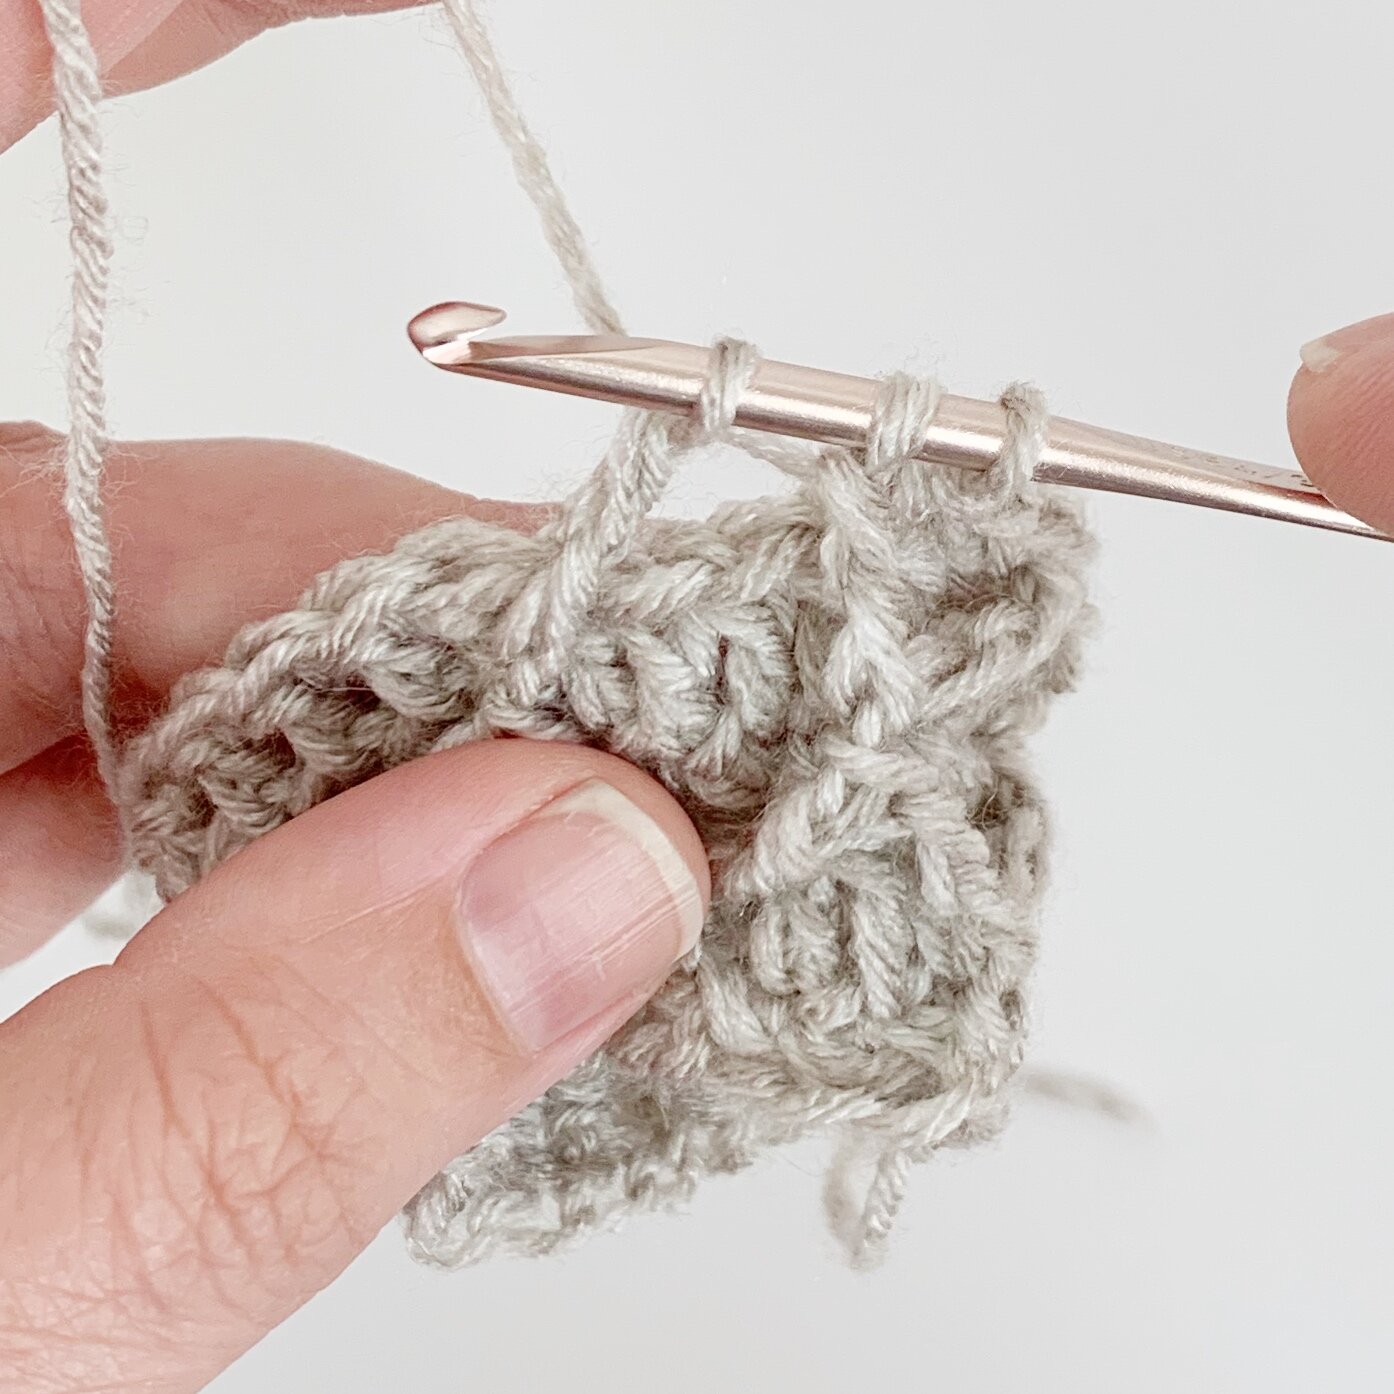
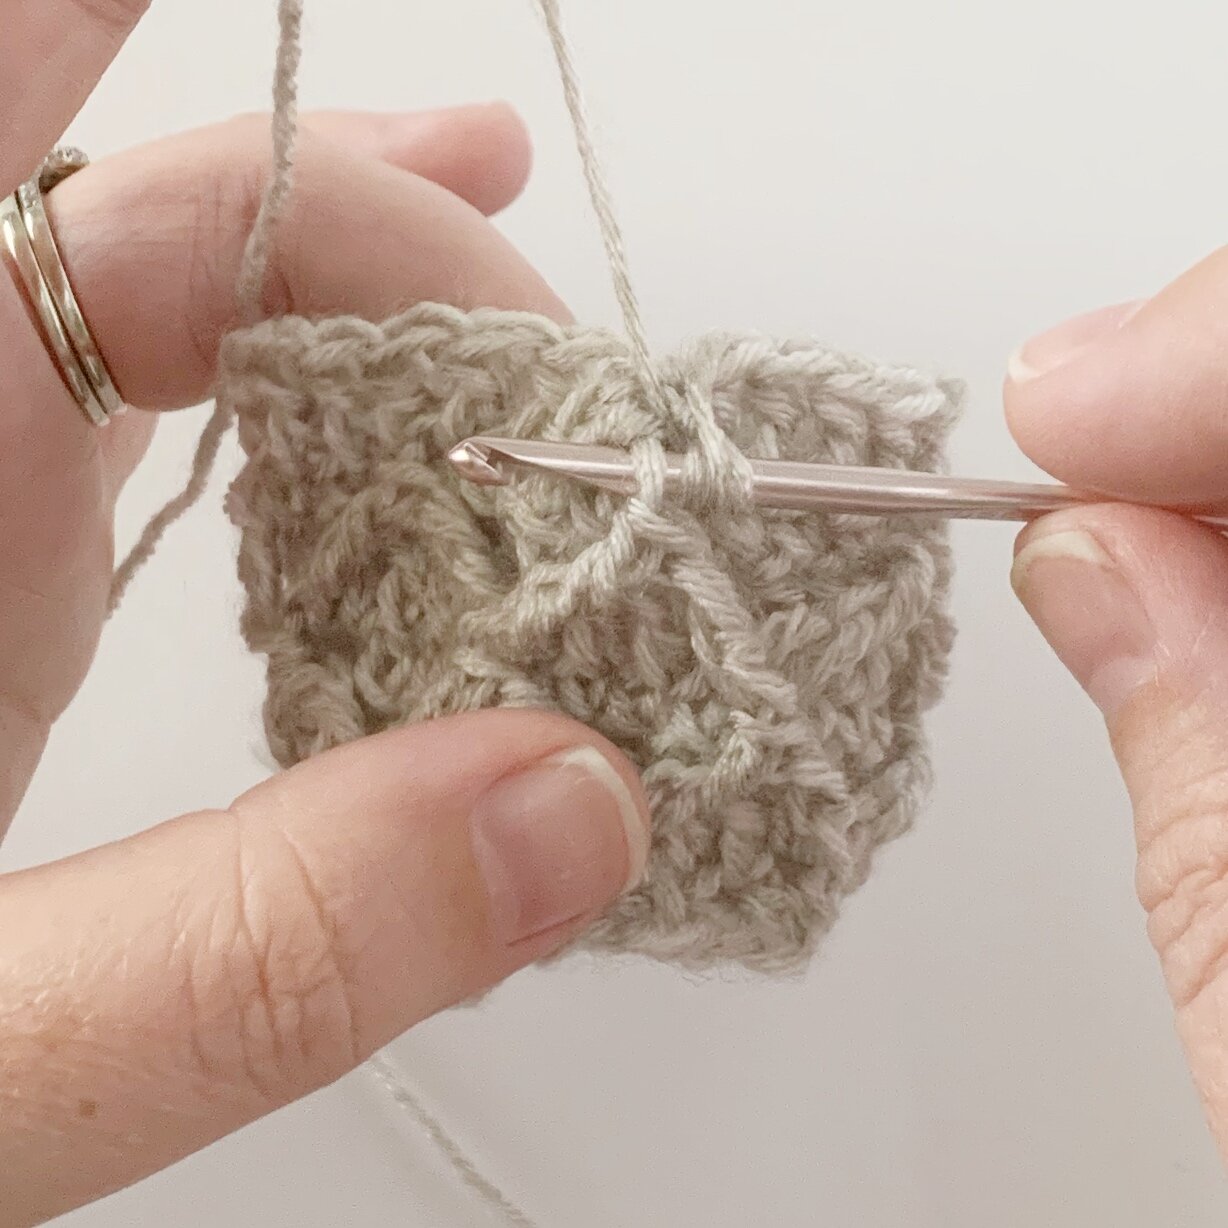
Round 4: ch 3, dc in each st around, sl st to the top of the ch 3 to join.
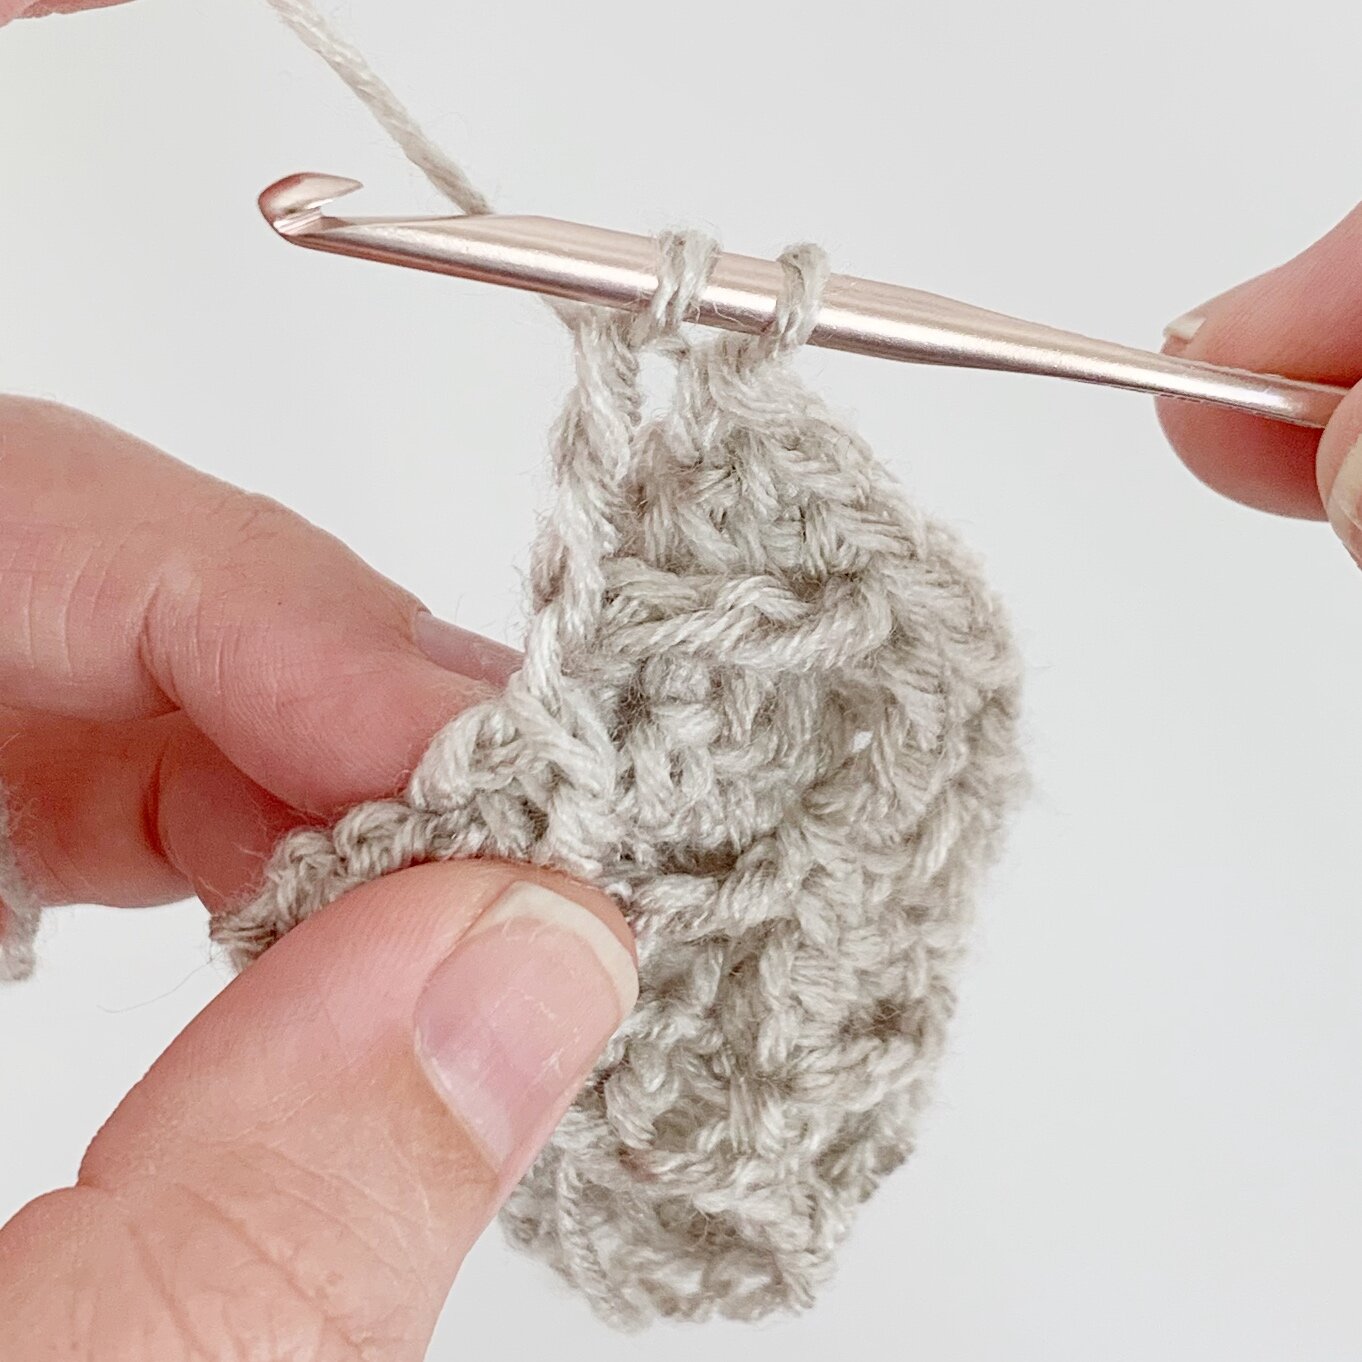
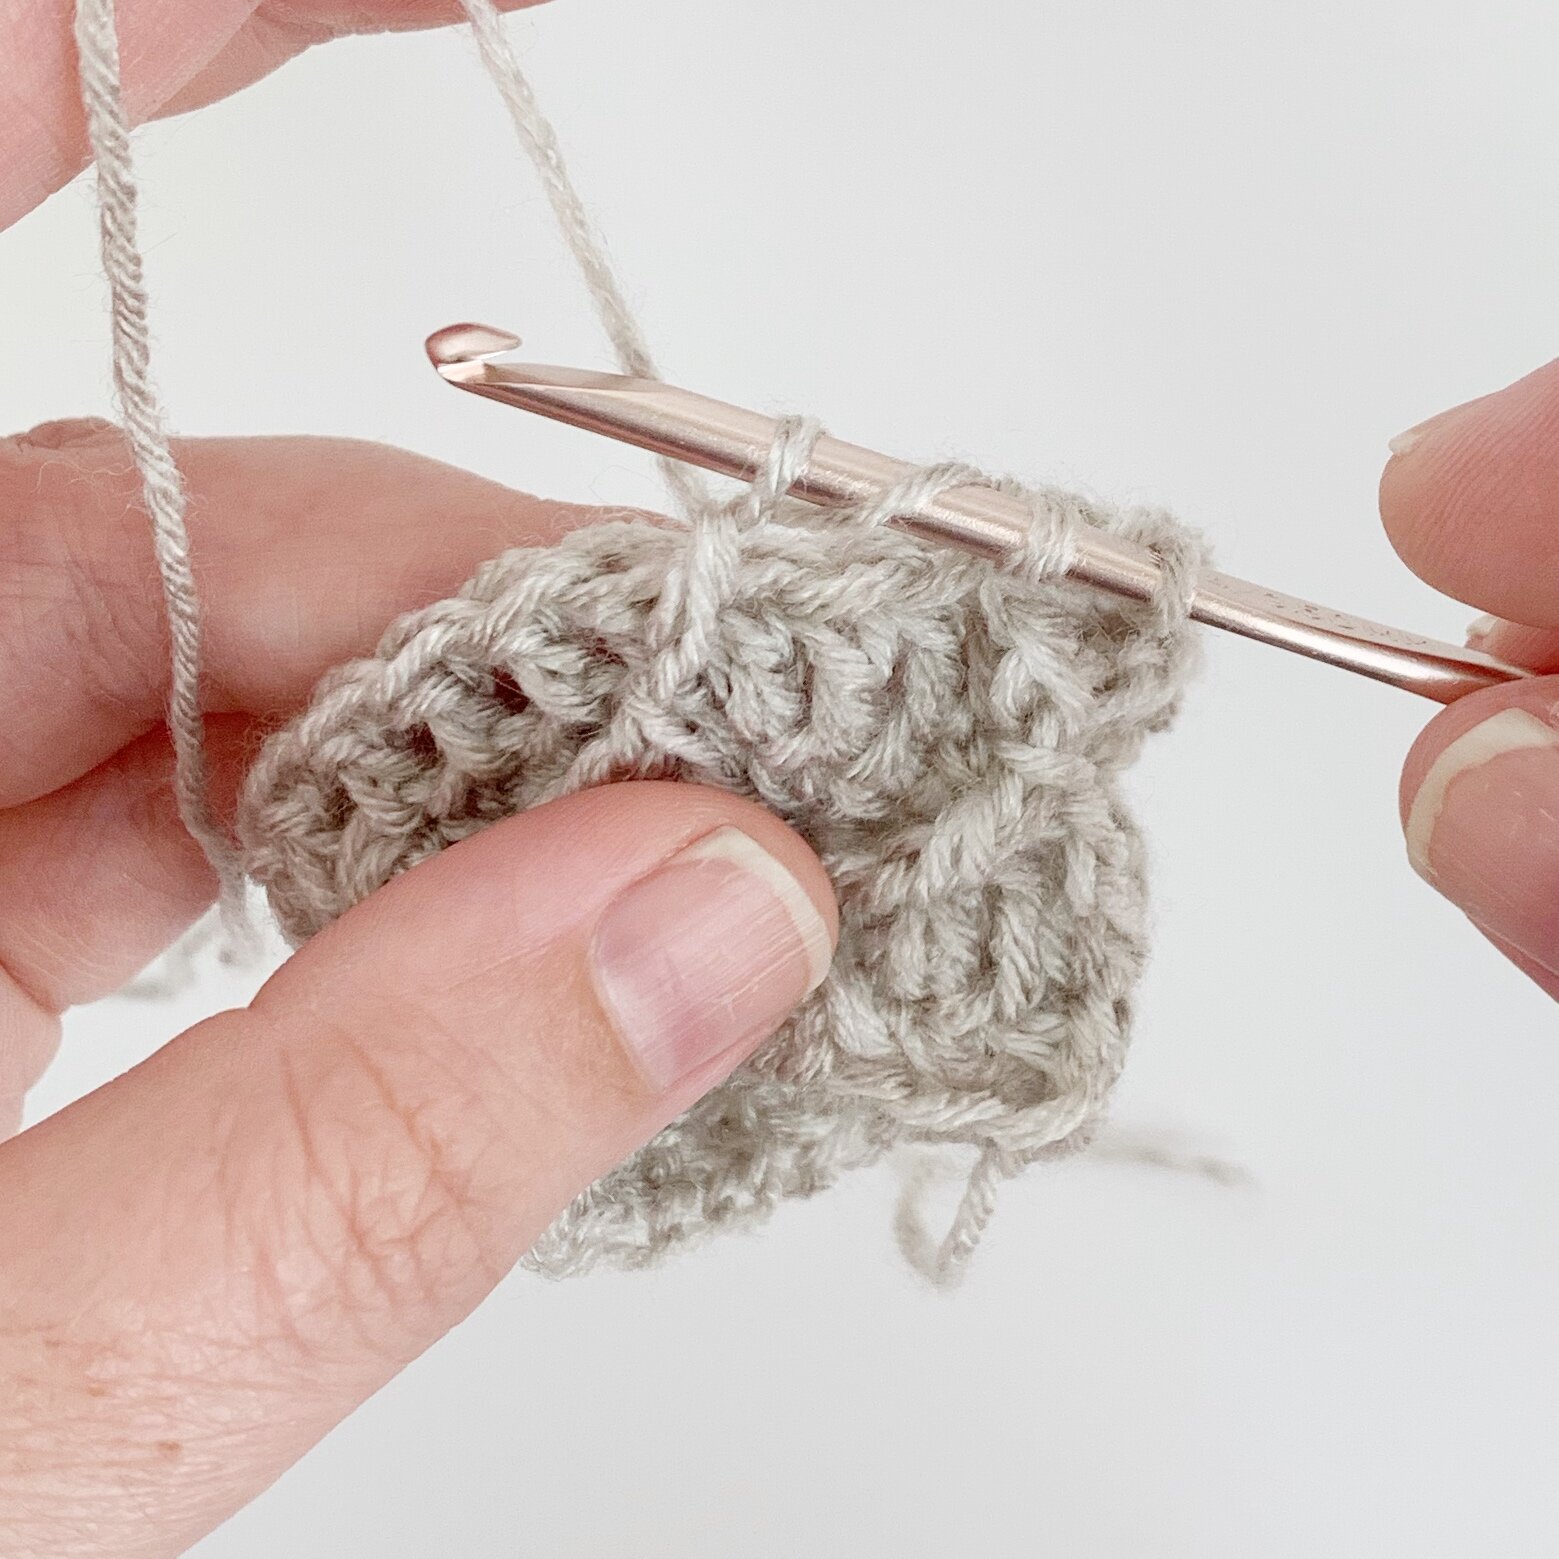
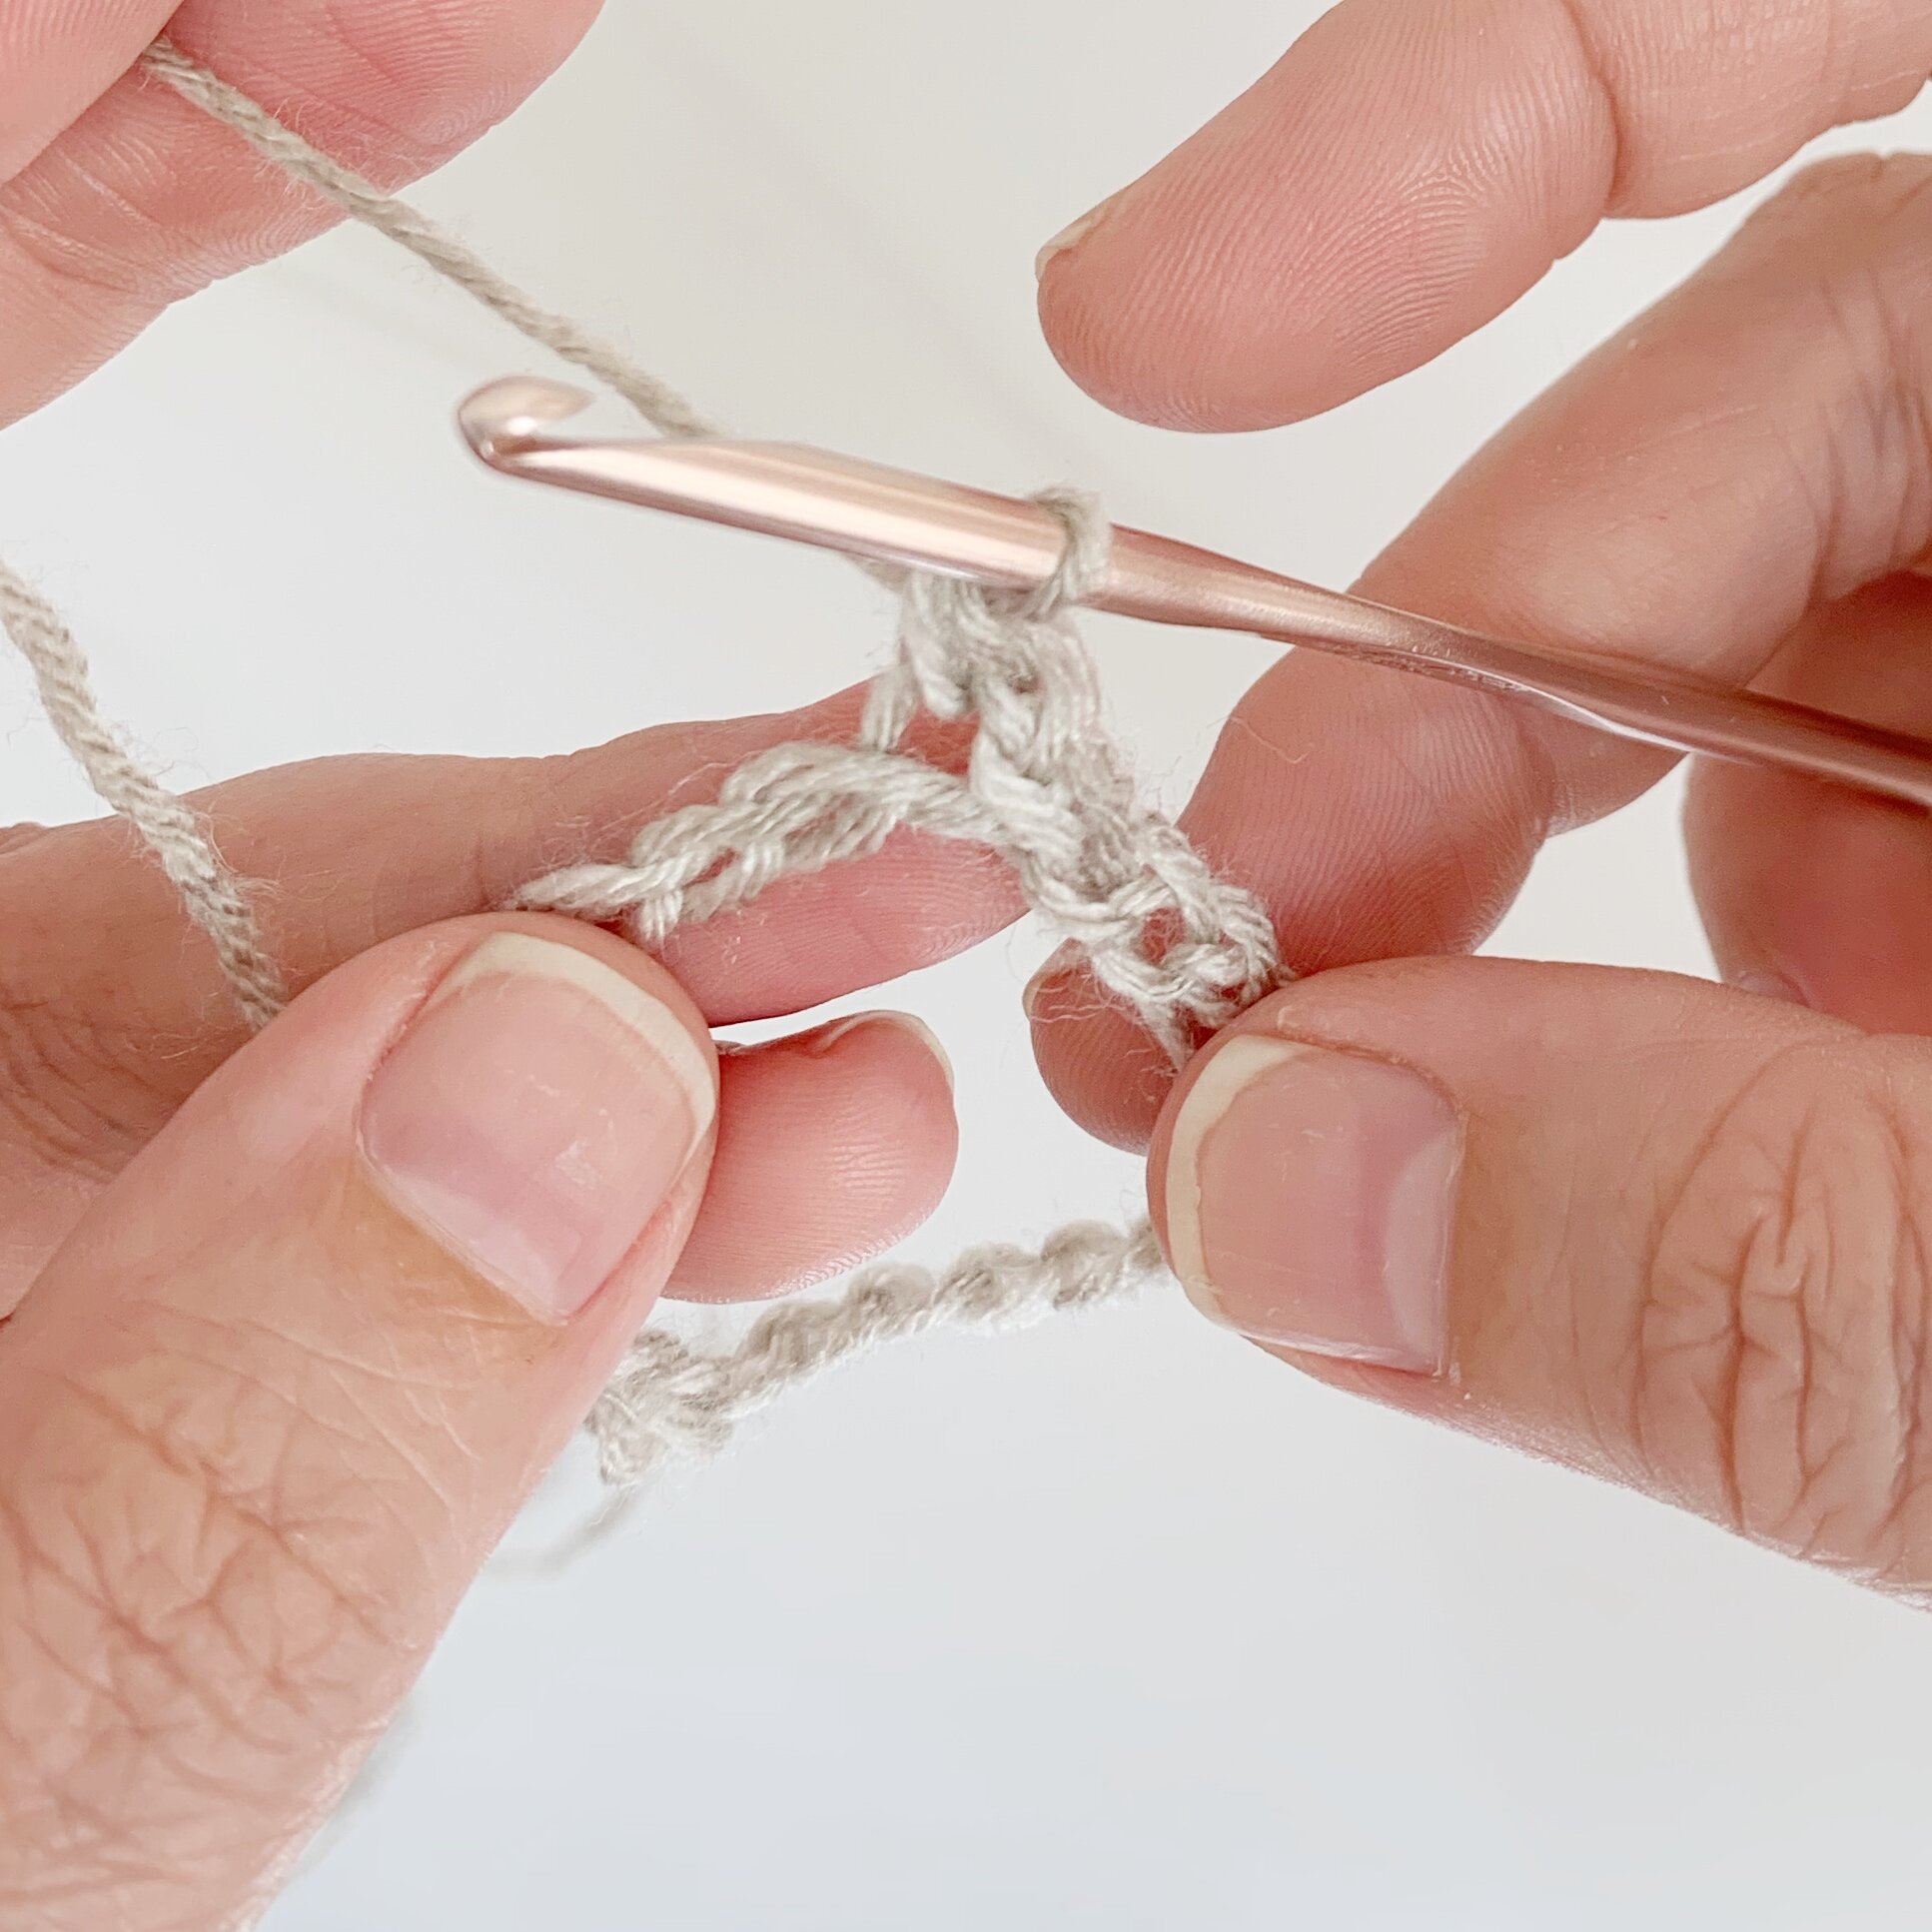
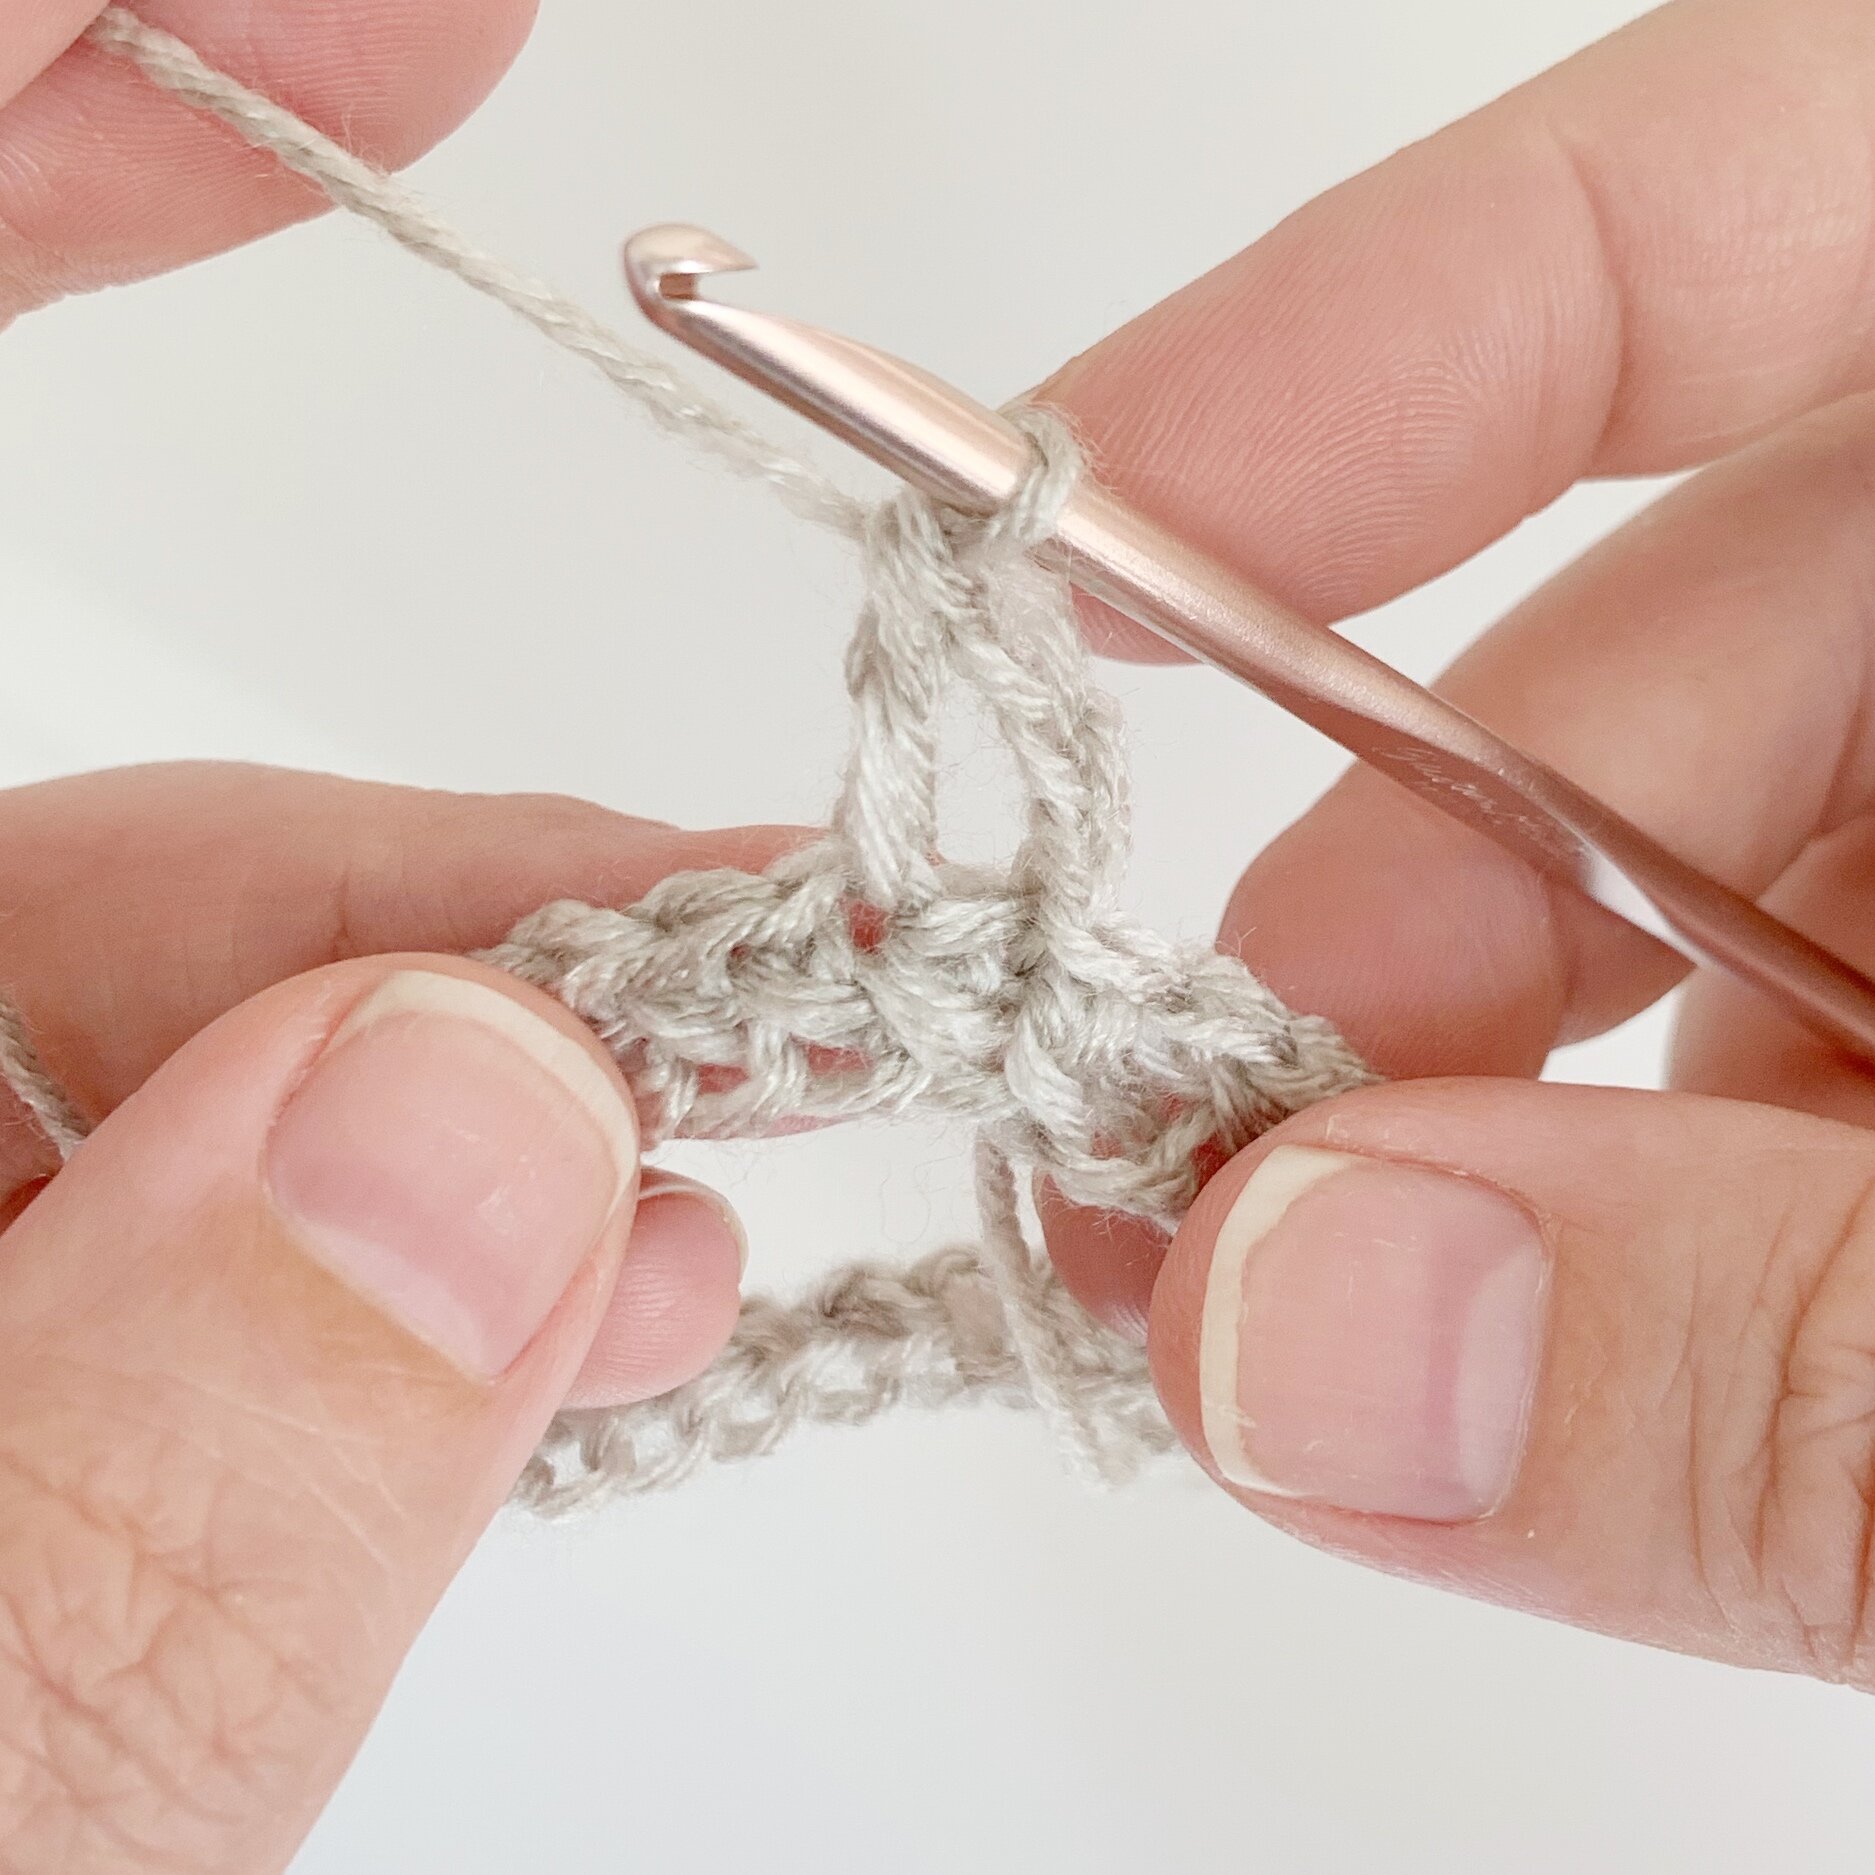
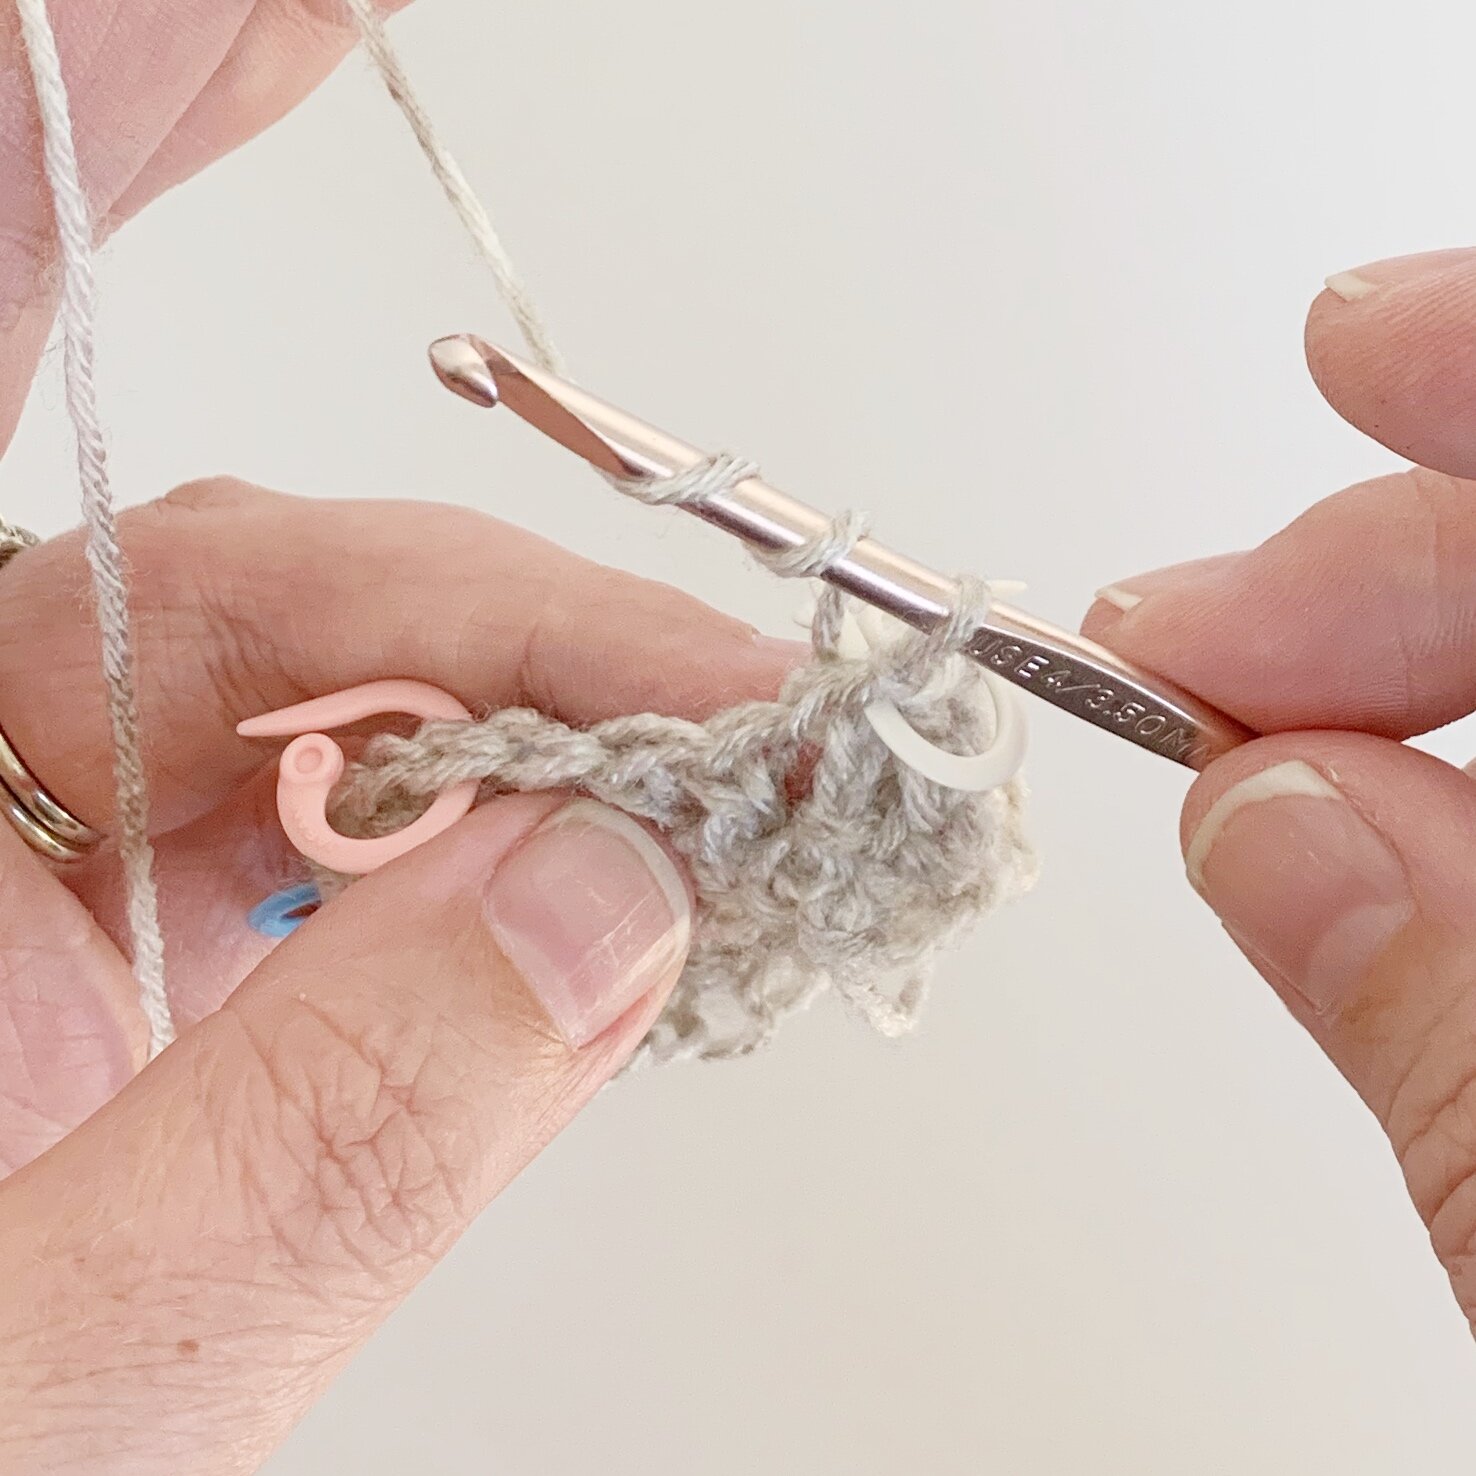
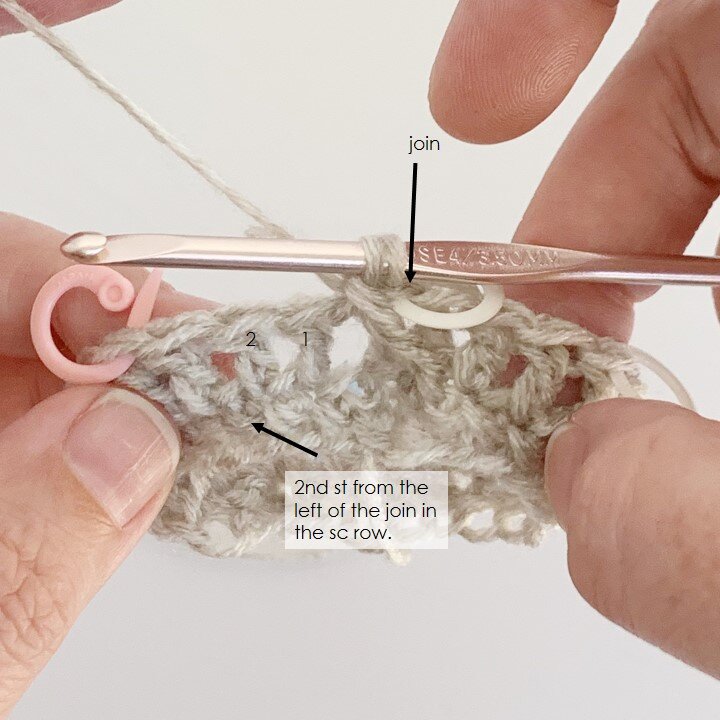
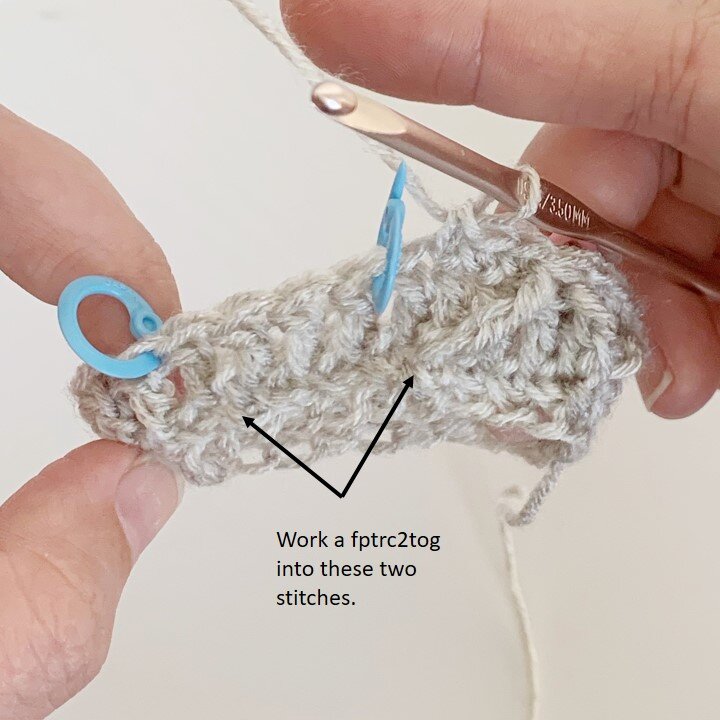
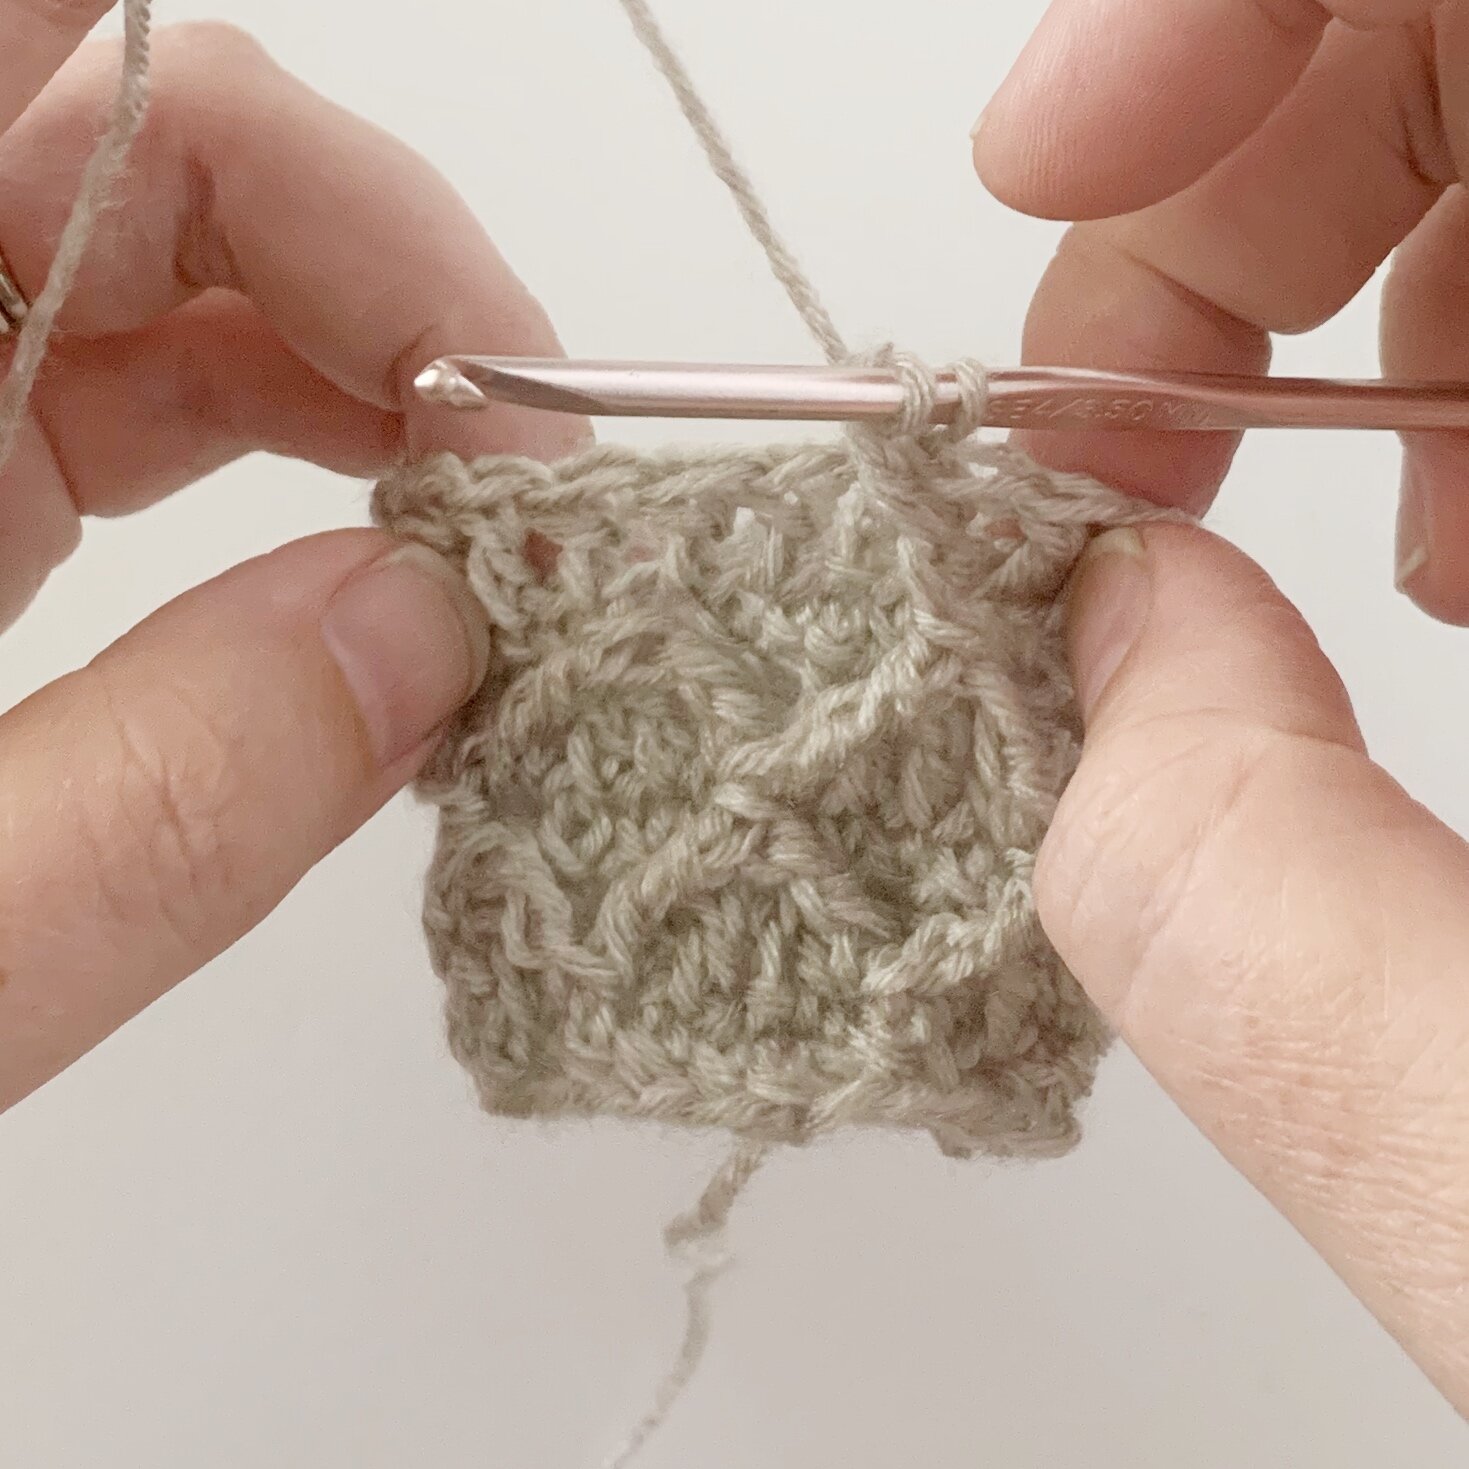
Round 5: ch 1, sc in same st as join and in next st, * fptrc2tog around the next two fptrc2tog 2 rounds below, sk 1, sc 3, repeat from * around ending with 1 sc, sl st to top of first st to join.
Round 6: ch 3 (counts as first st), dc in each st around, sl st to top of ch 3 to join.
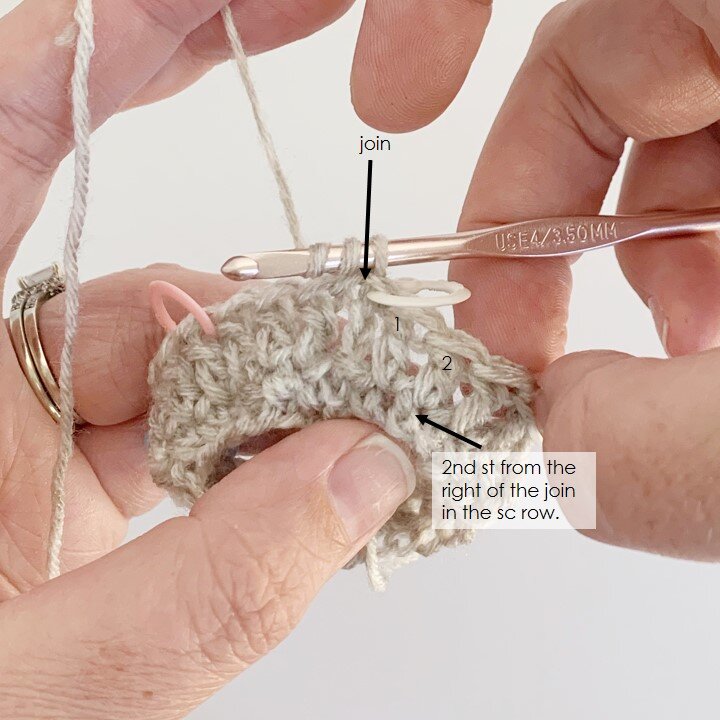
Round 7: do not ch, working around the fptrc2tog to the right of the join and in the next fptrc2tog two rounds below, *fptrc2tog, working back into dc, sk 1, sc 3, repeat from * around, sl st to the top of the first fptrc2tog to join.
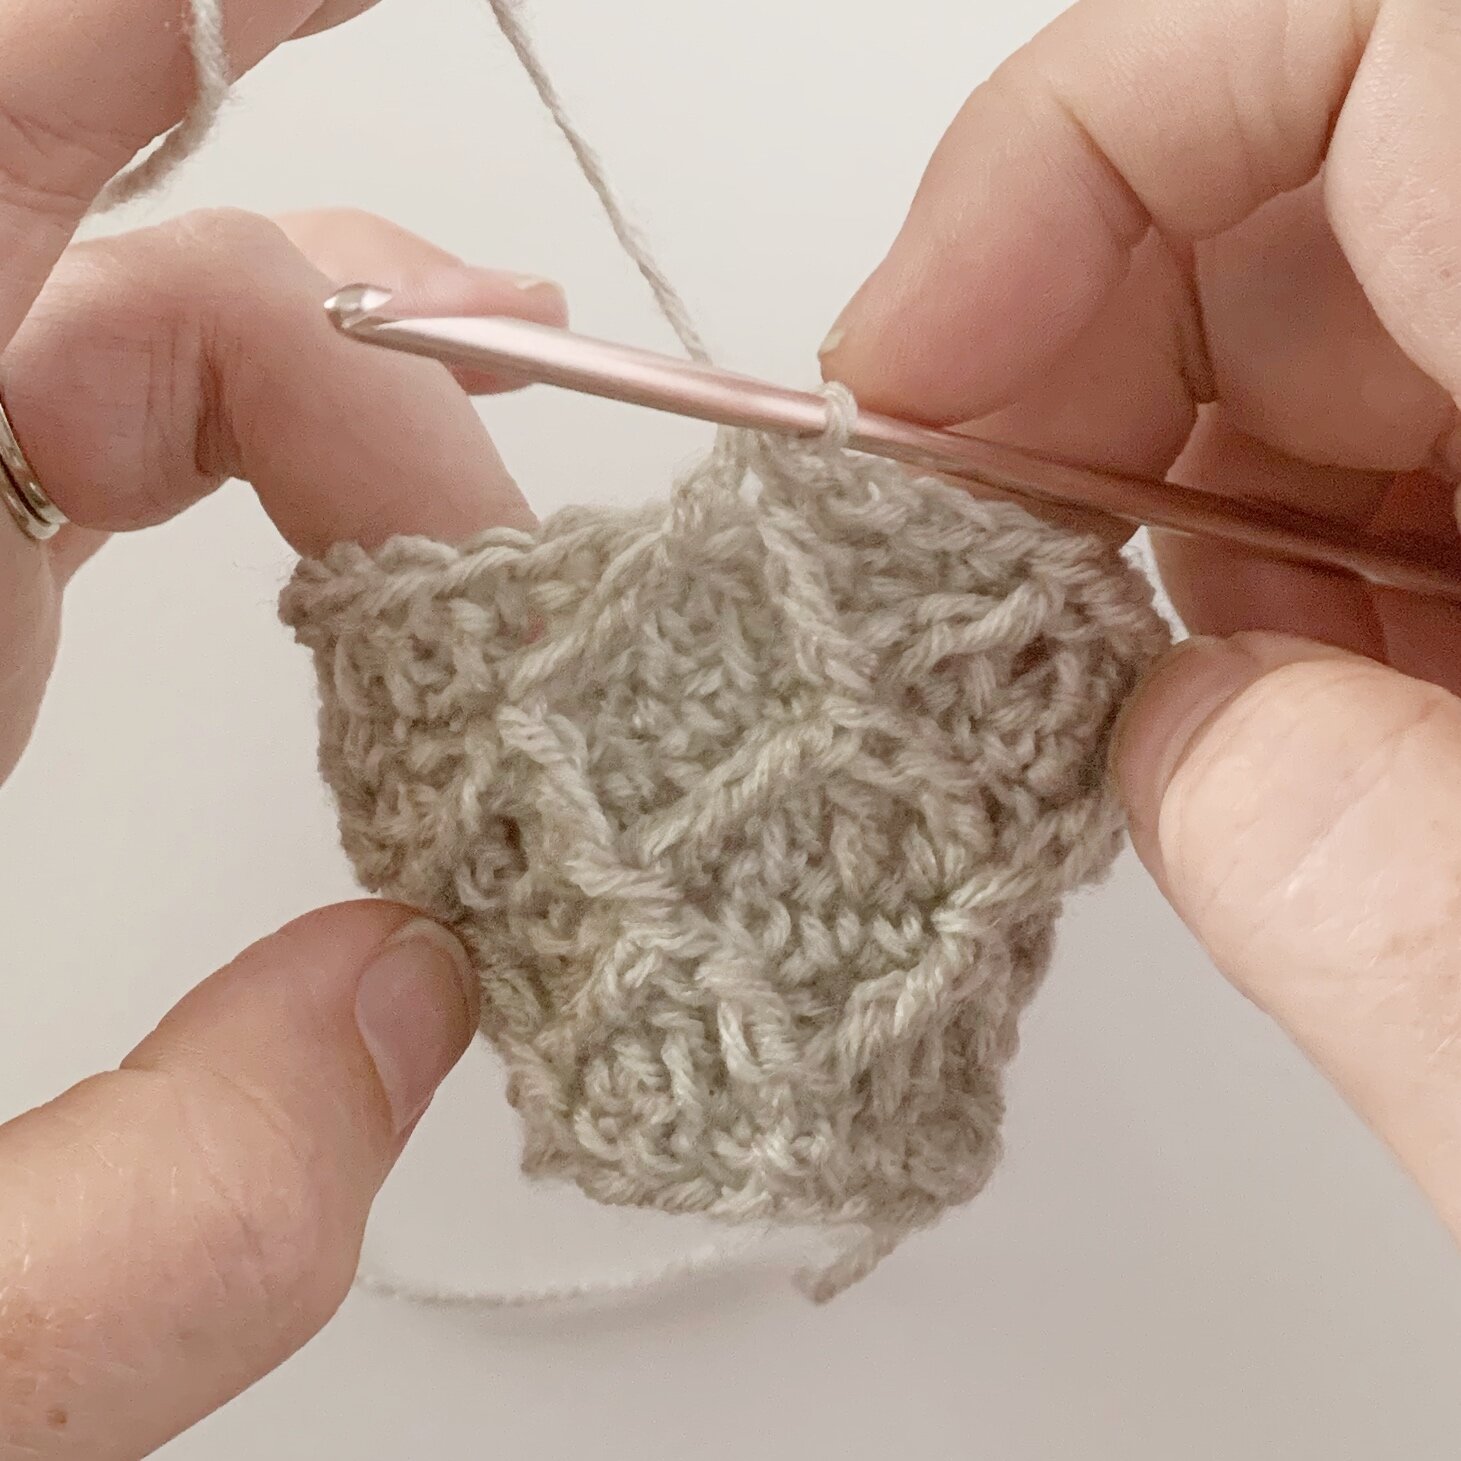
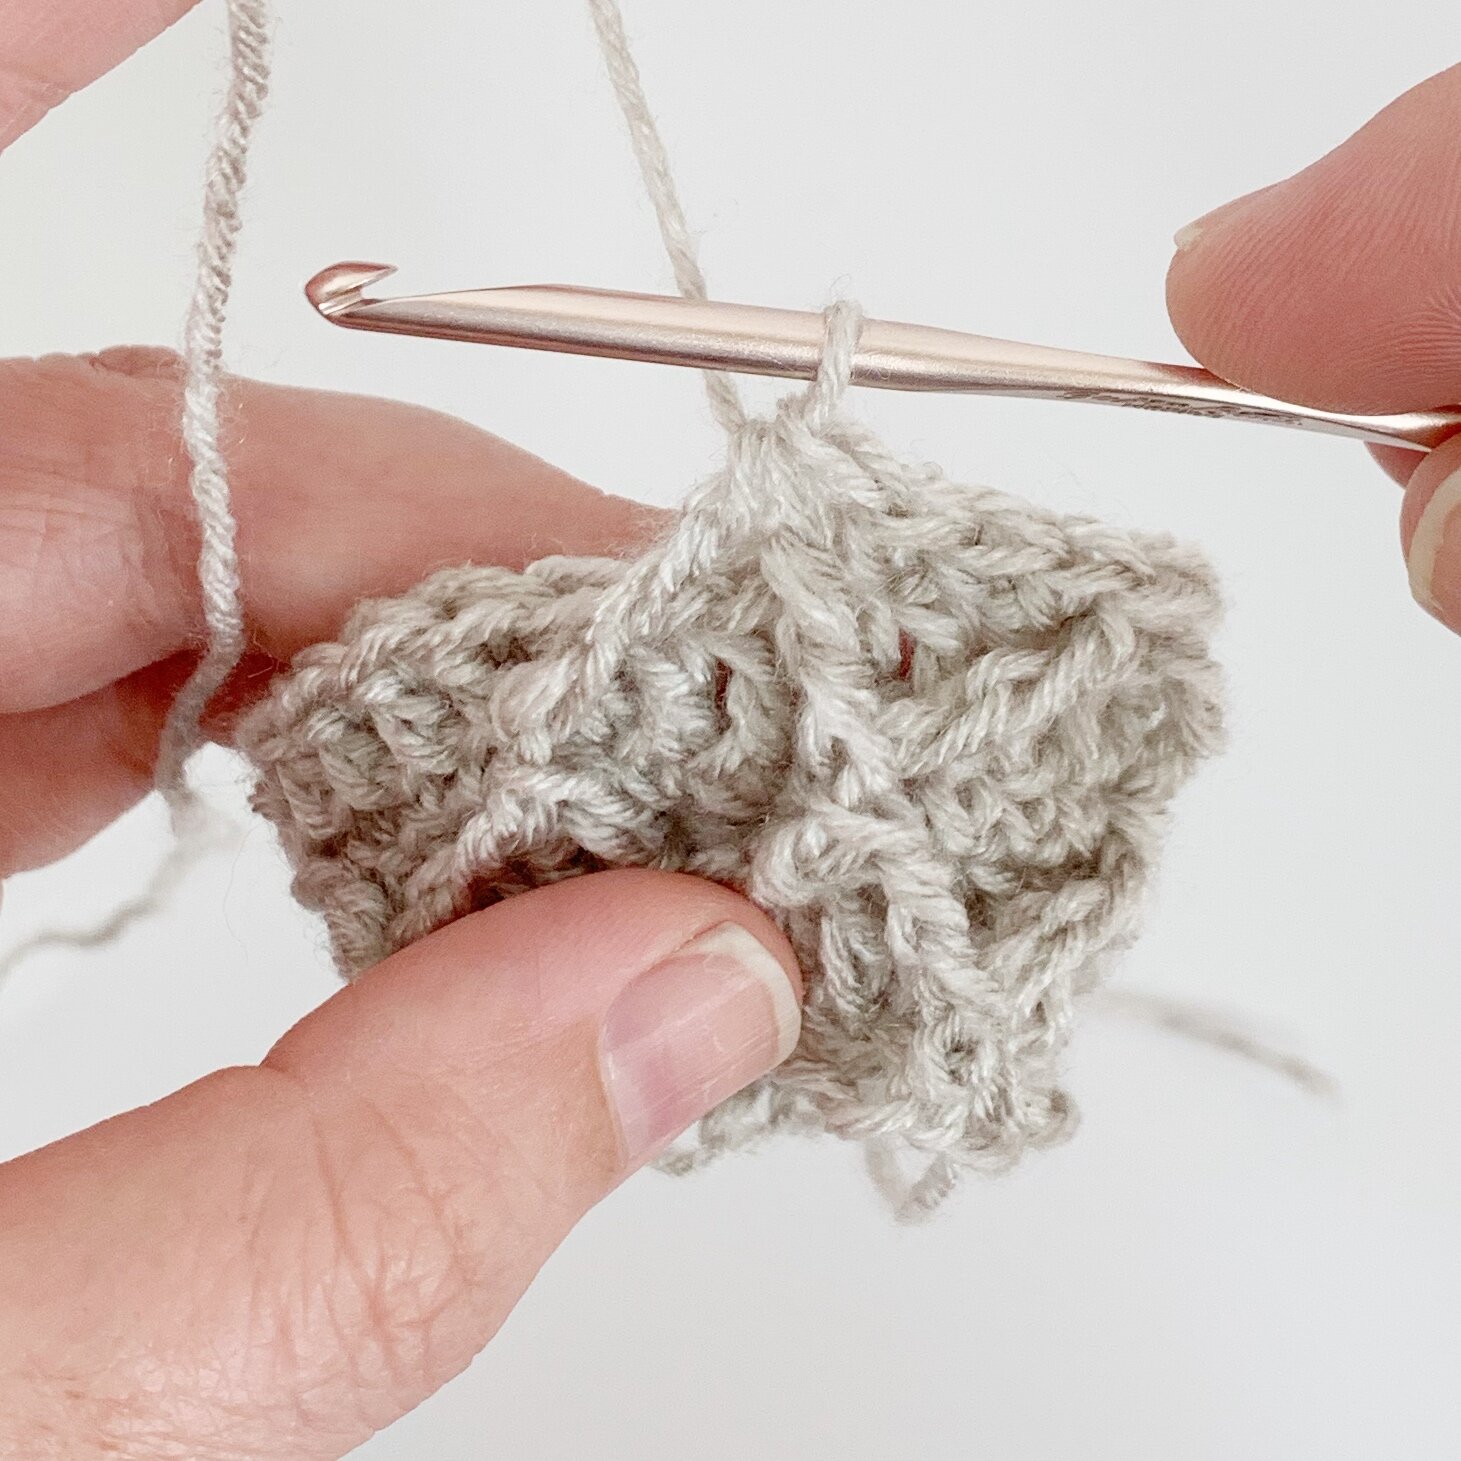
Repeat rounds 4-7 to continue with the diamond lattice stitch.
Helpful Tips:
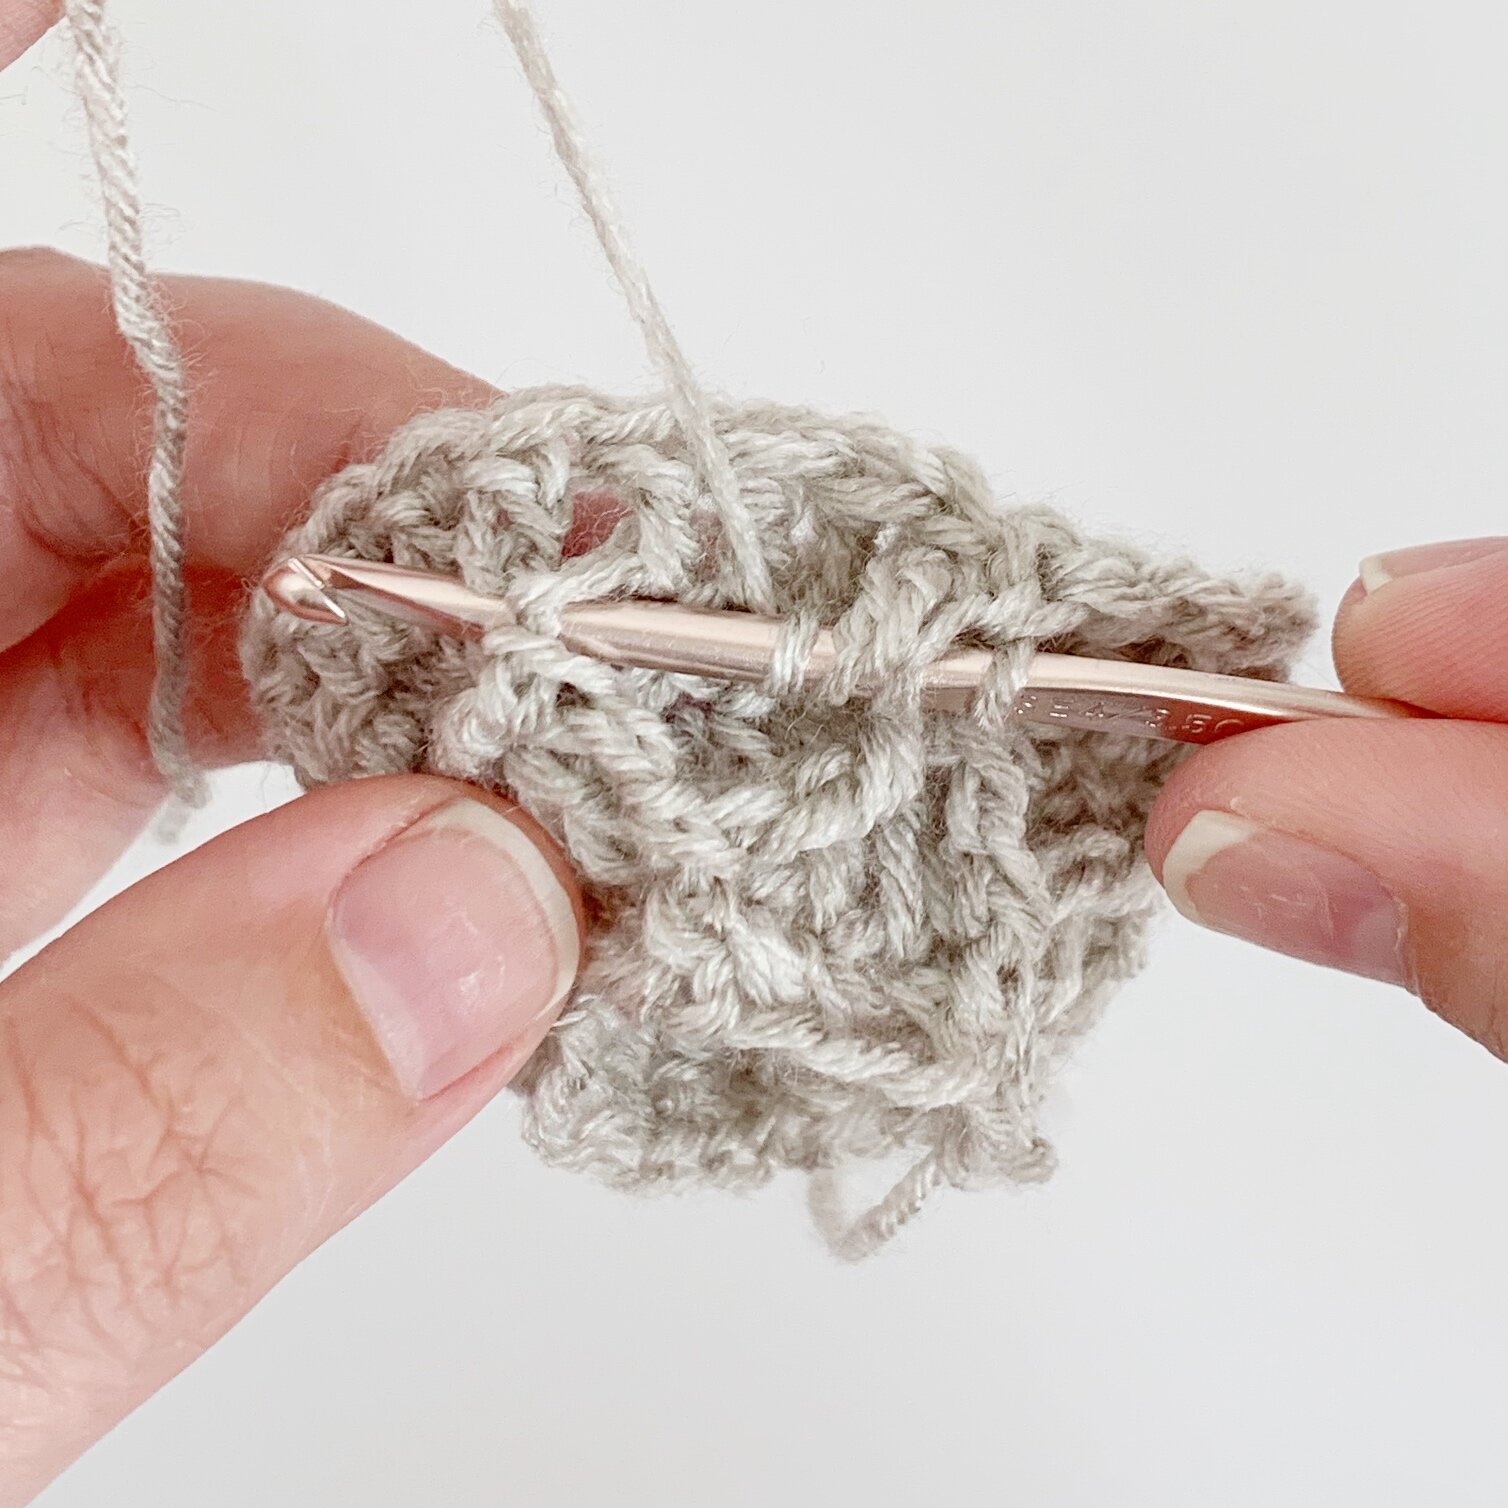
When working rounds 5 & 7 it can be helpful to use stitch markers to mark the skipped stitches. To do this you will look for the dc stitches that are in between the fptrc2tog stitches. There will be 3 dc in between and your stitch marker will go into the middle stitch. That will always be the stitch that you skip. Remember that on Round 7 the join is your skipped stitch.

I hope you found this tutorial helpful! If you are looking for a fun project that uses the diamond lattice stitch make sure to check out my free crochet pattern for The Beryl Pumpkin.
Happy Stitching!
Meghan