DIY Catboy Costume
Oh Halloween, you always tend to sneak up on me. Anyone else feel that way every year? It's like summer ends and the school year begins and then BAM! I have to figure out Halloween costumes and I'm suddenly feeling like I'm back in college pulling an all nighter trying to get costumes made. Needless to say I was kind of happy when Steve and I decided to take a mini vacation during Halloween week. My first thought was "Yes! No costumes!" Clearly I didn't stick to that.
Emerson has been asking to be Catboy from PJ Masks for awhile now and although I could have paid the $30 for the one we saw at Target, I knew I could make one way cheaper. I happened to find a remnant at Joann's of some royal blue swimsuit material so the whole thing only cost me about $10 and it went together way easier than I thought it would.
Here's what I used:
1 yard blue swimsuit material
3 sheets of light blue felt
light blue thread
1- 18" zipper
plastic snaps
fiber fill for the tail
basic sewing supplies
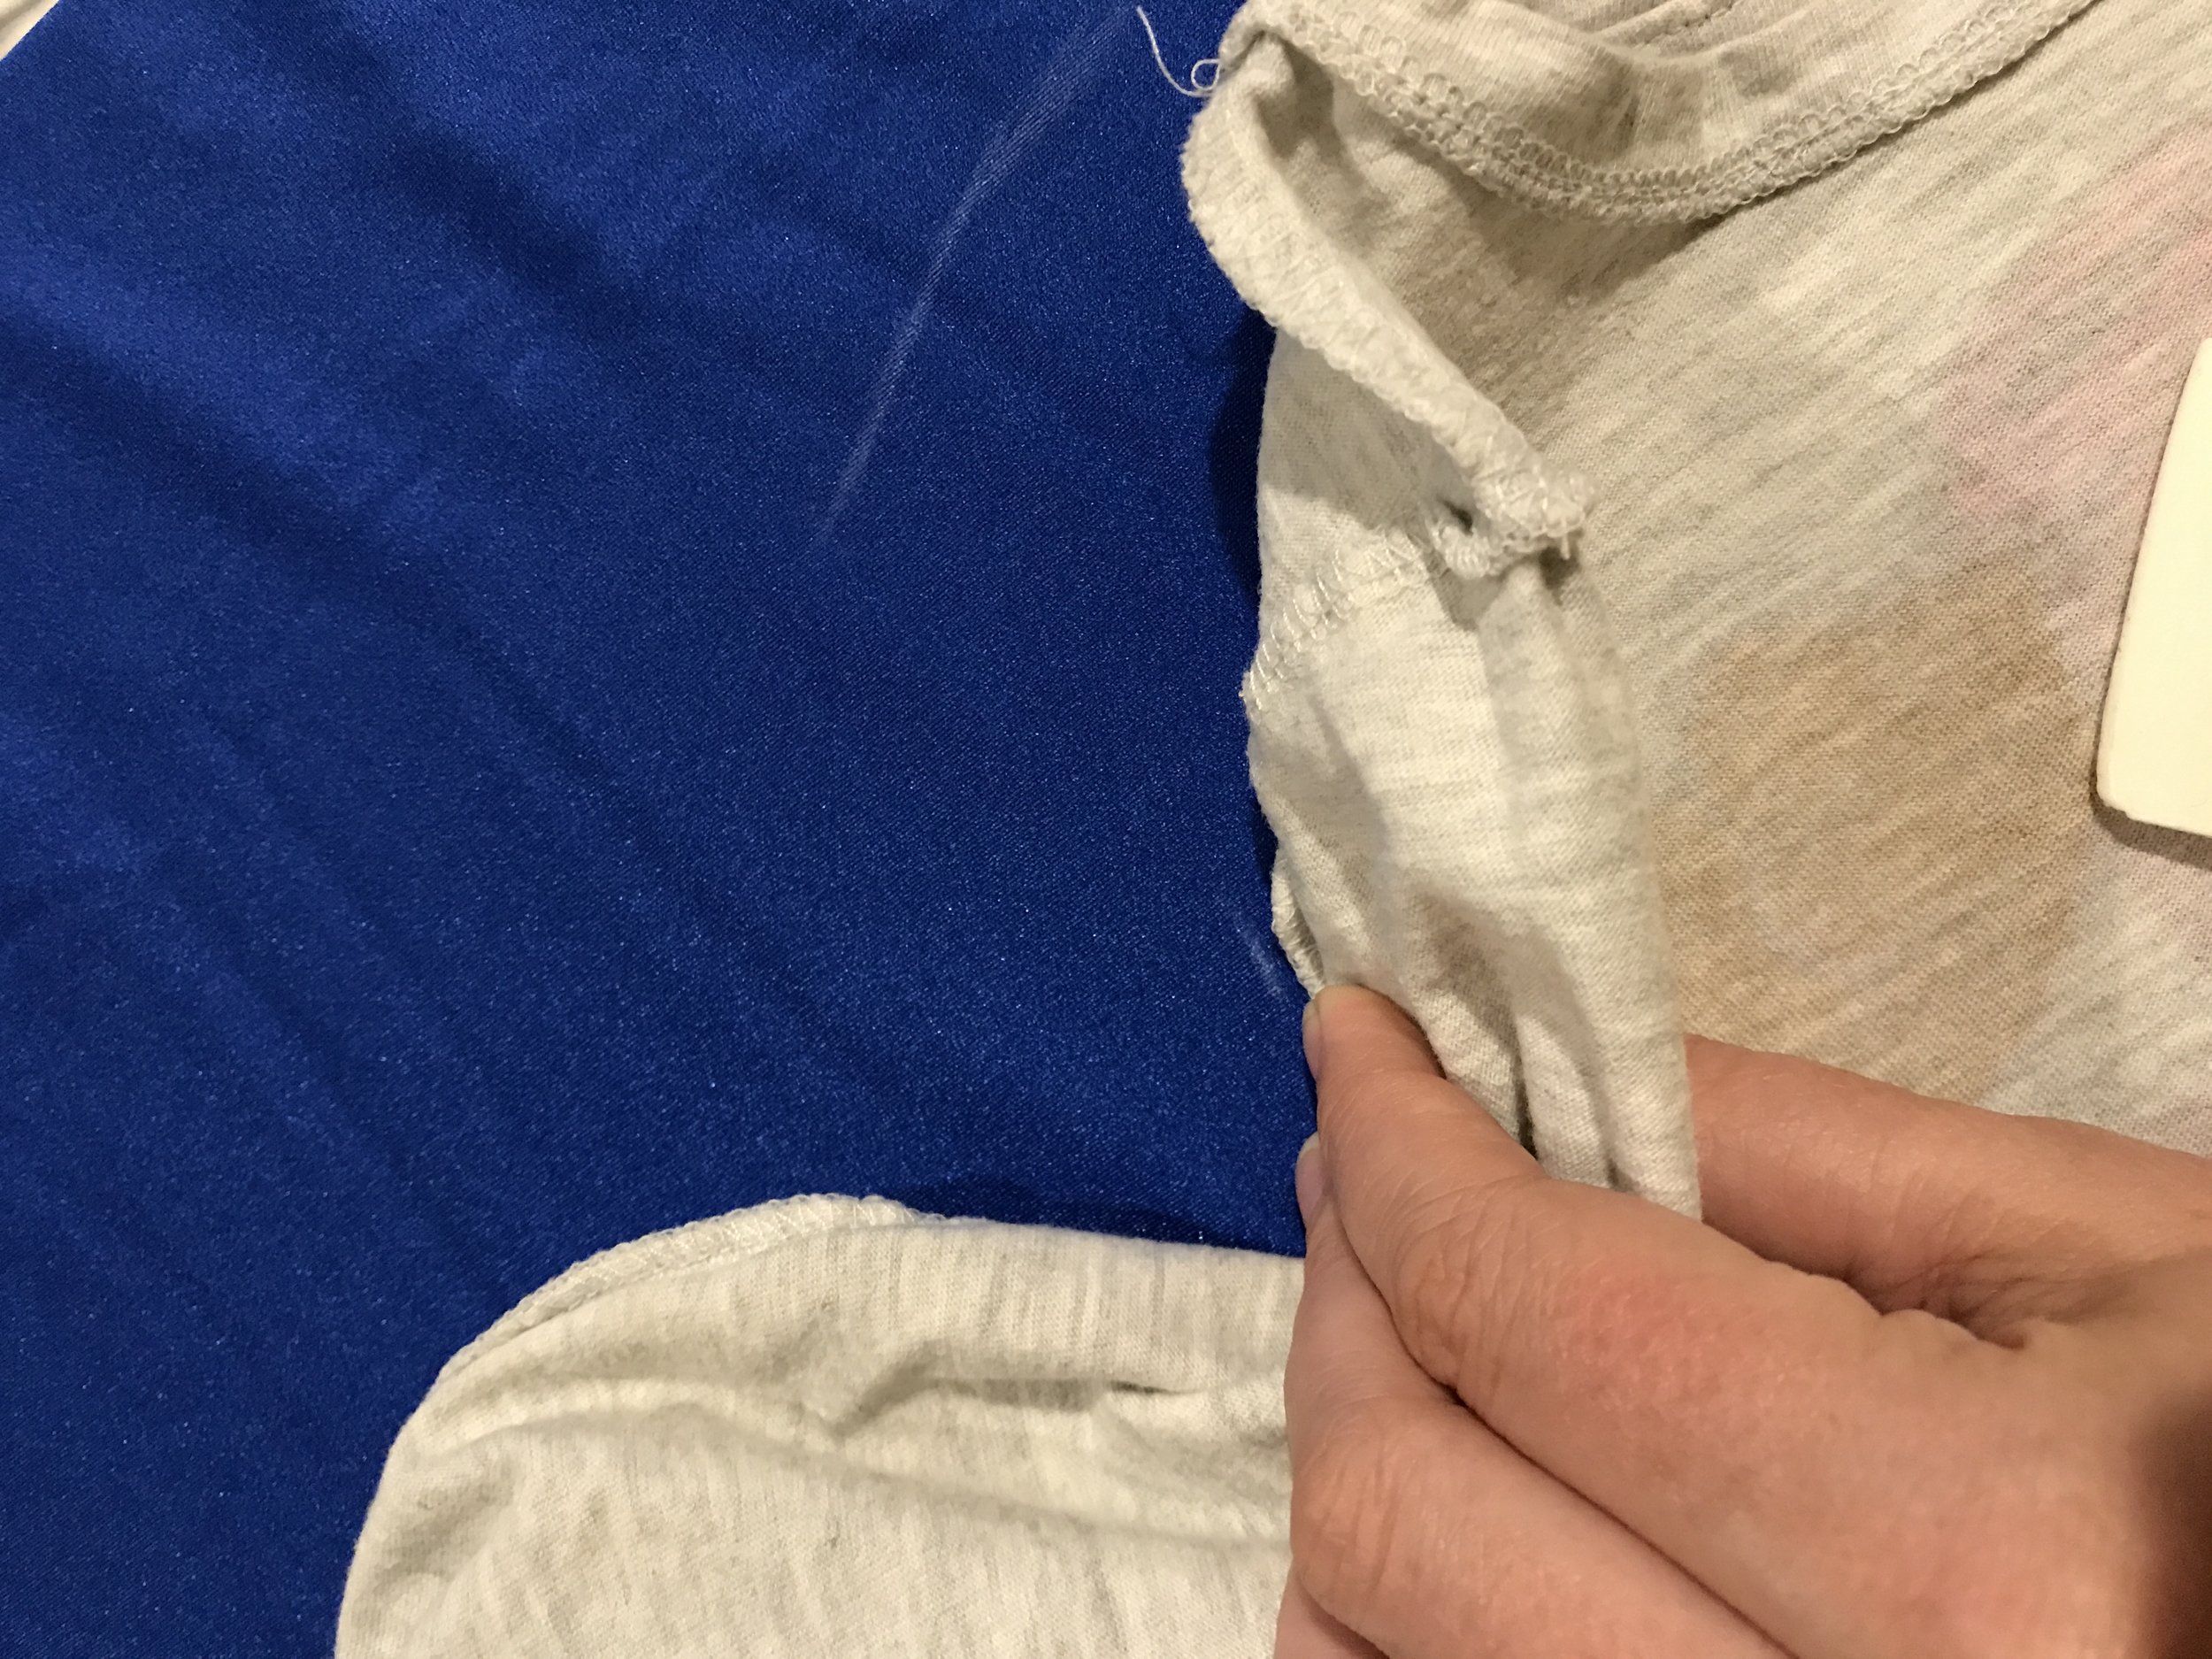
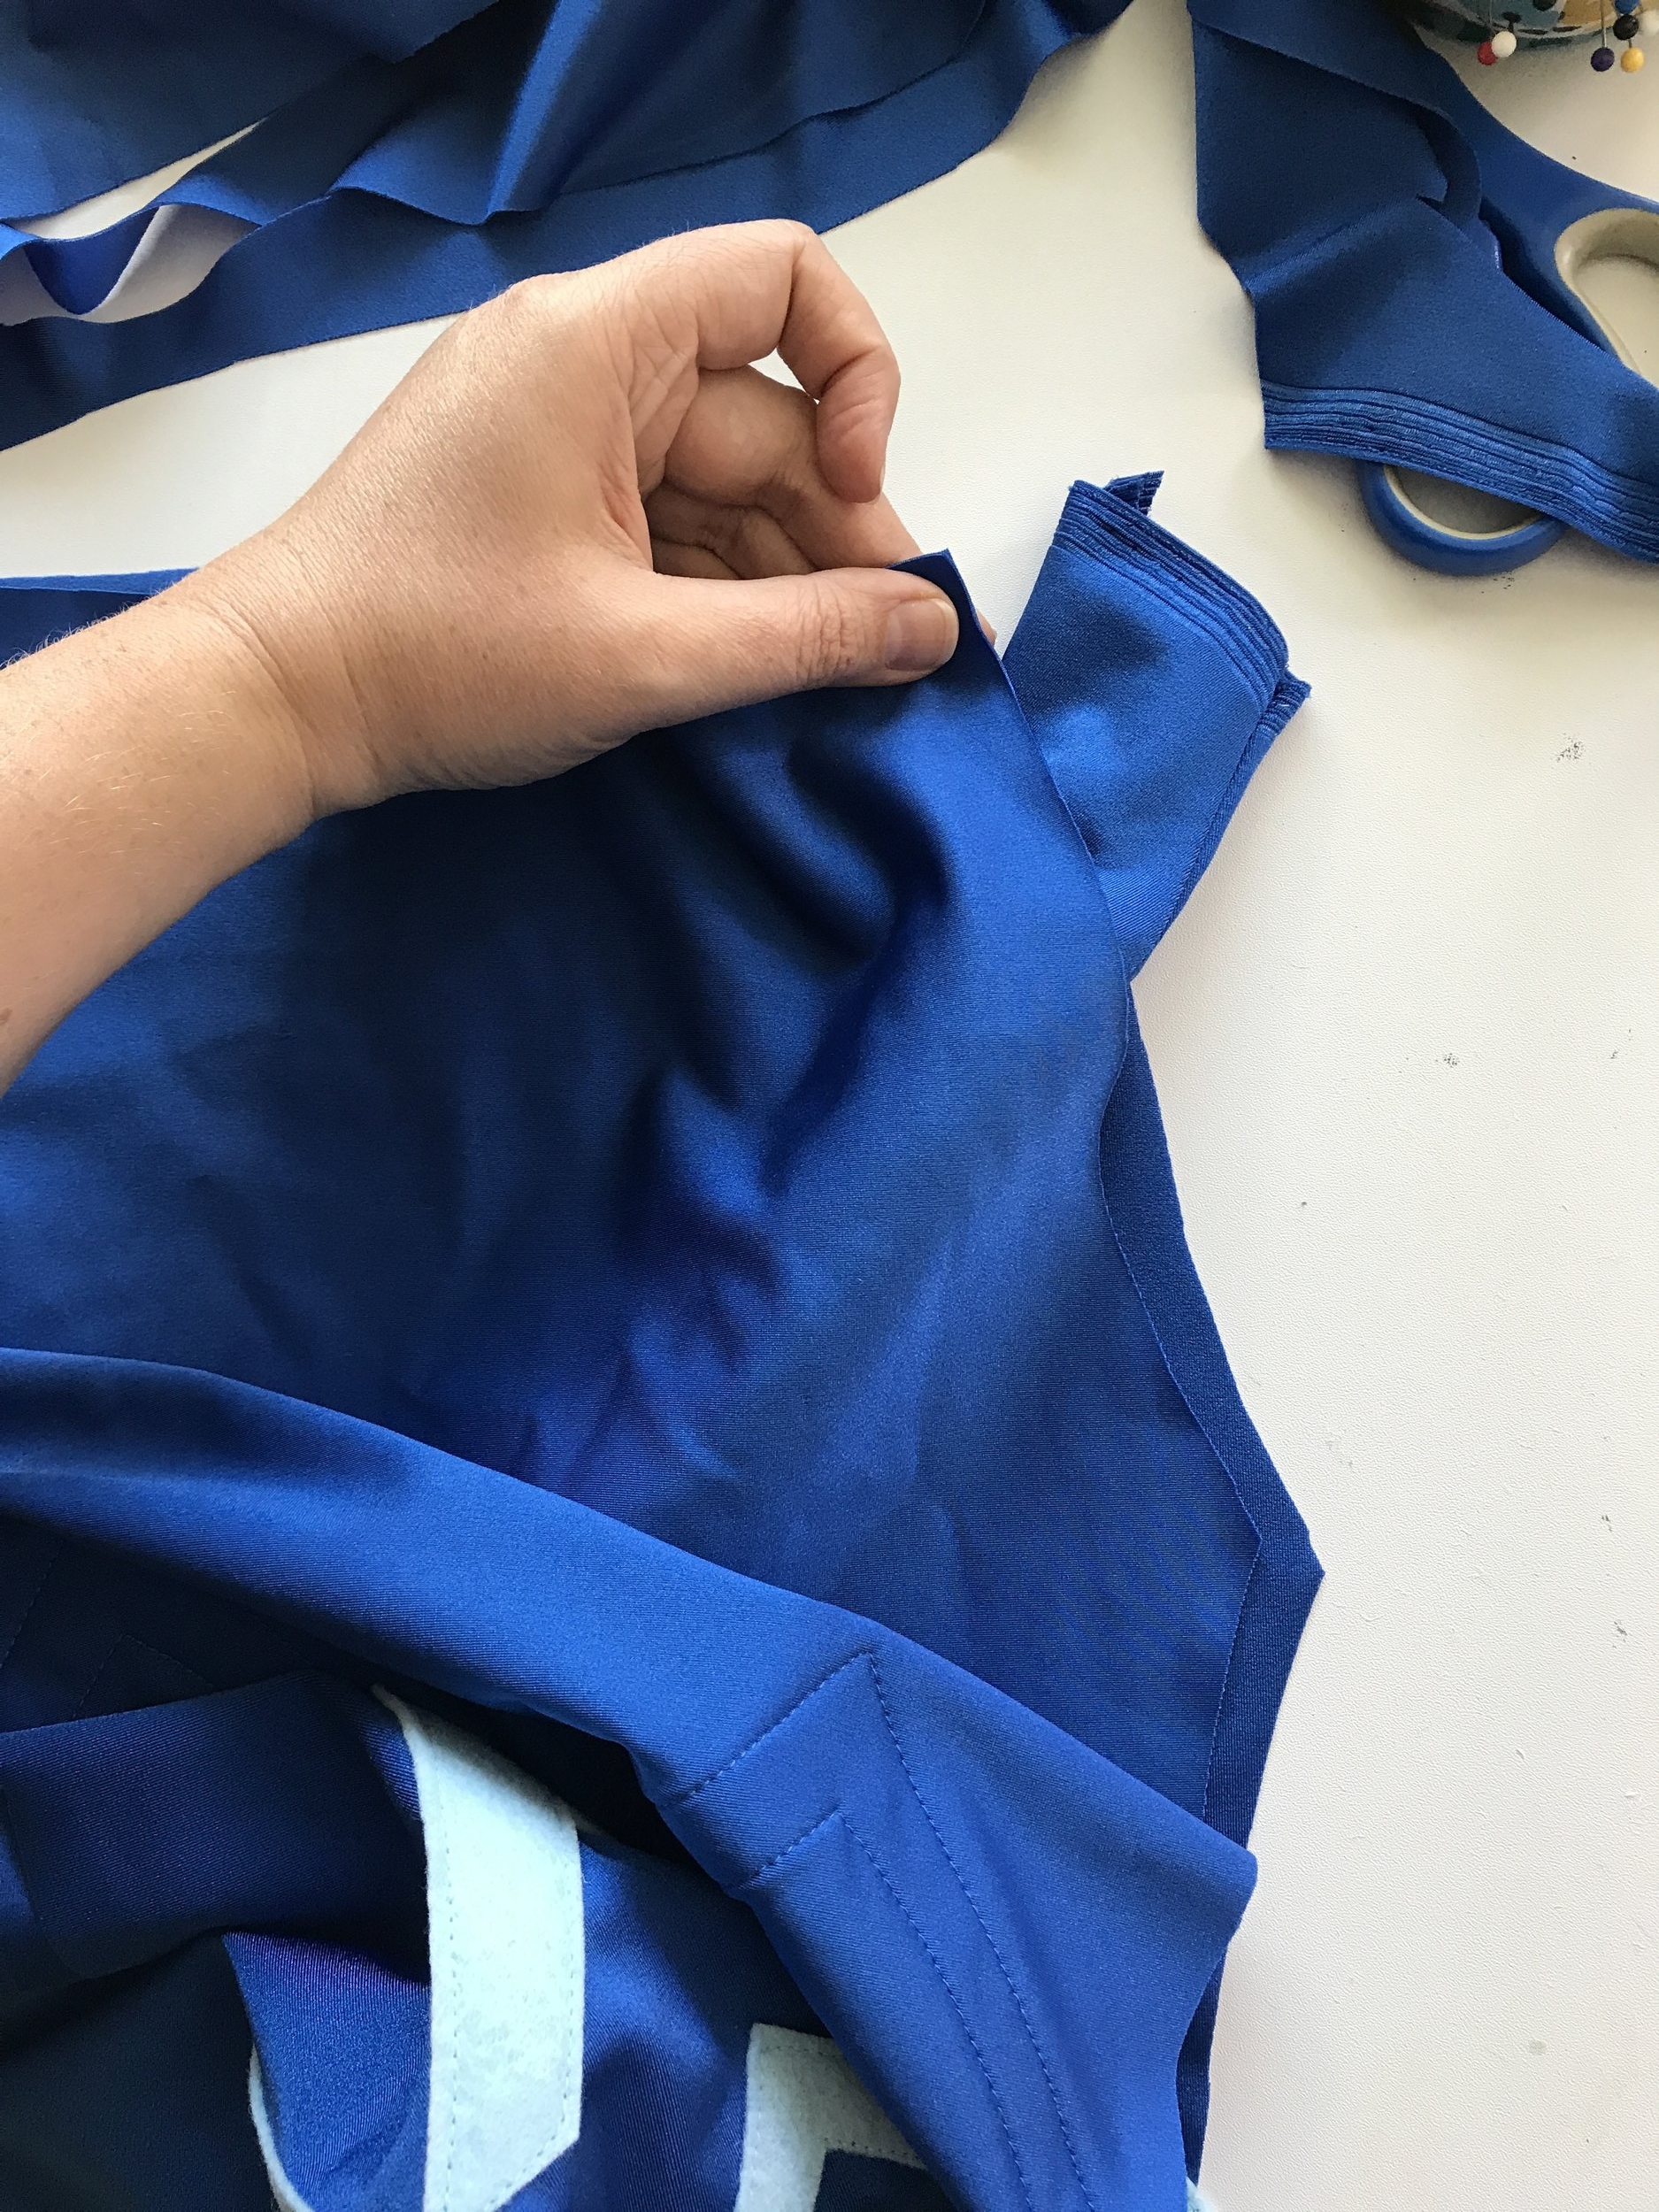
I was trying to keep this costume as inexpensive as possible so instead of searching for and buying a pattern for a children's body suit, I decided to make my own pattern from Emerson's clothes. I started with the top and turned it inside out so I could really see the shapes that I needed.
![IMG_9849[1].JPG](https://images.squarespace-cdn.com/content/v1/5522f983e4b0b2e878096910/1507613977779-77RJ2UXIB6ONLYVMYQGP/IMG_9849%5B1%5D.JPG)
I started with the sleeves. I folded it in half and laid it out on the fold of the fabric. I used tailor's chalk to trace a line down the sleeve. When I got to the armpit area I flipped the shirt up and tried to draw the same curved line as the sleeve. I figured if it wasn't exactly perfect it would be ok. (I tend to wing it sometimes.)
![IMG_9850[1].JPG](https://images.squarespace-cdn.com/content/v1/5522f983e4b0b2e878096910/1507614101894-BD0CJL3RT4B6XBTBSG27/IMG_9850%5B1%5D.JPG)
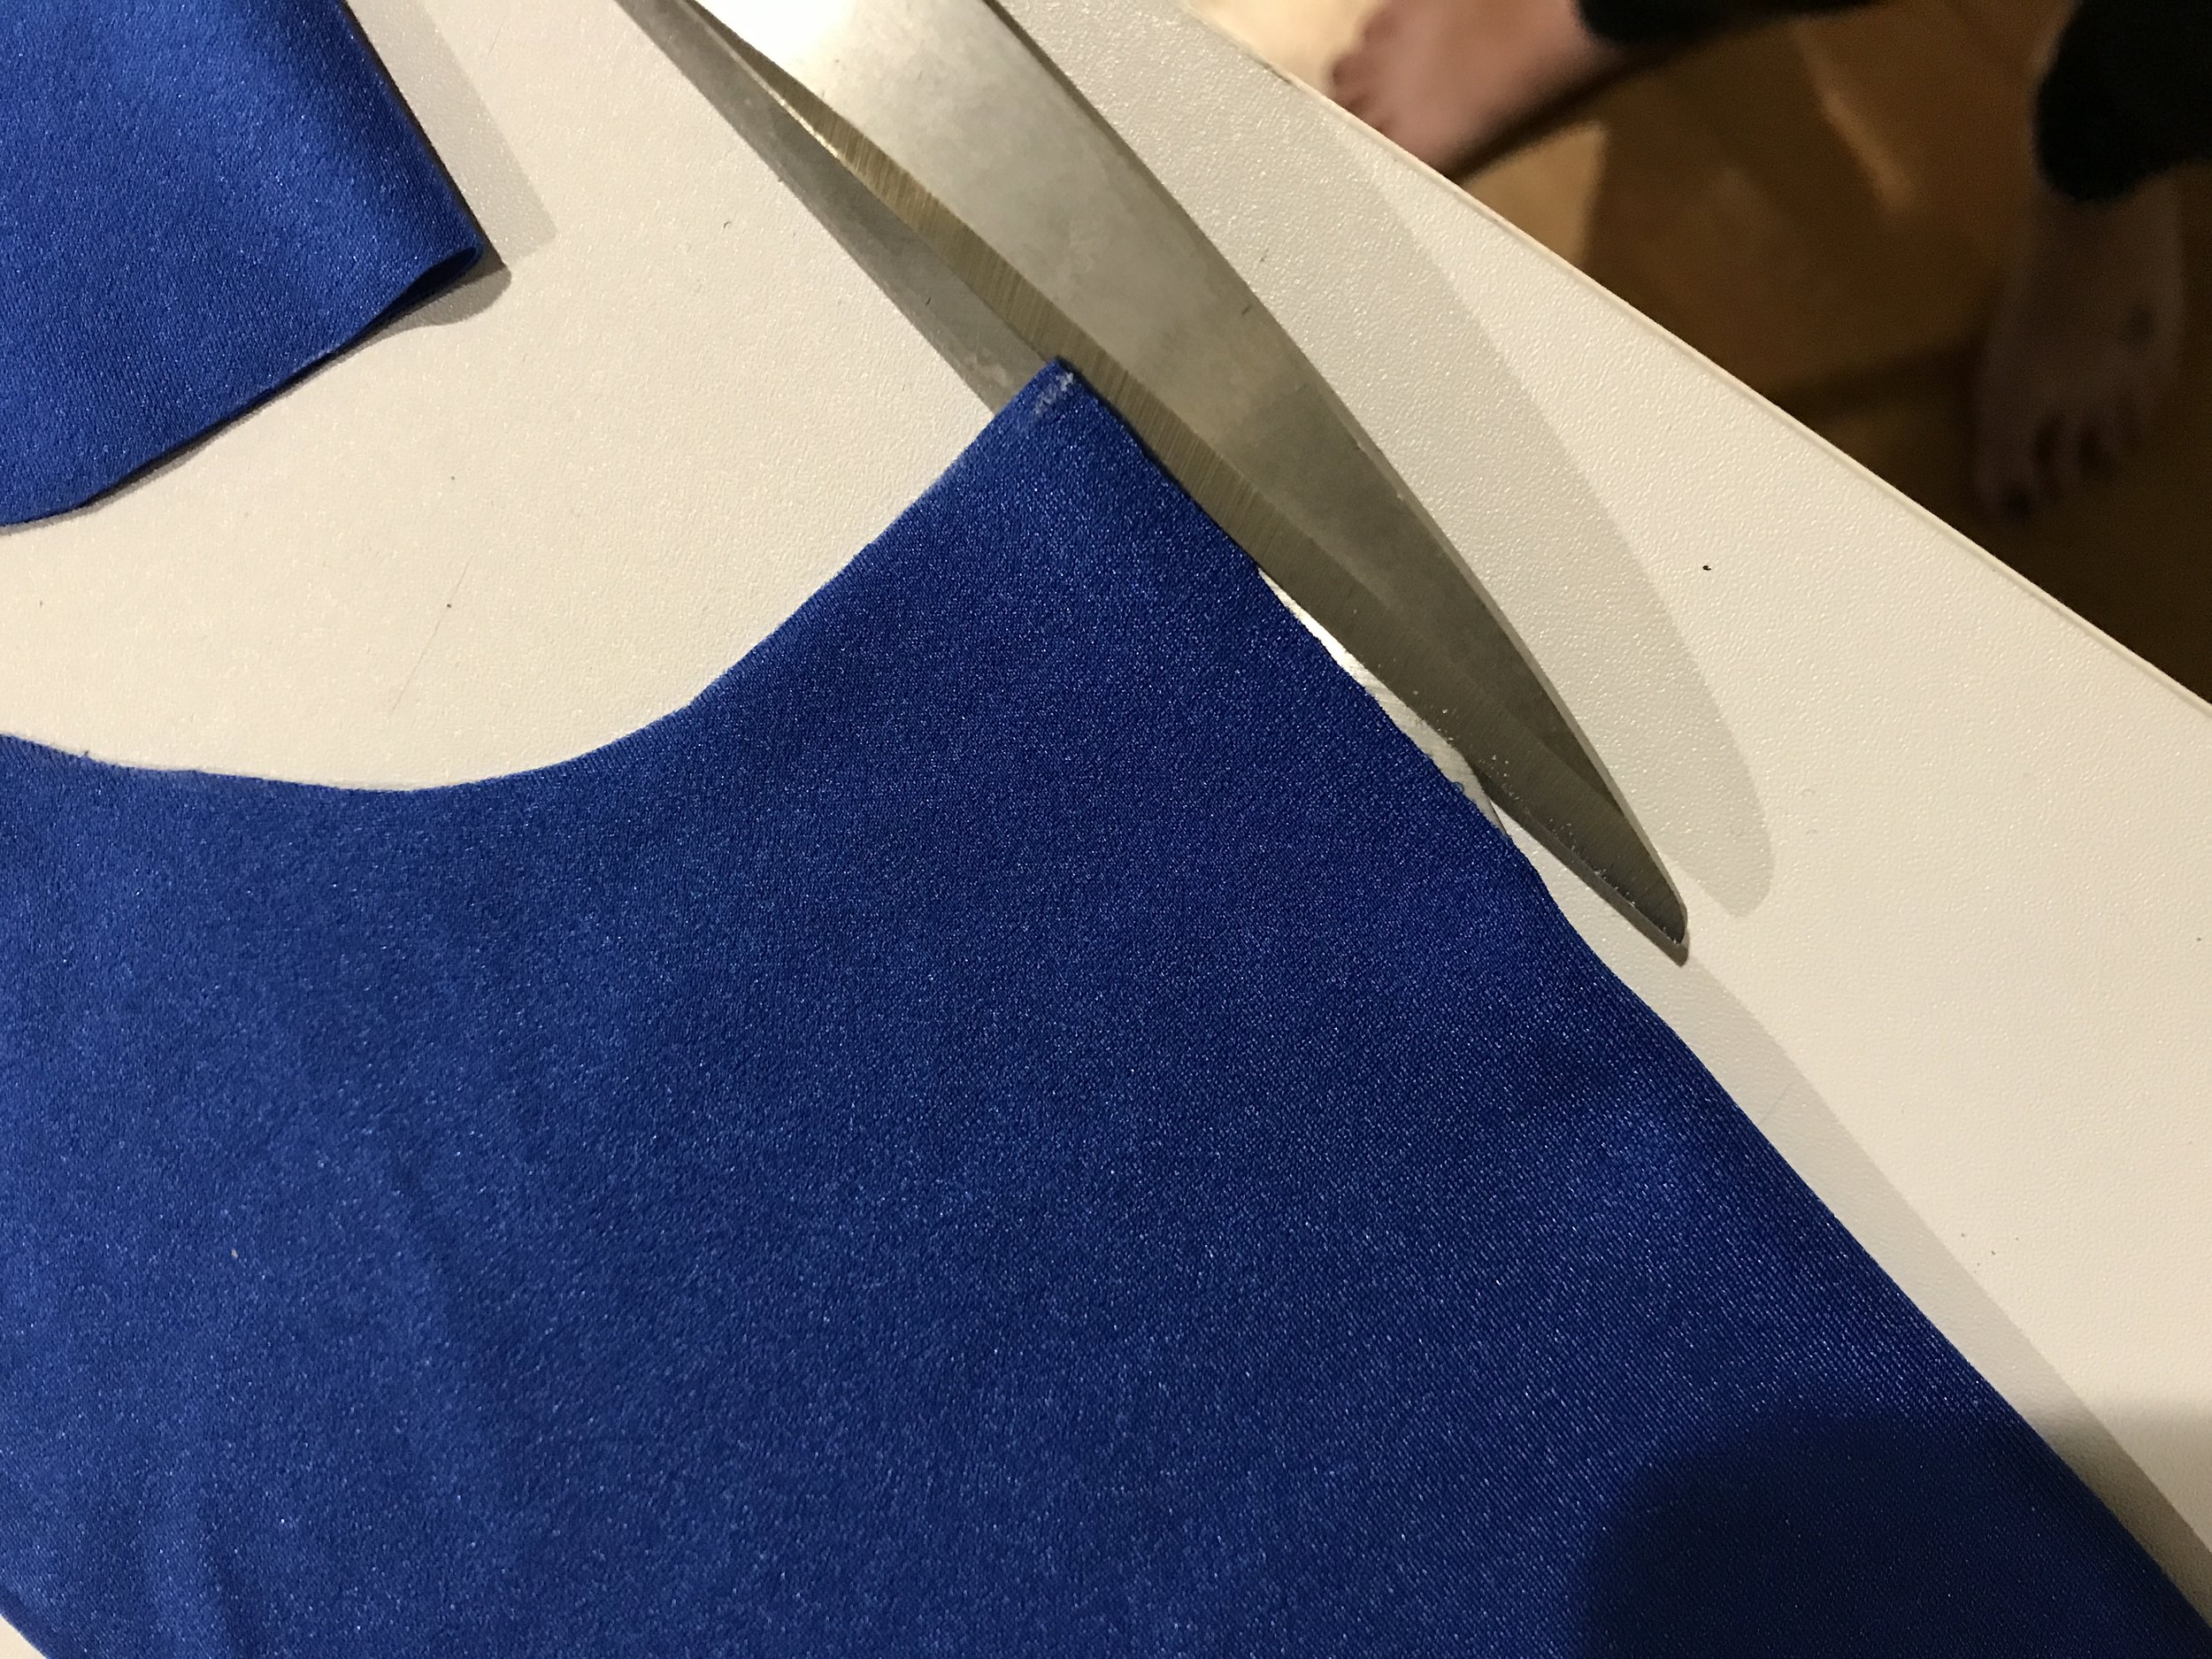
I cut this one out and used it as a template for the second sleeve. Then I moved on to the front and back parts of the shirt.


I measured across the chest and divided by two. Then I lined the shirt up on the fold so that it overlapped by the amount of inches I calculated. Her shirt was about 12 inches across so I overlapped it by 6 inches with the center of the shirt on the fold. I also added about 1.5 inches at the bottom to make sure I had enough fabric to attach the top and the bottom to make it a body suit.

I used the front piece I just cut as the template for the back pieces. I laid it down about 1.5 inches from the fold in order to have some extra room for attaching the zipper. Again, I traced around the template with tailor's chalk and then cut it out. I then cut across the fold so I had two pieces.

I used the same technique for the pants. This pair of leggings was made using only two pieces, so I cut two of the same shape with the side of the leg on the fold. I added two inches at the bottom for a hem and two inches at the top of the waist for attaching to the top.

Next it was time to add the light blue lightning bolt shapes. I drew some long zigzag shapes with the tailor's chalk on the felt and made sure they were long enough to wrap around the arm. I cut two of each shape and pinned them on the sleeves and sewed them all the way around using light blue thread.


Then I made some arrow shapes for the legs. Since the side of the leg is in the center of the piece I had to make sure that I aligned the arrows so they would show on the front and back. Then I pinned them and sewed them in place.
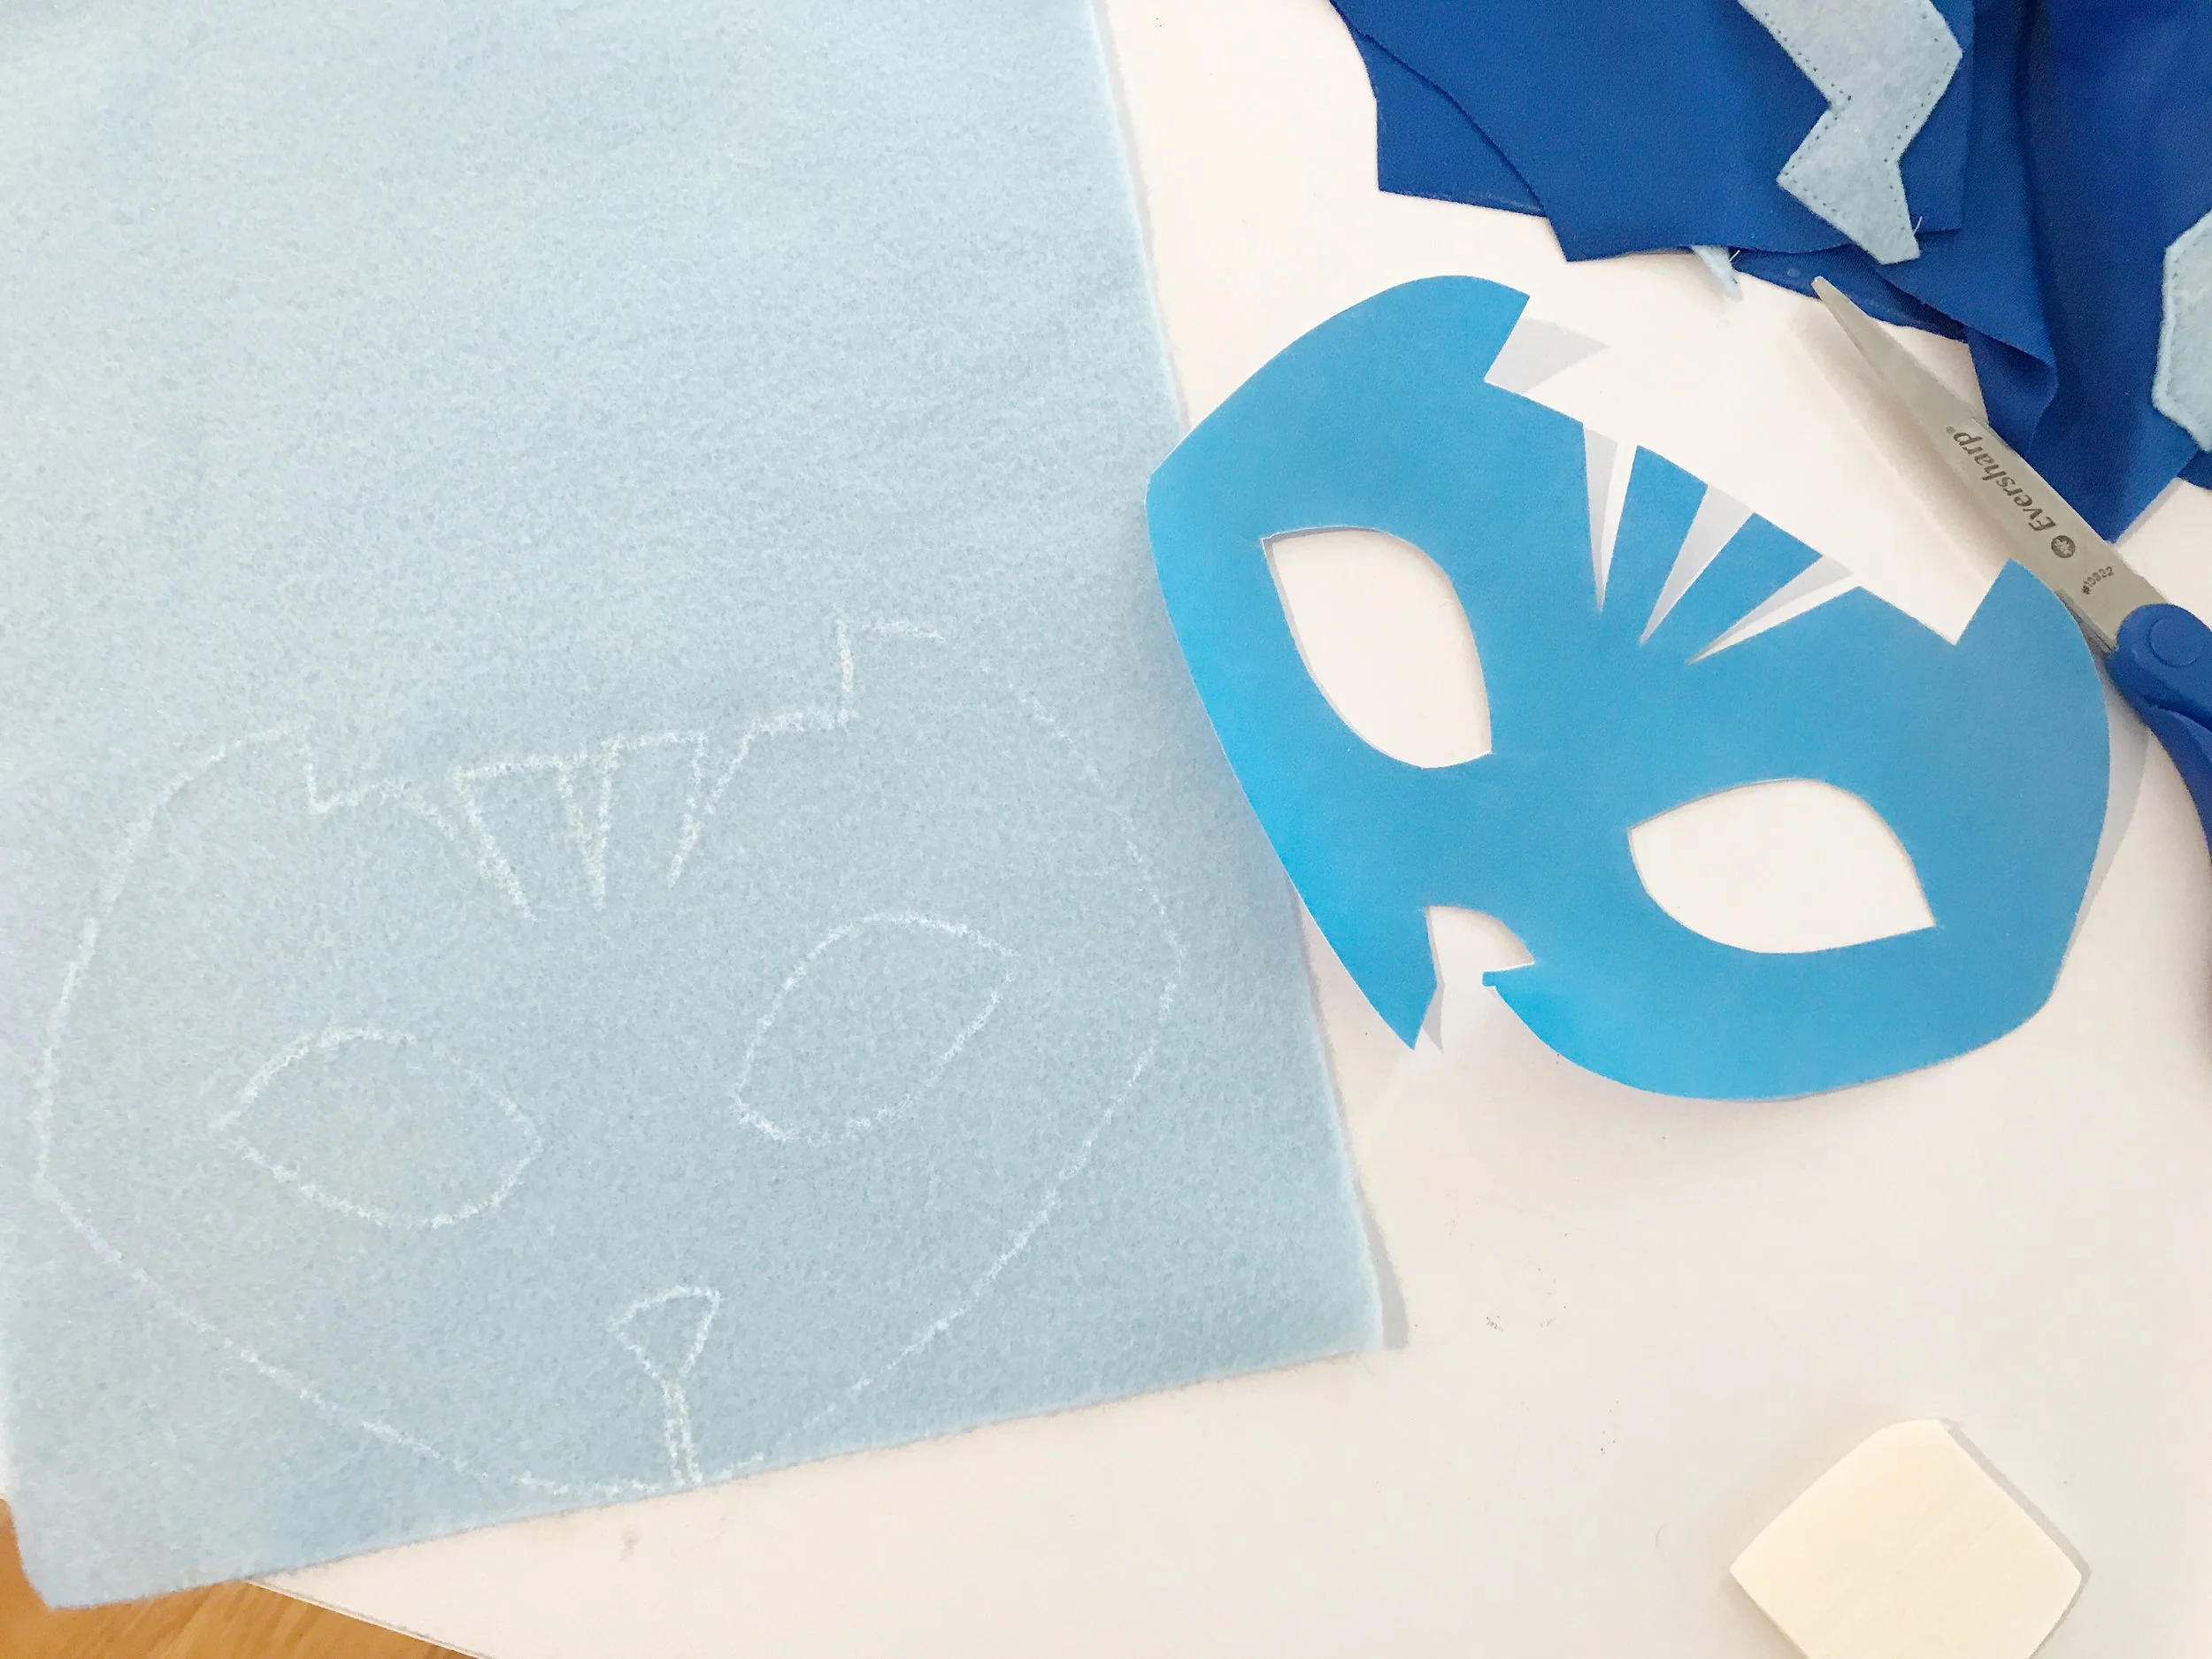


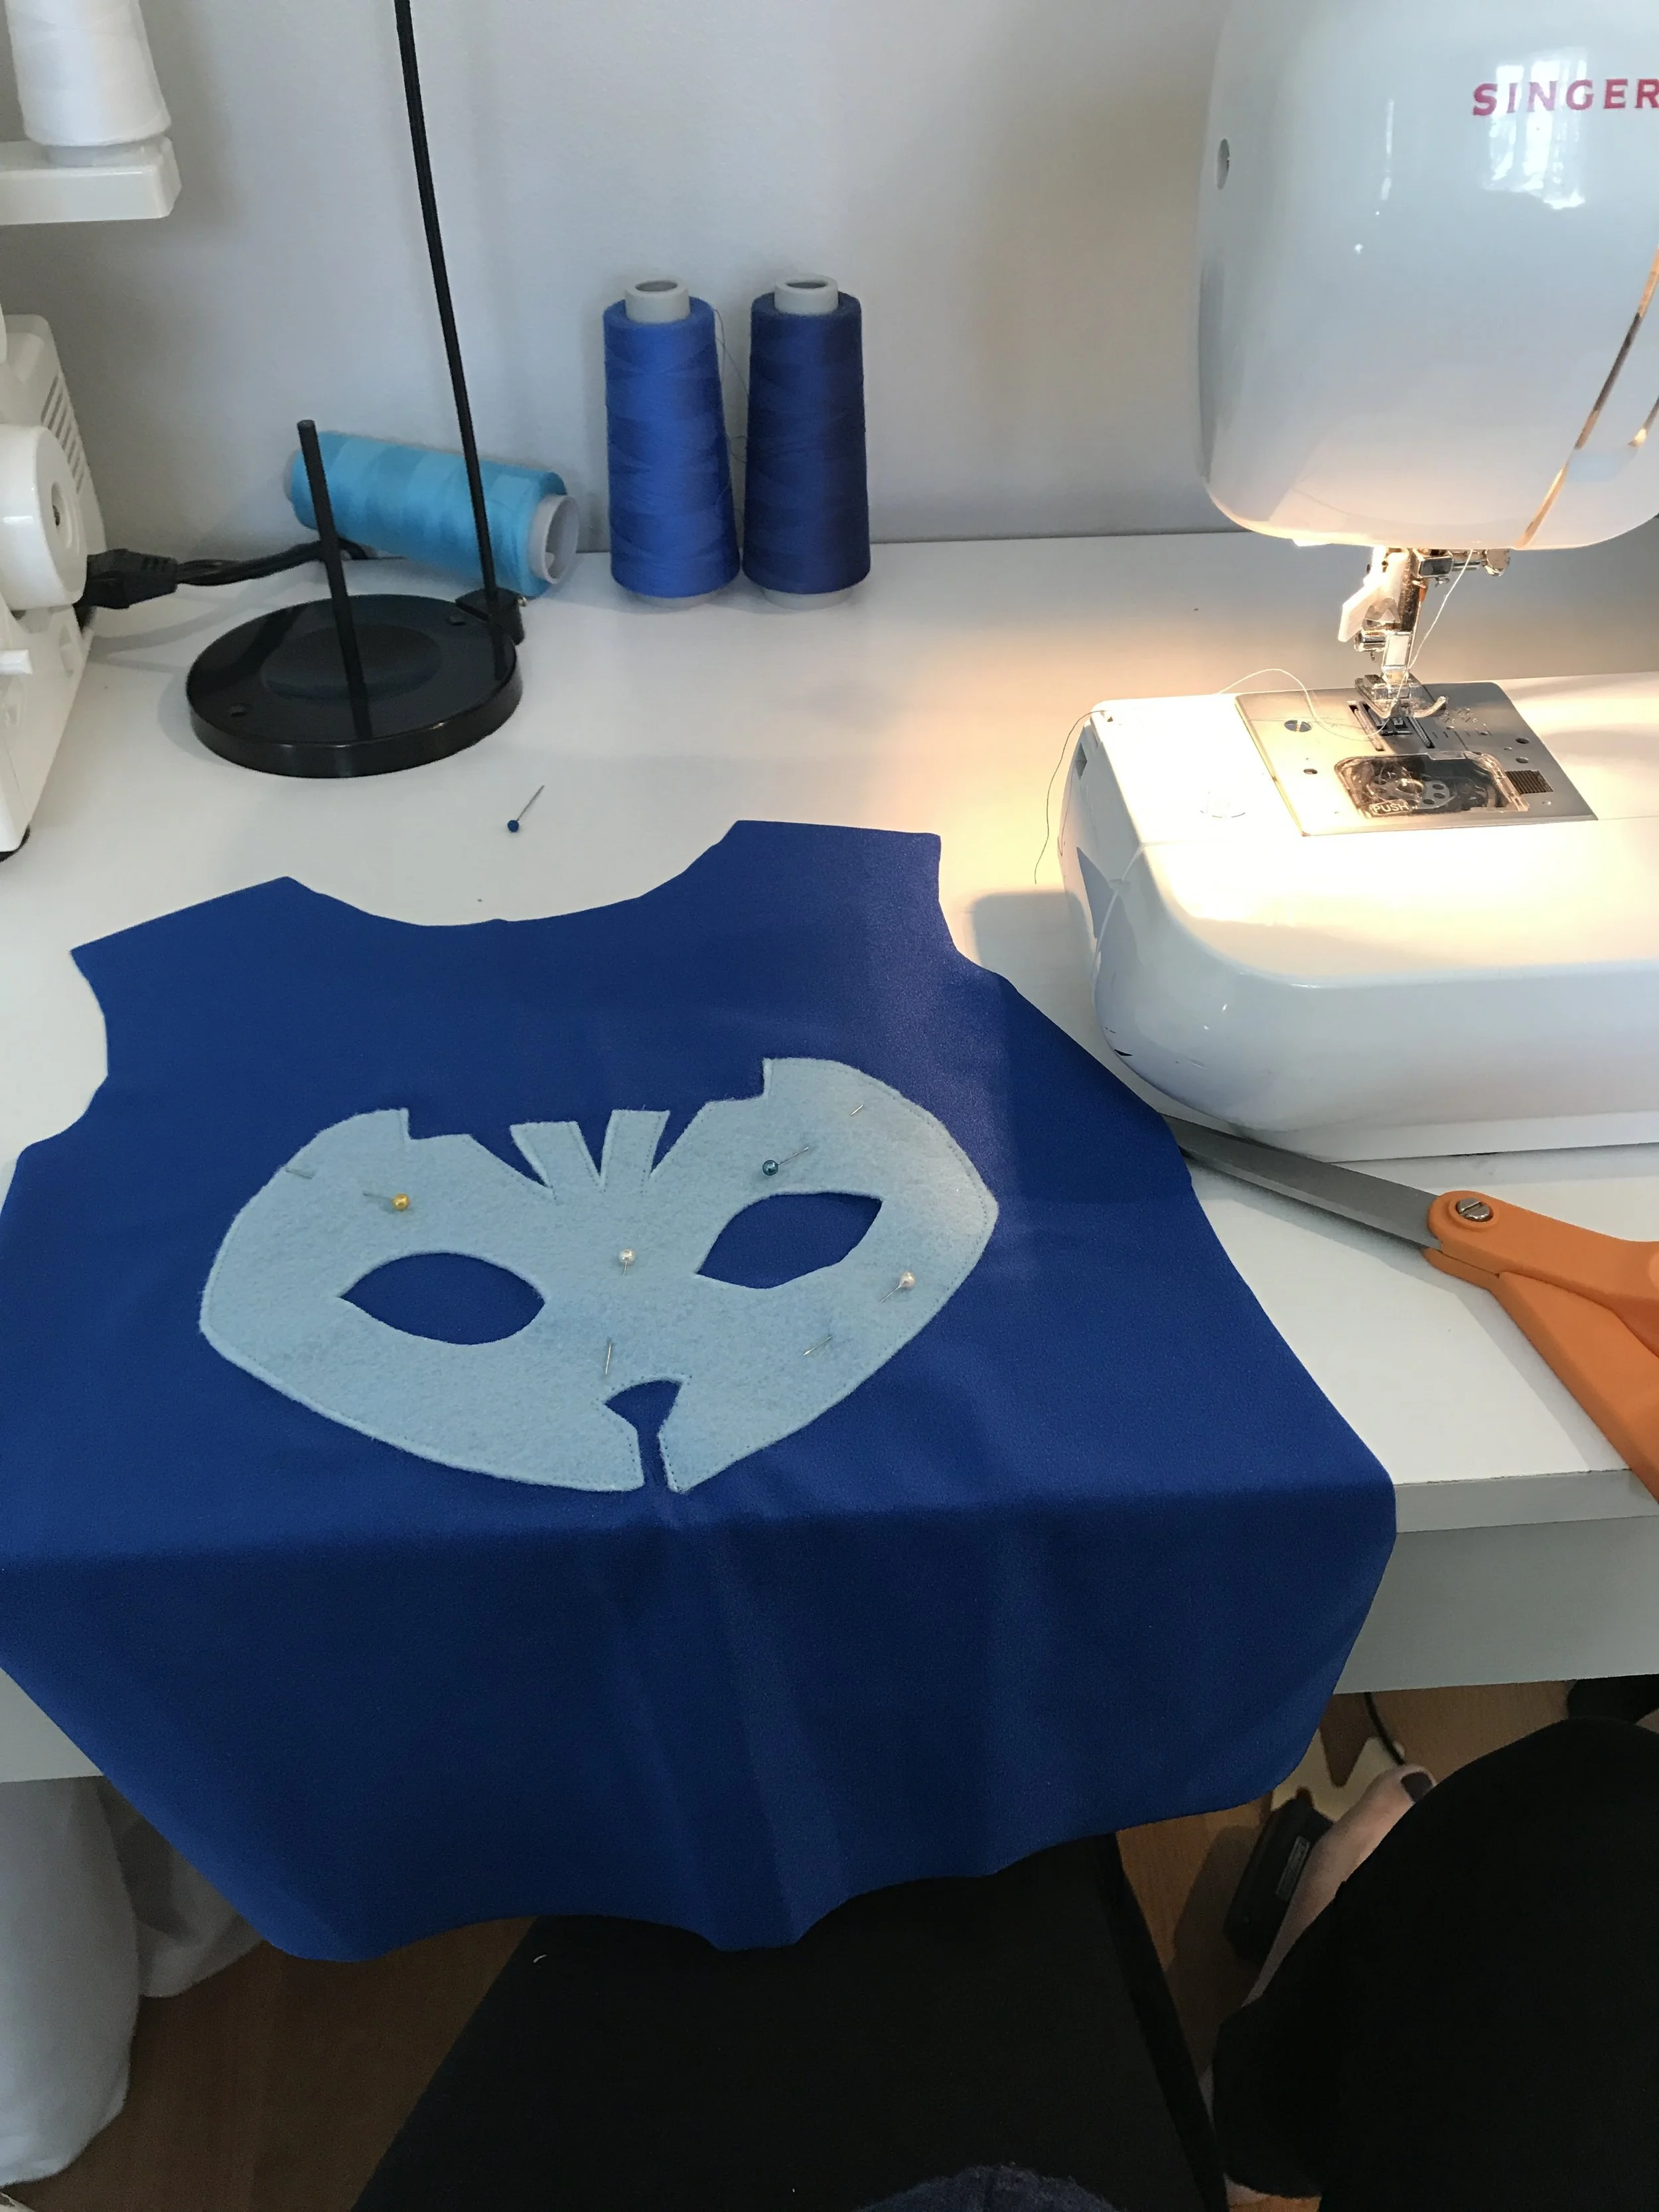
In order to make the catboy emblem for the front of the costume I printed a picture off the internet to use as a template. I cut it out of the blue felt and attached it to the front panel.


I attached the zipper so it was exposed in the back. I simply attached it to either side of the back panels making sure to line them up as best I could.


Next, I attached the front and back pieces across the shoulders.
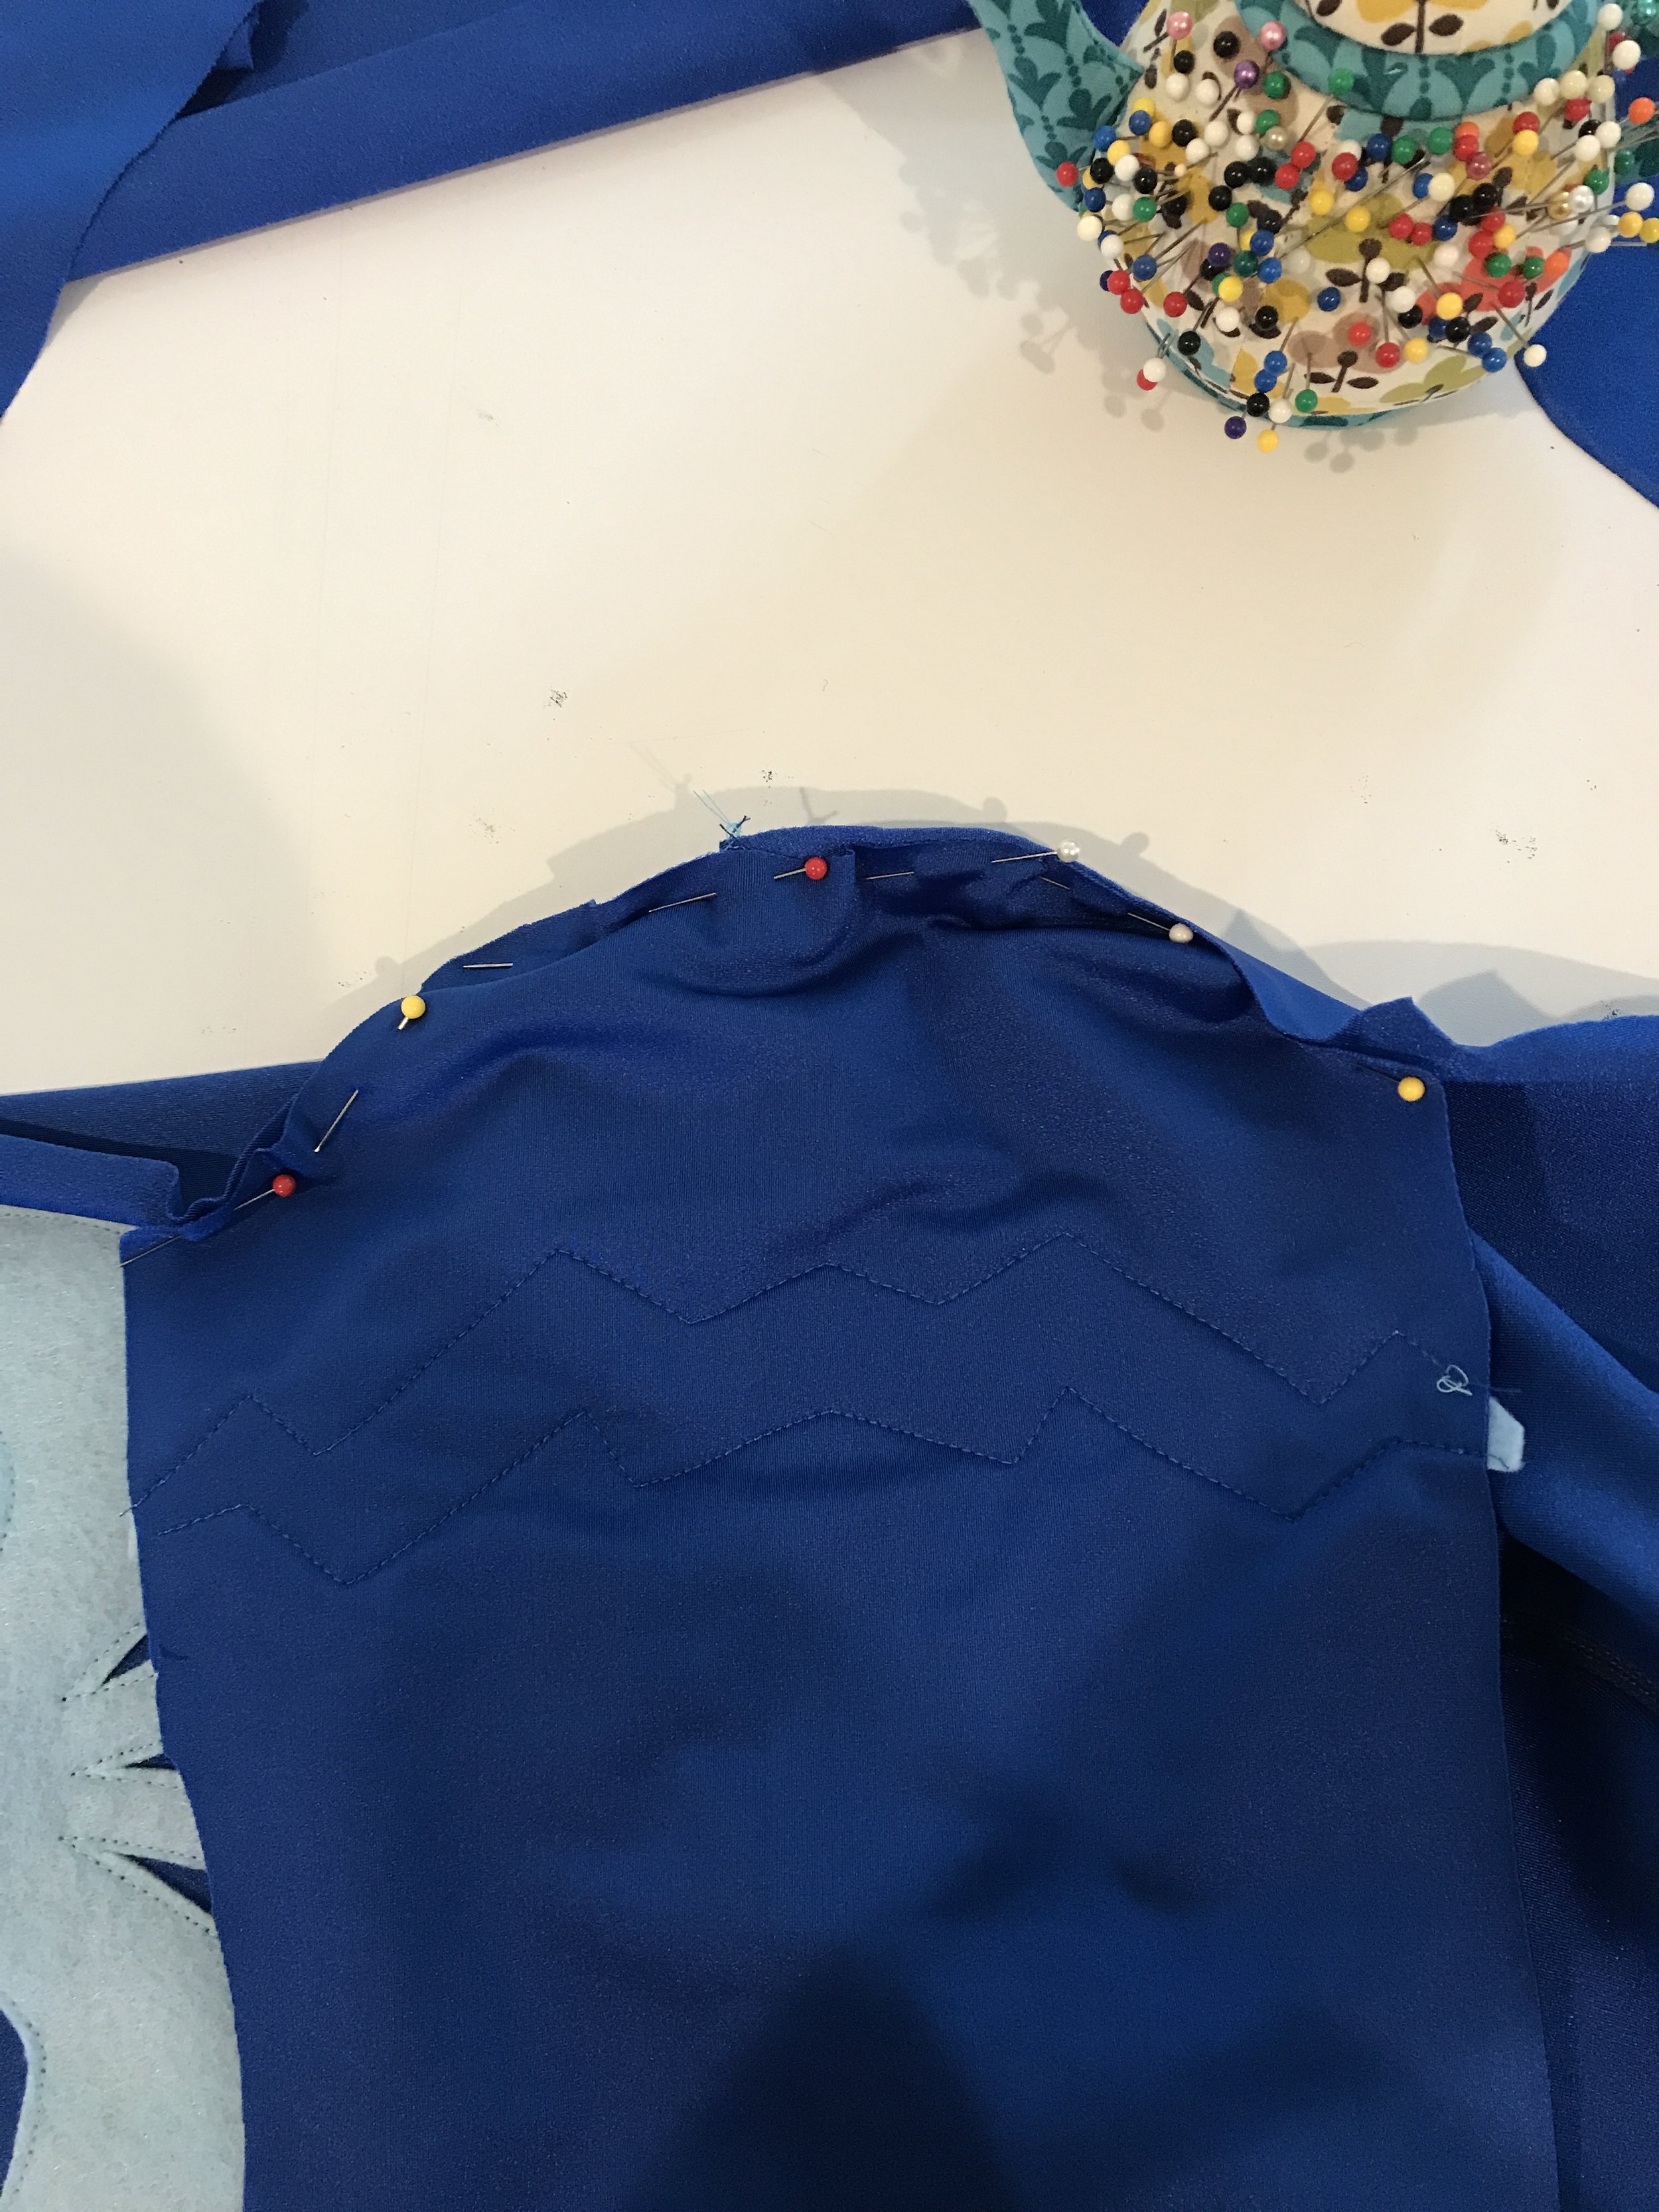


I lined the top of the sleeves up with the shoulder seams and pinned them into place, right sides togther. It was a set in sleeve so using a stretchy material is ideal because you can stretch a bit as you sew in order to get it into place.

Next, I lined up the sides, right sides together and sewed the underside of the sleeves and the sides of the shirt together on each side.

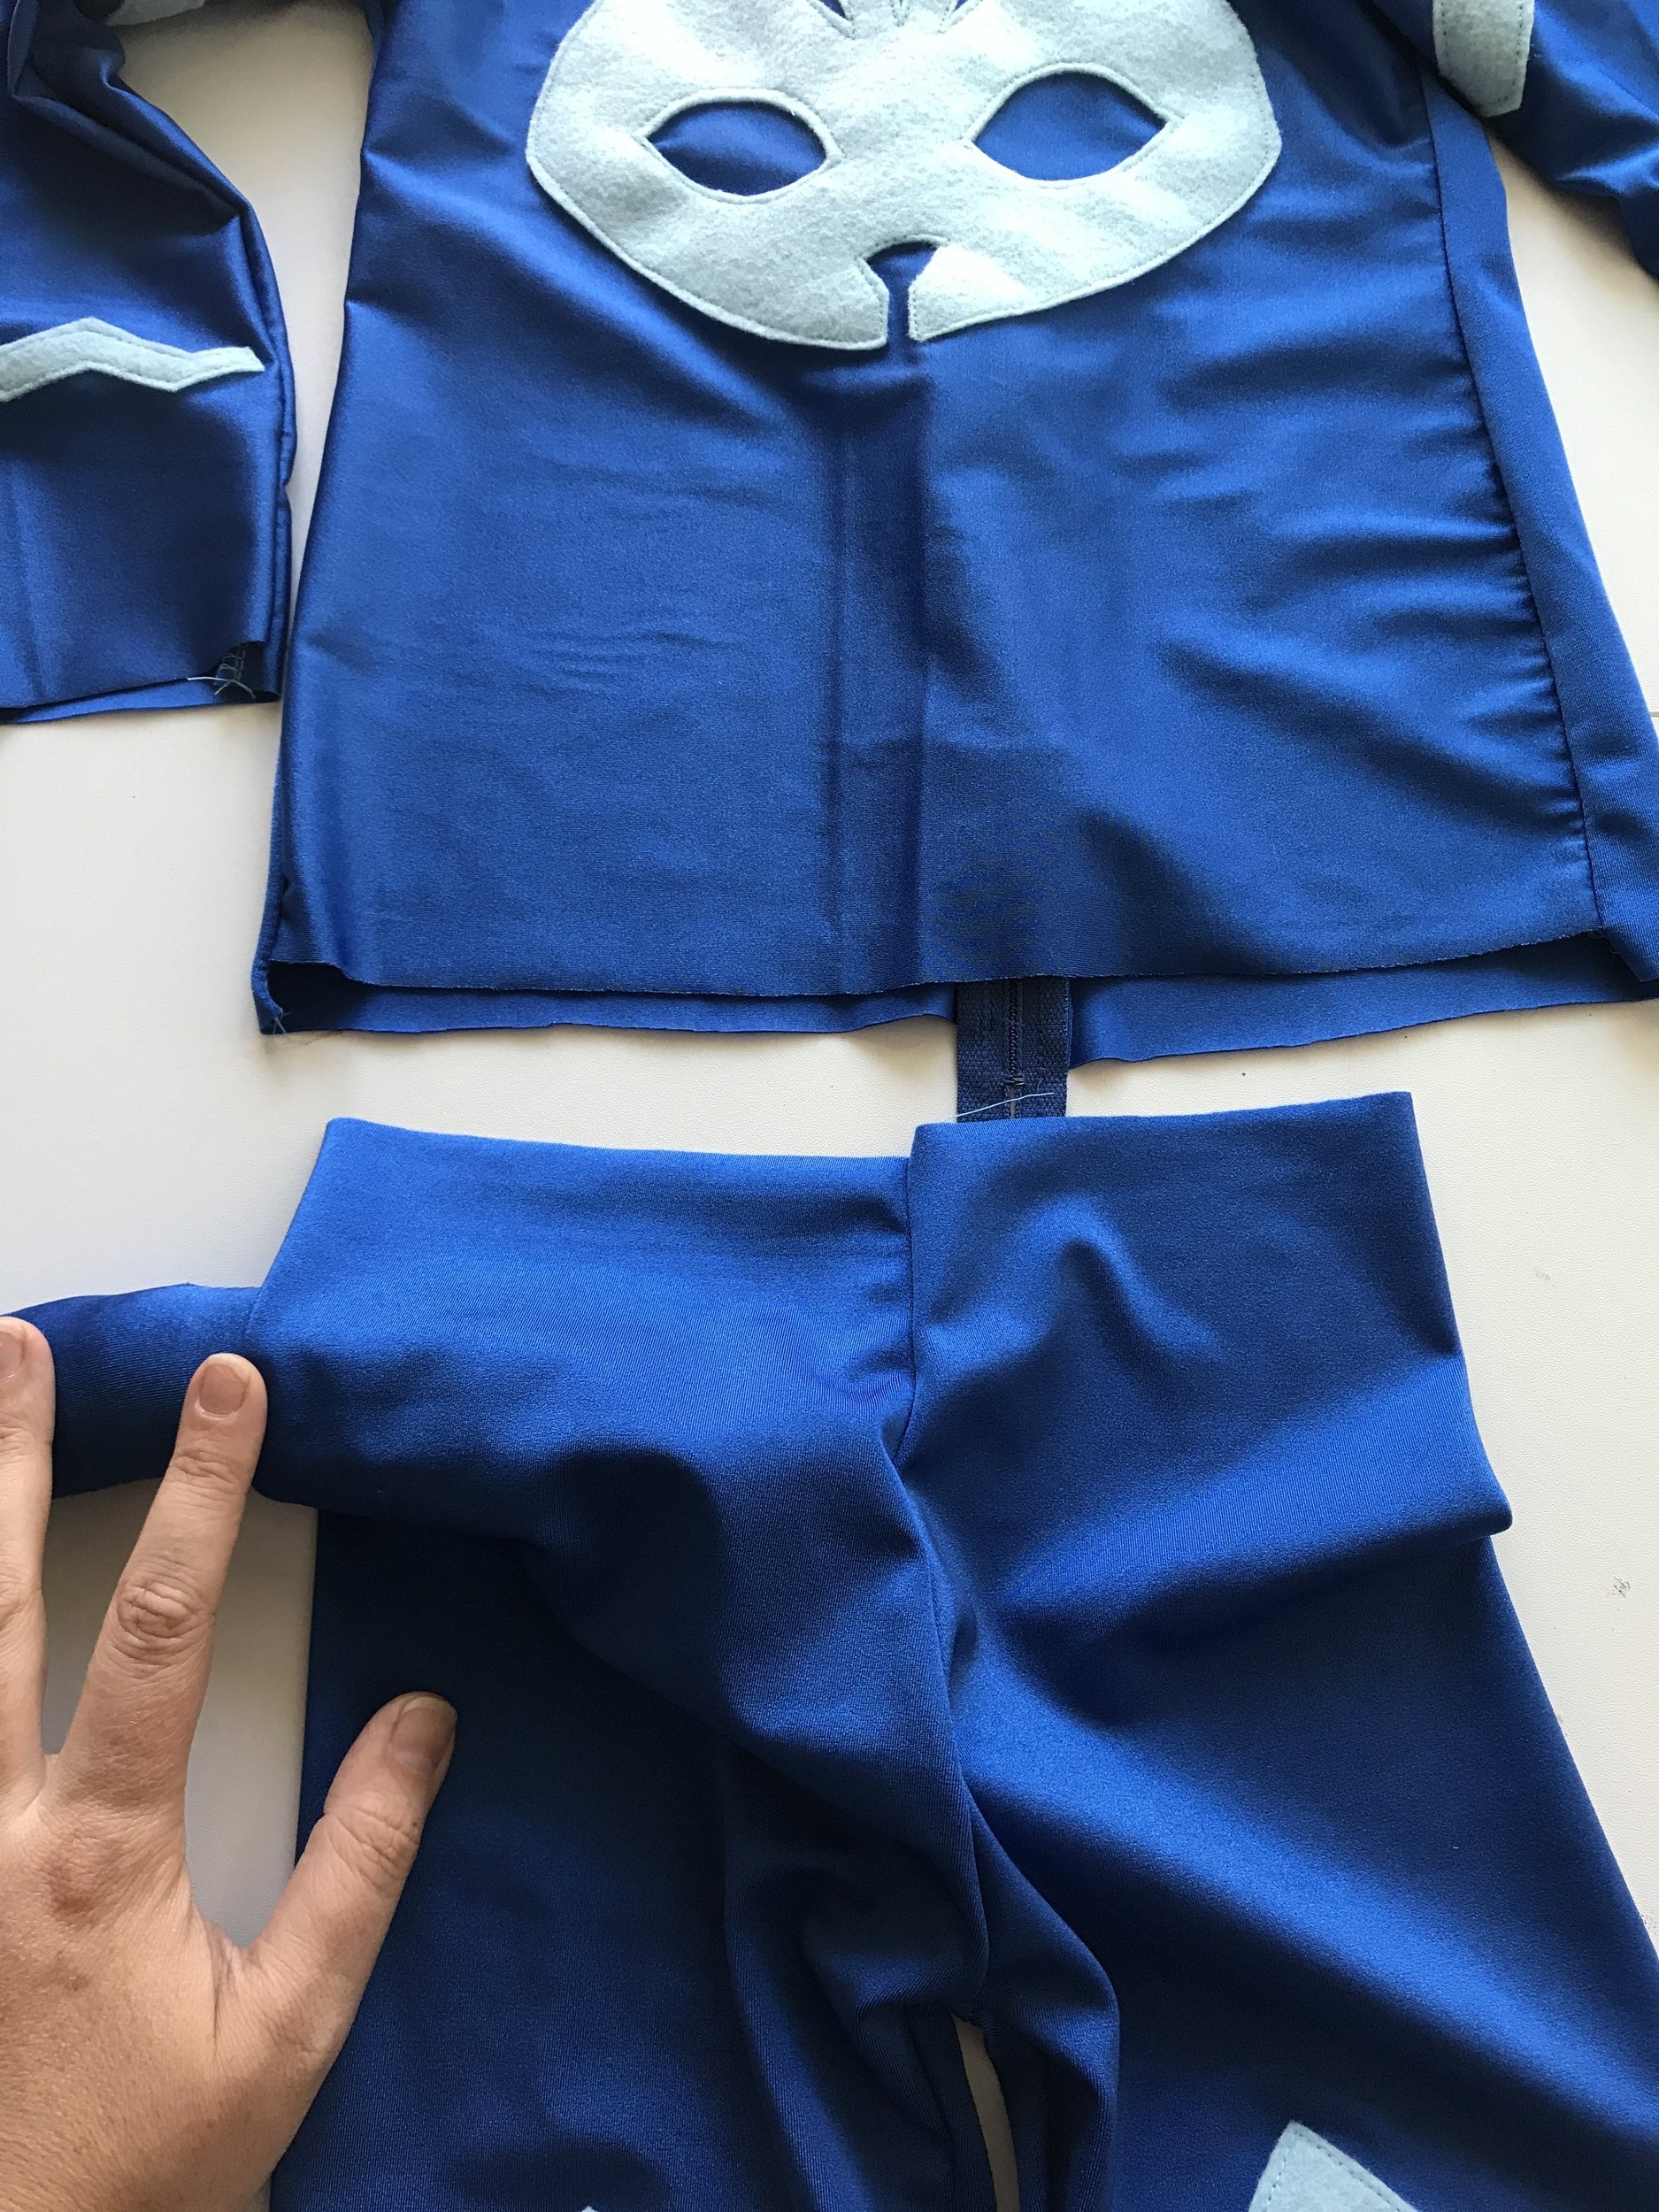
Then it was time to assemble the pants.

I lined up the two pant panels right sides together and sewed along one side. Where the arrow is pointing.


Before I could attach the other side of the pants I had to make the tail.
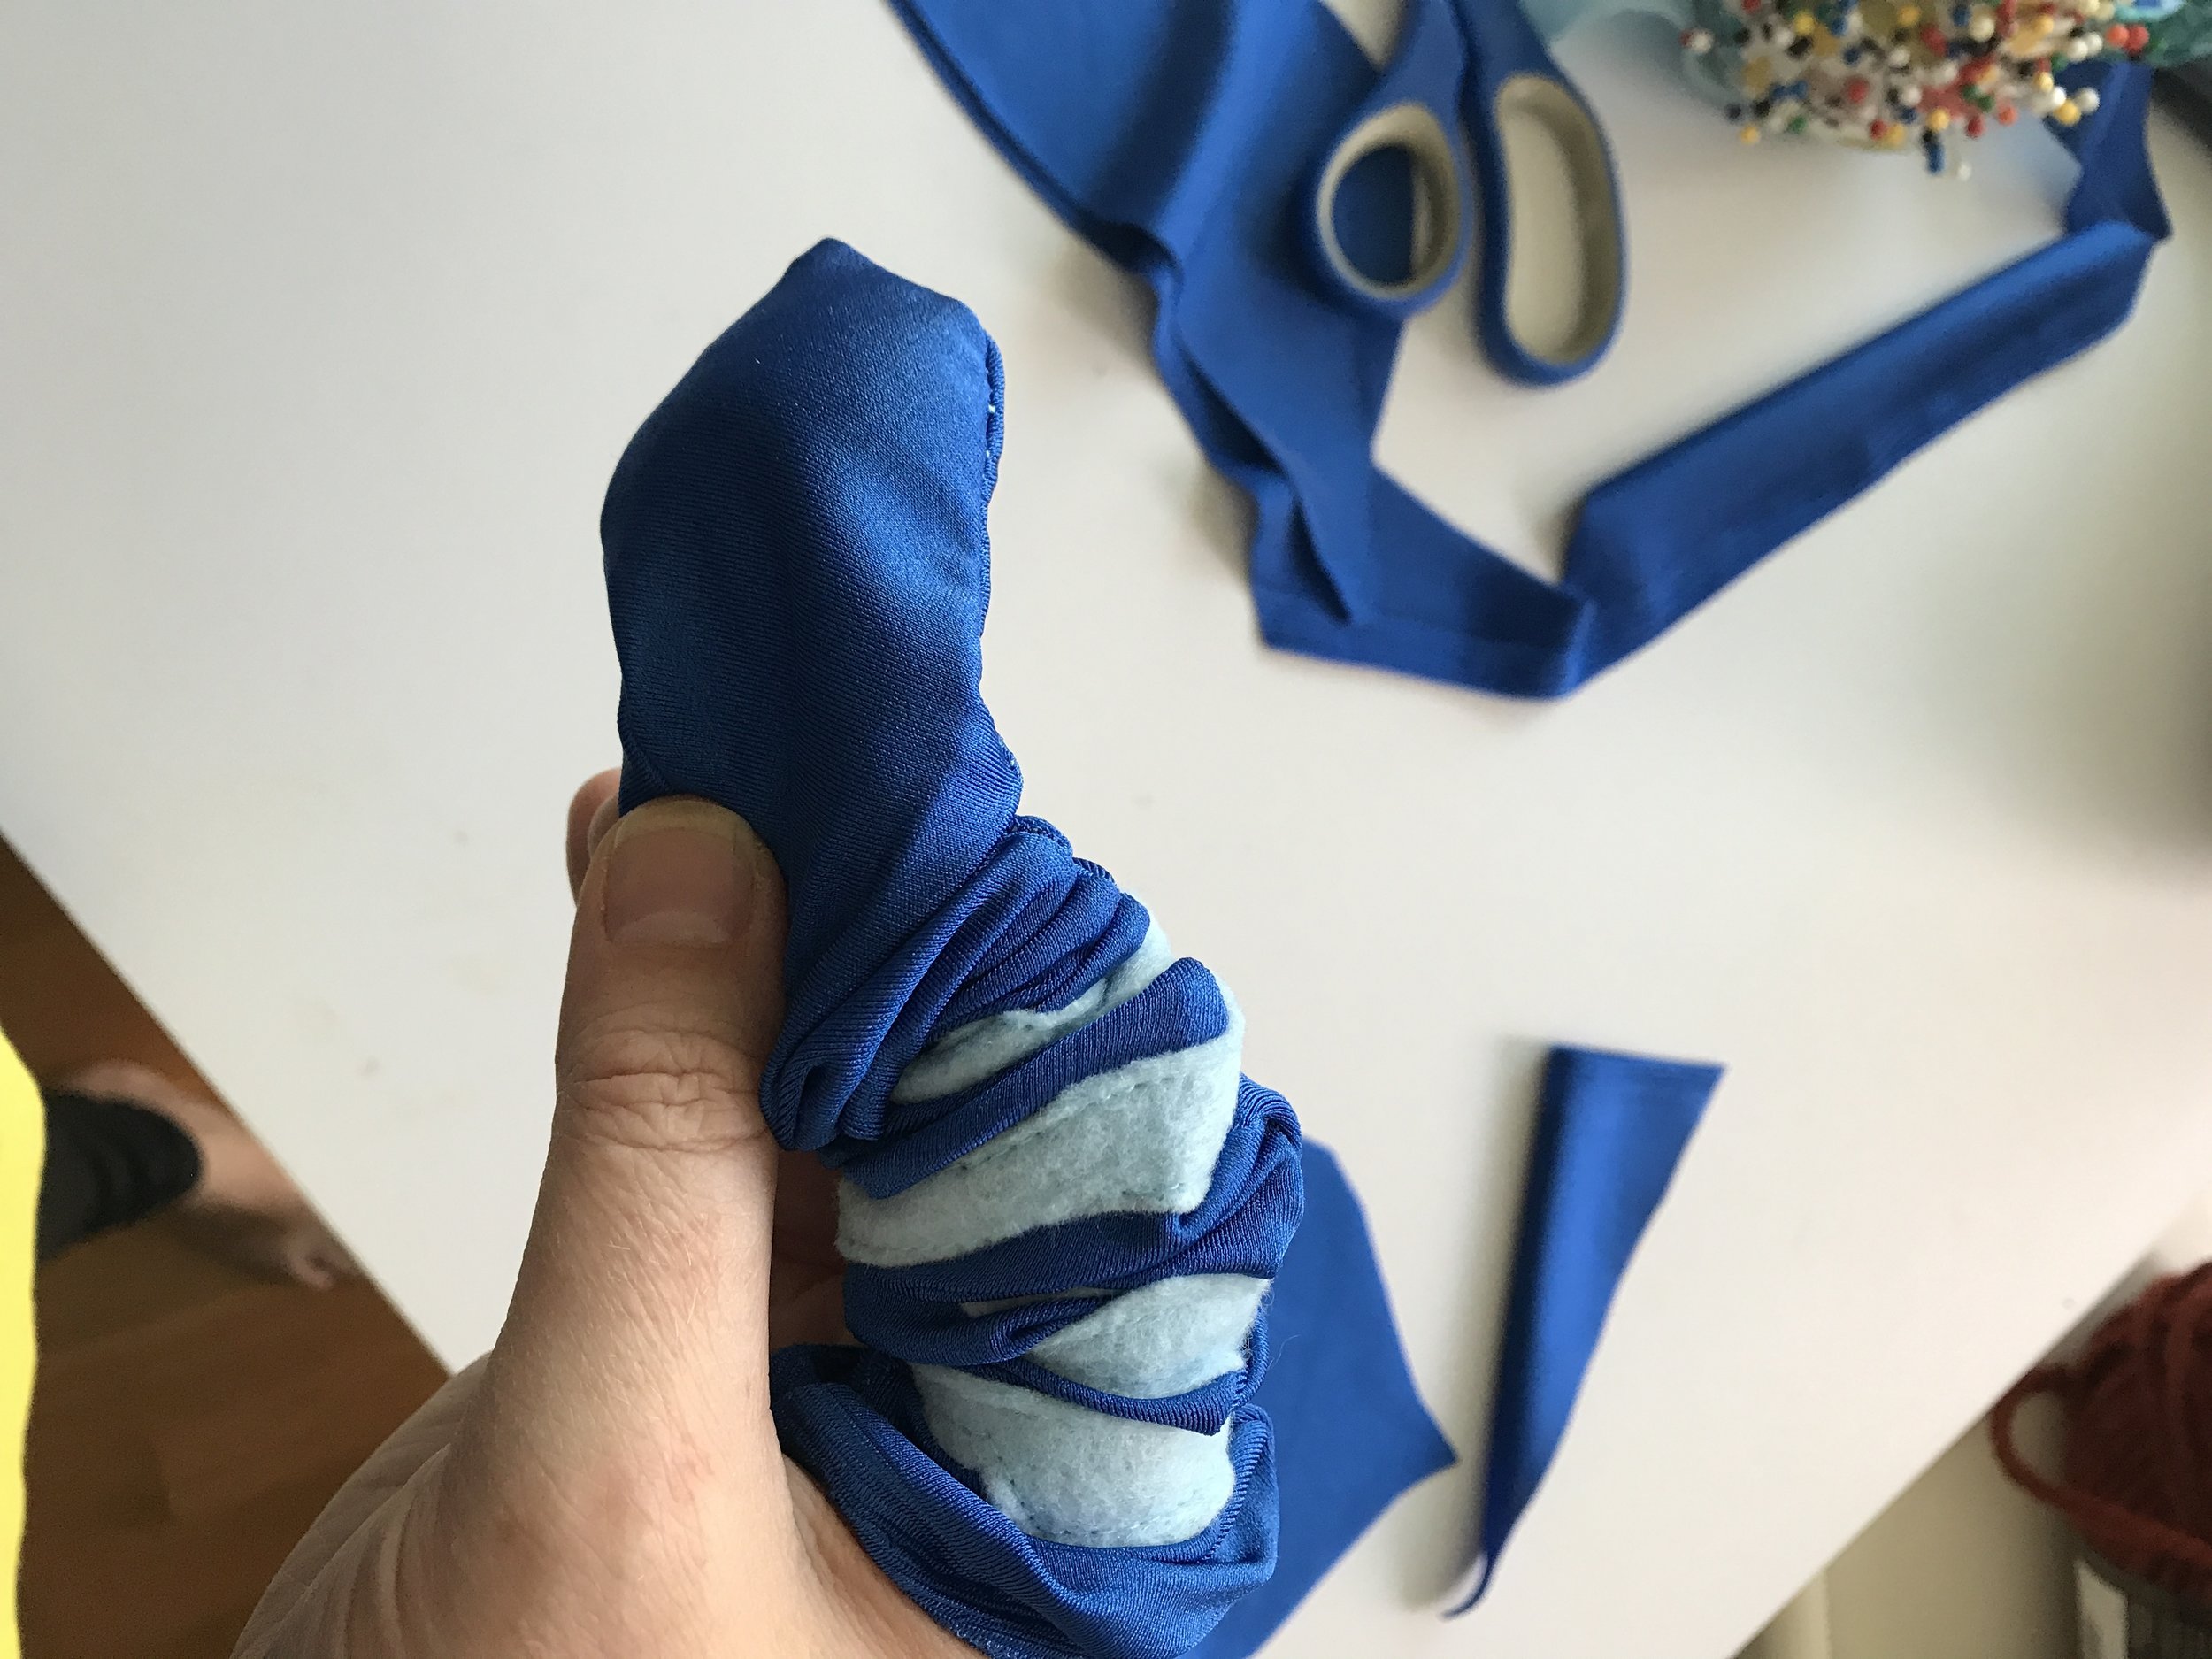
I folded a piece of fabric in half and drew a tail shape and cut it out. I tried to use some of the fold for the top part of the tail. I then cut out a few pieces of blue felt in zigzag shapes and attached them to the tail. Then I folded the right sides together and sewed all sides up so there was only one open end where I would attach it to the pants. Next, I turned it right side out and then stuffed it with fiberfill. It took a bit of time to get all the stuffing down to the end of the tail, but I was very happy with how well the tail held its shape once filled.


With the tail done, now I could sew up the back side of the pants. I tucked the tail in between the two pieces where I thought it looked best and sewed the back seam together.


Then I turned the pants inside out and sewed up the inside seam to finish them.

I realized when I had both top and bottom put together that the top was wider than the pants. I took in the side seams of the top in order to make them match.

I had Emerson try on the top and bottom to see where I should attach them. I drew a line in chalk where the pants would attach. Then made two more zigzag shapes and attached them just above the line. Next, I turned the shirt inside out and slid the pants inside right side out. I lined the back seam of the pants (where the tail is) with the zipper and the front pant seam with the center of the catboy emblem on the top. Then I sewed all the way around and turned it all right side out.


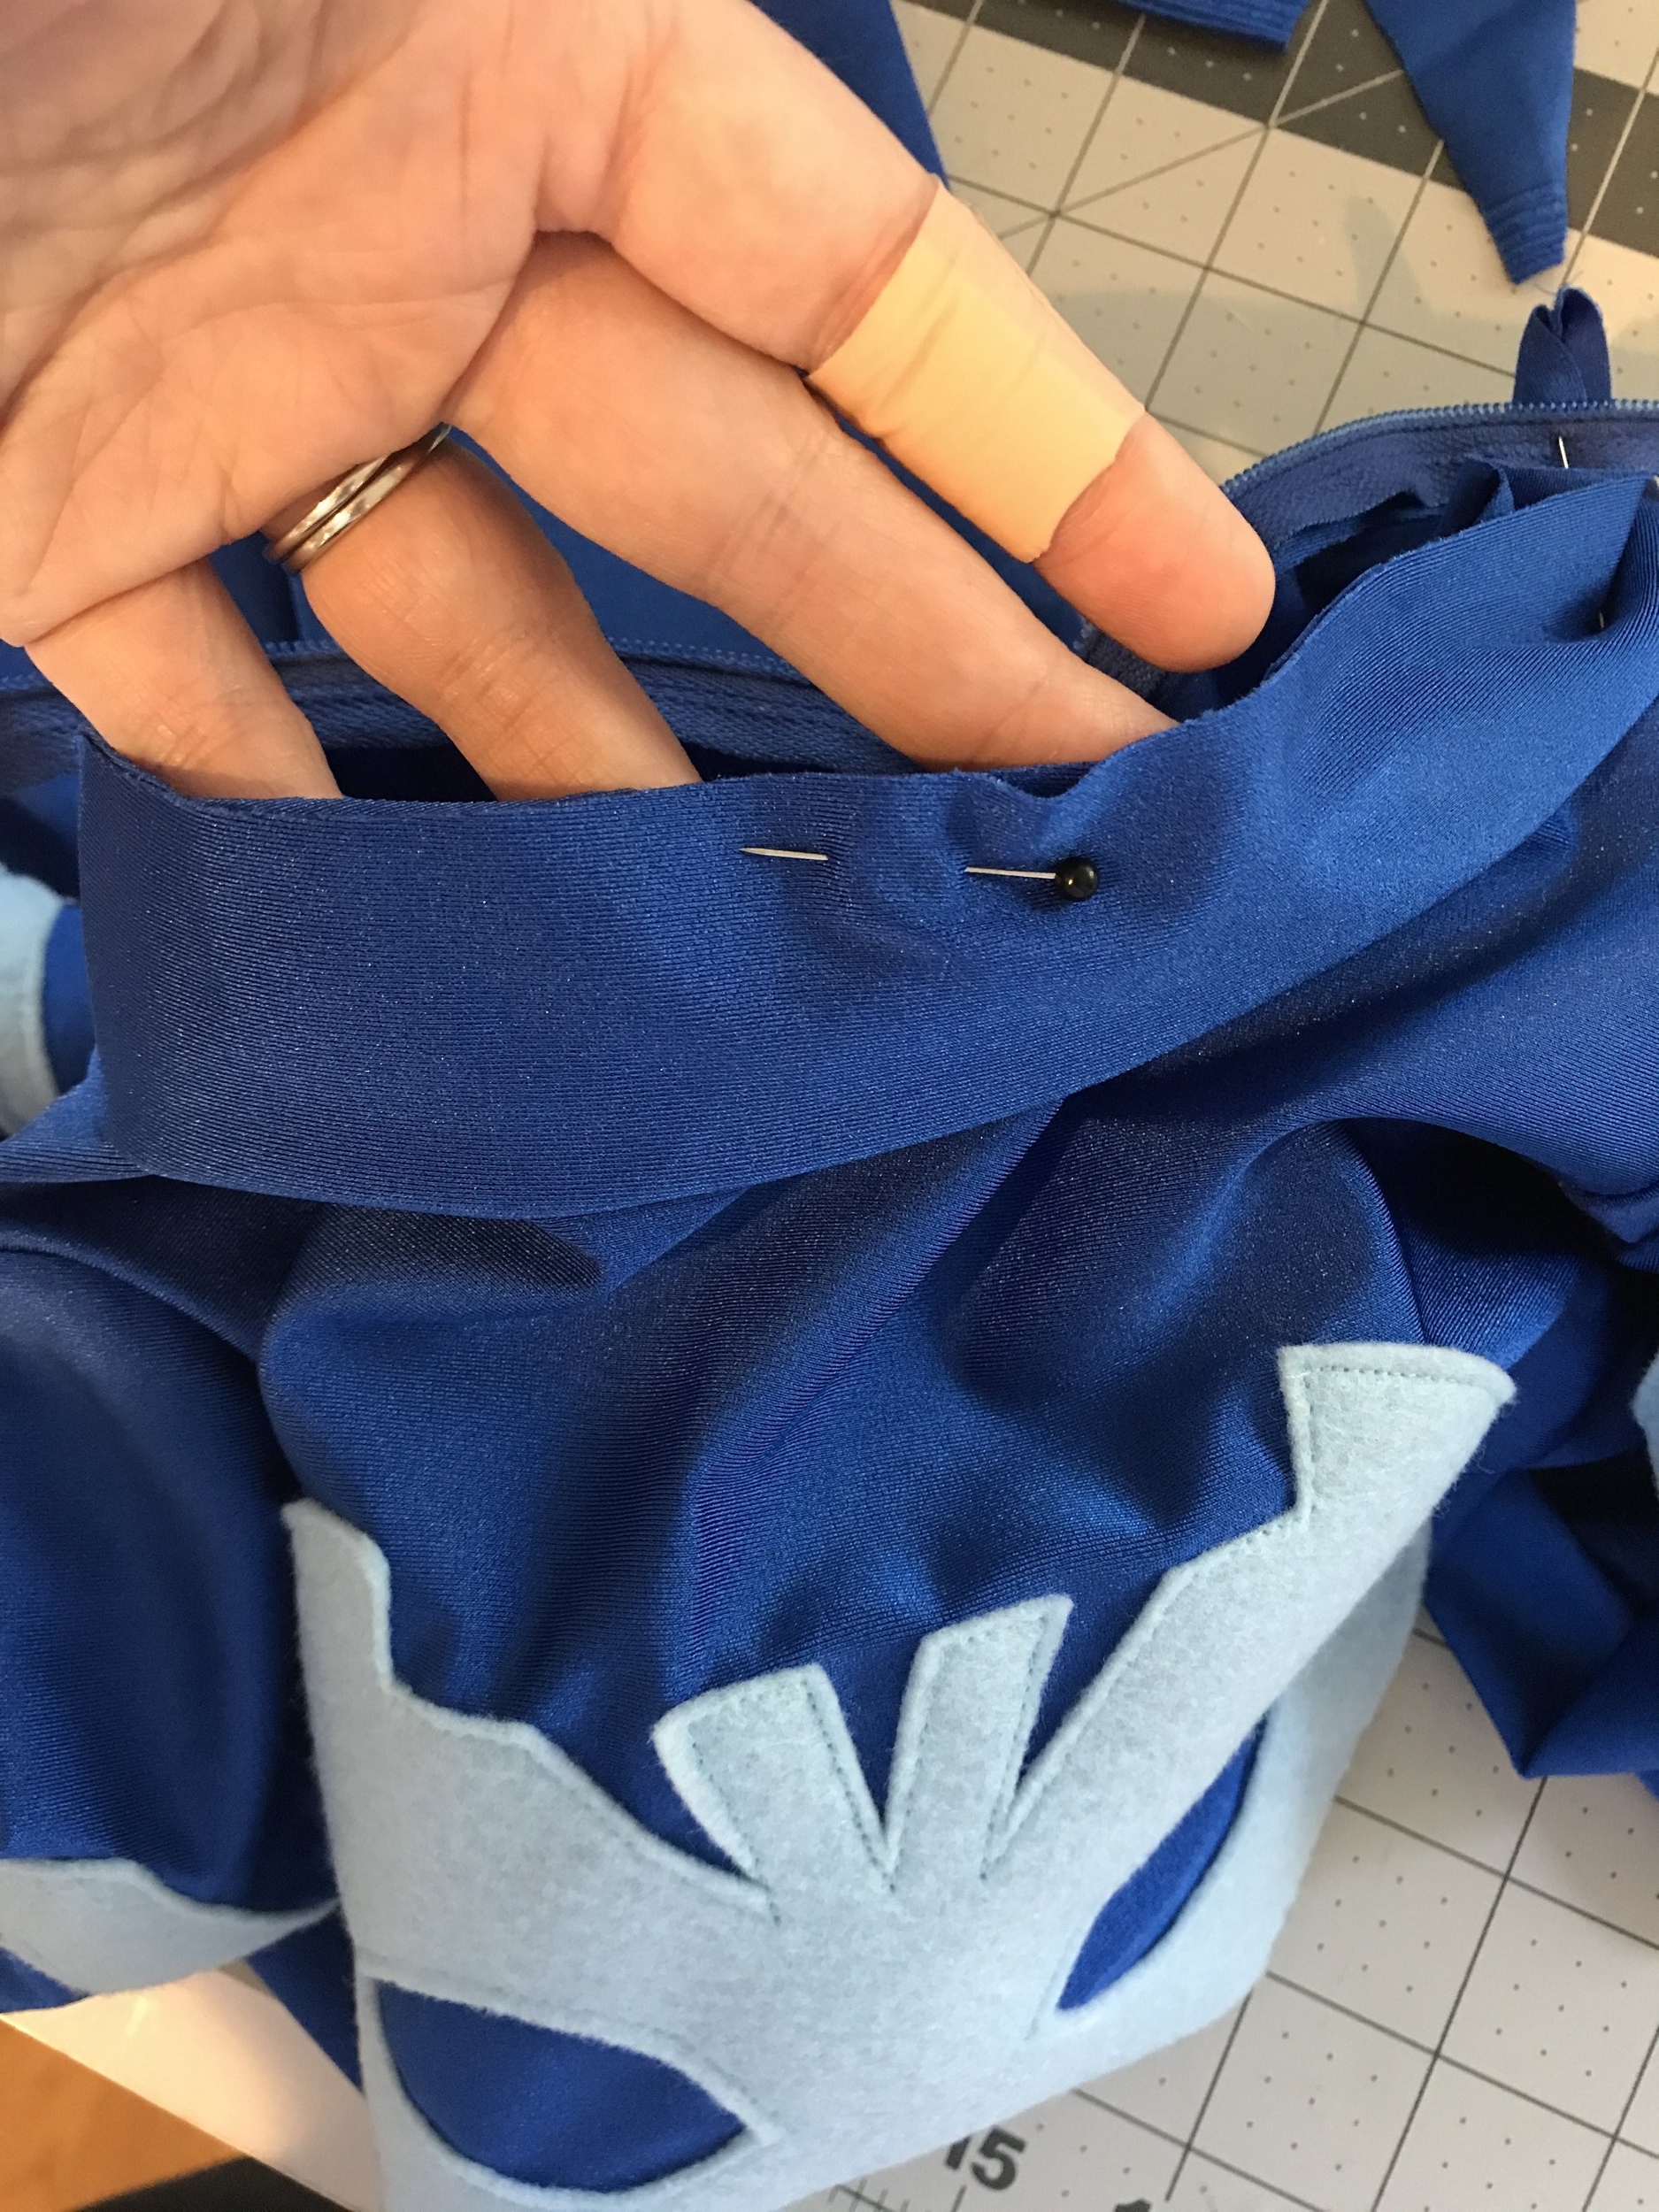


Next, it was time to add a band around the top. I cut a strip about 13 inches by 2.5 inches. I folded it in half length wise and sewed the short ends together. I turned it right side out and pinned it to the right side of the top in four even spaces making sure to leave a bit of the strip hanging over one side. I attached the strip to the top, stretching it so it fit along the way. Then I attached a clear plastic snap so the band would close.
To finish the sleeves and pant hems I just serged around the edges.
I also serged the edges after each step to give it a nice clean look inside and to make it less bulky. I think it turned out really well and Emerson is so in love with it. She had no problem doing a little photo shoot for me.

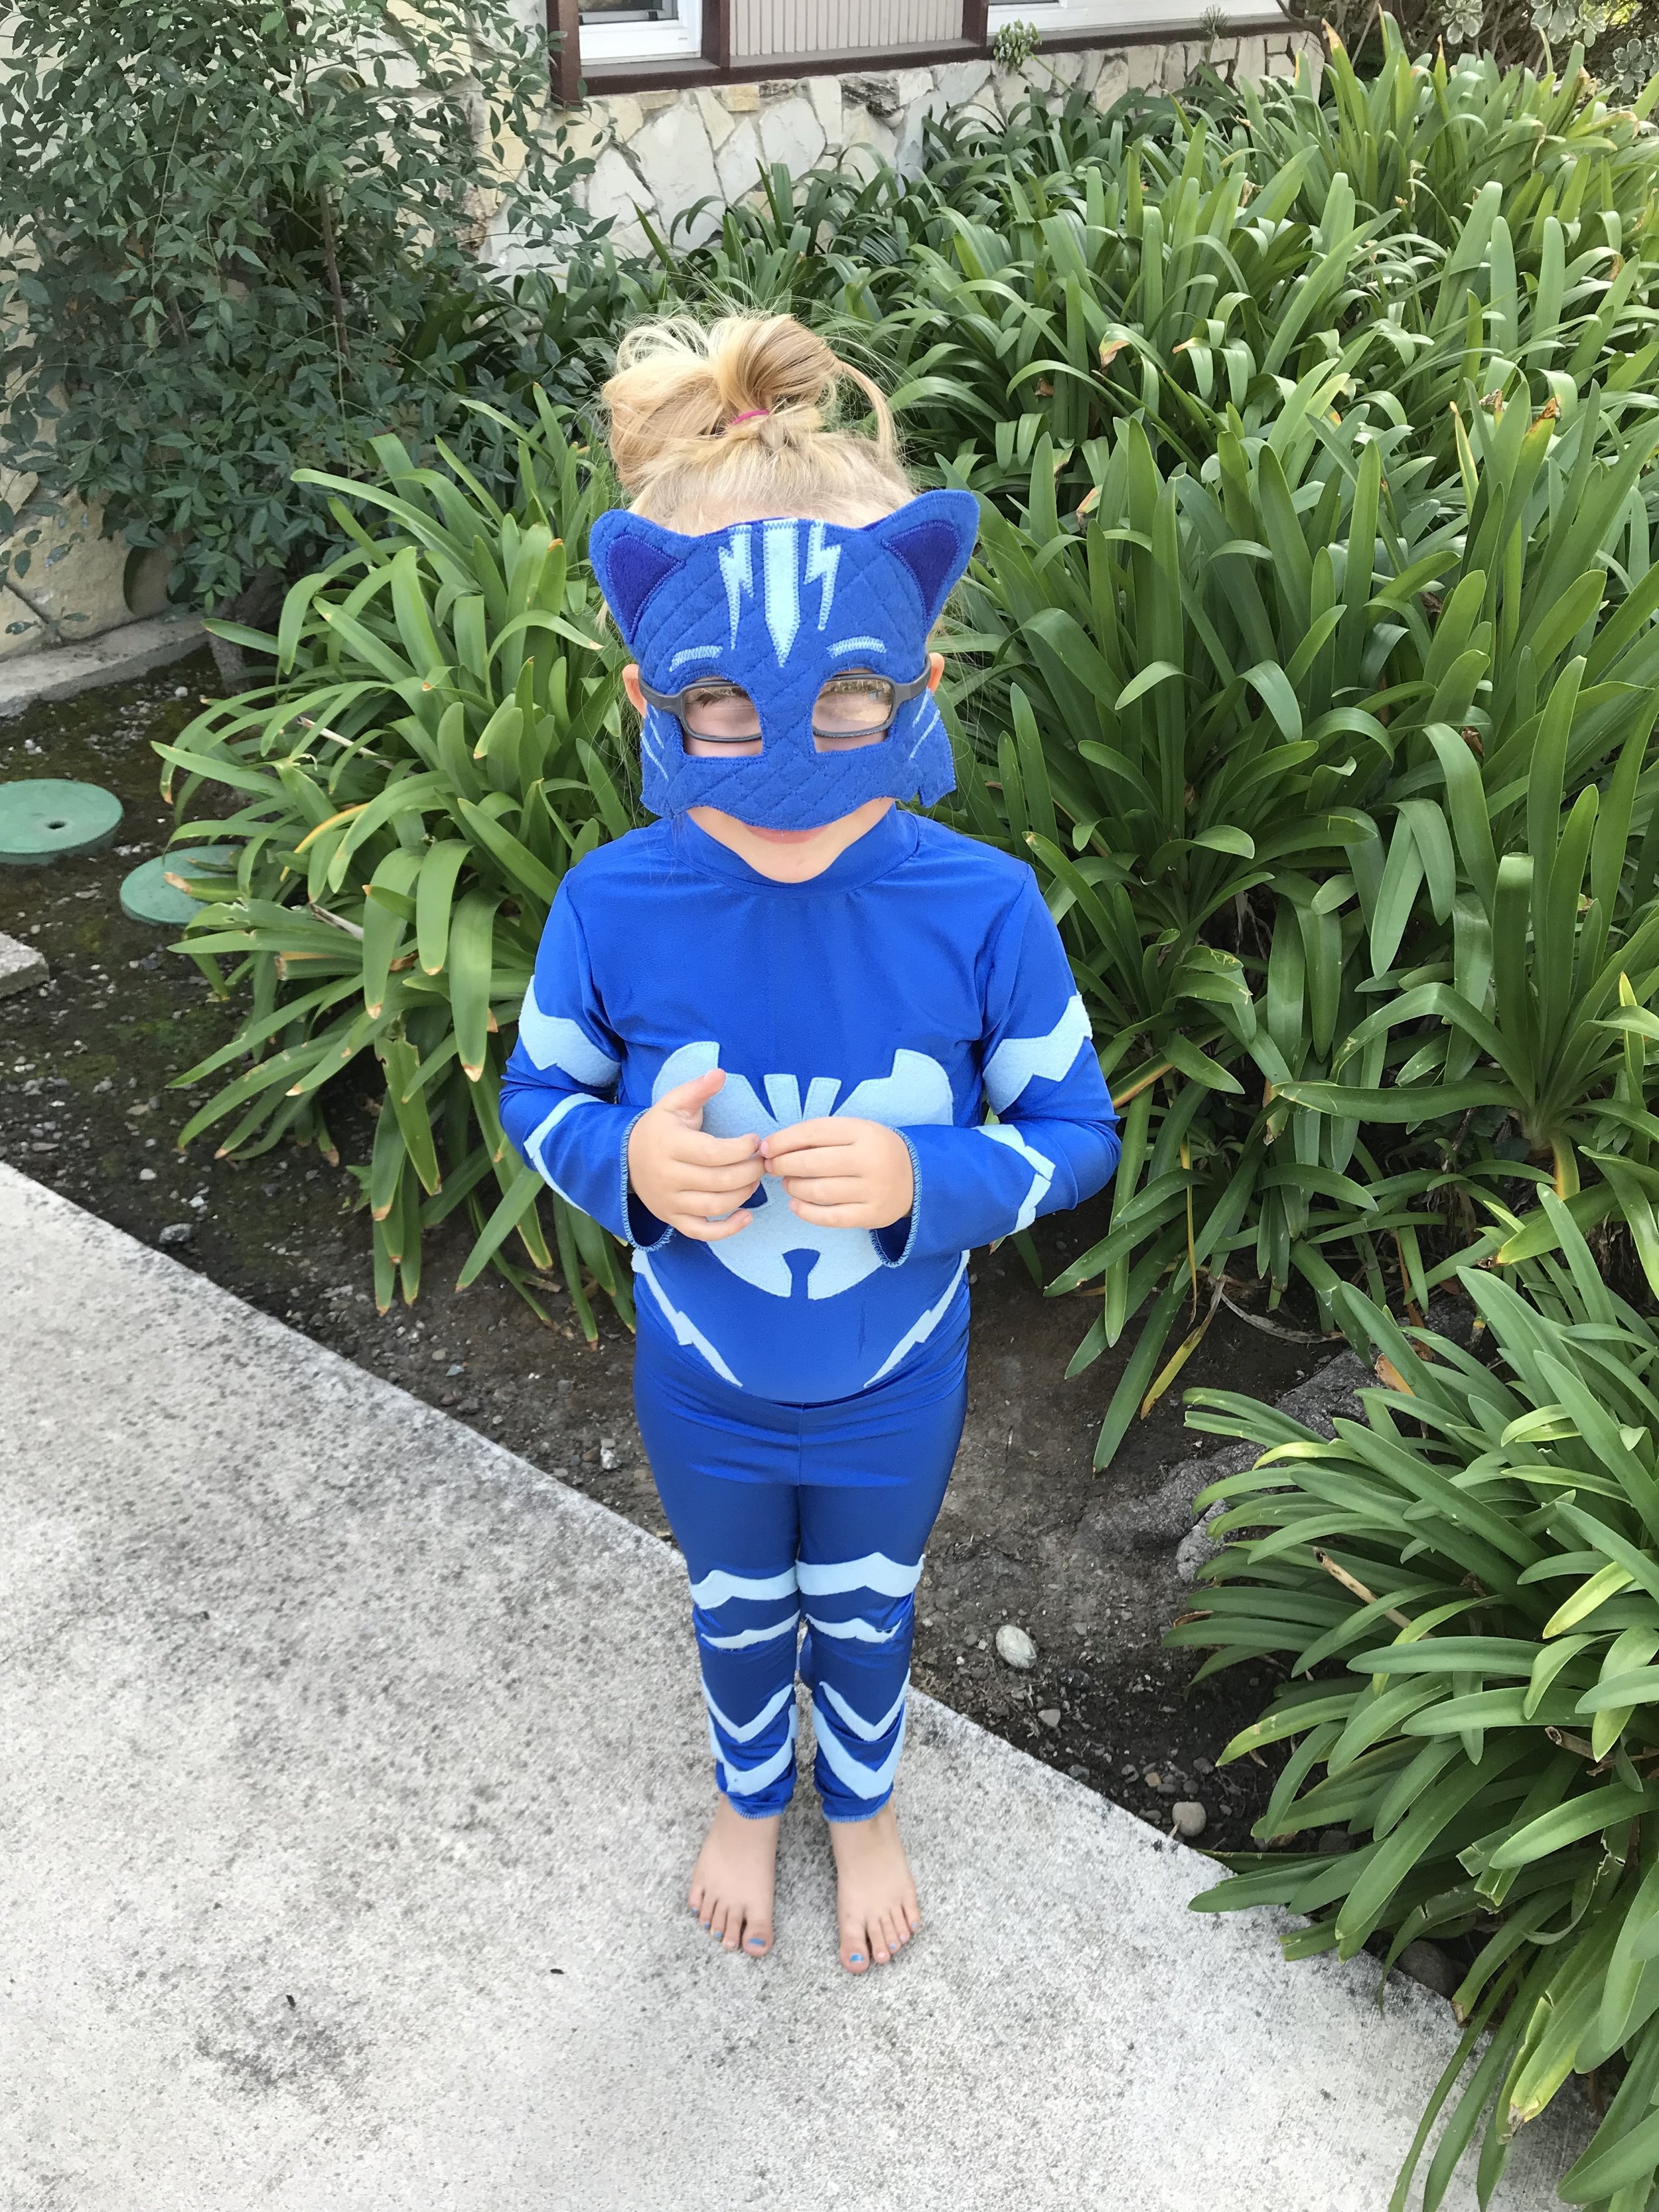

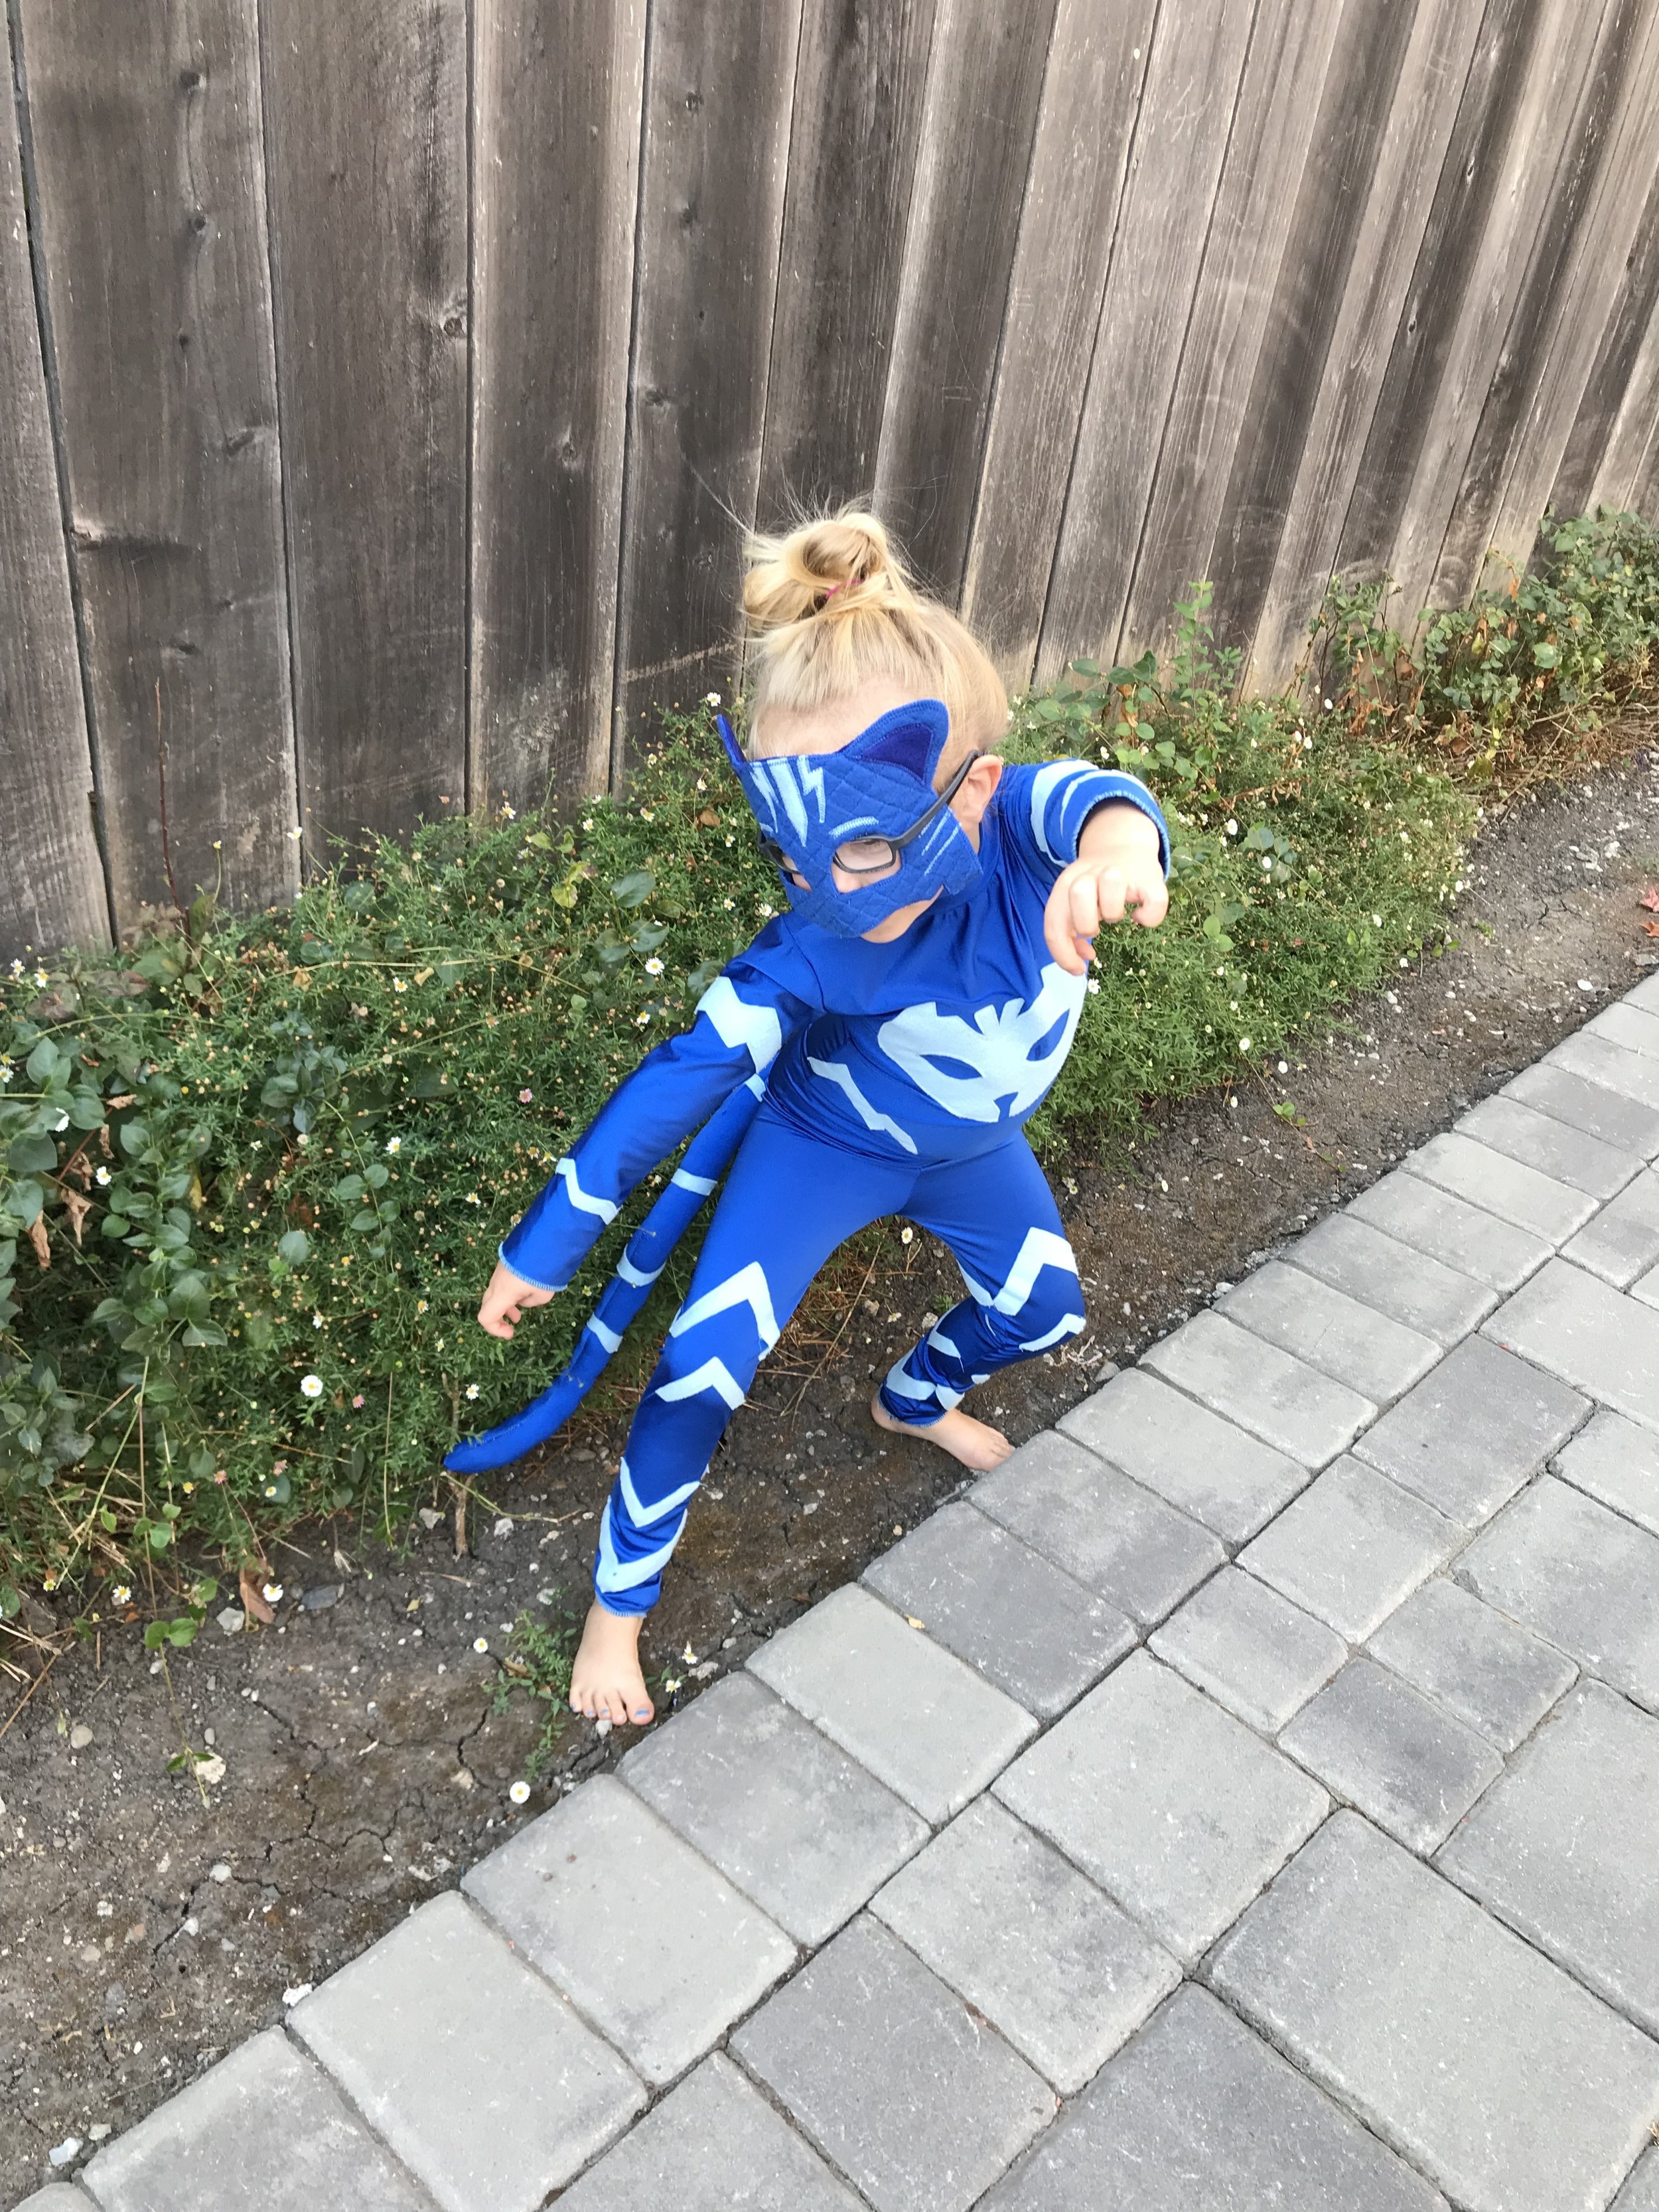


I loved how this Cat Boy costume turned out that I might just have to break down and make a little Gekko one for Emmett. I'll update here if I end up getting it done.
*Update!* Ok, I just had to make a Gekko for Emmett. And as promised here it is!


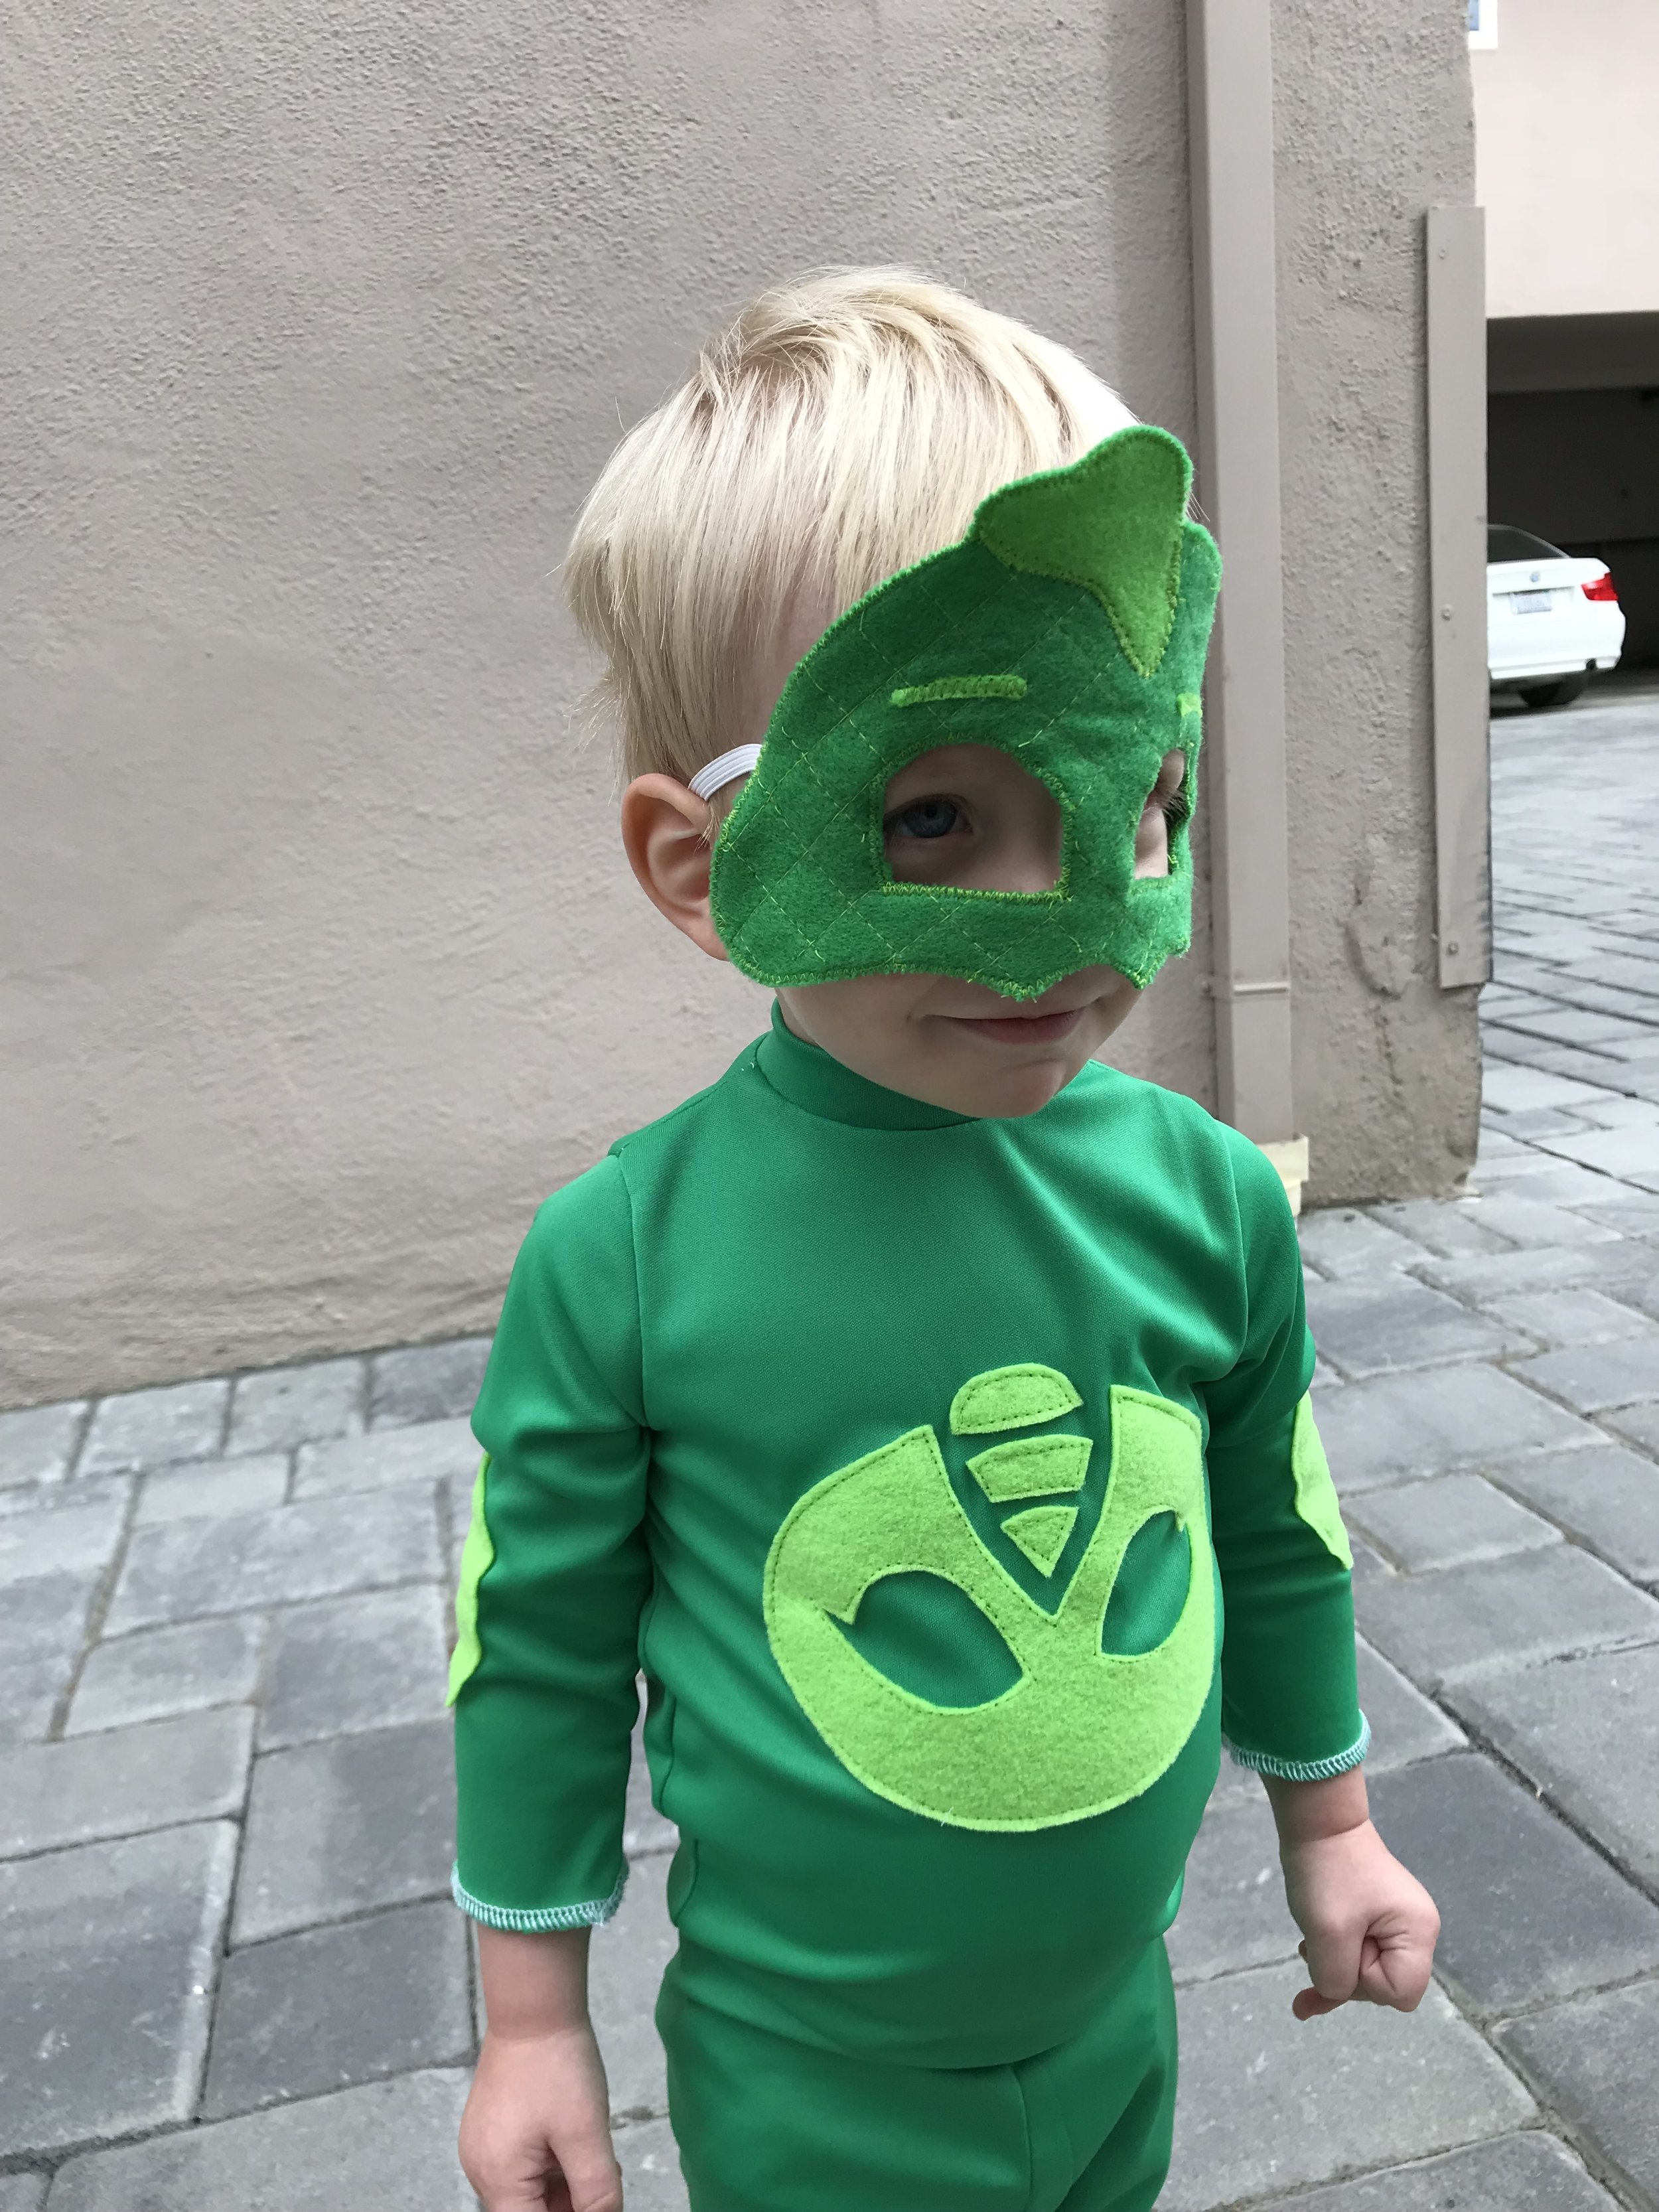


I made his body suit the same way I made the Catboy one. It worked up way quicker due to being smaller and because there were less felt details to sew on. I'm so happy that I made it for him because he gets a huge smile every time I put it on him. And the tail wiggles when he walks which is too cute! What do you guys think? Comment below and let me know.