PJ Mask & Free Mask Template
So you may have seen my DIY Catboy Costume post recently and if you haven't go check it out! In that post I explained how I created Emerson's costume, but I didn't include the mask. That was because I wanted to show you how I made ALL of the masks! Yes, that's right I got sucked into the Halloween madness and decided that we needed to keep tradition alive and all have themed costumes. Why do I always do this to myself? At least this year I completed all costumes over 2 weeks before Halloween! Seriously, I have never been that on top of it.
Anyway, today I'm going to show you how I made my PJ Masks and....
I've included some FREE templates!! Who doesn't love free stuff?
Okay, let's get started. Here is what you will need:
9" X 12" sheets of felt in royal blue, dark blue, light blue, kelly green, light green, peach, black, red, dark pink, and white
1/4 inch elastic (1-2 yards depending on how large your head is and how many masks you make)
thread to match
sewing machine
scissors
pencil or tailor's chalk
pins
mask templates (scroll to bottom)
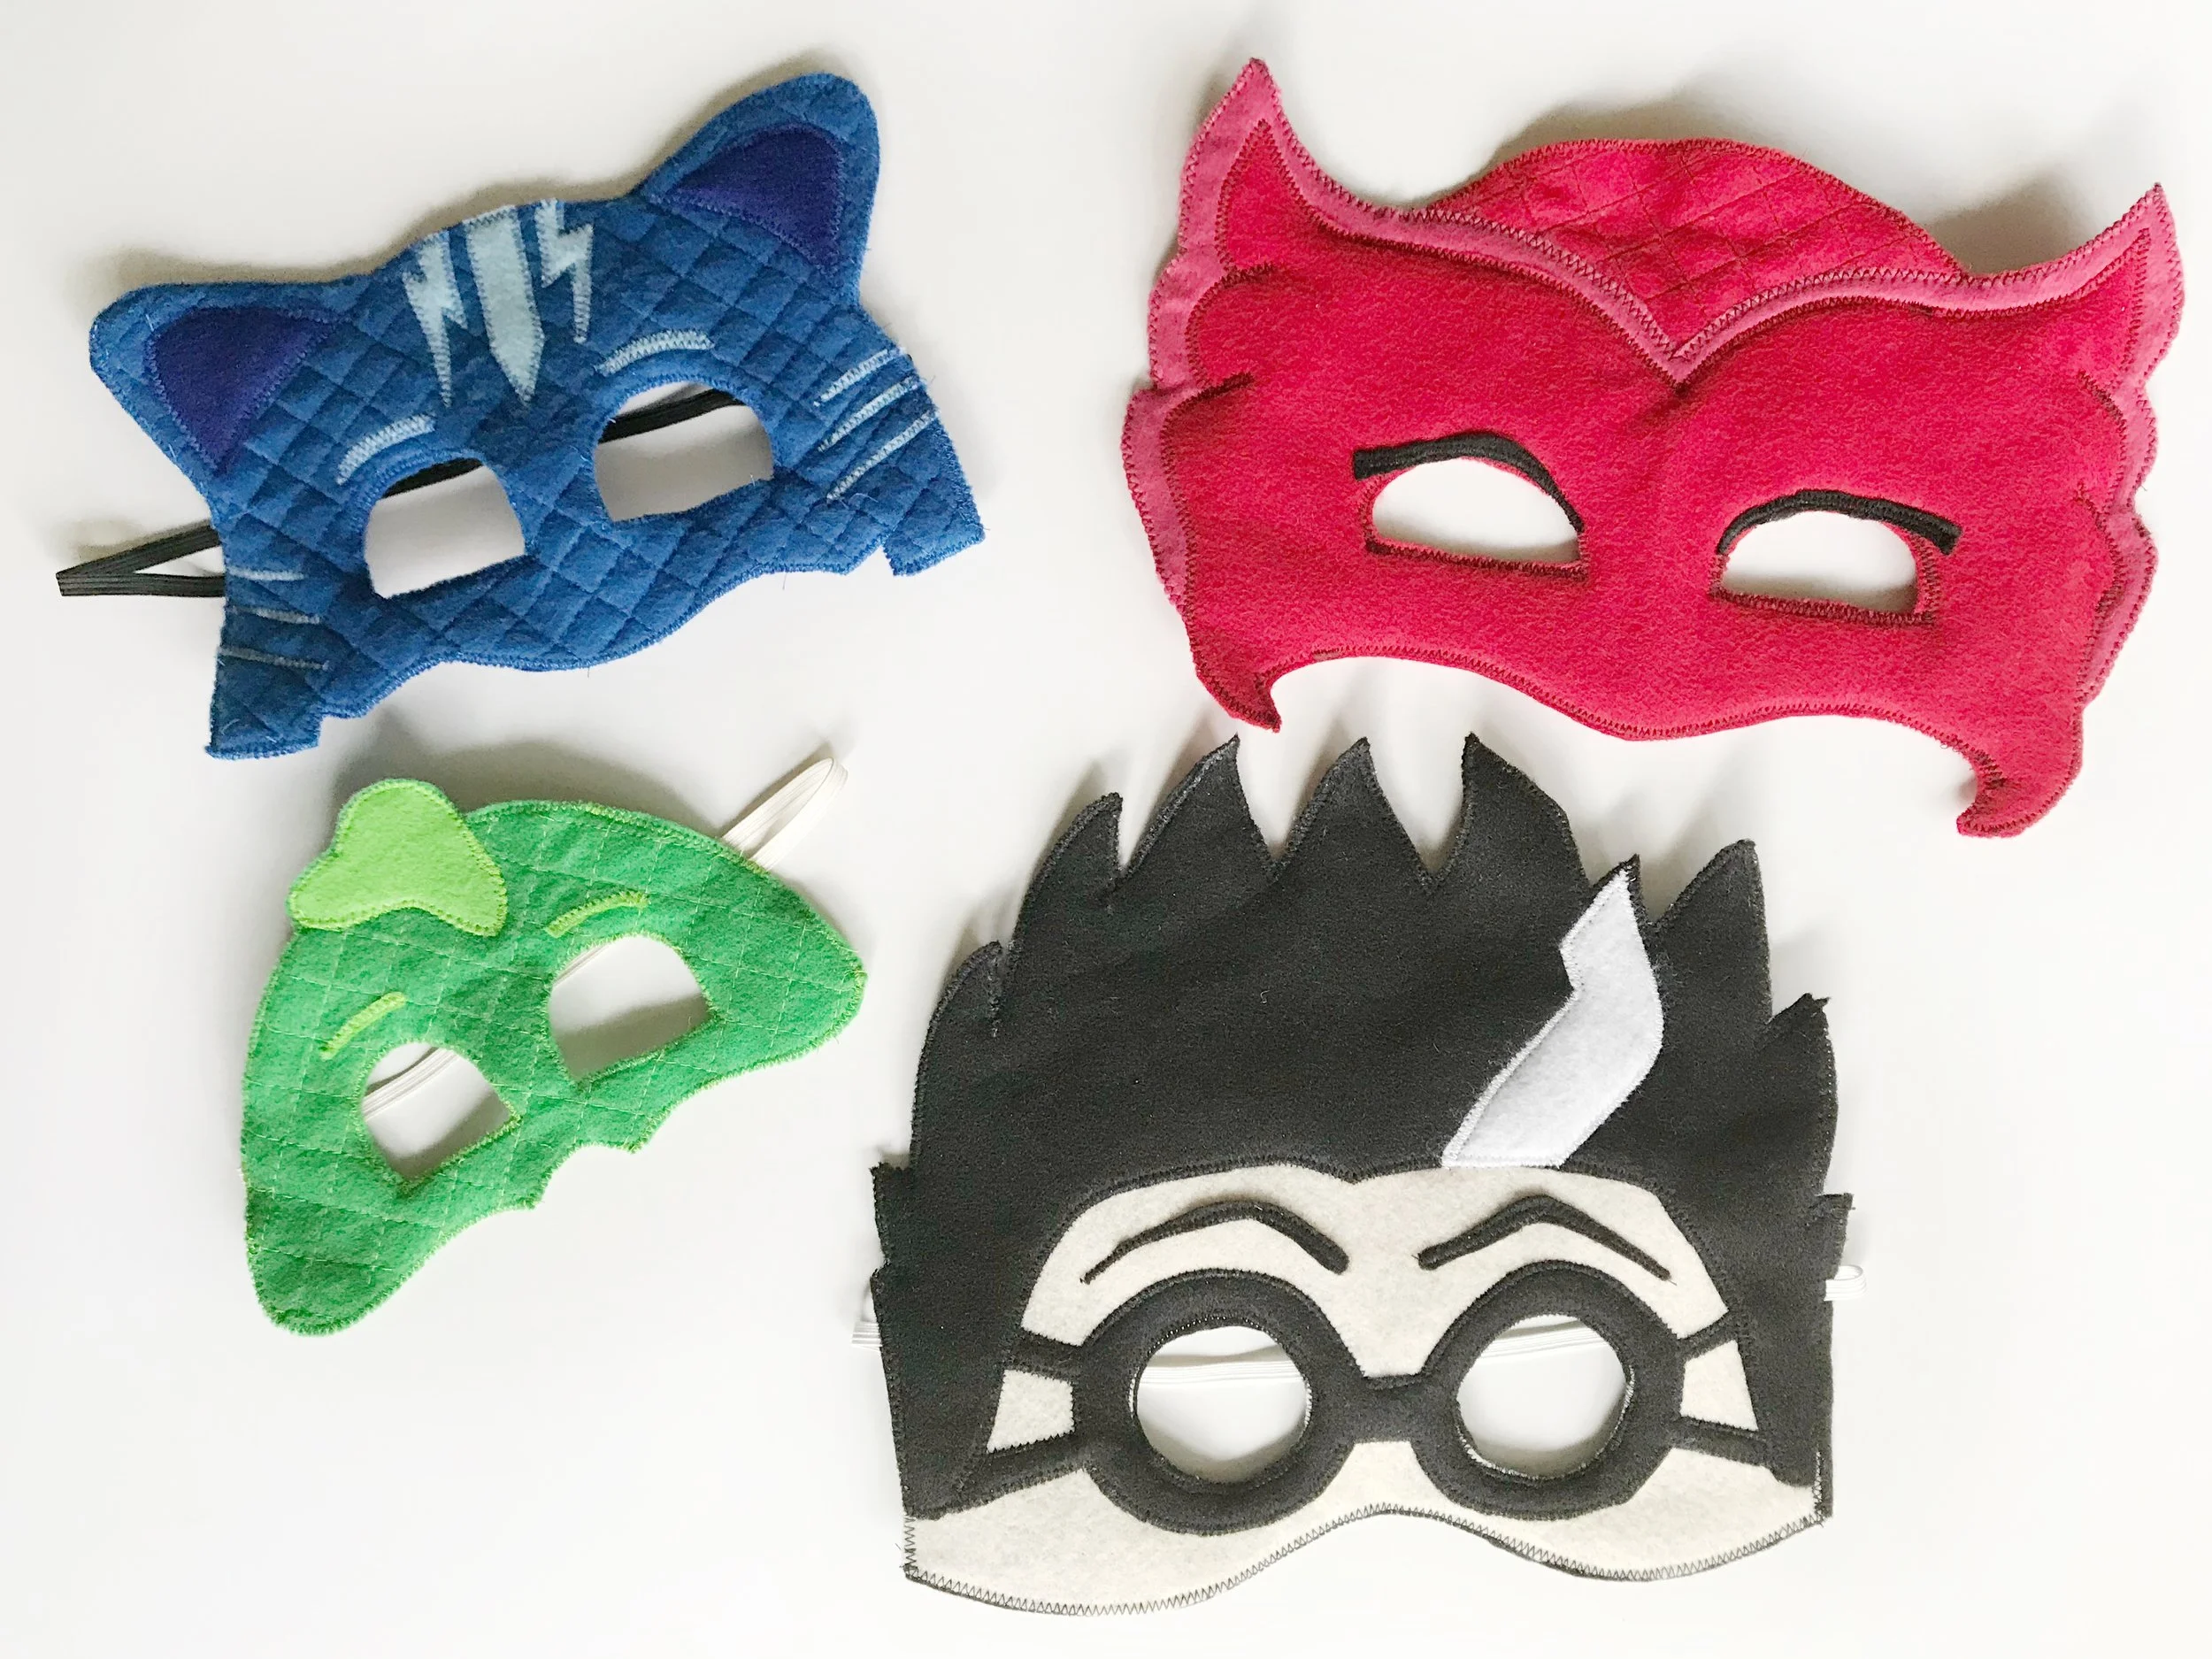
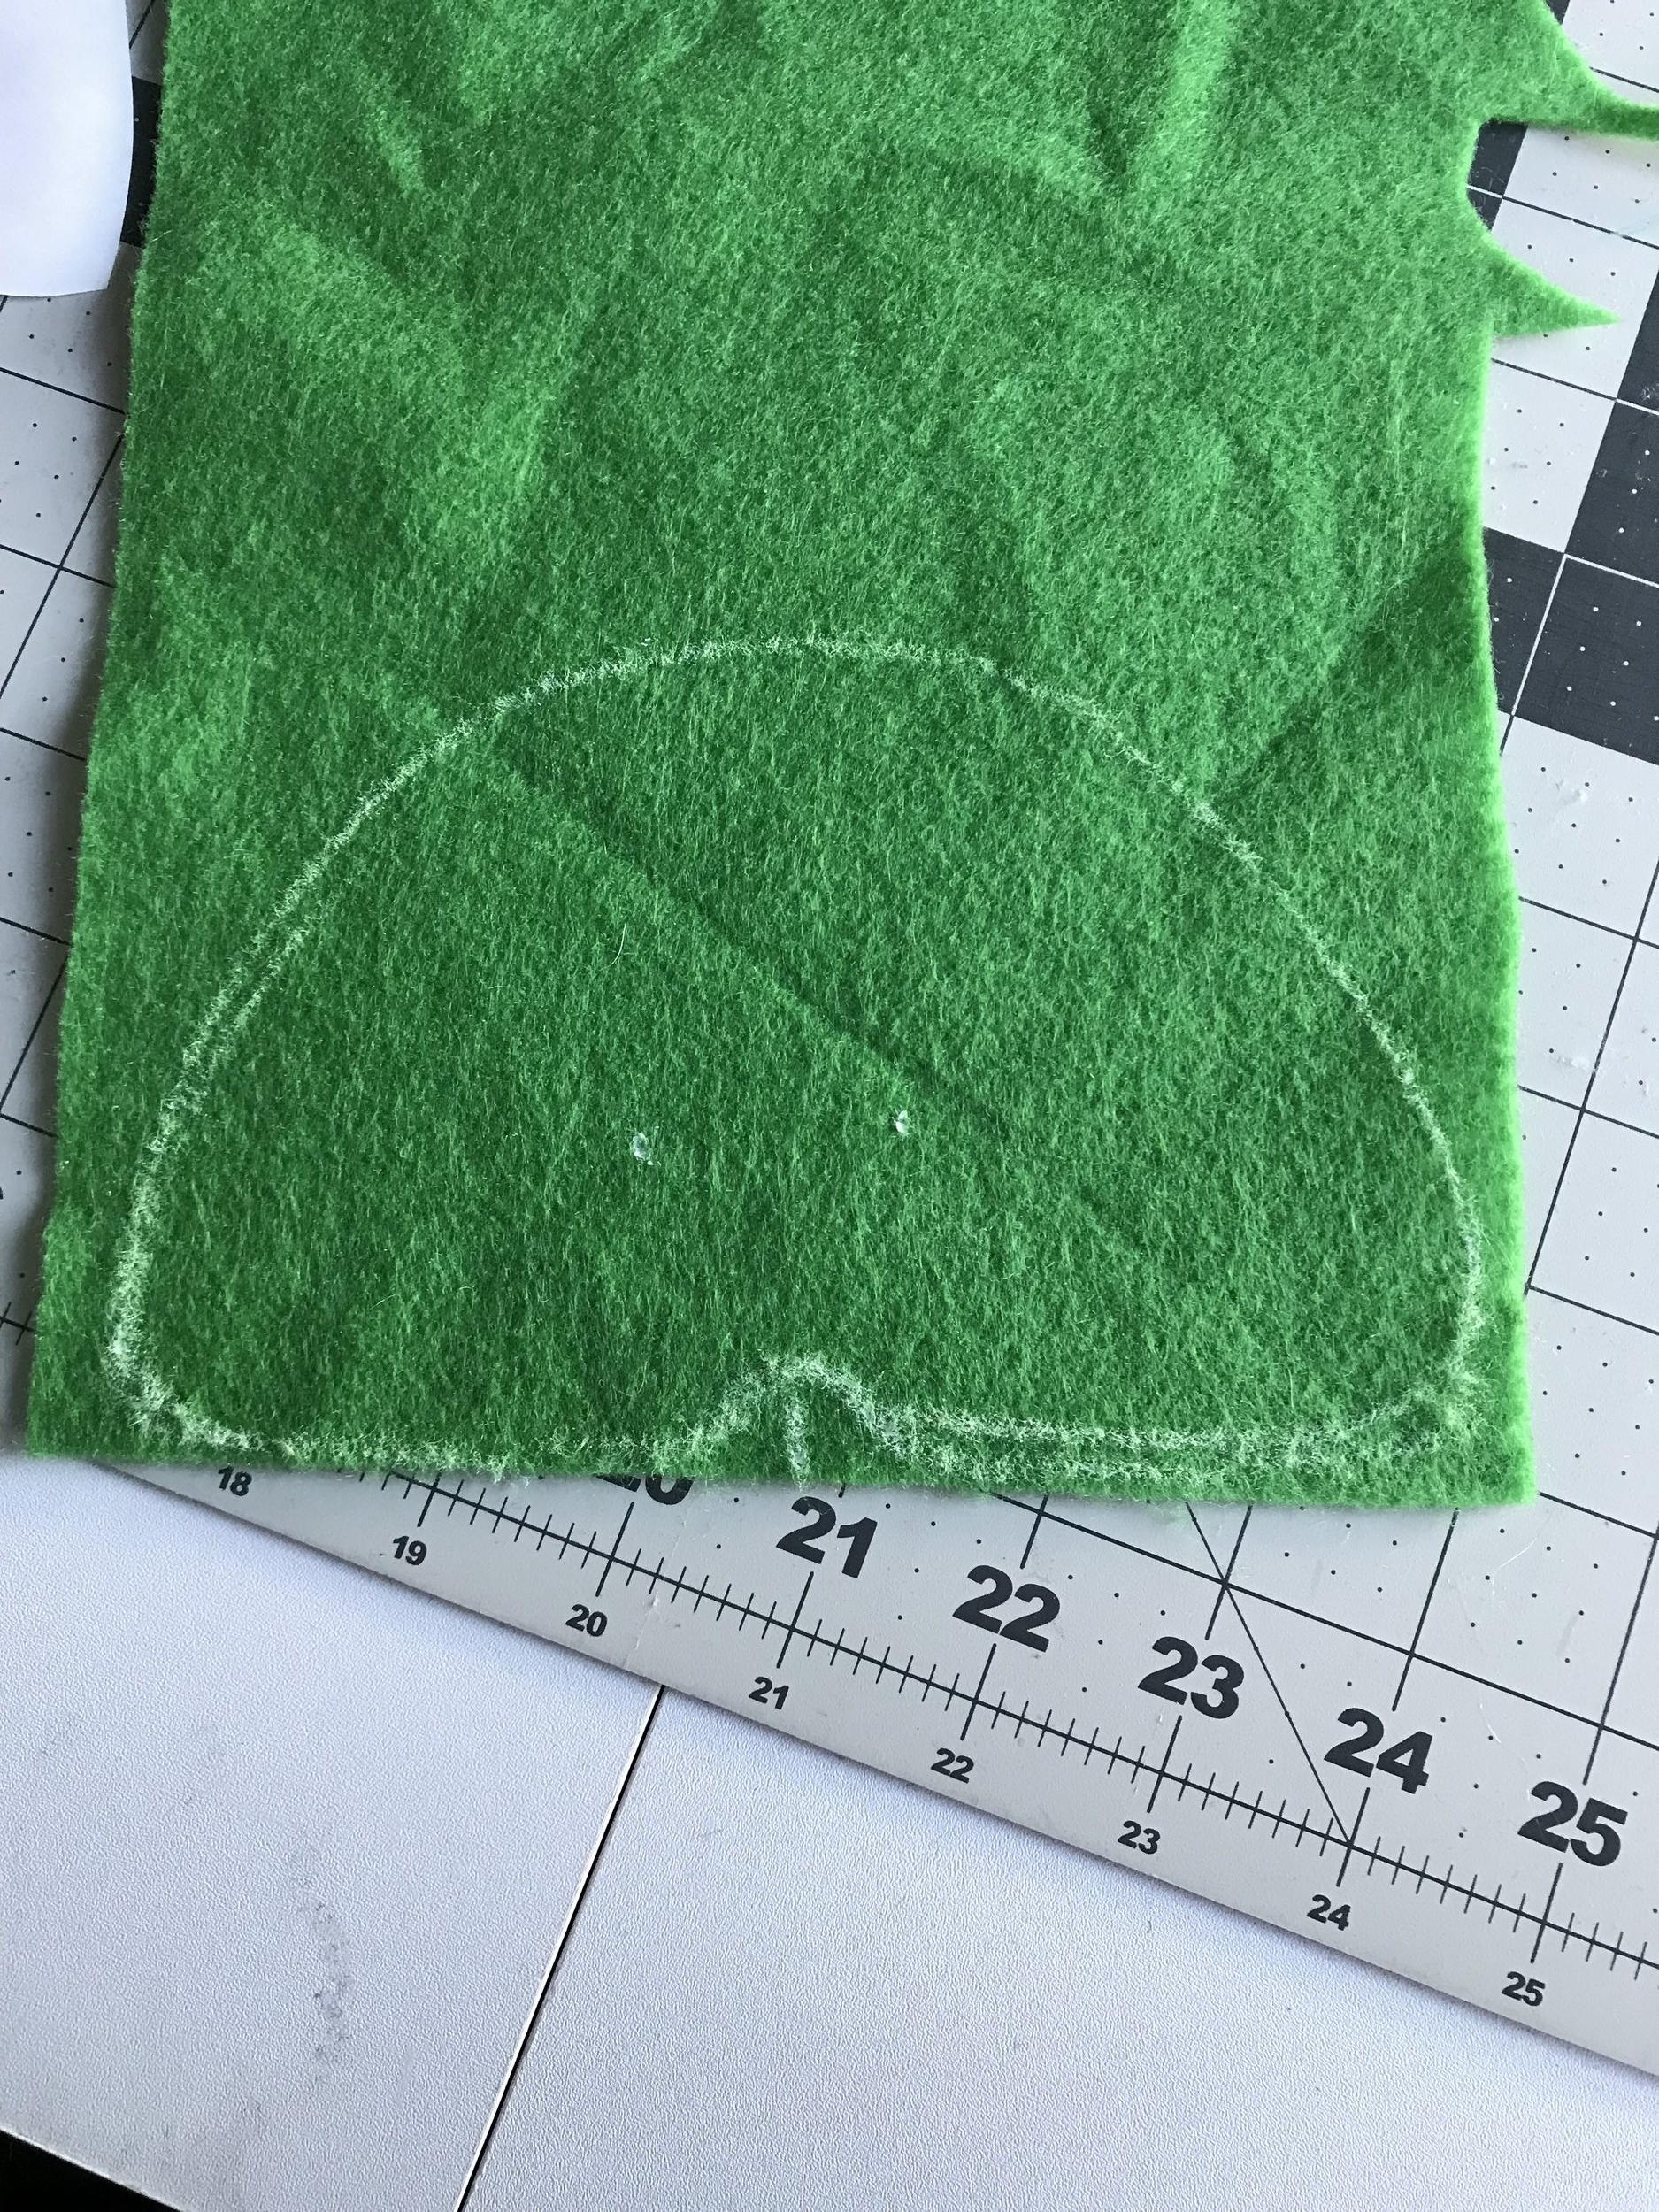
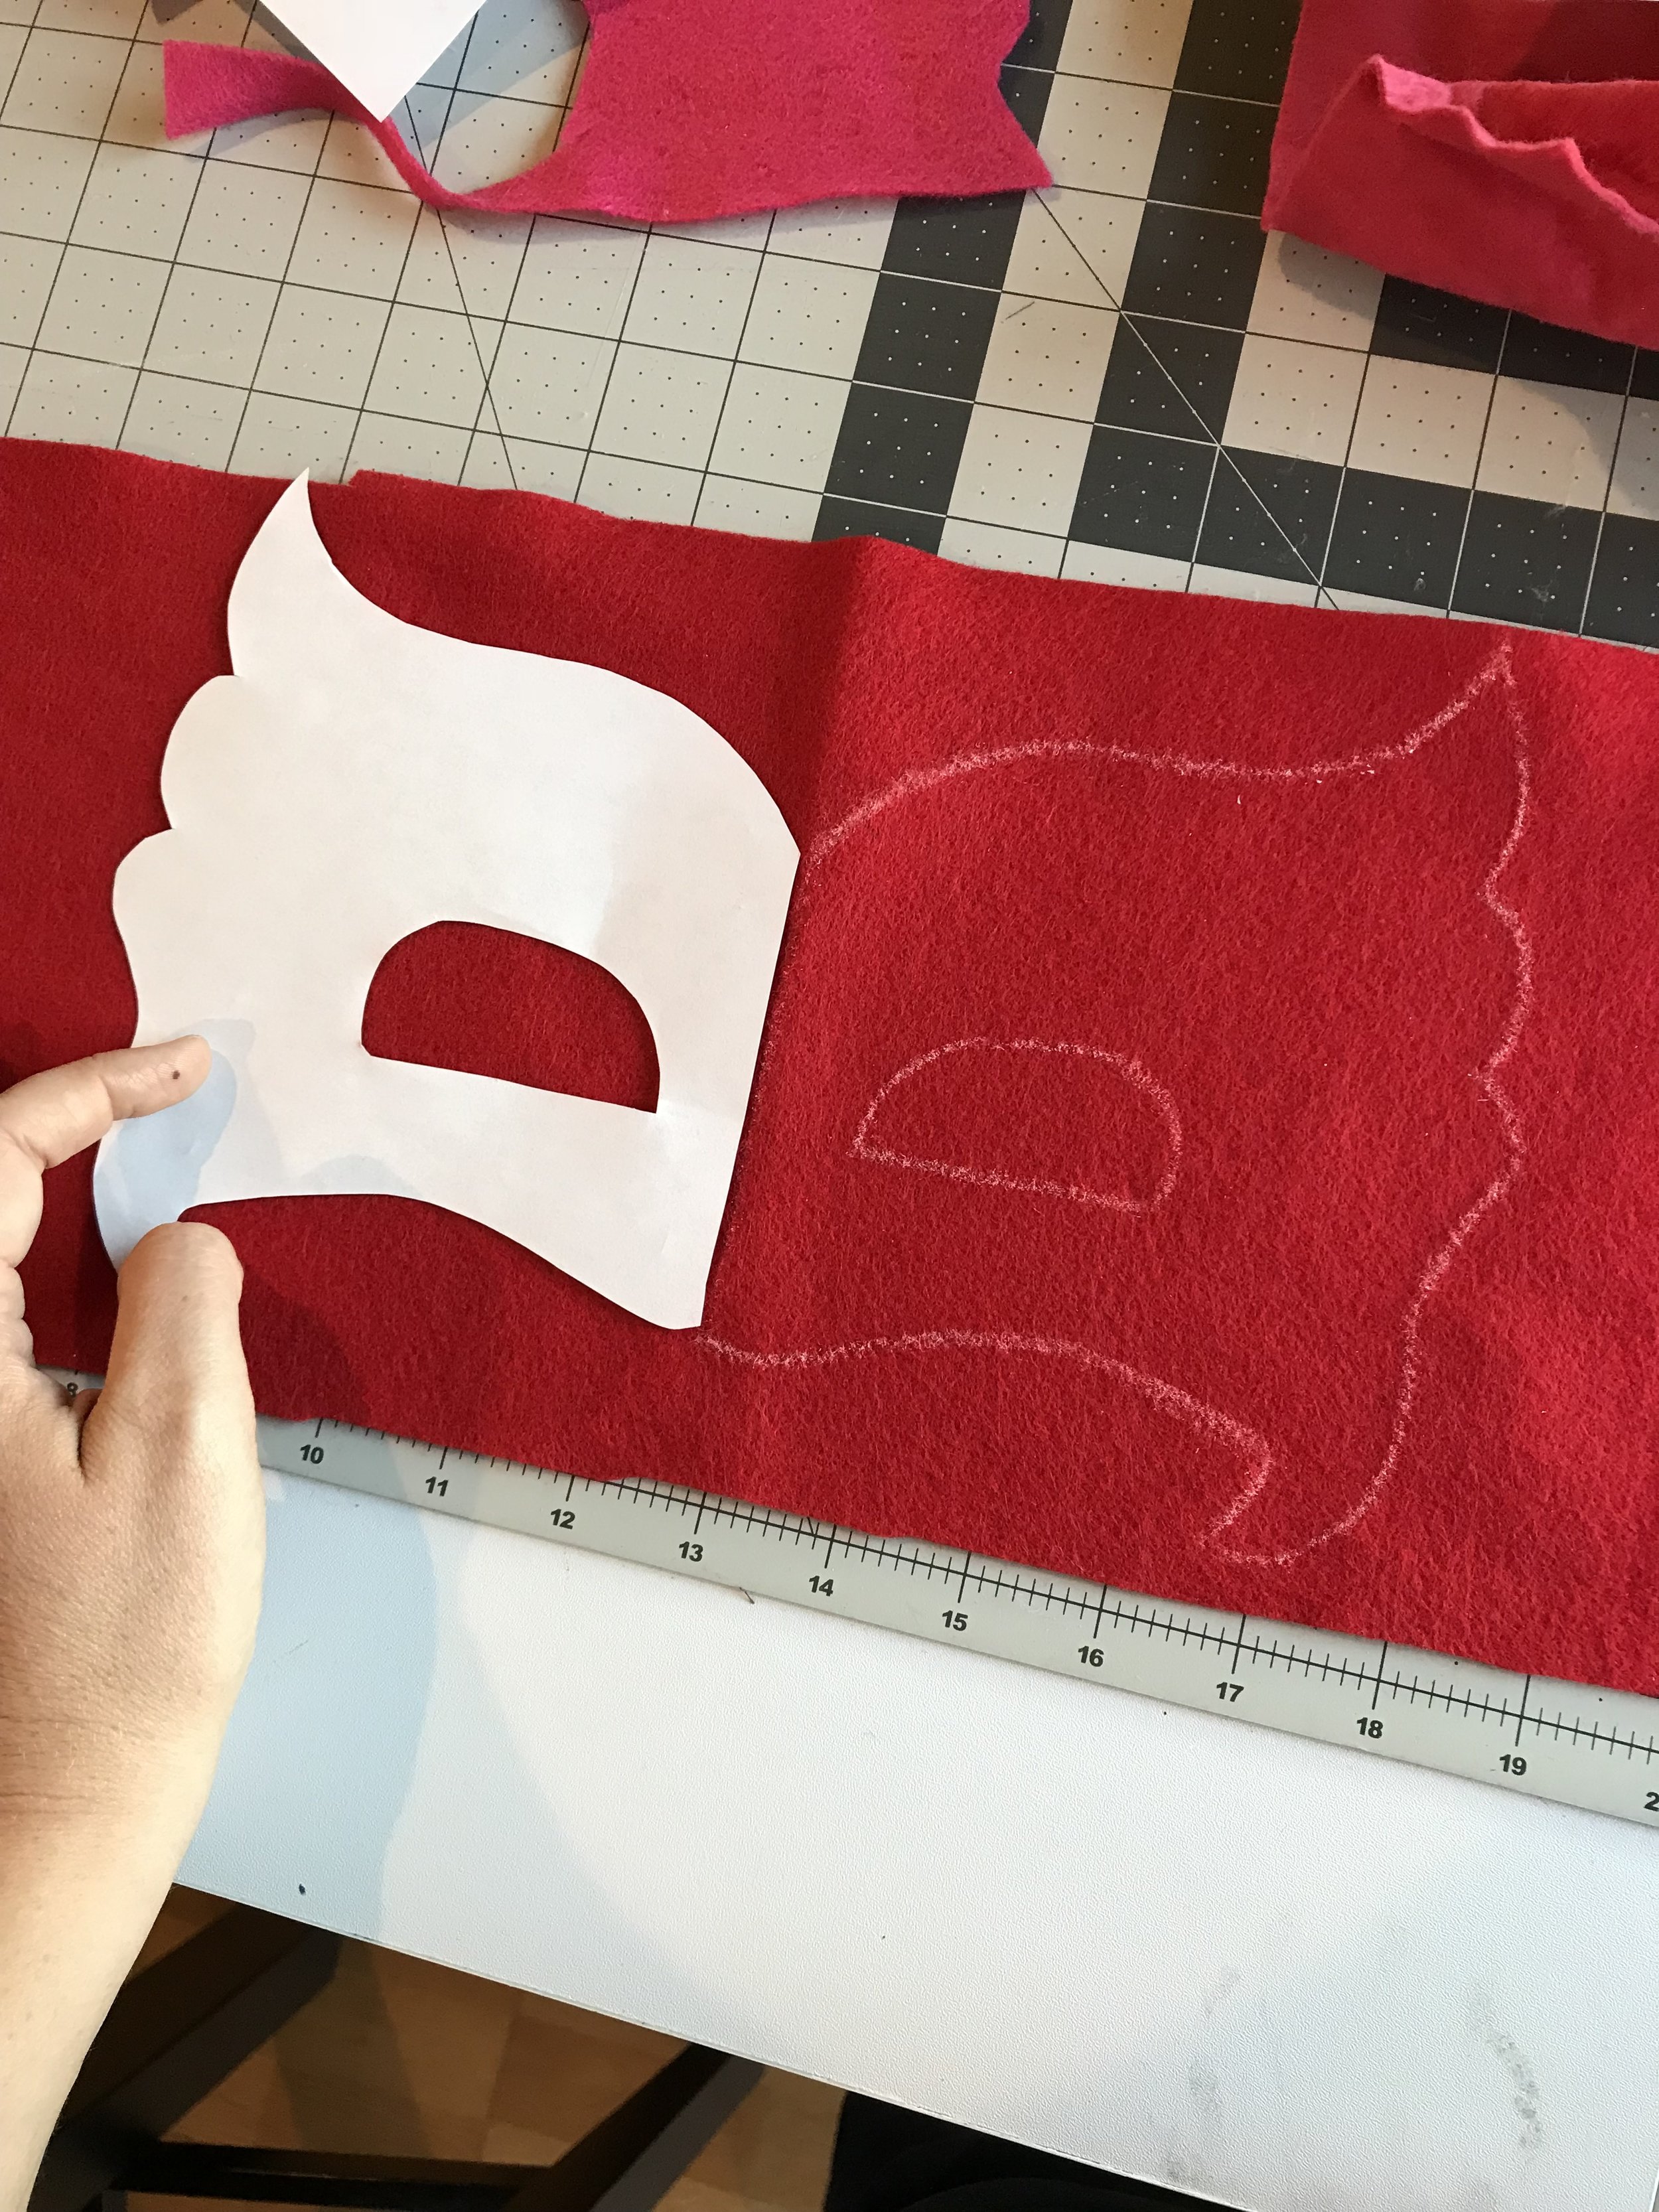
I'll start with the Catboy mask and then quickly go over the others since they are pretty easy to figure out. Start by cutting out your mask template in the size you need.
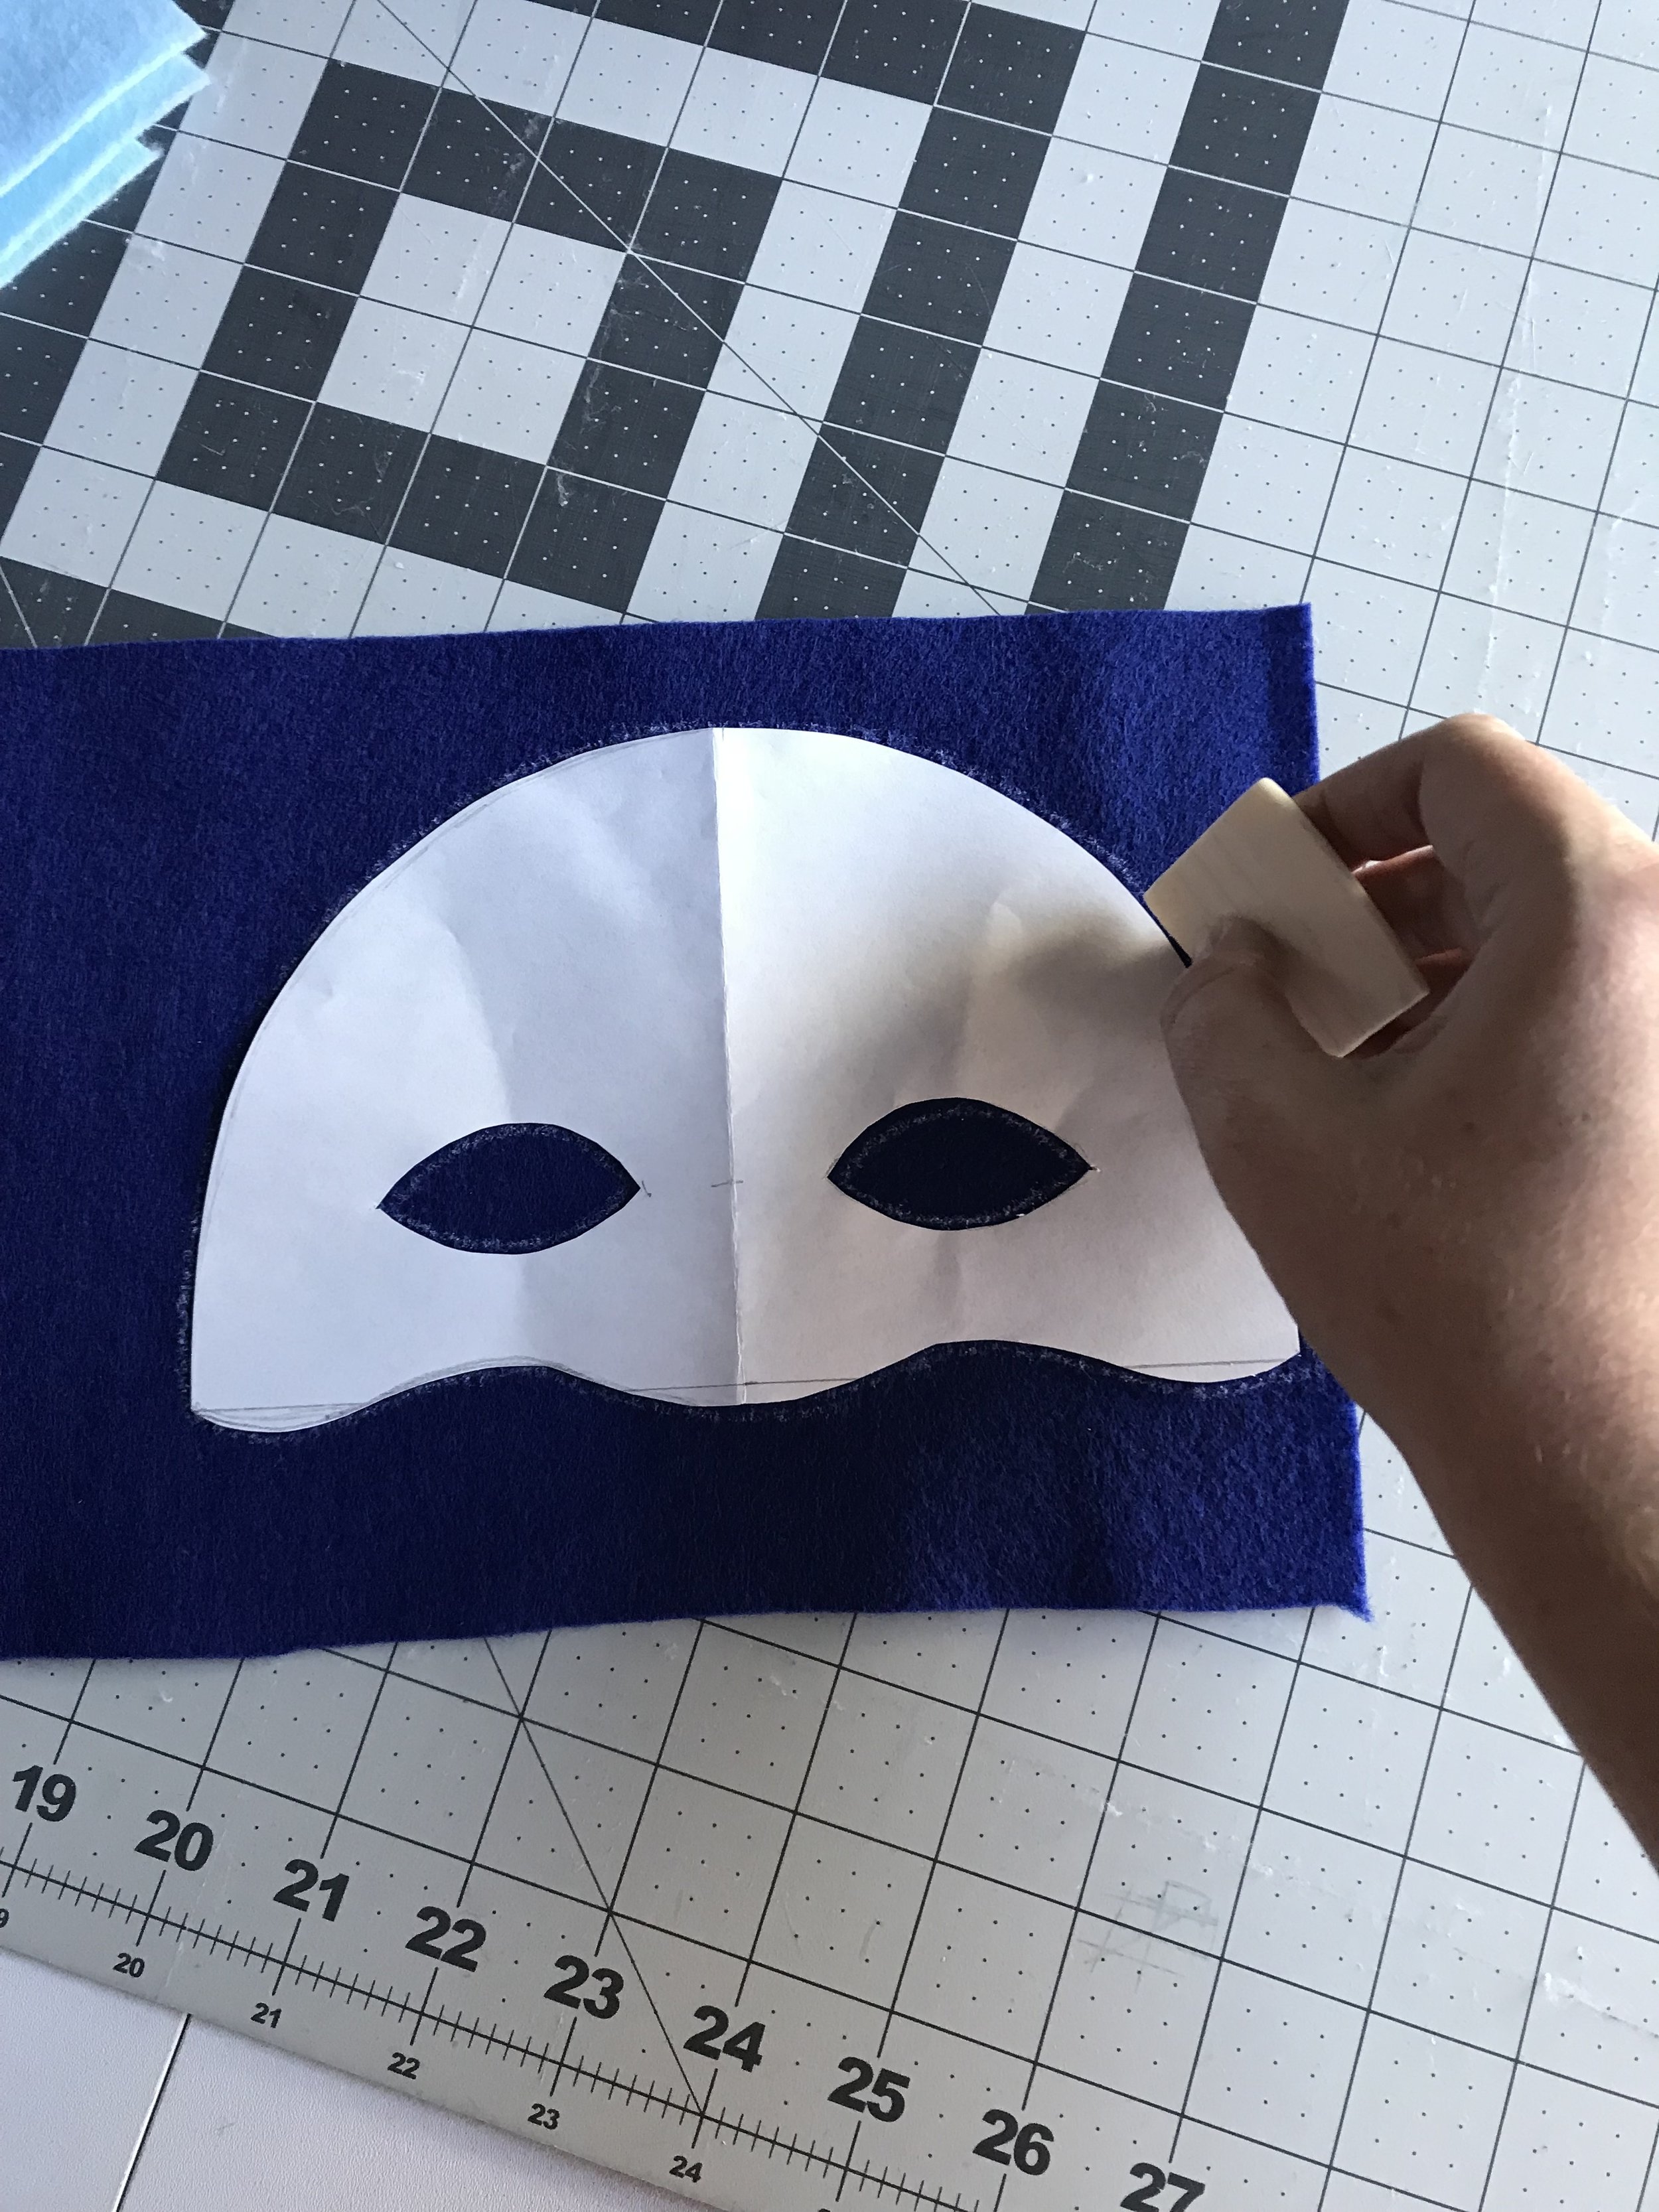
Trace around the template using tailor's chalk.
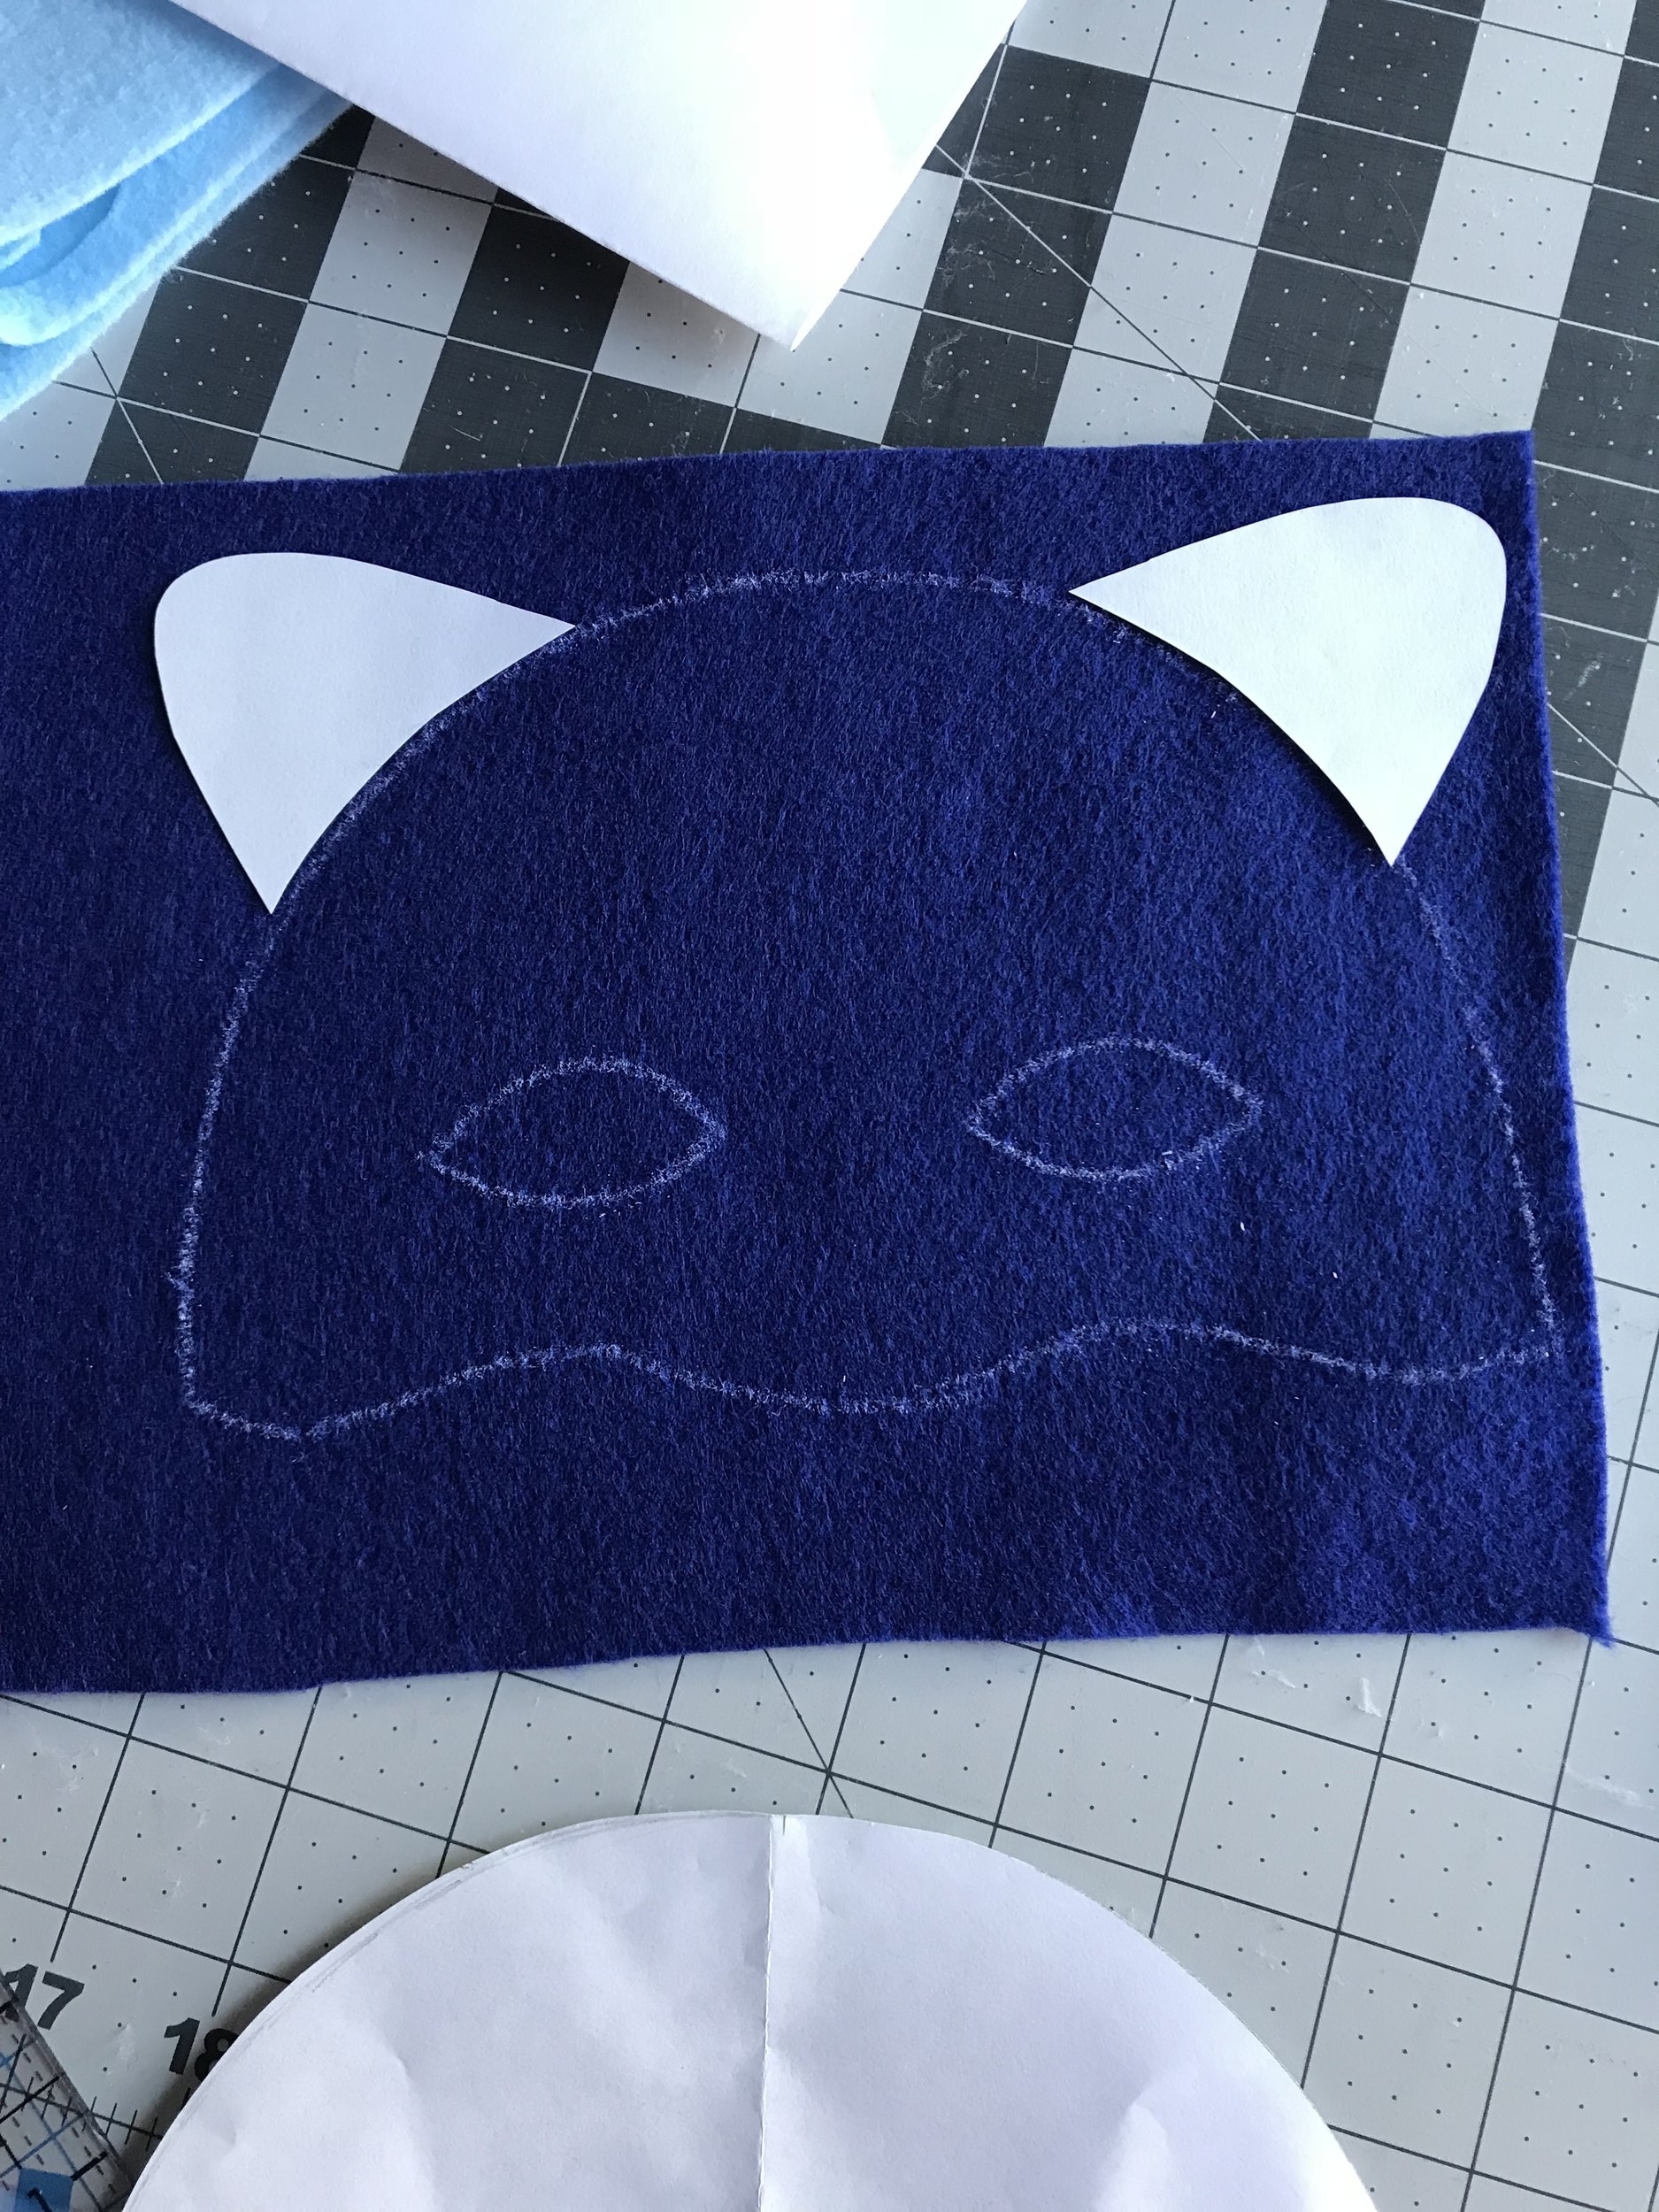
Cut out the outer ear templates and line them up along your mask tracing. Then trace around the ears so that when you cut out the mask it will be one piece. Don't cut it out yet.

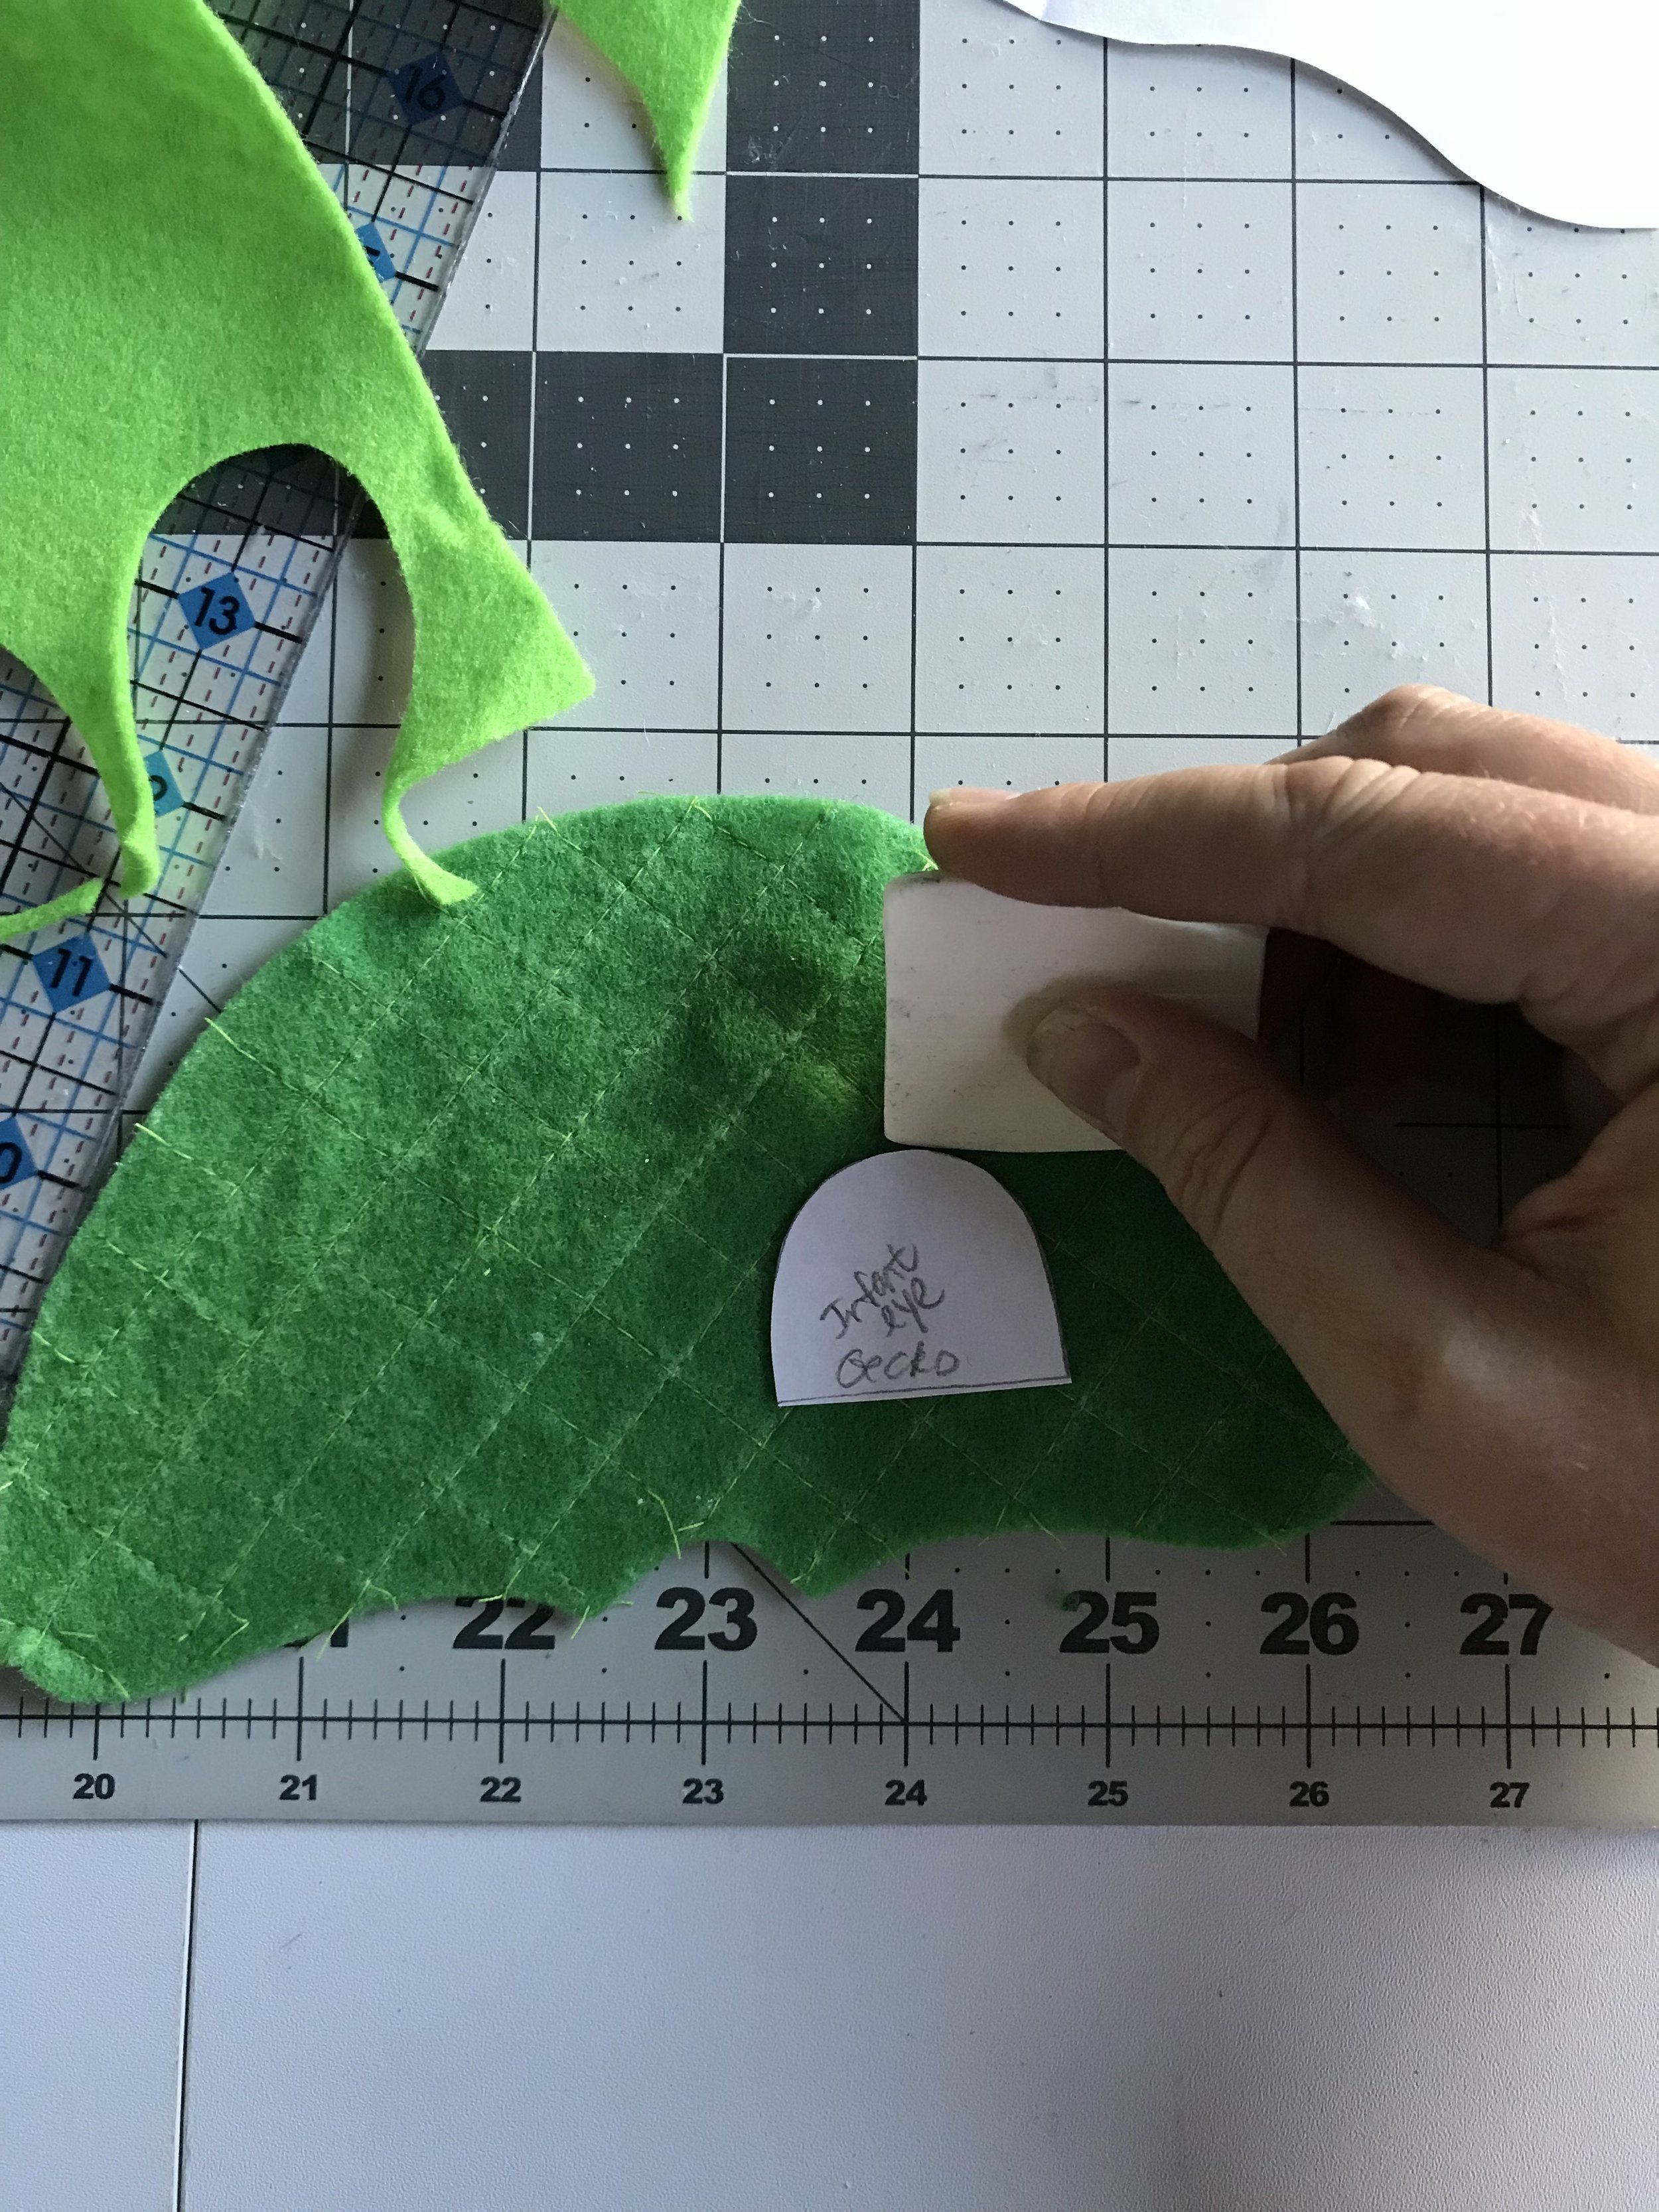
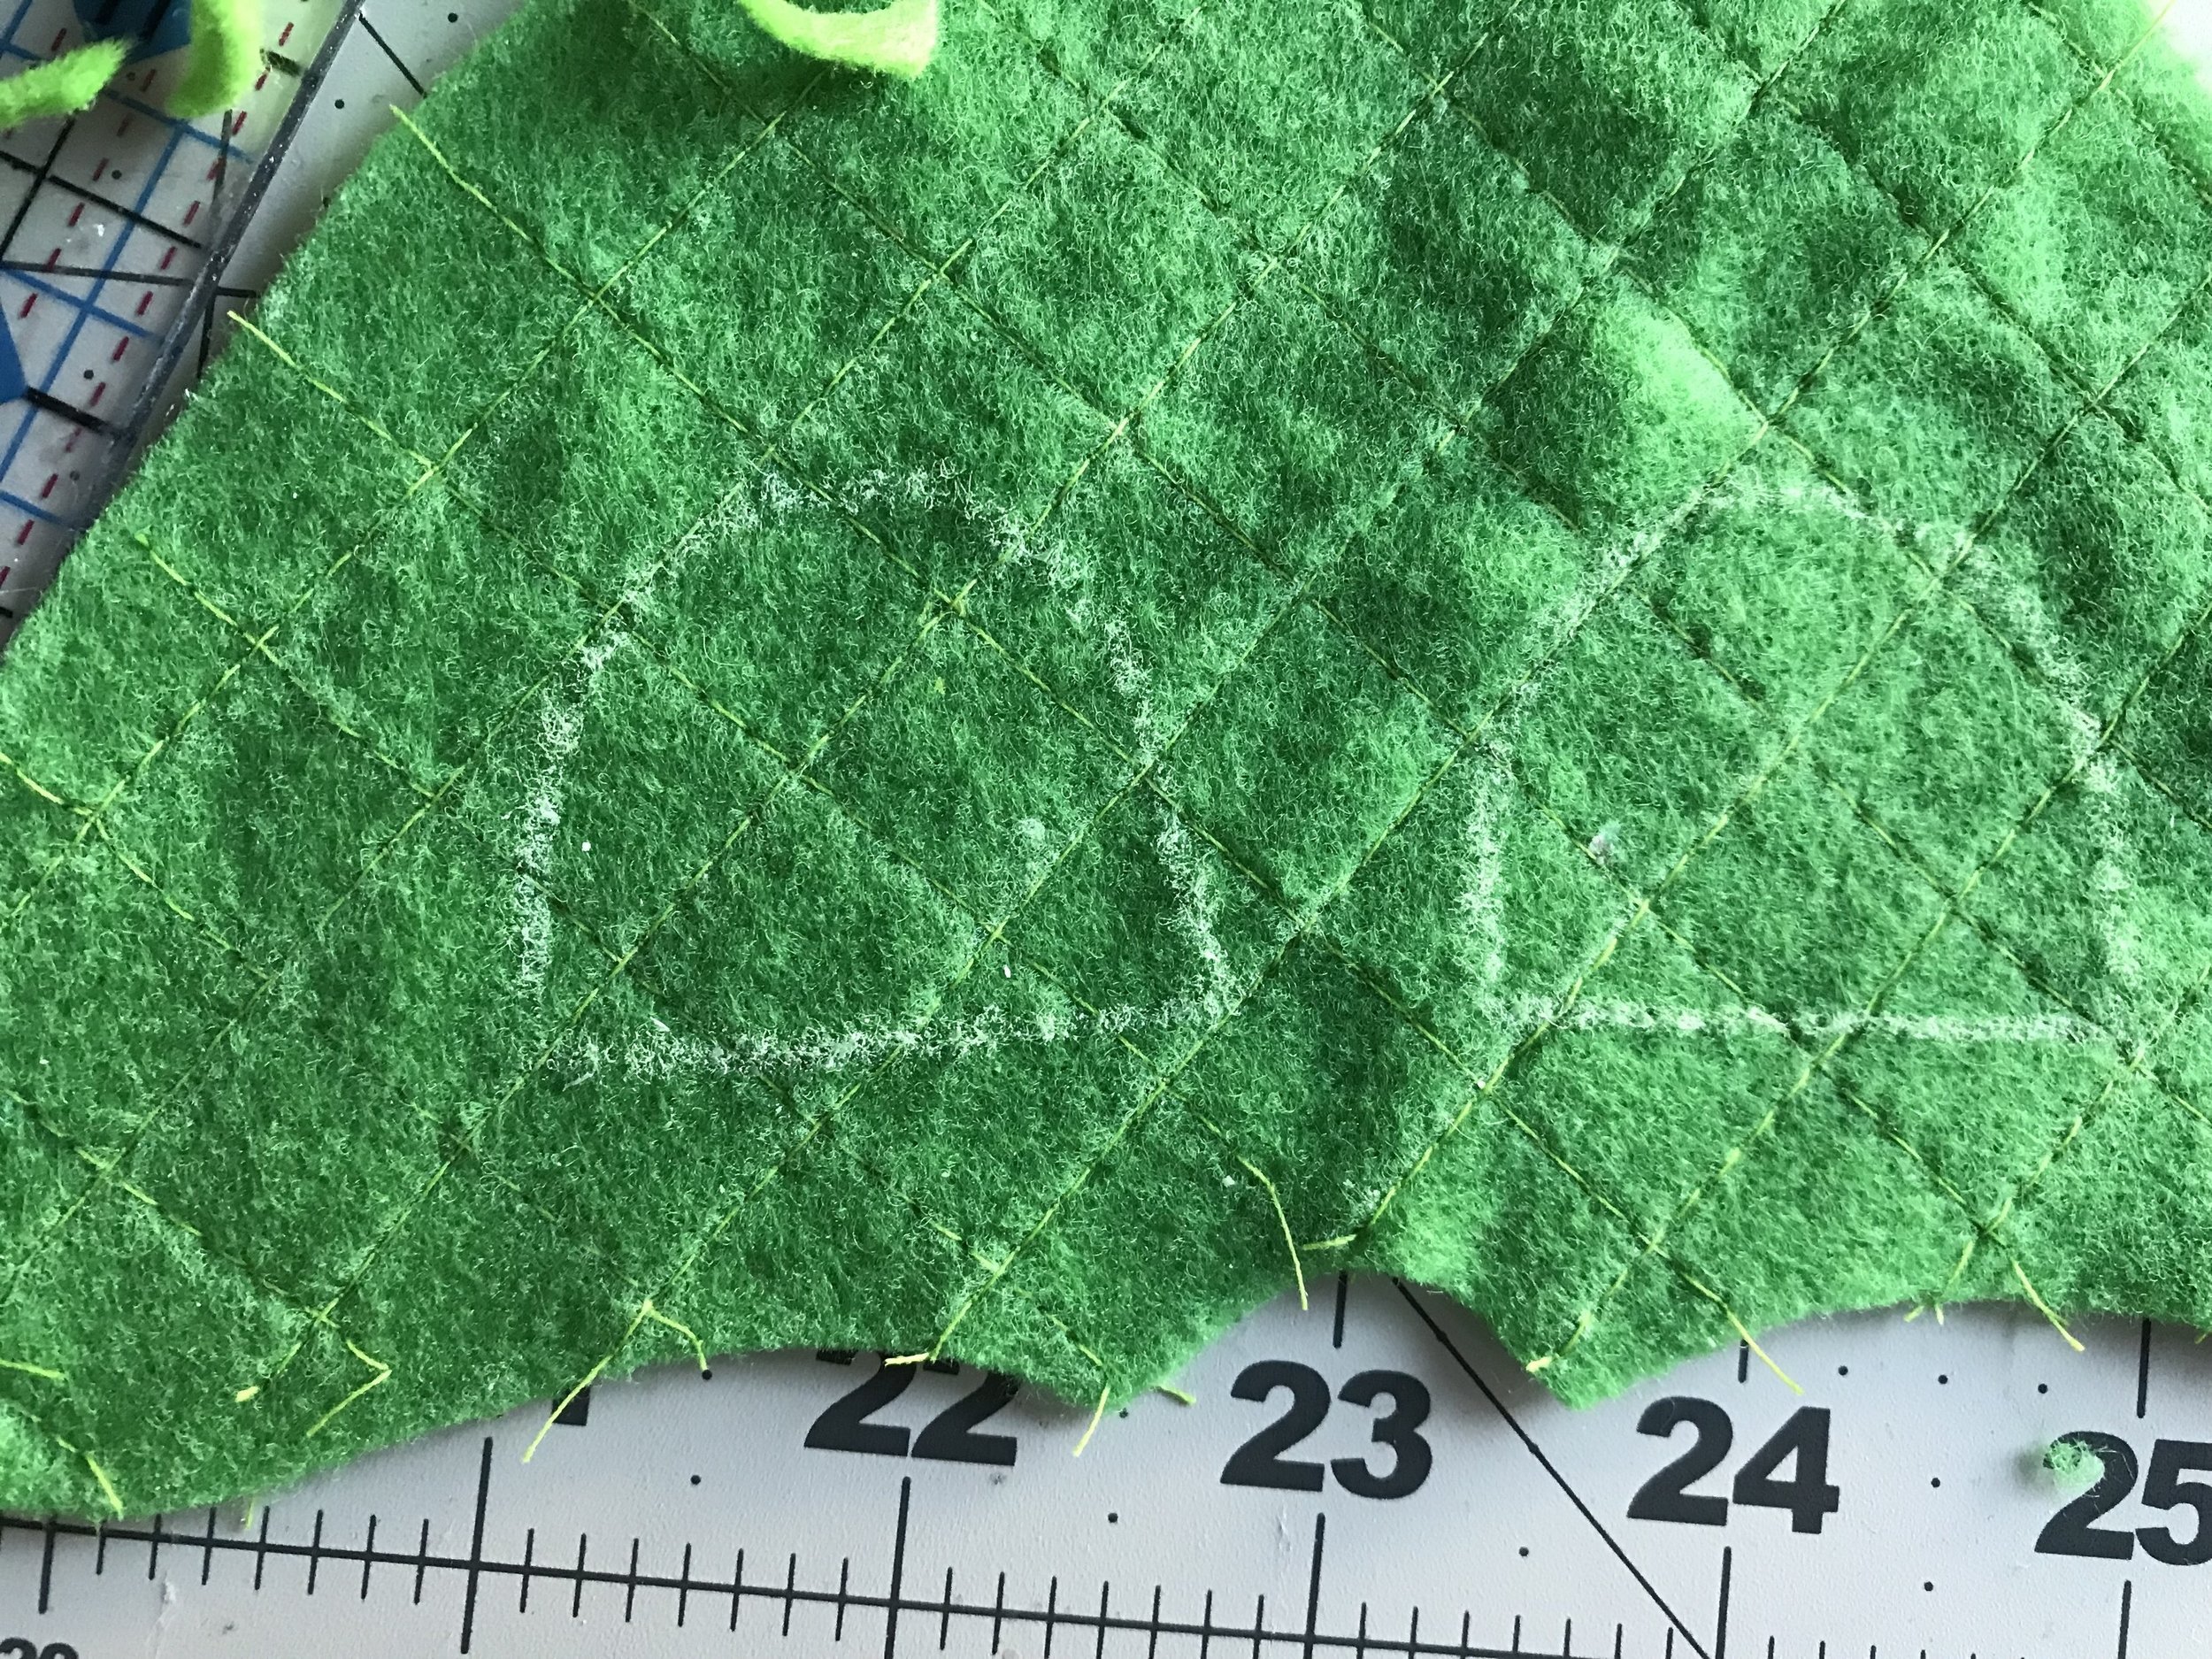
Using the eye template, trace around it over top of the original eye. If my spacing looks weird here it's because after making one layer I realized the eyes were a bit too far apart. The template you have is the correct spacing.
Also, I added little notches on either side on the bottom of the mask to match the Catboy mask from the show. Just make a tiny triangle shape on the bottom near the sides. Now cut out your mask along the outside lines and the inside catboy eye shape.

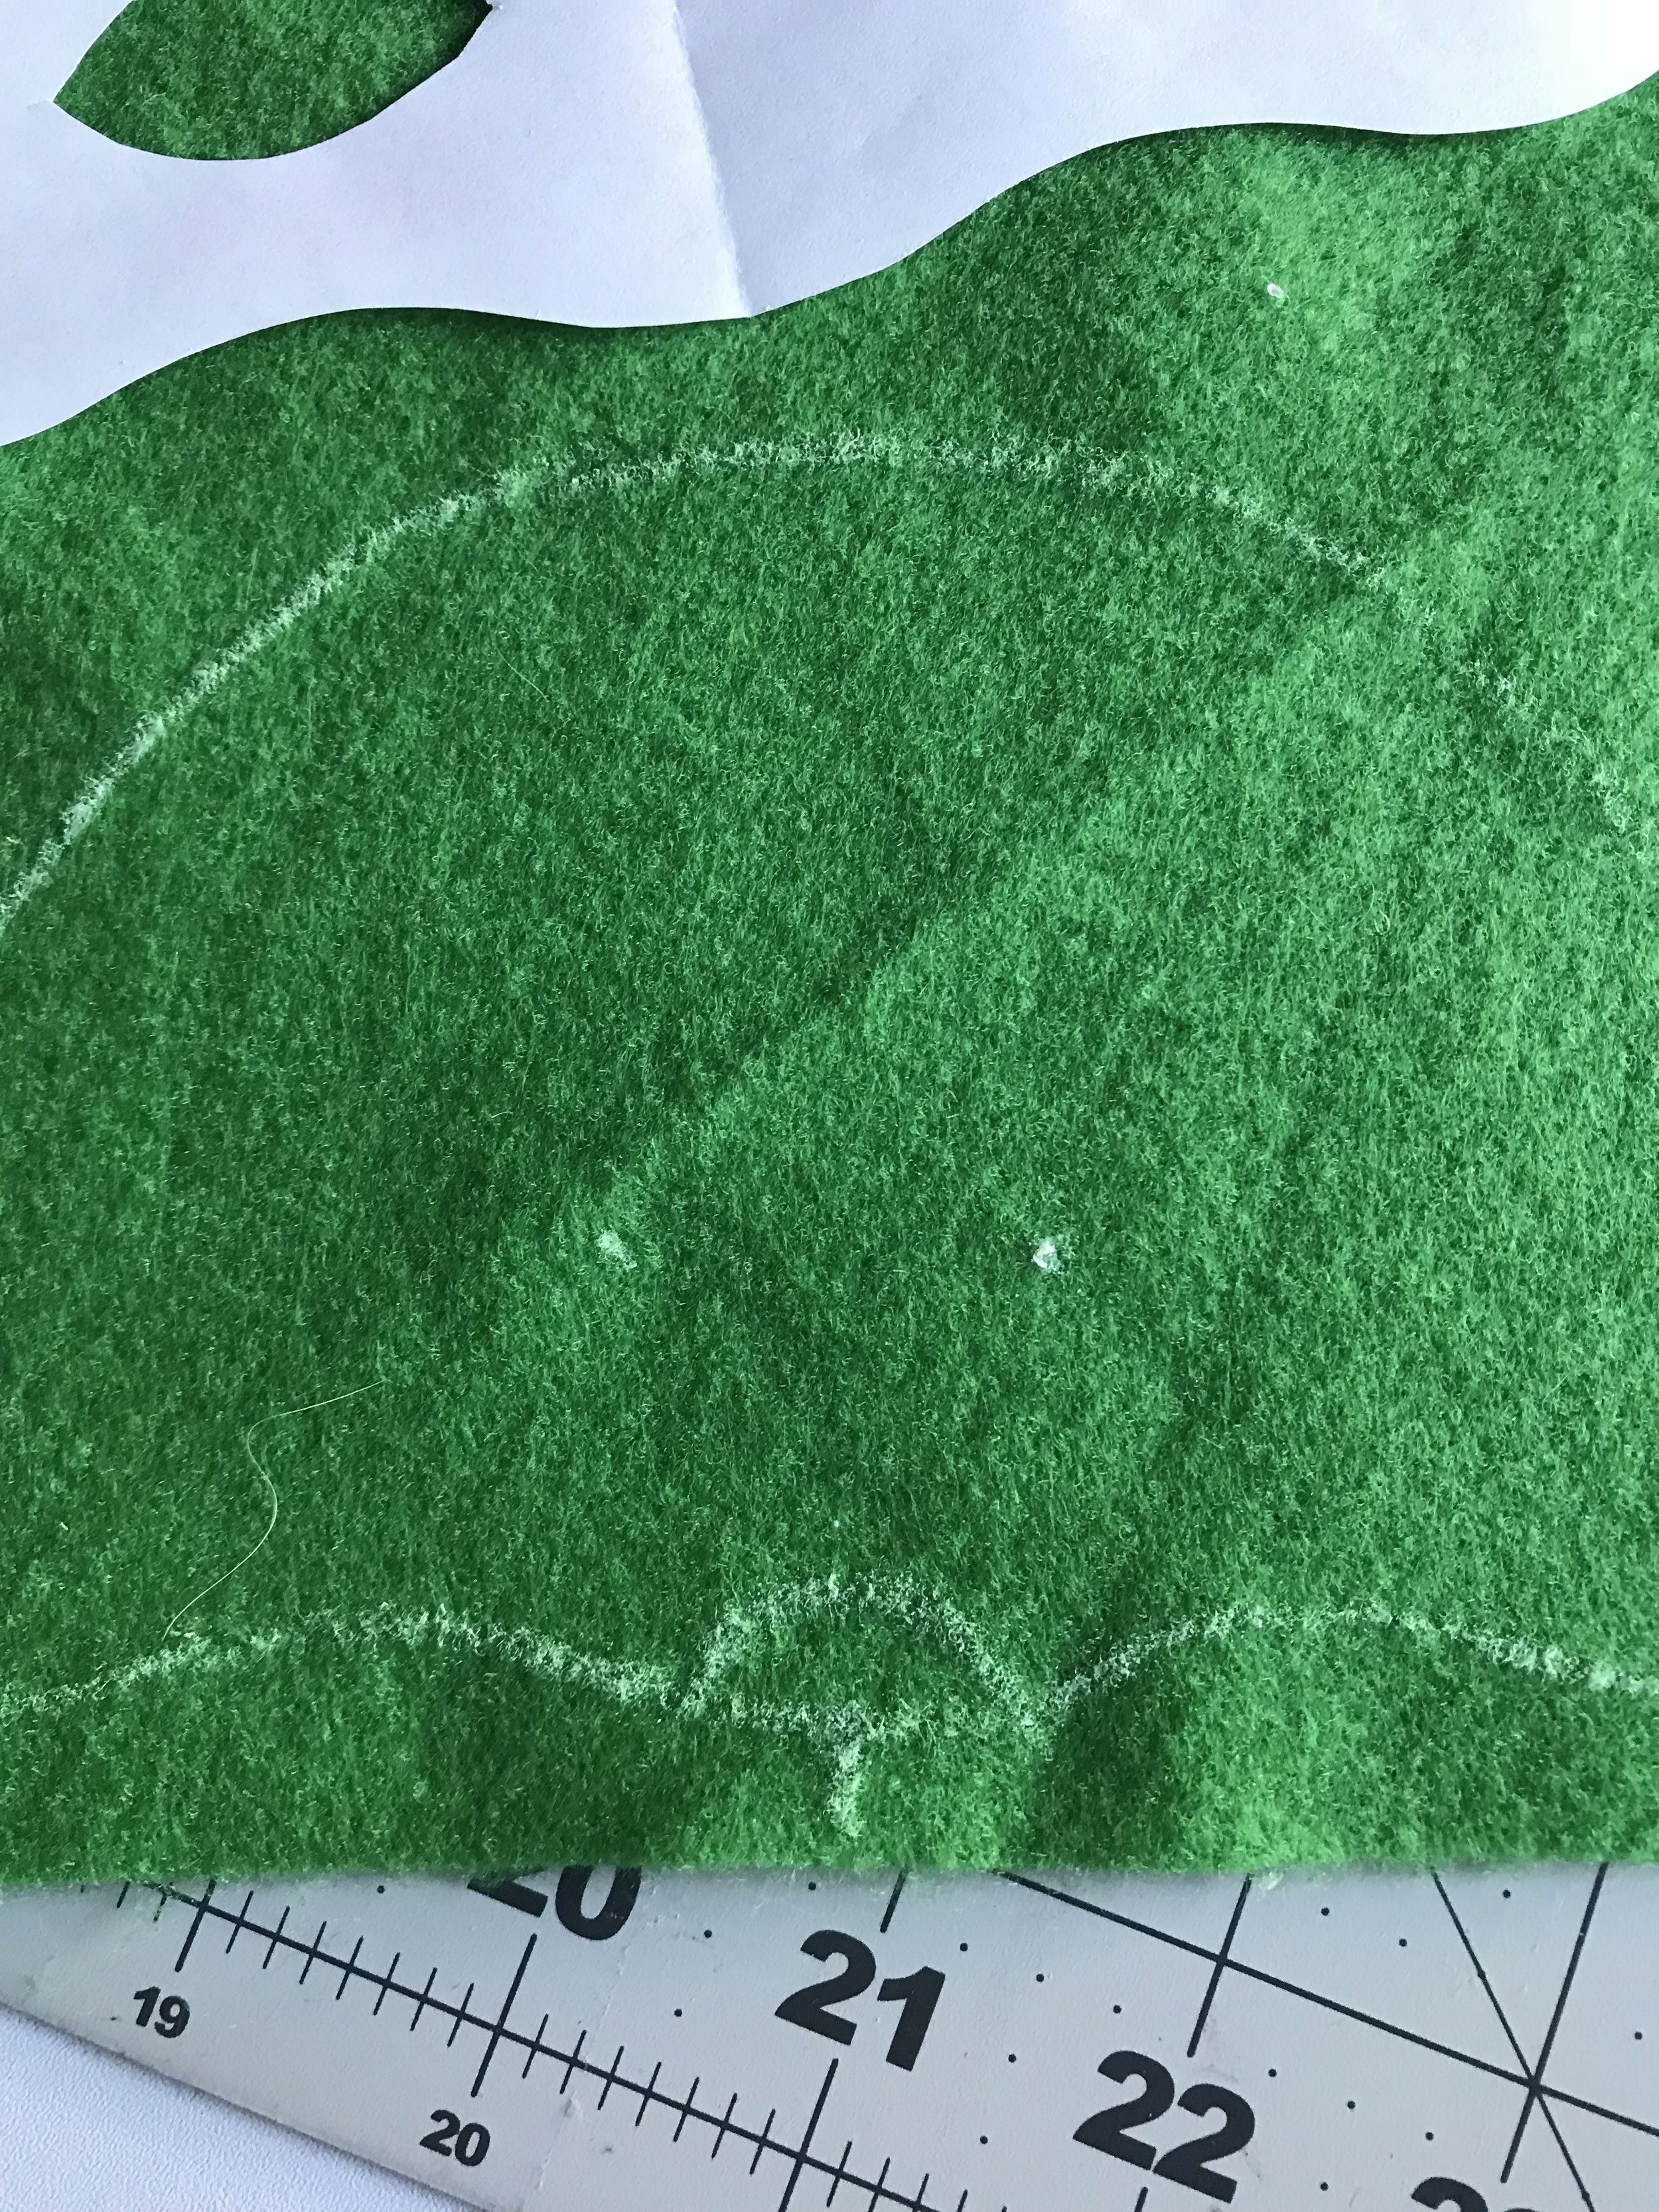
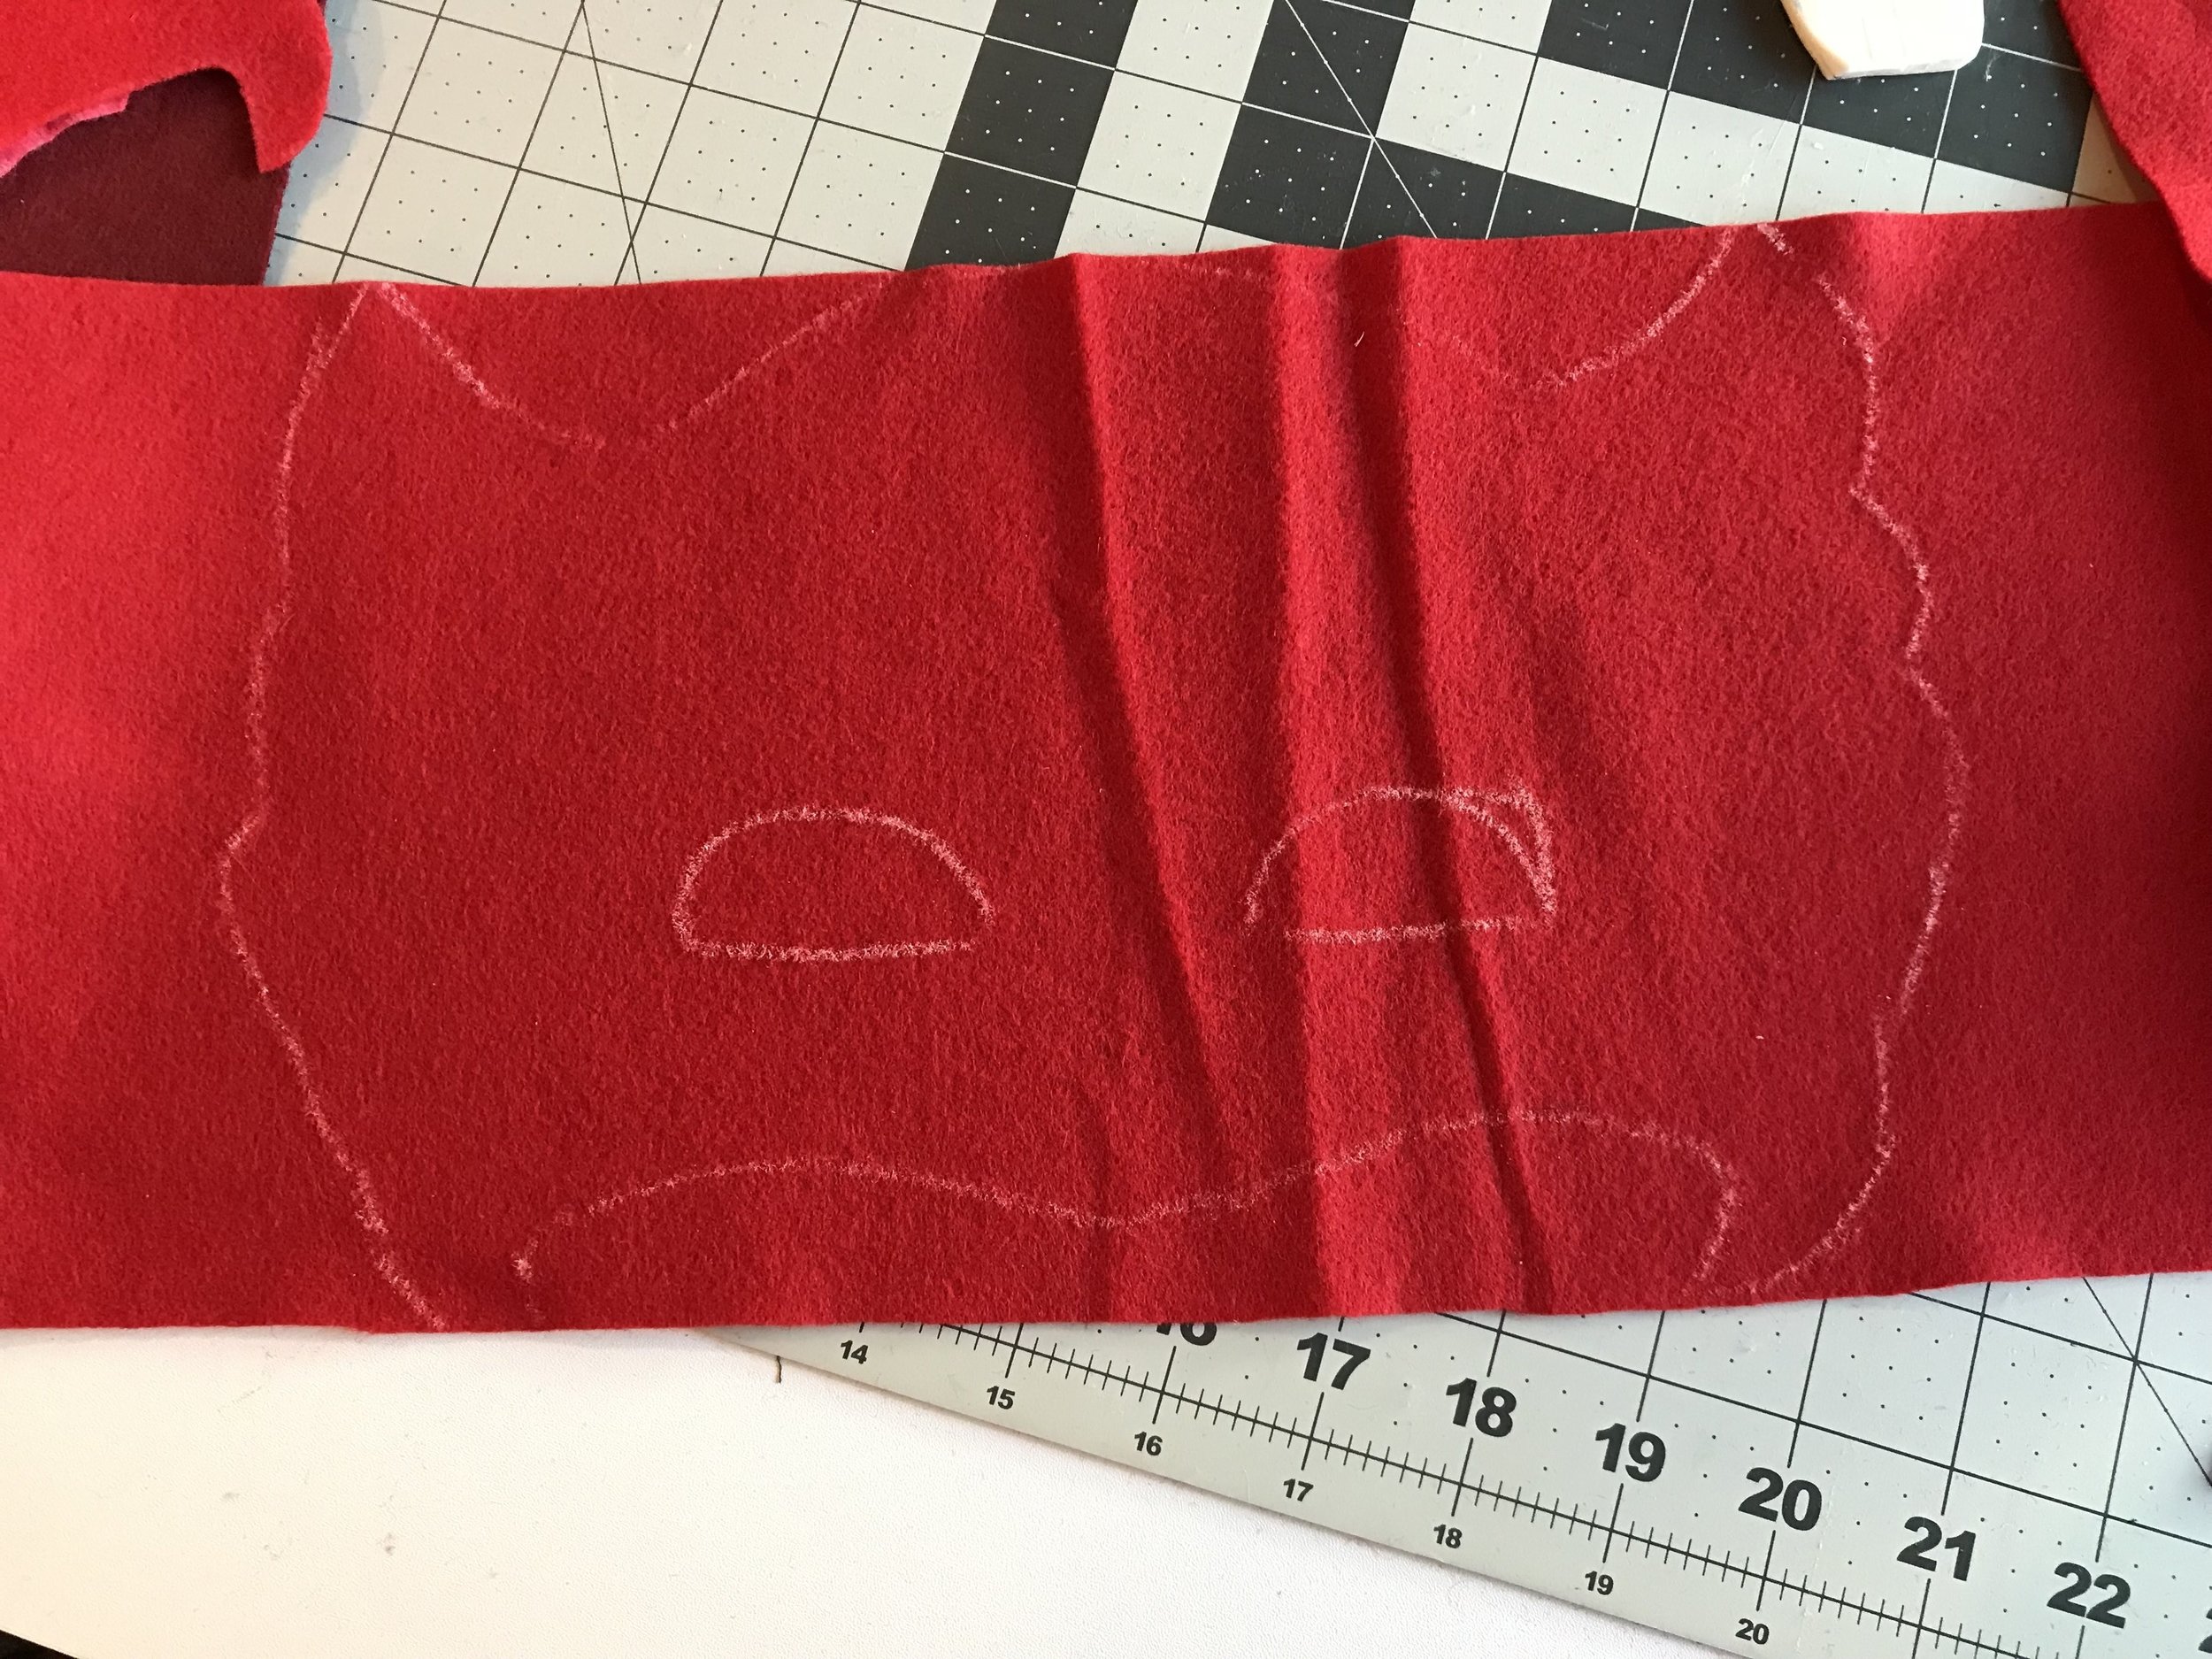
Using the piece you just cut out as a template, trace another mask in the same color. This will be the backing of the mask and will help to conceal the elastic when we attach it. Then cut that out as well, the same as the first.


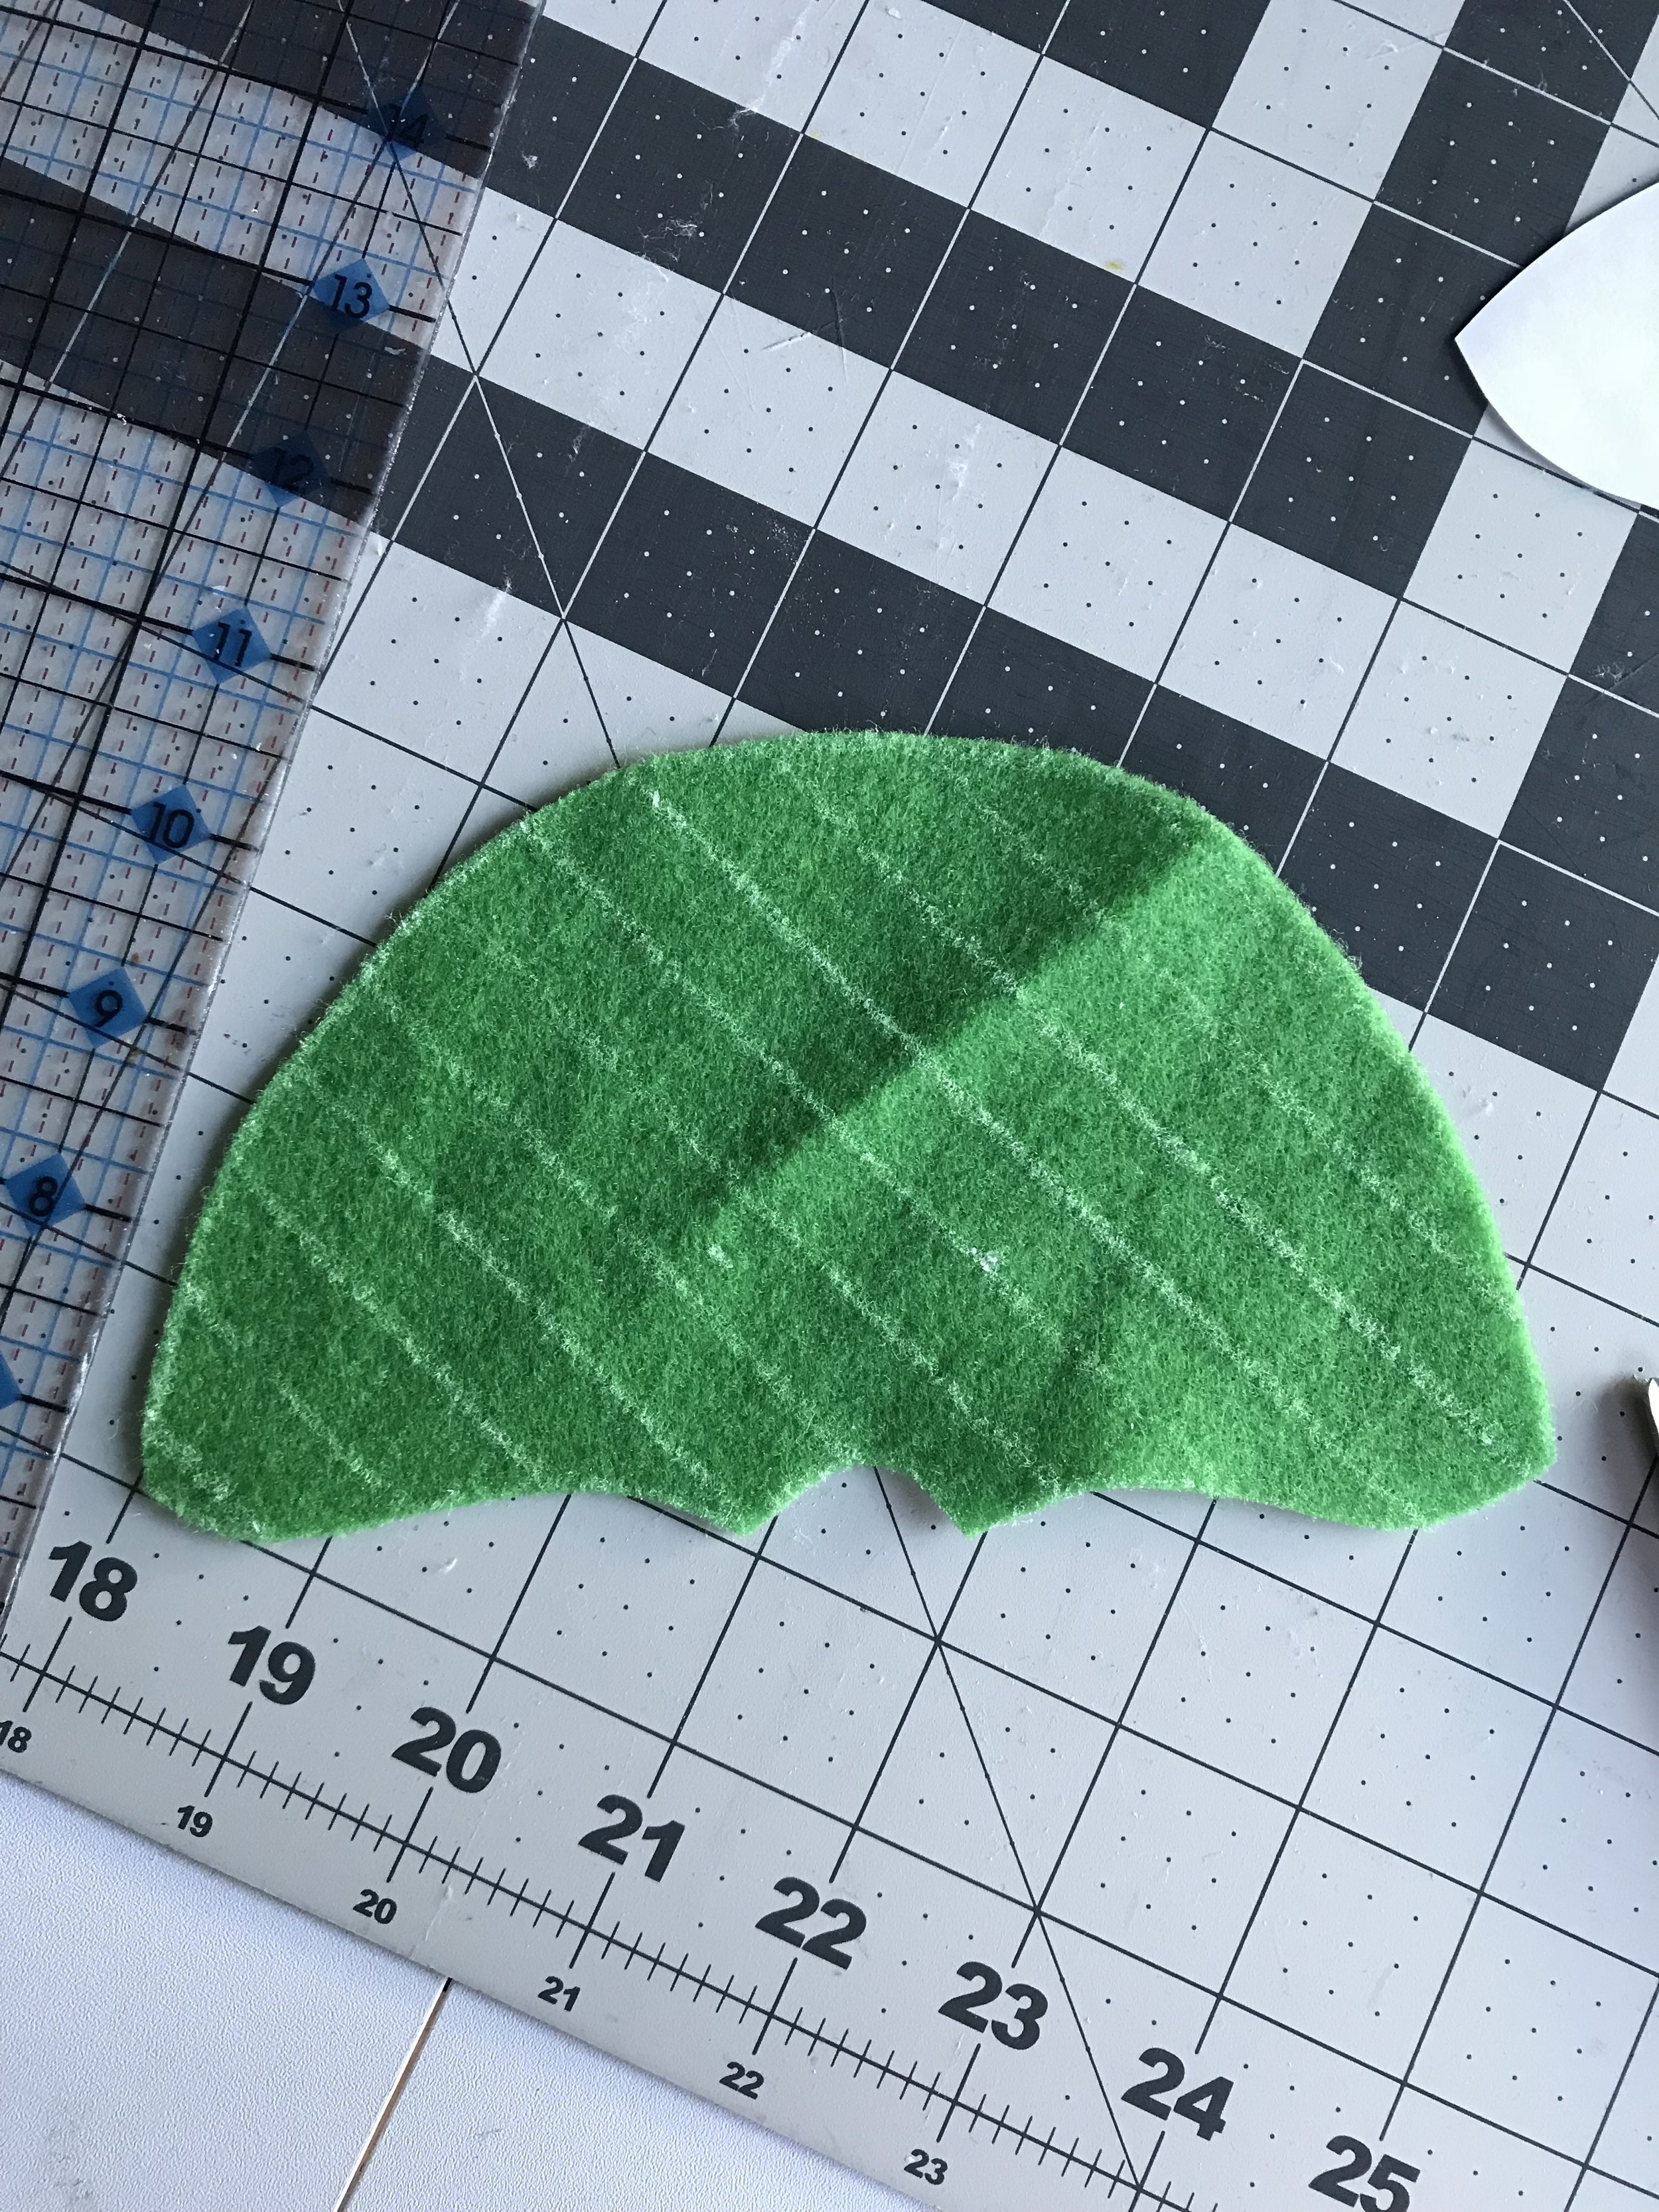
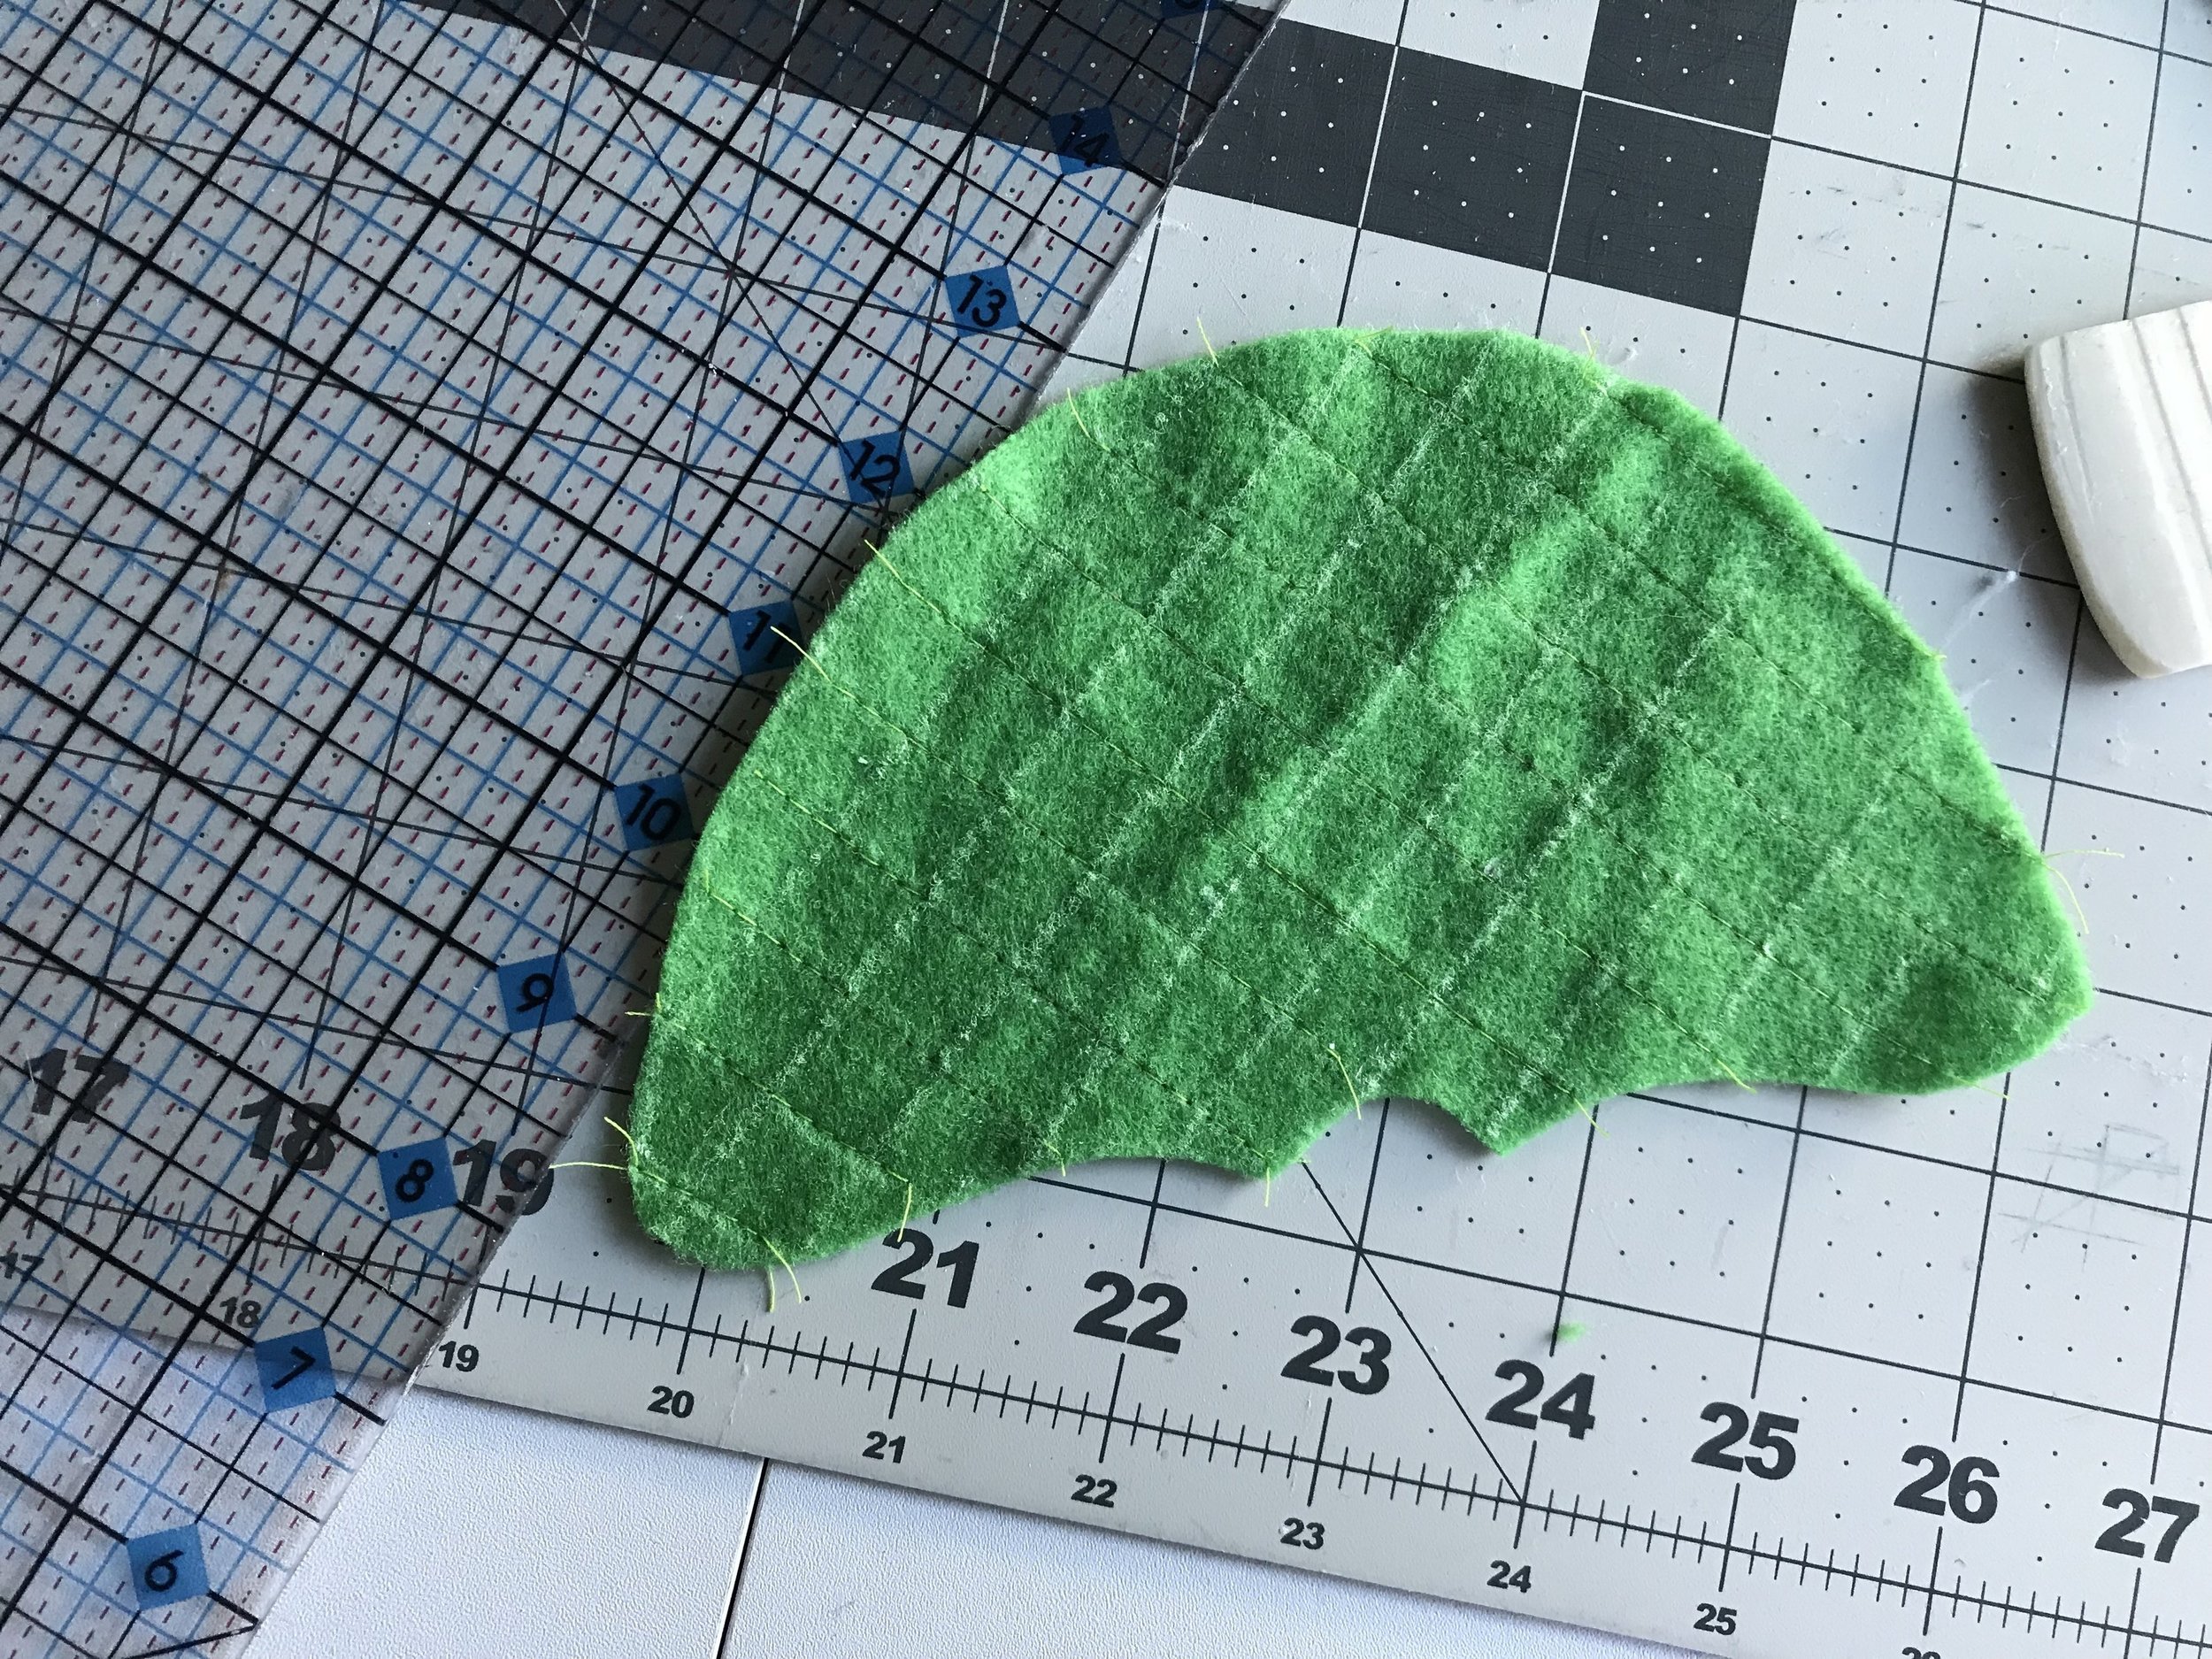
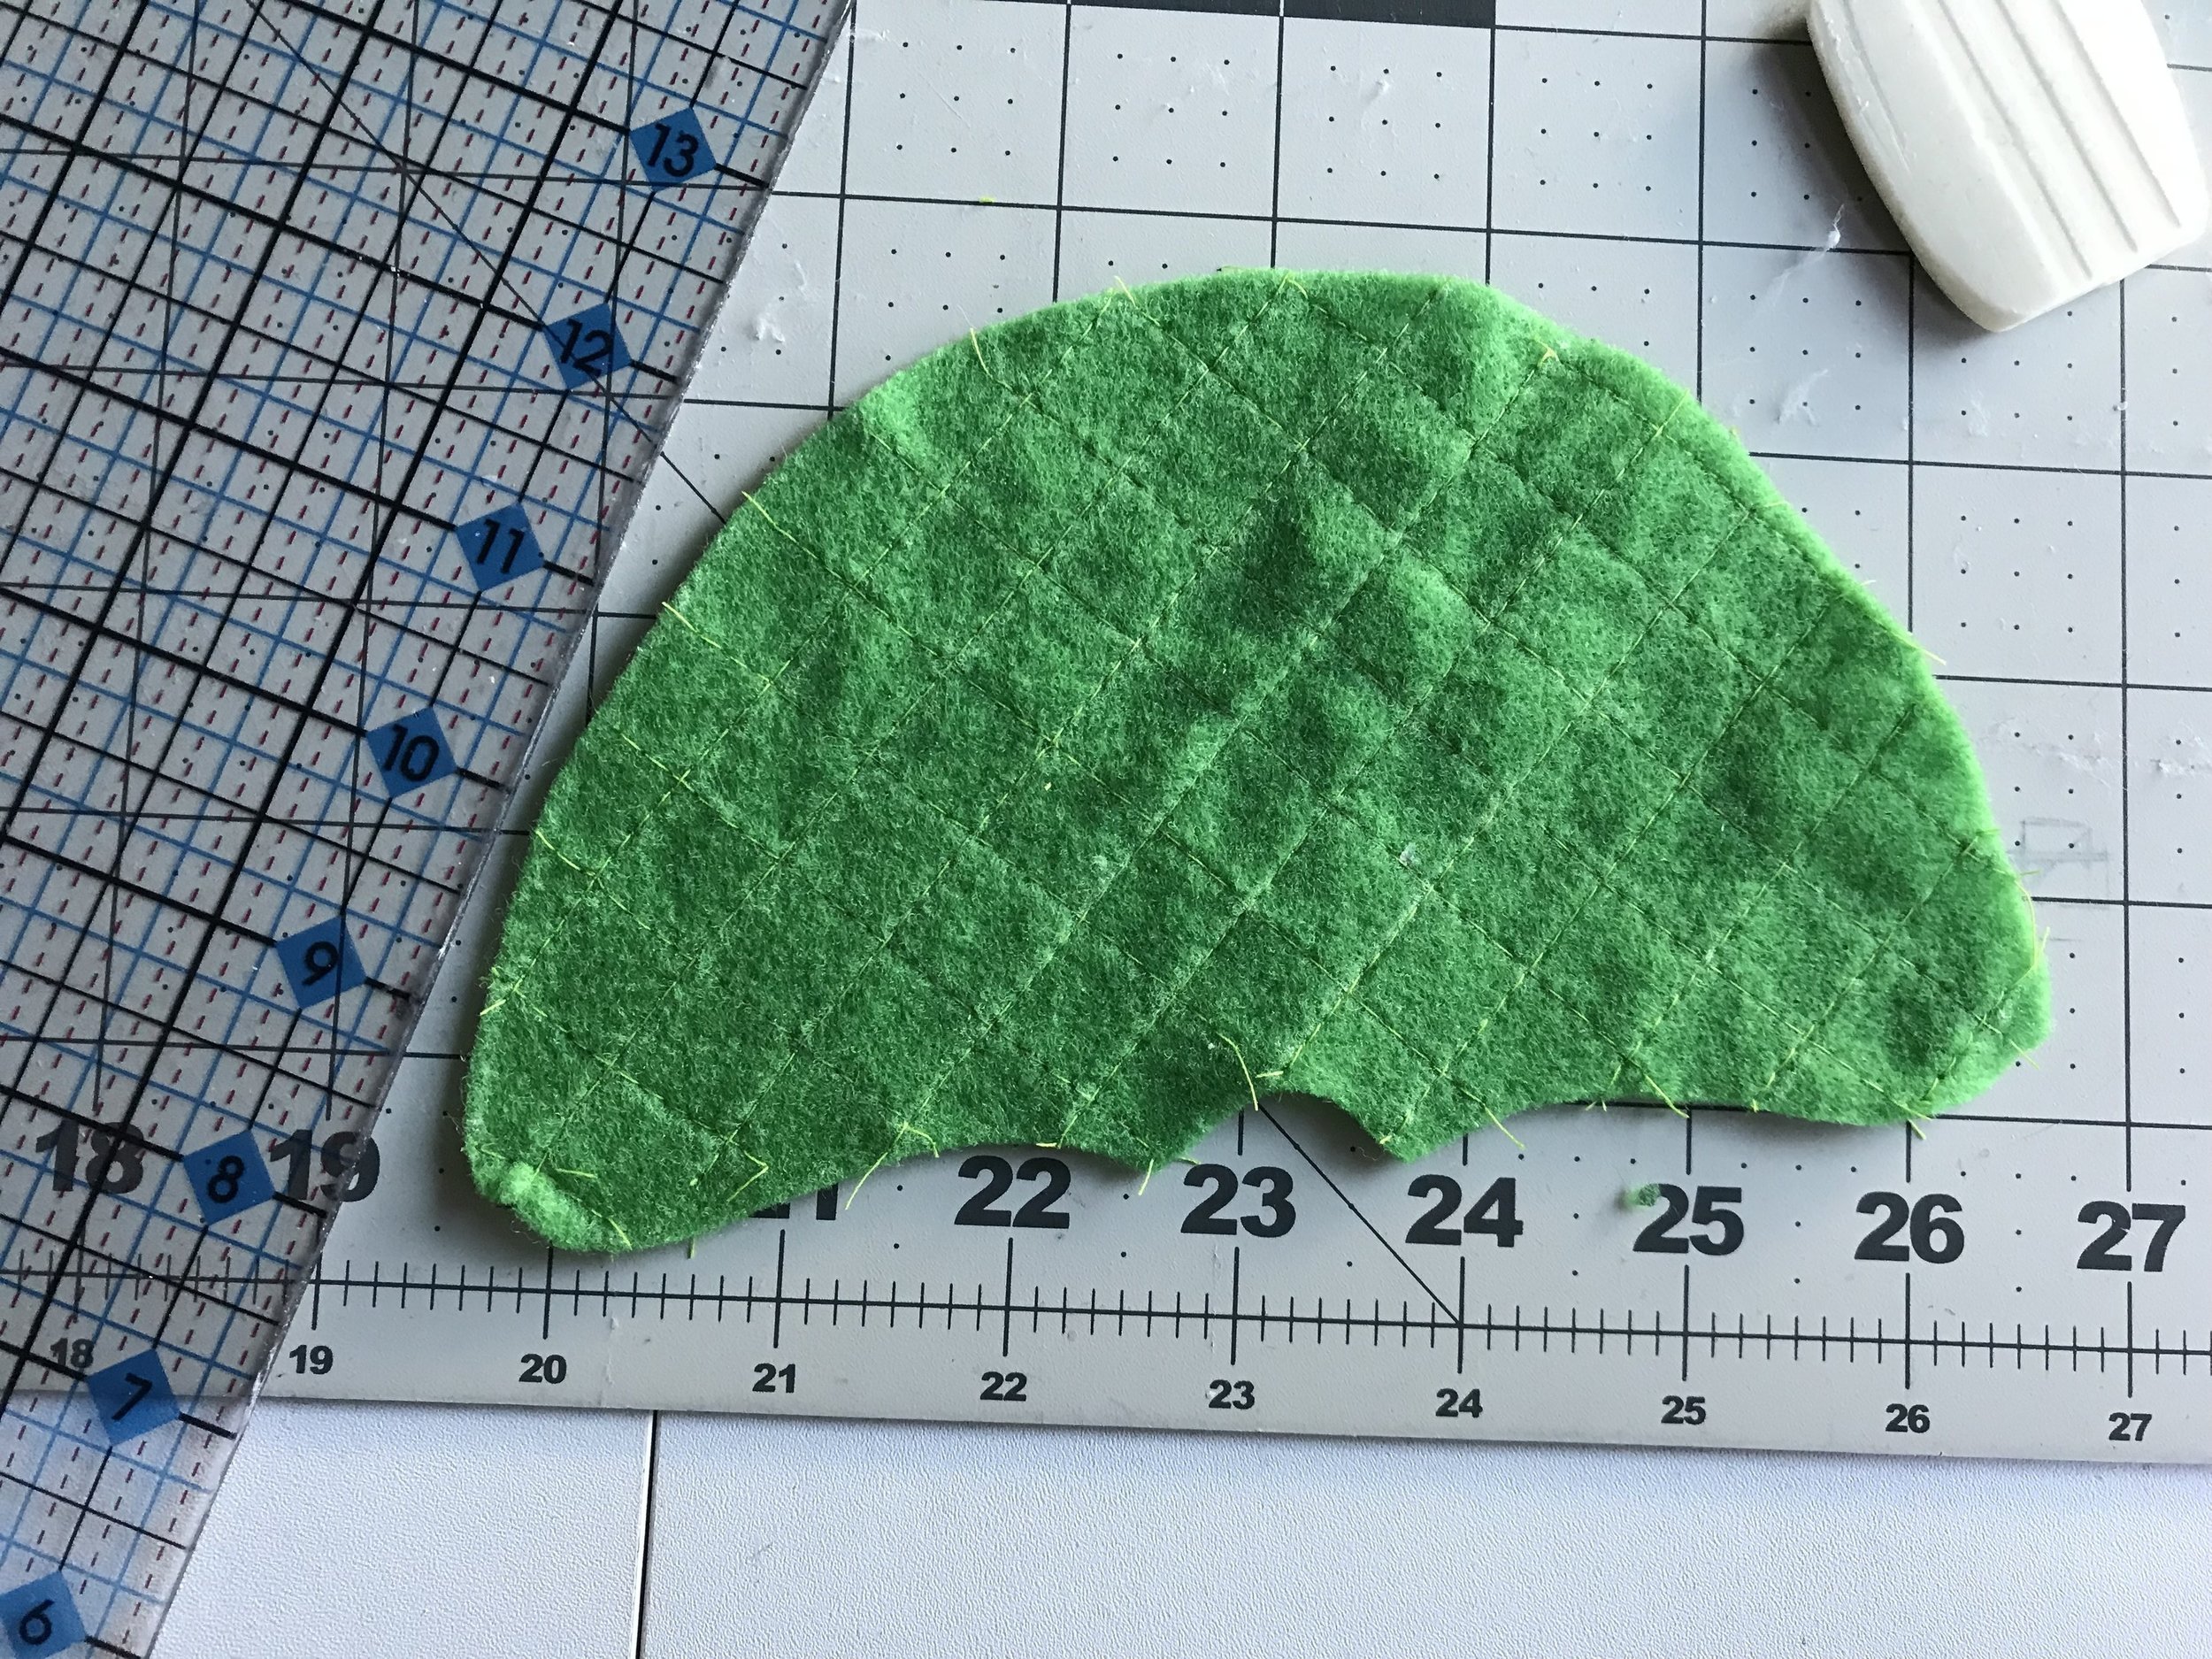
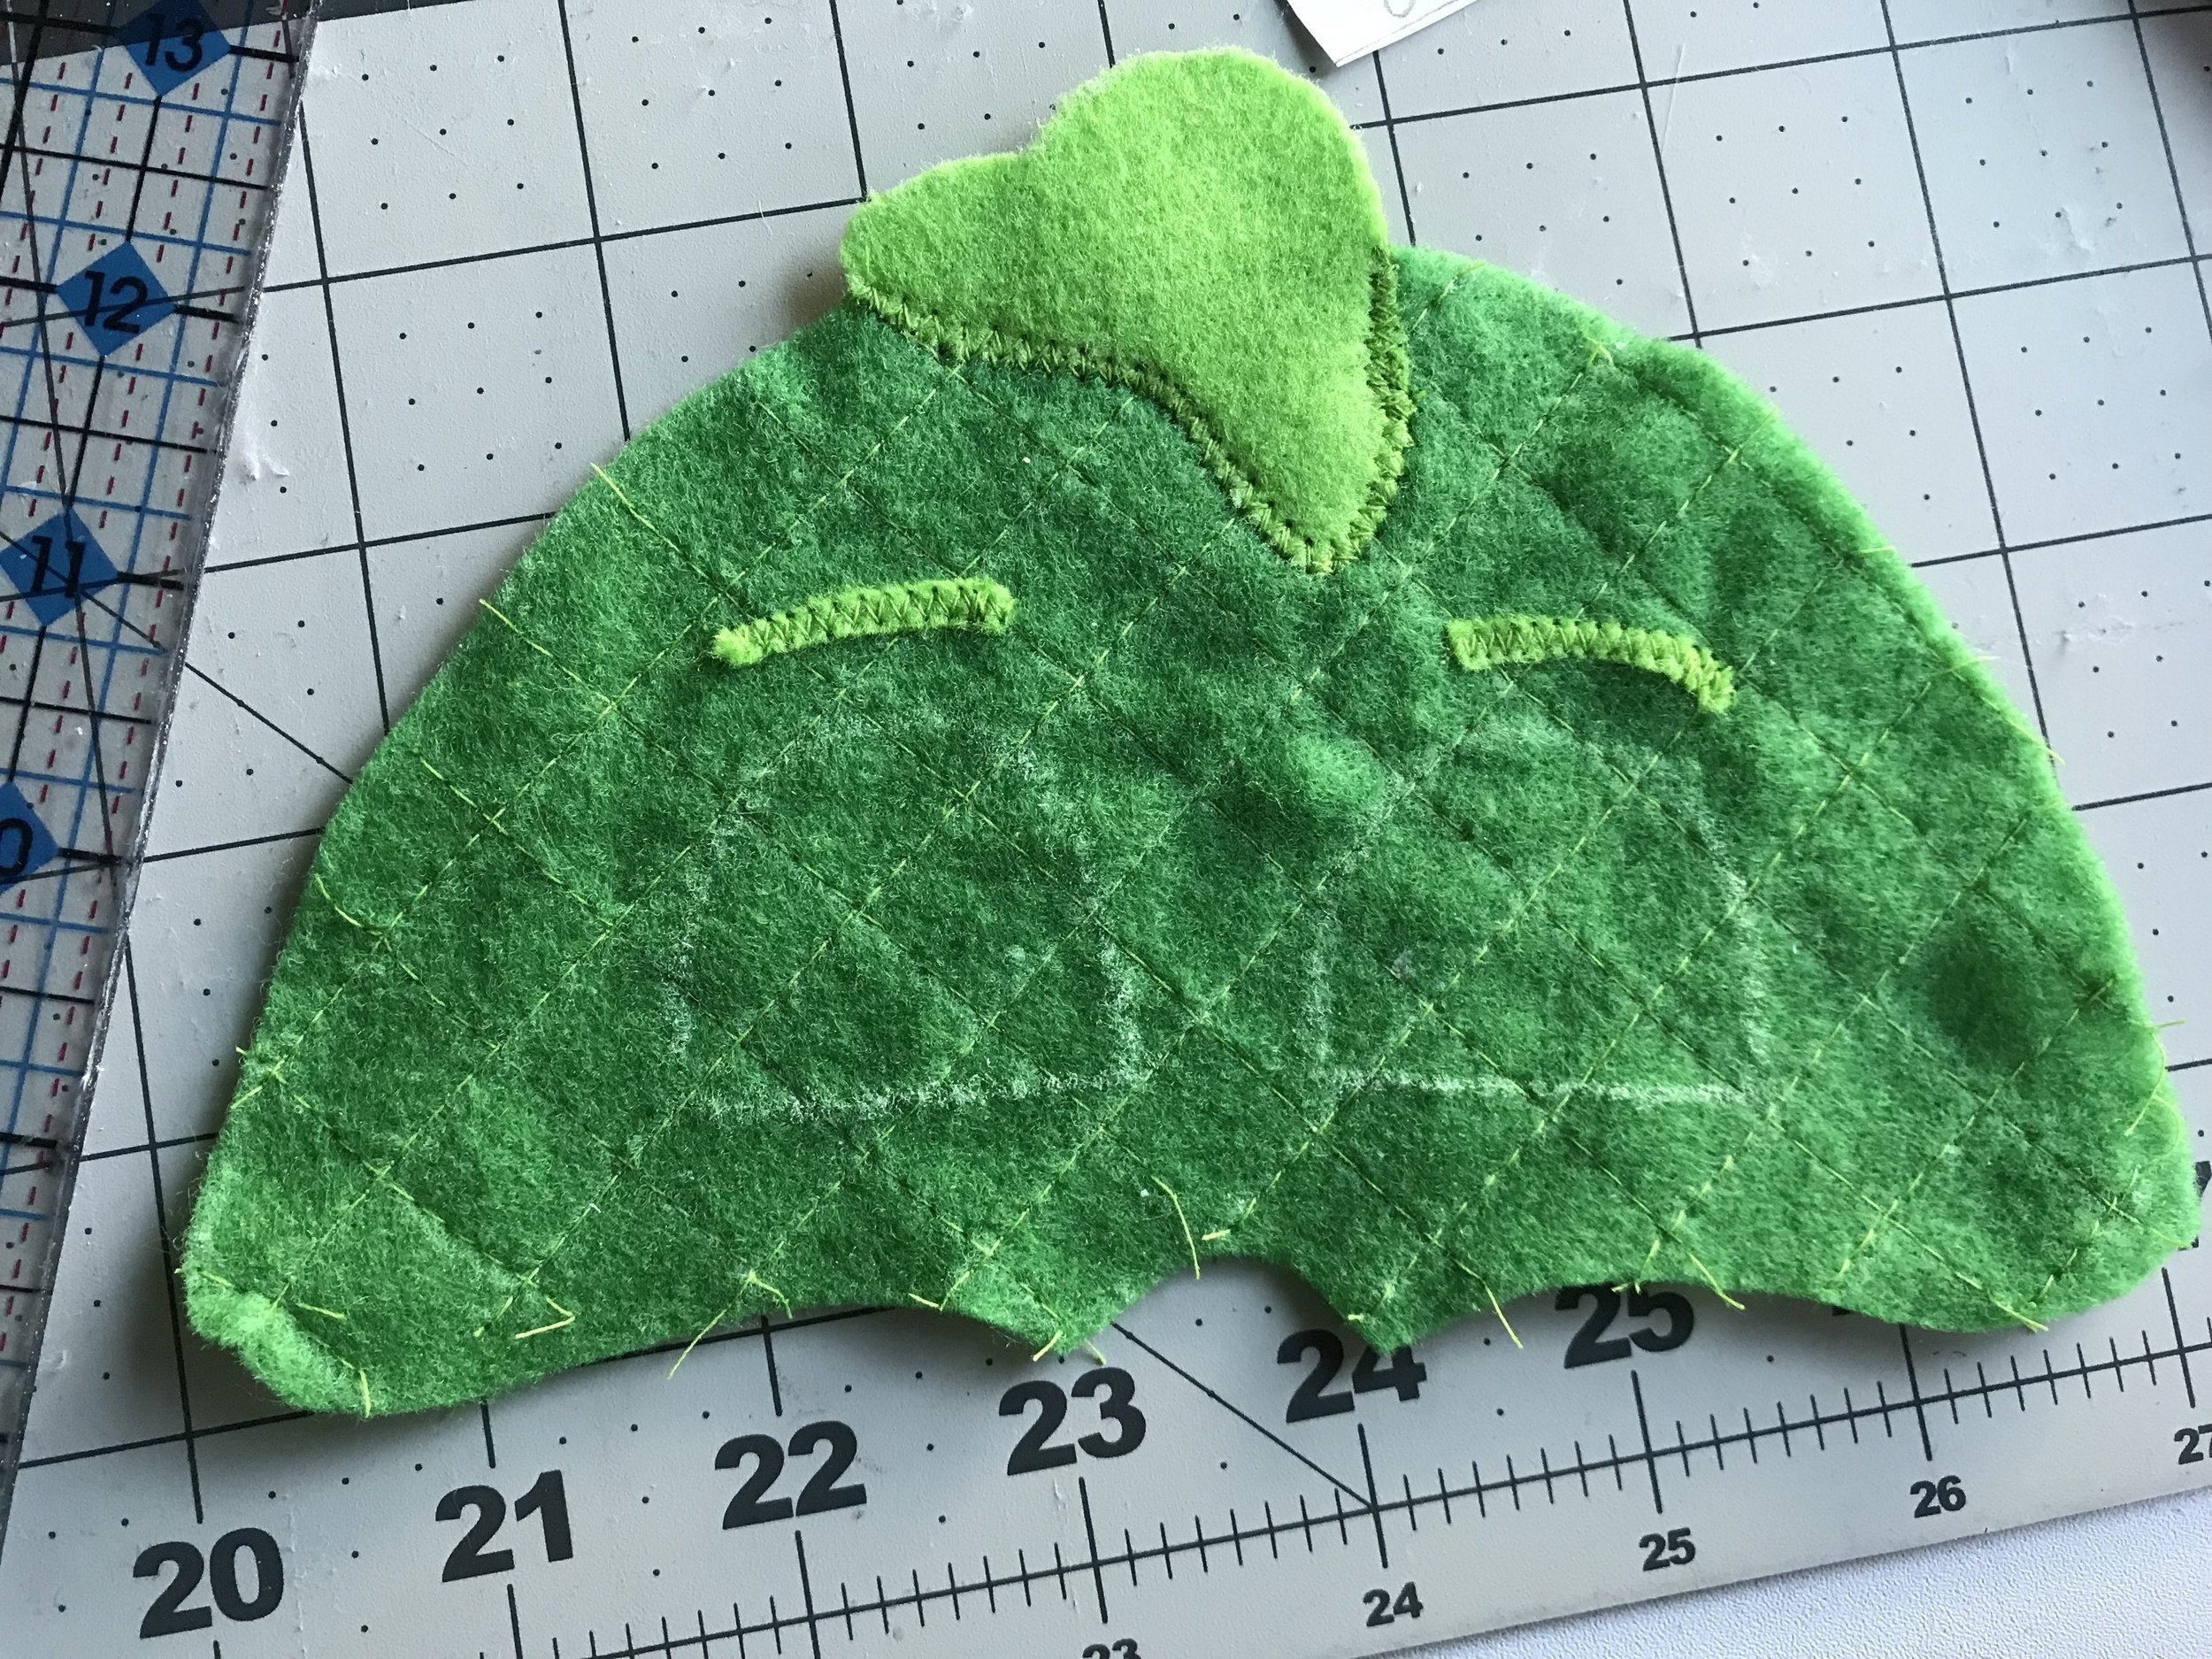
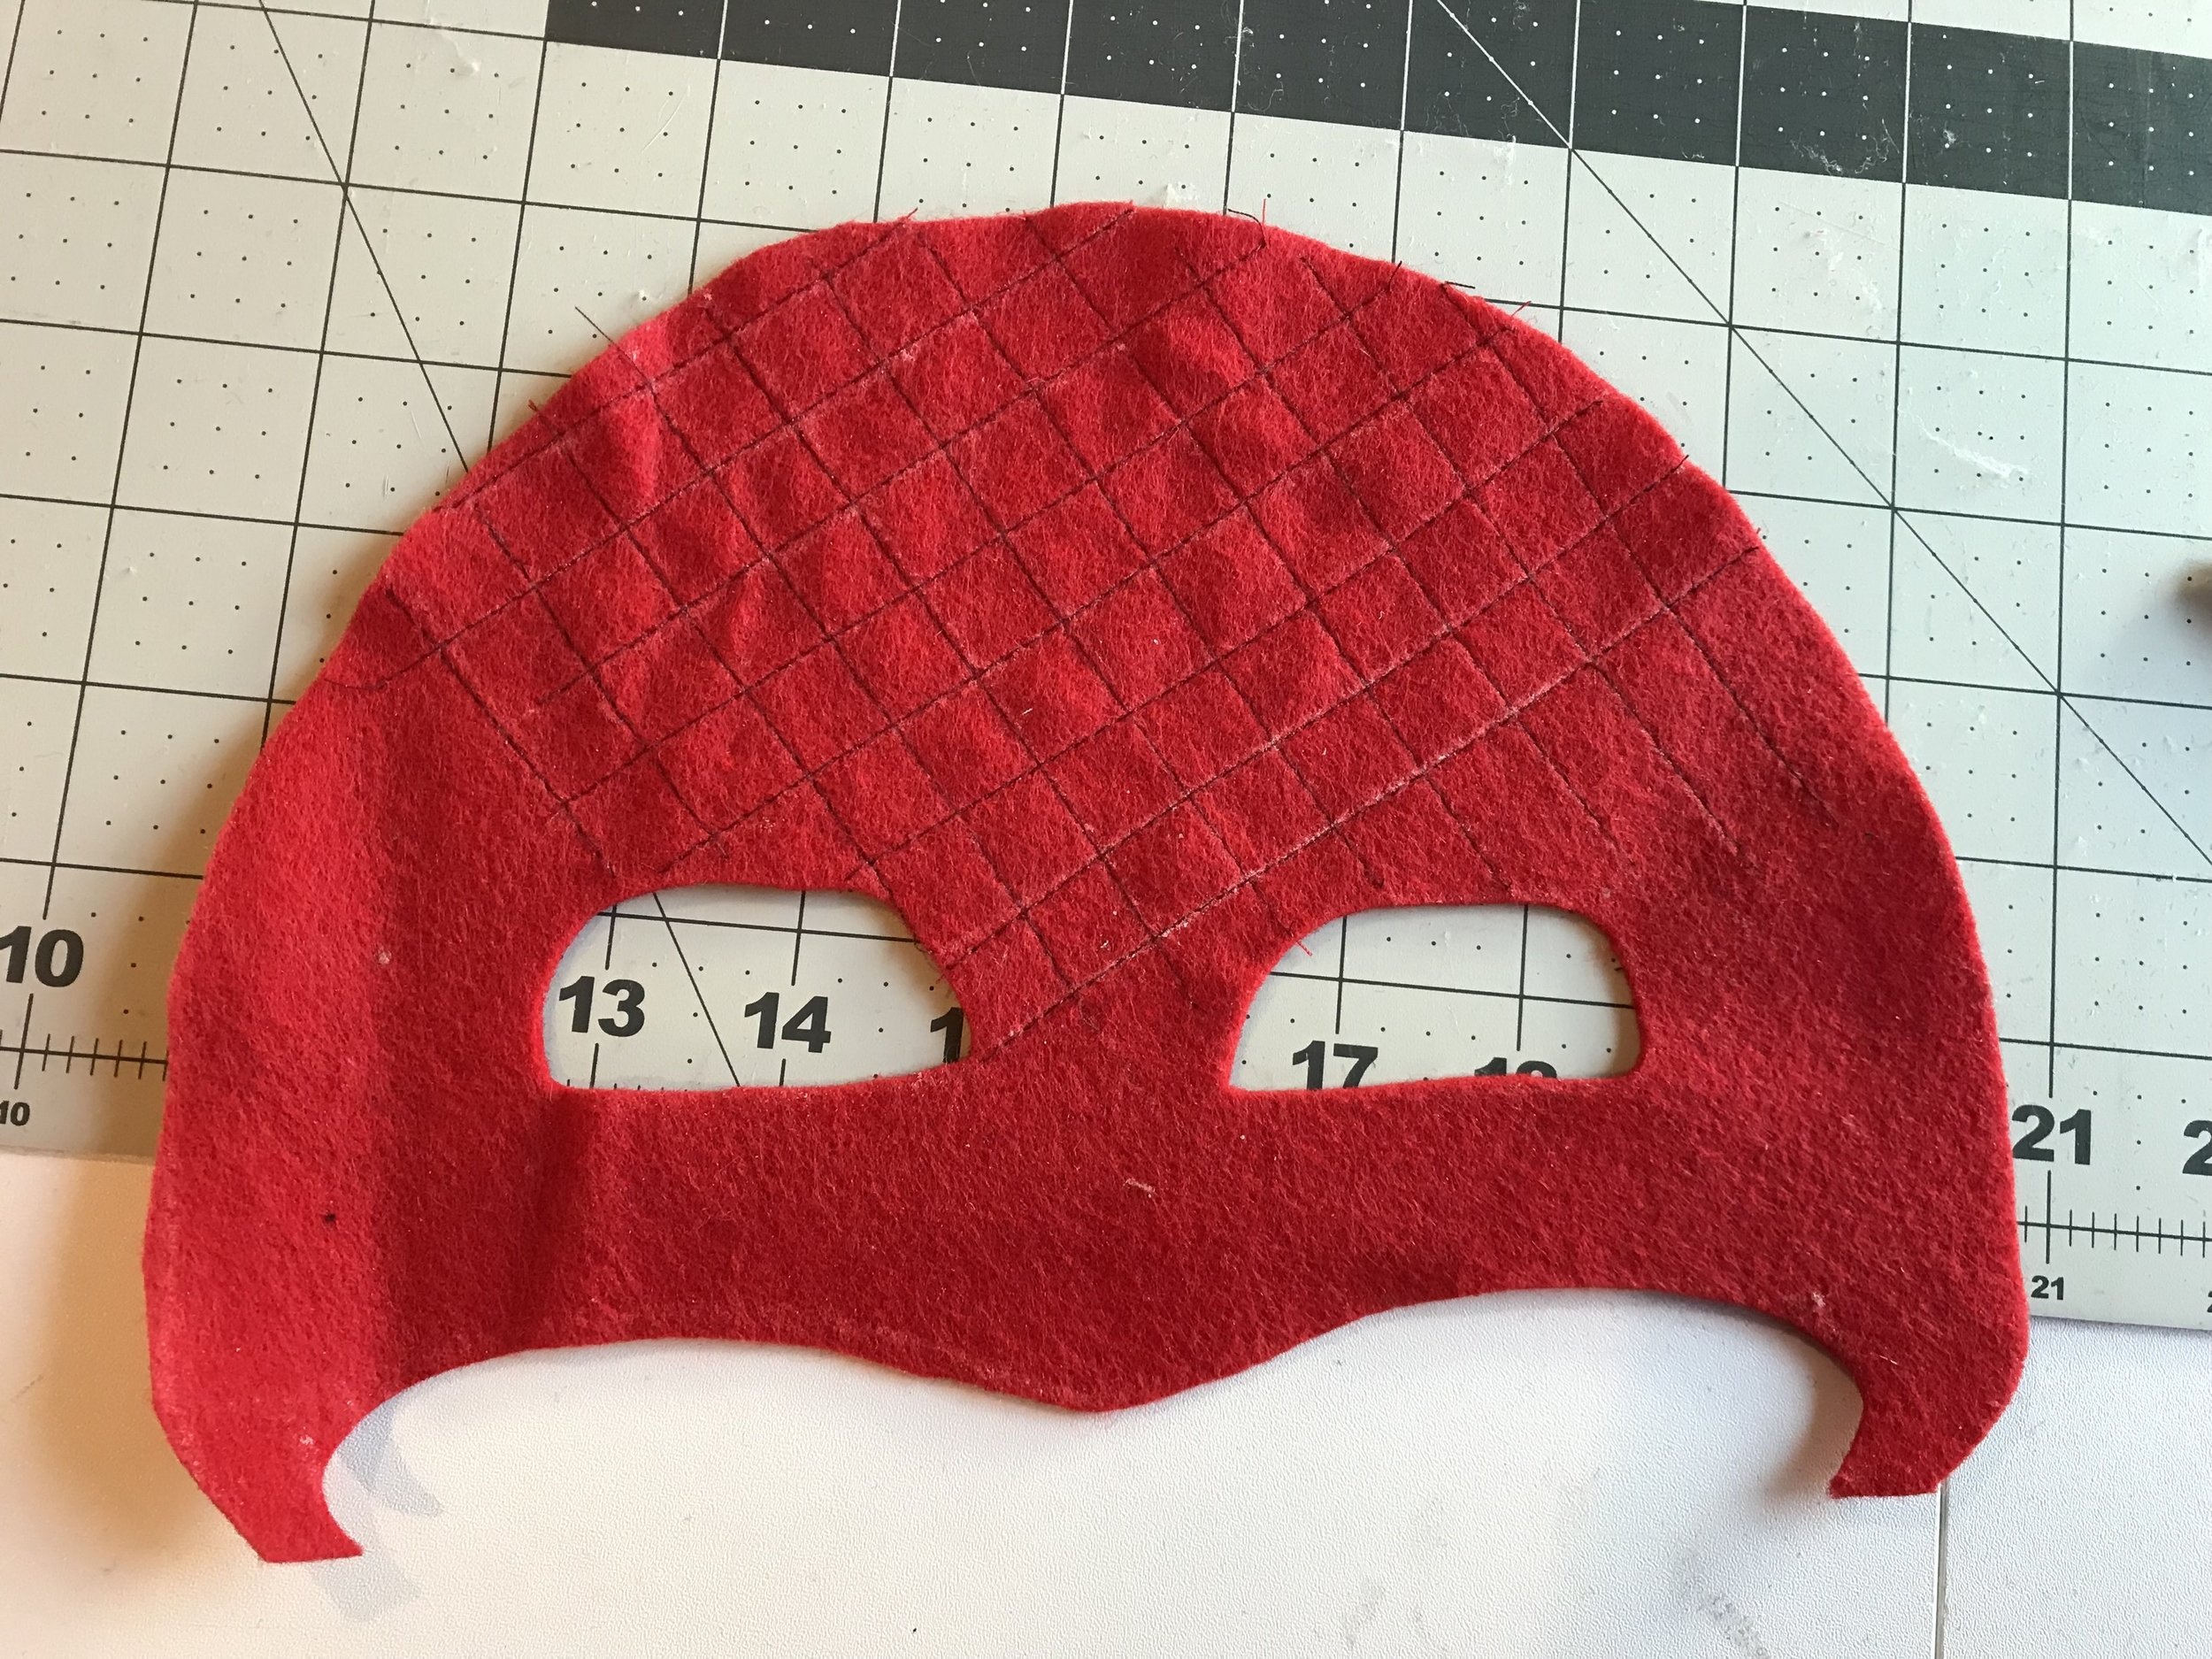
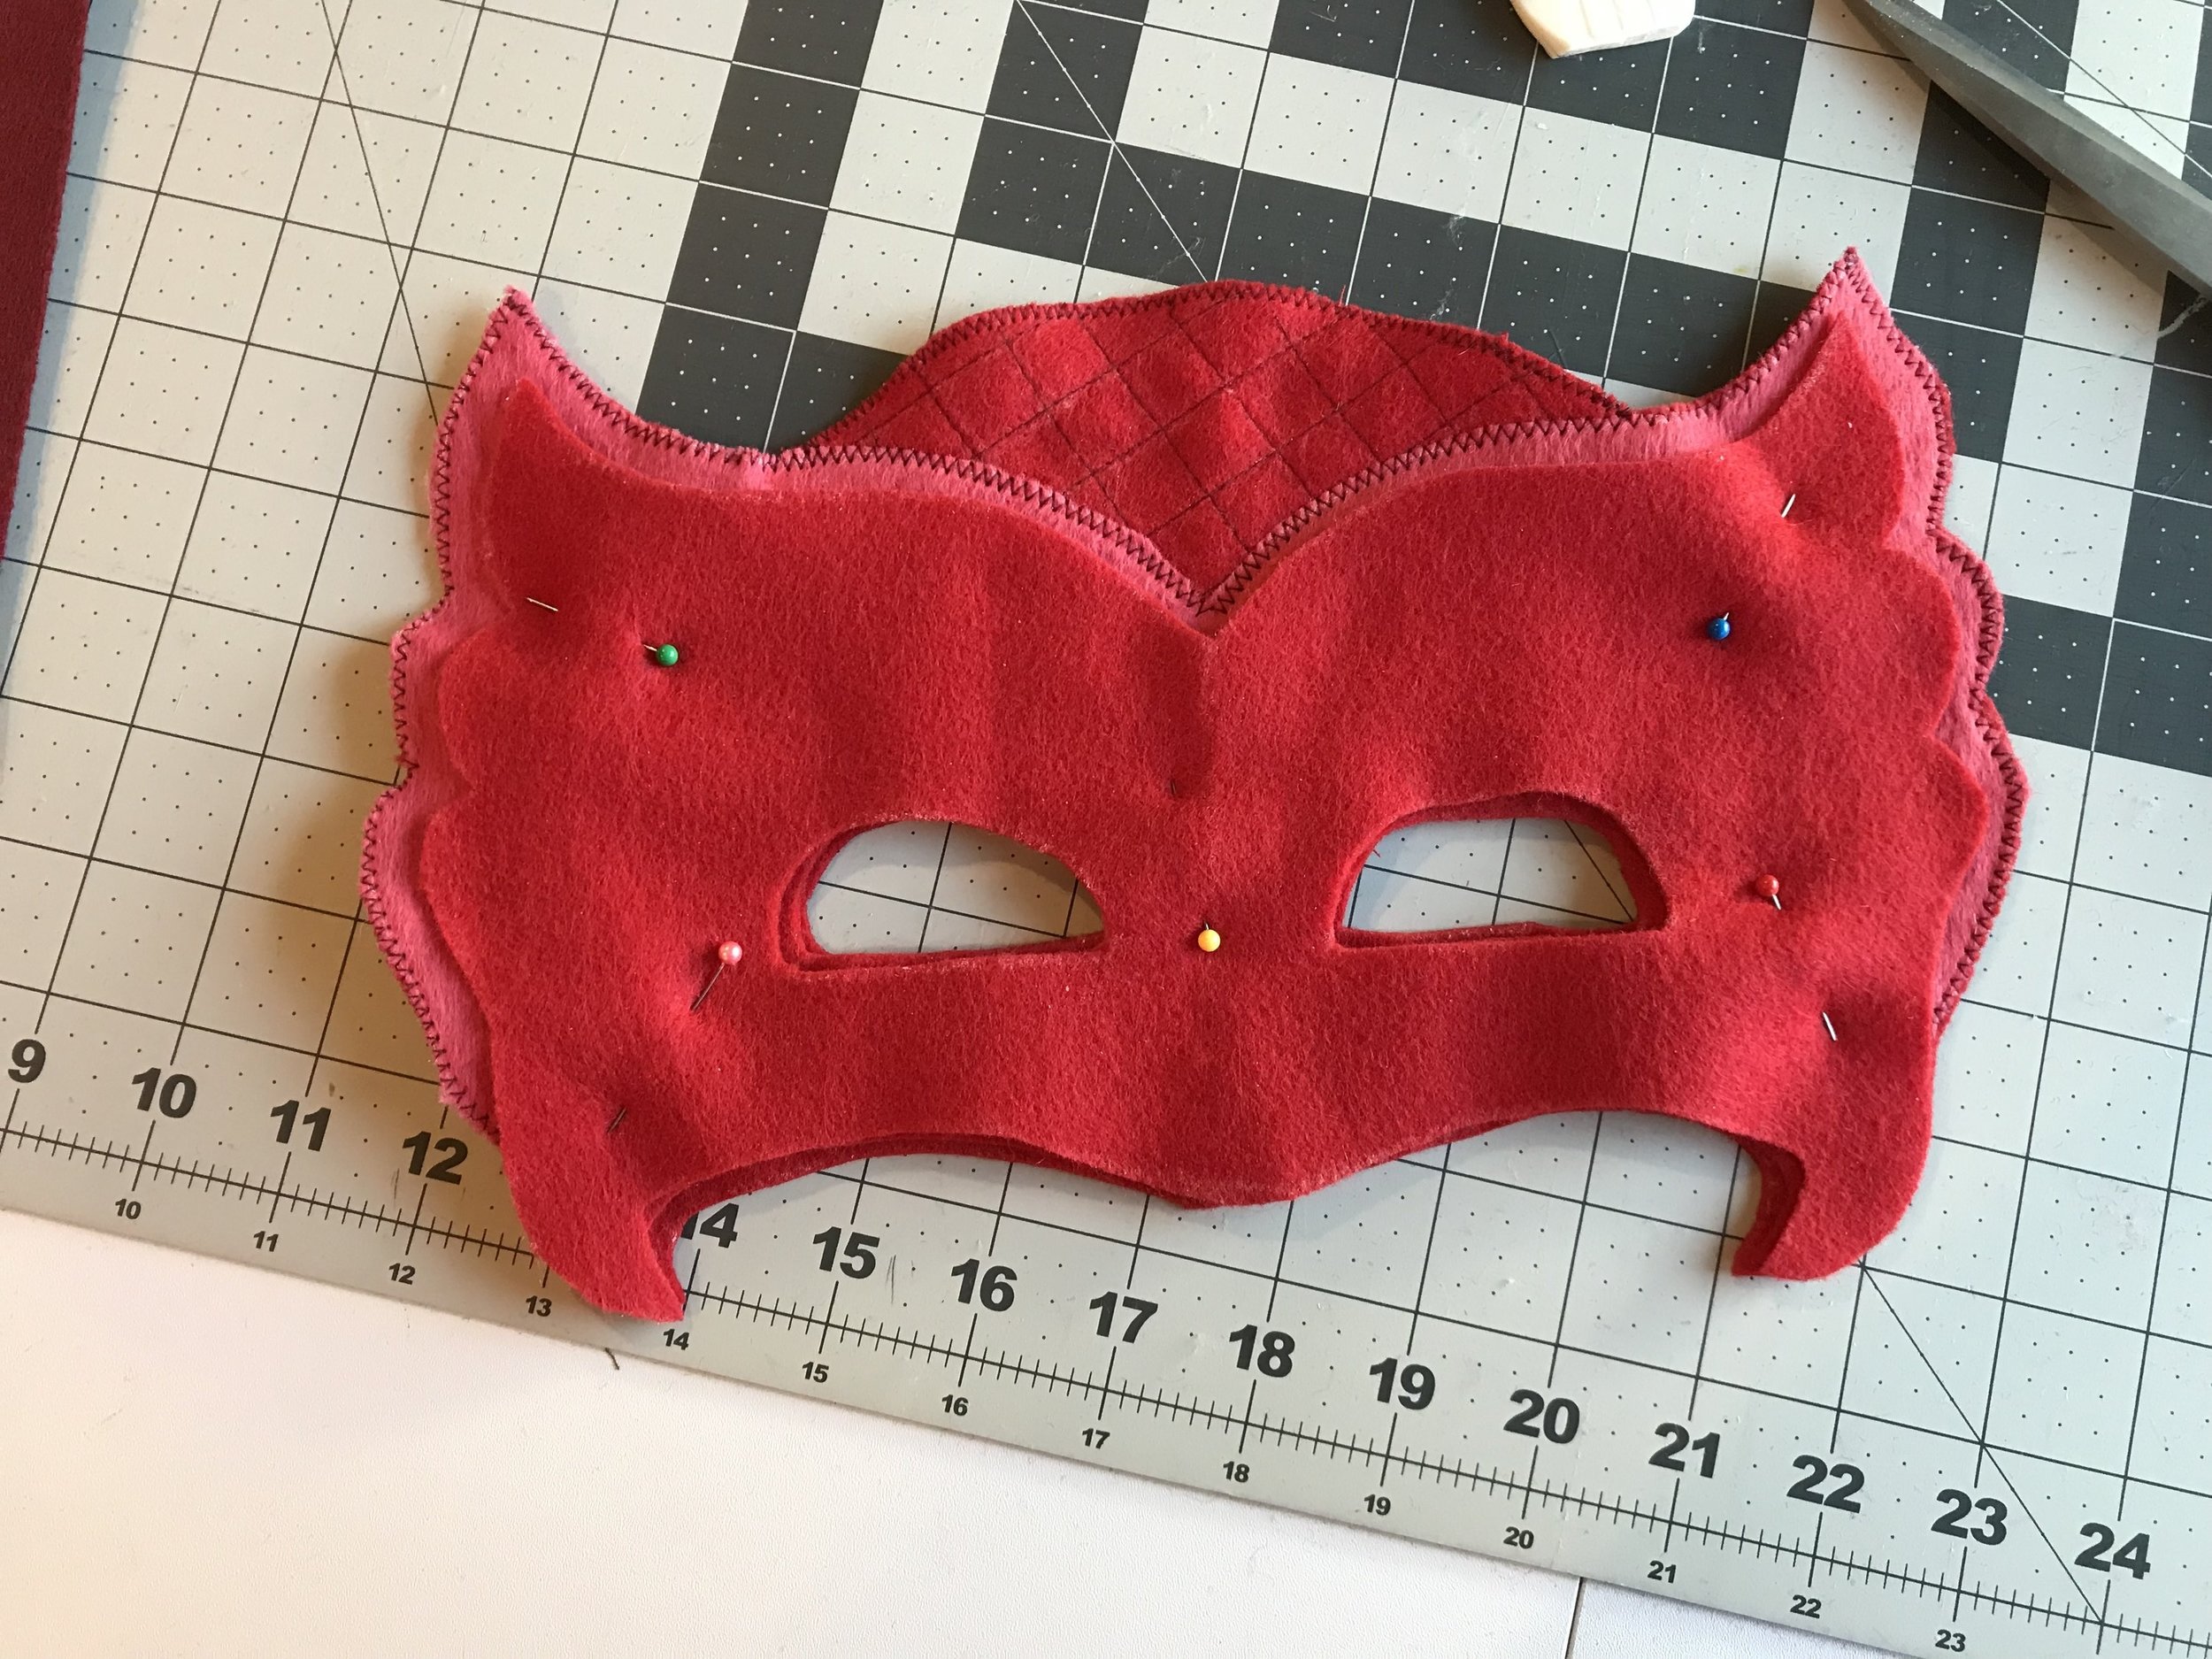
Next we are going to quilt the whole first layer. (I ended up quilting two layers together and then cut a third layer as the backing. I didn't do that with the Gekko mask and it turned out fine so really it's a personal preference.) To do that I marked diagonal (about 45 degrees) lines all across the mask 1/2 inch apart. Then marked opposite diagonal lines going the other way across the mask to make a quilted diamond pattern. Using my sewing machine I quilted straight across all lines.
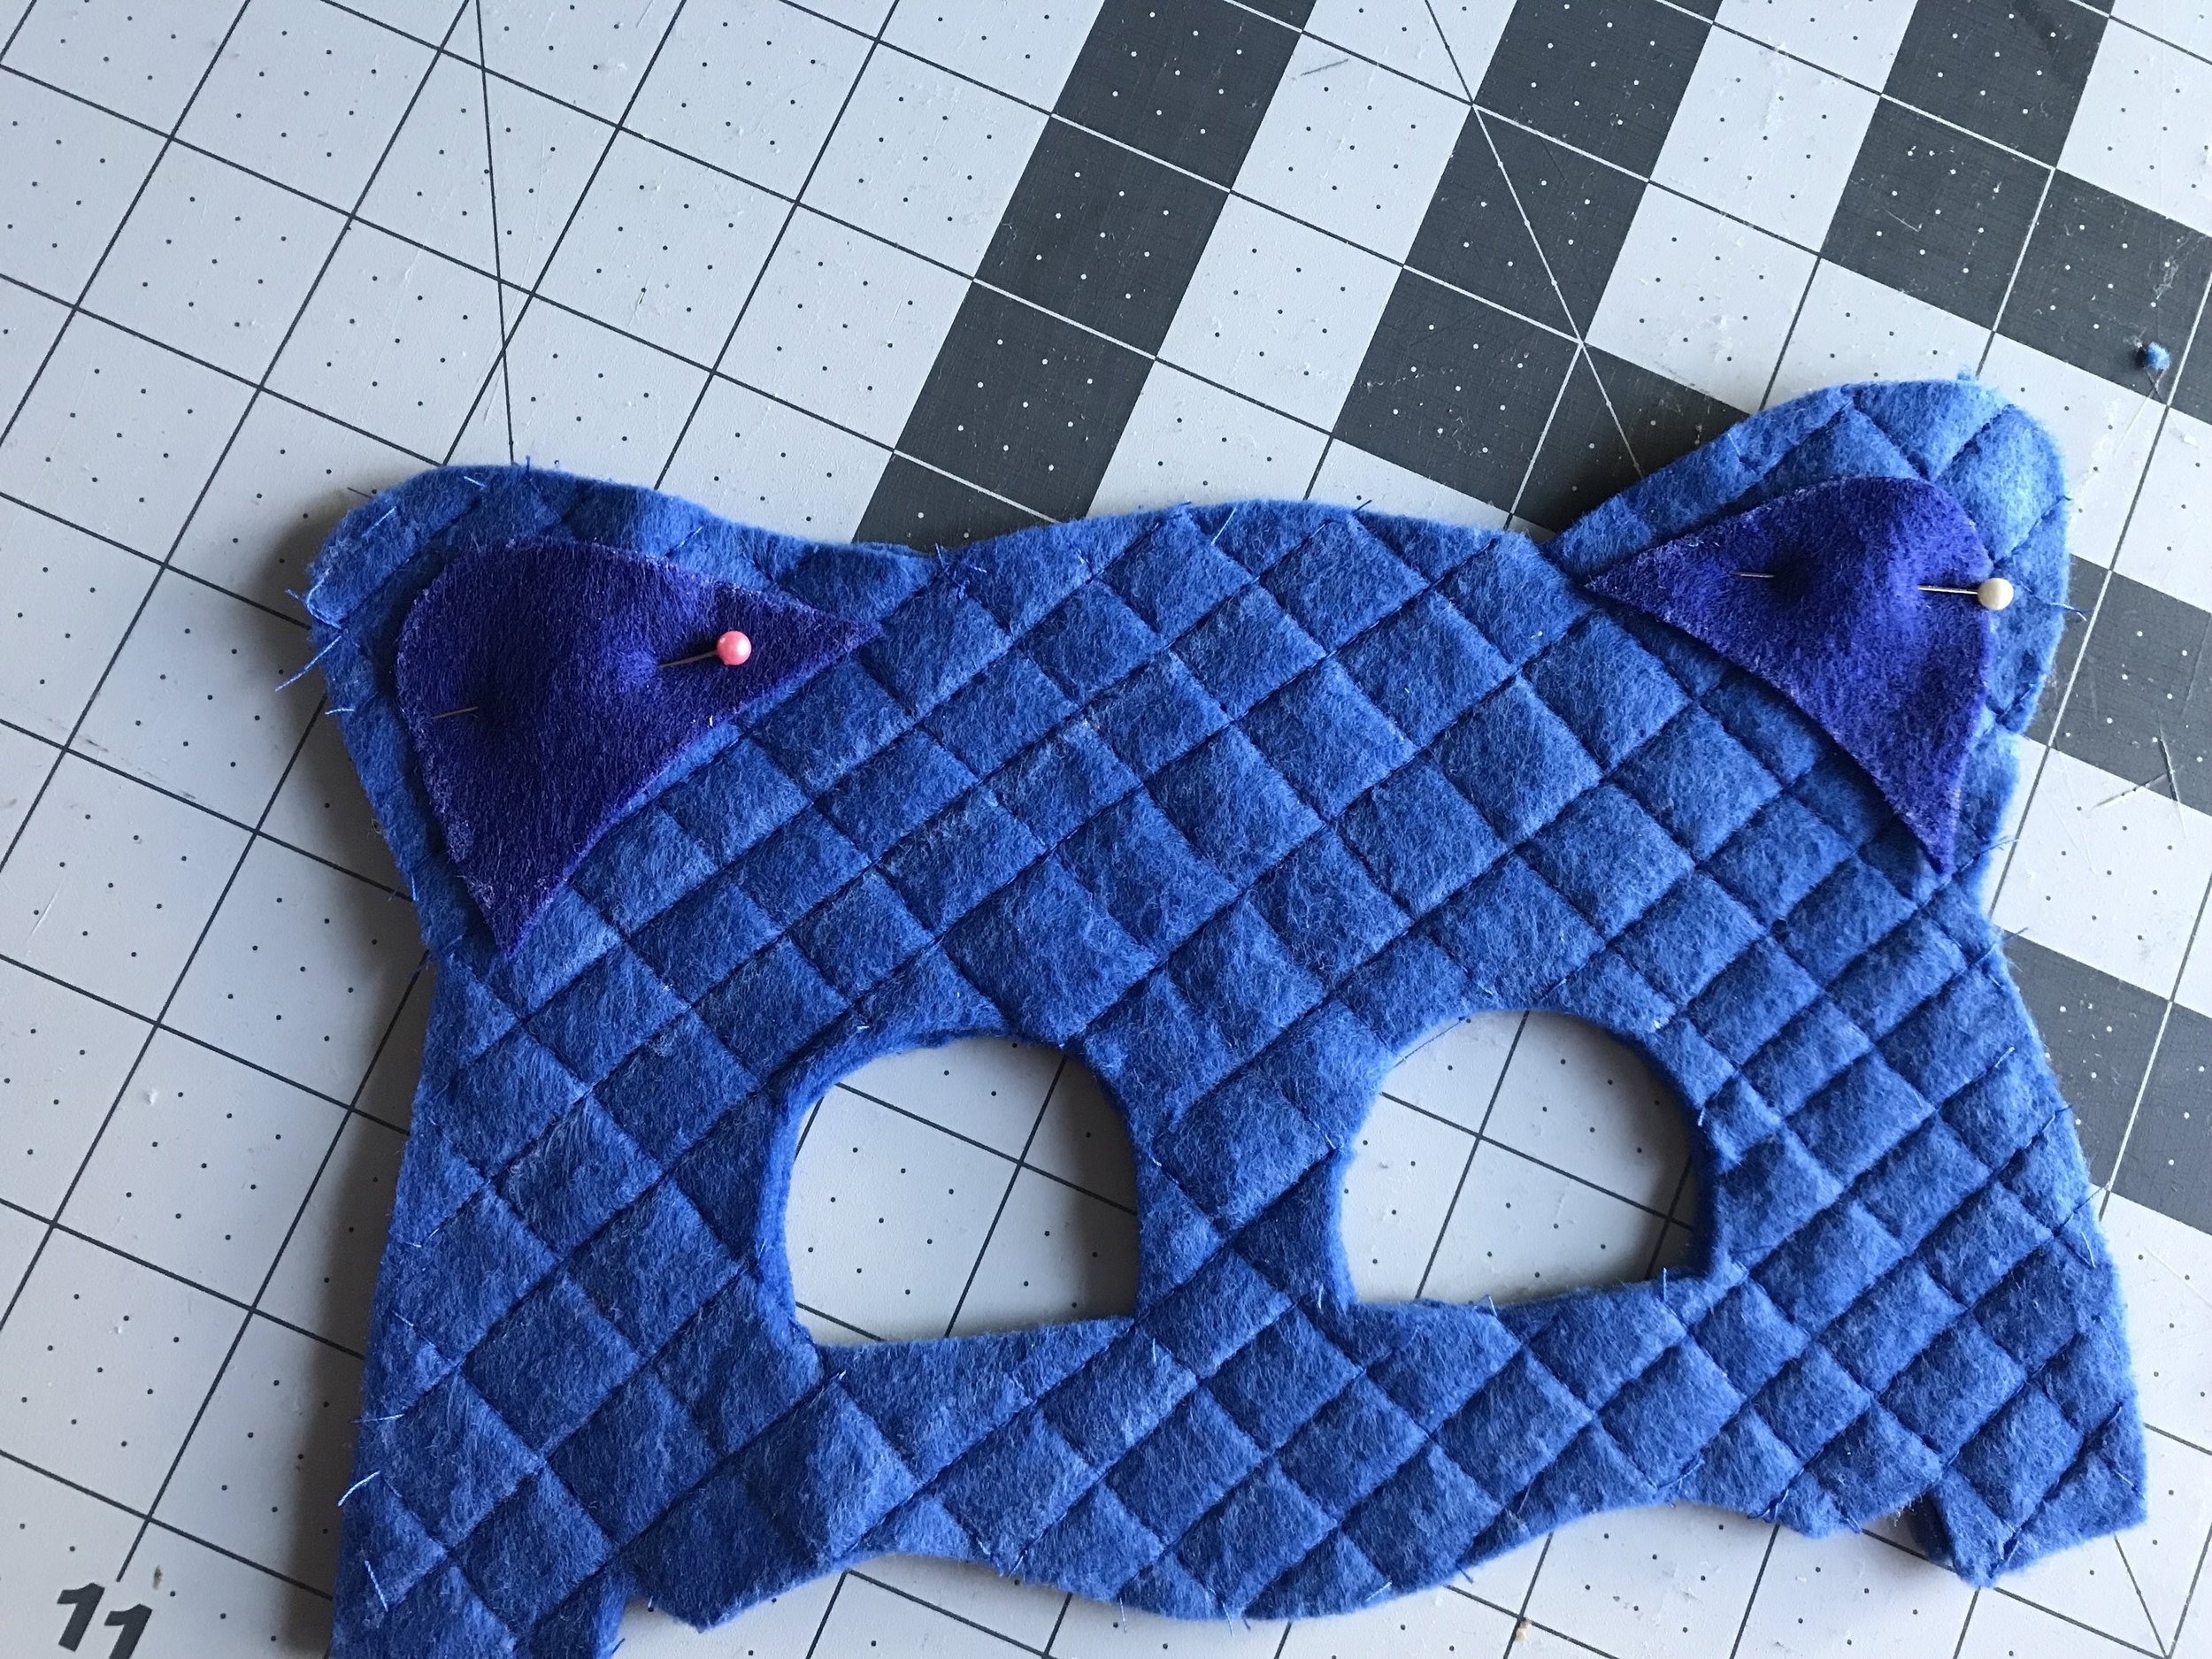
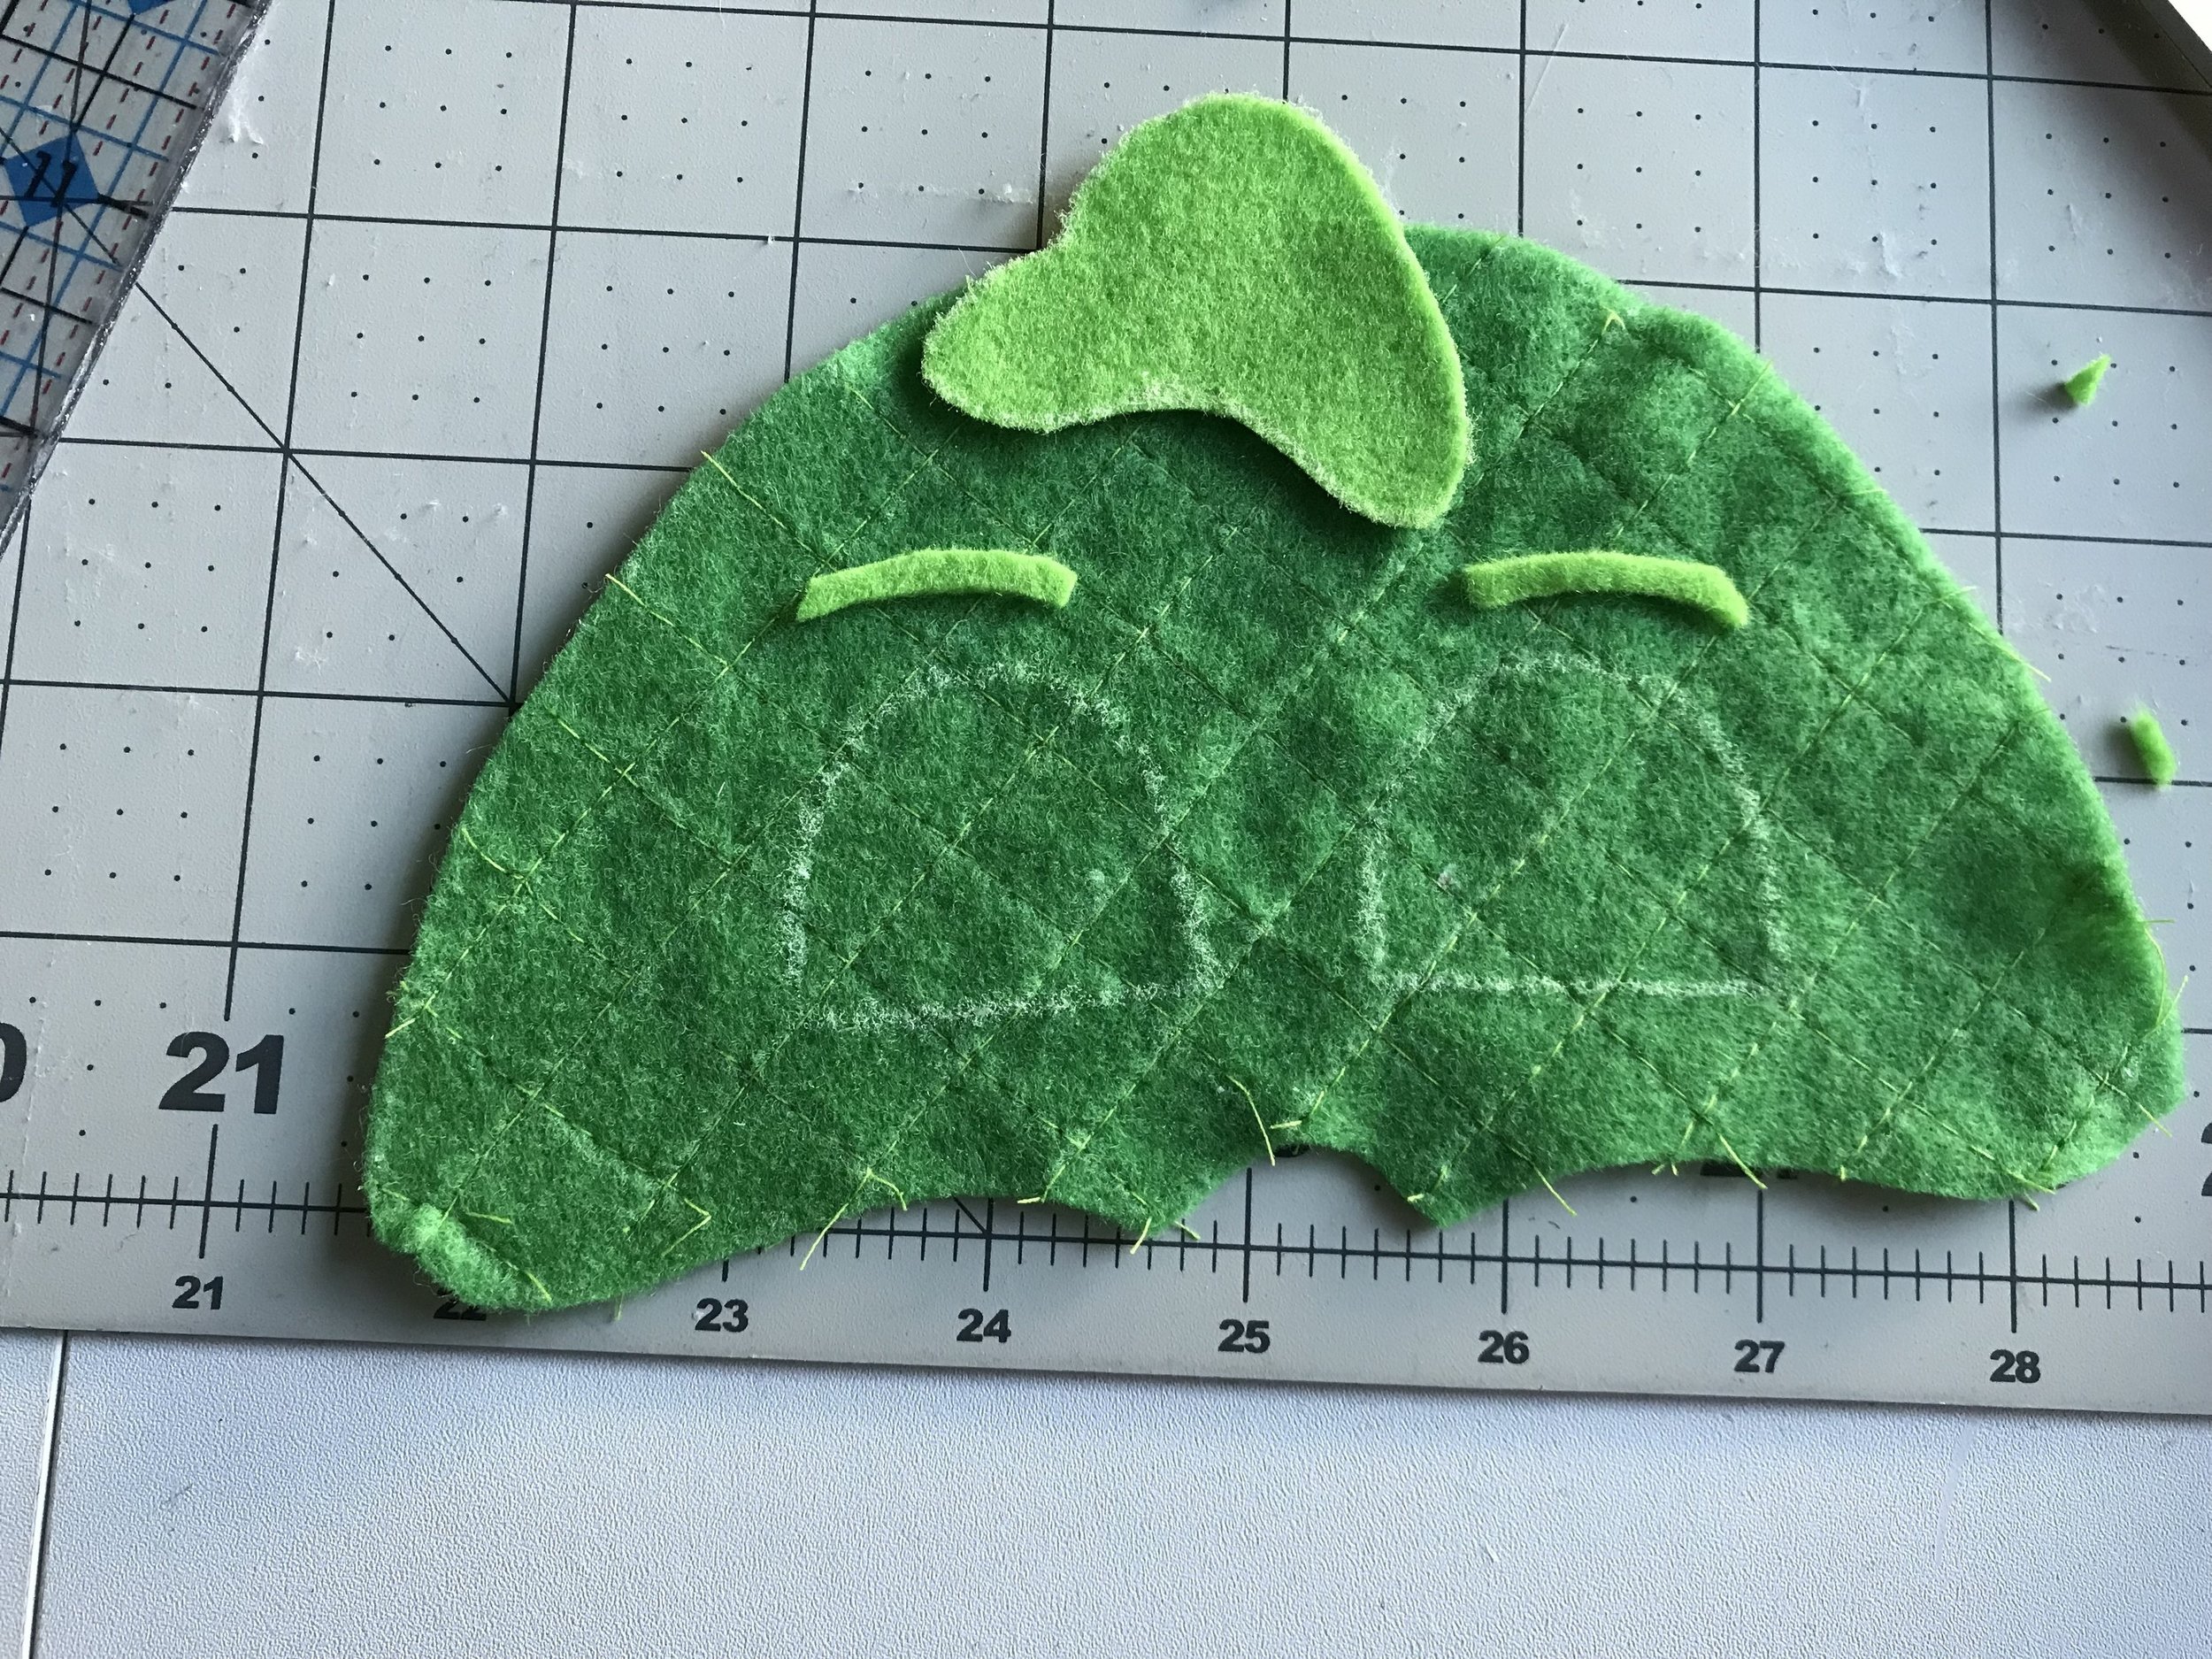
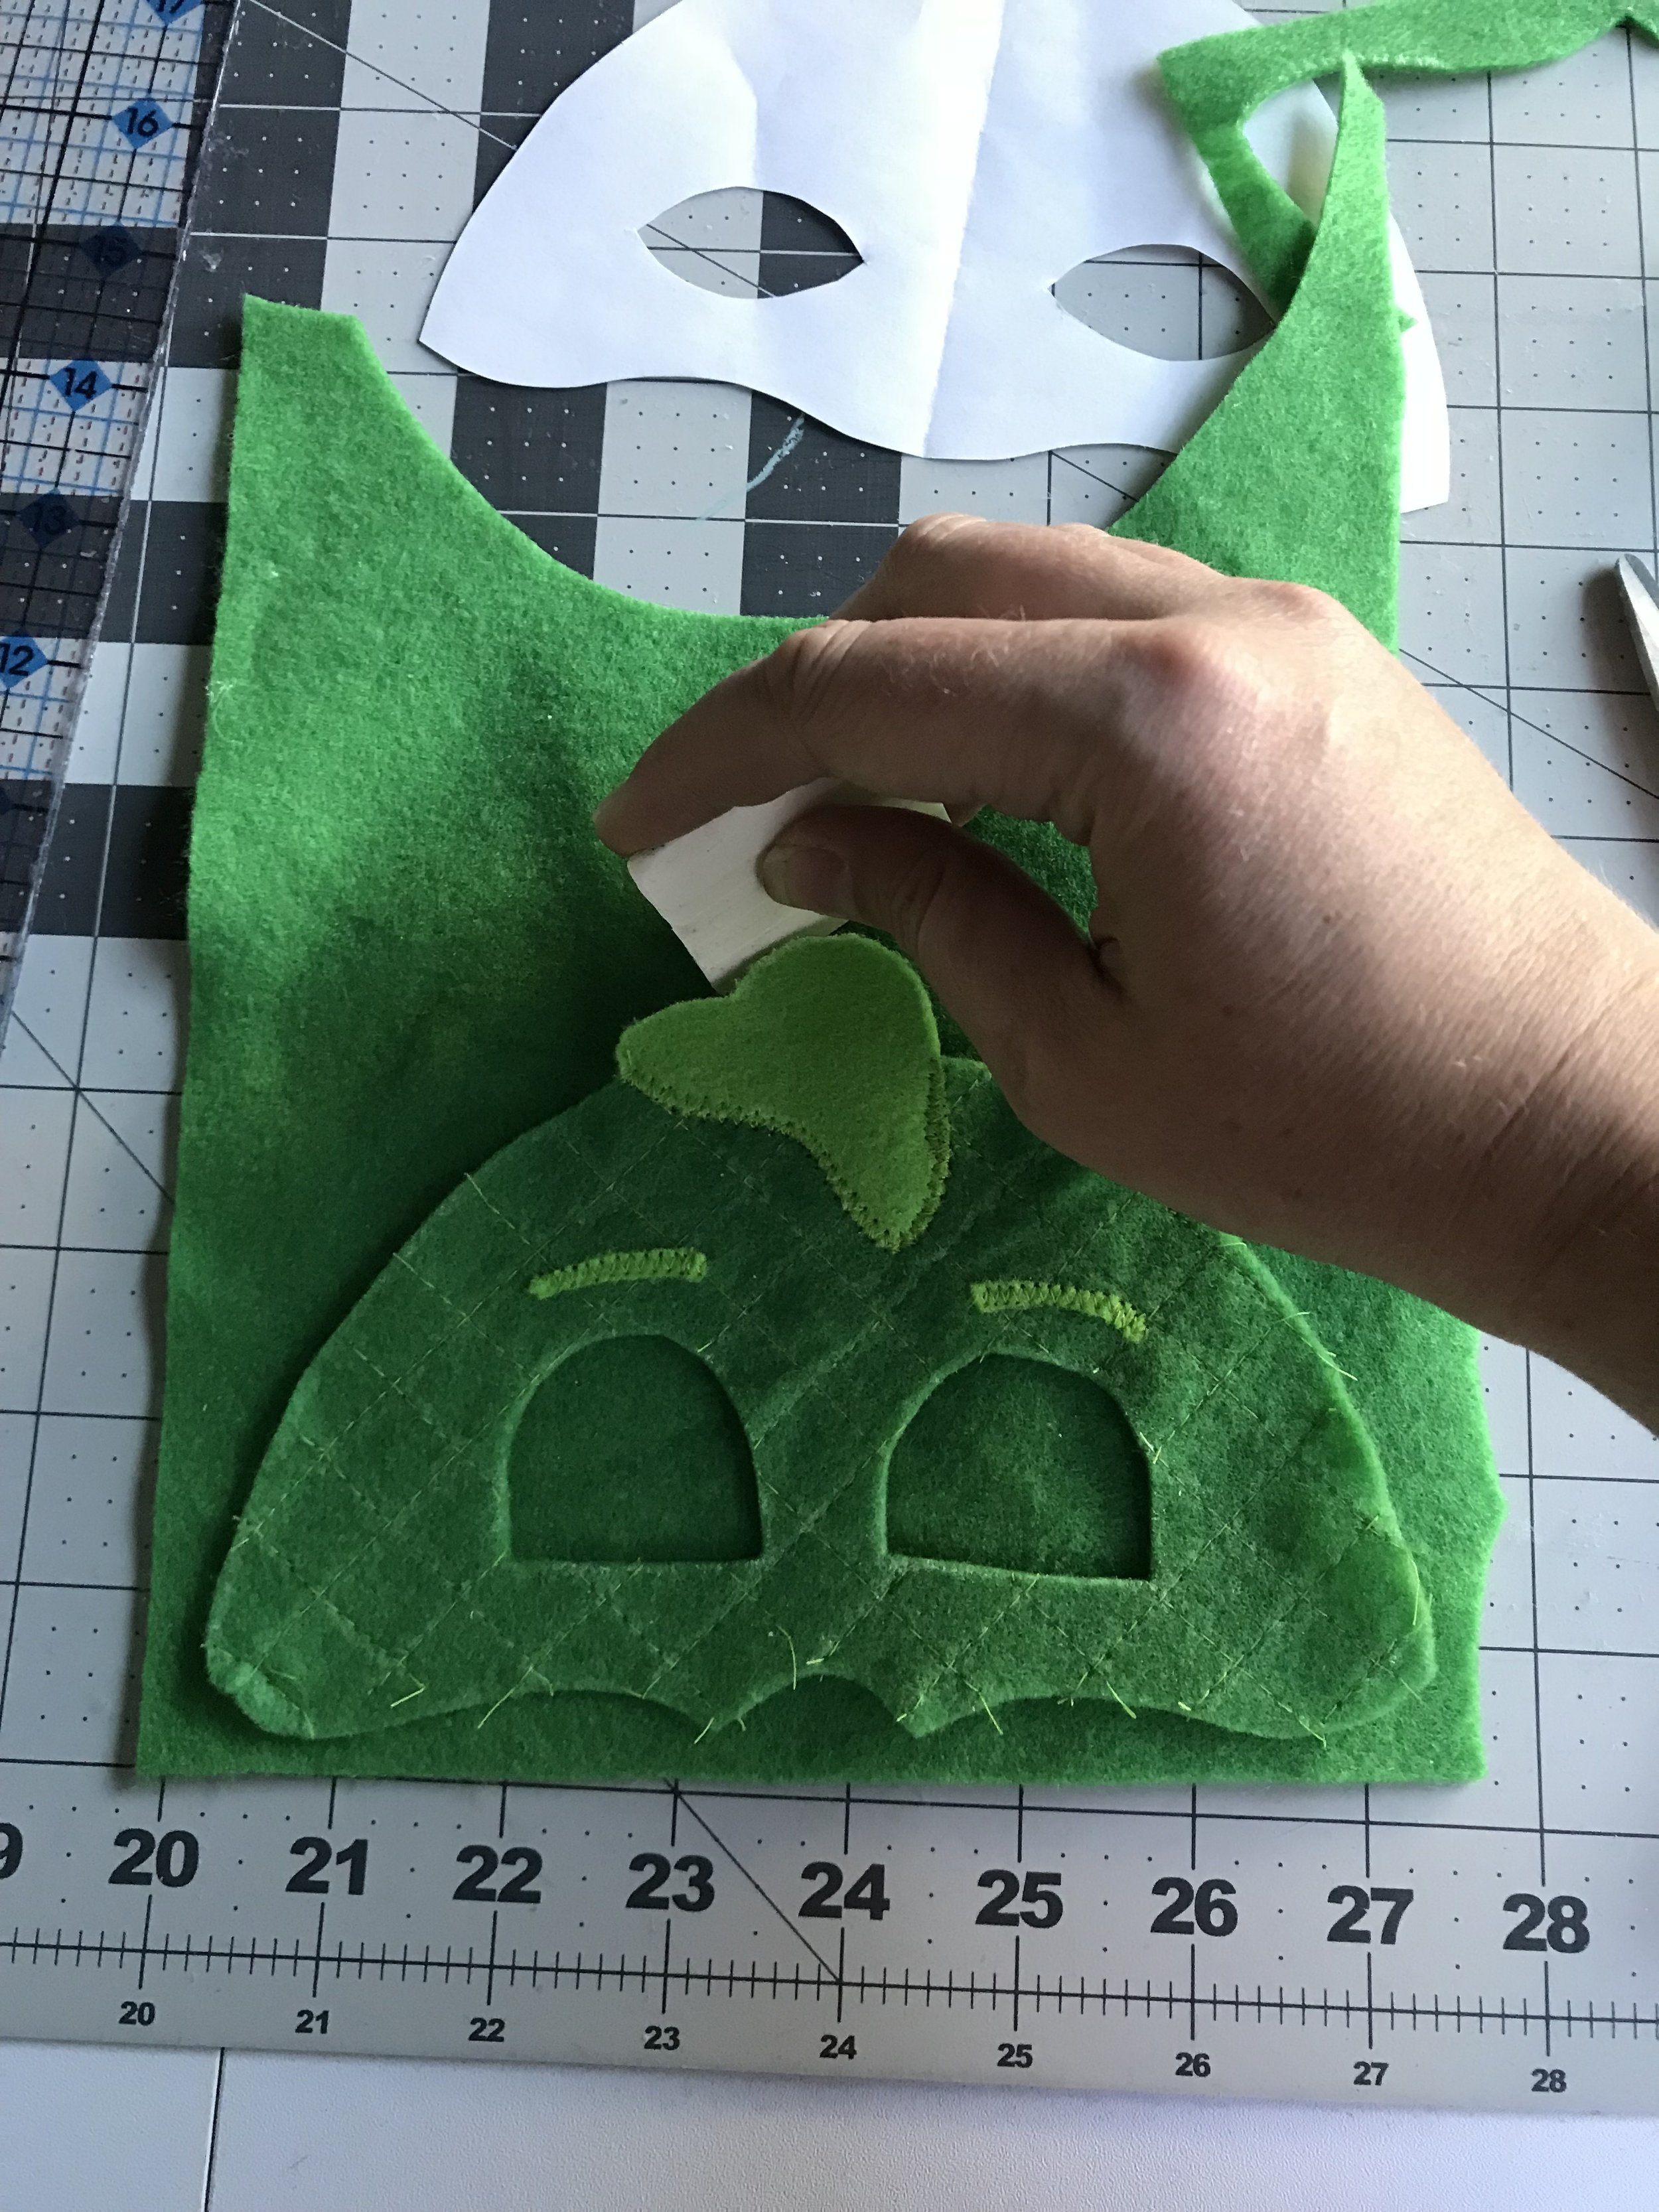
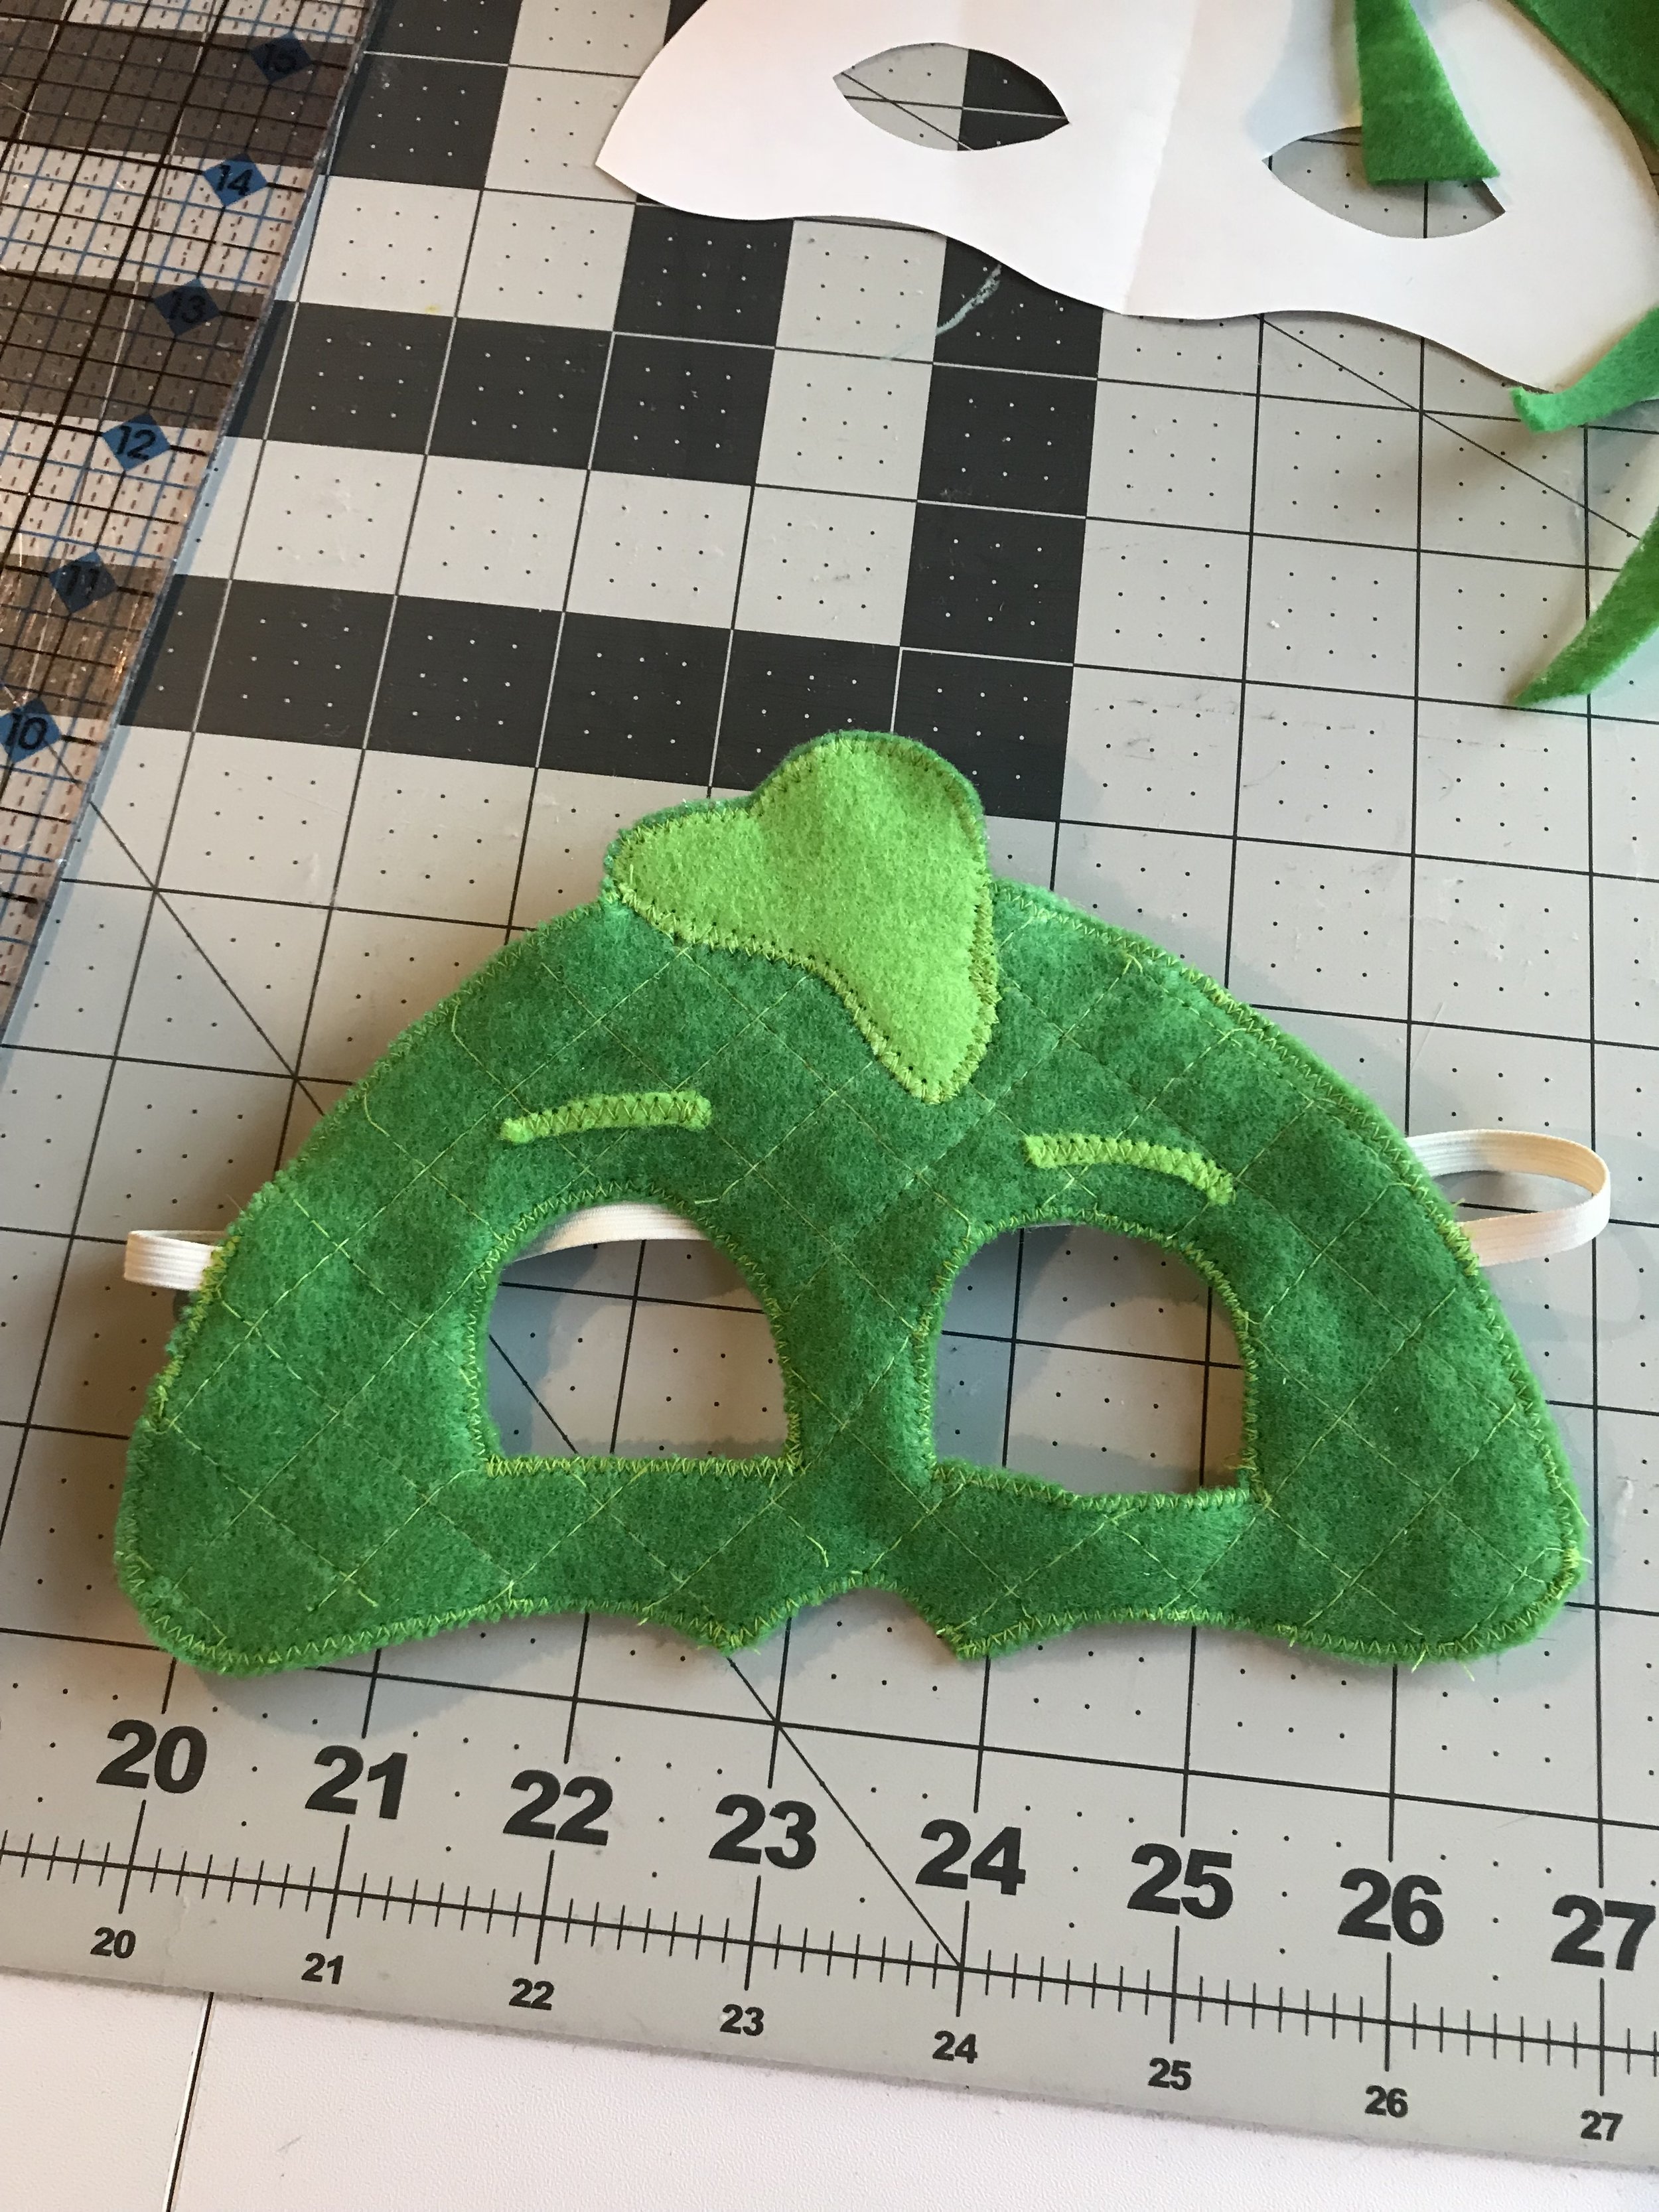
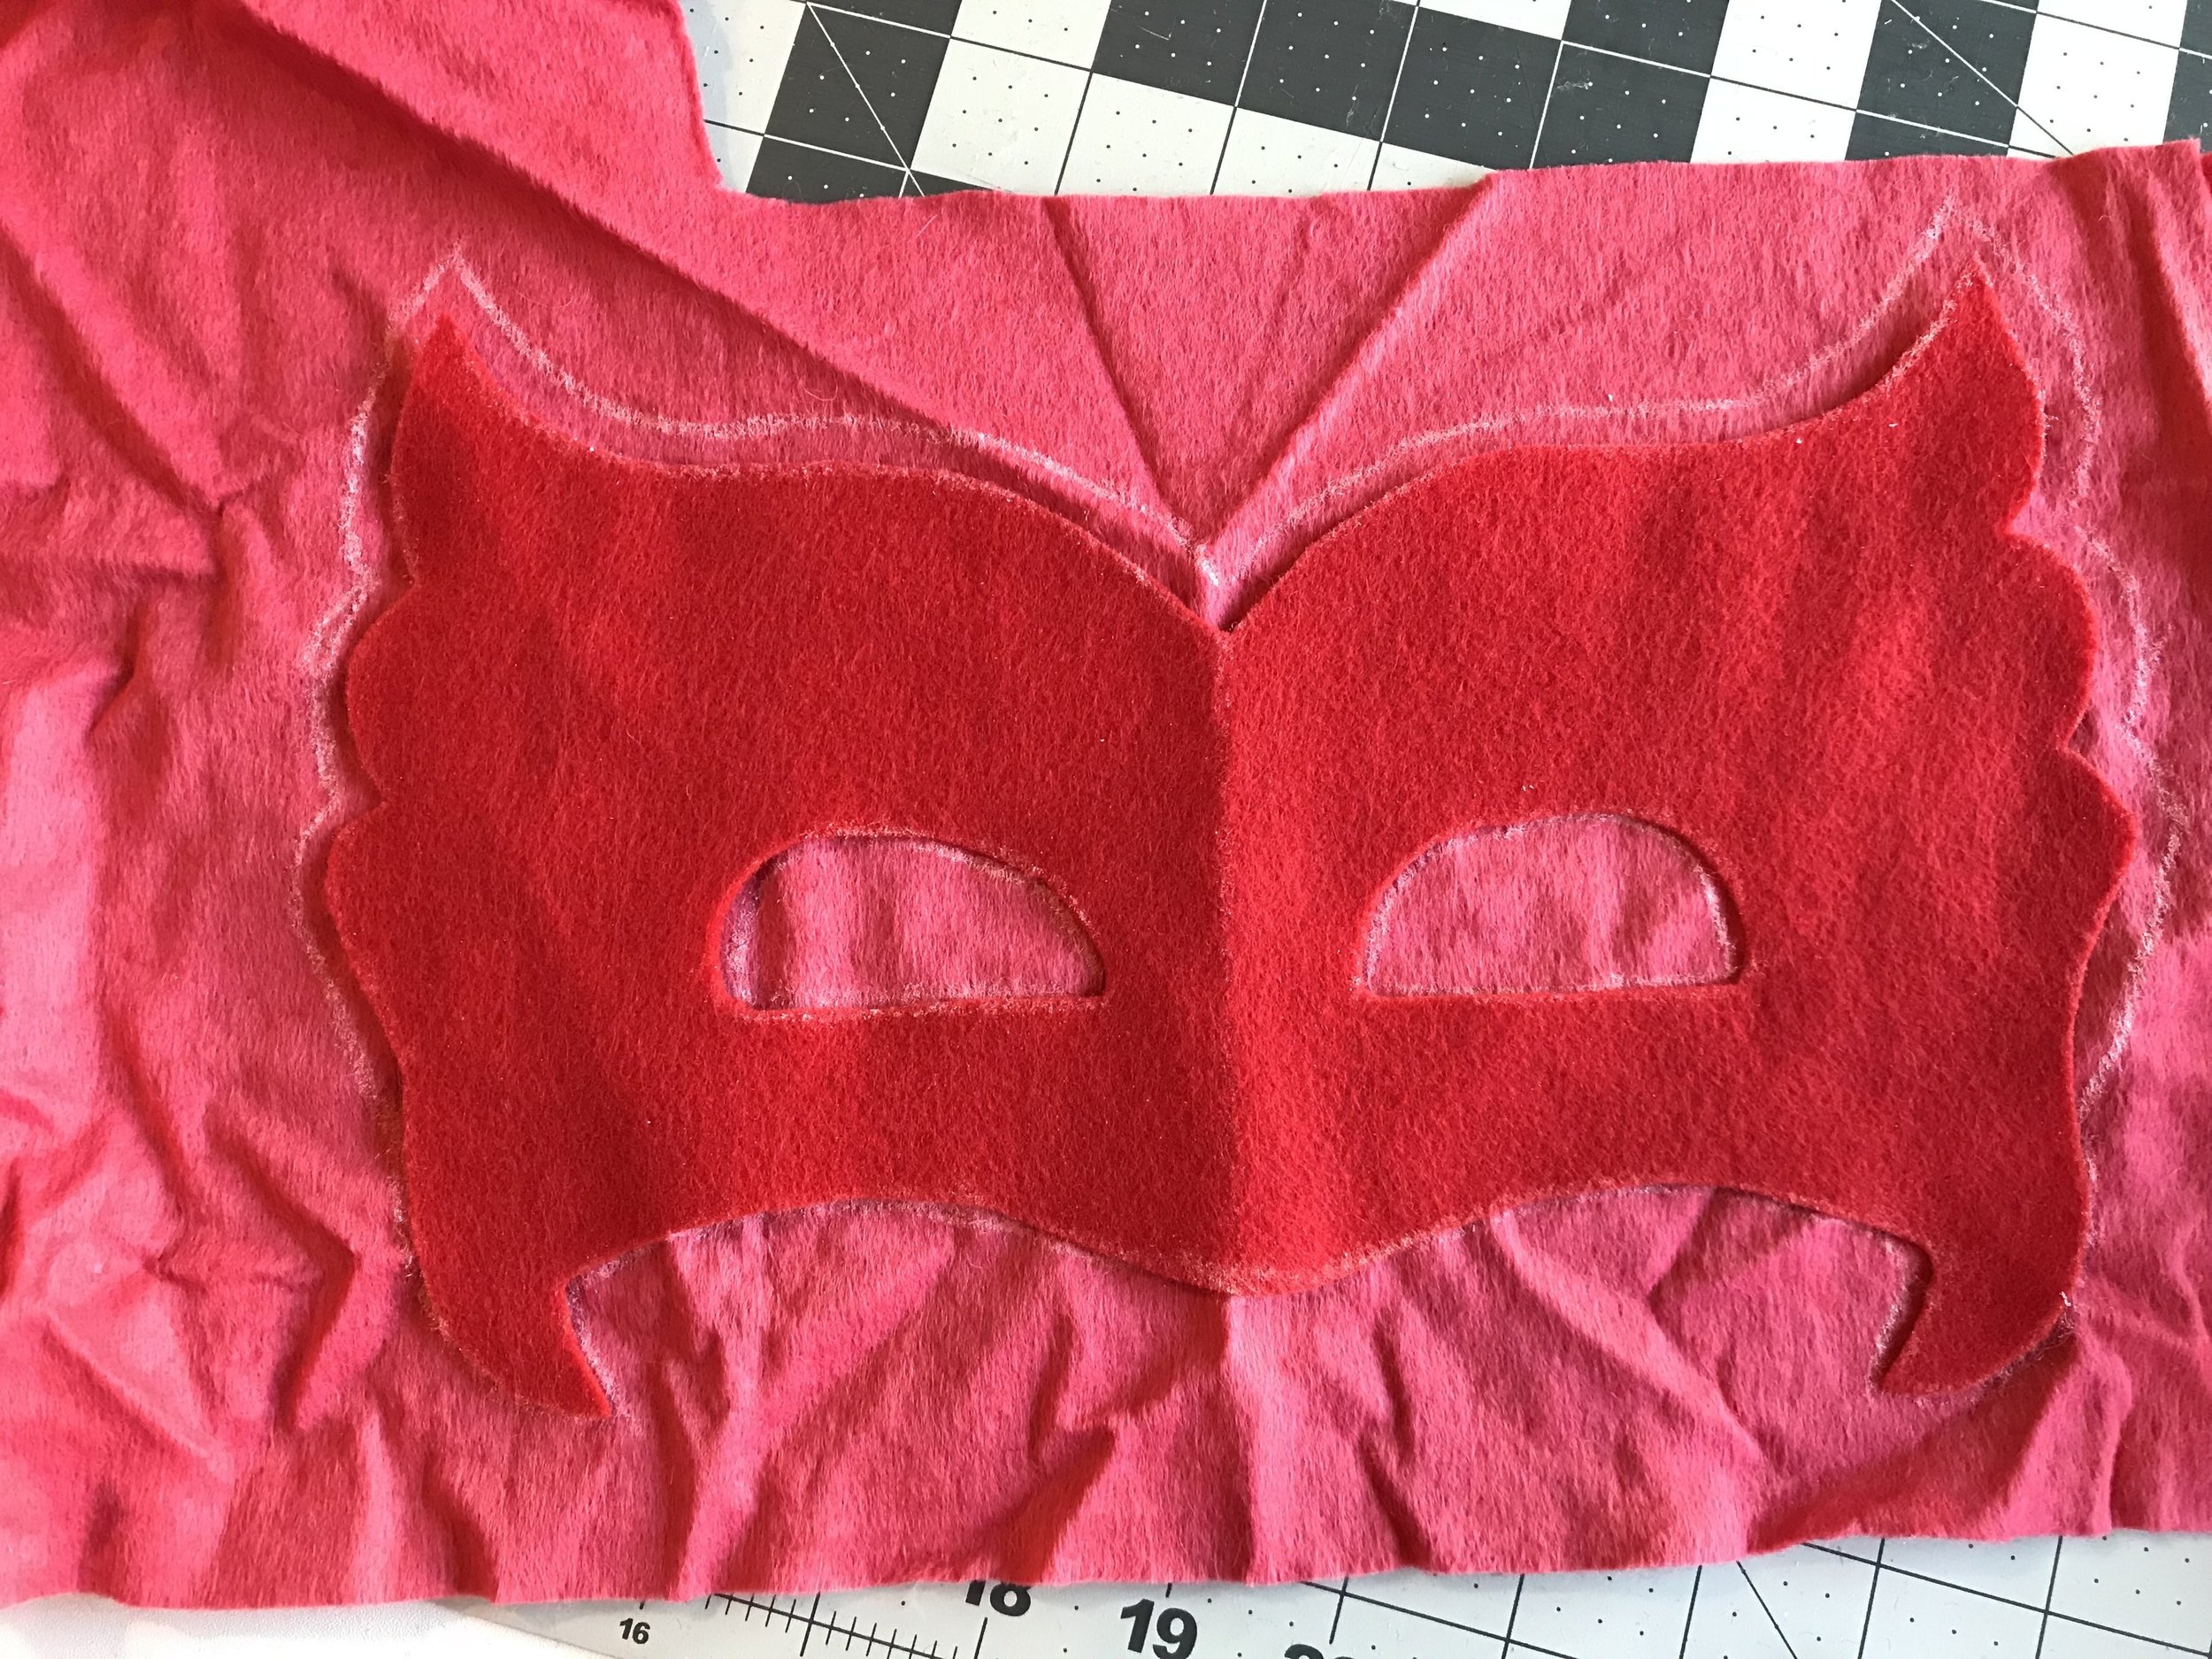
Now it's time to add all the details. Cut out the inner ears from dark blue felt and pin into place. Then zigzag stitch all the way around going thru your quilted layer mask.

Cut out the eyebrows, side "whiskers" and the lightning bolts in light blue and pin into place. Again you will zigzag stitch all the way around thru the quilted layer.

You'll notice that I didn't include the side whiskers on the template. All I did was cut thin strips of felt and then laid them down where I wanted them and zigzag stitched across the width of the strip to keep them in place. They don't have to be the exact same size. I did three on each side.

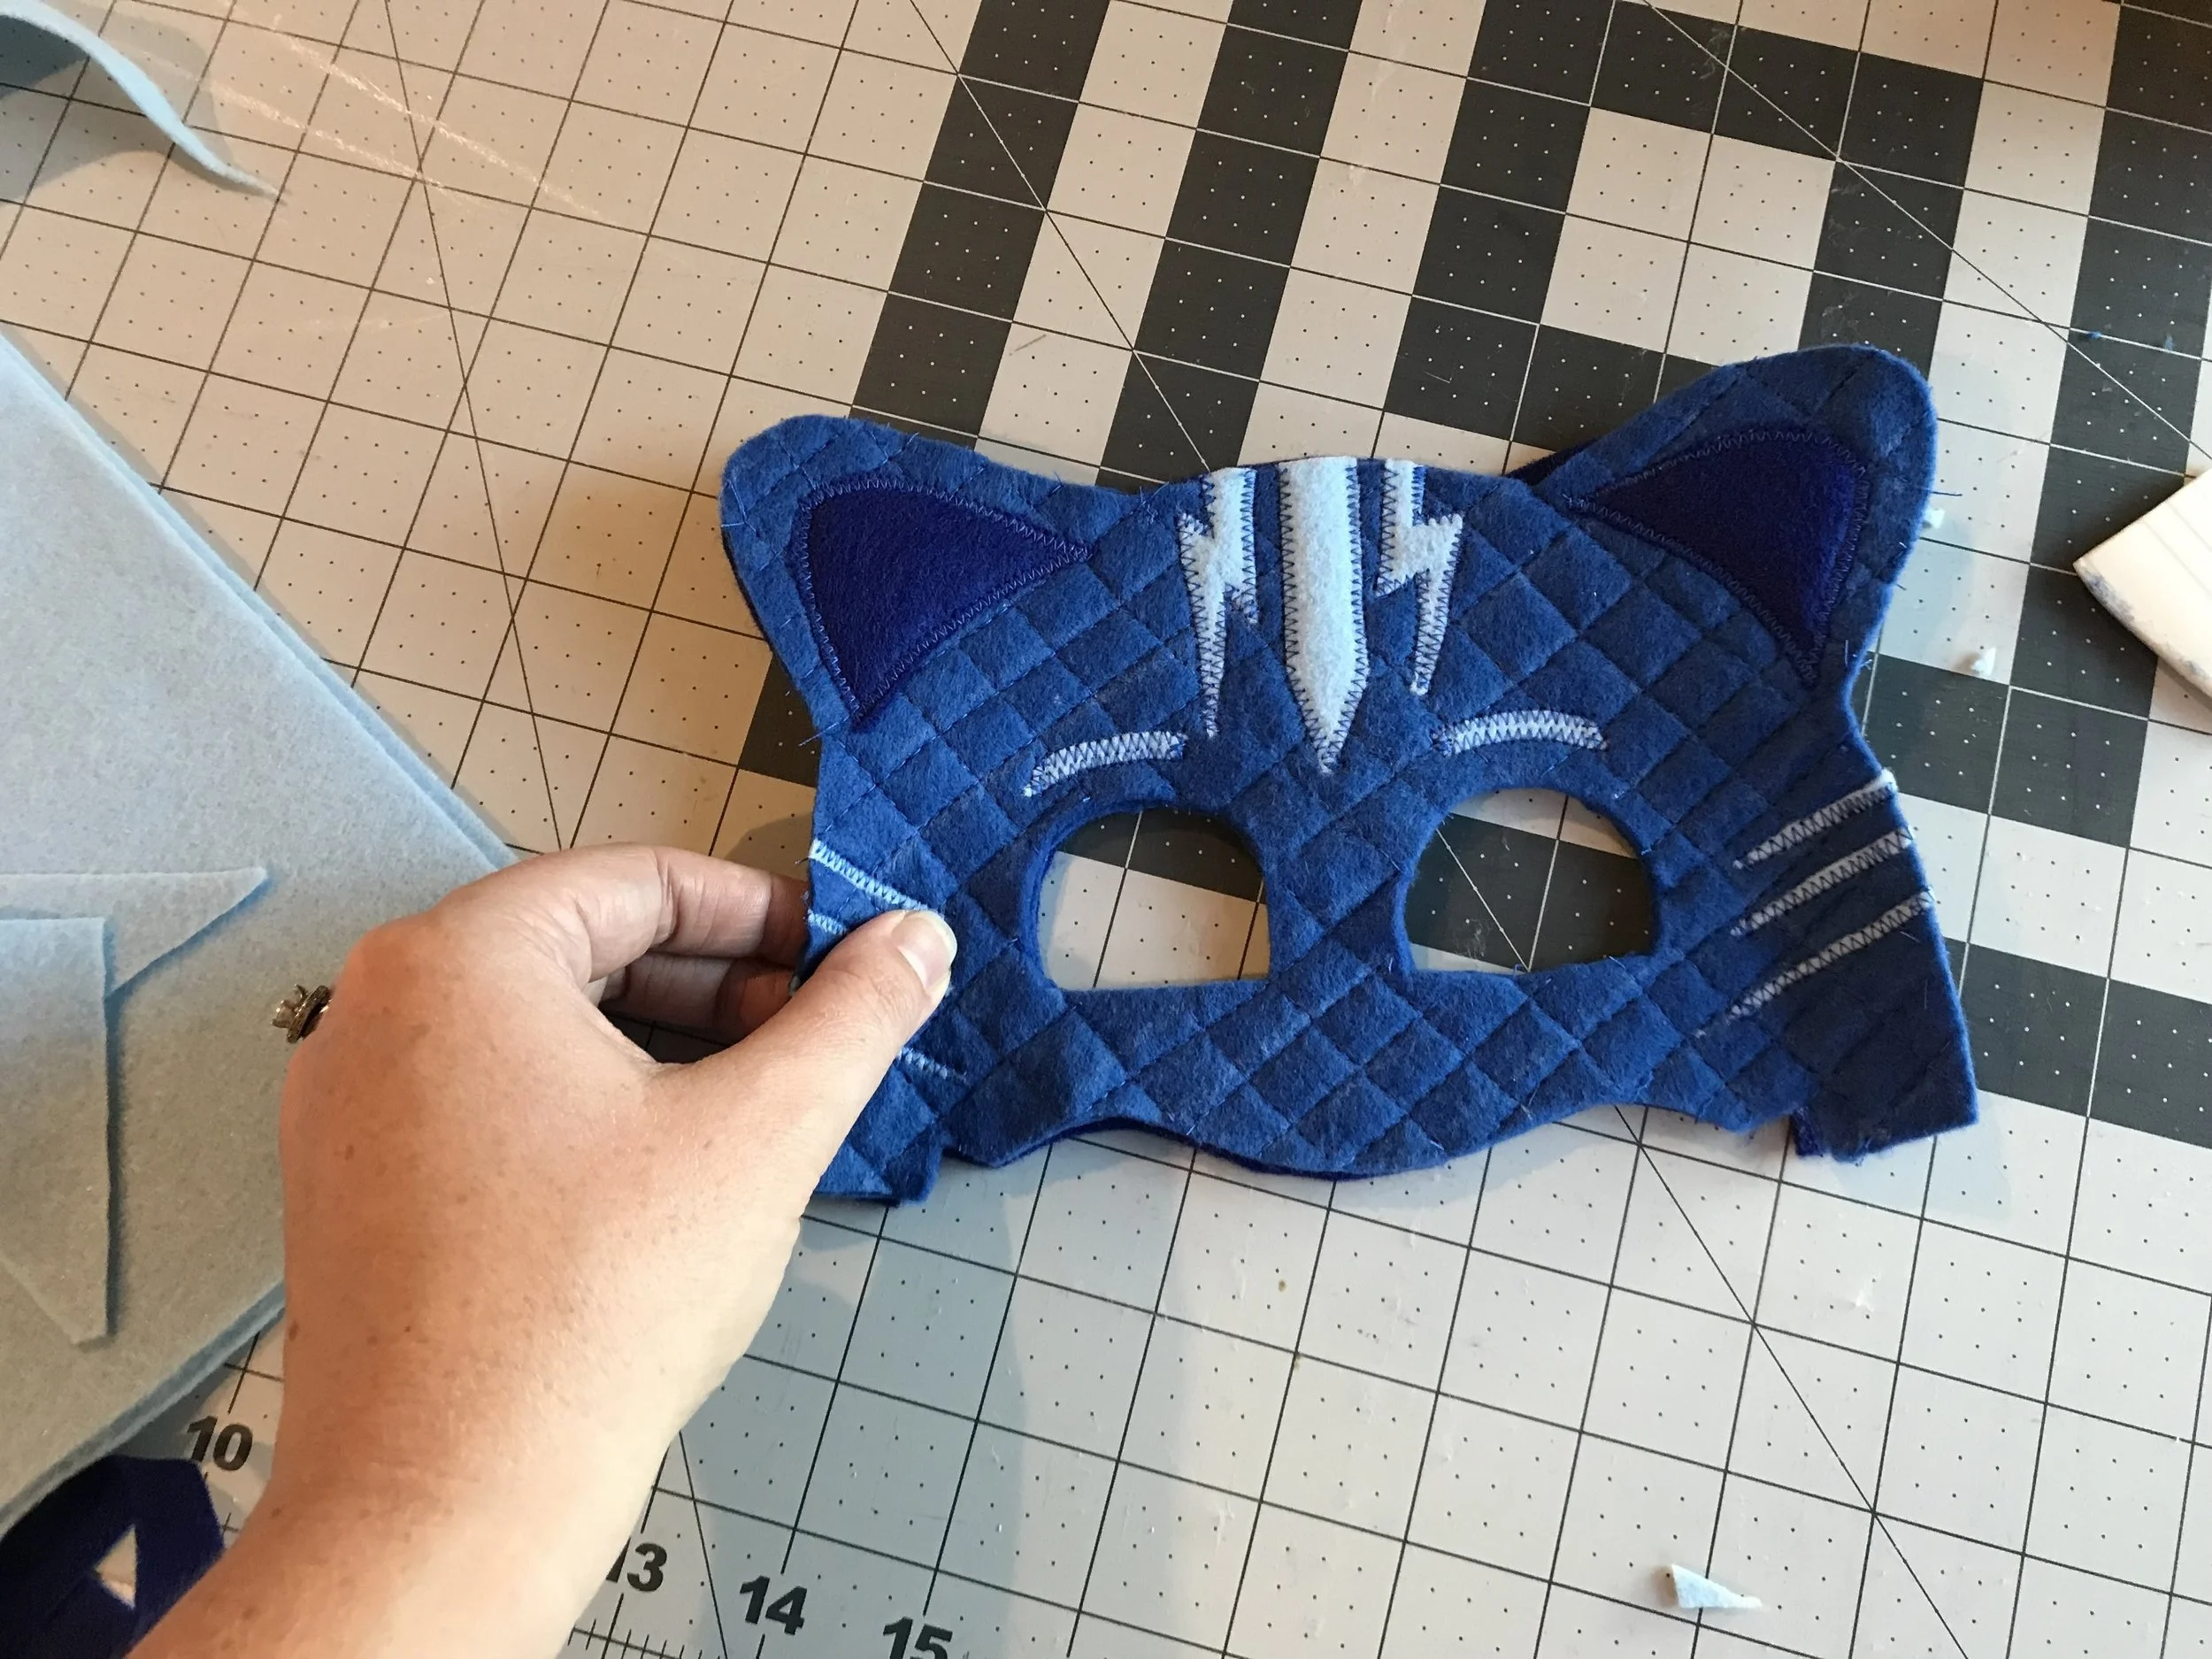
Next we will attach both layers and the elastic. Start by stacking the back layer and the top quilted layer with all your details on top of each other. Then zigzag stitch all the way around the eye openings.

Next zigzag stitch all the way across the top and the bottom of the mask. Leave the sides open. I left the space between the bottom of the ear and the bottom of the mask open.

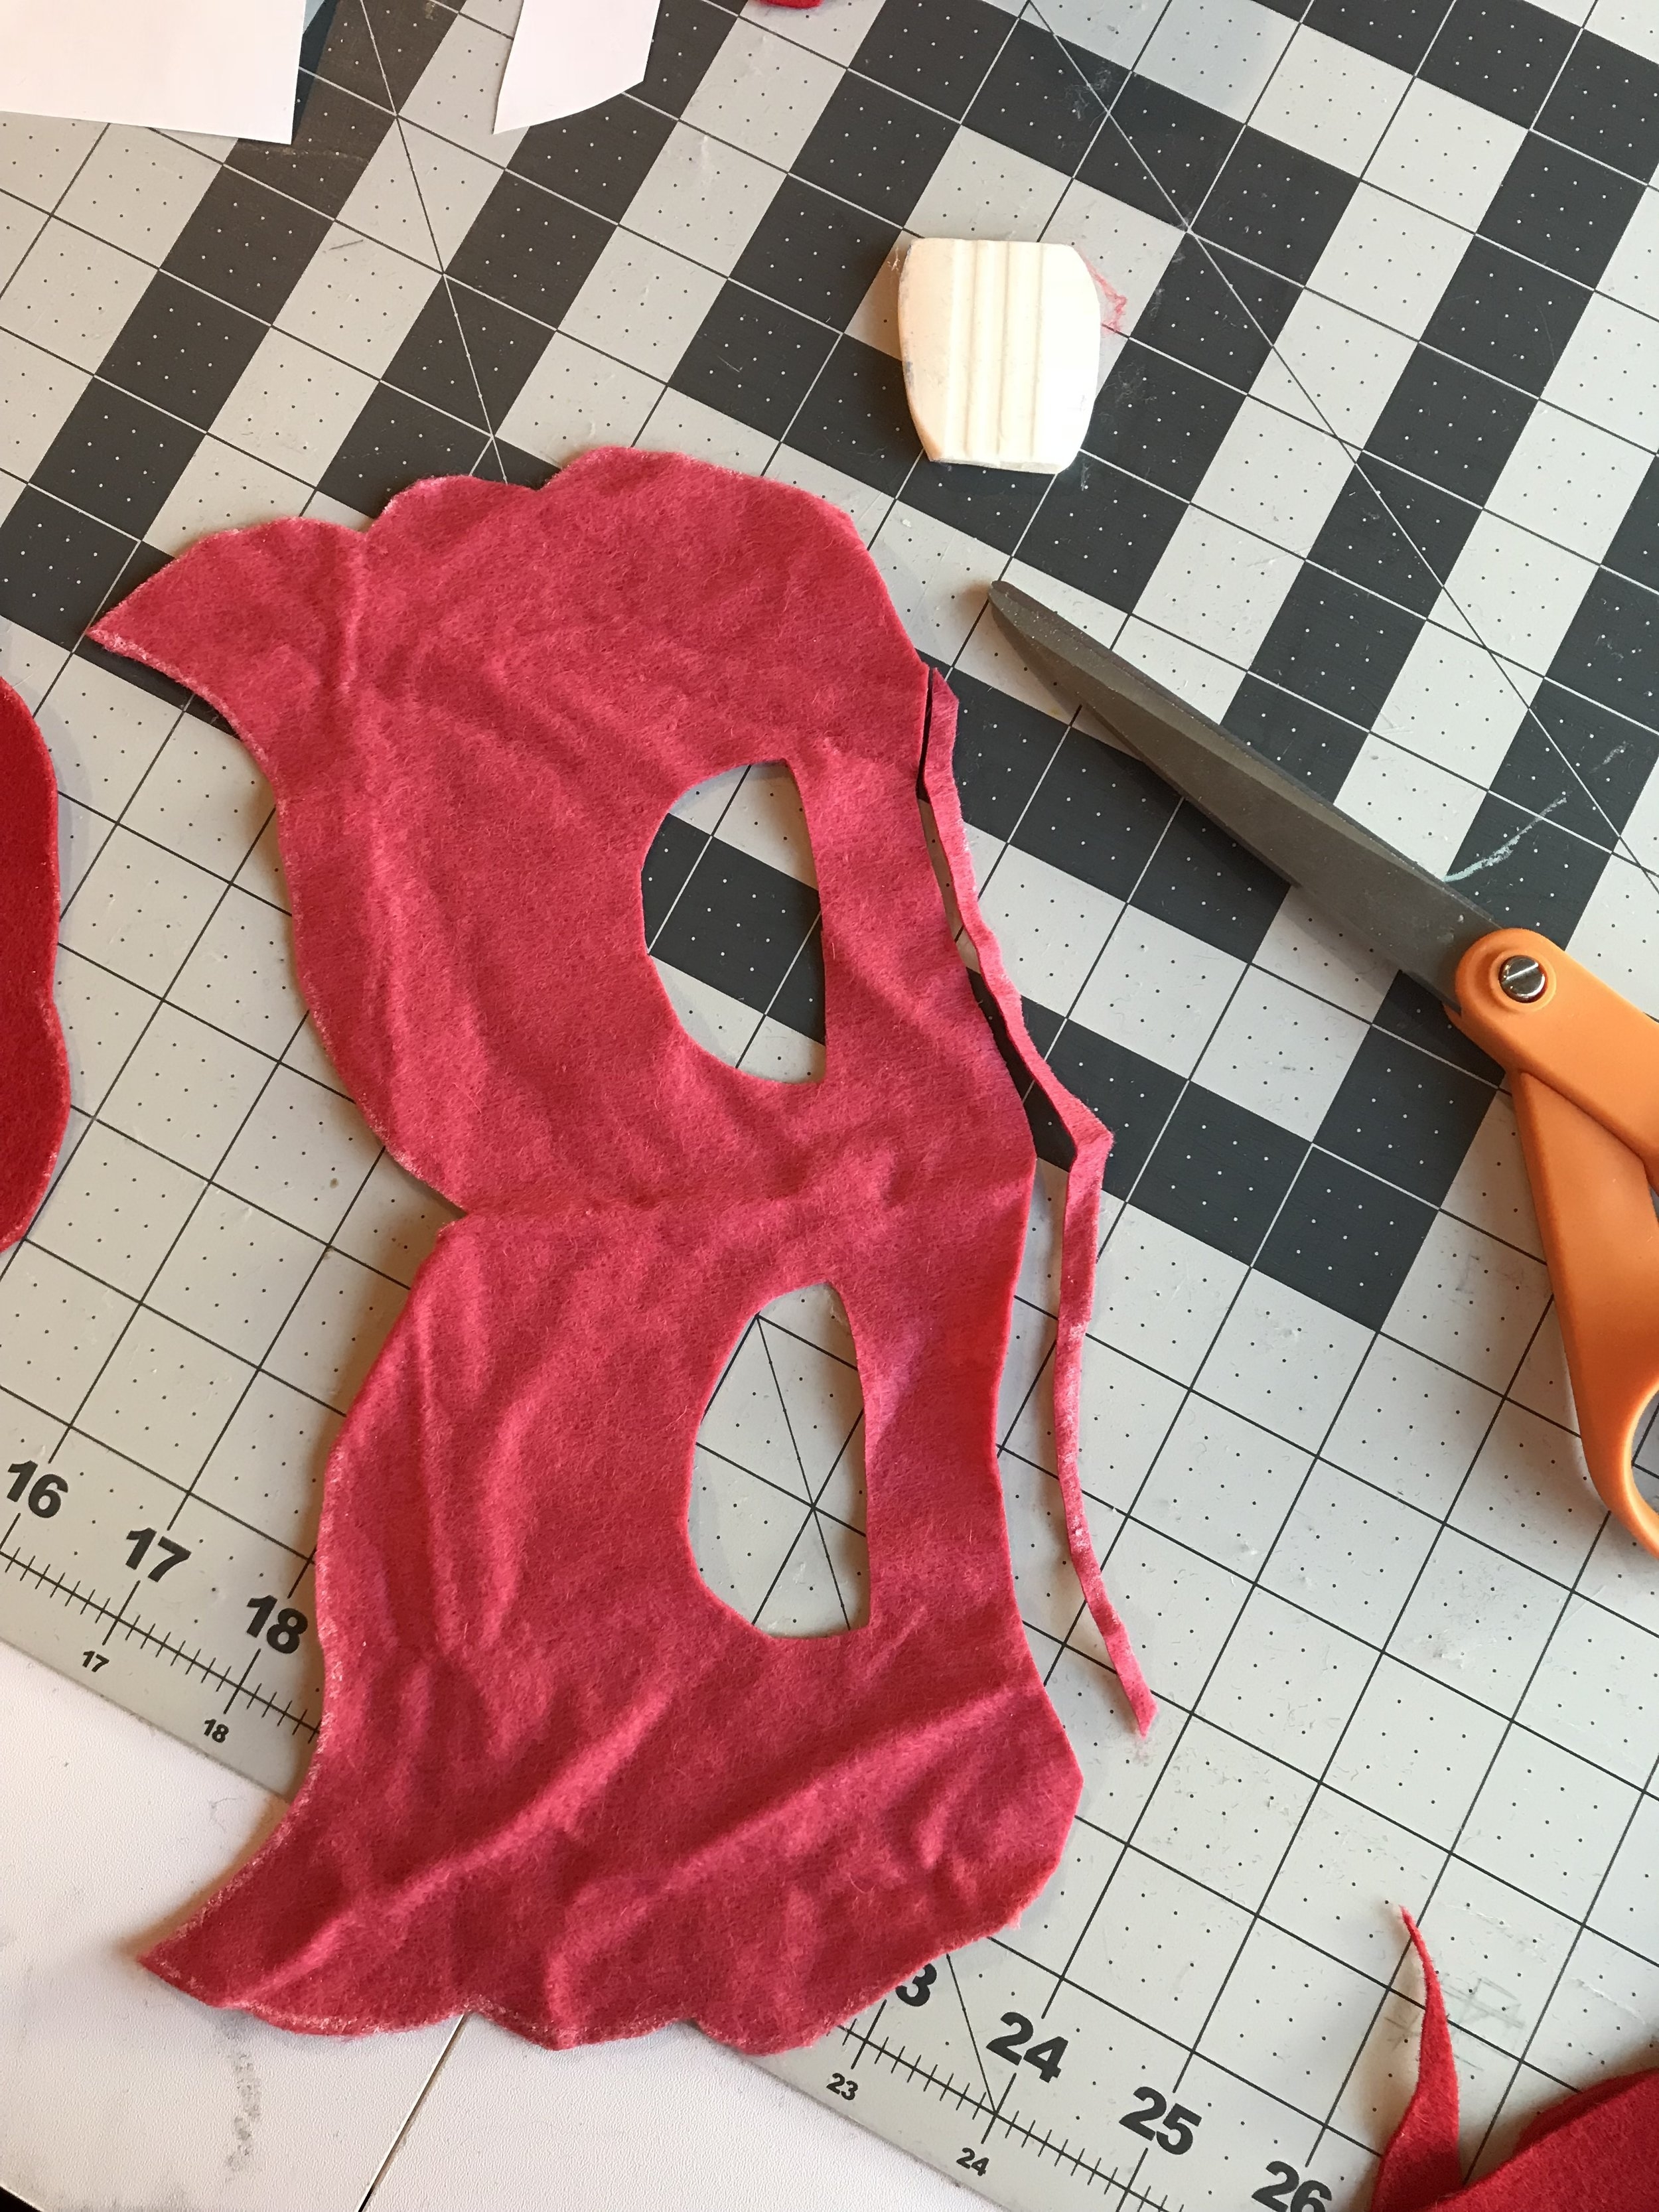
Slip one end of elastic in between the front and back layers on one side of the mask. Then zigzag stitch down that side so you sew the elastic into that seam.
I then had Emerson try on the mask and wrapped the elastic around the back of her head to see how tight it needed to be. I held onto it where I would need to sew it and then cut it and slipped that endinto the other side of the mask and zigzag stitched down that side to finish.


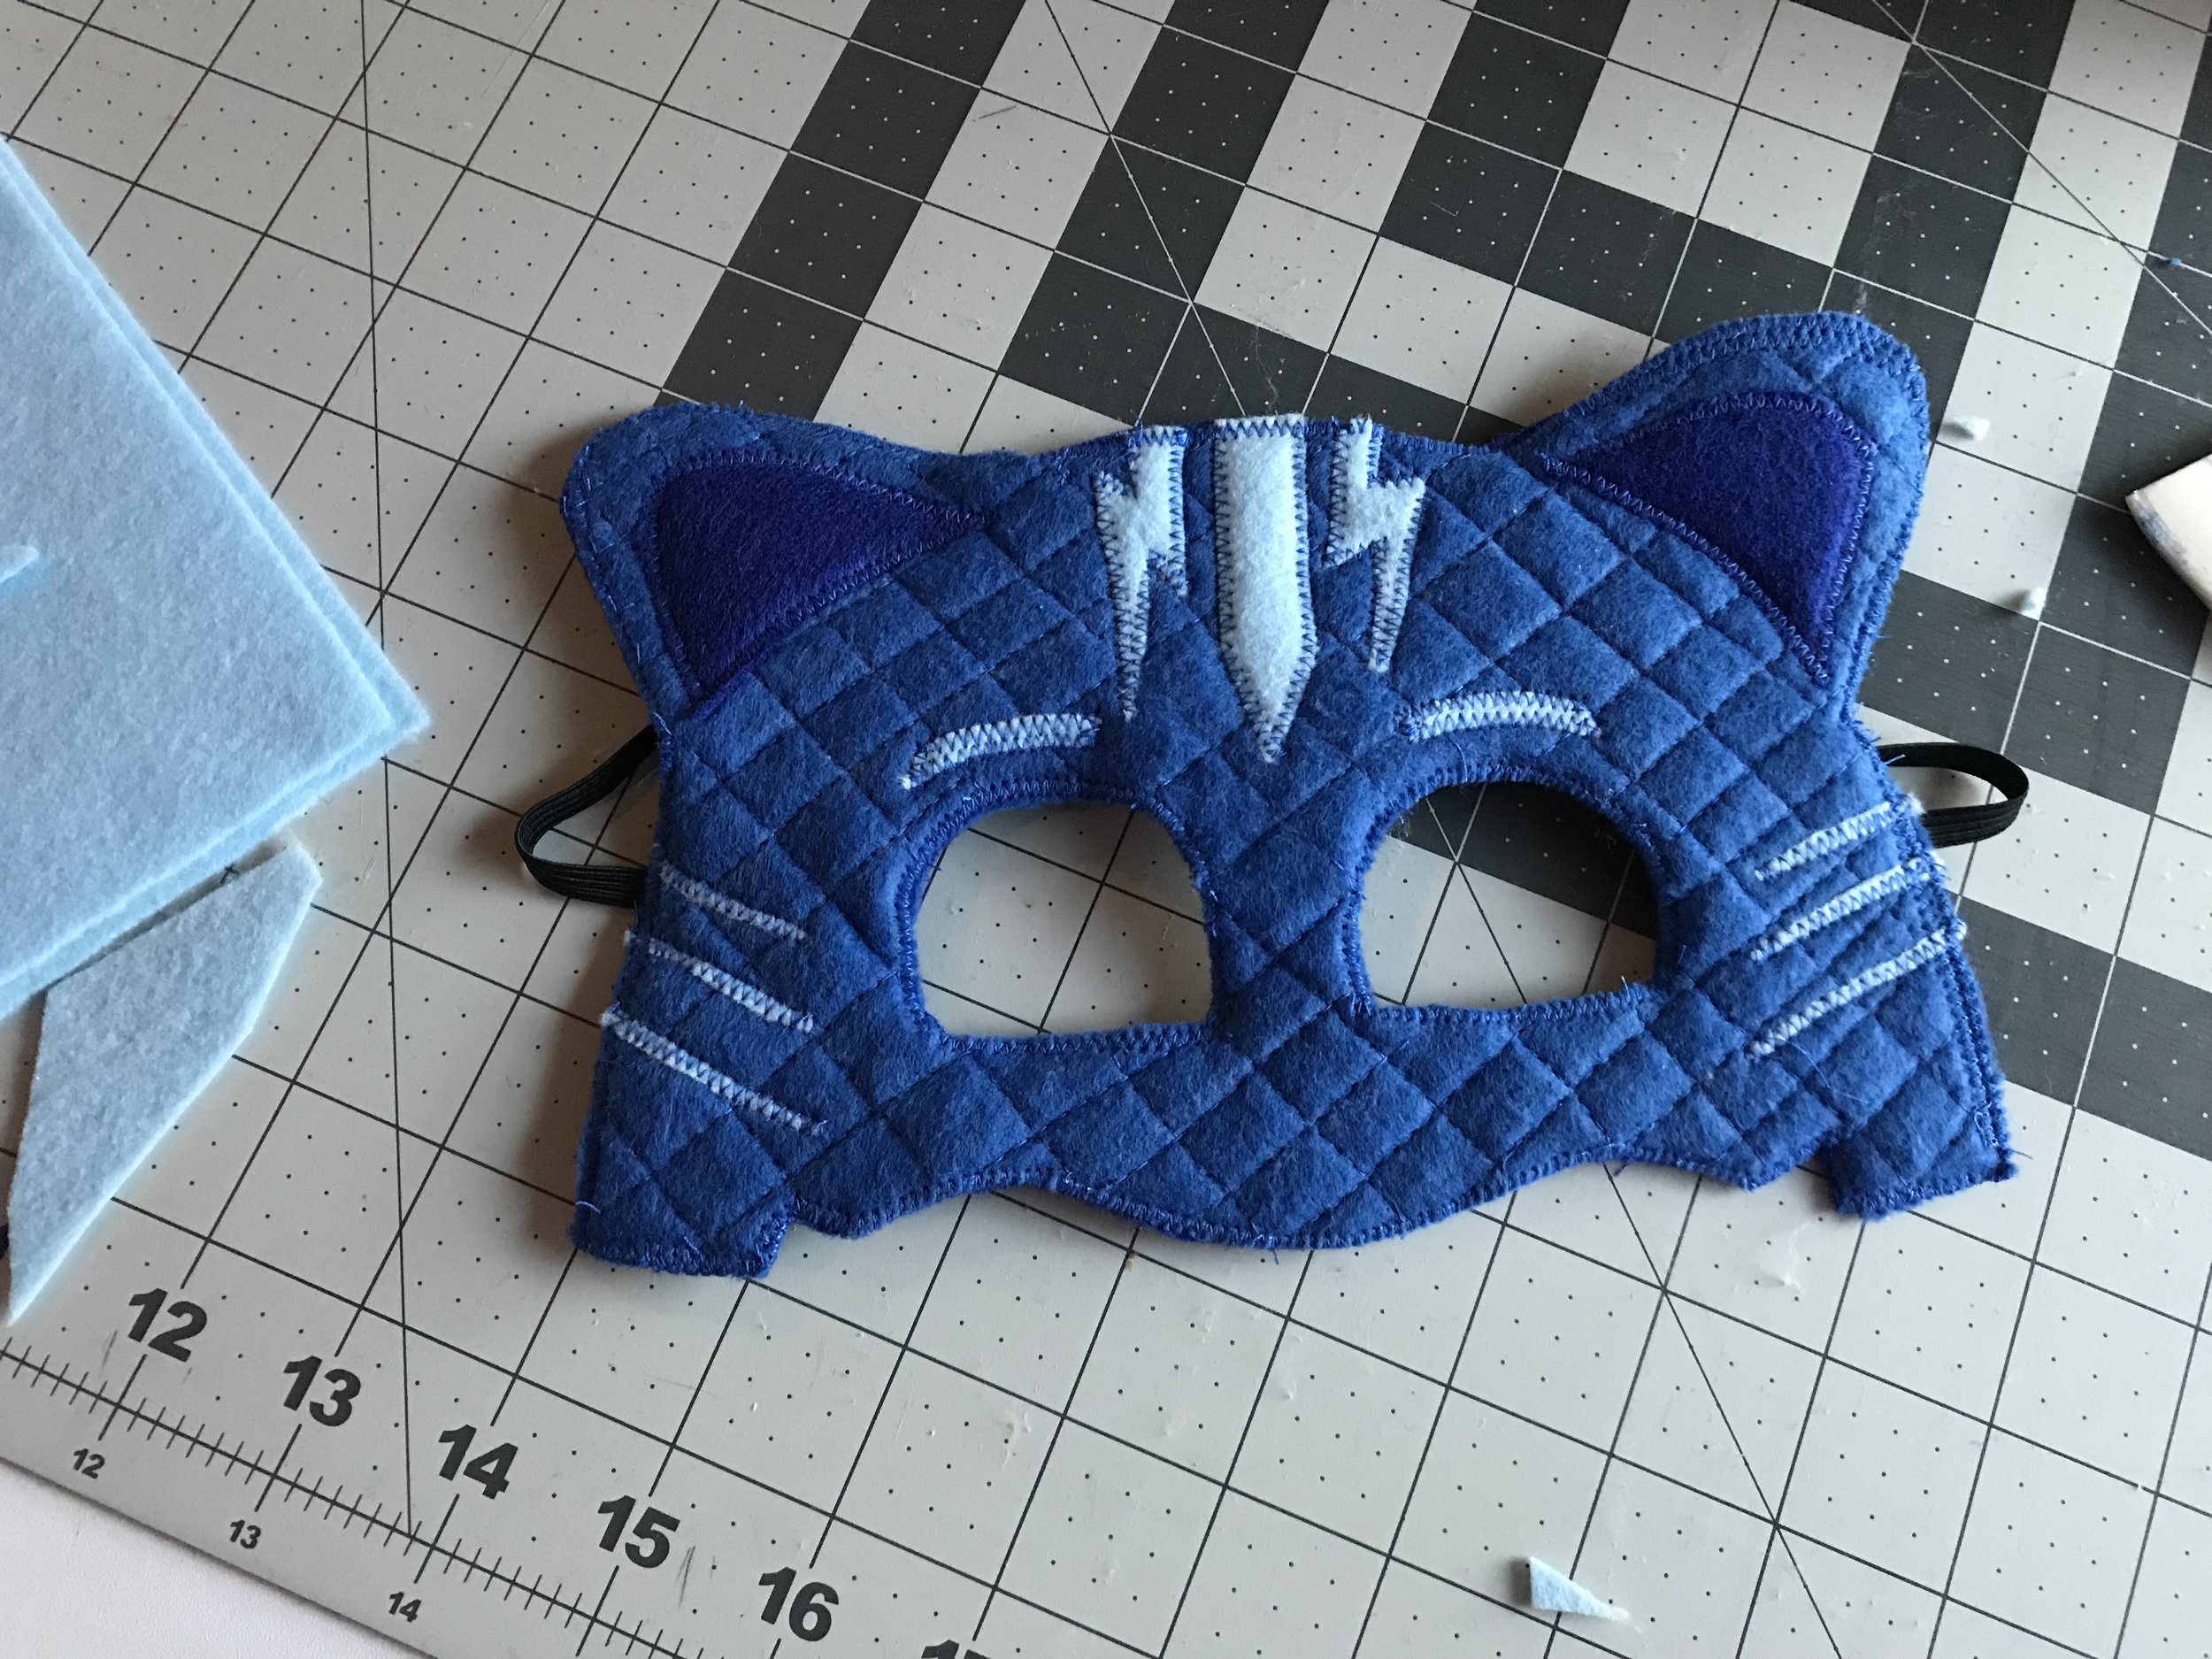
That's it! Now you have your very own Catboy mask.
The other three masks I did in the same way. I'll go through those quickly below so you get the idea. You just have to think about the layers you need for each mask and make sure you sew them in the correct order.
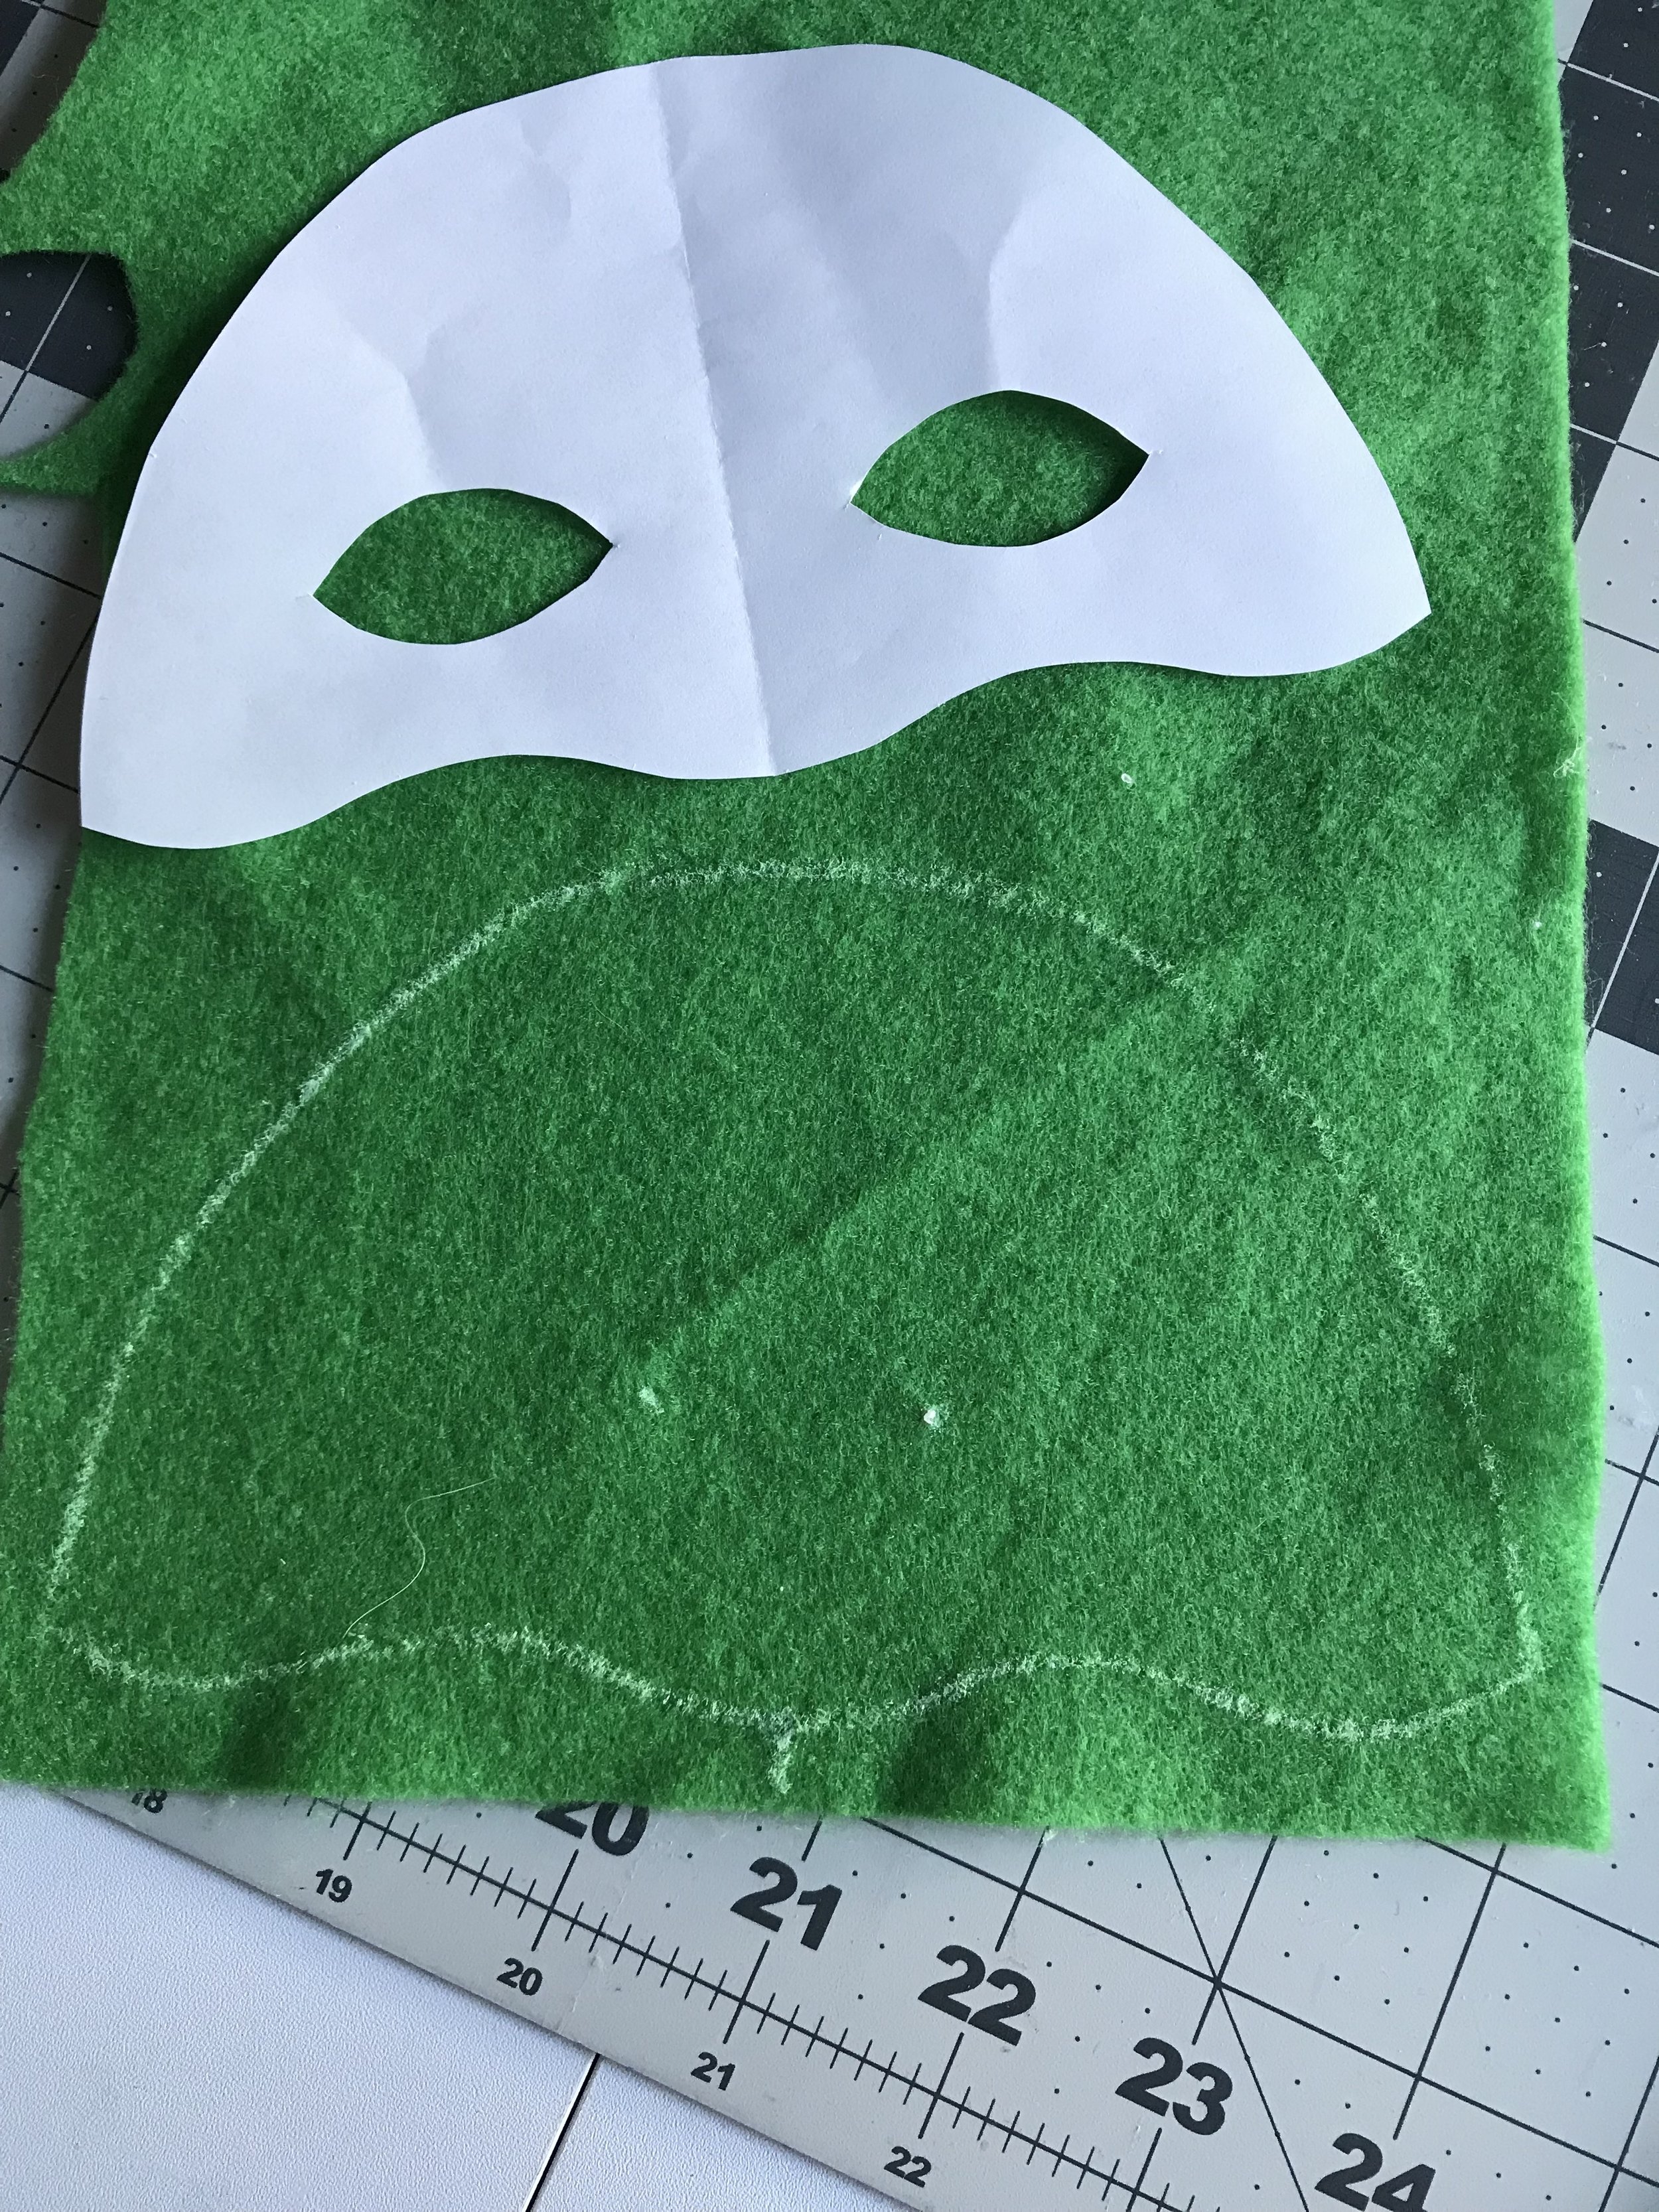
Gekko Mask-shown in infant size.
Owlette Mask- adult size shown

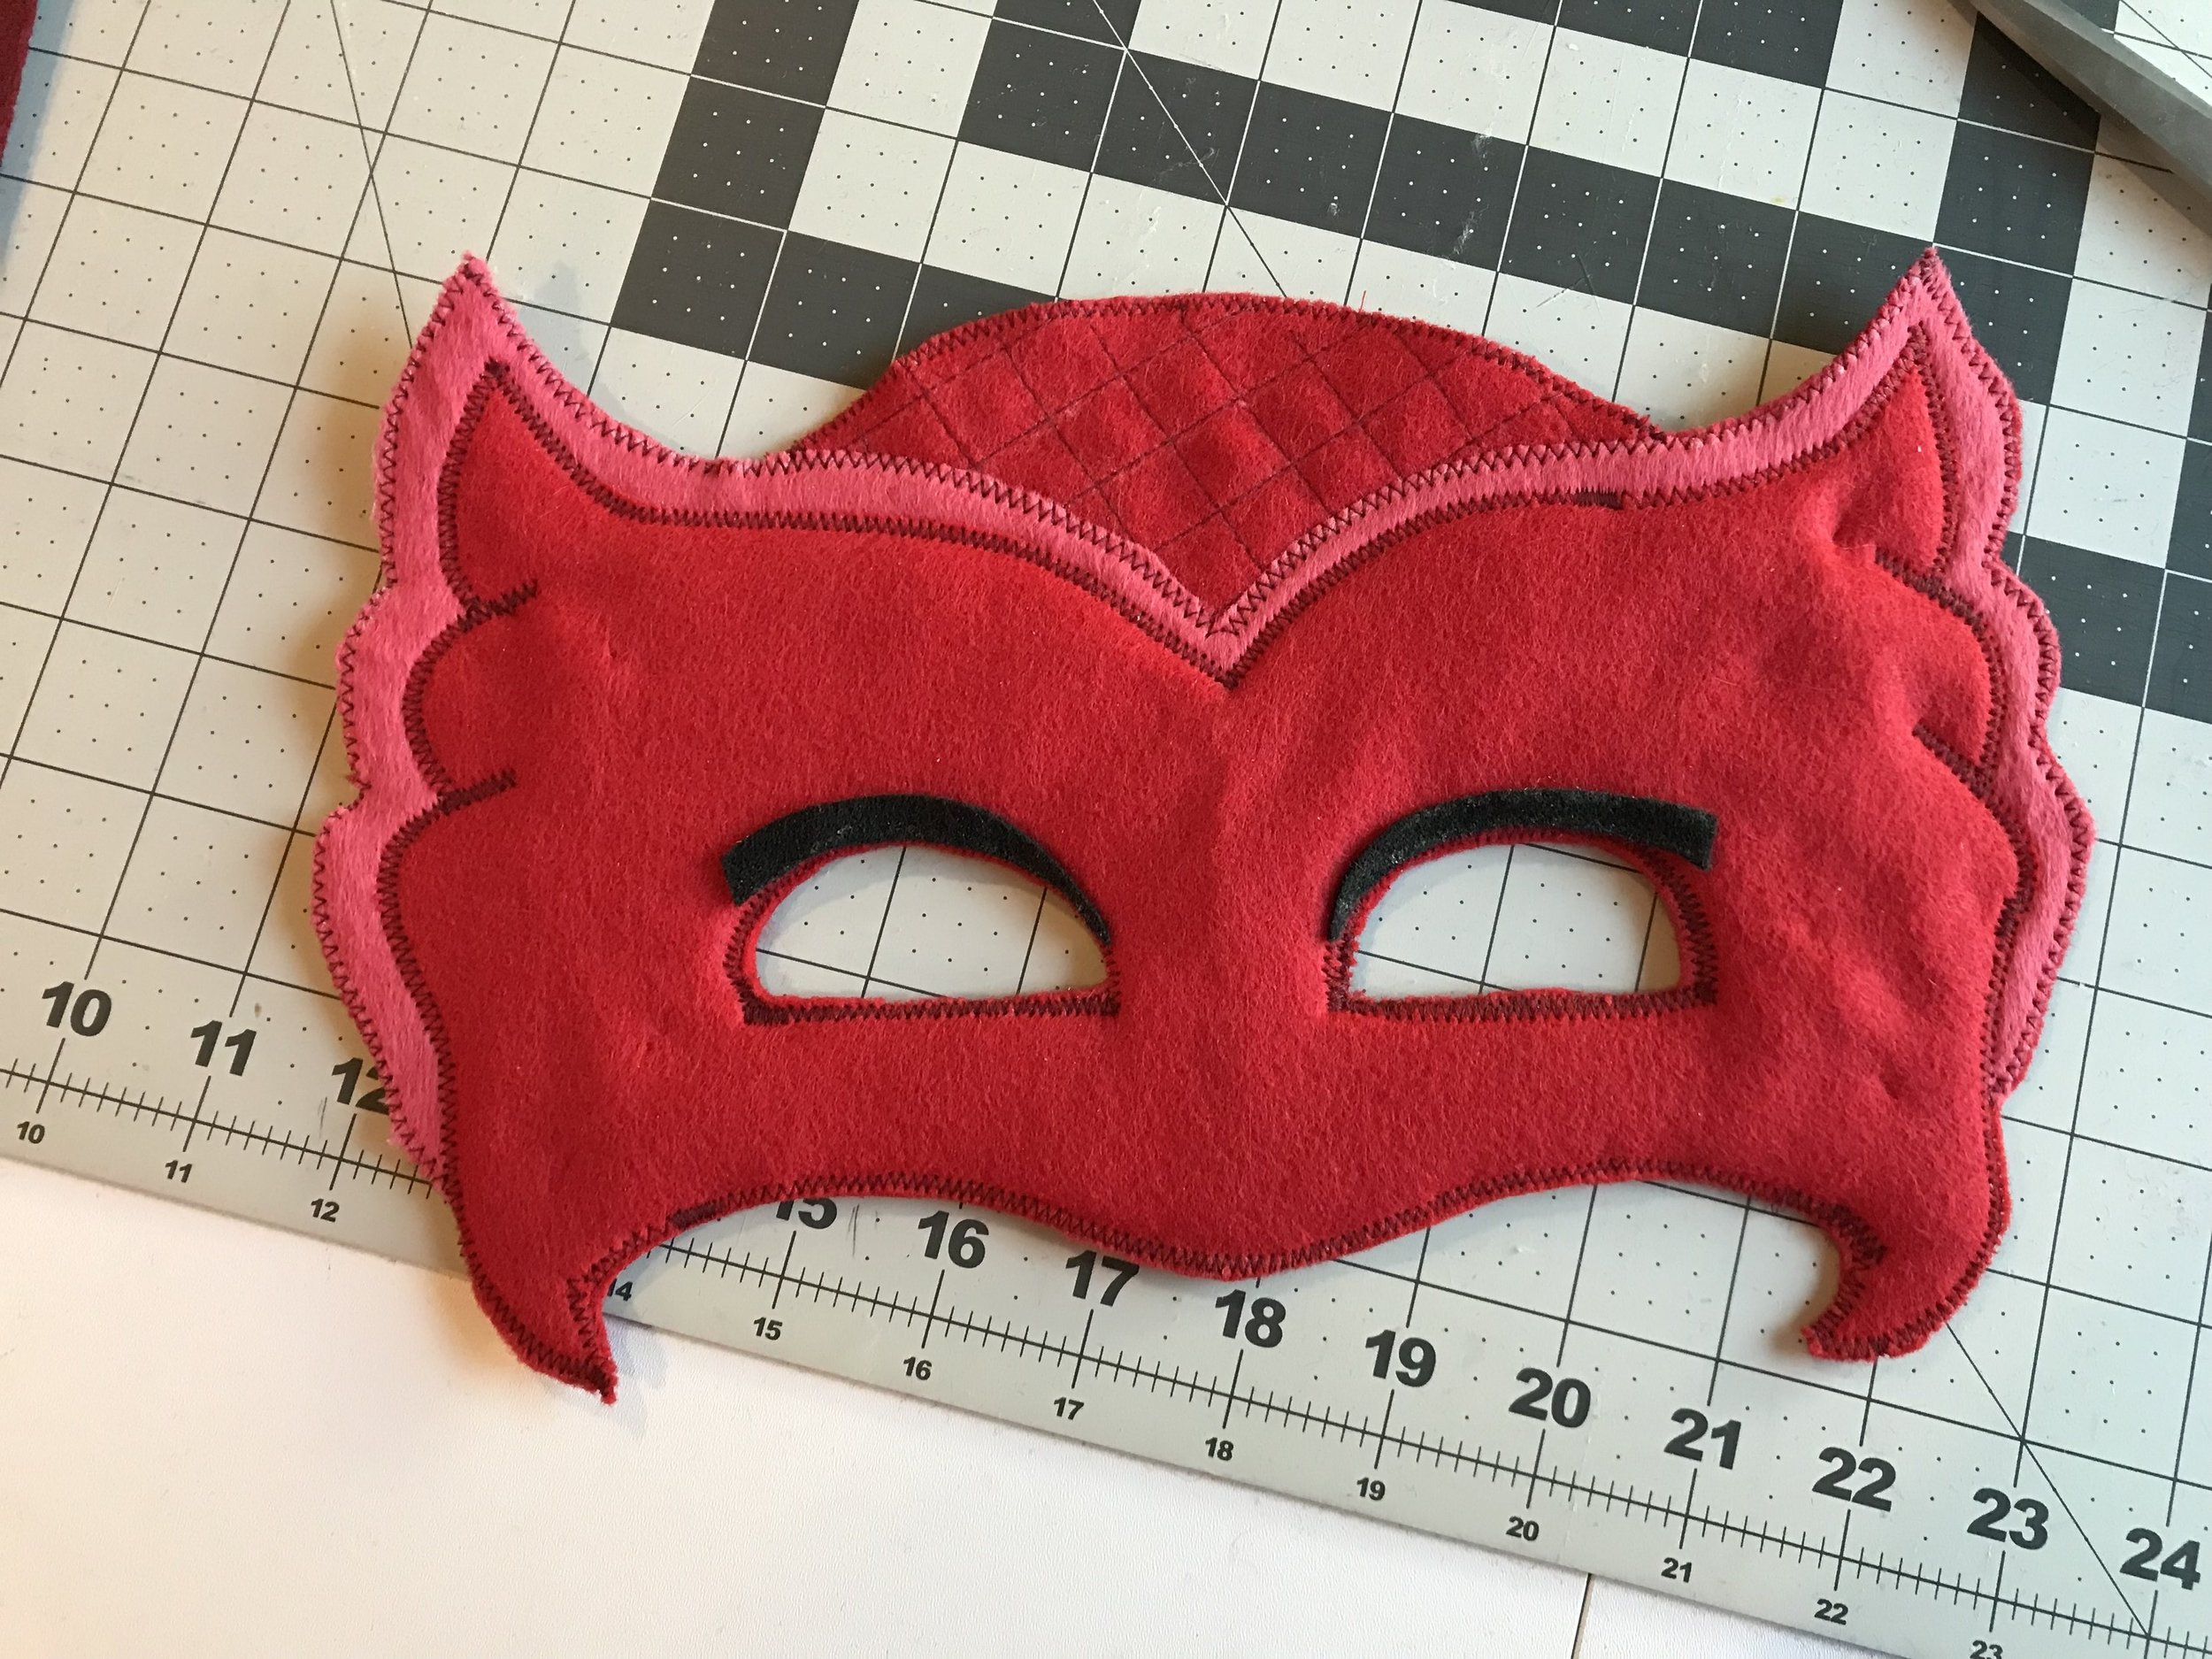
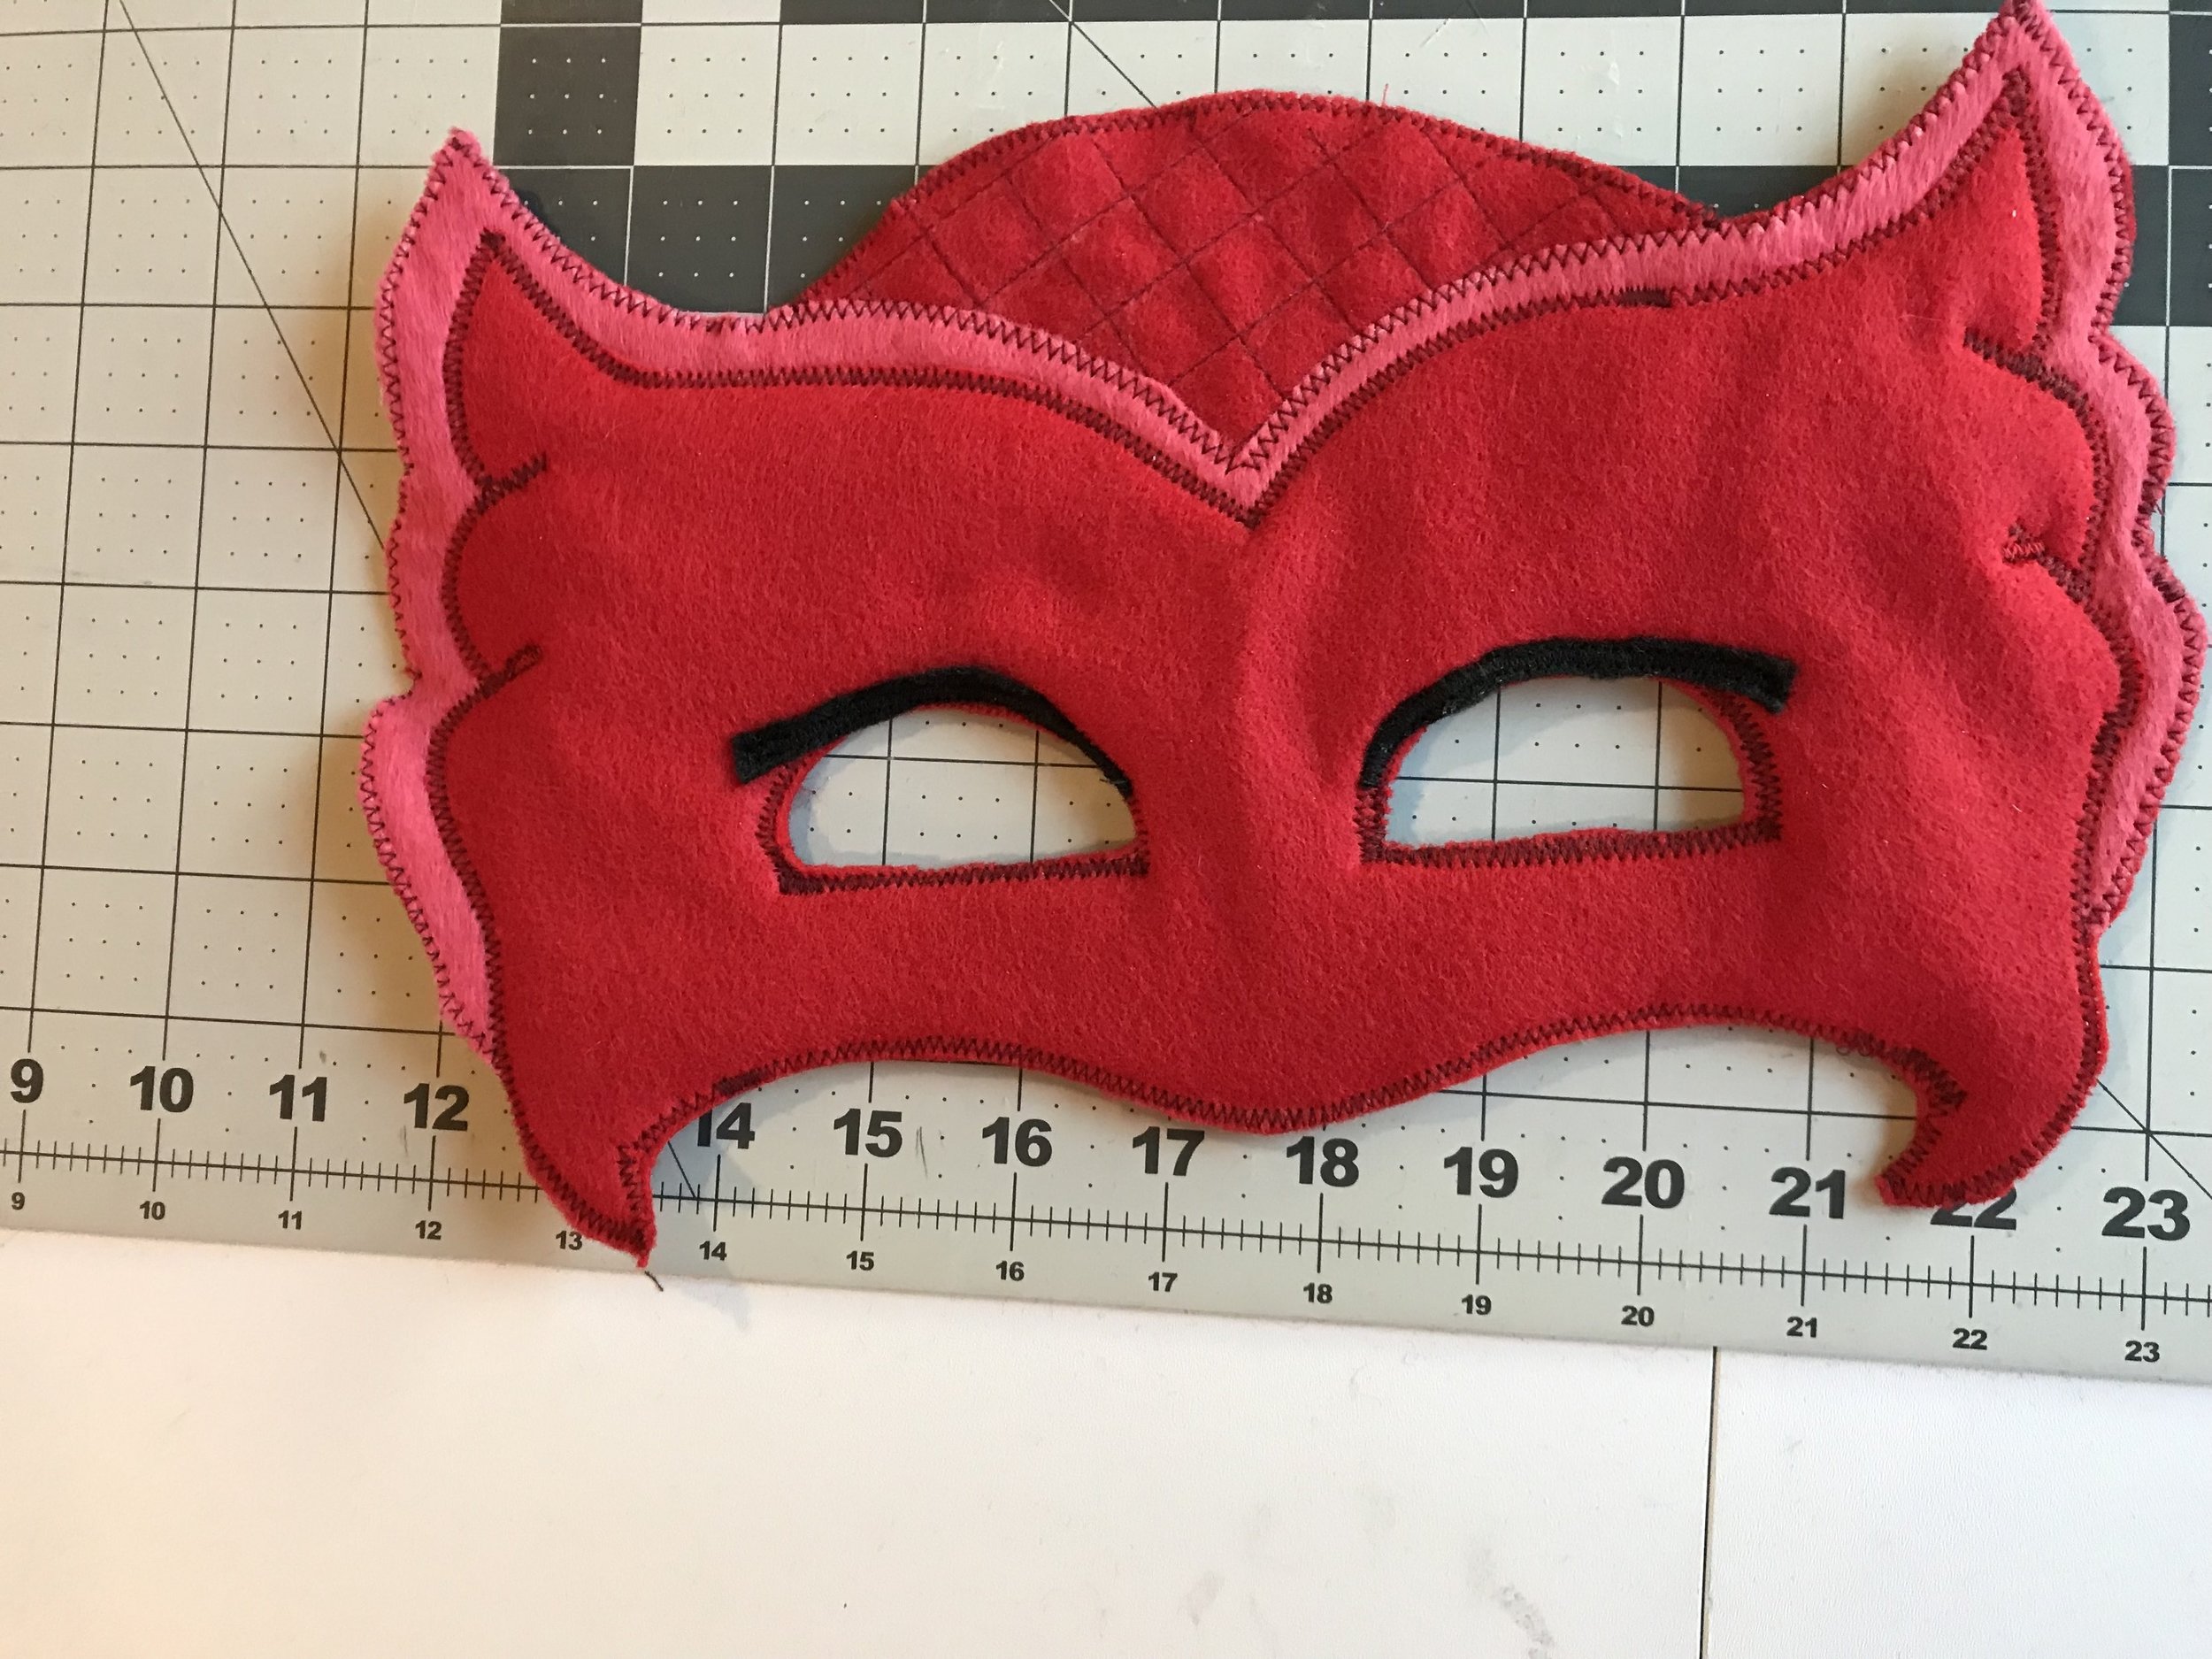
For the Owlette mask I did it a bit different and I forgot to sew the elastic in between layers so I just stitched it in place through all layers. the stitching is hidden in the feather details. I also should have sewn the feather details pointing down instead of up. It is correct on the template I made. If you have questions about this one just ask, I'm happy to help!
Romeo Mask- adult size shown
![IMG_1861[1].JPG](https://images.squarespace-cdn.com/content/v1/5522f983e4b0b2e878096910/1508392917795-ZN99U9J4QD3J0O68DPQ6/IMG_1861%5B1%5D.JPG)
So, I totally forgot to snap pictures while I was making this one. Sorry! It is a very simple mask so I'll do my best to explain it. I cut the basic adult mask out of peach felt. I changed the bottom a bit and made the curve for the nose and rounded the bottom to look like cheeks.
Then I cut the hair, goggles and eye brows from black felt andpinned in place. I zigzag stitched around the bottom of the hairline, over the eyebrows and around all parts of the goggles except the inside circles. I cut the little white hair detail out and then sewed it in place on top of the black piece with a zigzag stitch.
Next I cut out a backing piece from black and then sewed around the inside of the eyes through all layers. Then I zigzag stitched across the bottom and top to attach all layers. Slipped the elastic in between the layers on the sides, like I did for the others and stitched down the sides. Hopefully if you try this one you can figure it out.