Pattern Design Series-The Process of Design
This post contains affiliate links. If you make a purchase through those links I may receive a small commission.
Welcome to the second installment in my pattern design series. Last week we talked about Inspiration, Copyright, Imitation and Being Original. This week we will take a look at the process or steps it takes to go from an idea to a published pattern.
Keep in mind that everyone’s process may look different. Our brains all work a bit differently so how we get from point A to point Z will vary. Today I will share with you the basics of the process and how I go about designing my crochet patterns.
1. The Idea
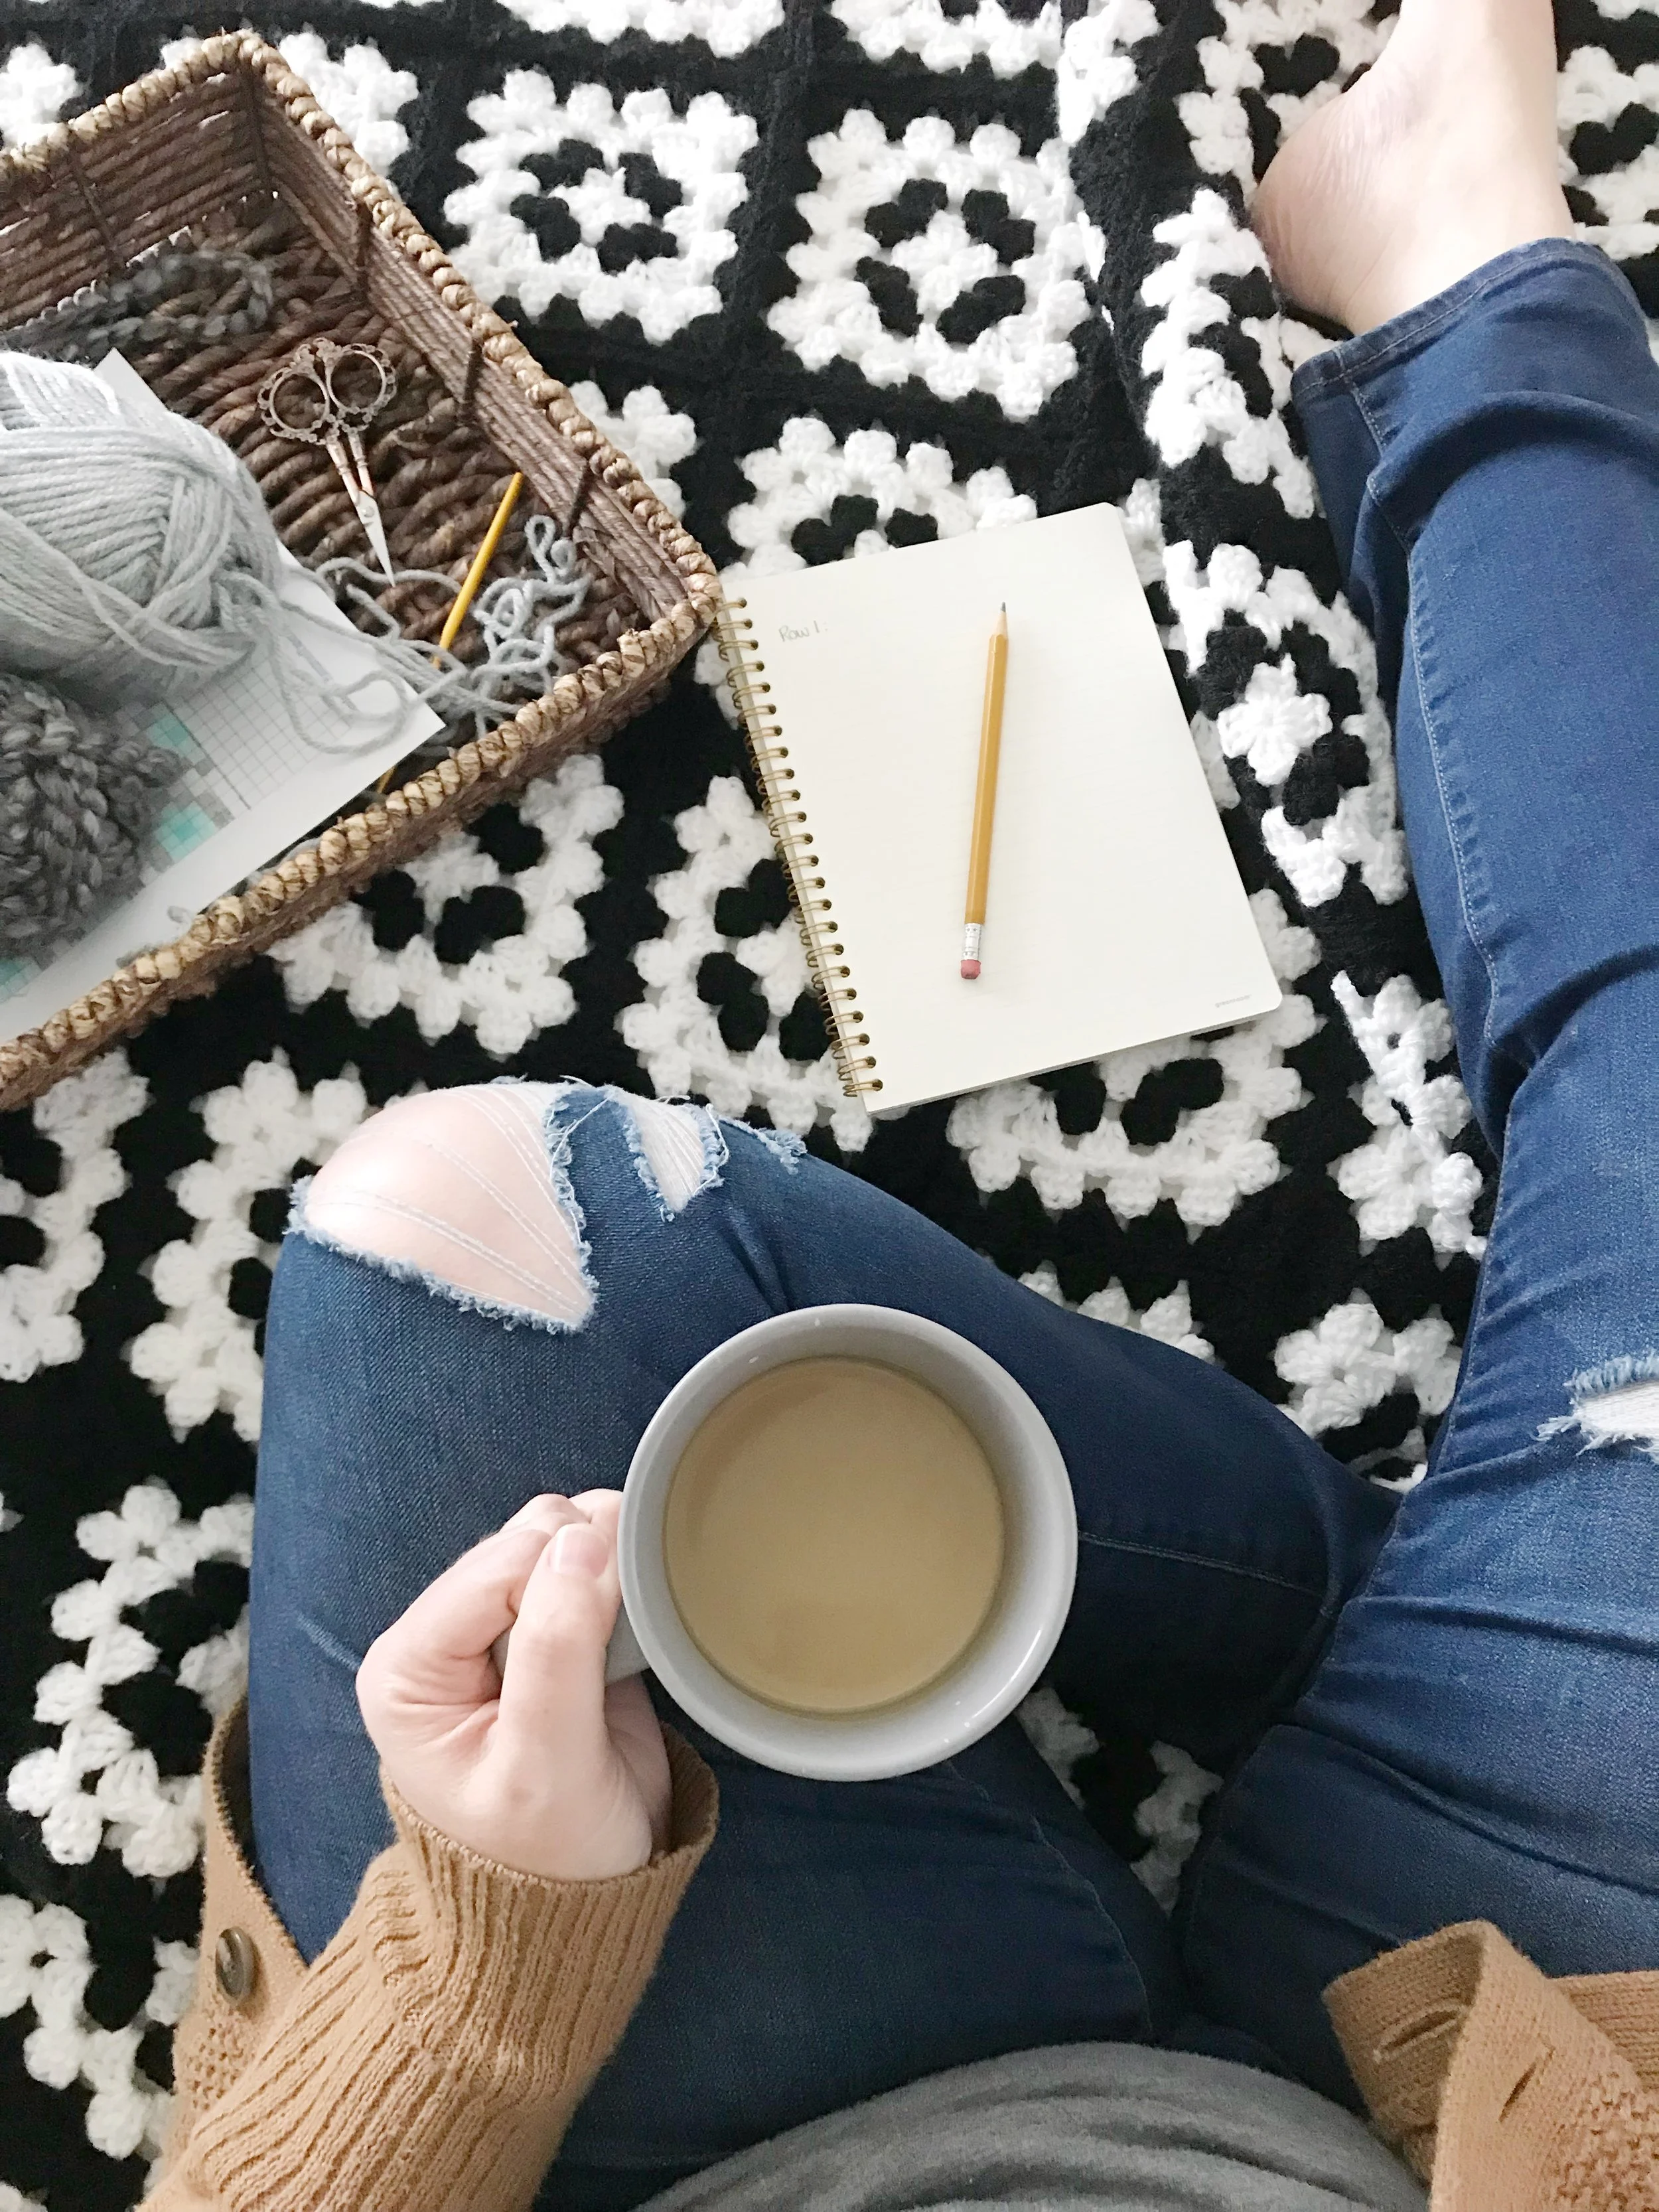
Every pattern or design starts with an idea. When inspiration strikes it can be hard not to drop everything and get started. I tend to get my best ideas while working on current ones so as a rule of thumb I always have a notebook nearby to write ideas down in. Before you begin the designing process I highly recommend getting a notebook dedicated to pattern writing. Then make sure you are writing EVERYTHING down. Keep track of things like where the idea came from, what yarn you would like to use, or even draw a little sketch. Keep adding notes as you go for that design so you don’t forget how it was made. It will help you out a lot in the long run to have a detailed collection of notes to refer back to.
2. Brainstorming & Swatching
After an idea strikes I like to spend some time brainstorming and experimenting with stitches and yarns before I start the actual construction. It’s a lot like creating an outline before you write an essay.
If my idea was inspired by a specific stitch then I can go ahead and start swatching by playing around with different yarn weights and hook sizes to assess how the stitch will look on a larger scale.
If my idea started with a specific item in mind like a garment or accessory I’ll start by looking for the best stitch to fit my vision. I like to check out stitch dictionaries from the library or use some that I own to figure out which stitches will look best. One of my favorites is 500 Crochet Stitches: The Ultimate Stitch Bible. I may make a few different stitch swatches before deciding on one. I’ll also try it out with different yarn and hook sizes.
This is also a great time to figure out how a stitch will increase or decrease, whether it has a wrong and right side and how it looks in the round vs rows. The more you can figure out before you start actual construction the easier it will be. While making my latest design I was finished with the first section before I realized it had a right and wrong side to the stitch and had to pull out half of what I had to done and rework my pattern to fix it. It was heartbreaking but also a huge lesson I learned.
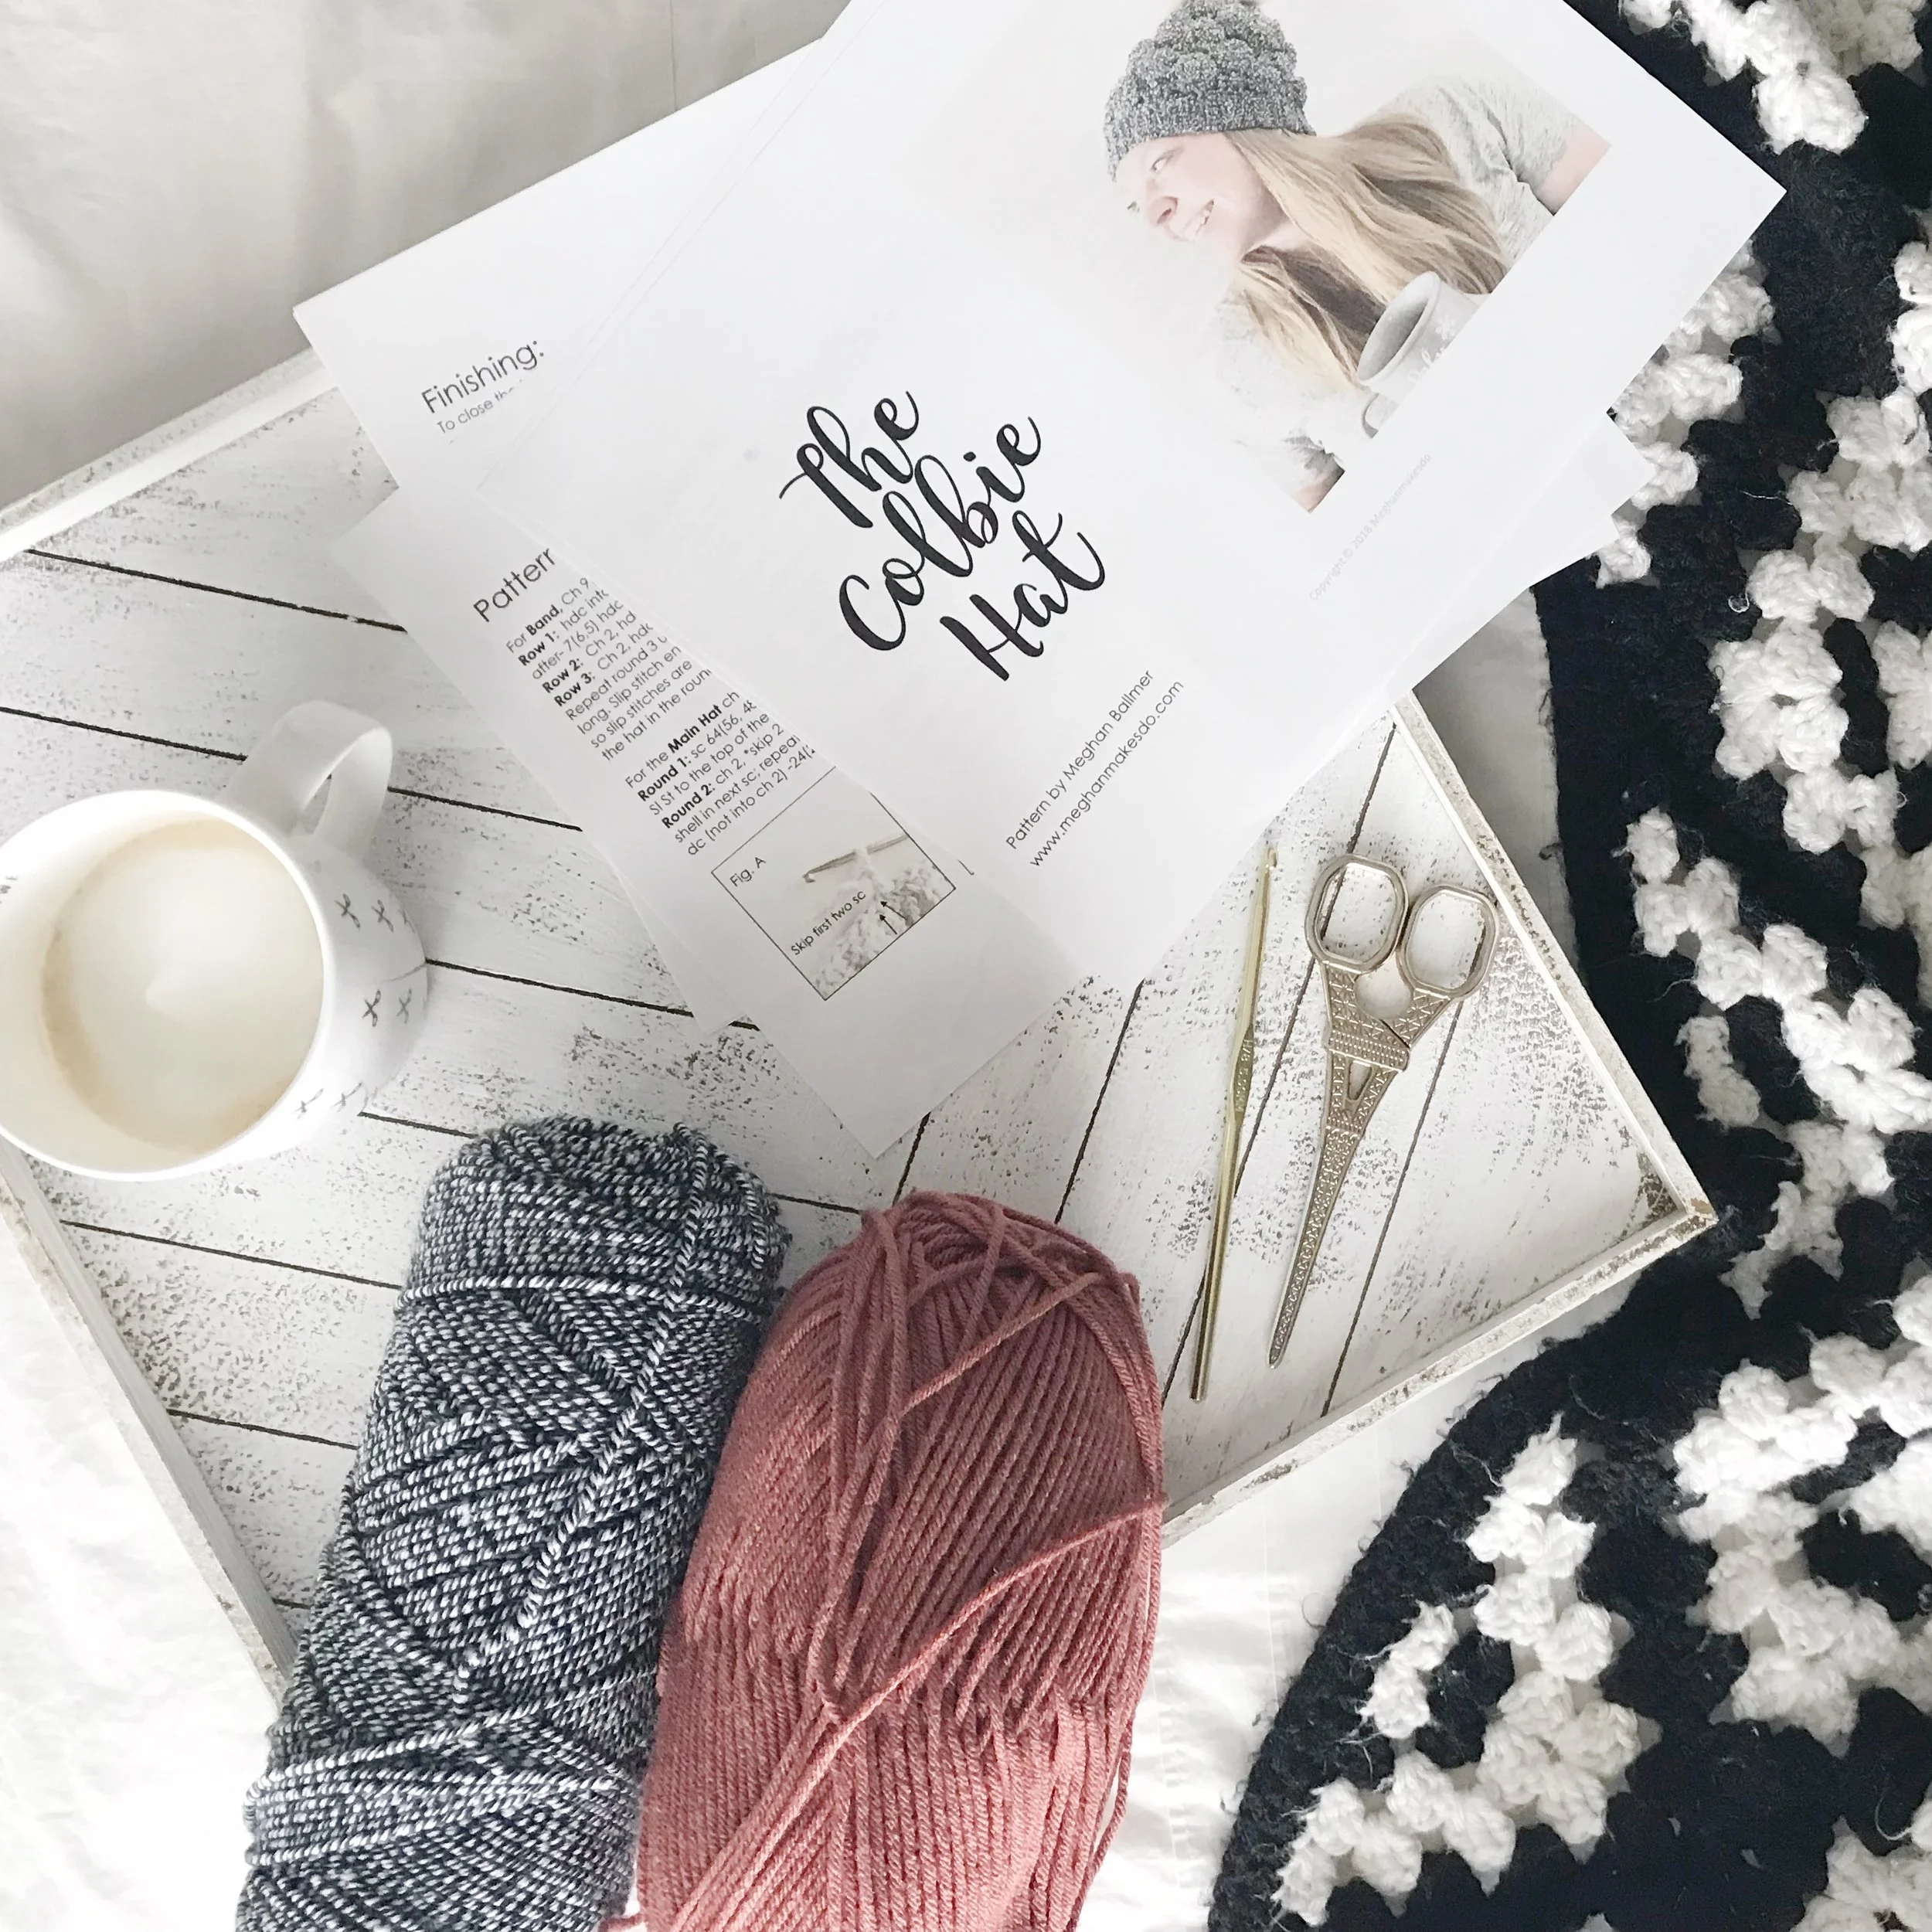
Once you figure out which stitches, yarn(s) and hook(s) you will use write down as much detail as possible. Make sure to include the abbreviation for the stitch if it has one or if you need to come up with a way to write it that will make sense to someone who is making your pattern.

3. Contruction & Writing
While these are two different things, they definitely go hand in hand. There are a few ways to approach this step in the process and that’s totally okay. You’ll find what works best for you as you go. This step may also look different for you depending on what kind of item you are designing.
Some people are able to write out the whole pattern before construction even begins. I know of some designers that have been able to do this for garments and it just blows my mind. If you are able to write the whole pattern, including sizes before hand then that’s awesome! You can then construct your pattern or hire out a sample crocheter to make your sample. The only time I’ve been able to do this was for my C2C Holiday Graphgans. Since the written pattern was based on a graph it was easy just to follow to graph to write out the rows and then construct the blanket afterwards. When it comes to writing patterns before construction it can be helpful to work with a spreadsheet in Excel. You can create formulas that will easily calculate the sizes for you. I don’t know how to do that yet, but I do know that Edie Eckman has classes and workshops about creating those spreadsheets as well as some great classes on pattern writing.
Most of the time I like to construct and write at the same time. I’ll start a design and write down each row or round as I go, making sure to figure out the different counts for sizing along the way. So far this has been the way that makes the most sense to me, especially when it comes to garment design.
Another way to do it is to construct your design first and then write up the pattern. Most people who create patterns this way will take notes along the way so they remember what they did for each step. Having good notes is key for this method. It also means you save all the math for sizing for the end too.
Both construction and writing needs to happen, but the way you decide to do it is up to you. This tends to be the longest part of the process and can also be the most frustrating part. There will be moments that you need to frog back and rework things, like I did with my latest design after noticing the wrong and right side. Take your time and give your self some grace because it can be easy to want to throw in the towel when things aren’t going right. With a bit of patience and determination you can bring your design to life.

4. Tech Editing & Testing
After you have written up your pattern, look it over and make sure it’s ready for tech editing and/or testing. Although somewhat similar they are two different things. Tech editing is when you hire someone to look over your pattern and make sure it is written correctly and will work for each size. They do not create an item from your pattern. Their job is more of proof reading and finding errors. Testers will actually create your design from your pattern and give you feedback on the difficulty of the pattern and fit of the pattern. They may also do some editing by catching spelling and grammatical errors, but they are usually not paid for their work.
At the bare minimum you should have your pattern tech edited, but I highly recommend getting it tested as well. In my experience my testers have been absolute life savers. They help me to figure out what needs to be fixed and what needs more clarification. It is also a great way to be able to see your design in every size without having to make them all.
Finding testers can be a little tricky when you first start out. You can do a call out on social media or in crochet/knitting groups on Facebook or even on Ravelry. Those that are interested will contact you and then you can decide from there if you would like them to test for you.
Another option is to go through an application process. You can set up an application form on your website or through Google Forms. This allows people who love testing to apply to be on your list of testers. From there you can send out e-mails to your list when a new pattern is available for testing. It helps you to get to know the testers a bit and learn about their experience before handing your pattern over. How my tester application works is, a person applies to be added to my list. I then add them to my e-mail list and when a new pattern is available I send the whole list the e-mail with the specific pattern application. Those interested in that design fill out the application and I choose a few from that smaller list. I try to let everyone have a chance and I choose testers based on their abilities and sizes. I try to even give beginners and shot at more intermediate designs because getting feedback from a beginner crocheter can help me create a better pattern. More than likely, even though a pattern may be intermediate, a beginner will purchase it so it helps to know ahead of time the parts that will be confusing to someone who is new to crochet.
However you go about finding testers, just make sure you lay out your expectations right from the start. It needs to be very clear if you have specific requirements and when you need to have the testing completed. Open communication is very important. You may have testers flake out on you or even just totally disappear after you have sent over your pattern. It’s unfortunate, but it does happen. Try not to let it get to you and just appreciate those testers that you find who follow through and give you great feedback. They work hard for you so give them the credit they deserve by sharing their photos and showing that you value their time.

5. Publishing
Once you have all your notes back from your tech editor or testers, it’s time to finalize your pattern. Make sure you have it typed up and formatted in a way that is clear. Fix all issues and double check for spelling and grammatical errors. Make sure you have all the vital information you need and include pictures. If you haven’t already, add in any special stitch photo tutorials you need or photos to show the tricky parts of your pattern.
When you pattern is exactly how you want it, you’ll need to turn it into a PDF. If you used Microsoft Word or Powerpoint to create your pattern it is just a matter of saving it as a PDF document. Make sure you also have it saved as a regular editable document too in case you every need to make changes. The PDF version is what you will be selling.
If you are self publishing your pattern, either through your blog/website, Etsy, Ravelry, Craftsy or Love Crochet/Knitting, you will need to create a listing. It will look a bit different in each of those locations. You can choose to sell in just one or all of them. Include as much detail as possible in your listing so people know exactly what they are getting. If selling on Etsy or a personal site it is a good idea to make sure you say it is for a digital PDF and not a finished product. Make it in all caps or bold it so there is no mistaking that it is in fact a digital product.
Publish your listings on the day of your pattern release and then make sure to share it with the world!
6. Marketing
We may back track a bit here when it comes to marketing because most of the time you are marketing your design from the very beginning. When you first start a design, if you share progress shots on social media, you are already marketing your design. People will see what you are making and get curious about what it will become. Every time you share a bit more about the design, whether it’s revealing a bit more of the product or sharing the ups and down of the creative process you are building excitement around your pattern. During the testing period, if you are okay with testers sharing progress shots, they become another valuable marketing tool. The more they share what they are working on and tag you in the photo, the more people will see it. It also helps to tag the yarn company whose yarn you are using because they may reshare your photo which will open it up to a larger audience. Social media is a huge marketing tool so make sure you are using it right from the start of a design.
Once your pattern is complete you may choose to have a big reveal day either the day it releases or a few days before to continue to build up to the release. There is not right or wrong way to do it and it may vary for each pattern. For example, if your design is in collaboration with another company, you may not be able to share a full picture until the release date. Either way you can be building up the excitement about your pattern by sharing bits and pieces on social media.
When release day does come, celebrate it! Post on social media, share about it in your stories, send an e-mail to your subscribers and make sure to pin it to Pinterest. You want as many people to see your pattern as possible! Continue to market your pattern for a few days after the initial release and then again every few months when it is appropriate. You can continue to make a profit from that pattern for years to come by continuing to put an effort into marketing it.
So there you have it! The process of design. Remember that it may look different for you and that’s totally okay. I hope you found some valuable information here. Make sure to come back next week when we will be talking about The Building Blocks of A Great Pattern. Don’t forget you can also catch me LIVE on Instagram next Monday at 4pm PST. I’d love to see you there!
Happy Designing!
Meghan